Sneak Peek: Easter Eggs
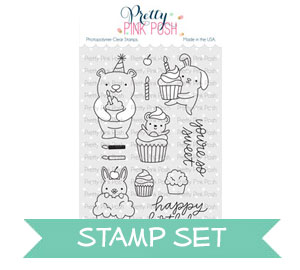
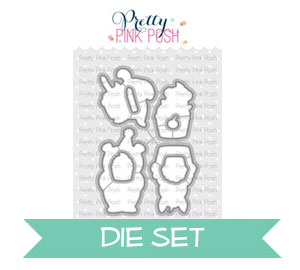
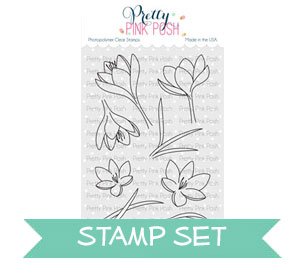
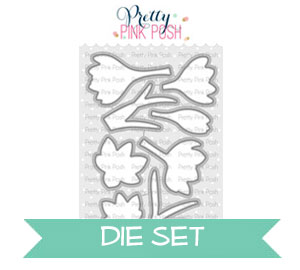
Hello everyone, Joni here sharing a sneak peak of what is coming your way for the upcoming release for the Pretty Pink Posh. I am showcasing the new Easter Eggs stamp set and Easter Eggs Dies. The butterfly is also from the new set Beautiful Butterflies and the leaves, flowers are from the new Spring Wreath.
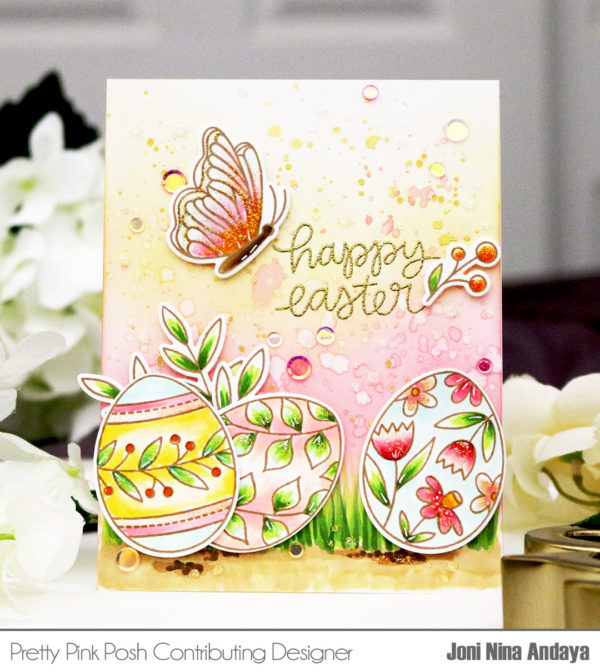
To begin I first distressed my white card panel with Distress Oxide, then splattered it with water and gold watercolor paint from Gansai Tambi Starry Colors. The grass were drawn using my Copic Markers.

The sentiment “happy easter” is also from Easter Eggs stamp set. I heat embossed the sentiment with Paper Source Embossing Powder in Gold Glitter.

For interest I added some new confetti mix called Friendship Mix really loving that.

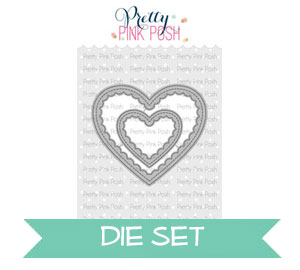
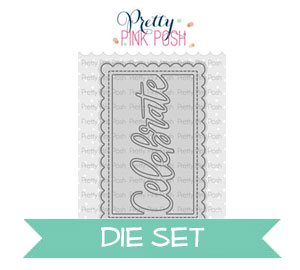
For this easter card I also used the new Spring Frame die, which allows you to showcase your images.

I die-cut the panel on a white cardstock keeping it simple, to make the eggs be the center stage.

Remember the oldie but goodie “Happy Easter” from Happy Easter Script Die still in love with this font. The flower on the egg is from the new Spring Wreath stamp and dies. For the card panel I also distressed it with Distress Oxide to give it a nice pastel blue color.

In this card I also added the new confetti mix called Easter Mix.

I hope you guys enjoyed! Join us tomorrow for a look at another new stamp set!


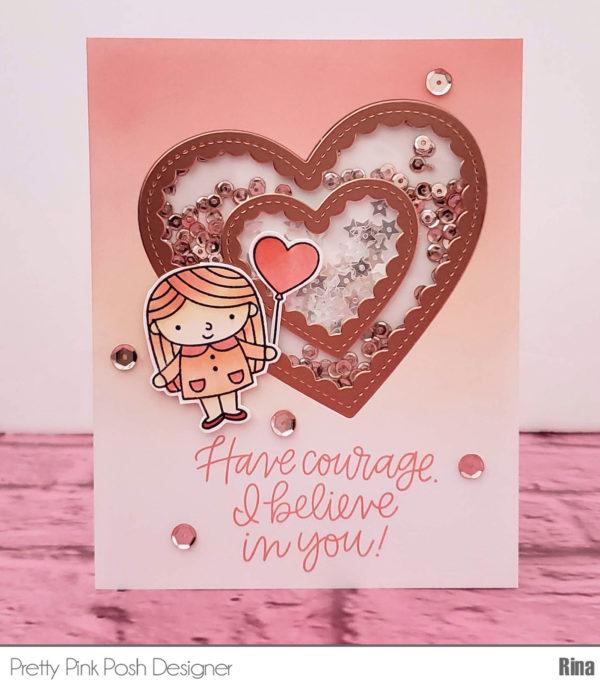
 For the colouring of my images, I took inspiration from a piece of patterned paper I wanted to use. I coloured the images with copics, then die cut them with the
  Next, I adhered my paterened paper to the edge of my card. I then took a piece of white card and cut it down with one of the dies in the
  I stamped a sentiment from the
  To finish, I added some of my favourite