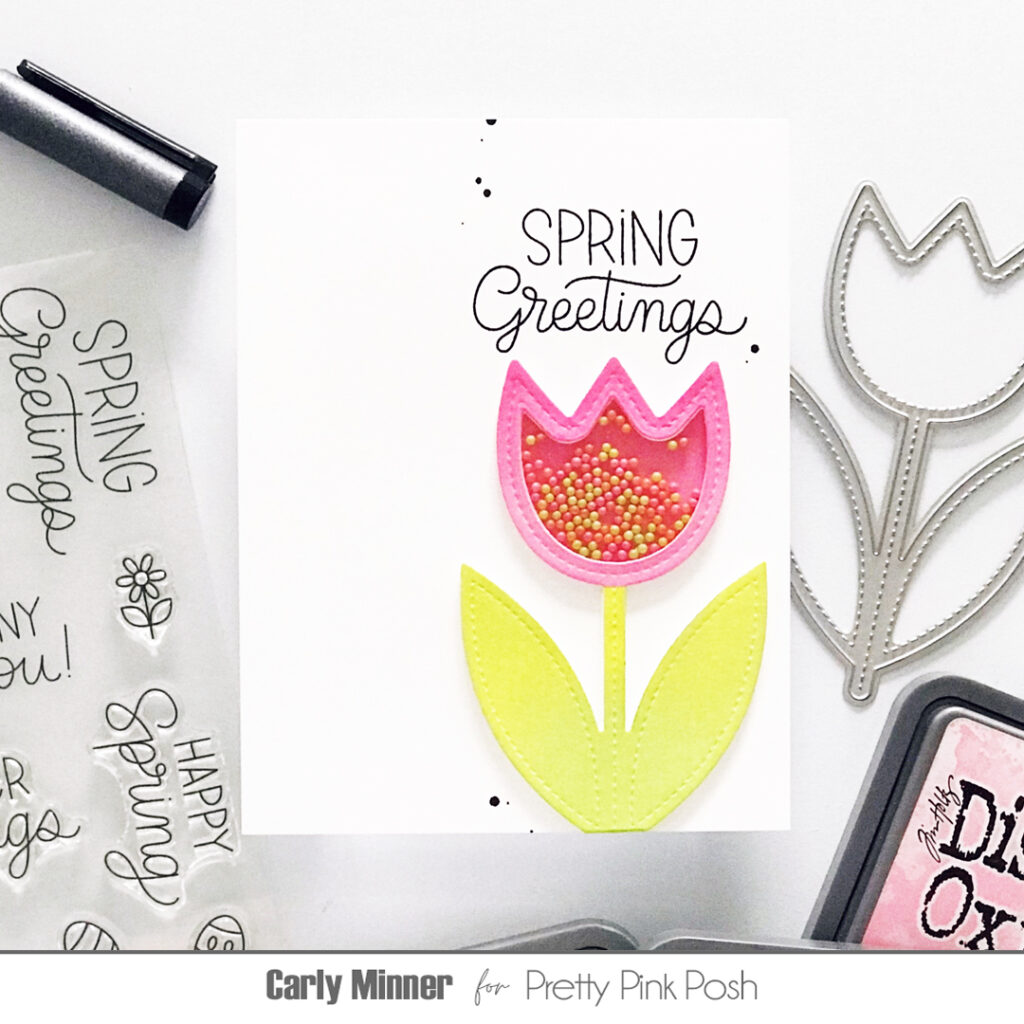
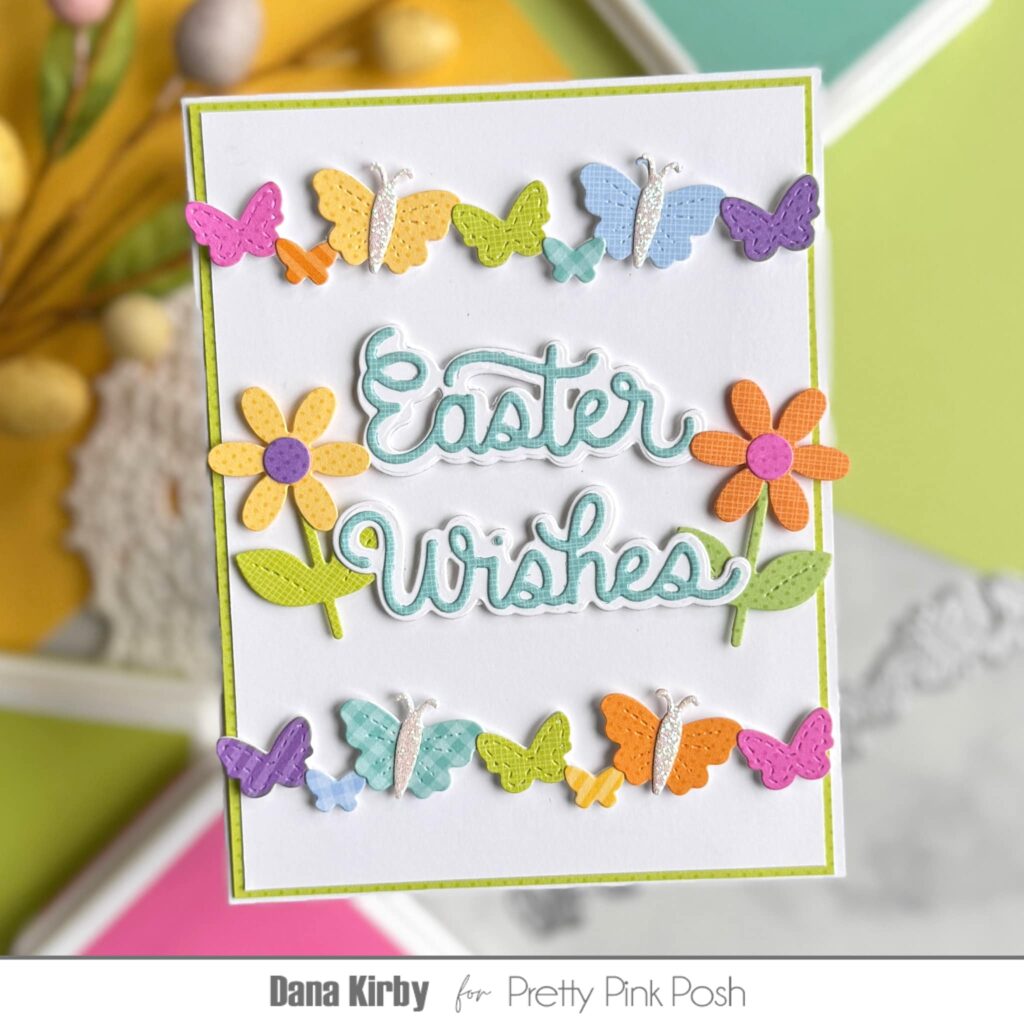
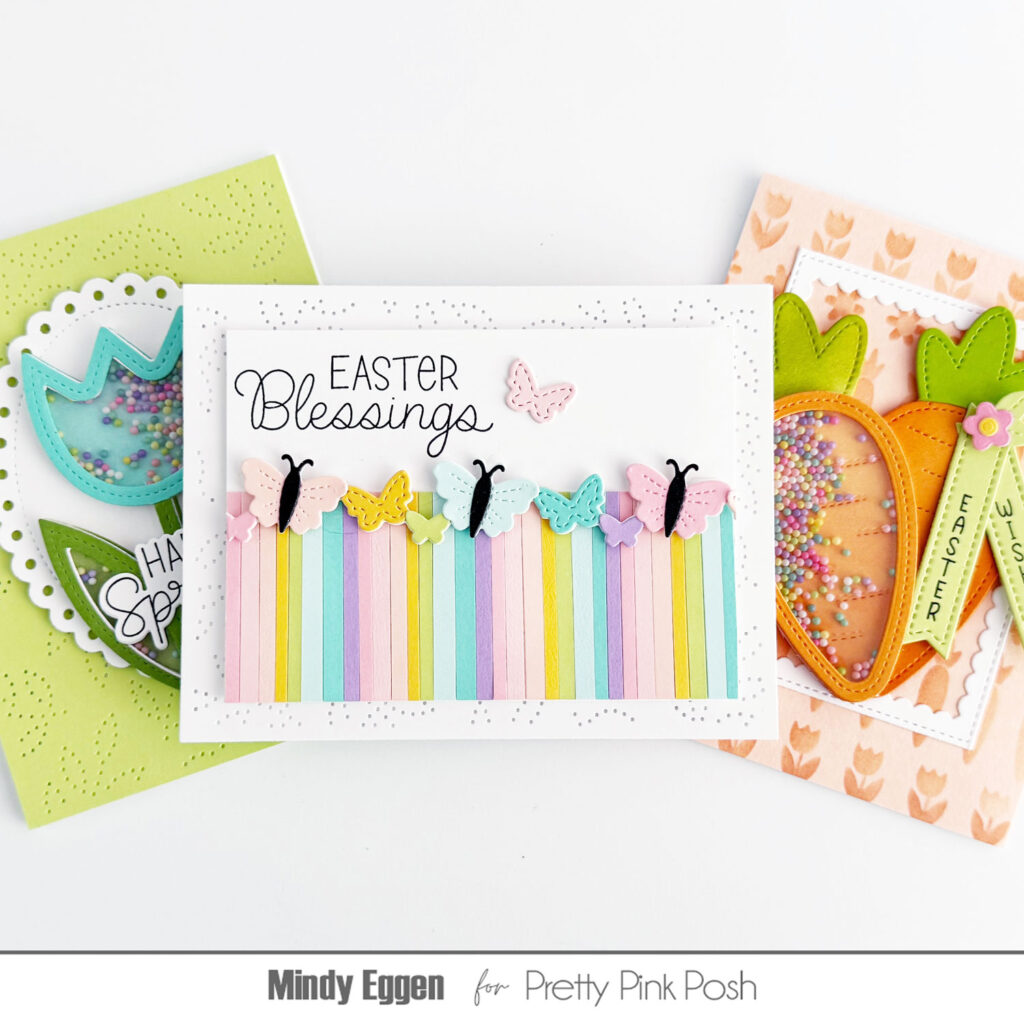
March Intro: Tulip Shaker + Butterfly Border + Carrot Shaker
Welcome to the day 3 of sneak peeks for our March 19th release! We are thrilled to introduce this collection of Easter-themed products, many of which are perfect for your spring projects as well. Today we’ll be highlighting the Tulip Shaker, Butterfly Border and Carrot Shaker die sets, but you’ll also get glimpses of some other new products as well!
New release will be available March 19th
Watch the video above I Watch the video in HD on YouTube
Hello everyone! This is Melissa and I’m here to share a couple of cards made with the beautiful, new Pretty Pink Posh stencils. If you love stencils as much as I do, you’ll absolutely want to add these to your crafting stash. I’ve also incorporated the darling Carrot Shaker and Tulip Shaker dies. Let’s get started!

My first card uses the Watercolor Oval Stencil topped by the Line Bursts Stencils to create my background. I love layering stencils, and this is a fun way to do just that. I wanted a soft, daylight sky with some sun rays shining in the distance and these two stencils created just the look I was going for.
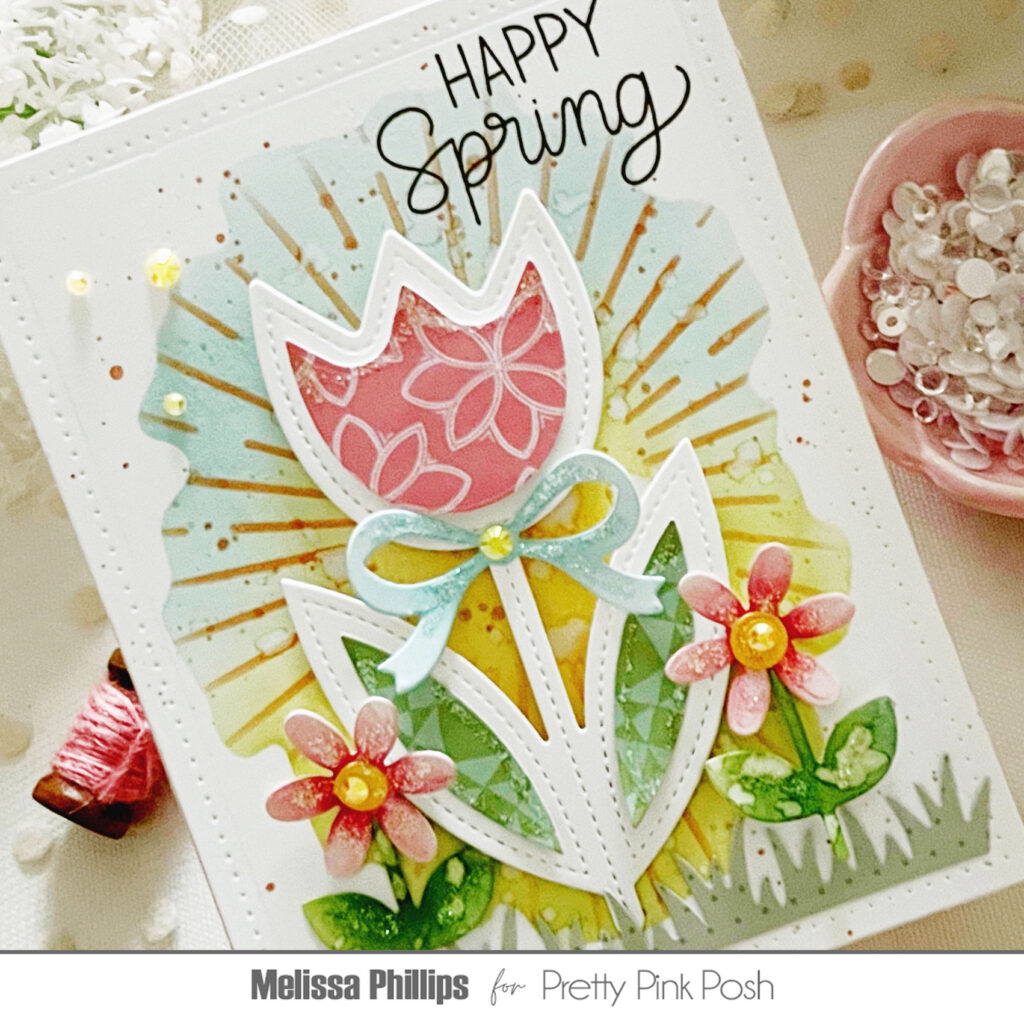
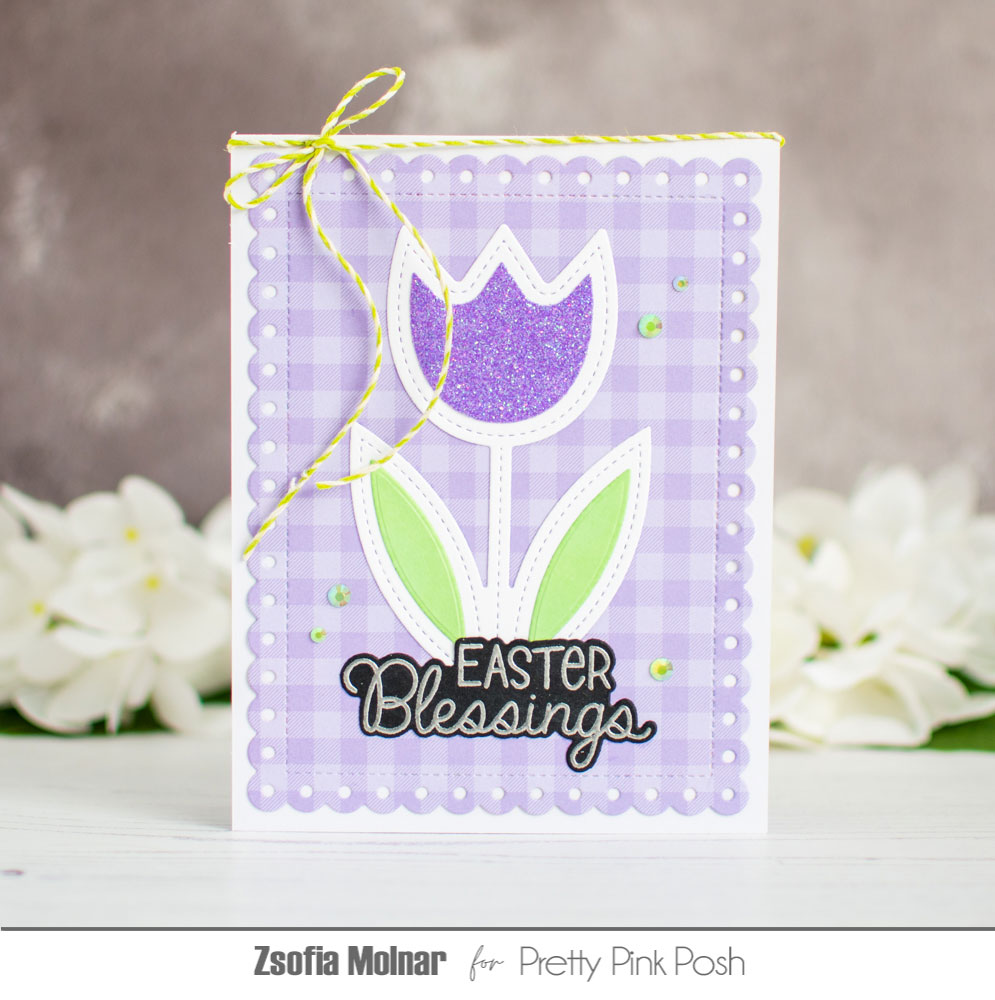
I then added in my Tulip Shaker dies, creating a layered flower instead of a shaker flower. I love the versatility of these delightful dies! I added patterned paper to my leaves and tulip topper to bring in some pattern and texture.
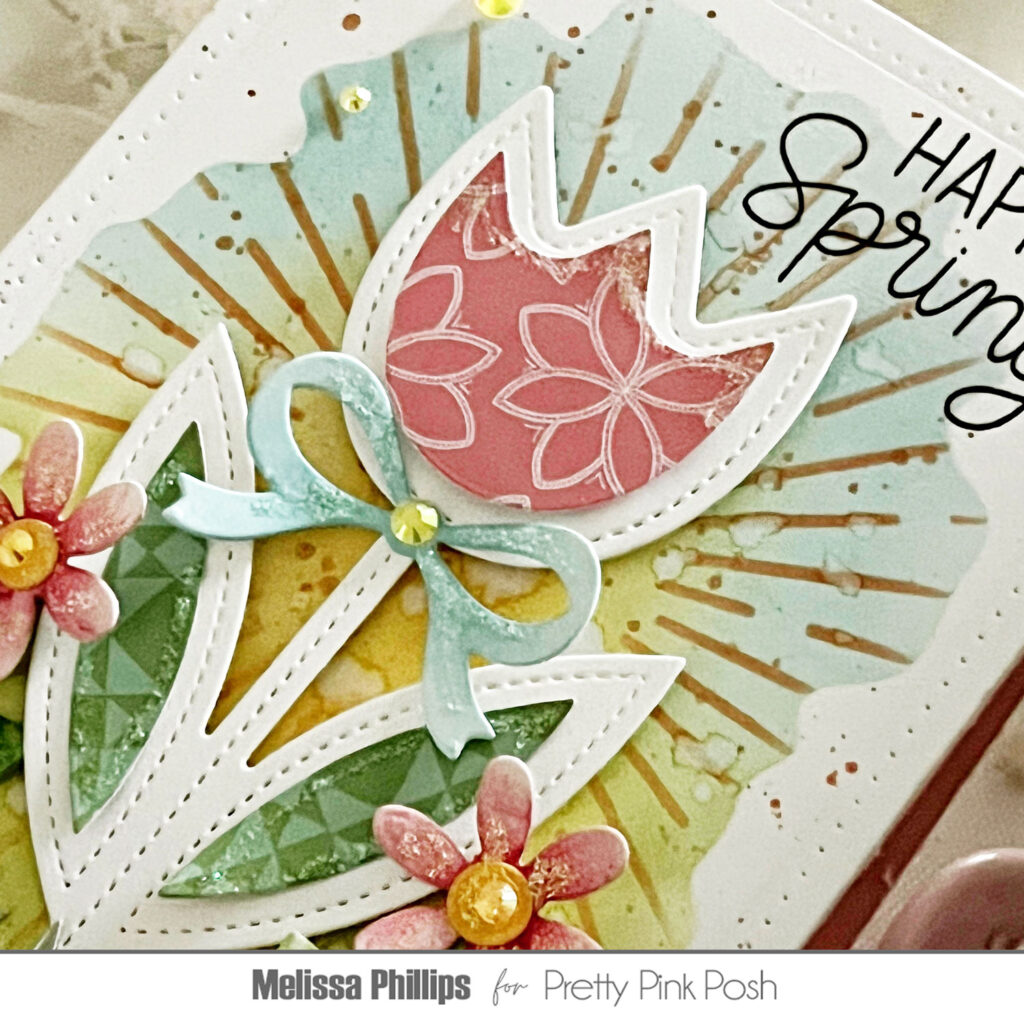
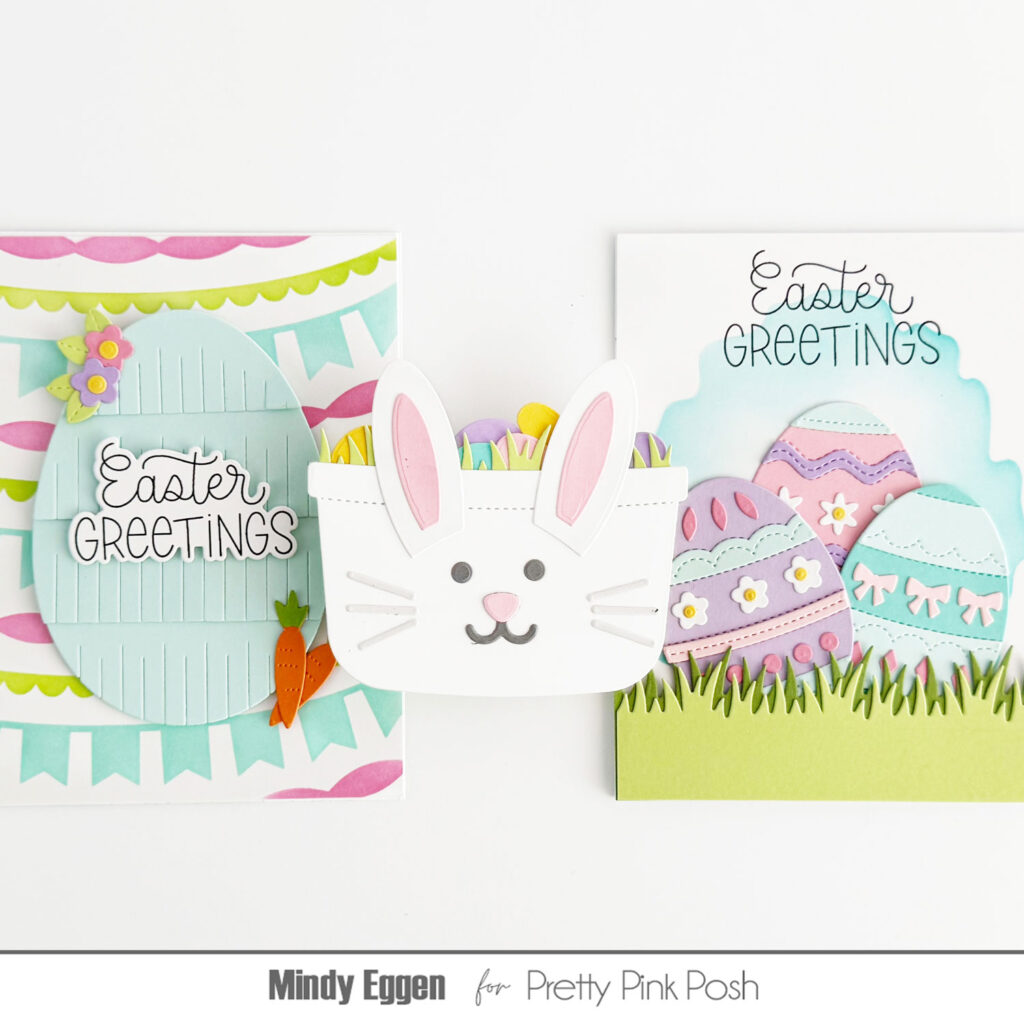
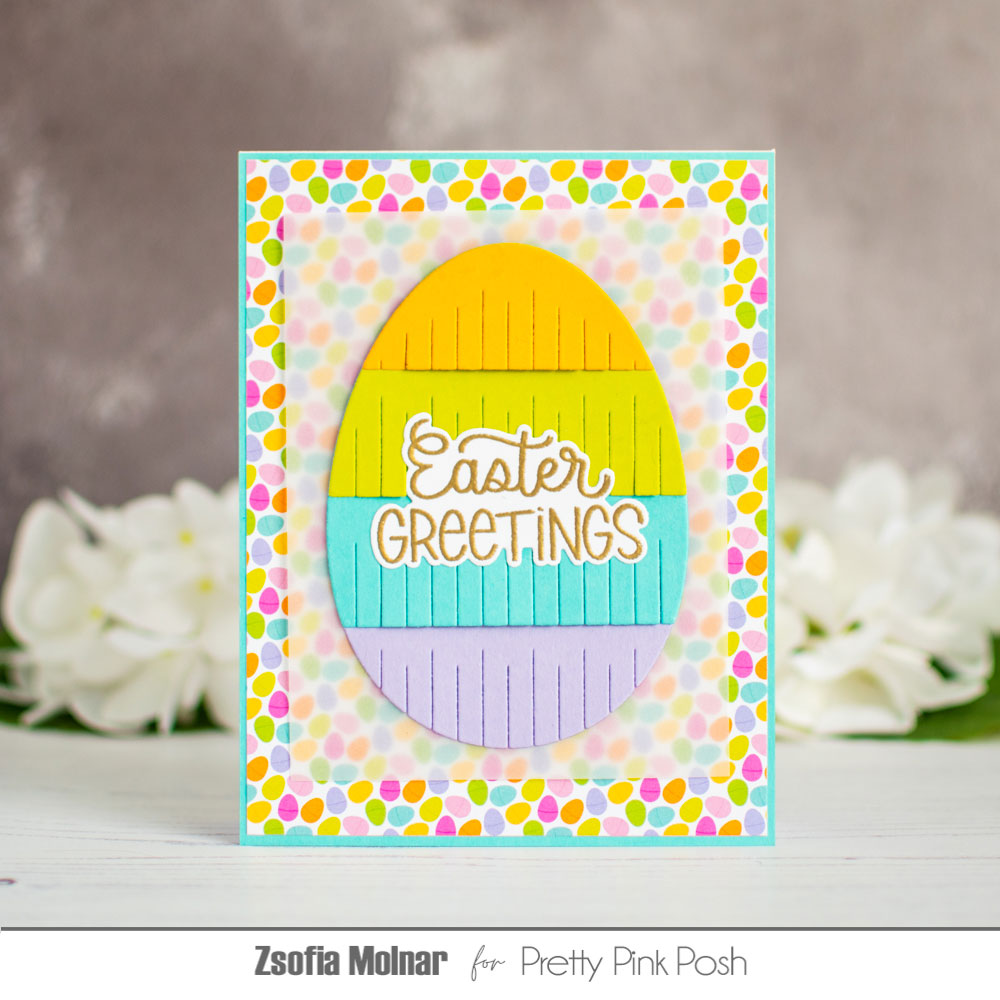
A couple of pretty flowers on each side of the tulip were cut using the Easter Bucket Addition dies and then the Grass Border across the bottom…such a fun die for Spring and any time of the year. Lastly, I added a sentiment at the top using the Easter Greetings stamps. All that was left was to add some adhesive pearls and Stickles glitter to add some shimmer and shine.
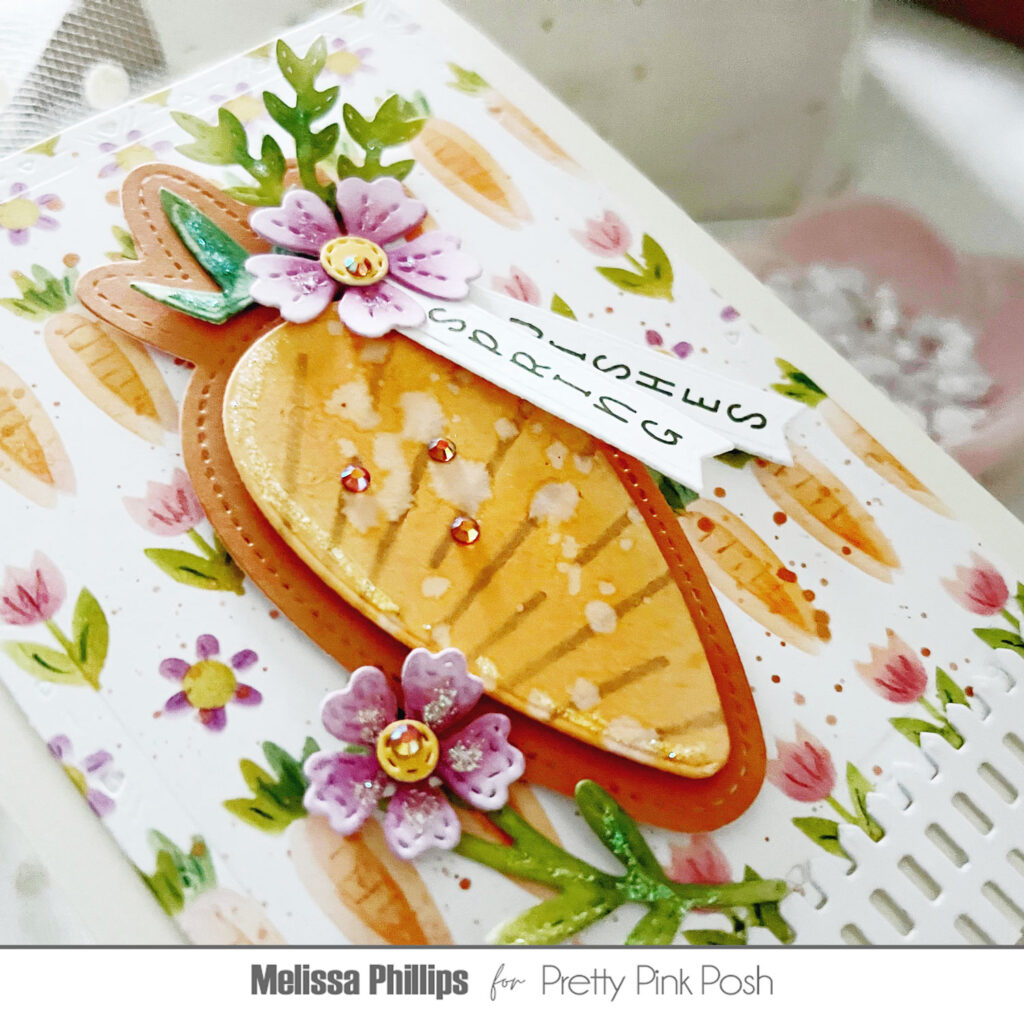
My next card uses the new and oh, so adorable Springtime Borders Stencils to create my background. I used colored pencils to add detail to the carrots, tulips, and leaves. I offset my carrots and carrot tops a bit to create the look of a bundle of carrots…another fun way to use these stencils.
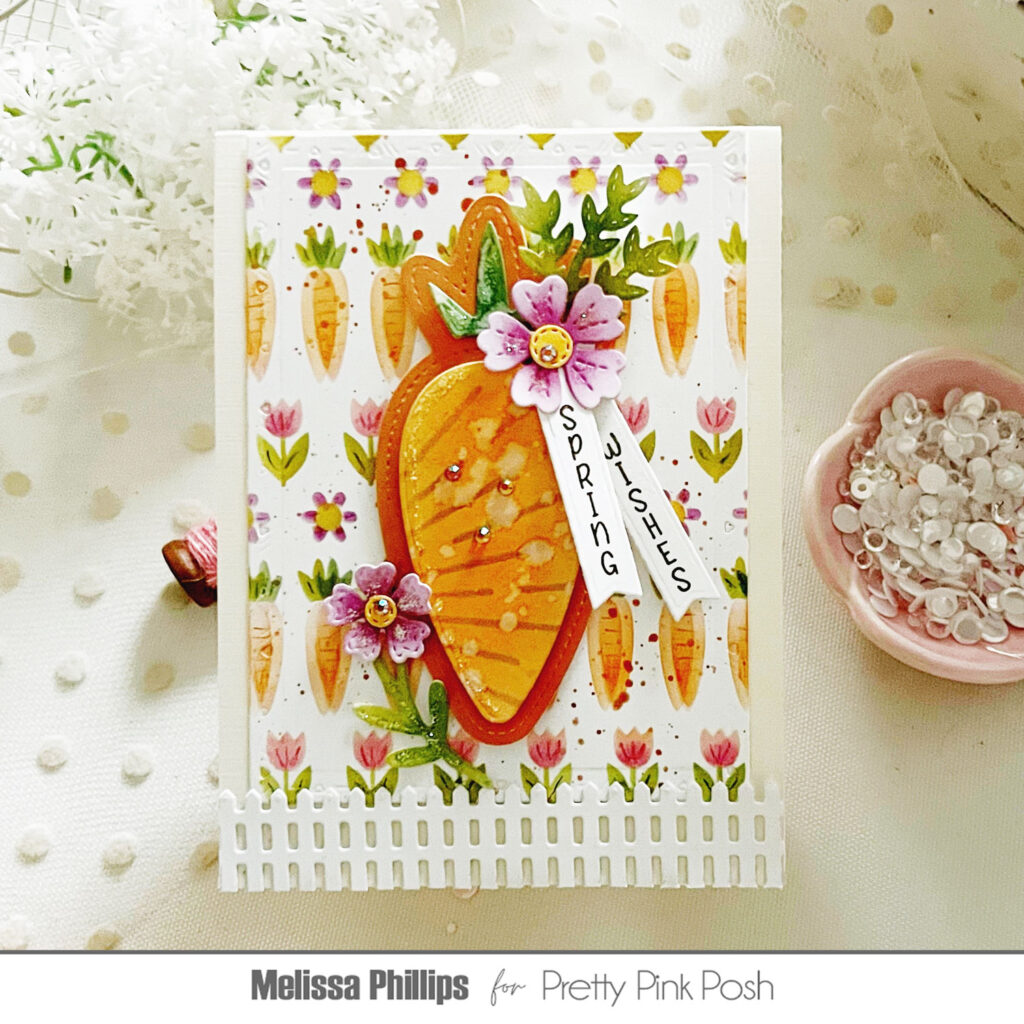
Next, I added my die cut Carrot Shaker adding florals at the top and bottom using the Spring Foliage dies in soft purples and greens. I used my Line Bursts Stencils once again across the front of my carrot to resemble lines you may see across the front of any carrot.
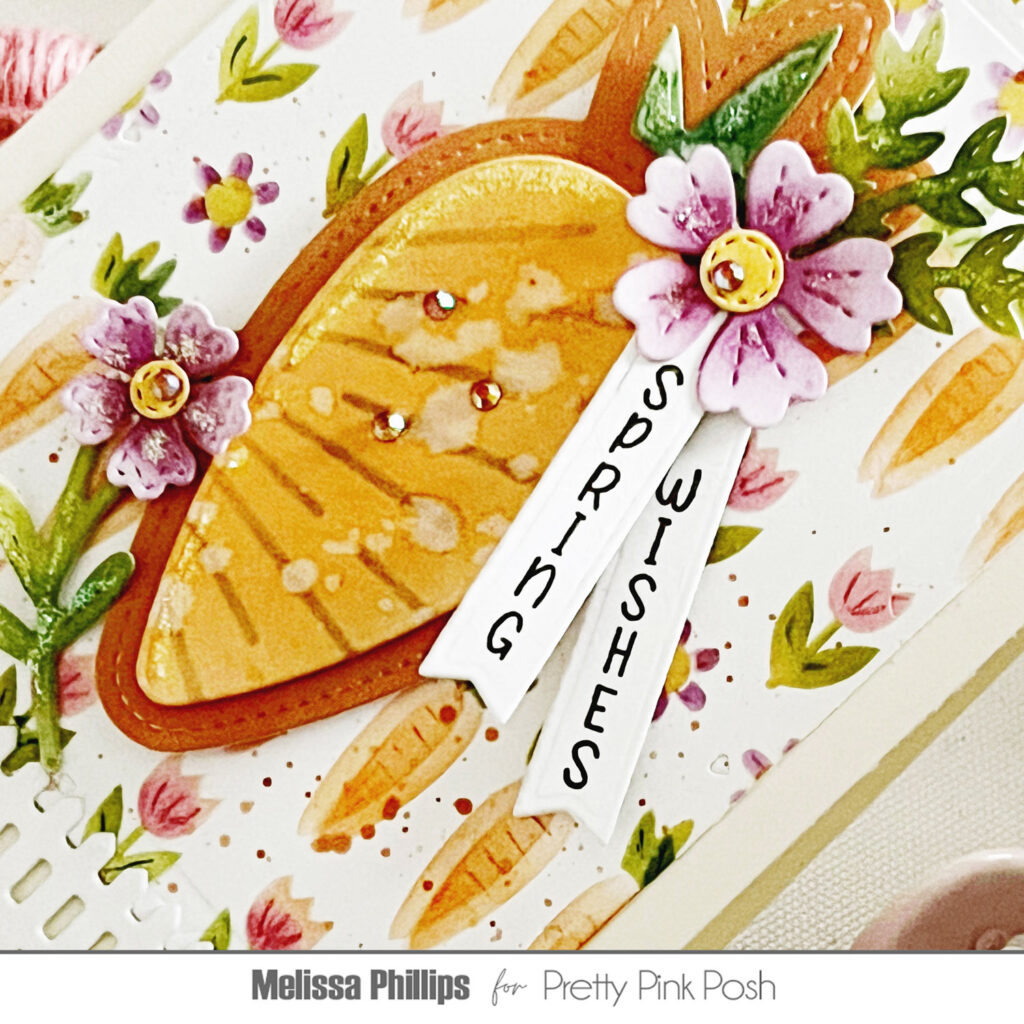
I used the sweet, Upright Greetings Easter stamps to create my sentiment and tucked them under the petals of my flowers. This is such a fun way to add a sentiment, don’t you think? I added a tiny die cut Picket Fence border across the bottom to finish,
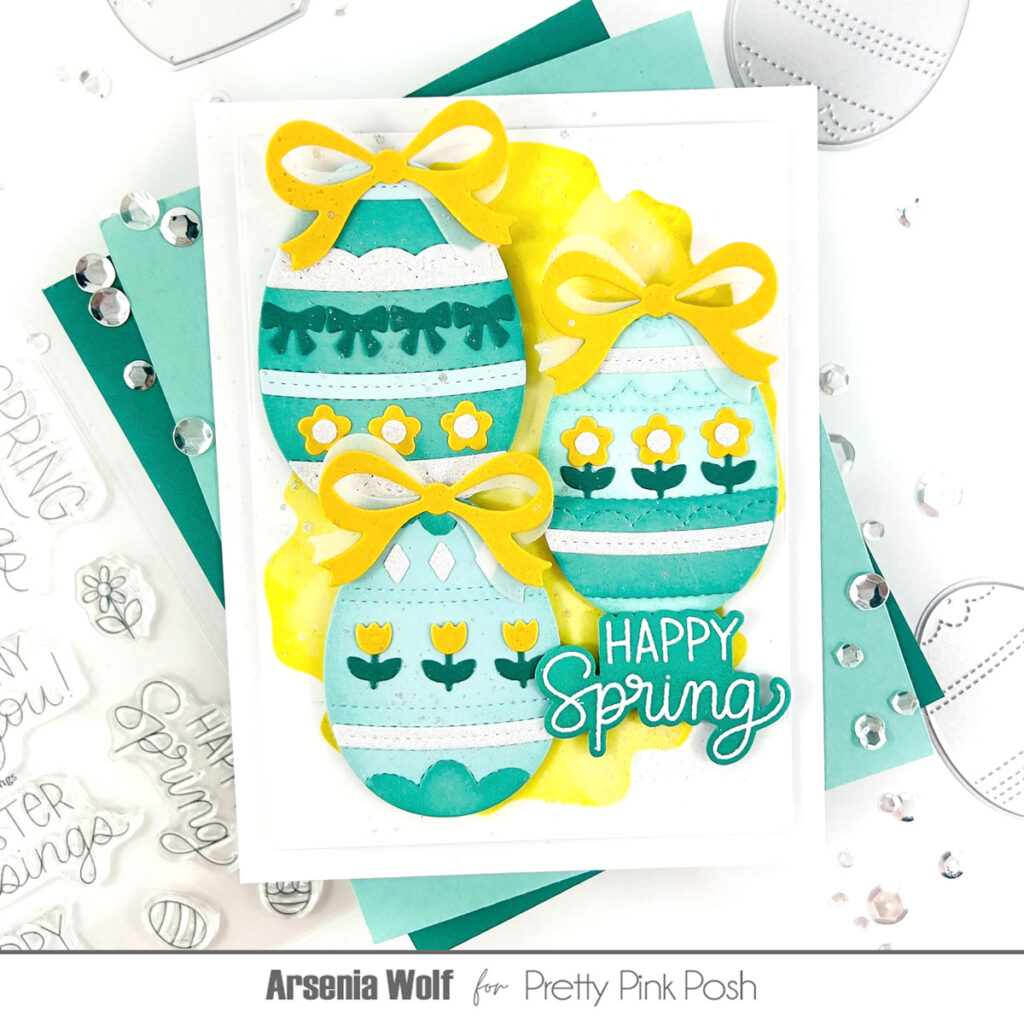
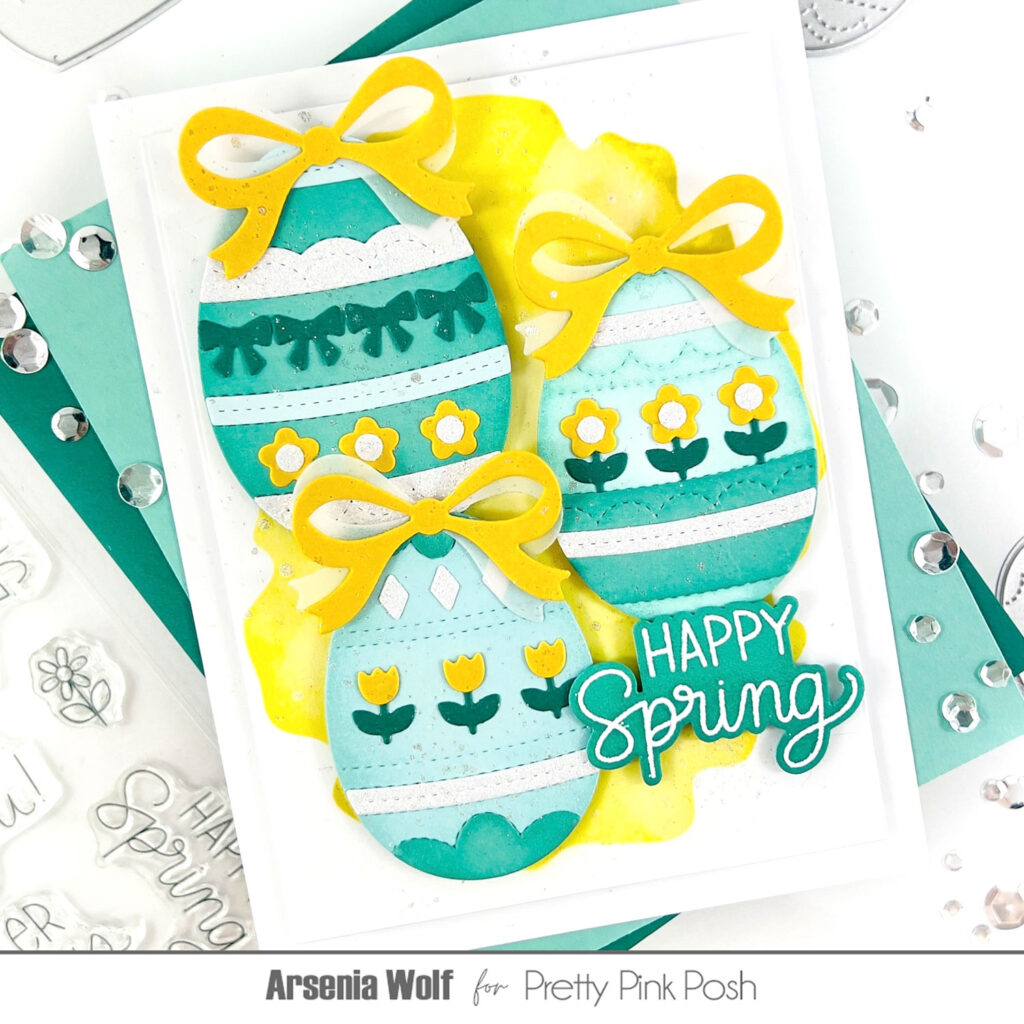
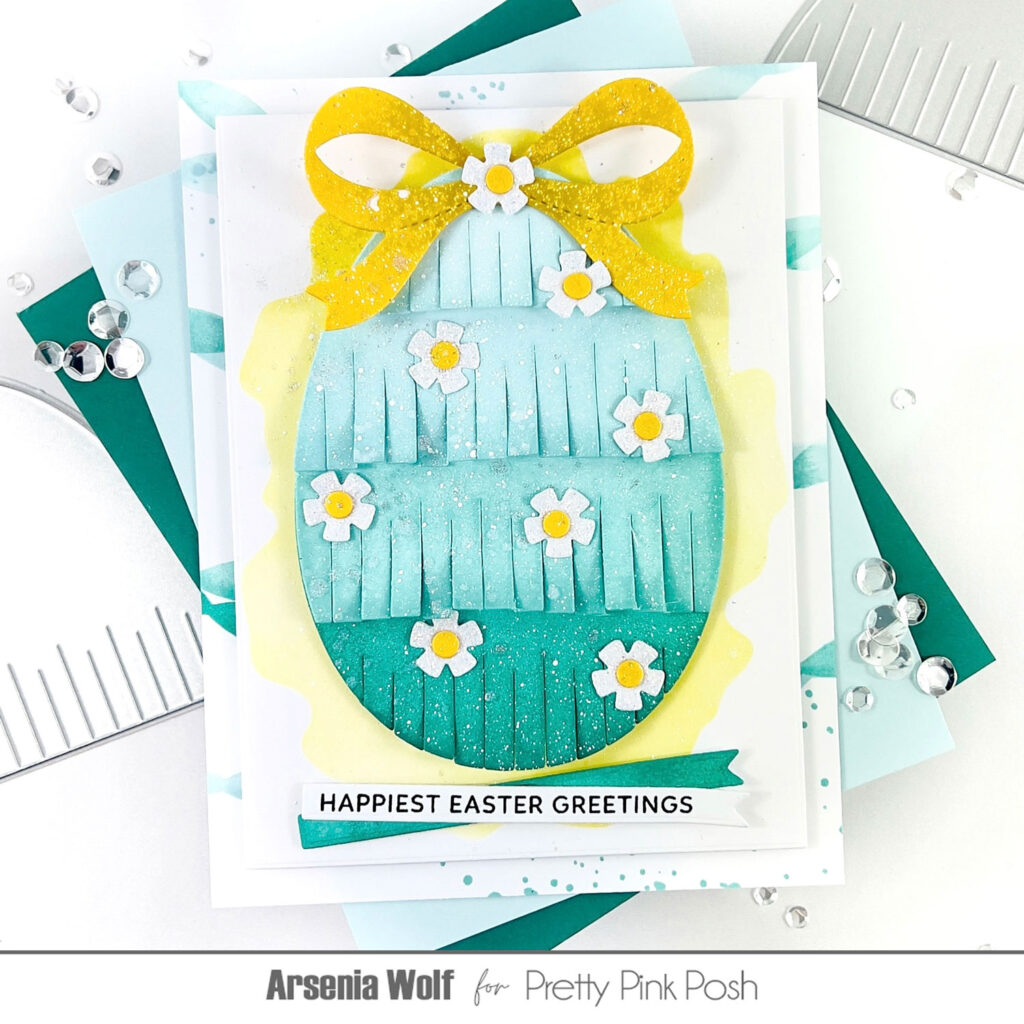
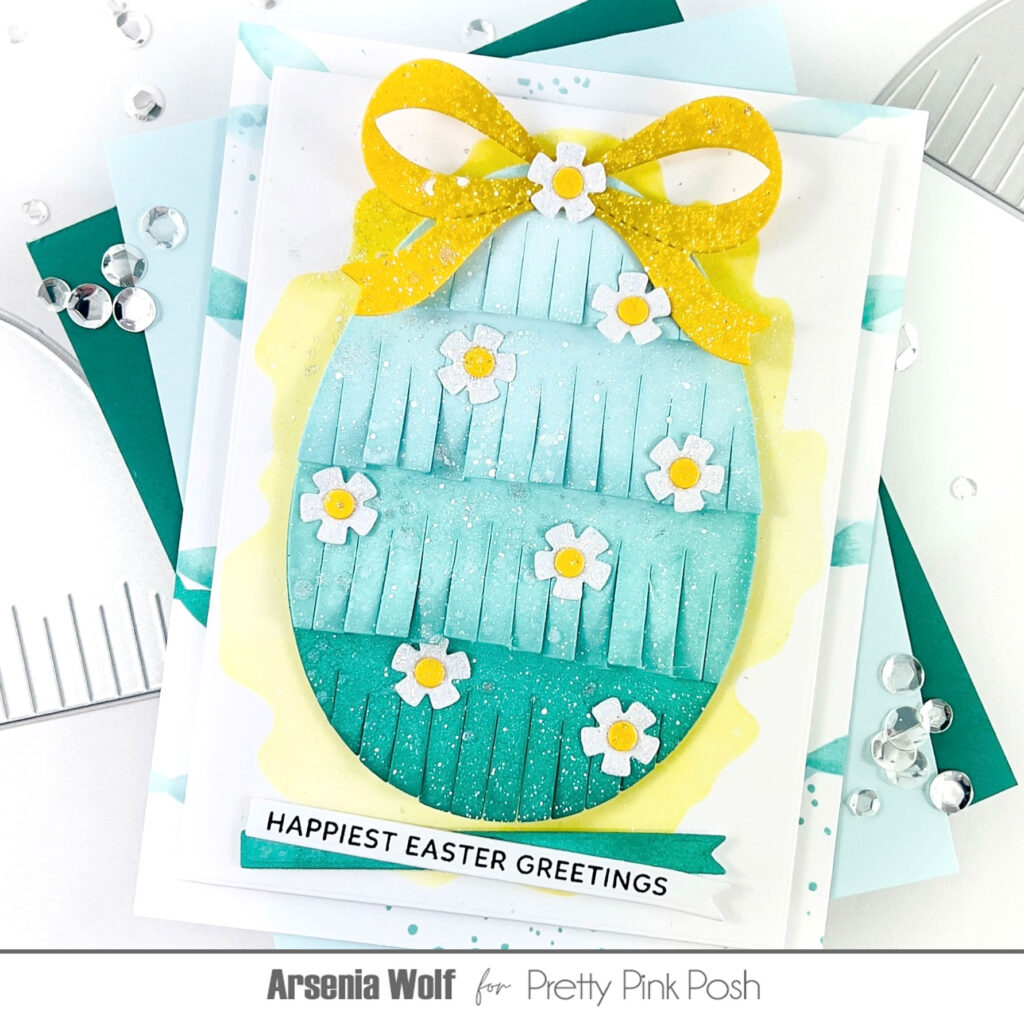
Ready to see the darling projects from some of the team? These colors are making us long for the flowers to start blooming and the sun to shine (it’s been so dreary here in Washington).


We hope you enjoyed this sneak peek. We’ll be back tomorrow with a full picture reveal of the release!