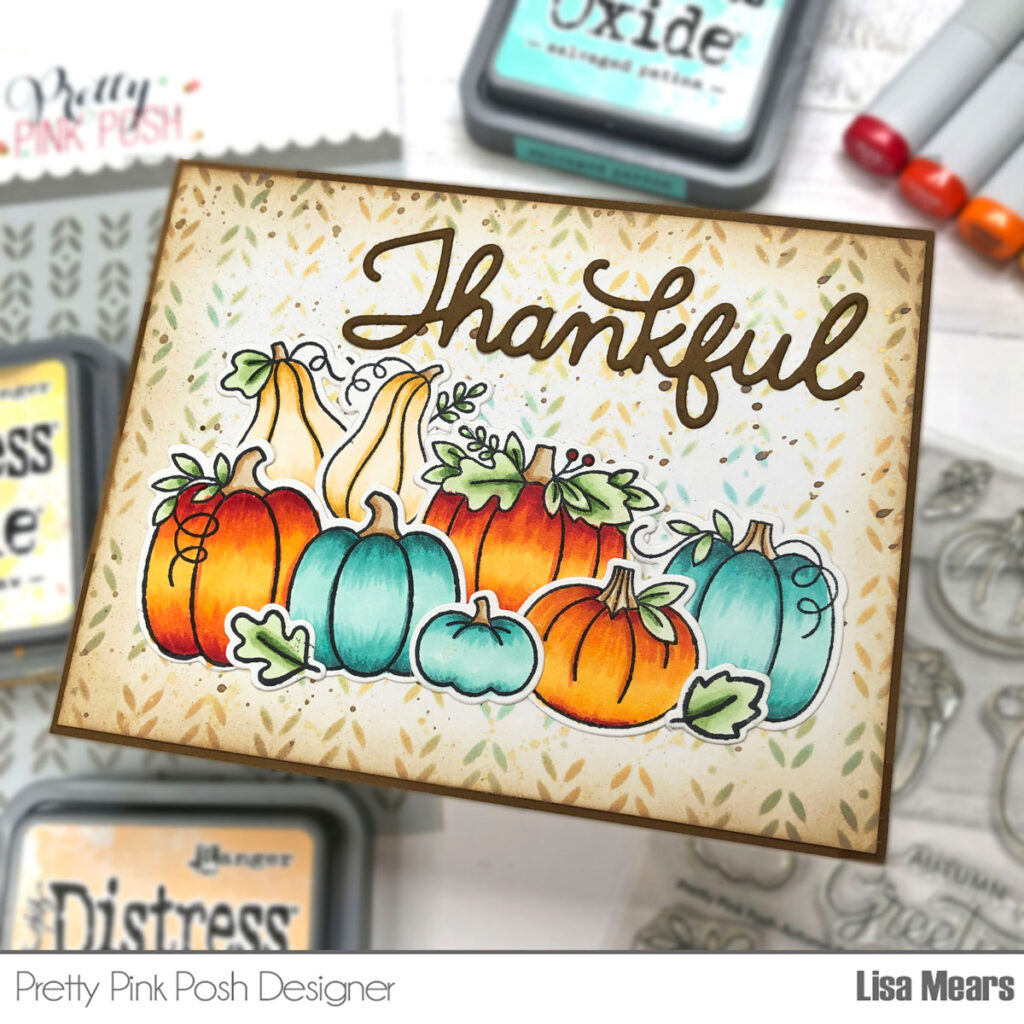
Day 1: October Blog Hop + New Release Now Available
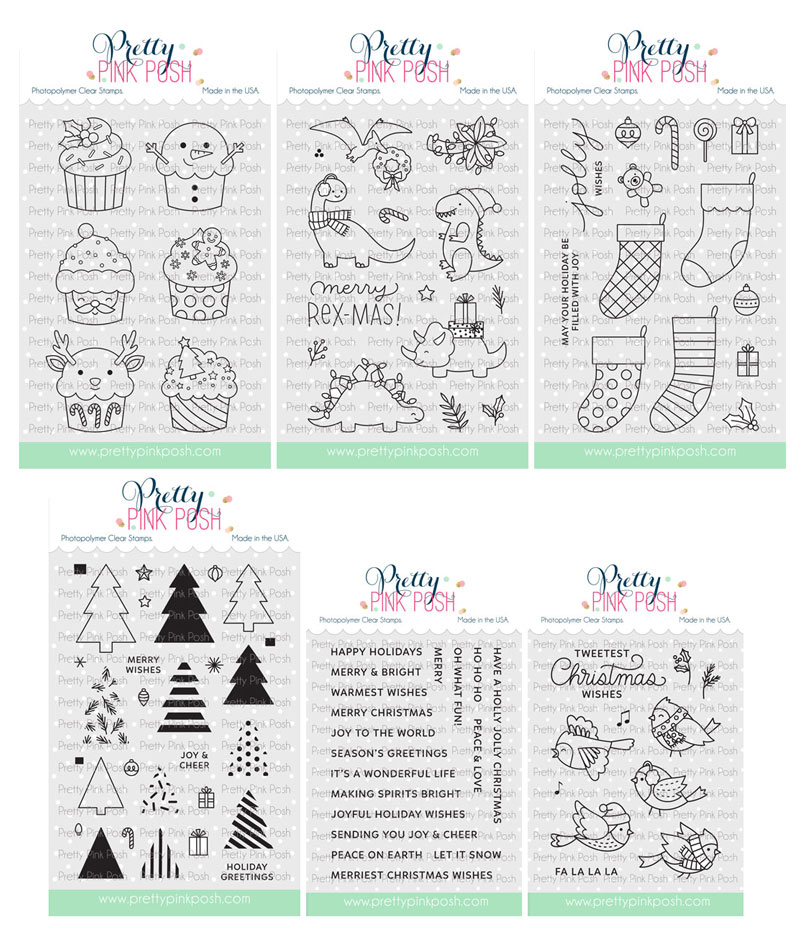
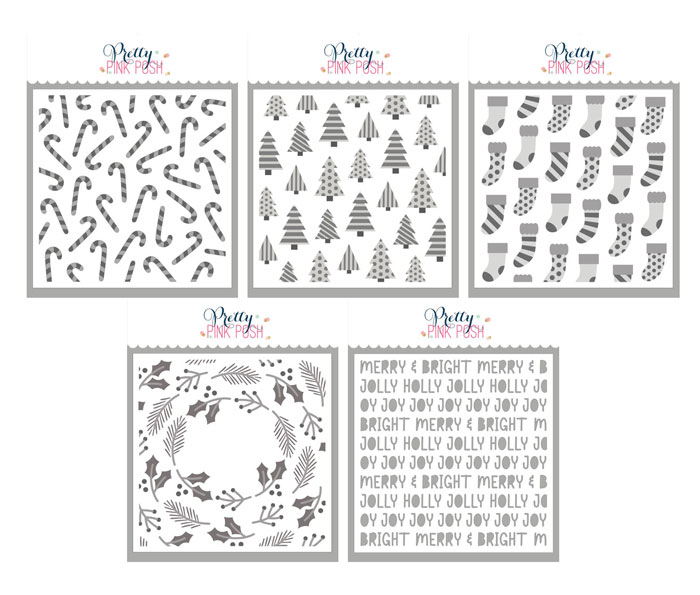
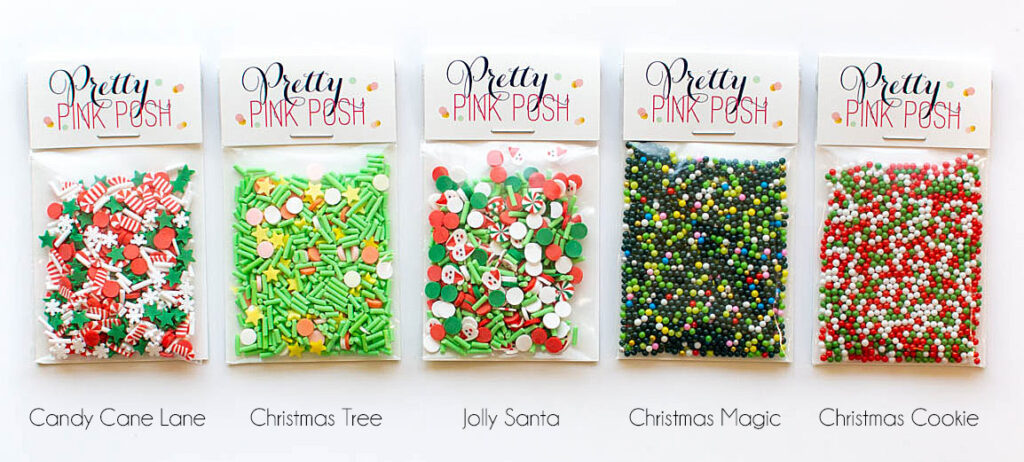
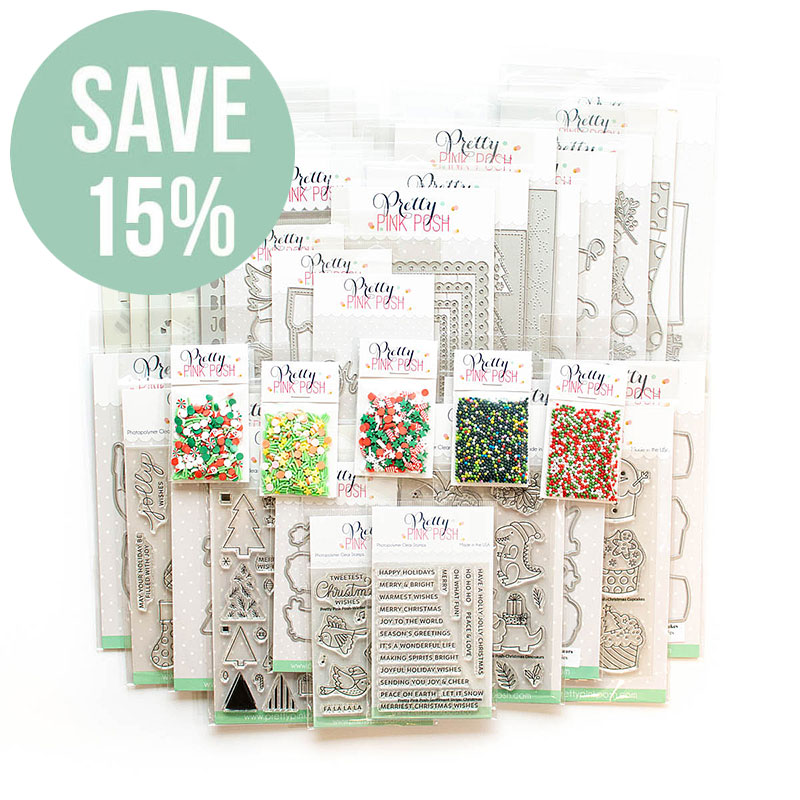
The October 2023 Release is now available in the Pretty Pink Posh Shop and select retailers that carry our products. If you missed our post yesterday, we revealed all of the products in picture form, but if you would like to see them in a video, Mindy has that for you today!
Watch the video above I Watch the video in HD on YouTube
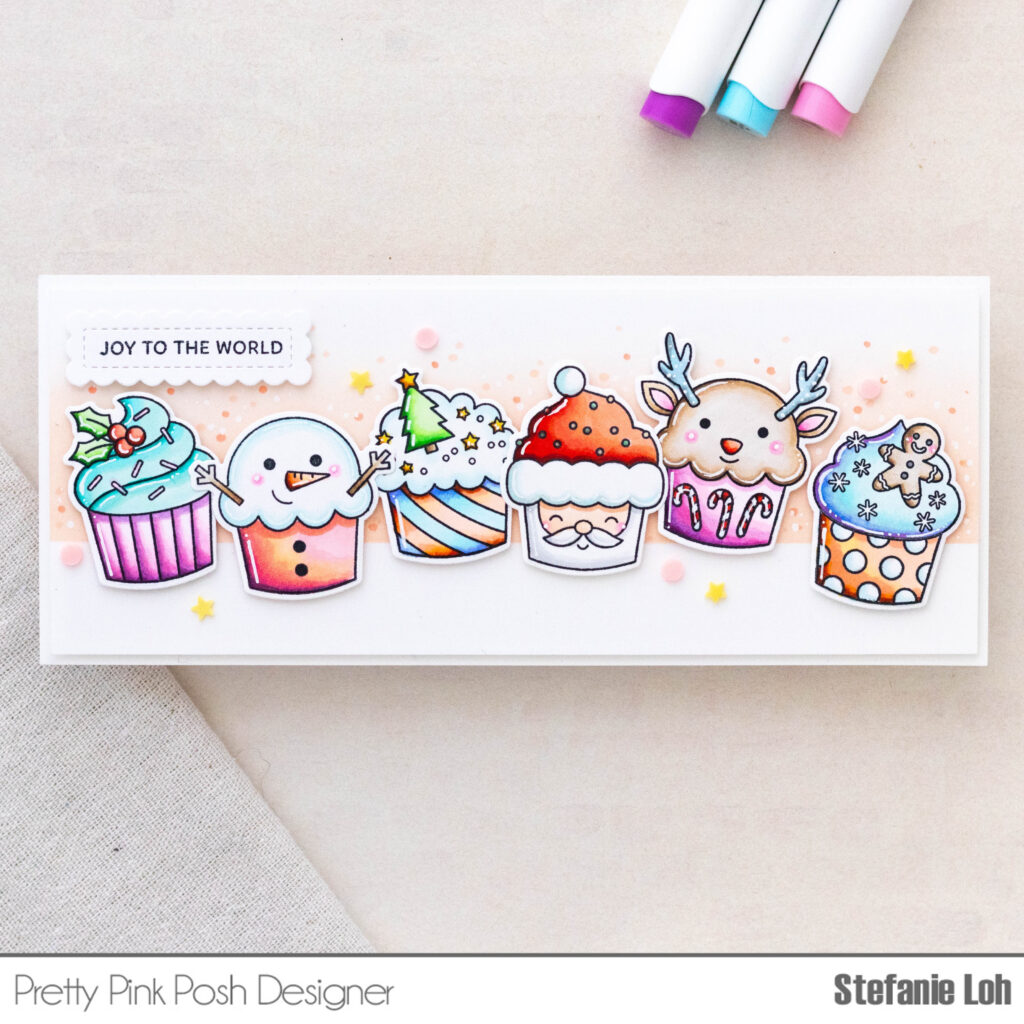
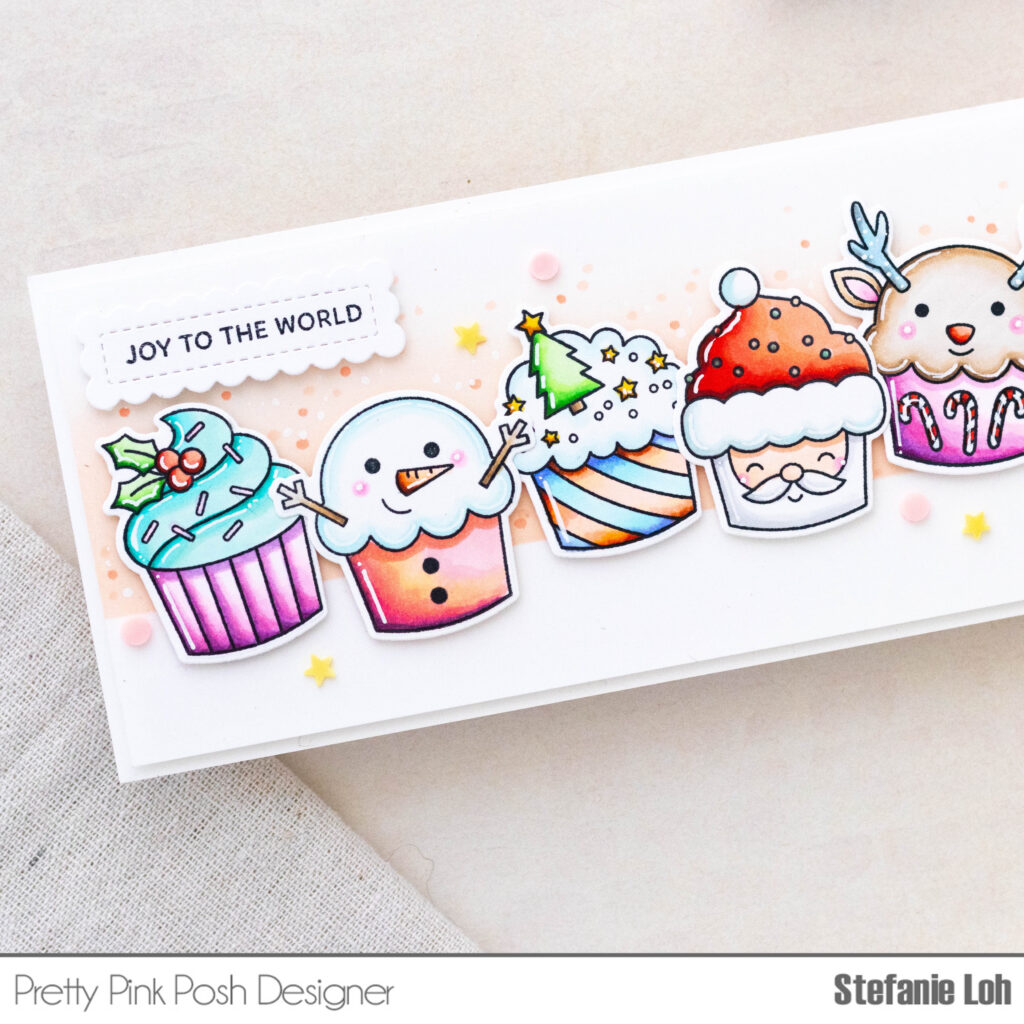
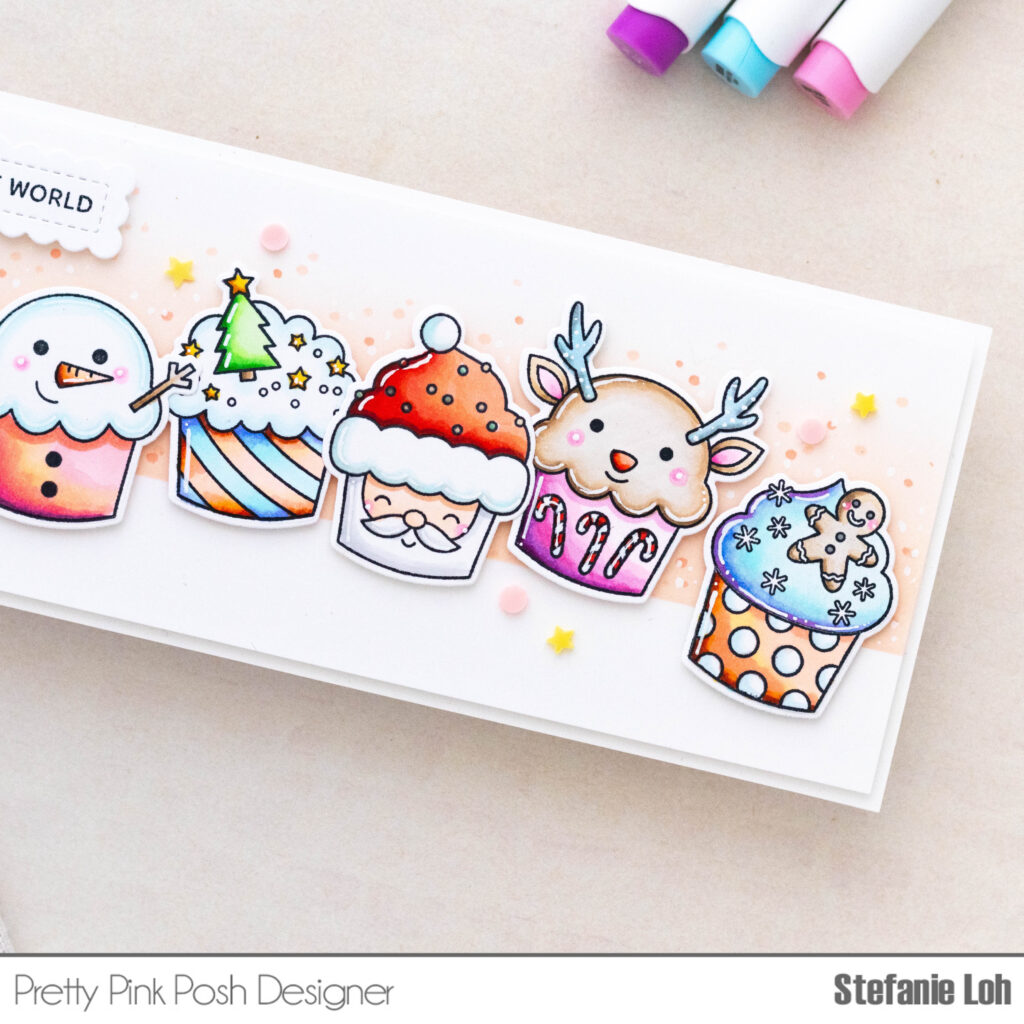
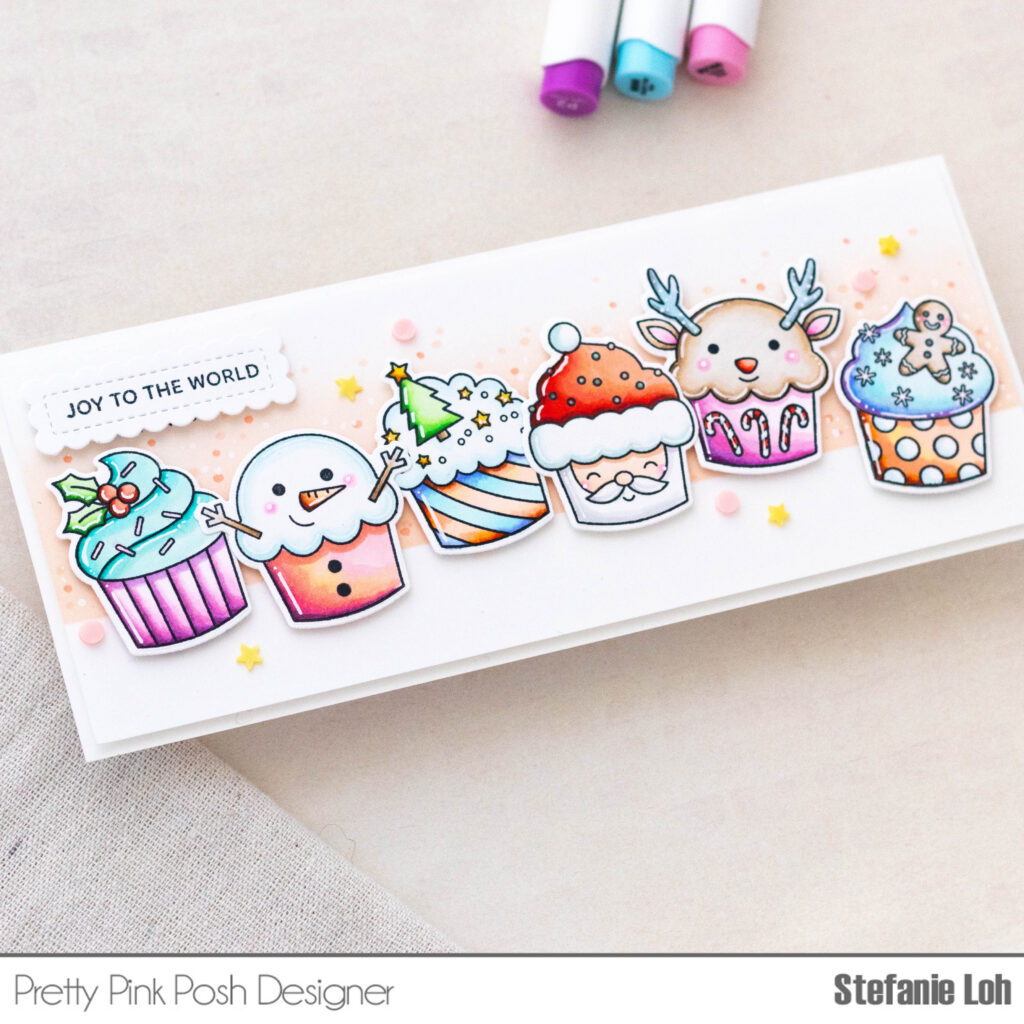
Hello crafty friends! Leica here, and I’ve got a joyful holiday shaker card to share with you to kick off the blog hop.
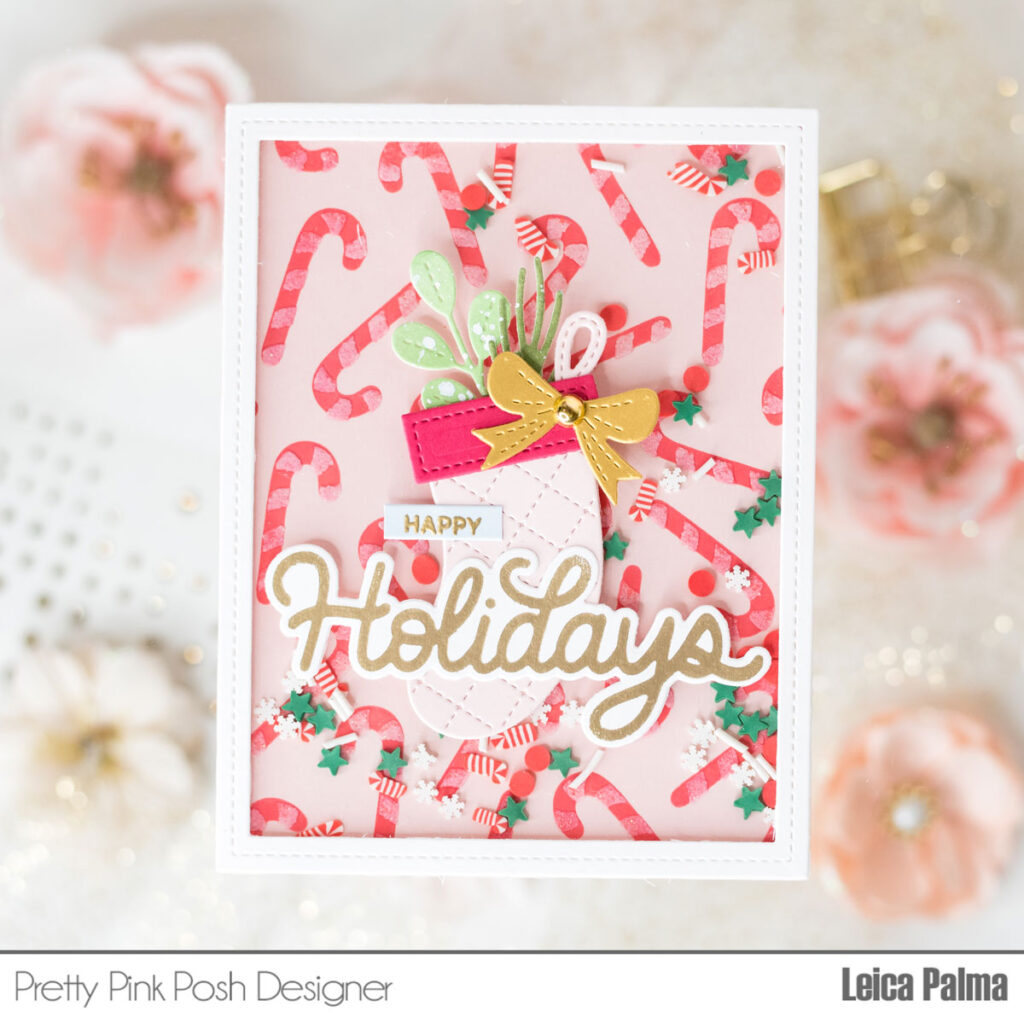
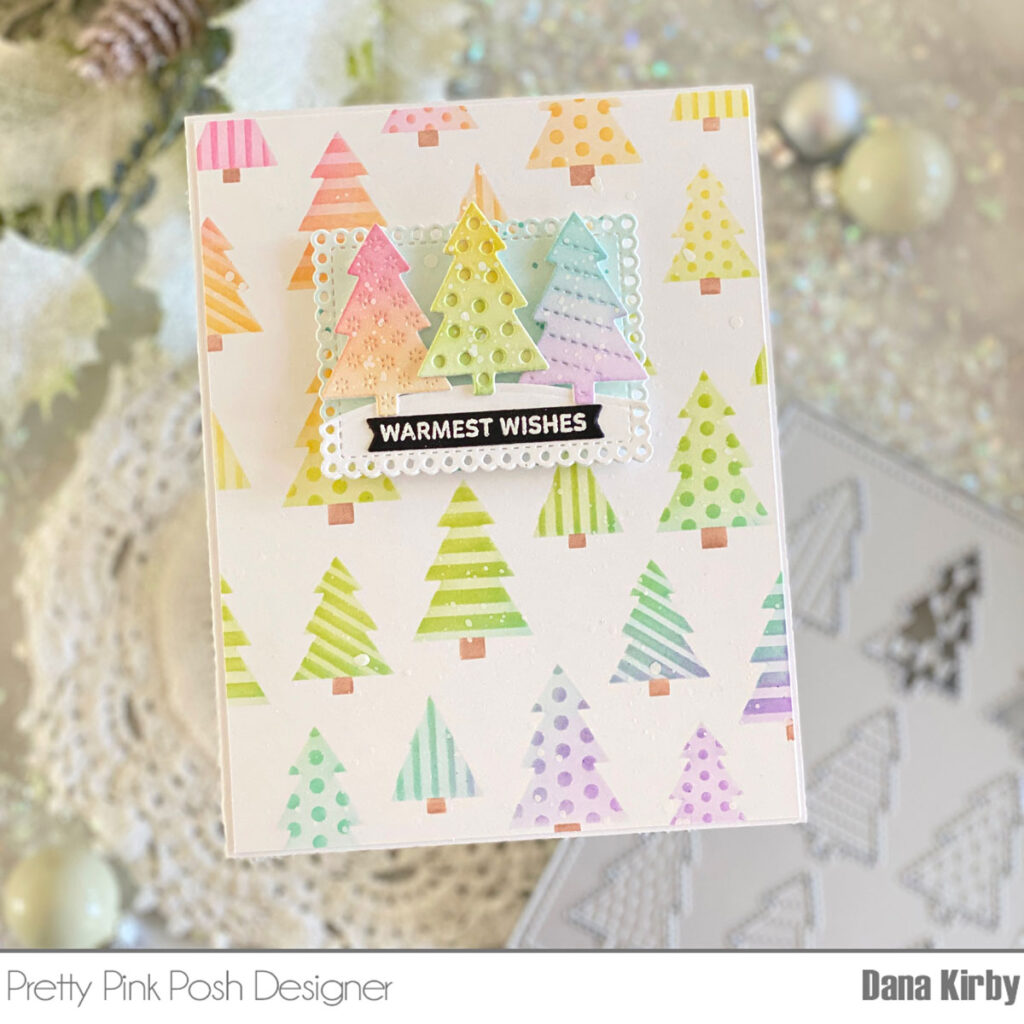
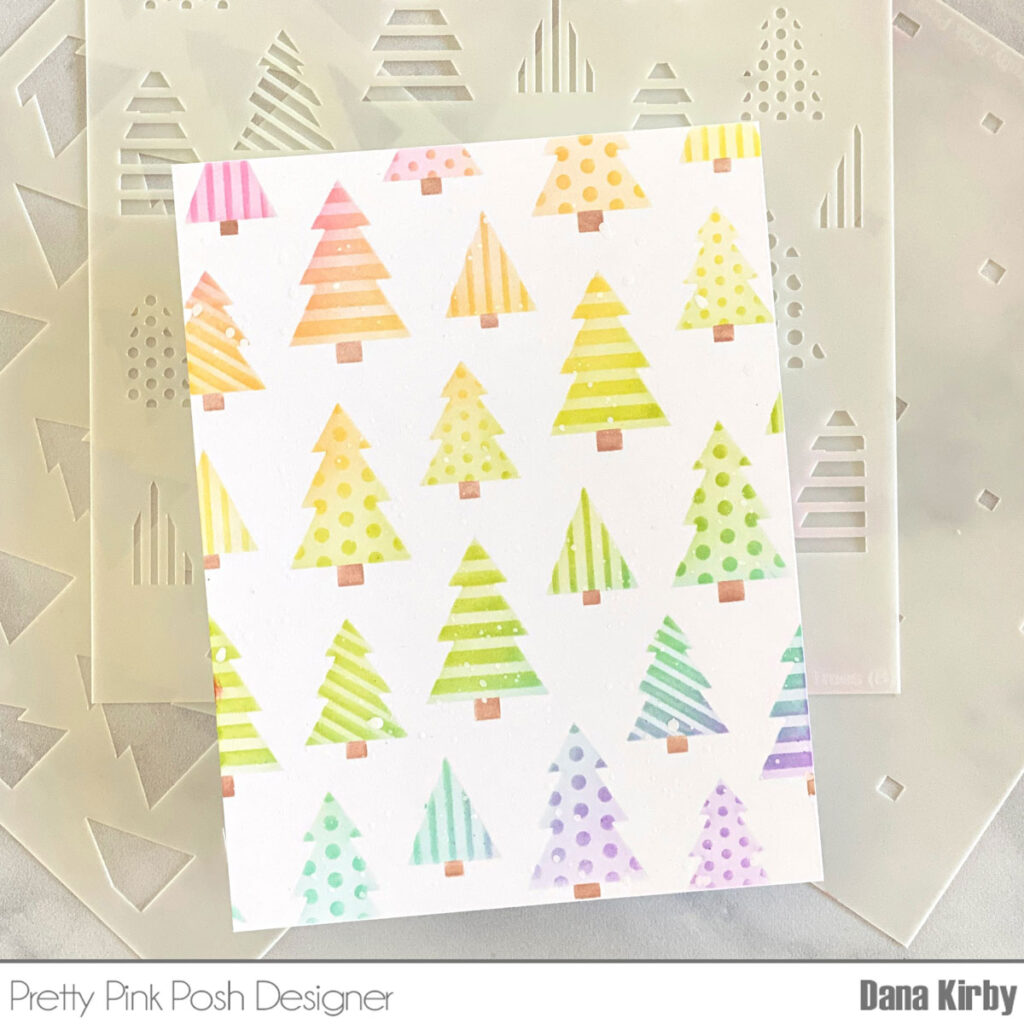
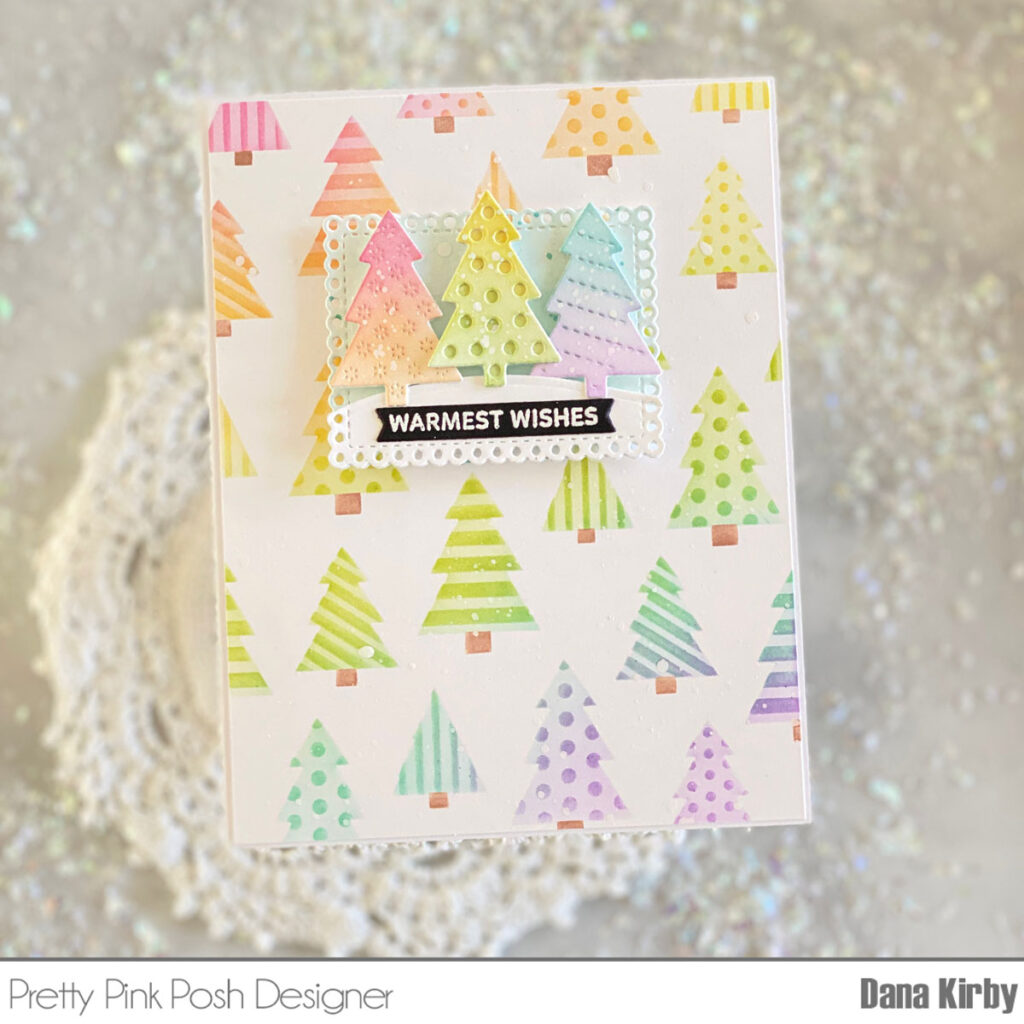
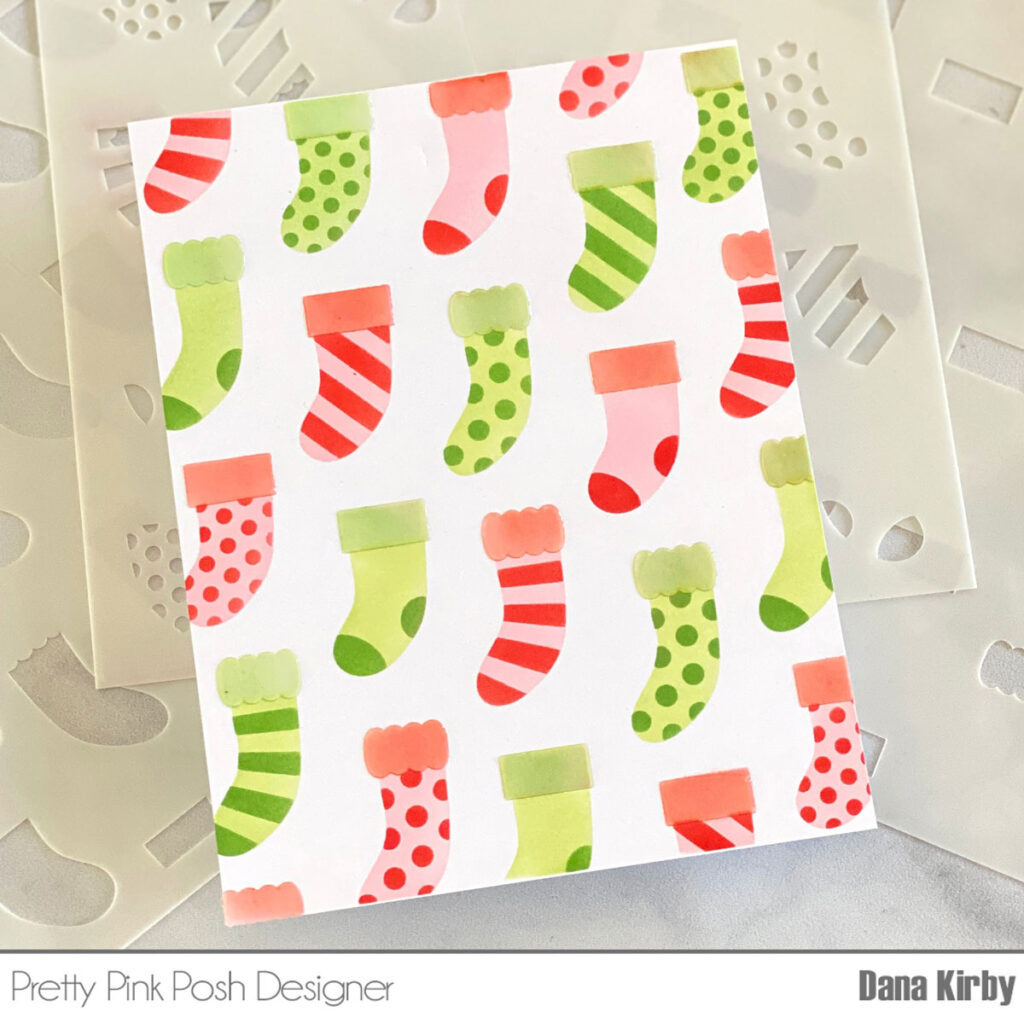
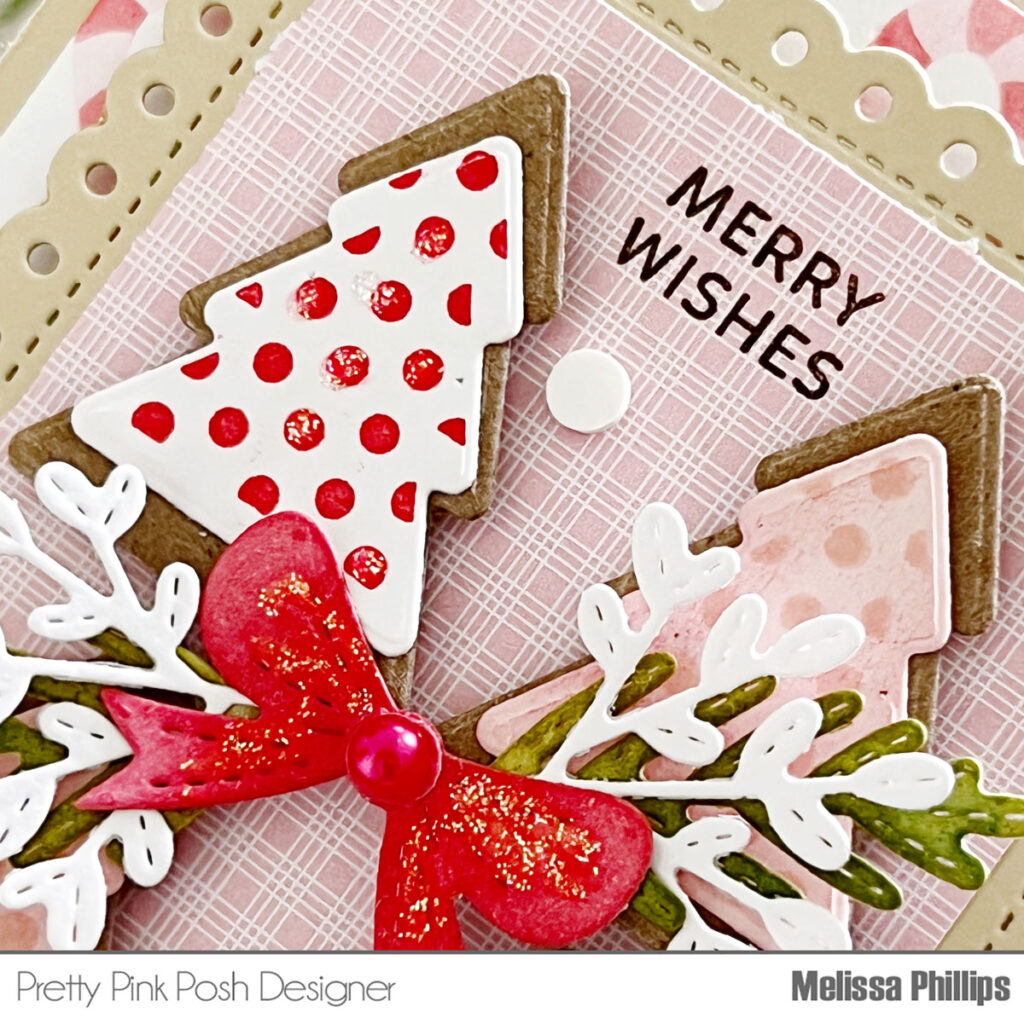
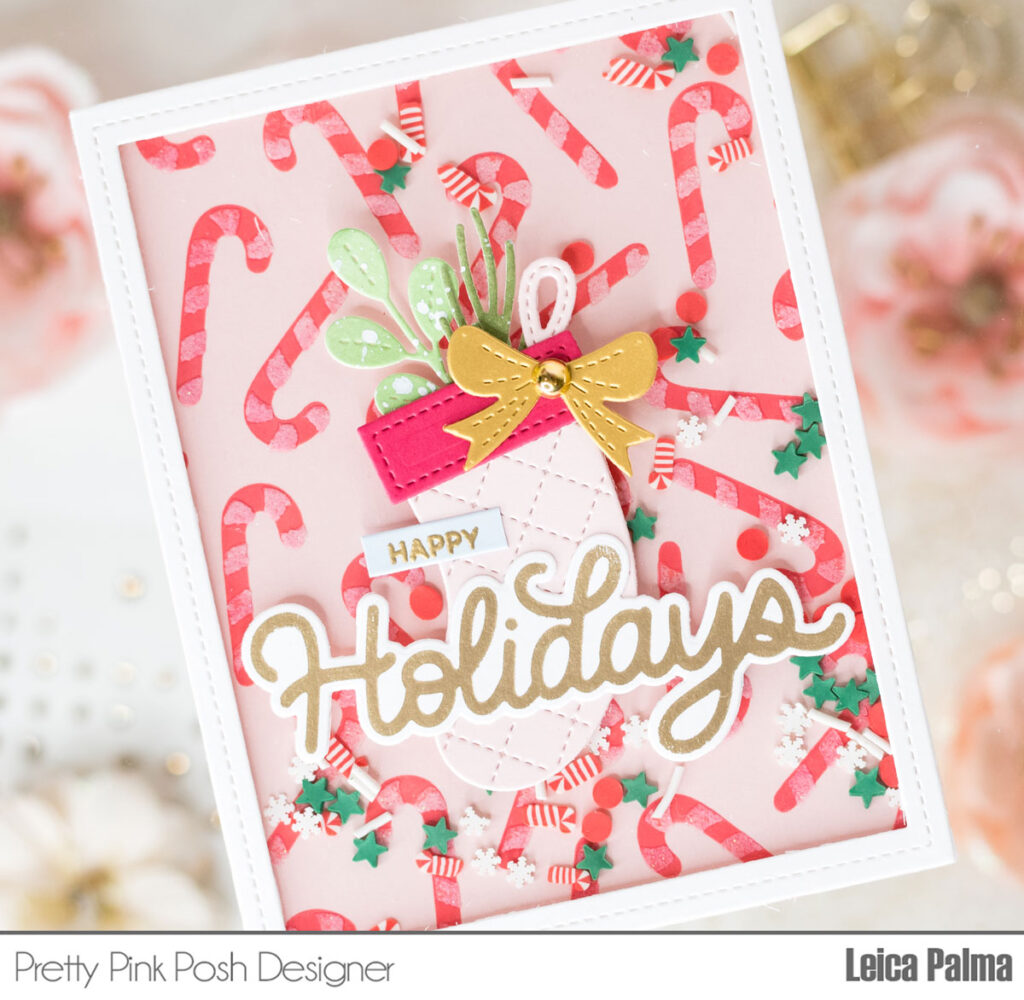
To get things rolling, I took an A2-sized piece of pink cardstock and gave it a candy cane print background using the Layered Candy Canes Stencils. For Layer A, I used Festive Berries Distress Oxide Ink, and for Layer B, I applied Finnabair Snowflake Paste.
I created a frame from white cardstock using the Fancy Cake Dies and glued a piece of acetate on the back of the frame. Then, I surrounded the frame with foam tape, and for the shaker fun, I filled it up with the Candy Cane Lane Mix.
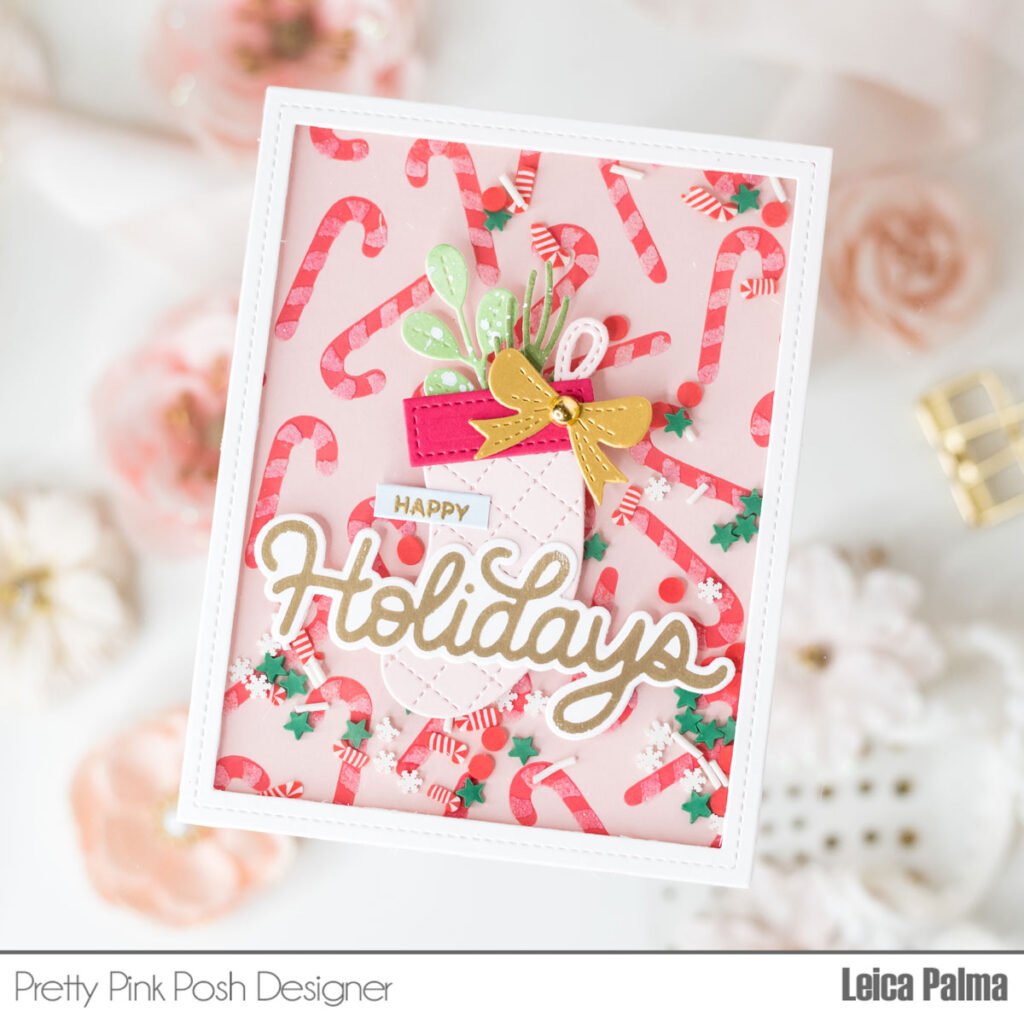
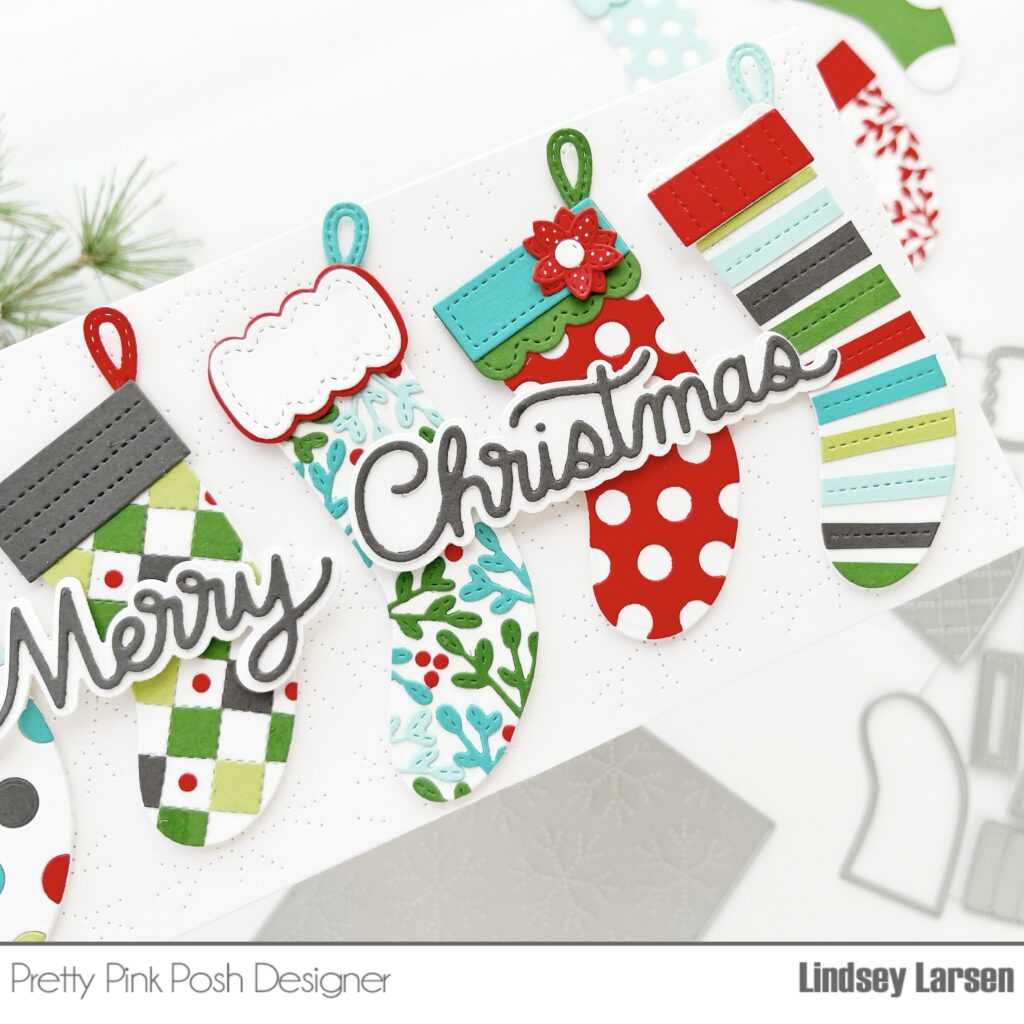
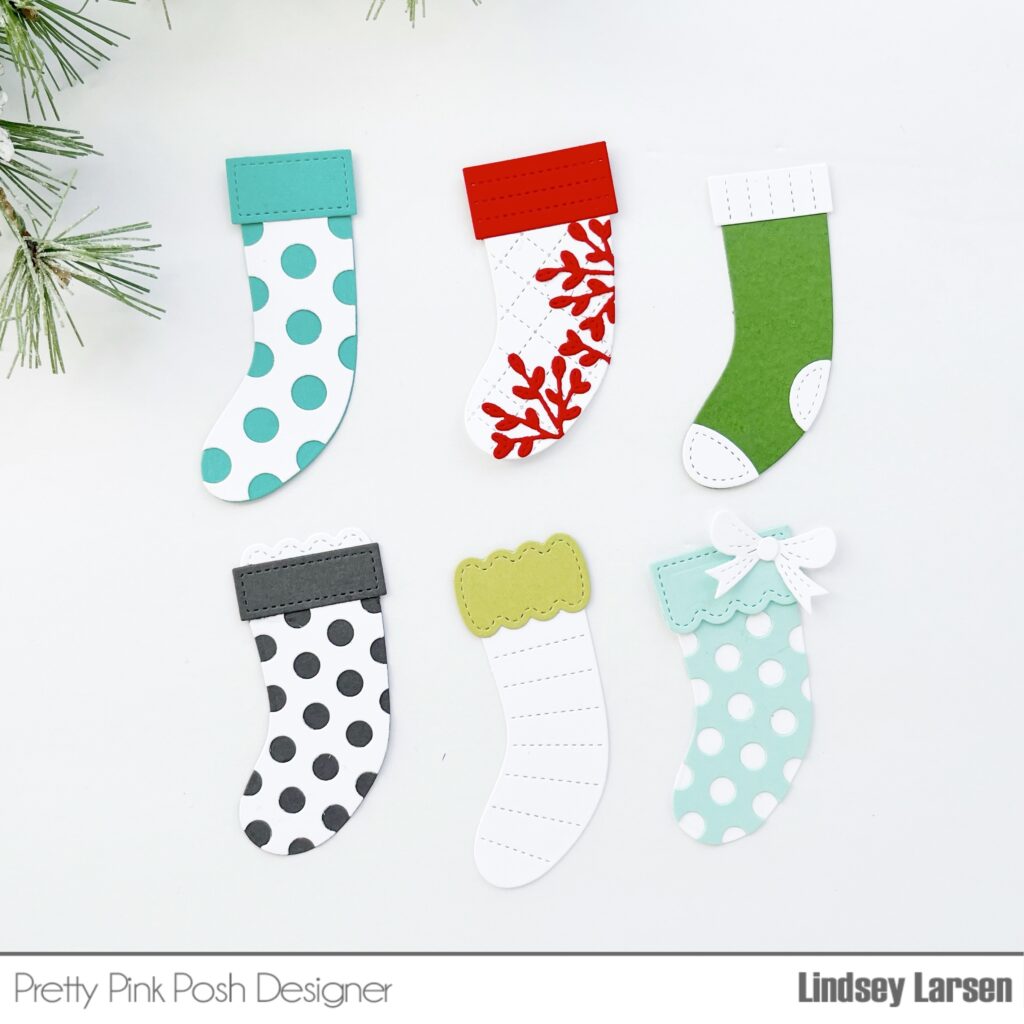
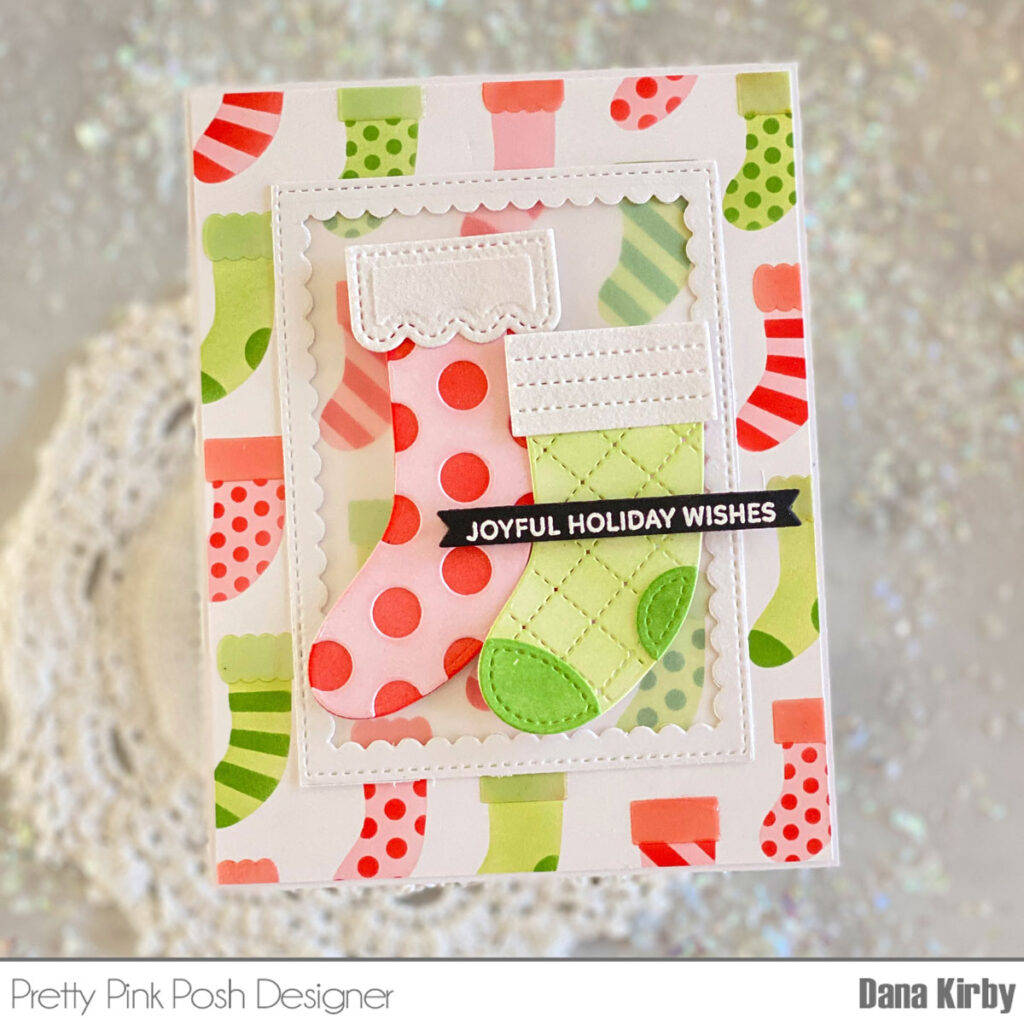
For the main attraction of my card, I added a stocking using the Build A Stocking die set. I incorporated some greenery from the Winter Foliage Dies and adorned it with a gold ribbon from the Holiday Mug Additions, topped with a Metallic Gold Pearl.
To make the sentiment pop, I hot foiled the “Holidays” in gold and cut it with the Happy Holidays Shadow die. I then heat embossed “happy” on a strip of blue cardstock in gold and placed it just above the “Holiday Shadow.”
Finally, I glued the card panel onto an A2-sized card base. And there you have it, my lovely shaker card. I hope you’ll give shaker cards a whirl for your loved ones this holiday season.
PRIZES: be sure to leave comments on each stop. We are giving away 4 $30 gift certificates to four random comments (1 winner each day) left before October 19, 2023 at 11:59 PM PST. I’ll be announcing the winners next week, so be sure to return and see if you are one of the winners.
Pretty Pink Posh blog << you are here
Carissa Wiley
Caly Person
Ardyth Percy- Robb
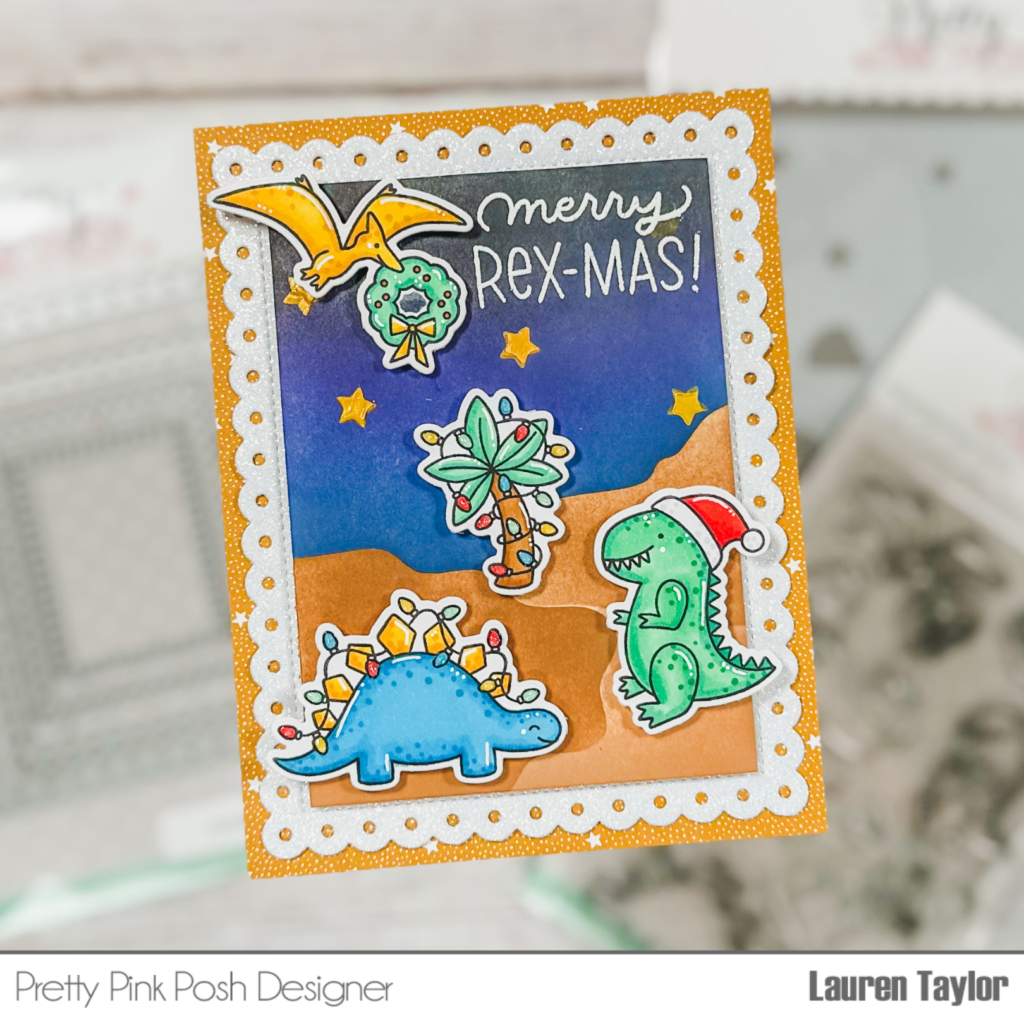
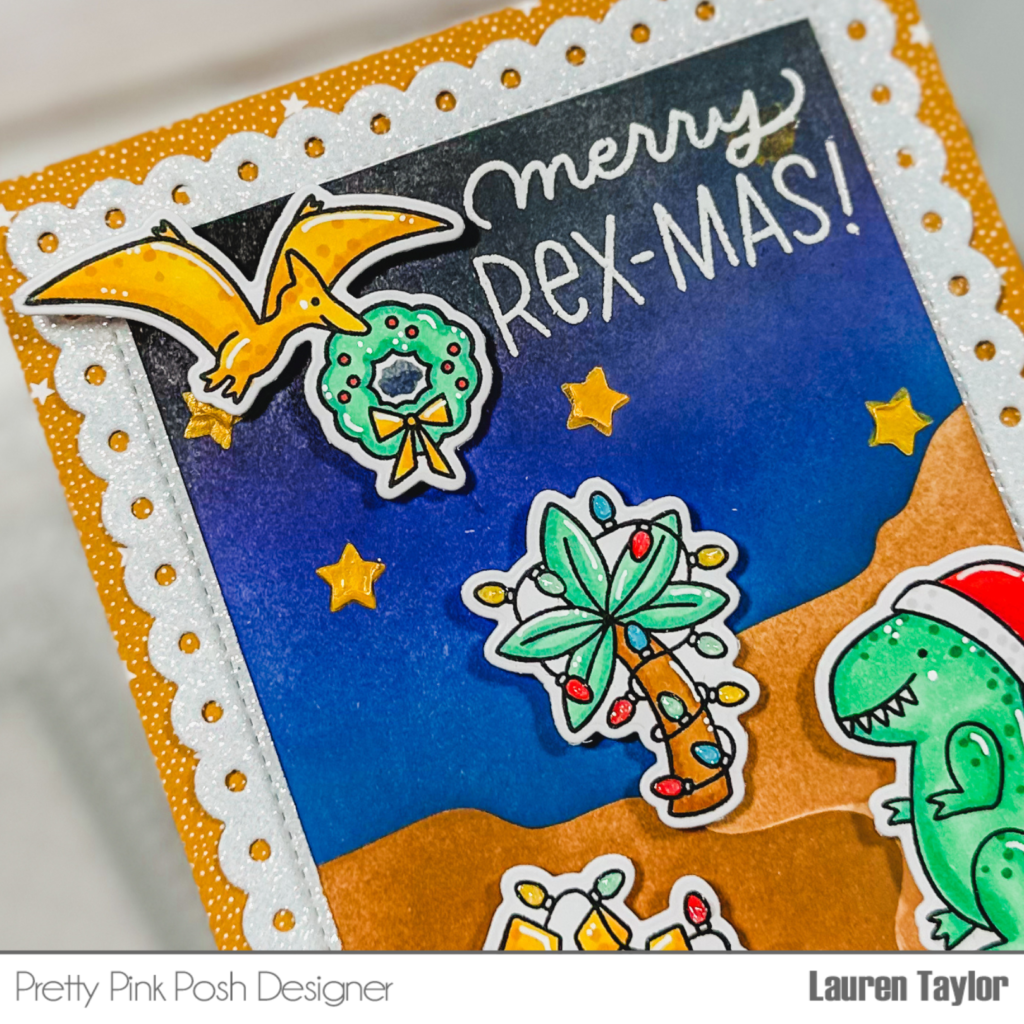
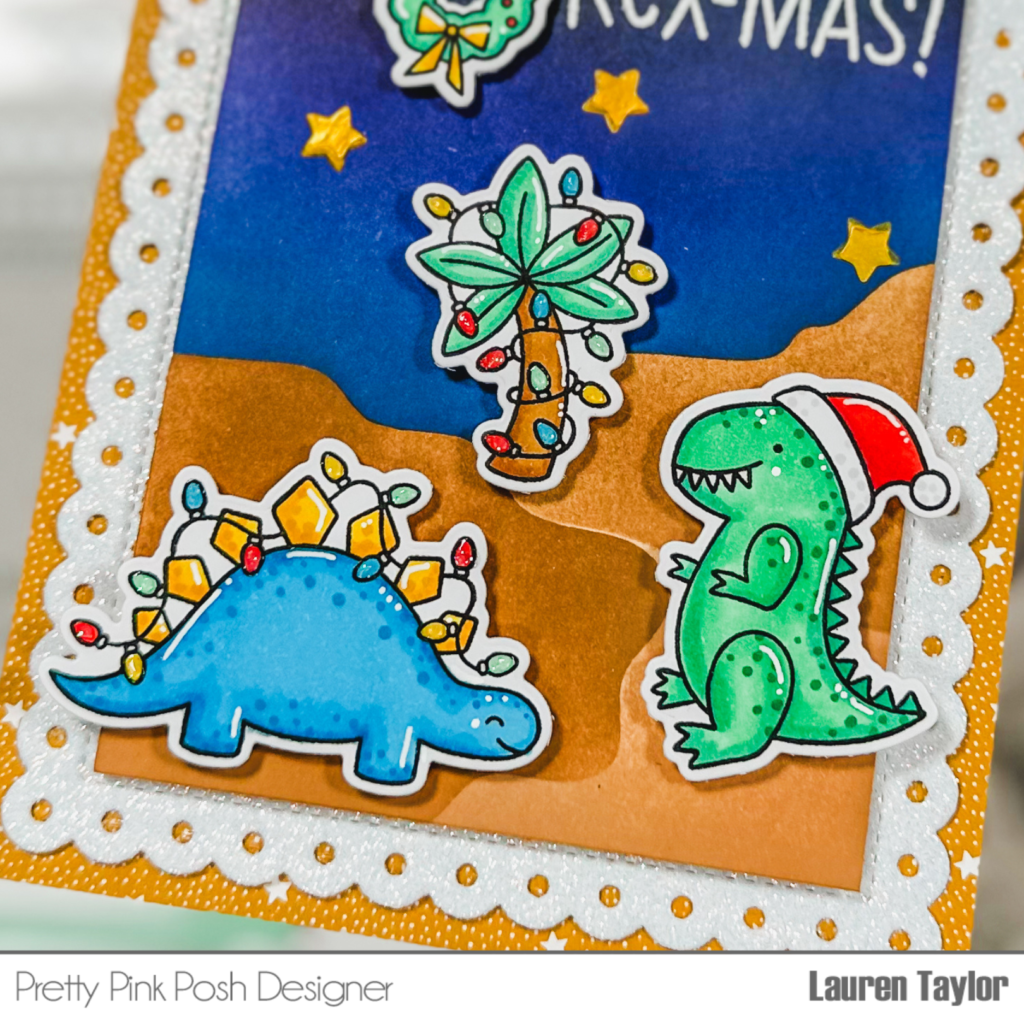
Lauren Taylor
Leanne West
Thanks so much for stopping by today, we hope you were inspired. Join us tomorrow for another day of fun!