One Stamp Set, Three Different Ways + Video
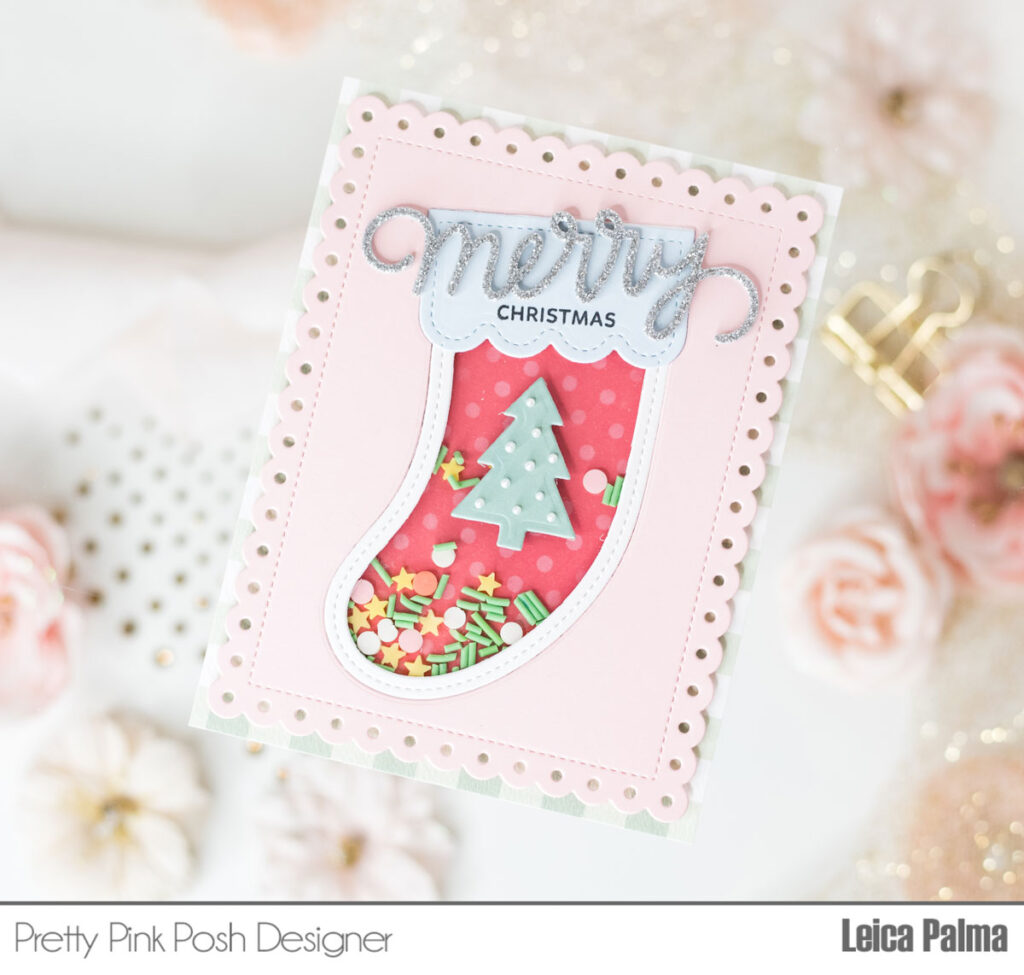
Hi, friends! It’s Lauren and I am back with a new video making three cards – they all have a similar layout, but they’re for a different holiday! The new Holiday Trees Stamp Set and Coordinating Dies make beautiful Christmas cards, but they’re also great for Halloween and Thanksgiving.
Watch the video above I Watch the video in HD on YouTube

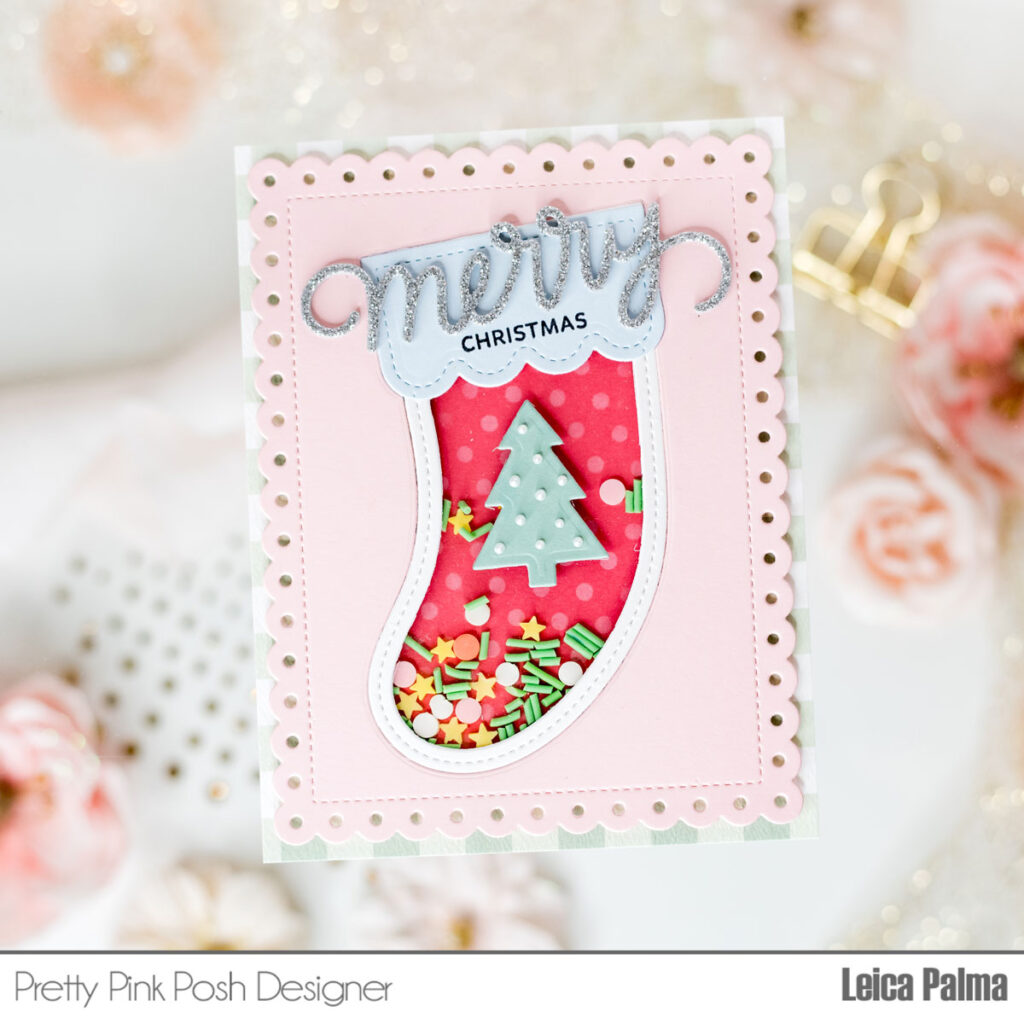
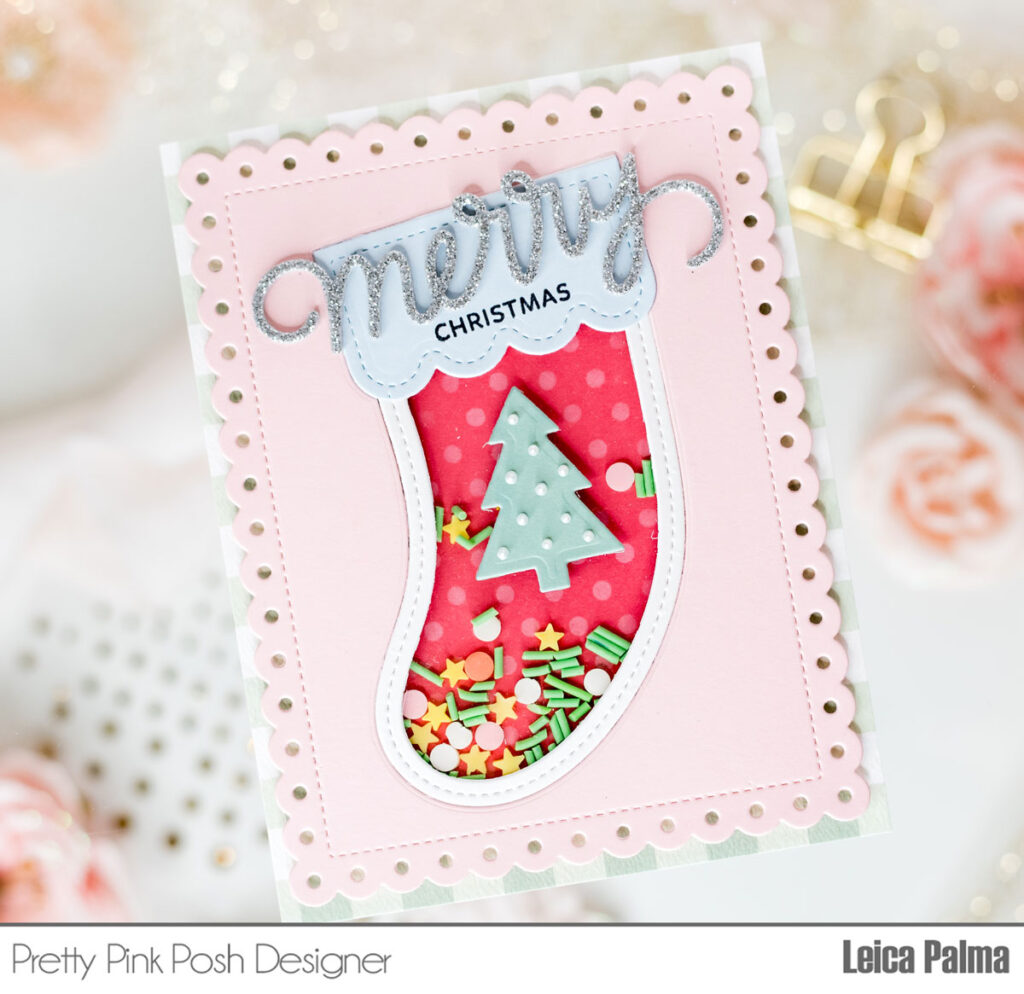
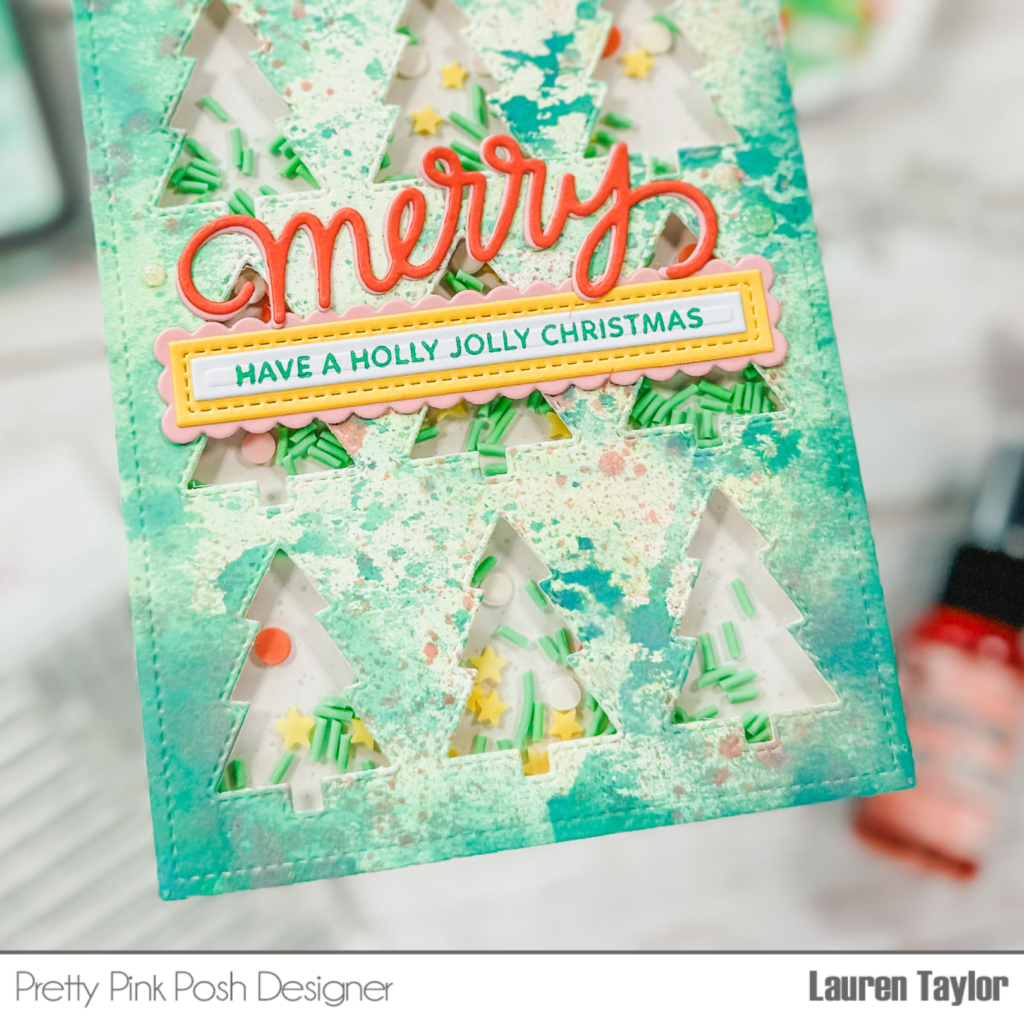
I started with hot foiling all three of my sentiments with Satin Metallic Hot Foil and the Large Boo, Thankful Script, and Merry Christmas Hot Foil Plates. I used the shadow dies from the Large Boo, Thankful, and Merry Christmas Shadow Dies to cut each of them out. Next I cut out the second largest Eyelet Rectangles Die out of white, kraft and black cardstock.
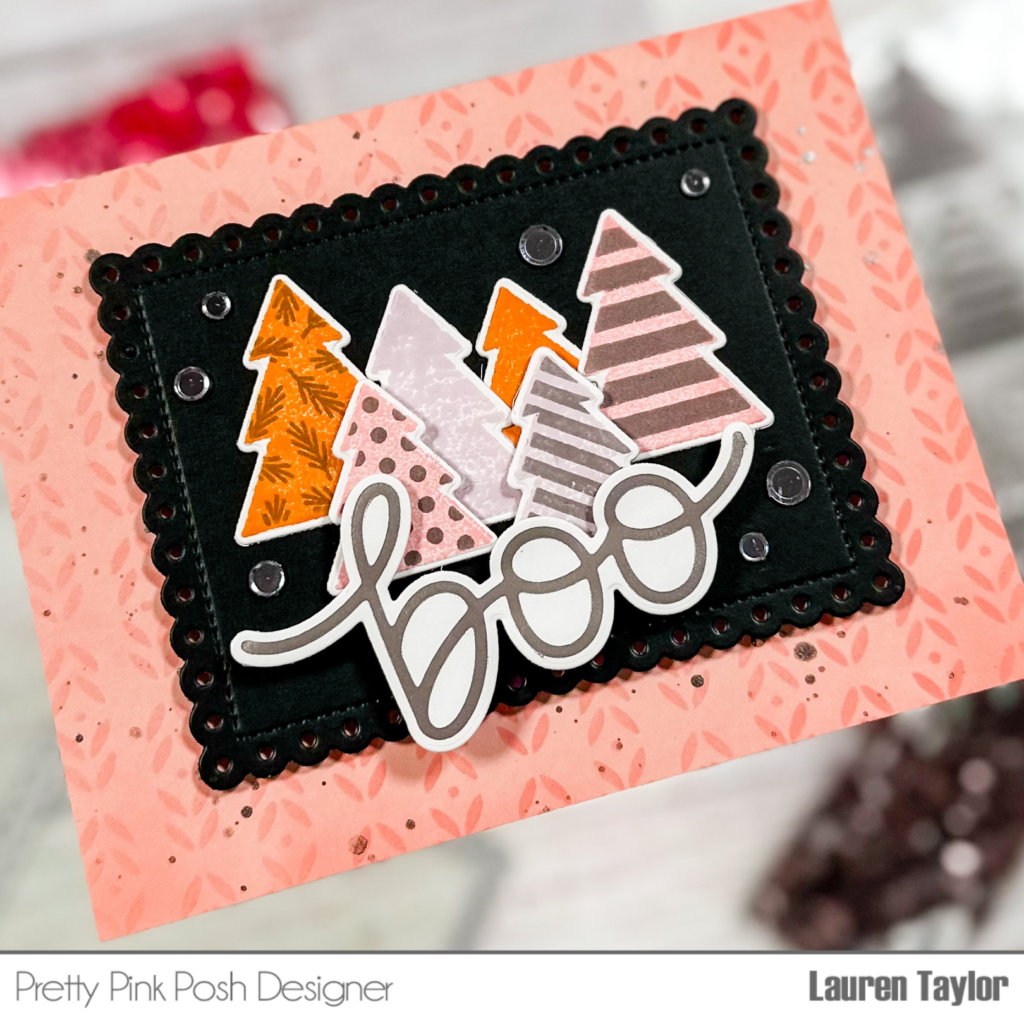
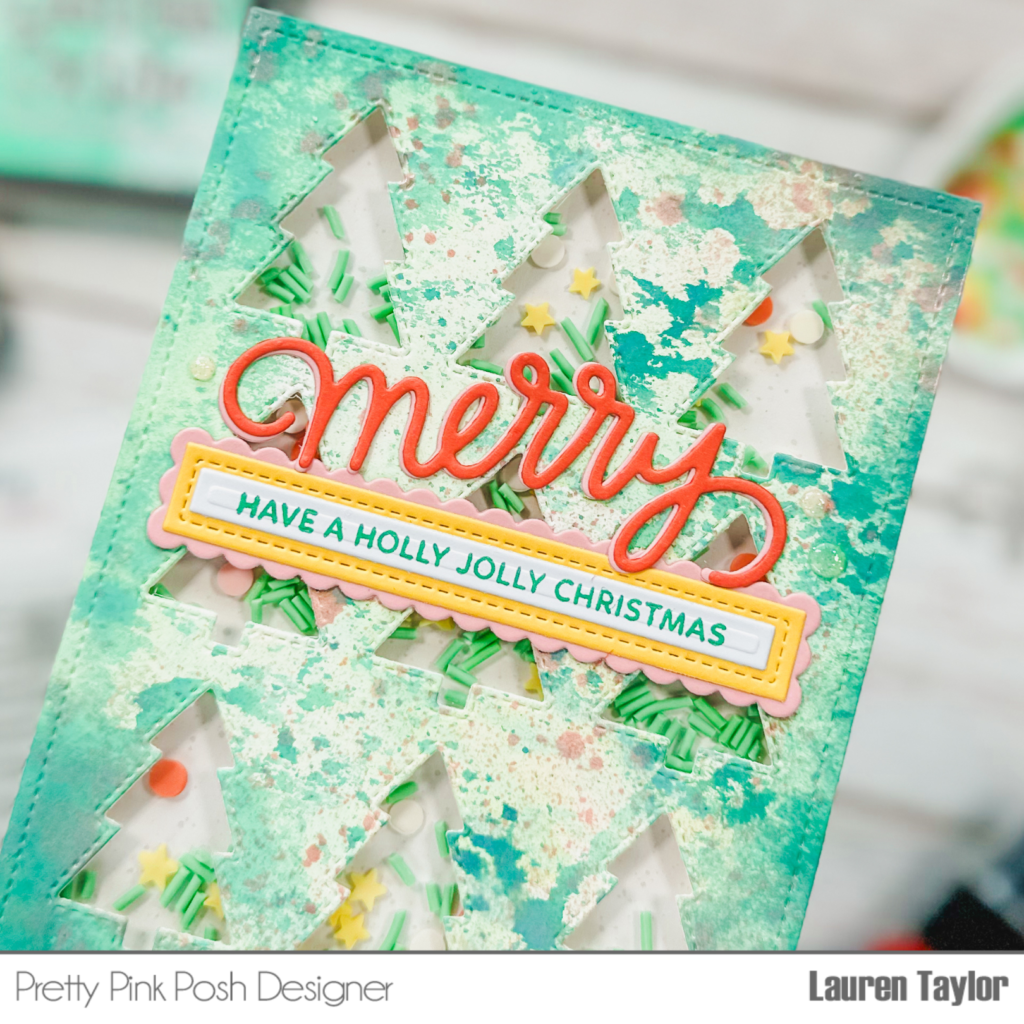
For my backgrounds, I have a piece of pink, yellow, and mint blue cardstocks A2 in size. I used the Deco Leaves Stencil to add in a subtle background with Saltwater Taffy, Dried Marigold, and Evergreen Bough Distress Inks respectively. I also added some ink to the edges of the background and used Distress Mica for some beautiful splatter.

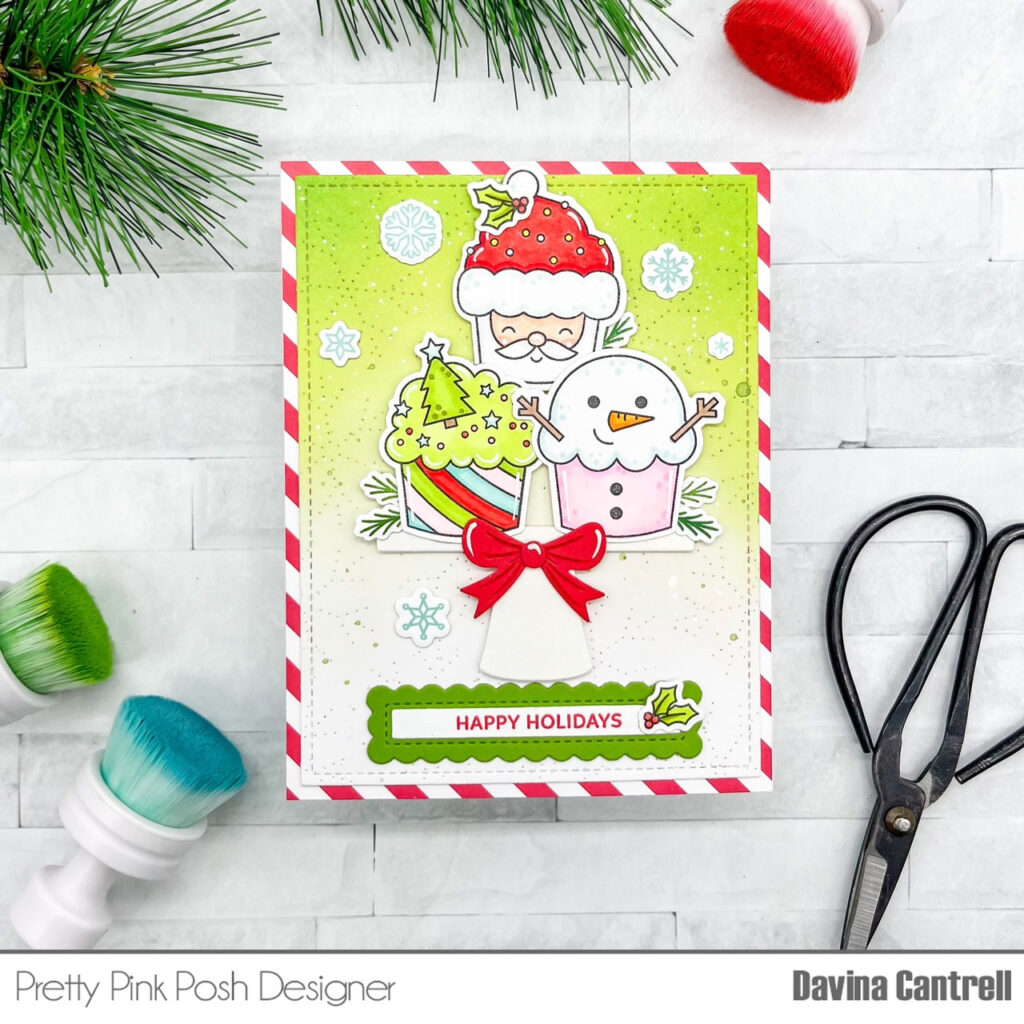
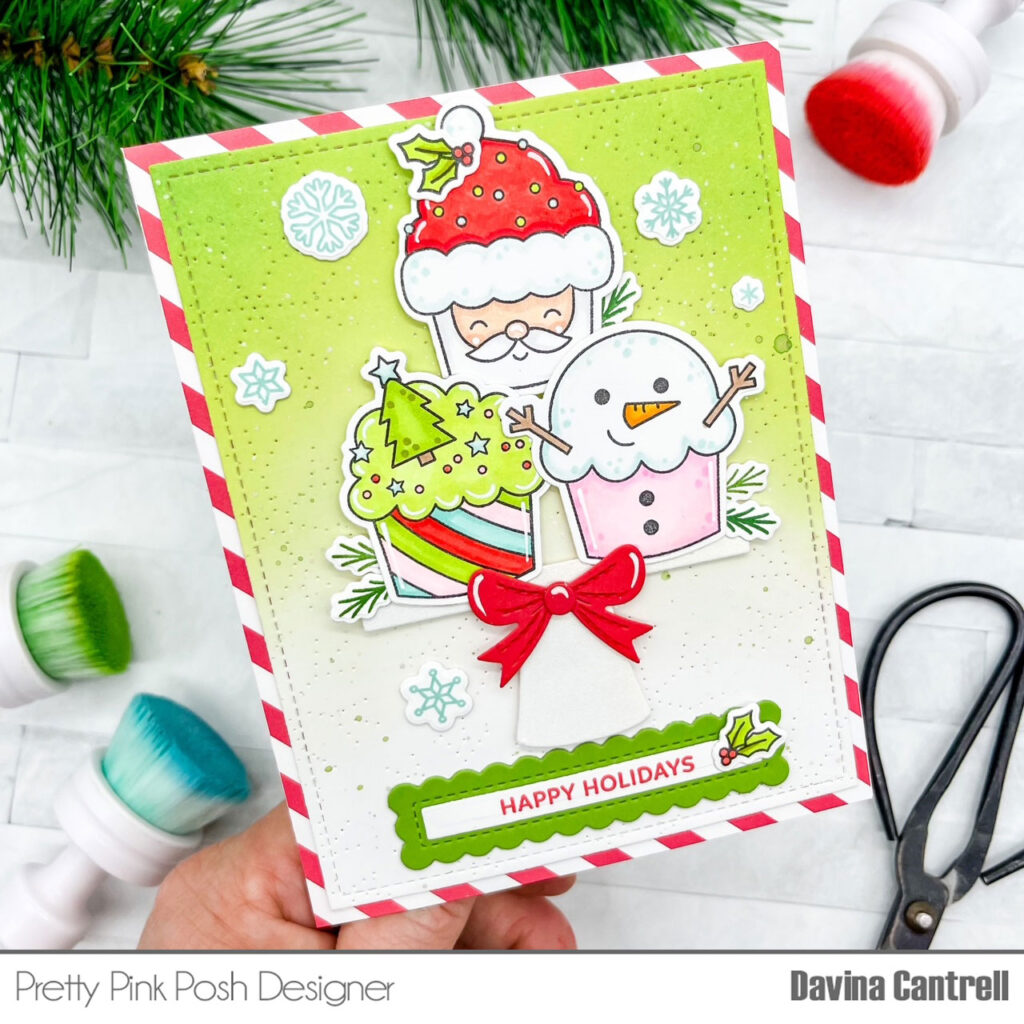
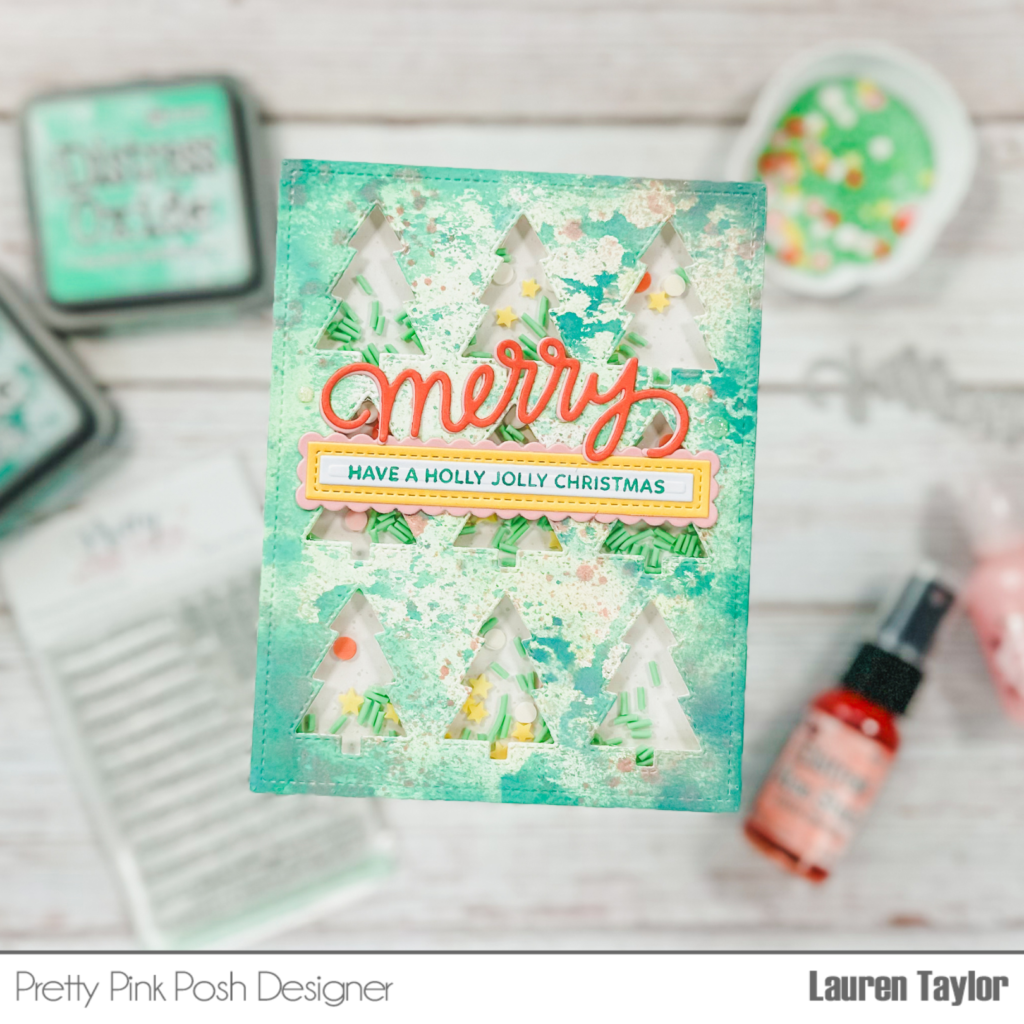
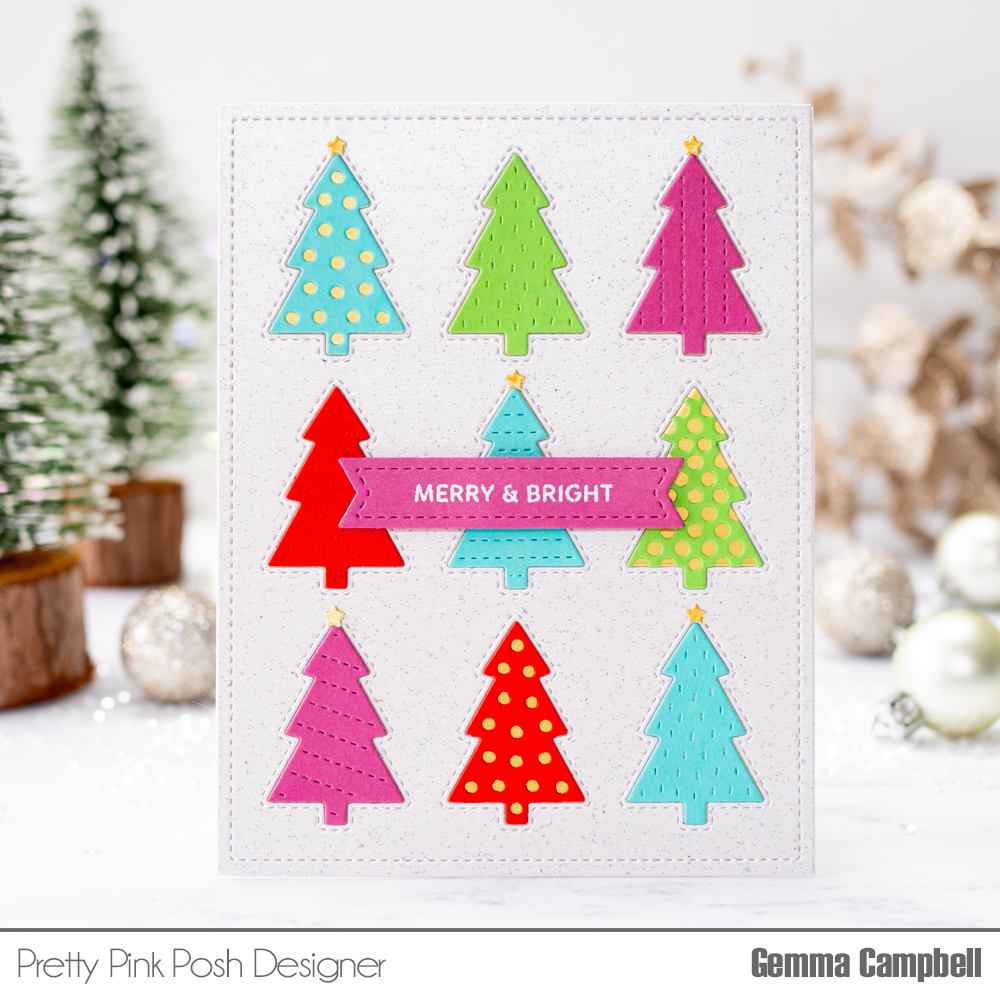
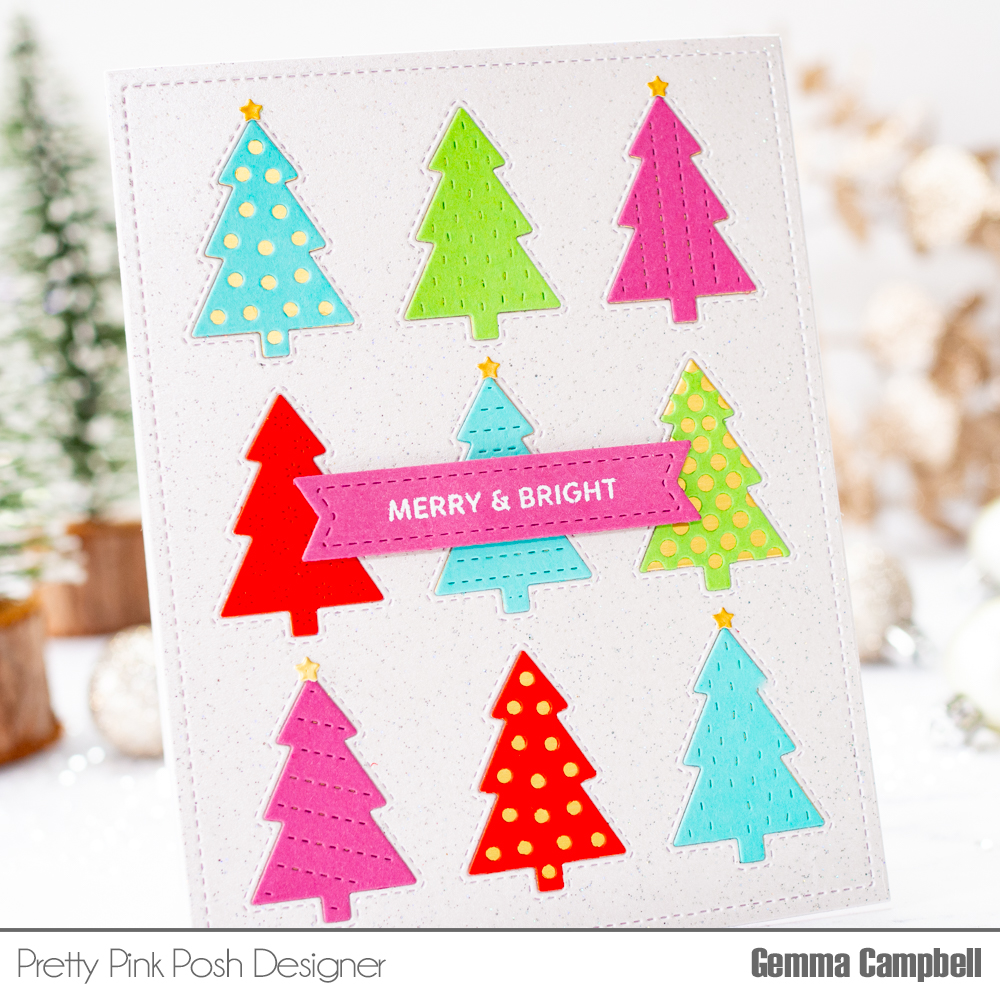
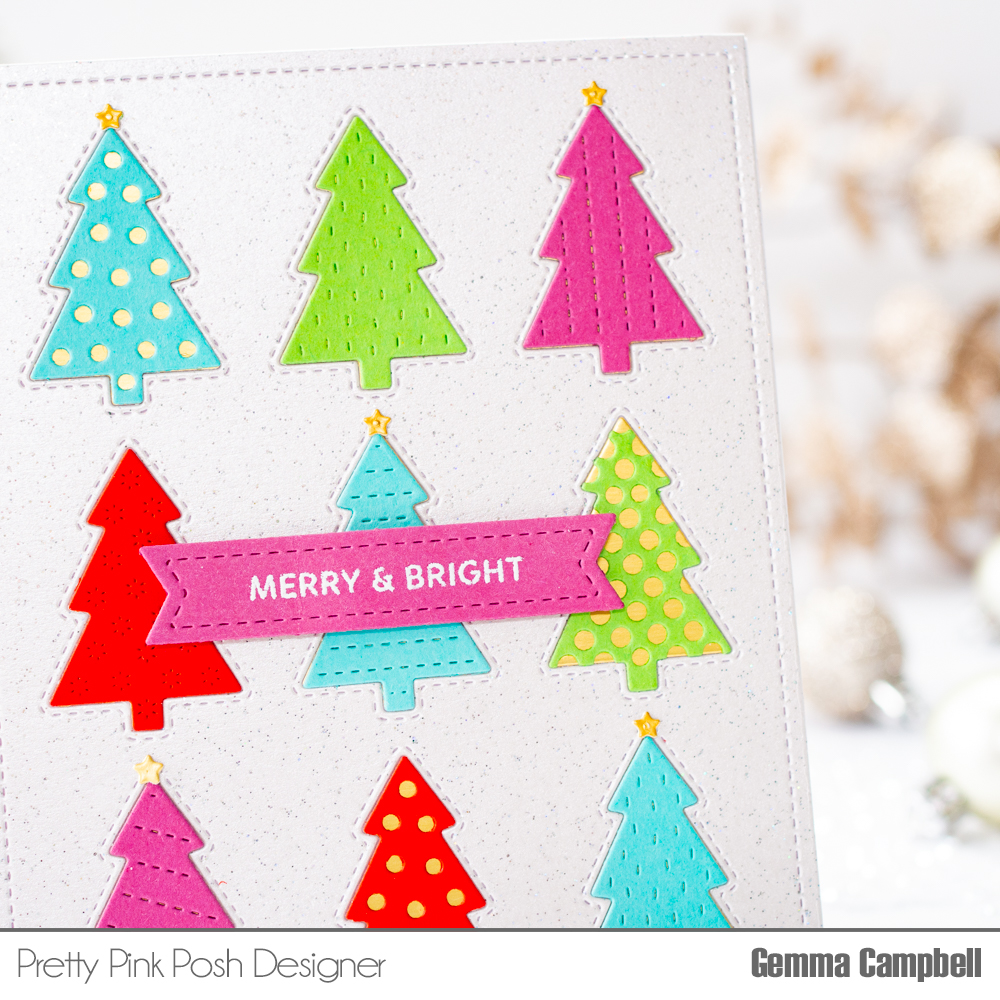
While my backgrounds were drying, I started stamping out my trees from the Holiday Trees stamp set for each of my cards. I used four different colors per card and you can see how I stamp each set of trees in today’s video. The Halloween card uses Distress Inks in Milled Lavender, Saltwater Taffy, and Spiced Marmalade as well as Morning Mist VersaFine Clair Ink. The Thanksgiving card uses Distress Inks in Dried Marigold, Scattered Straw, and Vintage Photo as well as Fallen Leaves VersaFine Clair Ink Pad. Finally, the Christmas card uses Distress Inks in Evergreen Bough, Kitsch Flamingo, and Salvaged Patina as well as Warm Breeze VersaFine Clair Ink Pad. When all the stamping was done, I used the Holiday Trees coordinating dies to cut them out.
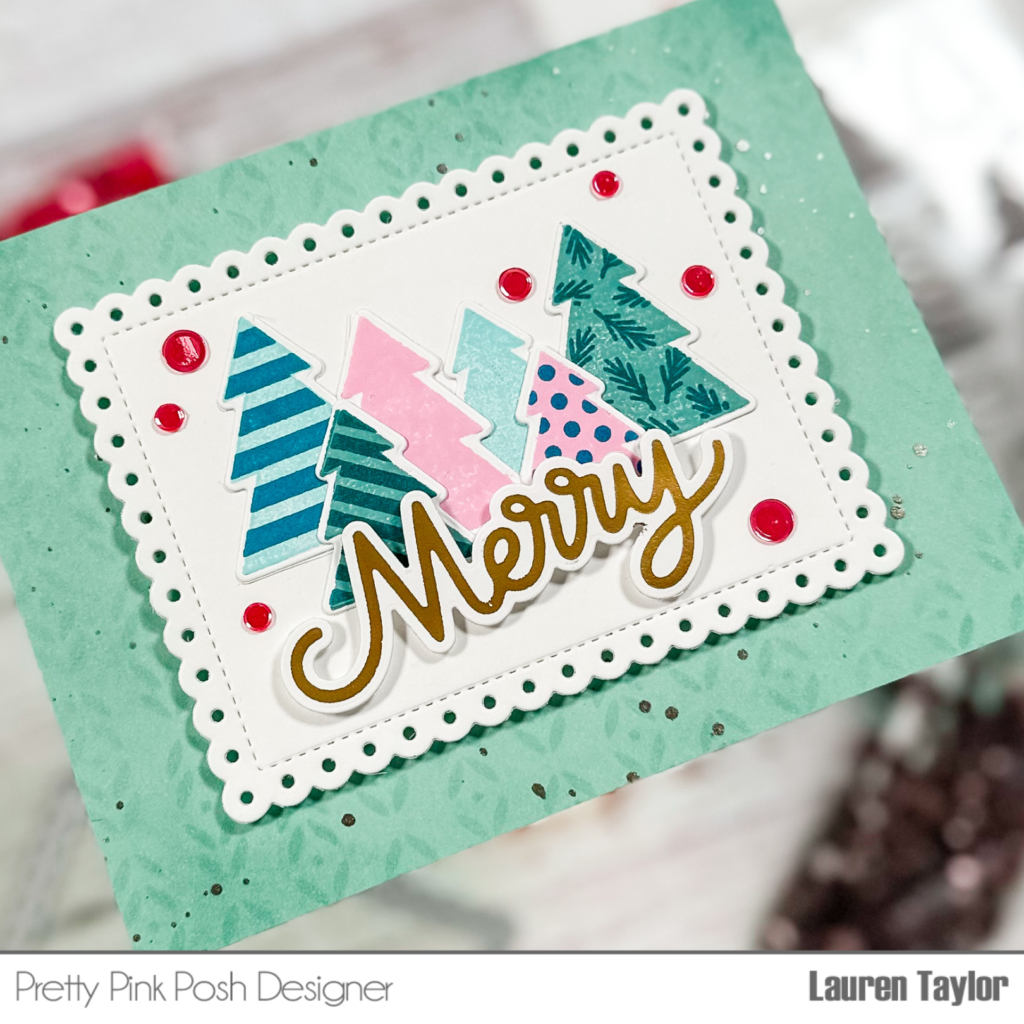
I assembled each of the cards together similarly as you can watch in today’s video. The Eyelet Rectangles are adhered to the center of the background with foam adhesive, the Holiday Trees added with liquid adhesive and foiled sentiments with foam adhesive. For some final touches I added Purple Shimmer, Espresso, and Strawberry Shimmer Confetti Mixes for some extra shine!
I hope today’s cards bring you inspiration for all kinds of holidays and I would love to know what other holidays you think this layout could also work for… Maybe you’ll see more holidays from me with these trees!