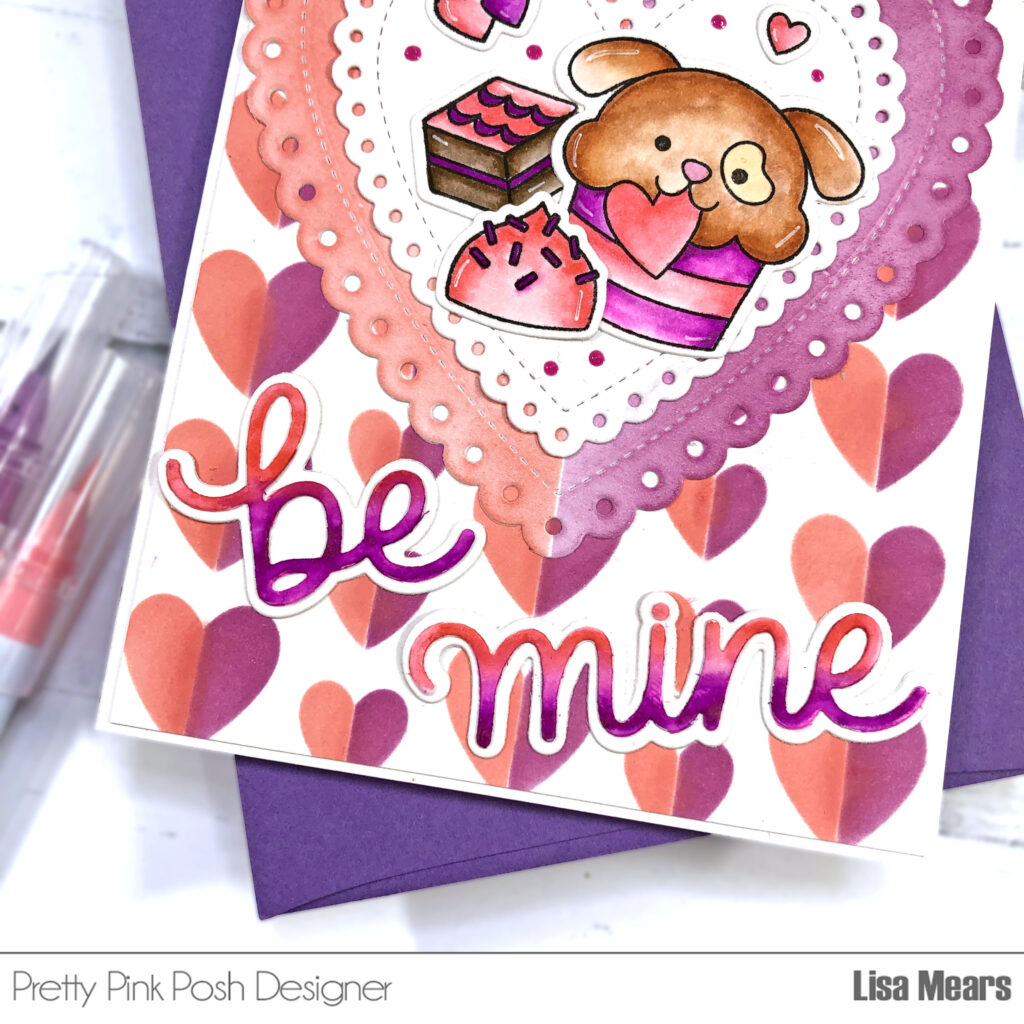
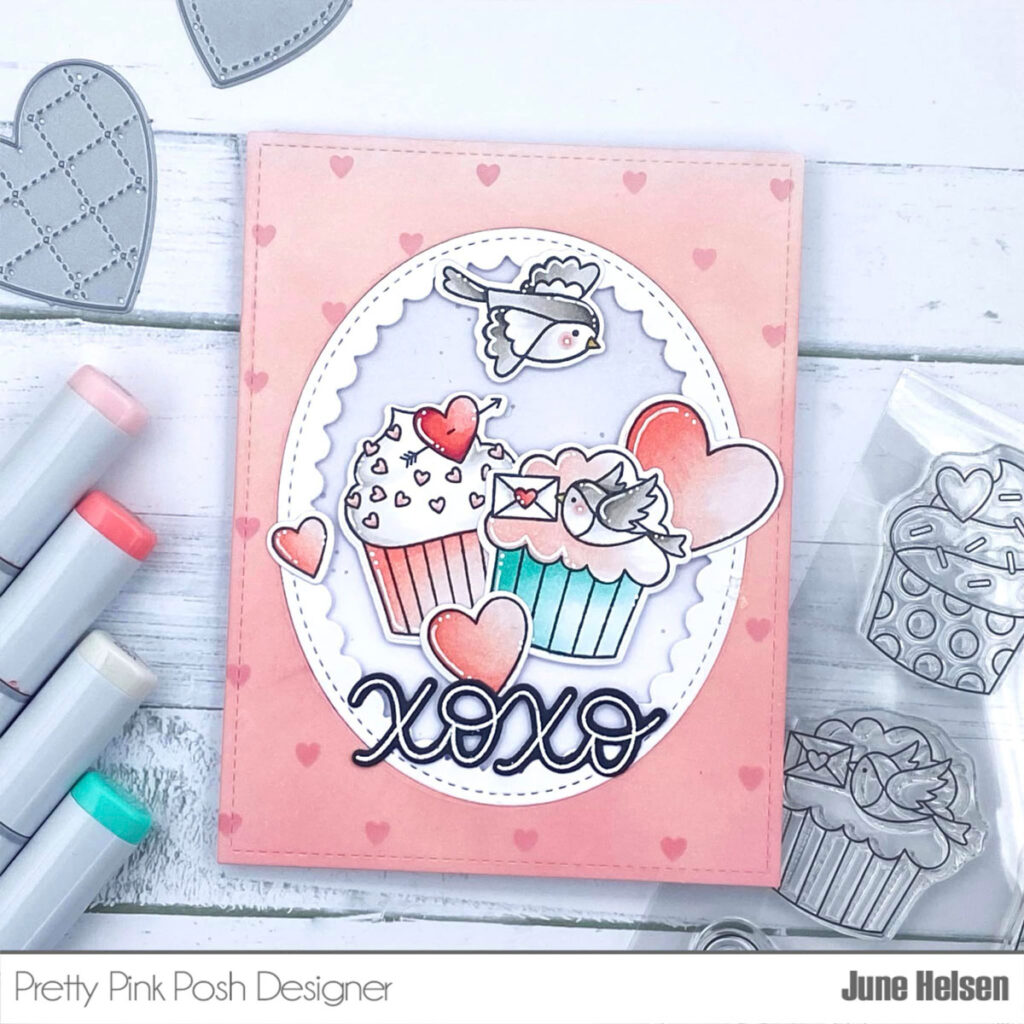
Bright Valentine Cupcake
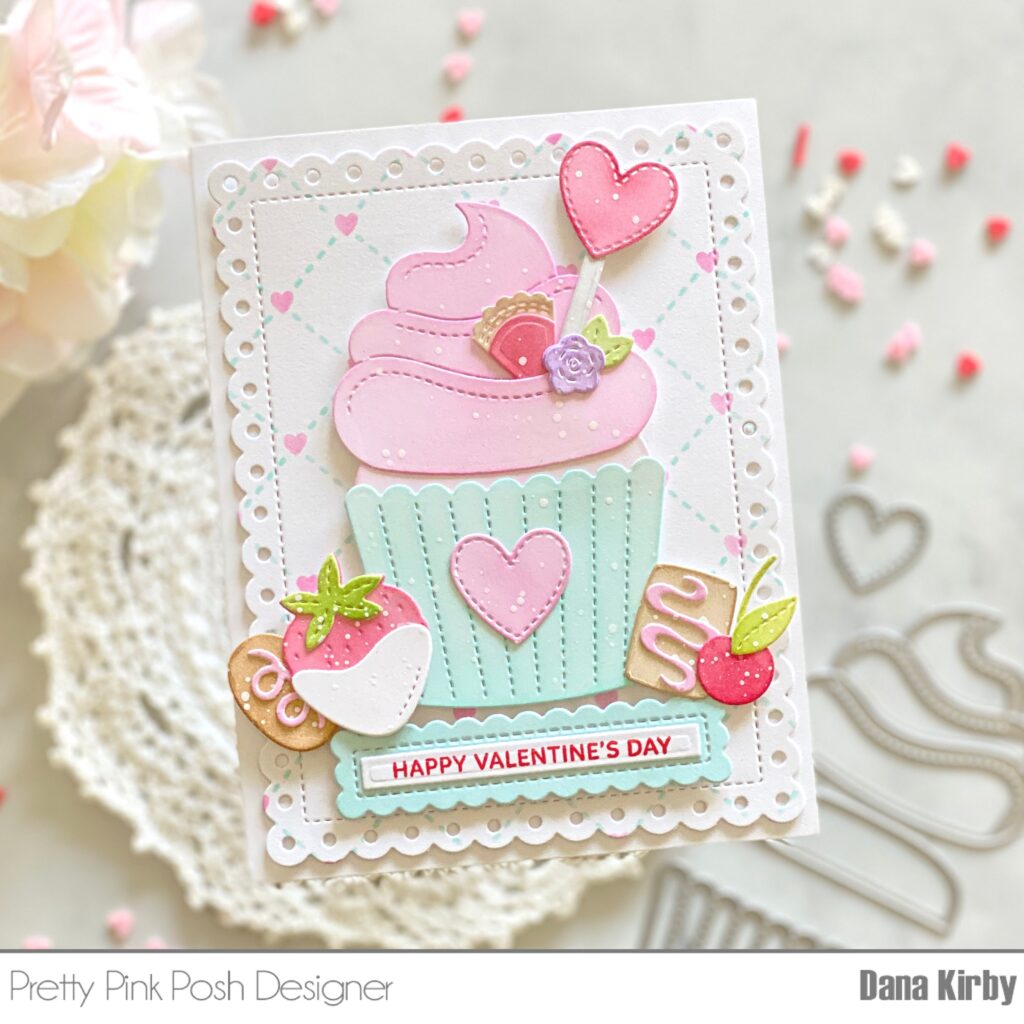
Hello crafty friends, Marine here with you today, I’m super happy to be back on the blog with this bright and colorful card showcasing the gorgeous Big Valentine Cupcake and beautiful Half Hearts stencils.
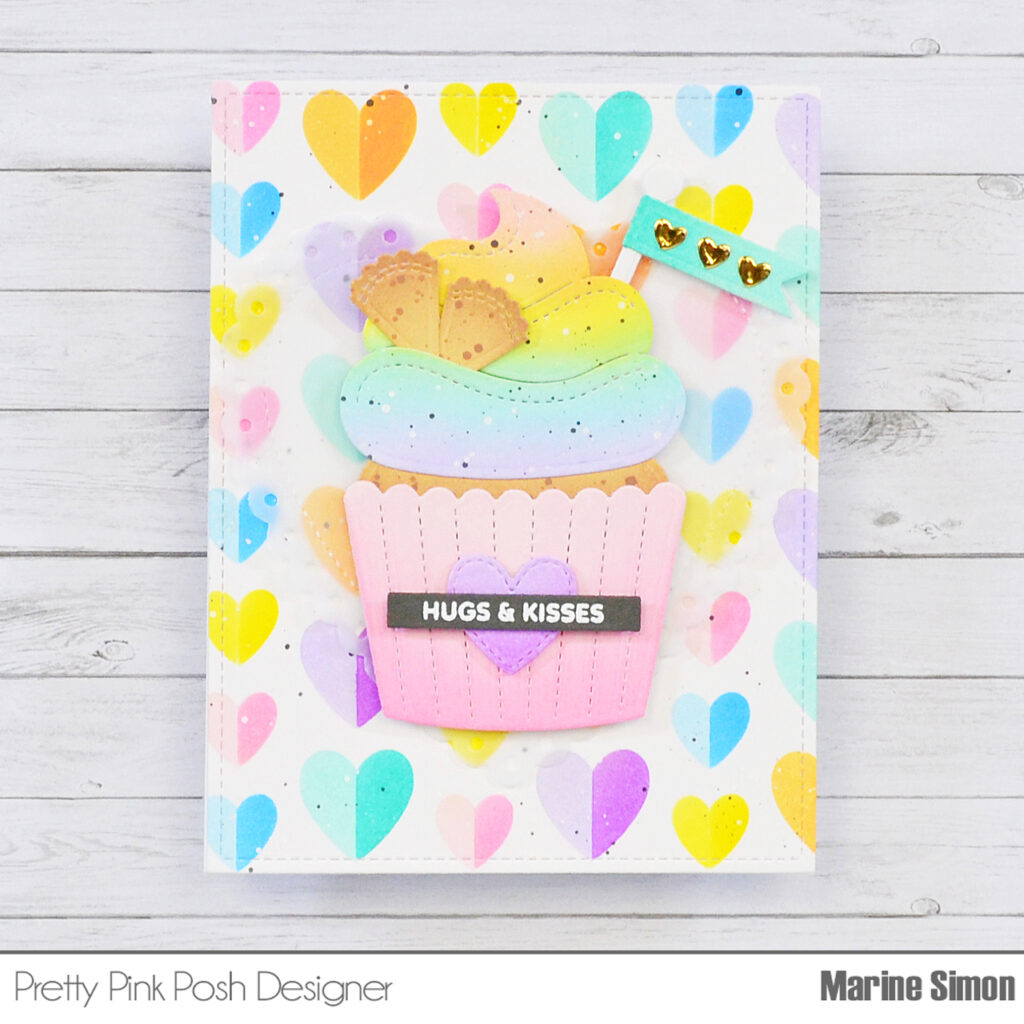
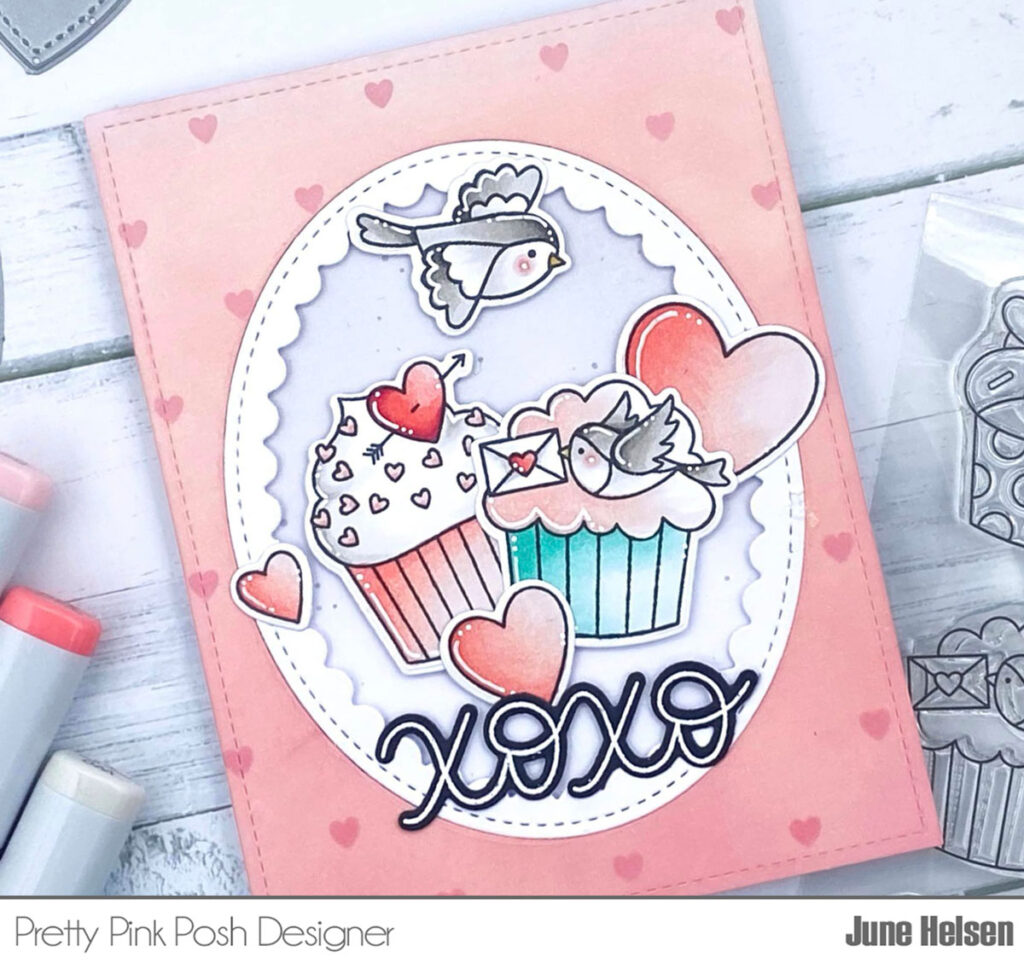
I went all rainbow with this card, and started off by creating a colorful background using the Half Hearts stencils on a 5,5 x 4,25 inches Strathmore bristol smooth panel. Along with the stencil A, I used spun sugar, dried marigold, squeezed lemonade, salvaged patina, tumbled glass and shaded lilac oxide inks. And along with the stencil B, I used kitsch flamingo, spiced marmalade, mustard seed, peacock feathers, salty ocean and wilted violet oxide inks. I mixed some copic opaque white ink with water and used a small brush to add splatters all over the panel, and then did the same with black soot oxide ink to bring a little bit of contrast.
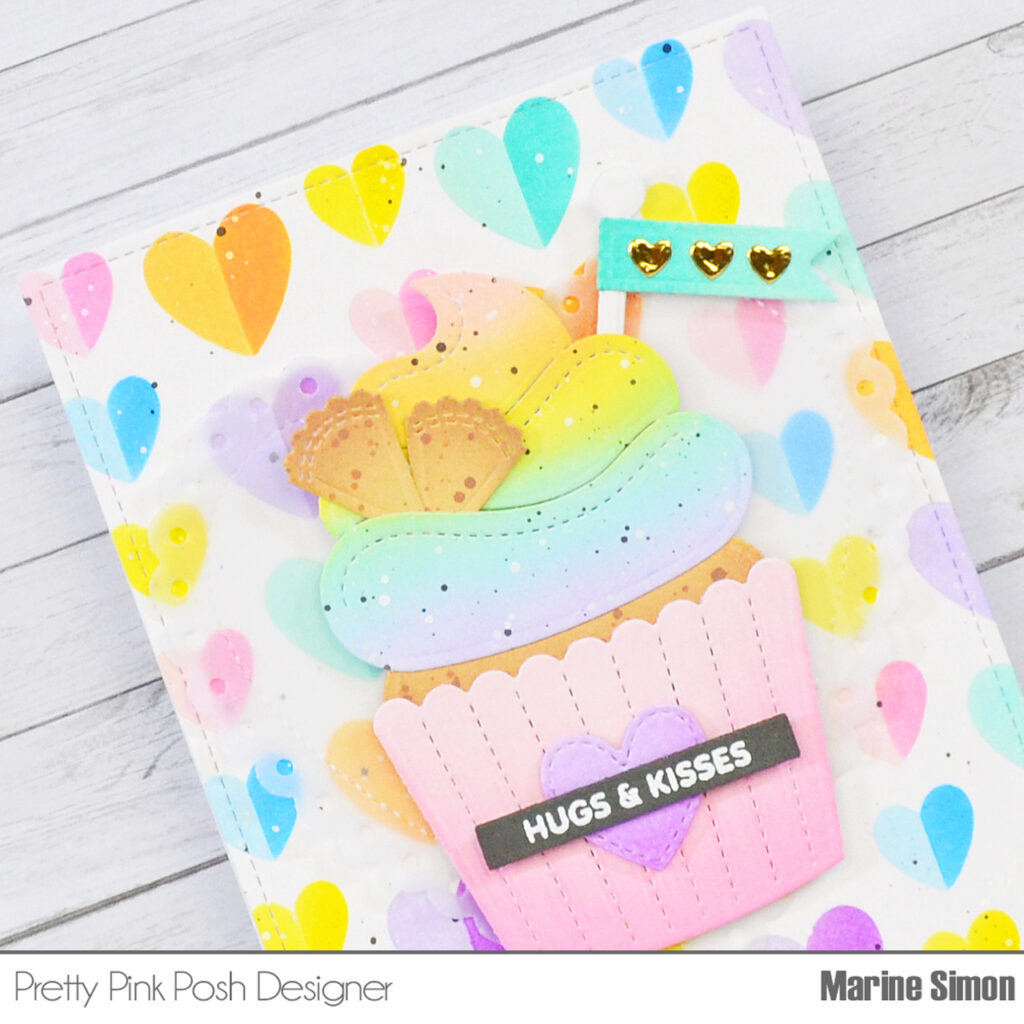
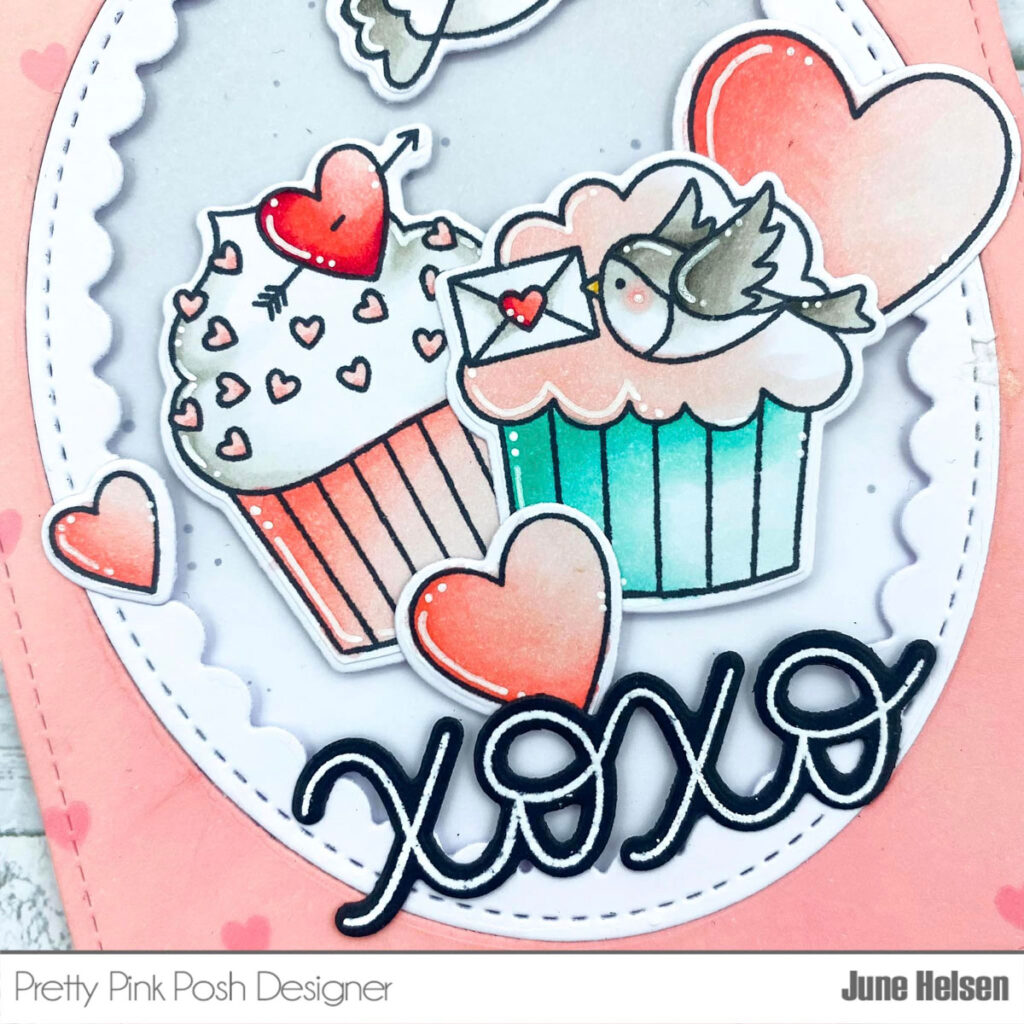
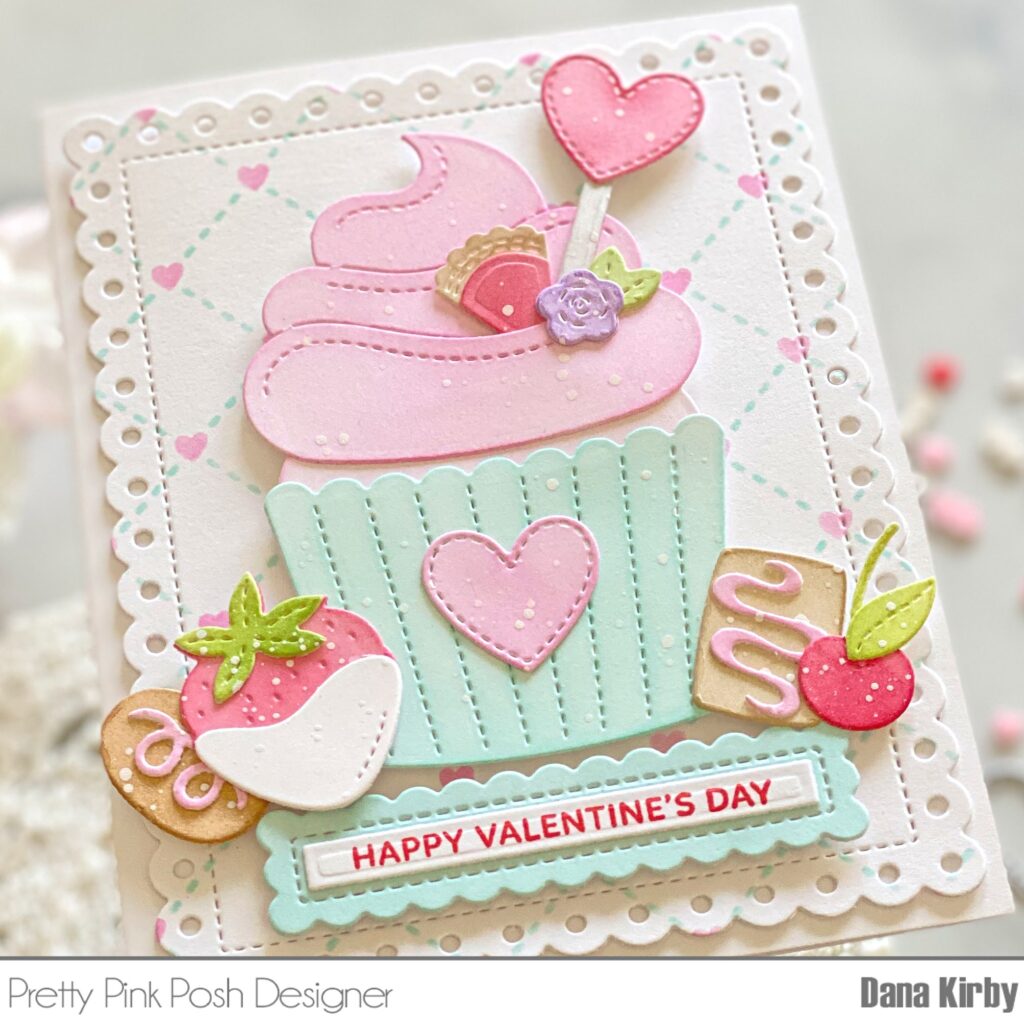
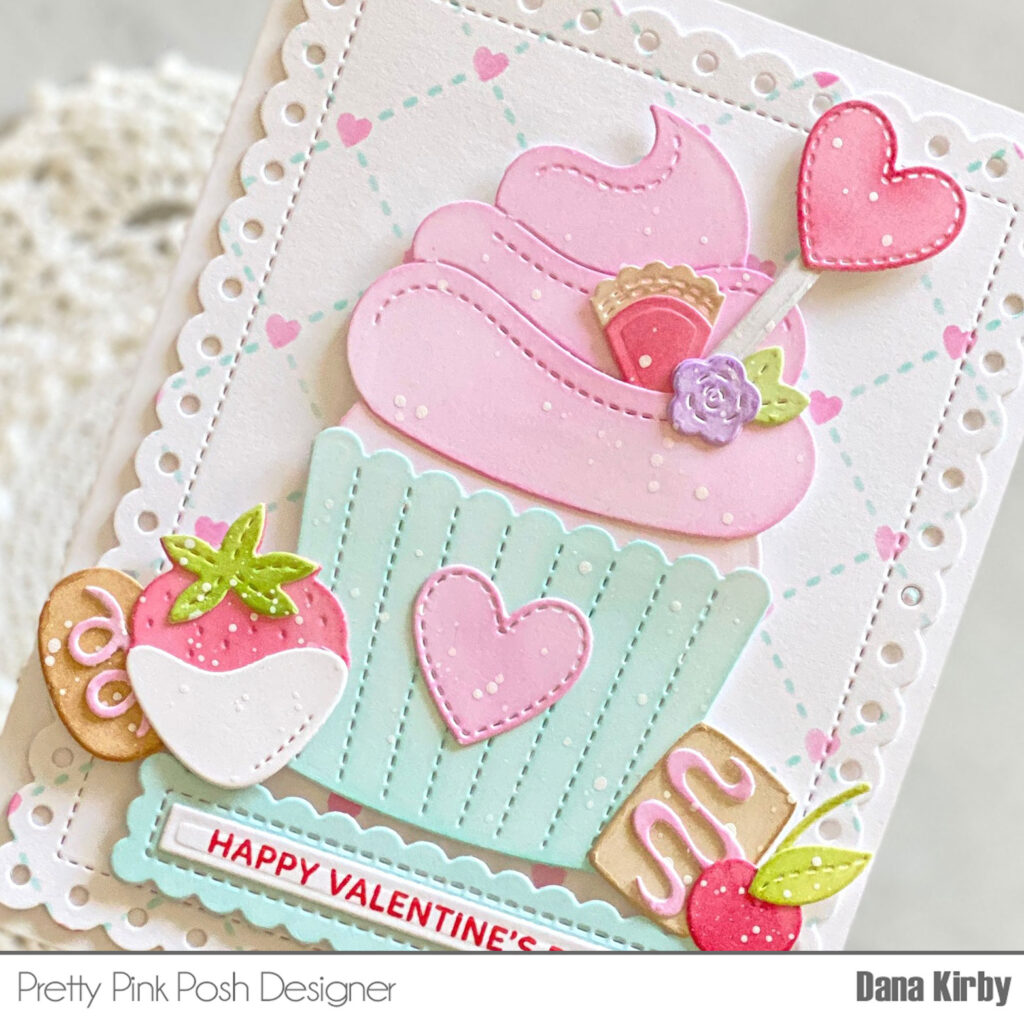
Next I cut all the Big Valentine Cupcake pieces, and colored them using oxide inks again. Here are the colors I used for each element: • cupcake case: spun sugar + kitsch flamingo • heart: shaded lilac + wilted violet • cupcake & cookies: antique linen + vintage photo • rainbow cream: shaded lilac + tumbled glass + salvaged patina + squeezed lemonade + dried marigold + spun sugar • flag: salvaged patina + peacock feathers.
I also cut the pole for the flag out of a light gray cardstock, and three small hearts out of a gold mirror cardstock.

I cut the largest Eyelet Heart out of vellum, and assembled my cupcake right on top of it using 1mm foam squares, and then I attached the vellum heart on my Half Hearts panel using liquid glue.
Finally, I white heat embossed my “Hugs & kisses” greeting from Sentiment Strips: Valentine, trimmed it into a slim banner using a Sentiment Strips die, and attached it on the cupcake case using foam squares again. And that’s it! Thank you so much for stopping by, and see you soon!