June Intro: Stitched Coral + Chevron Pierced Plate + Good Vibes Shadow
Welcome to the last day of sneak peeks of our June 5th release. Today we’ll be taking a look at the Stitched Coral, Chevron Pierced Plate, and Good Vibes Shadow die sets.
Watch the video above I Watch the video in HD on YouTube
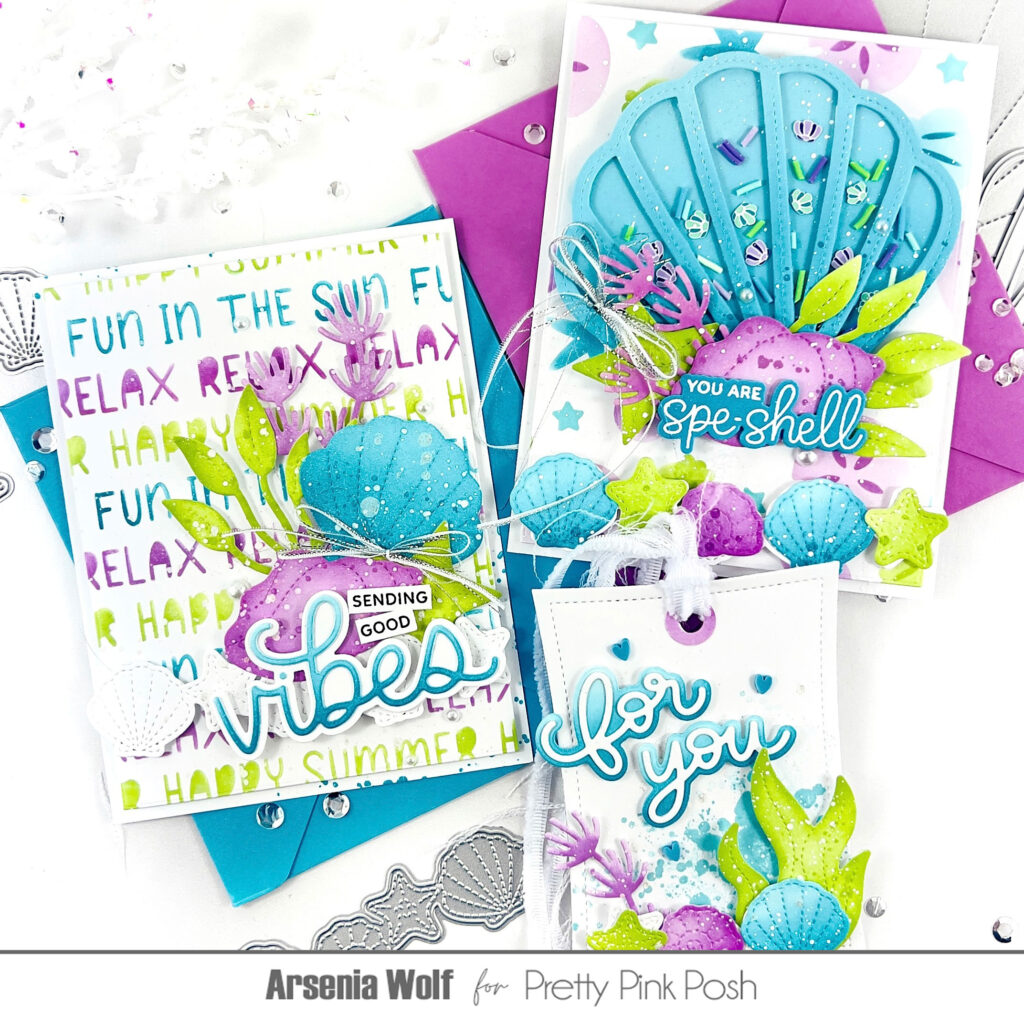
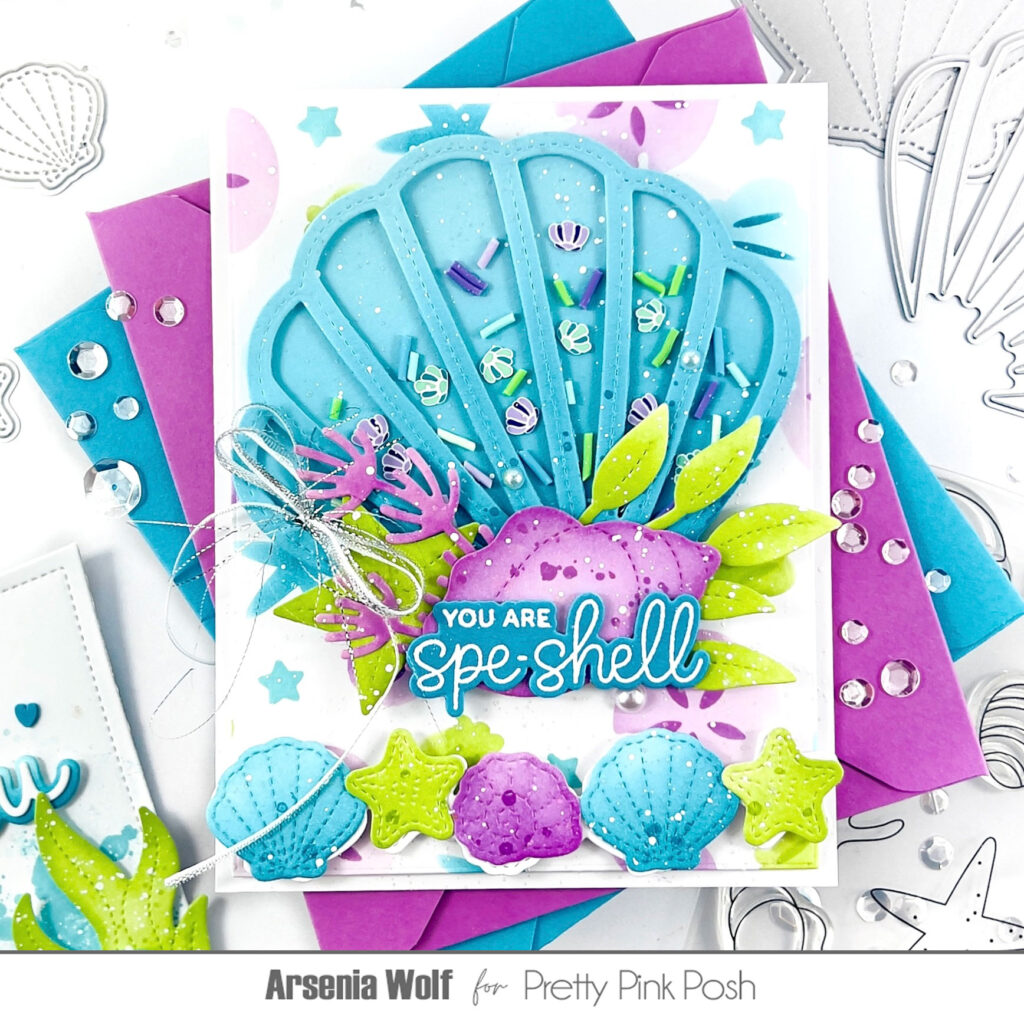
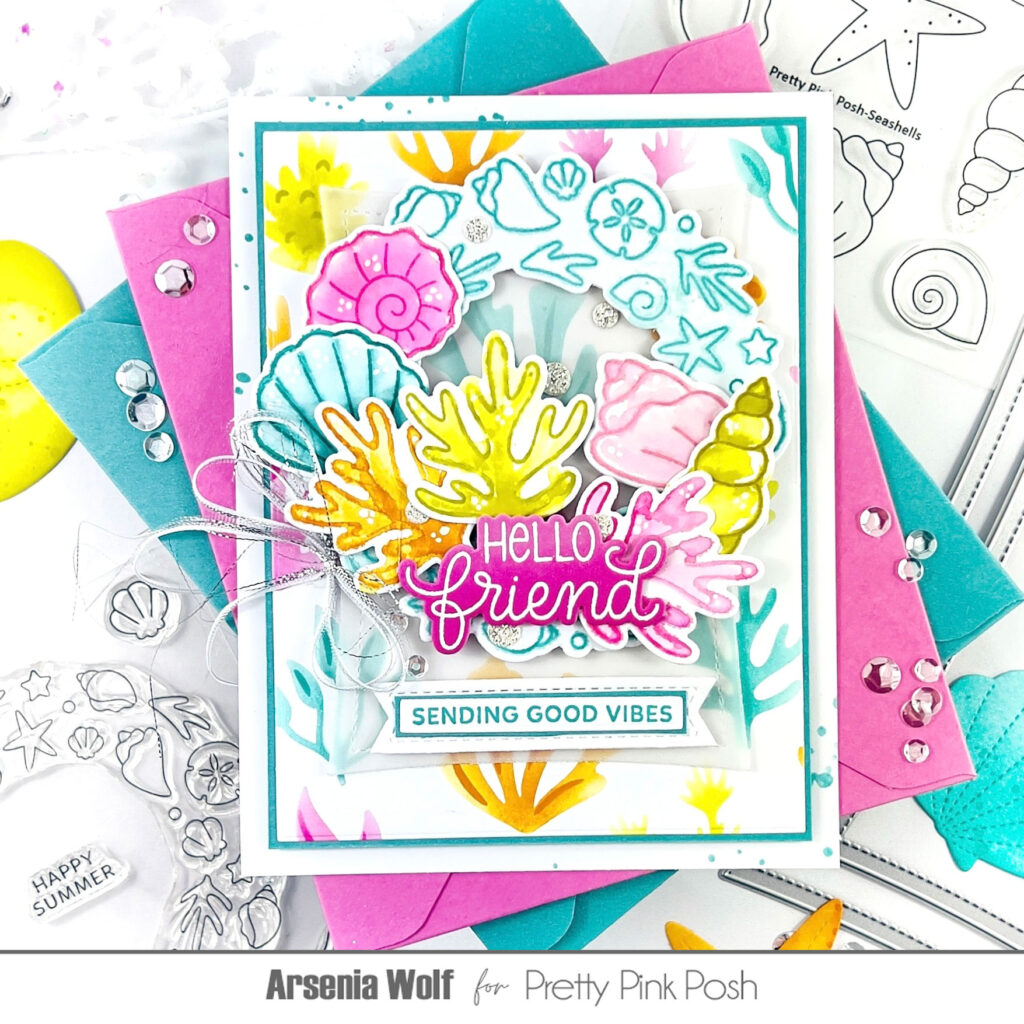
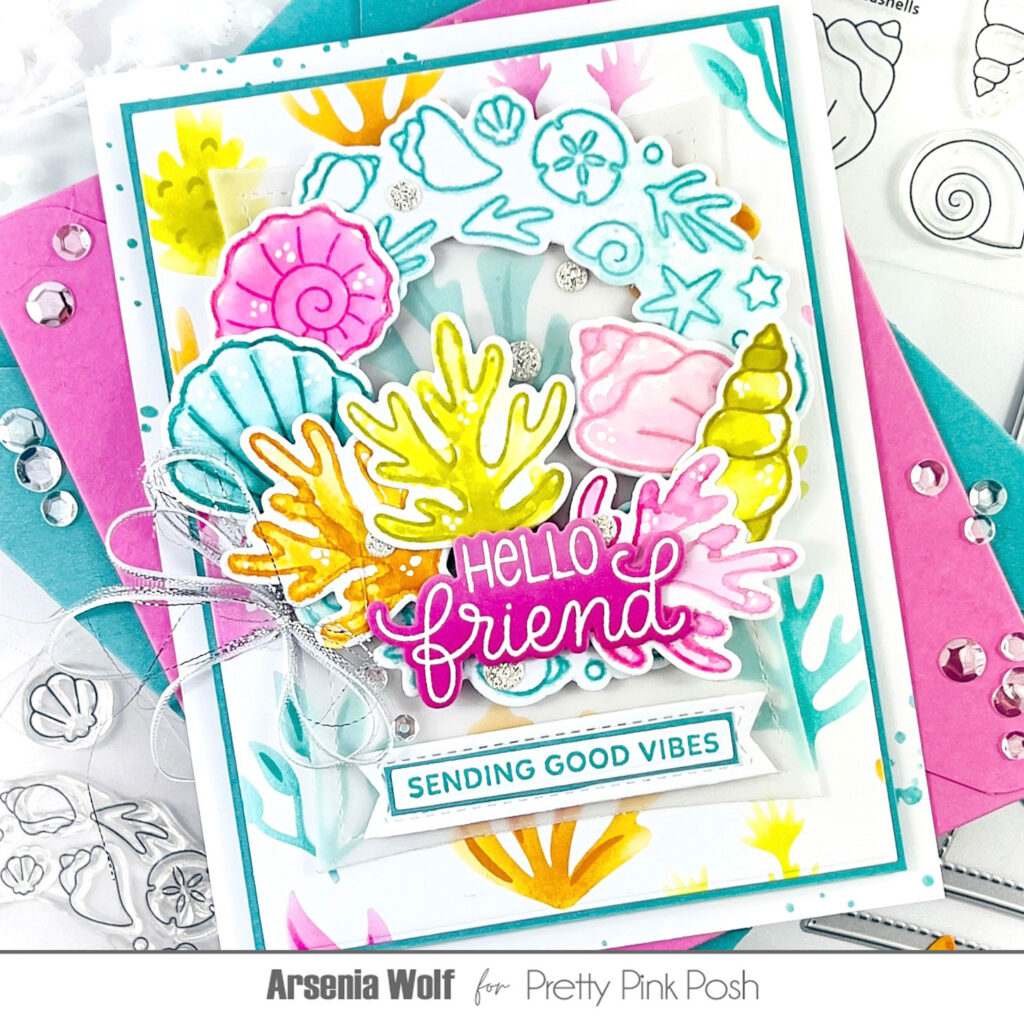
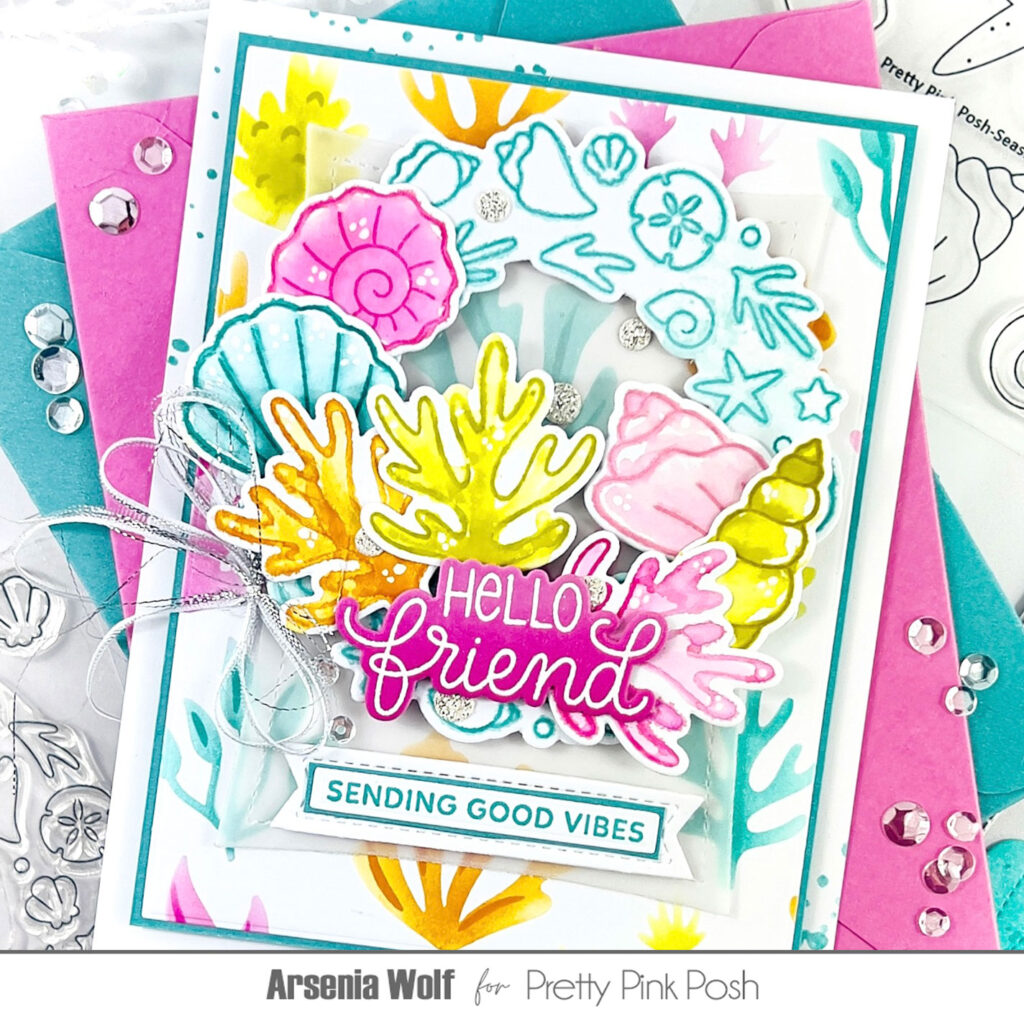
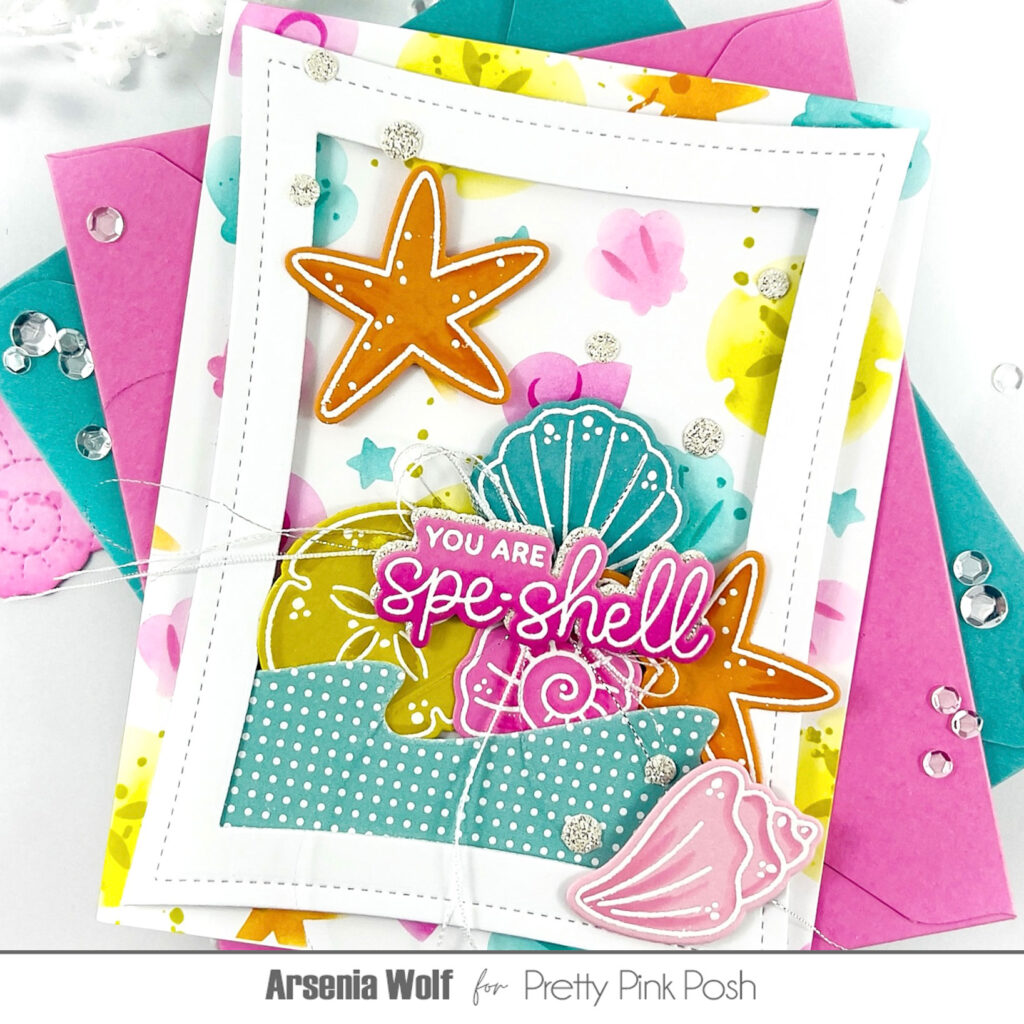
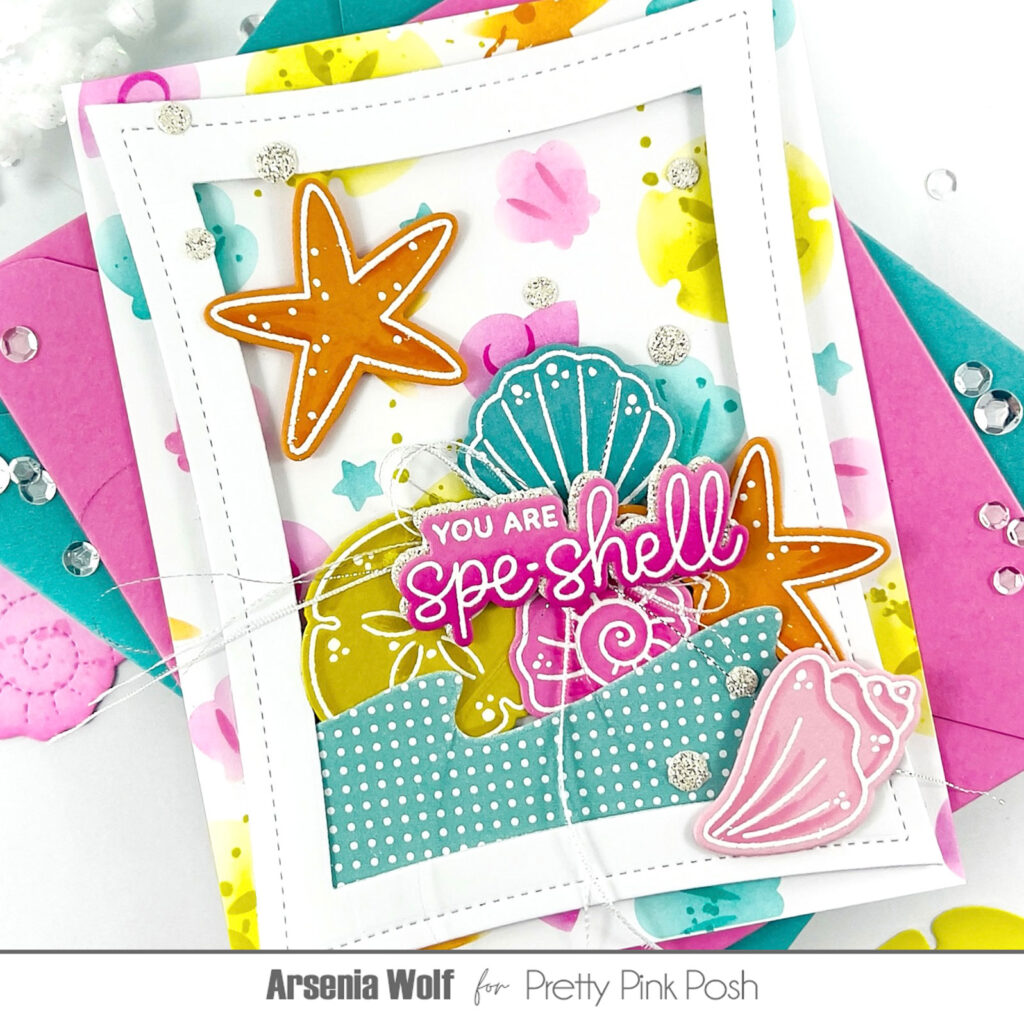
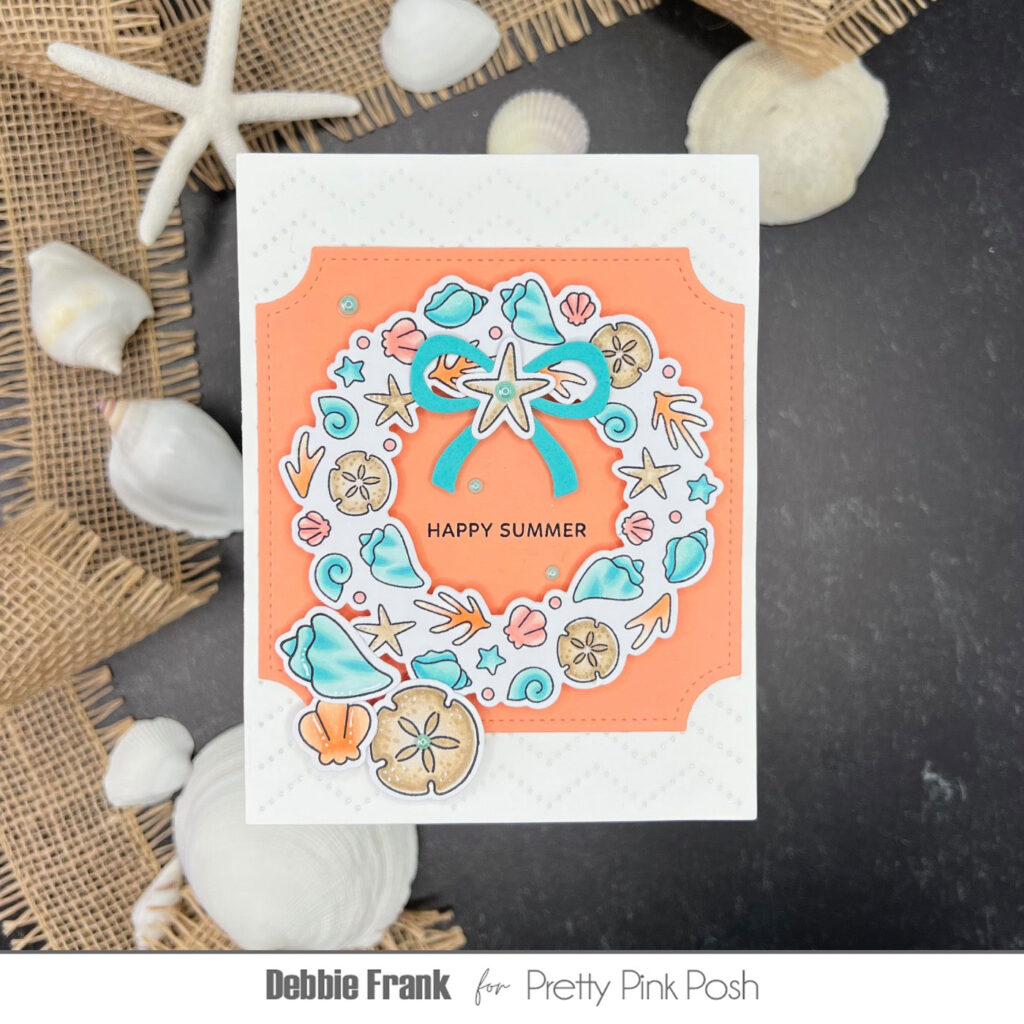
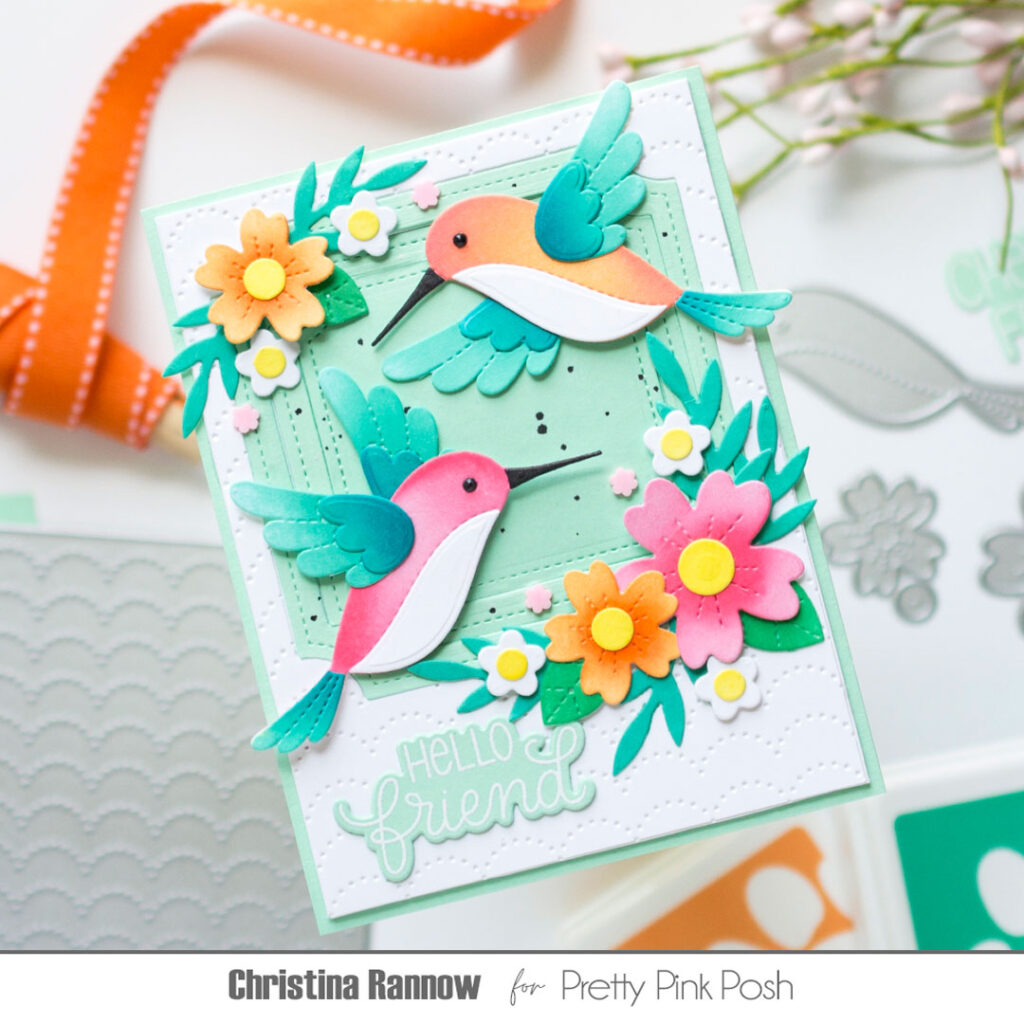
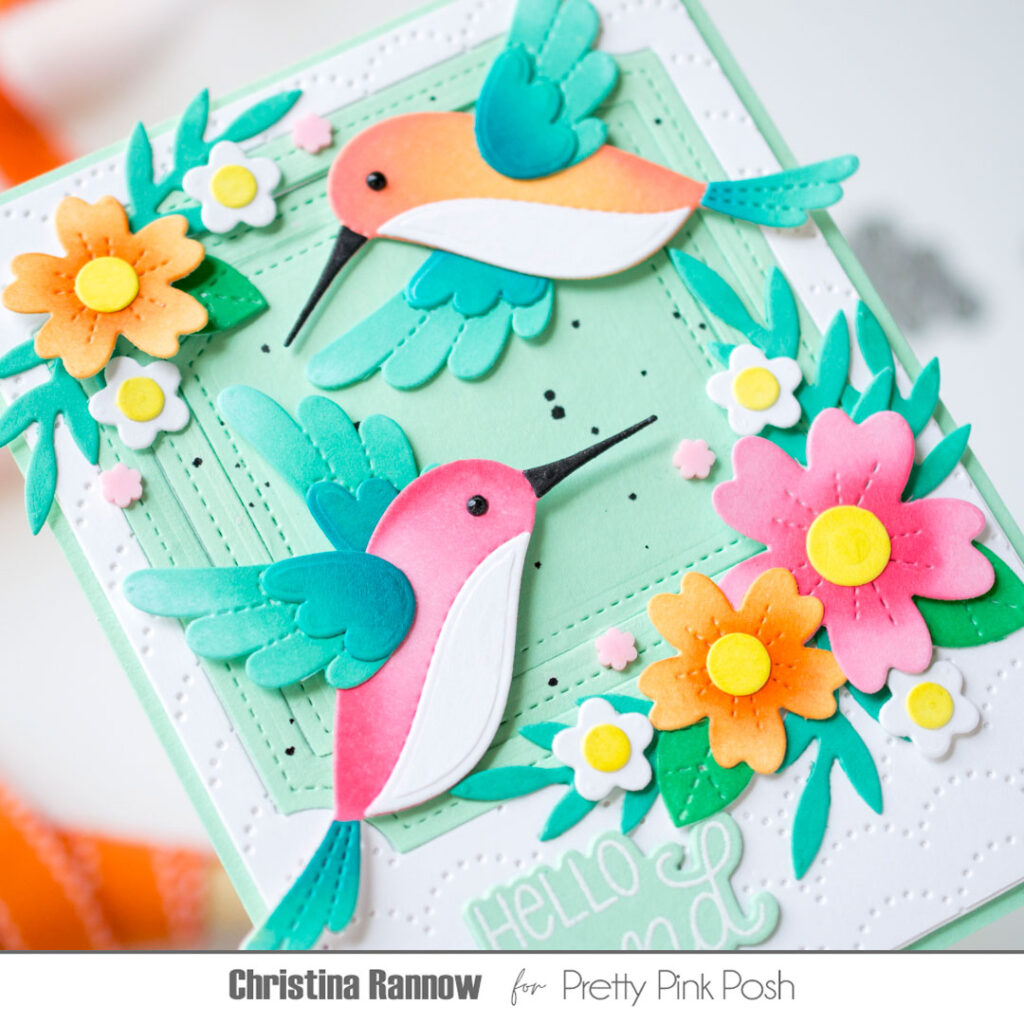
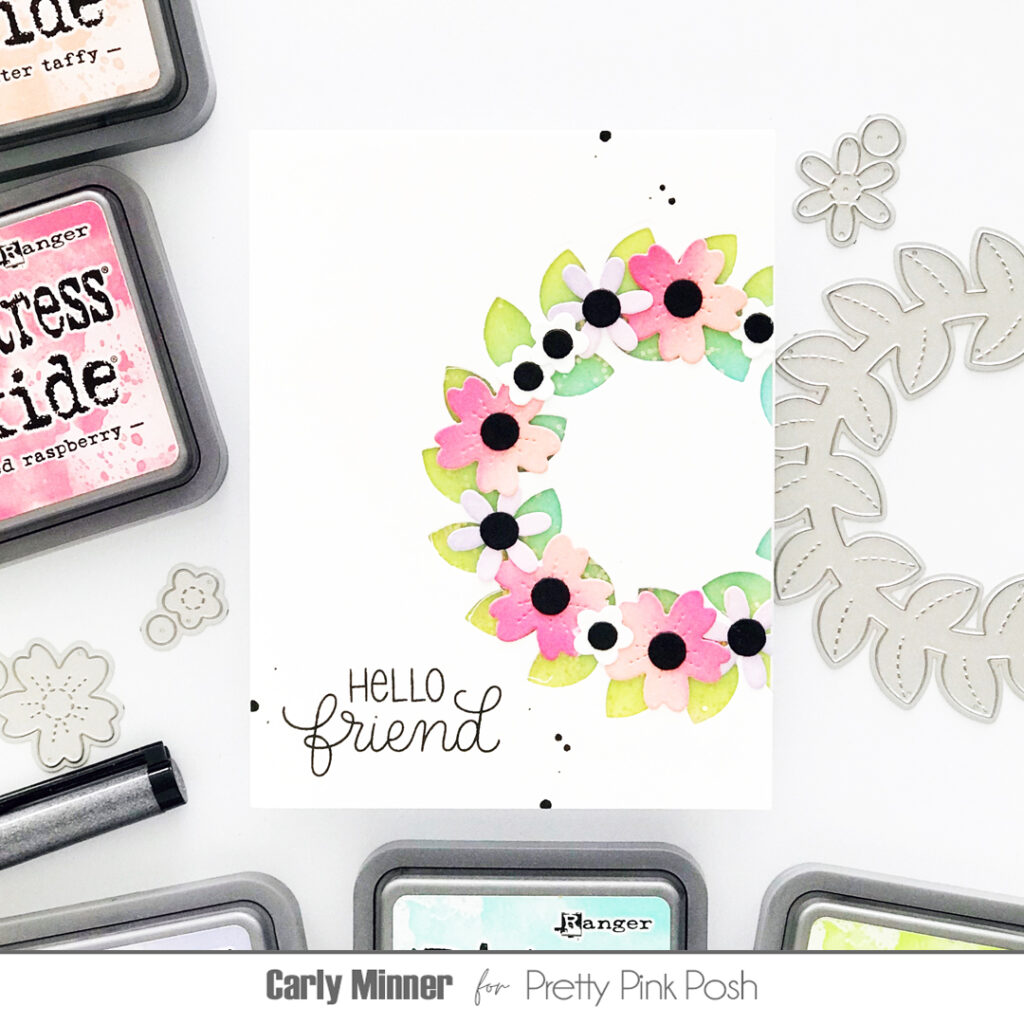
Hi Friends! It’s Christina and I’m here to share another sneak peek at the incredible June 5th summertime release. Today I’m showcasing the Stitched Coral die set, one of my favorite things from this release. I thought these tropical-colored die cuts paired perfectly with the Watercolor Oval stencil stencil to create a dazzling under-the-sea card design. Below you’ll find even more sneak peek inspiration from the team, but first I’ll share all the details for my inspiration project!
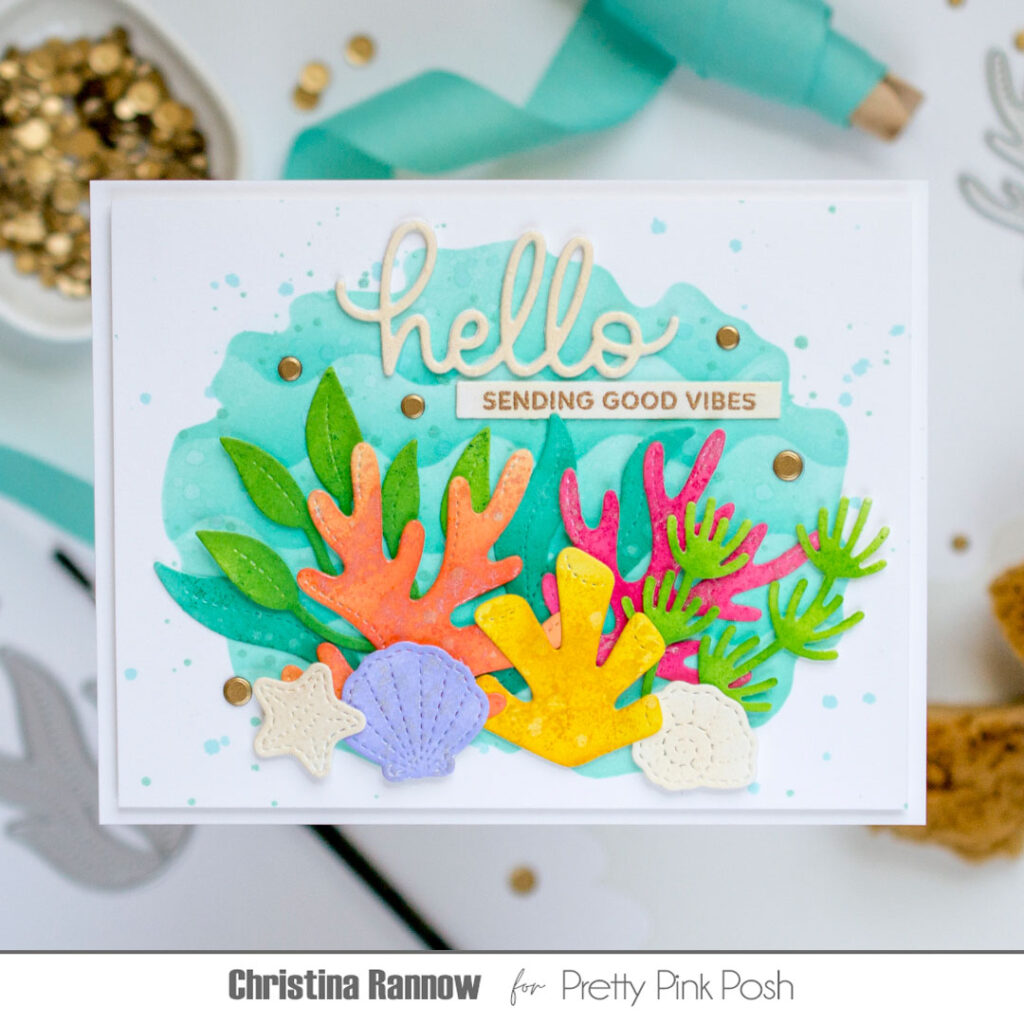
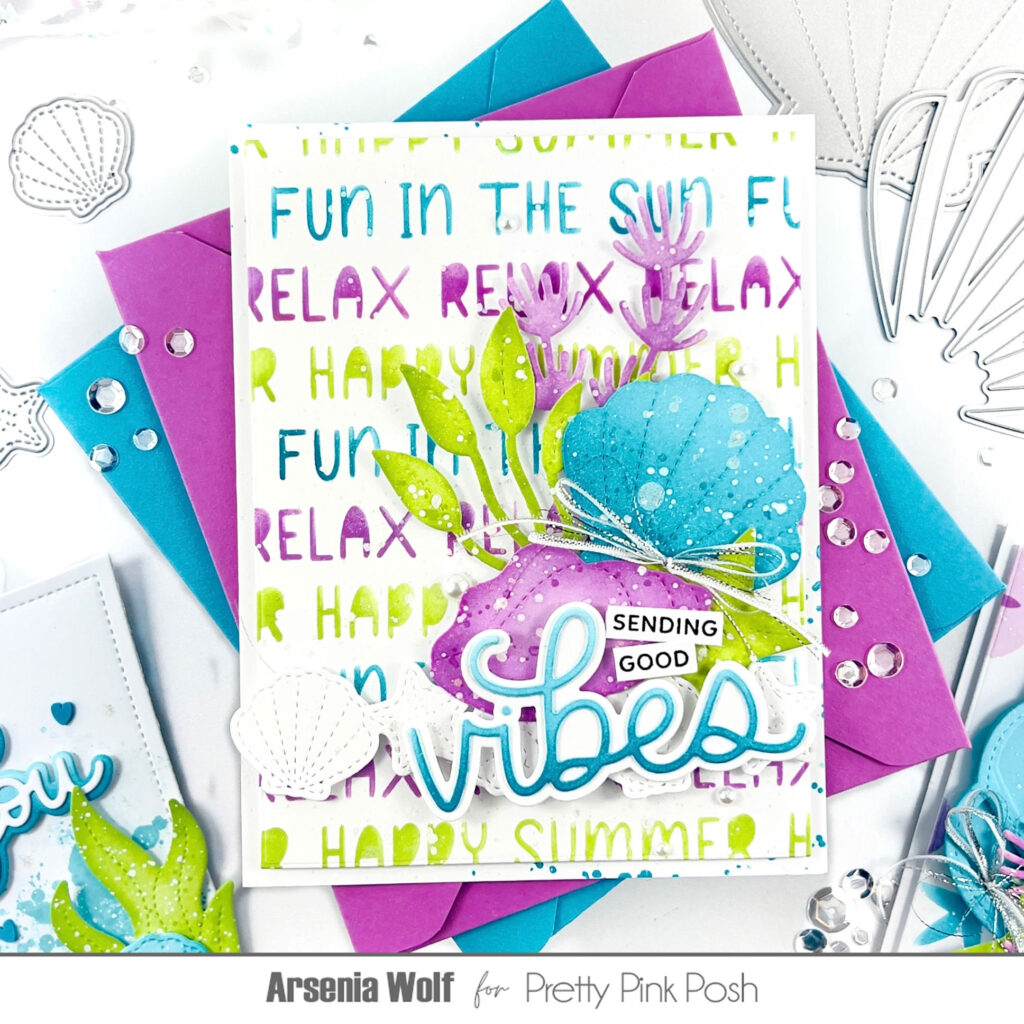
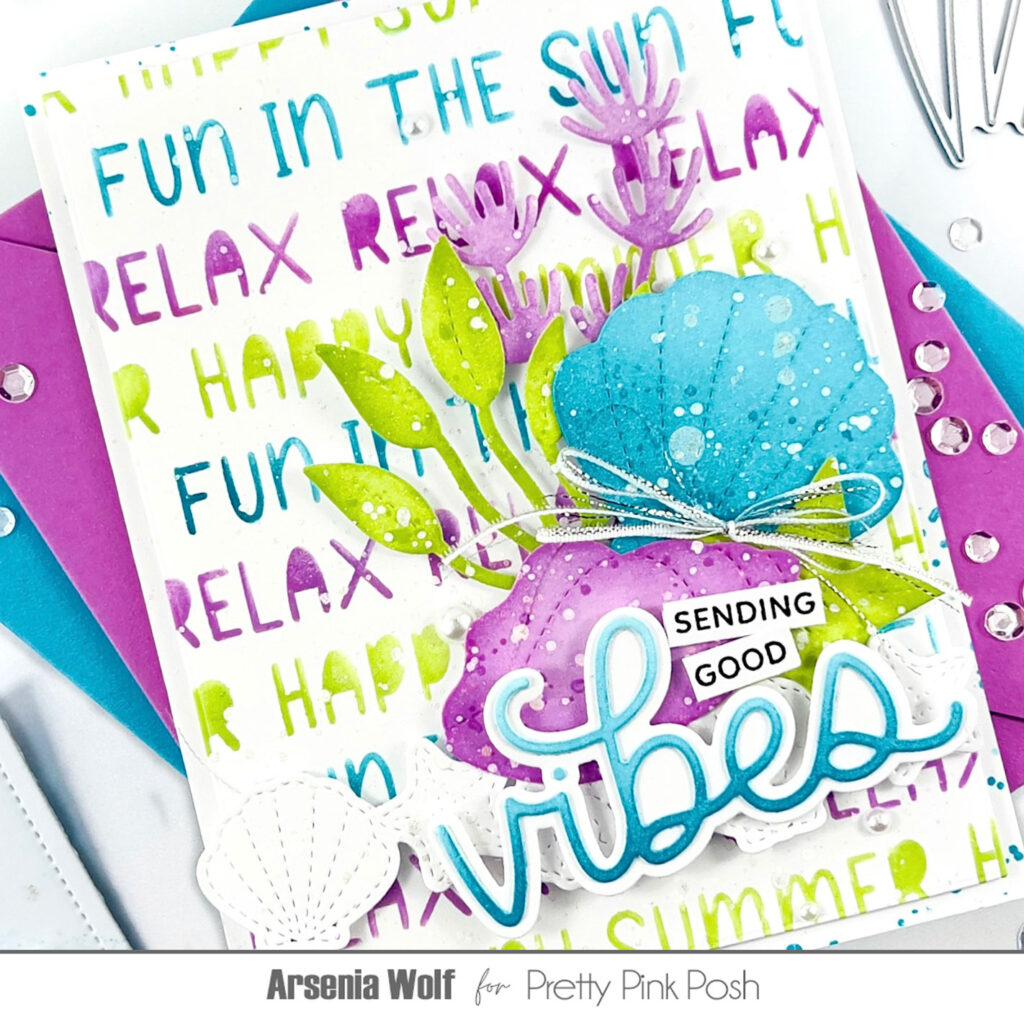
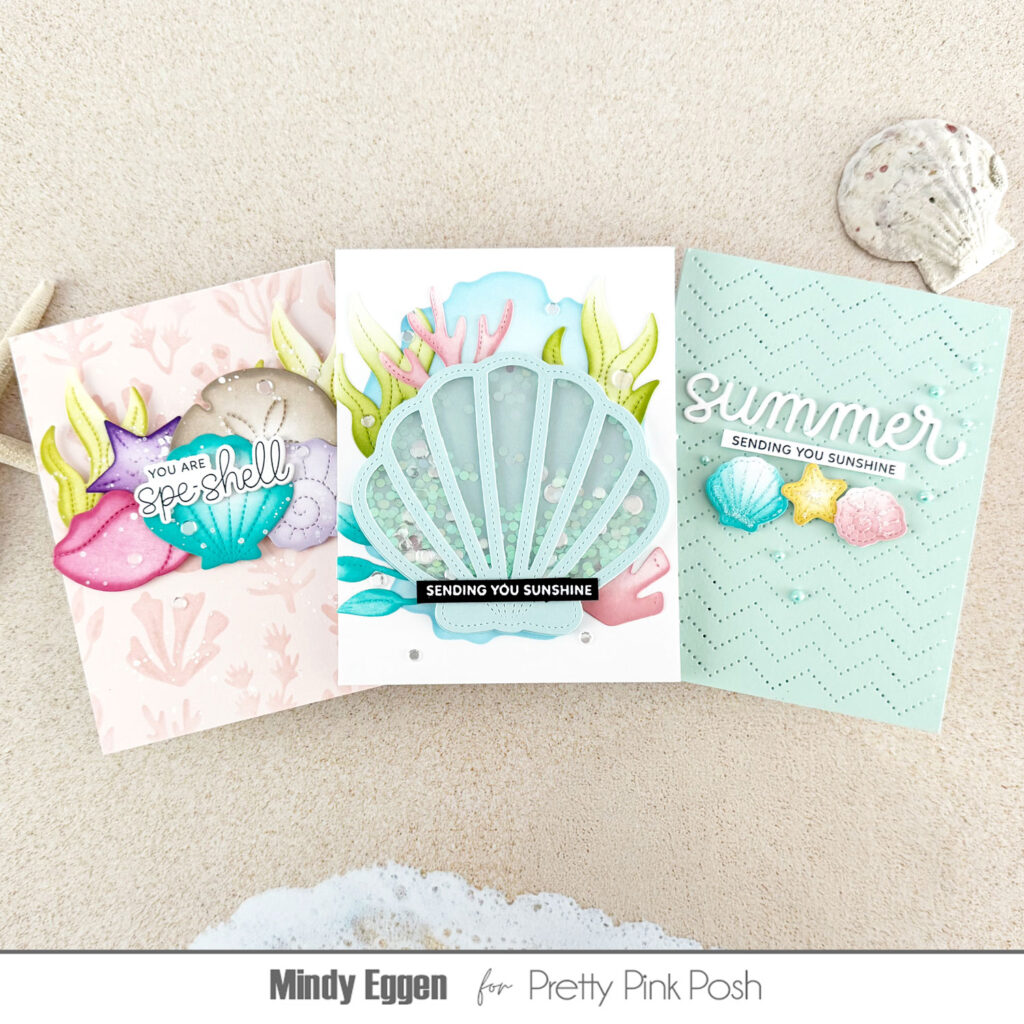
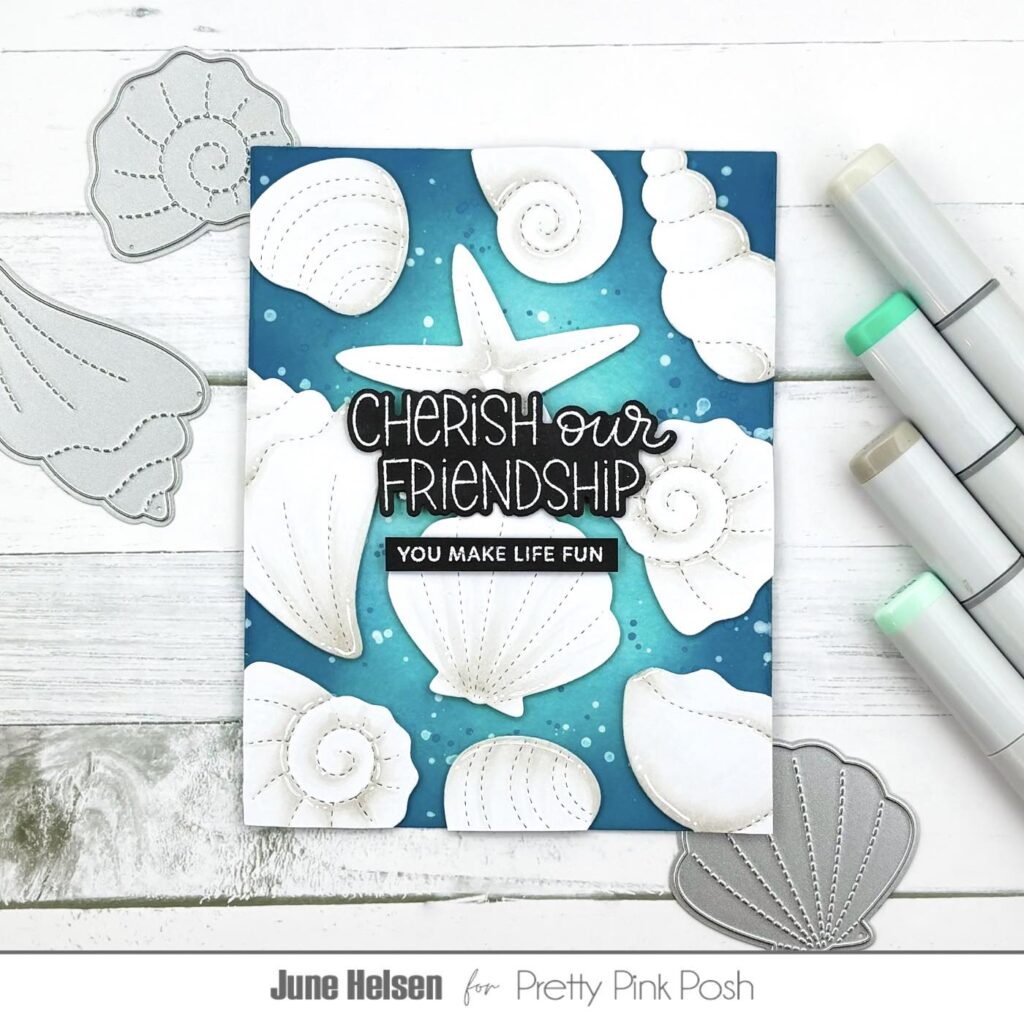
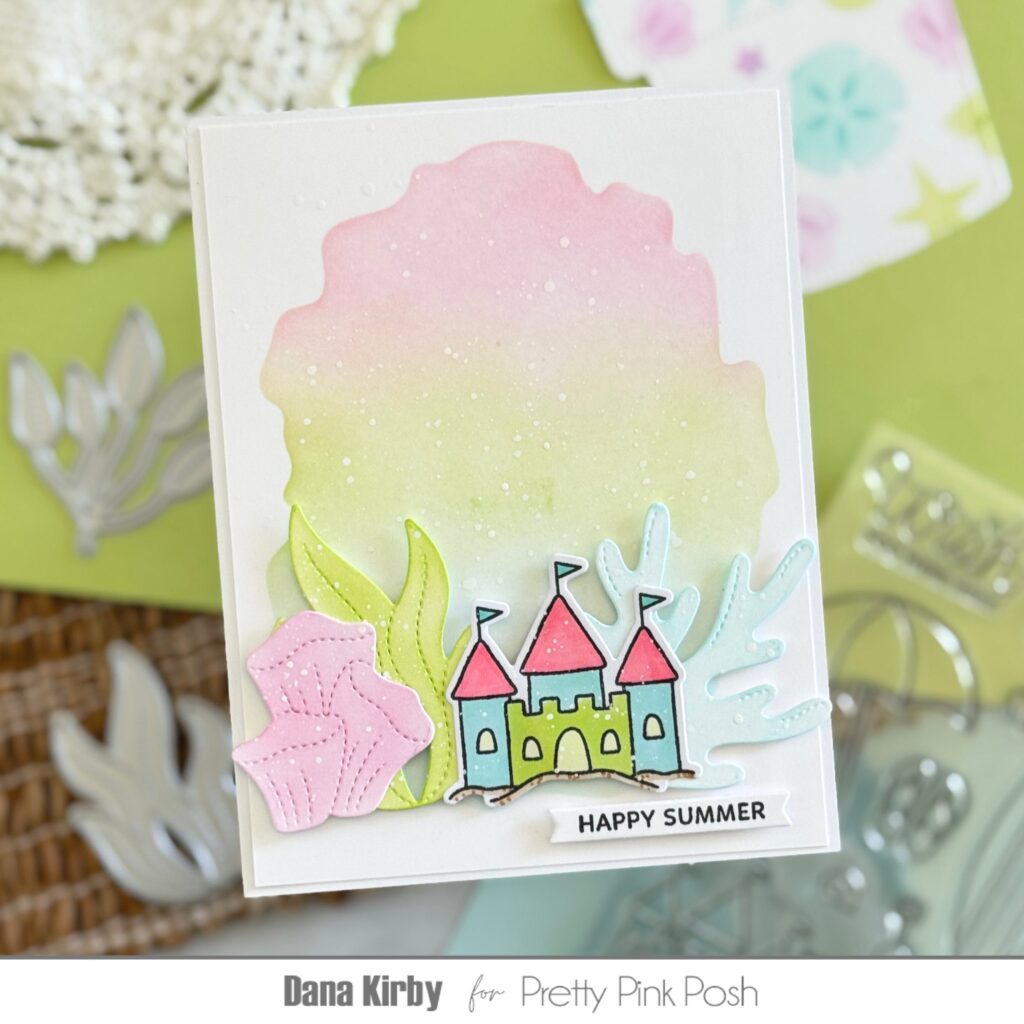
I started by die cutting the elements I wanted to use from the Stitched Coral die set and the new Seashell Border die set from white cardstock. Using tropical ink colors, I ink blended the die cuts using blending brushes and then added texture with a darker ink color and a sea sponge. By the way, sea sponges are a great tool to have in your arsenal; they are inexpensive and can be used with almost any medium to add texture and interest to your craft projects! Finally, to give the coral and the shell die cuts a little shimmer, I spritzed them with coordinating Mica Stains.
To create an under-the-sea backdrop for the die cuts, I started by stenciling the Watercolor Oval on a white cardstock panel with teal ink. Then, using the new Wave Edges Stencil, I stenciled a wave pattern inside the oval with a darker teal shade. And to give the background a little more interest, I splattered it with plain water and with the same teal ink colors I used for stenciling.
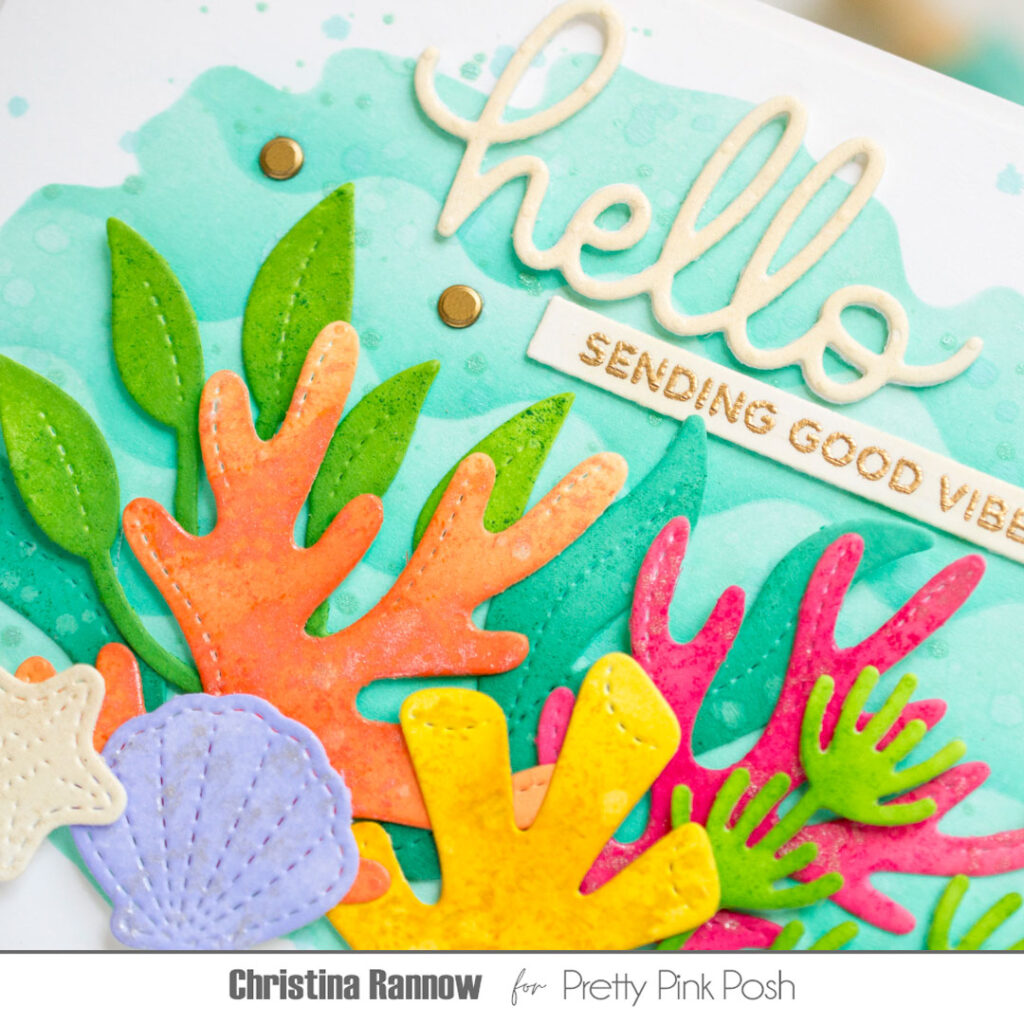
With the background and the die cuts ready to go, I got to work assembling and finishing up my card design. First I trimmed the background panel to 4 x 5 ¼ and attached it to a card base with foam tape. Then I arranged my coral and shell die cuts inside the watercolor oval and attached them with either glue or foam squares, depending on their placement and if they overlapped. Next I added the Hello Script greeting and a gold heat embossed sentiment from the new Sentiment Strips: Summer set. I die cut the sentiment with a Sentiment Strip die before attaching it under the greeting and then added a few Matte Gold Confetti embellishments.
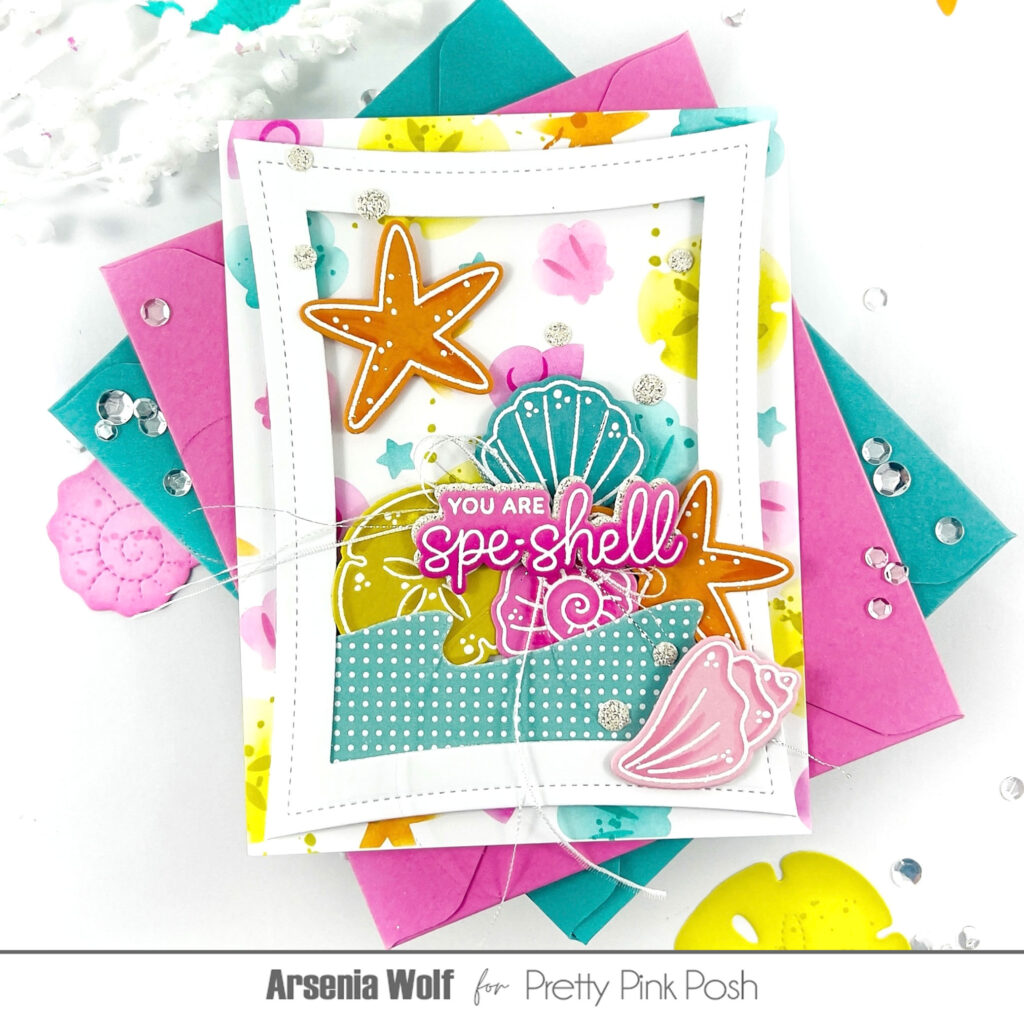
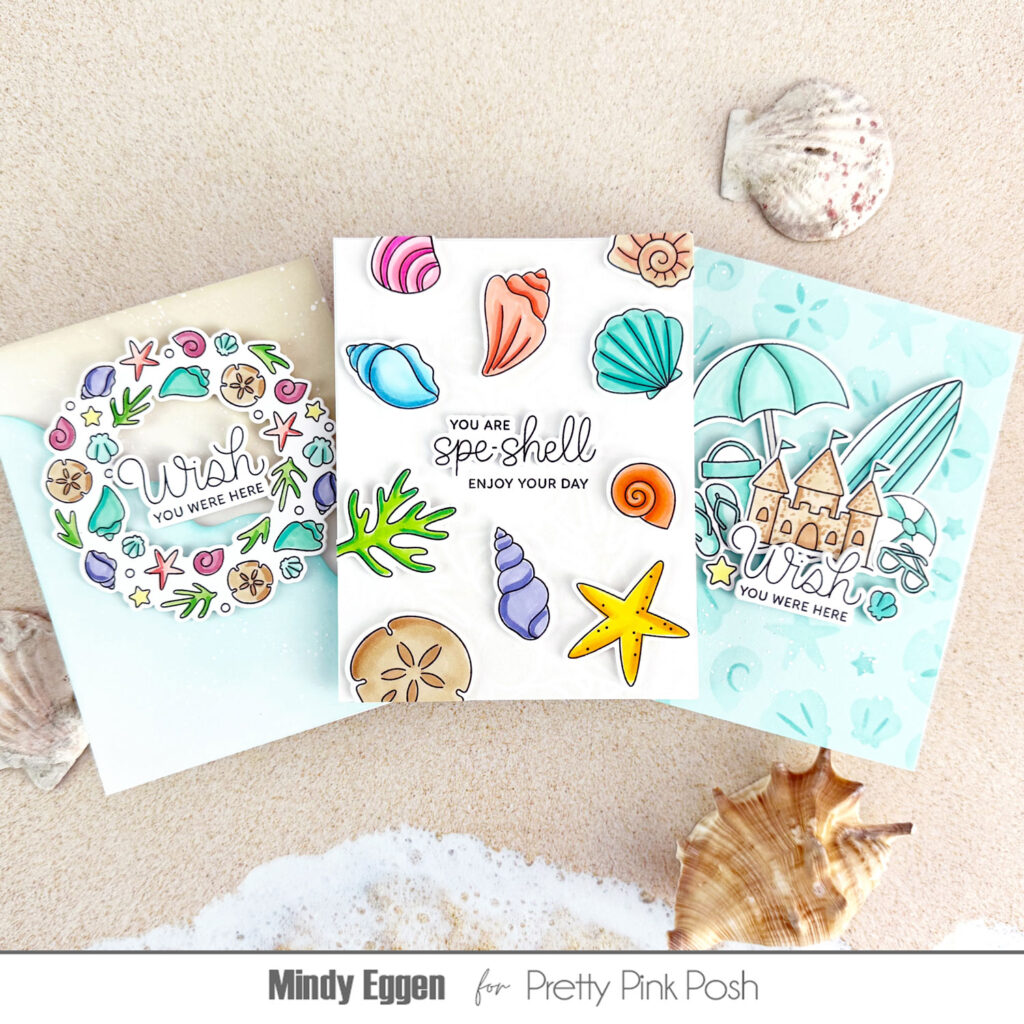
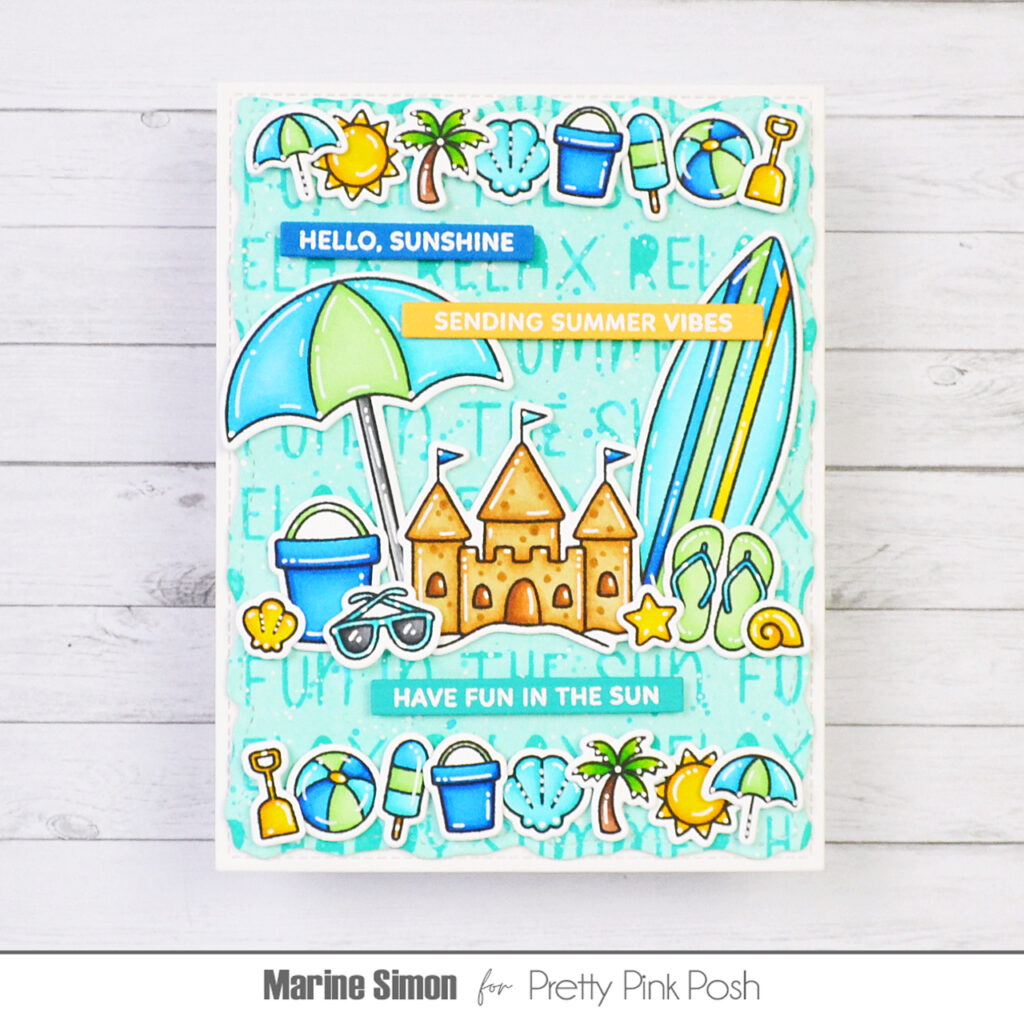
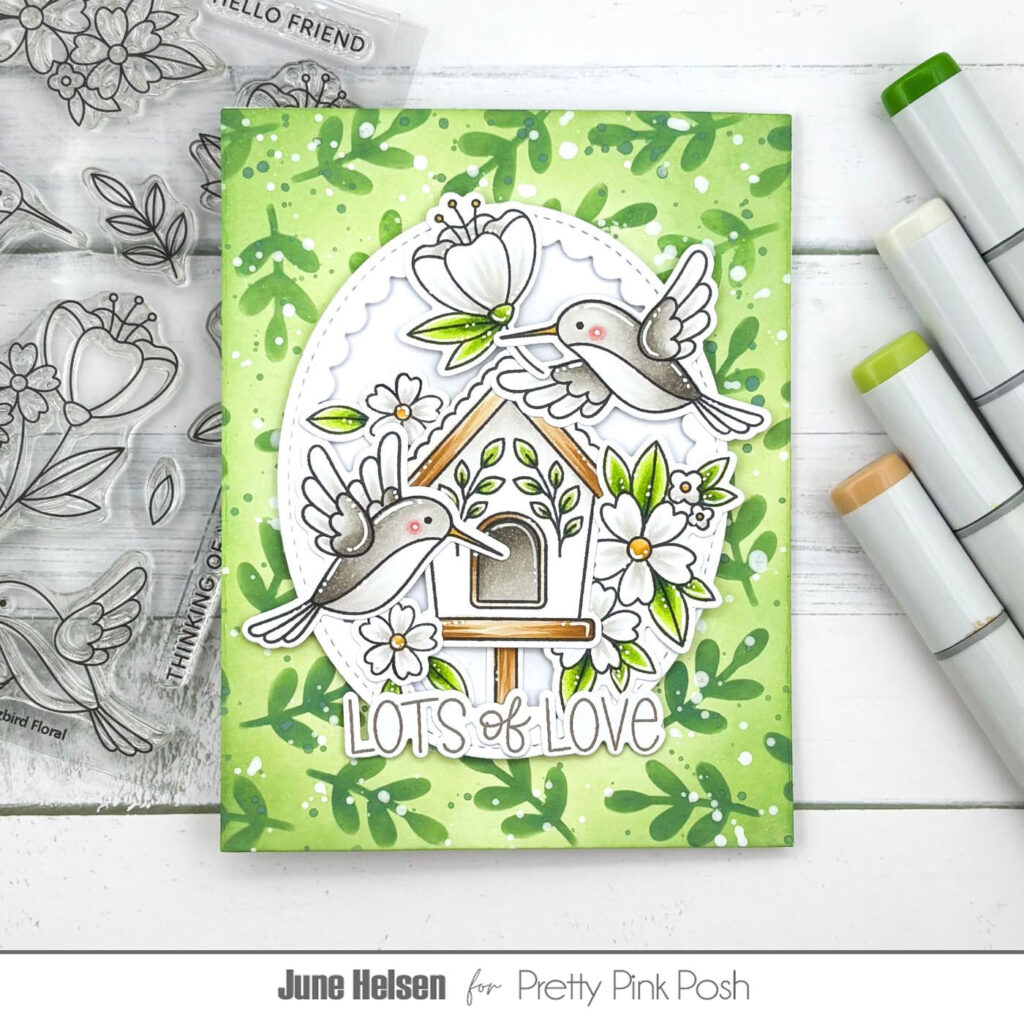
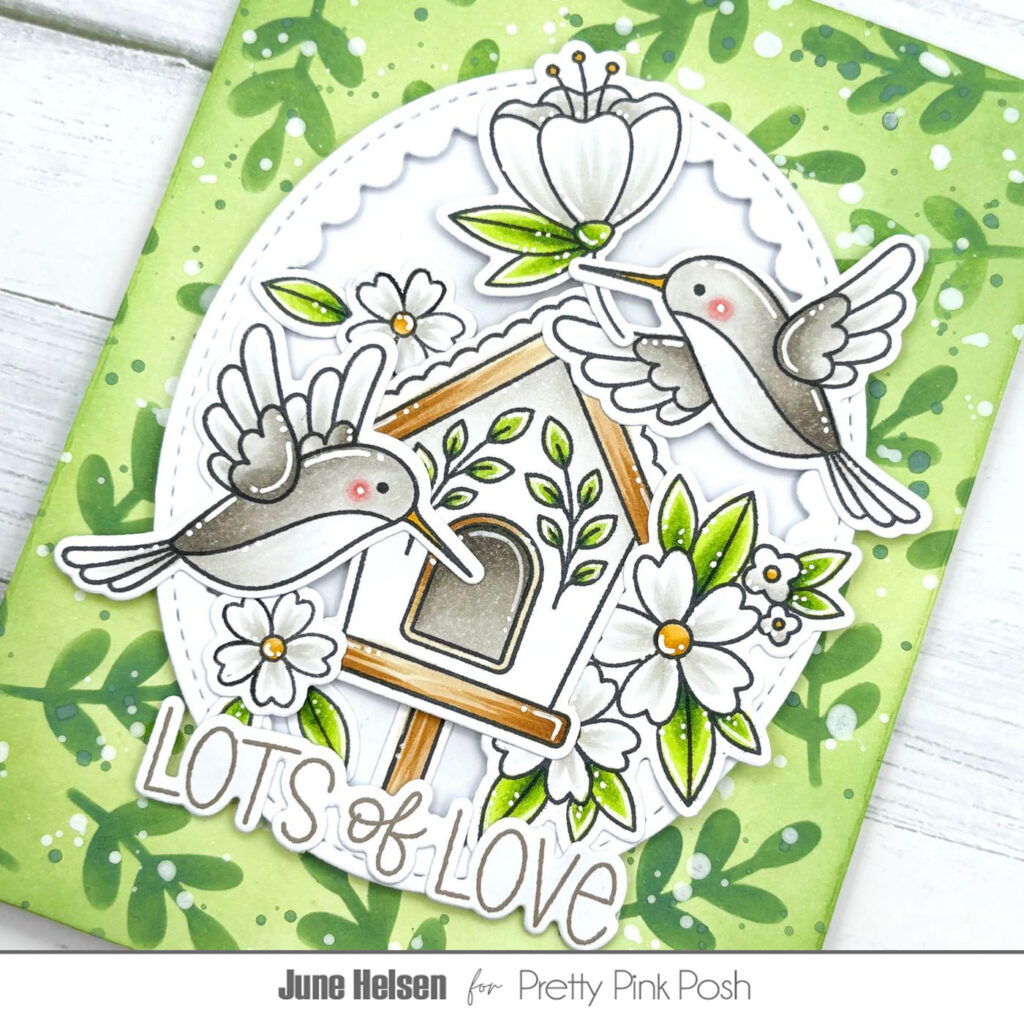
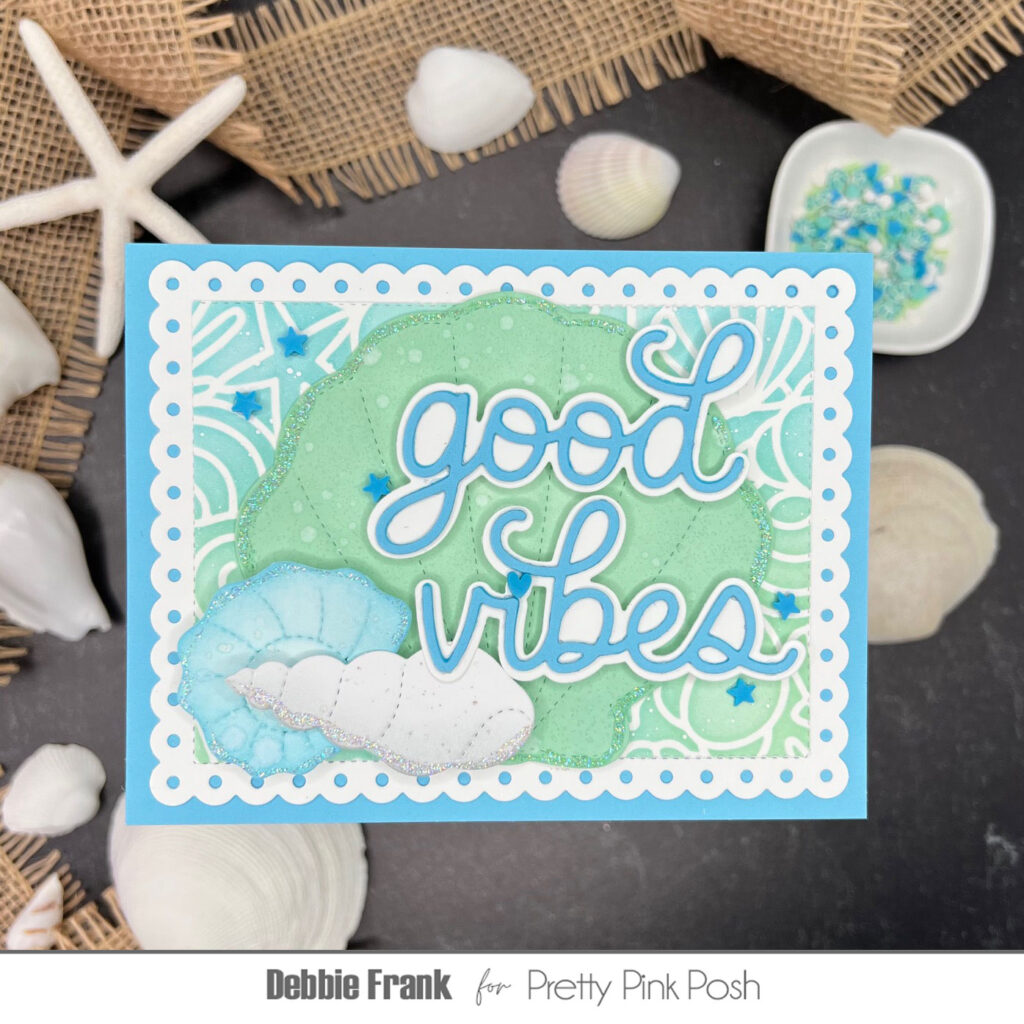
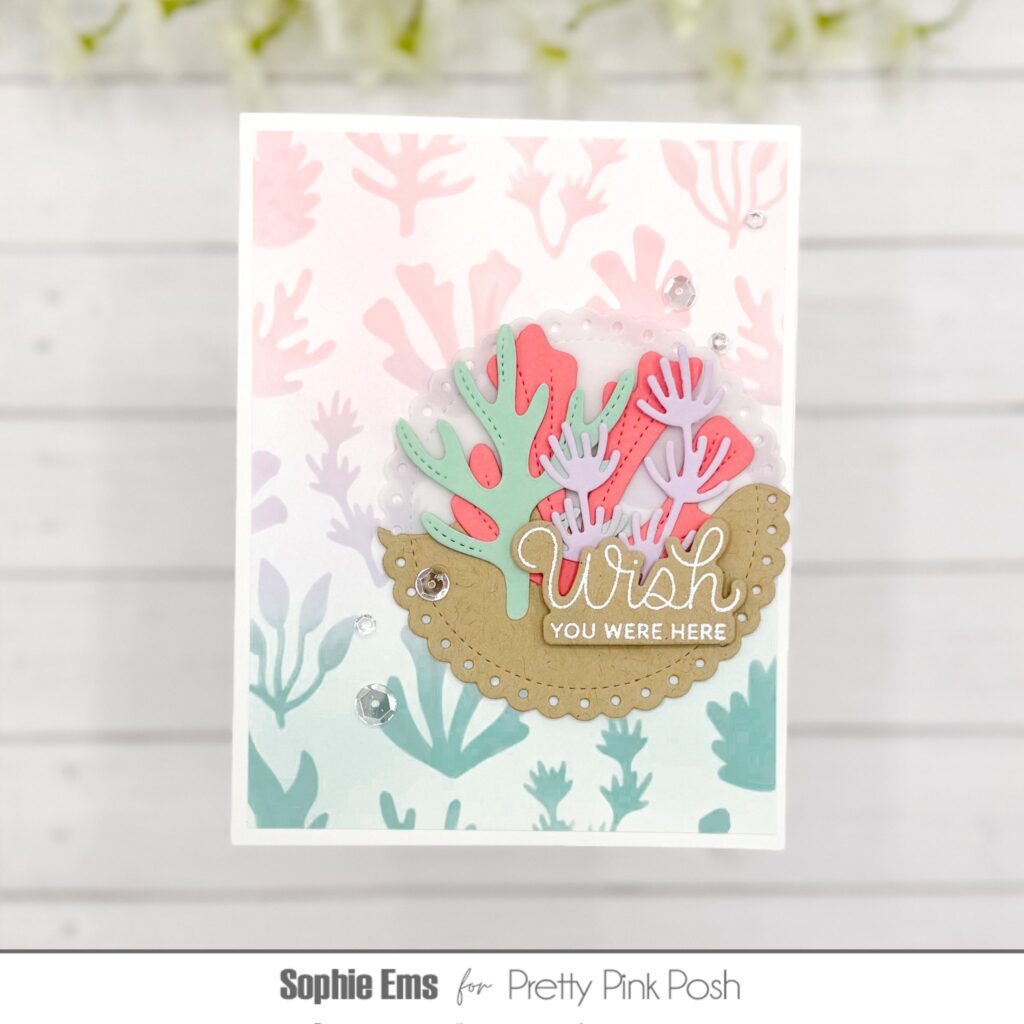
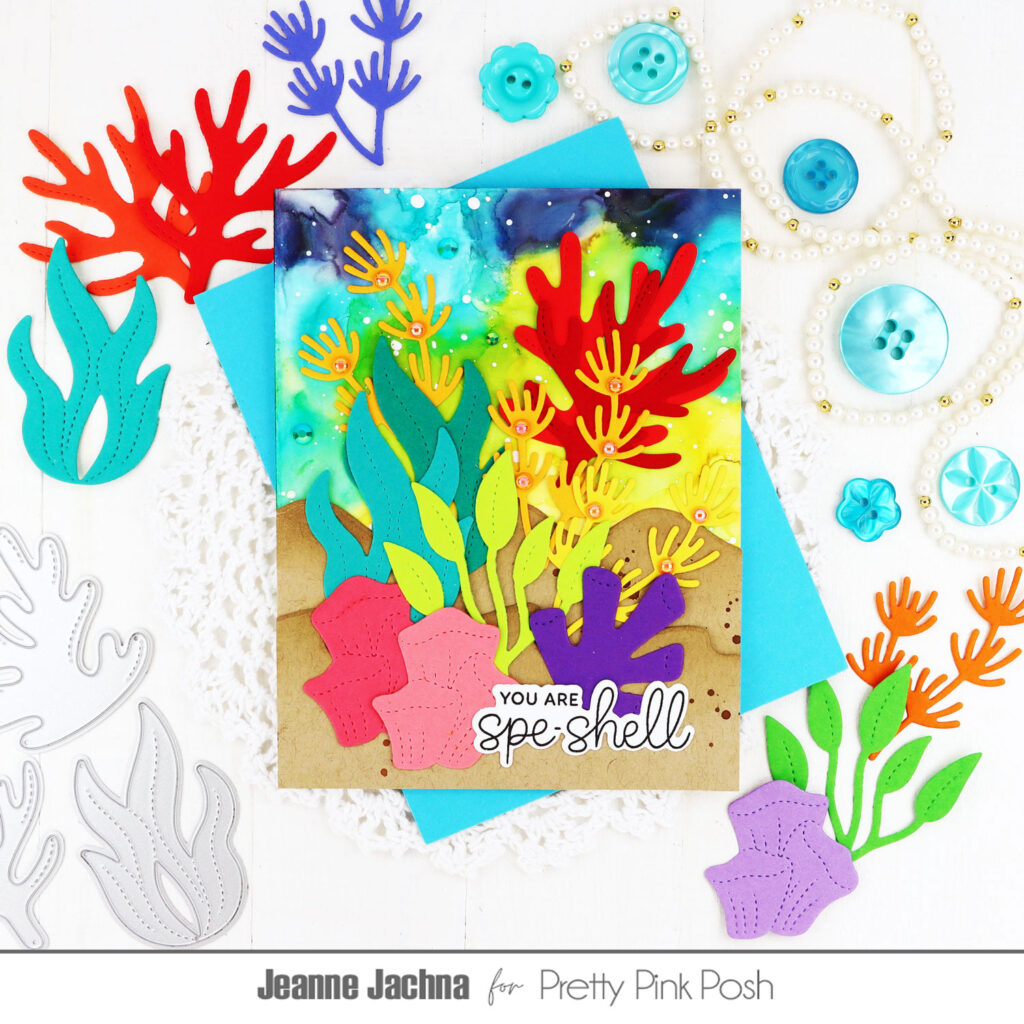
Keep scrolling to find even more sneak peek inspiration from the team!
We hope you enjoyed this sneak peek. We’ll be back tomorrow with a full picture reveal of the release!