Spring Shaker Card + Cutting Stamps Apart
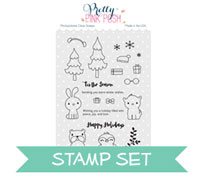
Hello everyone! Eloise here and today I have a video showcasing a couple of older products. I’m going to be using the Storybook 4 die to make a shaker card along with the Winter Wonderland stamp set, to alter a sentiment.

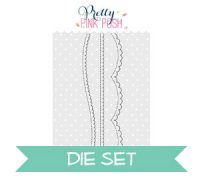
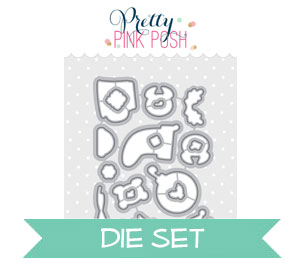
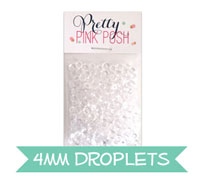
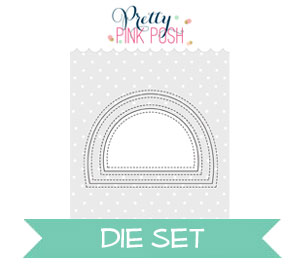
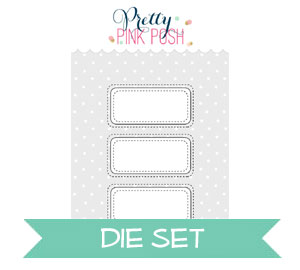
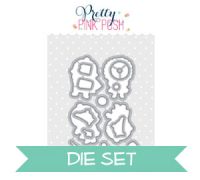
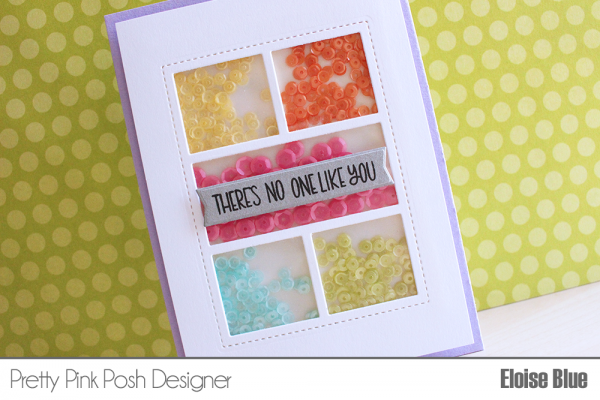
To begin my card today I used the Storybook 4 die and cut it out of some Neenah Solar White cardstock., making sure it was even on all sides, since I knew I would be using the negative piece. Once I die cut it out, I used some thin 1/8” Scor Tape and added adhesive on all of the lines connecting the frames together and then added a piece of acetate on top. Once I added the acetate I cut thin strips of 3M Foam Adhesive and added that behind the lines too, so it would create little cavities. I then filled each of the sections with a different colour of sequin. I used 4mm Lemon Meringue, 4mm Tangerine, 4mm Lime Sorbet and 4mm Aquamarine and then 6mm Pink Peonies. Once I filled all the sections I used another piece of acetate to cover the back. I really love how all the colours mix well together, but yet they’re separated. It’s super fun.
Once the shaker was complete I chose a coloured cardstock for my card base and adhered it together. At this point I didn’t want the purple to show through so I added a white piece of cardstock behind the shaker panel and that looked much better.
Cutting Stamps Apart
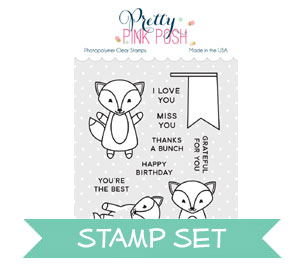
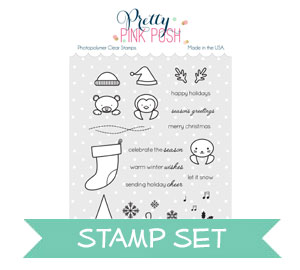
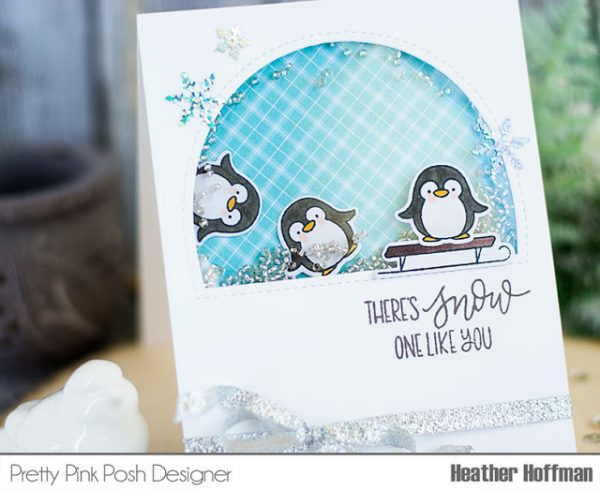
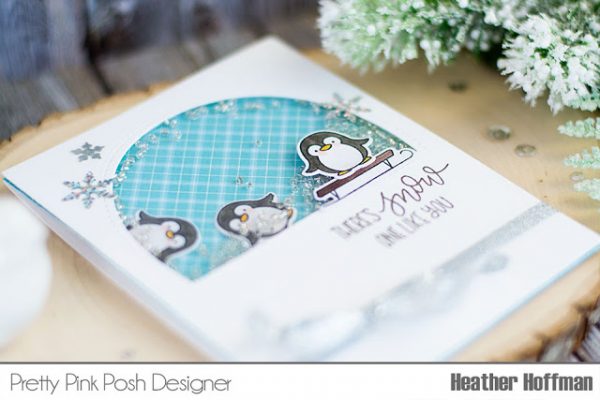
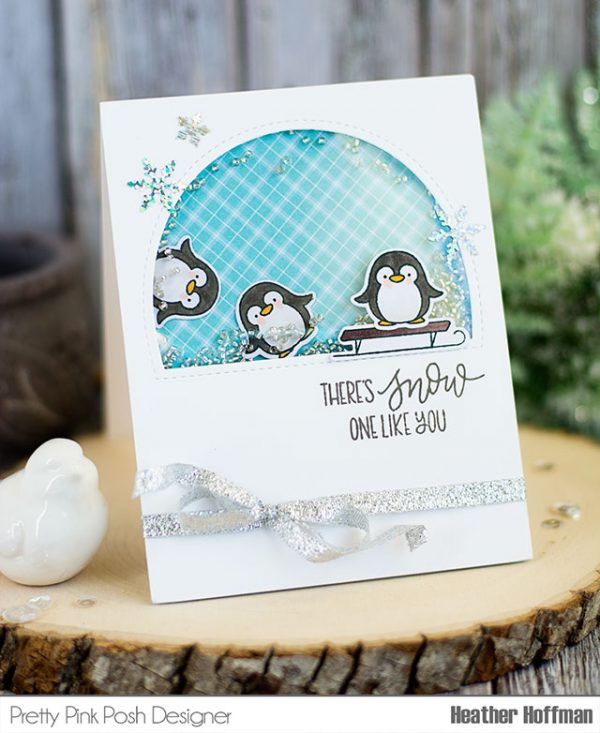
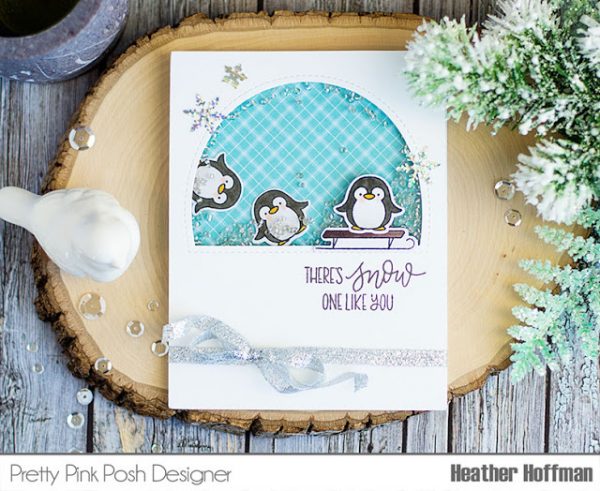
Once I adhered my card together it was time to work on the sentiment. I first die cut a banner out of some grey cardstock and I then took the ‘There’s Snow One Like You’ sentiment from the Winter Wonderland stamp set and cut it apart., leaving out the ‘snow’. I could have masked it, but it’s easier if it’s cut I find. I then stamped down the ‘There’s’ part onto my banner first, then I masked off the ‘One Like You’ part – just leaving the ‘On’ section clear masking. I inked it up, removed the masking tape and turned the stamp around so I could stamp ‘No’. Once I stamped that down, I turned the stamp back around, and stamped the additional ‘One Like You’ like normal. Now my sentiment reads ‘There’s No One Like You’ and that worked much better, since I wasn’t doing a winter card. I adhered the banner with foam tape onto the centre of my shaker panel and the card was complete.
Here’s a video to show how I created my card from the start to finish.
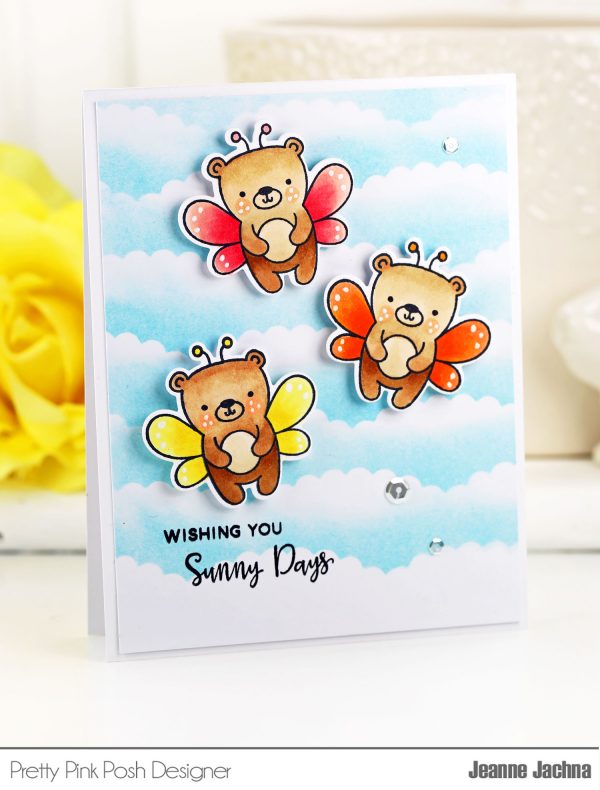
I hope you enjoyed my card and tutorial today. I wanted to make a simple yet effective shaker card today and I love doing this with the Storybook dies, they’re so versatile and fun to work with. Also, altering stamp sets is a fun way to stretch them for more life!
Thanks for stopping by! – Eloise