
Creating A Scene with Clarity Brushes + Video
Hello everyone, Eloise here and I have a video showcasing a couple of the brand new products that released on March 1st. I’m using the new Friends Forever stamp set along with the Stitched Notes die set for my card today.

To begin my card I stamped out some of the new images from the Friends Forever stamp set on some Copic Marker friendly paper with Memento Tuxedo Black ink. I then used various colours of Copic Markers and coloured all my images, then used the coordinating dies to cut them all out. Once my images were coloured in I could work on my background. I die cut two panels using the rectangle die from the Stitched Notes die set out of some watercolour paper. I then used the older Stitched Borders 1 dies and cut the curved die out of one of the pieces, to resemble a grassy hill.

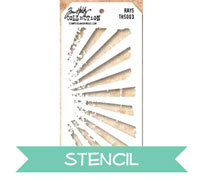
Now my pieces were ready to go I pulled out my Clarity Stencil Brushes and a few Distress Ink colours, Twisted Citron and Mowed Lawn for the grassy hill and Mustard Seed and Fossilized Amber for the sunrays. I first coloured my grassy hill with the greens, I just brushed the colour on, going back and forth horizontally across the card to get a nice blend. Once I did both colours I set it aside and moved onto my sunrays. I used a Tim Holtz stencil for this, I could have used masking tape to mask the rays off, but the stencil was easier. I did the same thing with the brushes for the stencil, instead I moved my brush vertically up and down the stencil a lot more than horizontally, since that’s the way the stencil openings go. Once both pieces were done I could assemble.

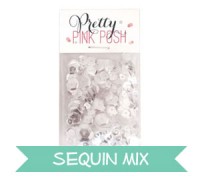
I adhered a blue piece of cardstock to my card base, and then I used some fun foam to adhere my sunrays panel. Before I added my grassy hill on top I stamped down the ‘You’re my Favorite’ sentiment on top with black ink. I then added the grassy panel with foam tape and added my absolutely adorable coloured images on as well. This set is so adorable, it’s insane! Once all my images were added and my scene was complete, I added some 4MM, 6MM and 8MM Sparkling Clear Sequins to finish off my card.
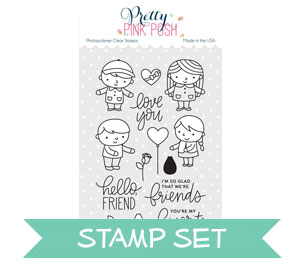


- Friends Forever stamp set
- Clarity Brushes: Amazon // Ellen Hutson // Simon Says Stamp
- Tim Holtz stencil: Amazon // Simon Says Stamp
- Tim Holtz Distress Inks: Amazon // Ellen Hutson
- Sparkling Clear Mix
I hope you enjoyed my card today and have already purchased some of the new release! You guys are absolutely going to love the new products Paulina has designed, they’re so much fun!
Thanks for stopping by today and I’ll catch you next time.
– Eloise
Love it!
This card is absolutely precious!
This is so beautifully done!! Love your technique of using the clarity brushes for your sunburst background and the grassy knoll!! So bright and cheery!
Very cute!