
Tutorial: Seed Bead Shaker
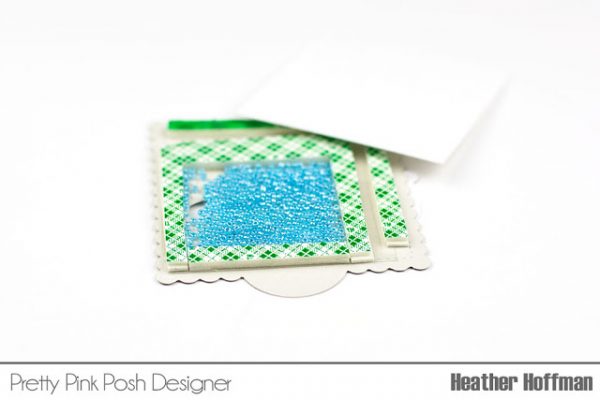
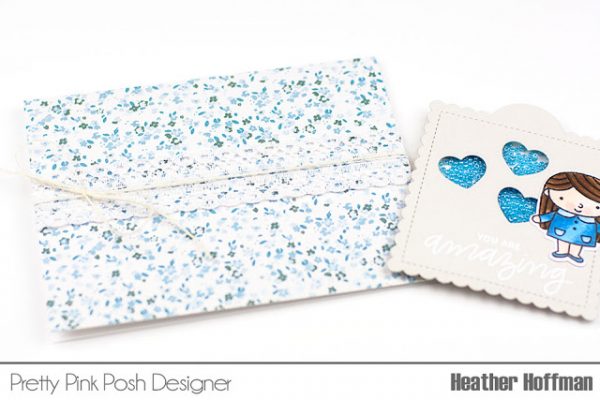
Good morning Pretty Pink Posh friends! Heather here this morning – and I’m super excited to share a little card tutorial with you this morning using some of the new release! My card today actually started with my pattern paper – I loved the tiny blue flowers, and decided to base my card around that color. I also used some little coordinating dies to make my shaker element, then filled it with some brand new seed beads that are releasing for spring!

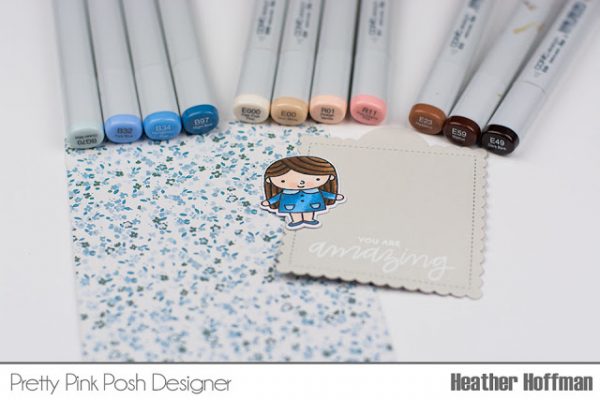
First up, I stamped and colored this adorable little girl from the new upcoming Friends Forever Set, then die cut her with the coordinating dies. My sentiment from another new set, Everyday Greetings, was heat embossed on a shape die cut with a new die set called Scallop Square Tags. (You can see the Copic colors I used below – please excuse the one that is upside down on the far left!)

I love the way seed beads work in a shaker – they move so well! And these new spring colors are all fabulous – wait until you see them!

Thanks so much for stopping by today! Hope you are having a wonderful day!!!
I am a huge fan of shakers and using seed beads is a nice change up. I love this card!
How fun!!! Love this technique and the card!!
Pretty! I love your patterned paper and the trio of shaker hearts is sweet! TFS!
LOVE this Heather!
What a sweet card! Thanks so much for the tutorial. It is really helpful to see how you did the back of the scallop tag, and how you kept the seed beads just under the die cut part. Love your design and paper, too!
Absolutely precious!! I love the darling little girl and pretty Hydrangea seed beads.
Very cute, love the beads in the shaker