Tutorial: Easy Holiday Cards
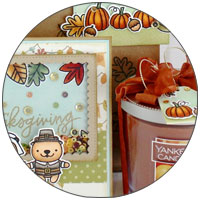
Hello Everyone, Joni here sharing easy to make holiday cards.

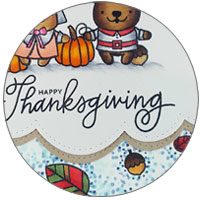
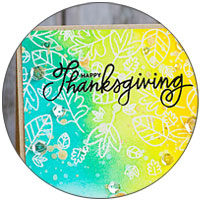
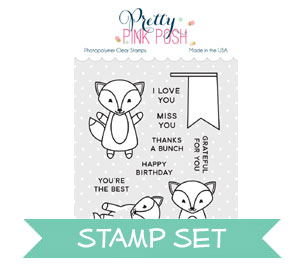
To begin, I cut the black cardstock to size 4 ¼ X 5 ½. I stamped the “season’s greetings” sentiment from Christmas Friends stamp set using a Citron embossing powder by Recollections. The cute snowman is from the Happy Snowman stamp set, the bird and gift are from the Christmas Friends stamp set. I also used the Happy Snowman Coordinating dies to cute this cutie.
For the snow background of the card I used the Uniball white broad pen and drew some different sizes of dots to make some snowy background, this part is relaxing.

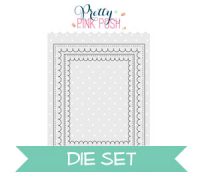
Next I die-cut the black panel using an all time favorite, the Scallop Frame Dies (large one). I did this to get the size of the card. This card is originally the size of the large scallop die.

I then, I die-cut it again with antique gold cardstock from Paper Source.

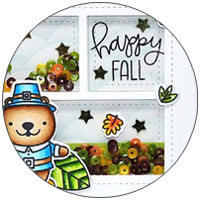
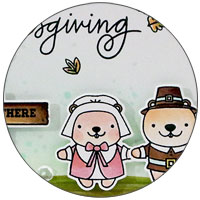
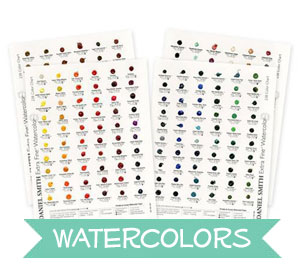
I colored the images with copic markers. The beanie hat for the snowman is the same from the boy, I just fussy cut it and colored it red. The boy images are also from the Christmas Friends stamp set.

I couldn’t help but add some Diamond Stickles to the beanie, gift, scarf, and bird.

On this card, I used the boy image. I also added some Sparkling Clear sequins to finish off both cards.


I hope you enjoyed these easy to make cards for the holidays. Until next time, have a fantastic day!


")
")
")
")
")
")