Halloween Theme Week- Day 6

Hi everyone! Pretty Pink Posh is having a themed week which is Halloween. Yeap, it’s already October you guys.. time flies really fast. I actually don’t celebrate Halloween here in Indonesia but I do really enjoy making Halloween projects since I find it’s an interesting holiday. Everyone is decoated and dressed up, I mean, come on, it must be super fun!
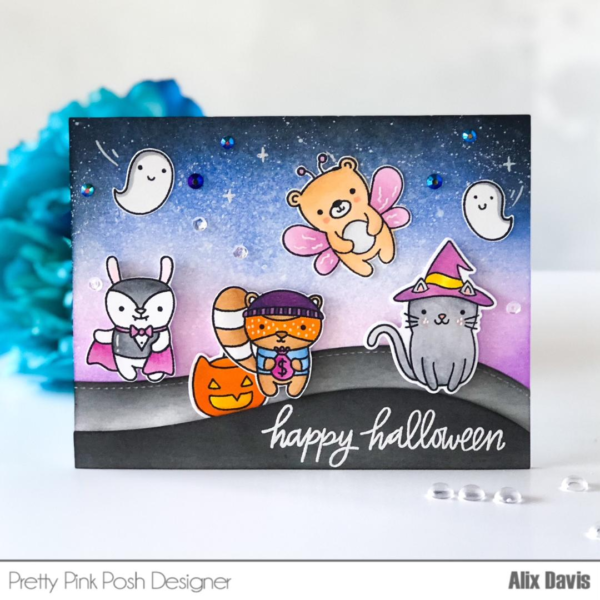
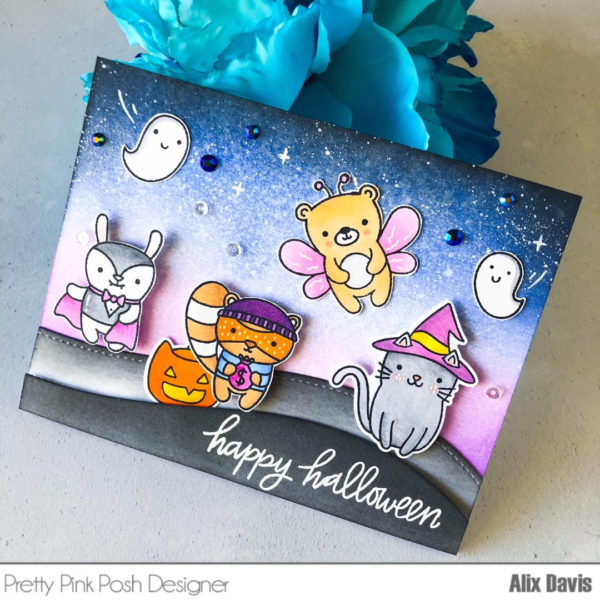
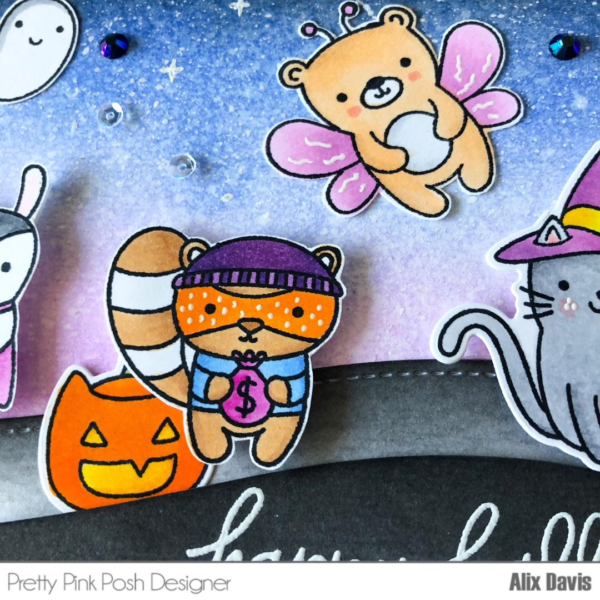
I used the brand new stamp set called Halloween Pals which is a 3″x4″ stamp set that include these adorable dressed up puppy and kitty with their own jack-o-laterns. Super cute! I fall in love with this set as soon as I saw them on the preview. They are stamped with Versafine black ink which is a perfect choice if you are crazy about watercoloring just like I do. After I finished with the coloring I use the coordinating dies to cut all the pieces.

I use the stitched pumpkins from Fall Tags Dies, I cut them three times on deep orange cardstock. As for the background, I blended Chipped Sapphire in the center part and Bundled Sage Distress Inks at the outer part. Dark background to me really adds that spooky vibes to a Halloween card. I also stamped some bats from the older stamp set called Halloween Friends with black dye ink. After I finished preparing all the elements I want, I start to arrange them all together. And last but not least are the jewels, I’m obssesed with them a little bit too much that I feel to add them on every single cards I made. Today I used the pretty Blue Lagoon Jewels that perfectly match today’s card color combo.

As an early Halloween treat during theme week, we’re having a 15% sale on all items in the Halloween category. No coupon necessary.
Thank you so much for stopping by today. I hope you all have a wonderful day!