Pretty Pink Posh Shop

|

Coming Soon + Giveaway

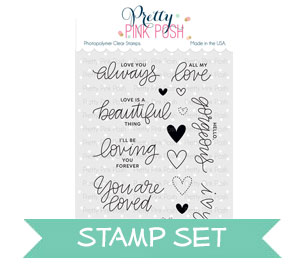
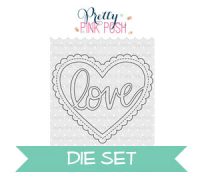
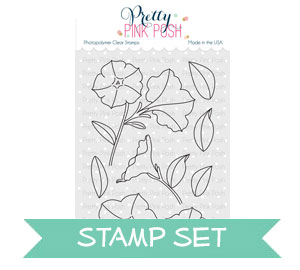
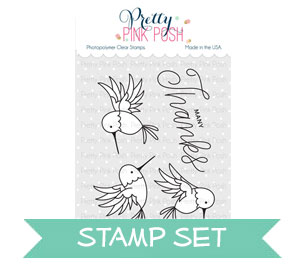
It’s almost time for the March release and I am so excited to be releasing these products. We have two new stamp sets with coordinating dies, four die sets (including the next installments in our popular scallop series) and the gorgeous, pastel Easter Mix!

giveaway_graphic

Which items have caught your eye this month? One lucky comment will win a $50 Pretty Pink Posh gift certificate, so tell me what caught your eye and how you plan to use the product(s)!

Giveaway winner is Alanna Moses!

Tutorial: Shaker Magnet

shakermagnet1Hi friends, Lisa here today!

I’m back to share another project using sequins and seed beads on something other than a card. This month I have a refrigerator shaker magnet for you!

This project begins by stamping and die cutting all of your necessary pieces. I’ve used stamps and dies from the Darling Friends (previously released) and Rainy Days sets. You’ll need one die cut balloon as your backing, one as your base, one from acetate and one to paper piece. Cut four small clouds and one little furry friend.

shakermagnet2

Next, stamp your balloon onto patterned paper to be trimmed out and paper pieced. You’ll see that I’ve stamped on five different patterned papers and once more for the horizontal band. This is a great way to use up little scraps. If paper piecing is not your thing, you can color the balloon!

shakermagnet3

Glue your balloon together then trim off all of the white cardstock.

shakermagnet4

To add dimension for a shaker, die cut the balloon from fun foam. You will only need the top circle and basket portions. Foam tape would work here as well.

shakermagnet5

Adhere the blank balloon die cut to the back of the stamped one. I took this step for added stability. Add fun foam to the stamped/die cut balloon. Adhere the paper pieced balloon and basket to the die cut acetate.

Note: The die cut pieces are larger than the paper pieced balloon & basket. Trim excess acetate, fun foam and paper.

shakermagnet6

Use a thin strip of foam tape on the outer stamped ropes to create the shaker portion of the magnet. Fill this area with 4mm sequins (Lemon Meringue & Aquamarine) and Sparkling Clear Seed Beads. Sandwich balloon pieces together with adhesive or glue. Add a magnet to the back.

shakermagnet7

To cover the foam tape showing through the acetate, glue on twine as tie down ropes. The other side can be covered with the furry passenger!

Glue two die cut clouds together (from the Rainy Days coordinating dies) then add one to the front of the balloon and one to the back for added dimension. Decorate the balloon with seed beads and the clouds with sequins.

shakermagnet8

Below are the links to the Darling Friends set, which PPP designed exclusively for Simon Says Stamp.

Pretty Pink Posh Pretty Pink Posh

There are many dies and sequins in the shop that would make great refrigerator magnets. The possibilities are endless!

Thanks so much for visiting today. See you next month!

lisa2

| |

Tutorial: DIY Easter Basket

Pretty Pink Posh

Hello everyone, Joni here with another tutorial. Today I’ll be showing you how to create a DIY basket for your Easter goodies.

To begin, I cut my cream cardstock to measure 6×6 inches and scored each side by 1 ½ inches.

Pretty Pink Posh

Next, I cut all four sides. Just as the green lines I drew on this cardstock below.
Pretty Pink Posh

Next, fold the sides of the cardstock that was cut to make it into a box for a basket.

Pretty Pink Posh

To add decorations on the basket I die-cut the picket fence from Pretty Pink Posh Picket Fence die. This will be added at the bottom of the box for added interest.


Pretty Pink Posh

I also added this fuchsia tissue paper to put inside the basket after cutting into strips. This would be so nice too if you have a green tissue paper (to look like a grass).

Pretty Pink Posh

For added simple décor on my basket, I added the bunny from the Holiday Pals stamp set and Holiday Pals Coordinating die set. The gold bow on the bunny is from Twine and Bows dies that was die-cut on a piece of gold cardstock. I also added some flower sequins from Summer Flower Sequins Mix. For the sentiment, I used the Brushstroke Wonderful from Essentials by Ellen.

Pretty Pink Posh

Here’s a look at the basket all assembled and decorated. You could use so many fun stamp set, dies and sequins to make it your own style.

Pretty Pink Posh

I hope you guys enjoyed! Have a wonderful week.

sig name

|

Valentine Challenge Winners

It’s time to announce the winners of the Valentine challenge we hosted. It truly was a joy to see all the work submitted and read how you were inspired by the cards by the team.

It was such a hard decision picking the winners, but ultimately, it came down to the use of products and how clearly we could see the entry. I truly wish I could award you all prizes for joining along!

Pretty Pink Posh

Pretty Pink Posh

Pretty Pink Posh

If you are one of the winners, please email me within 7 days to claim your $30 gift certificate. Maria, as a special mention, you’ll receive a small gift as well! Please email to claim your prize. border

Would you like to see more challenges occasionally? I would love to hear your thoughts!

Thank you to everyone who joined along in the challenge. Have a great rest of your Sunday!

| |

Organized Sequin Storage + Giveaway

Pretty Pink Posh

Hi everyone, it’s Nina-Marie here today!

Like many of you, I am always looking for great storage solutions to keep my supplies and tools organized. Over the last two years, Paulina has gotten emails and comments asking for the best way to store her small sequins and embellishments and we are so excited to finally share our recommended storage in today’s post!

Sequins and other small embellishments can sometimes get a little tricky because they are so tiny and very easy to not only lose, but keep organized too. Well today I am sharing with you how simple organization can be using the Tiny Container Tray made by Bead Storage Solutions! (We found the best price is from Amazon, so we’re linking to their site.)

Pretty Pink Posh

Pretty Pink Posh

I found these boxes online about 10 months ago and I have loved them! Not only does it allow me to keep myself organized (which is so important!), but it also looks pretty too. :)

The tray holds 78 individual containers and the entire tray is about 14” x 10” in size; containers are about 2” x 1”. A single bag of the Pretty Pink Posh sequin packs fit into a single container, which really optimizes the space!

Pretty Pink Posh
Pretty Pink Posh
I love how handy this is too when I am working; I simply have to pull out the individual containers that I want to use from the tray and sit them on my craft table without taking up a lot of space.

Pretty Pink Posh

I’ve put together a video, giving you a closer look at the Tiny Container Tray so you can see if it’s right for you.

Watch the video above   I Watch the video in HD on YouTubeborder

Our personal favorite option is Storage #1 (which is what we referenced in today’s post and video) but if you have larger quantities of certain sequins, or perhaps bigger embellishments like beads and buttons, you might like Storage #2. It really comes down to your craft stash and personal preference.

Pretty Pink Posh Pretty Pink Posh
We wanted to have a giveaway in this post that both new sequin collectors, or ones who have been collecting a while, would enjoy. Enter the giveaway to win one of these storage trays and a $50 Pretty Pink Posh gift certificate (so you can fill those trays up even more)!

a Rafflecopter giveaway
If you have questions on anything in today’s post, be sure to leave a comment. We hope you enjoyed this post!
xoxo, Nina-Marie

| |

Tutorial: Flat Shaker Card

Hello and Happy Friday!

I’m so excited to have Liz here on the blog sharing a tutorial on how to create easy shaker cards using the new Mini Heart Confetti! No need for fun foam or thick mounting tape with this tutorial…

DSC_0197 Valentine Flat Shaker Upright pic

I do love this time of the year, and as Valentine’s Day approaches, I thought what better way to send to family and friends, a small card filled with adorable mini hearts in the form of a flat shaker so that I could easily mail out.

Here, I used this adorable little penguin and bear from the Winter Friends stamp set along with adding a tiny bow on each one. I must say, this set is one of my favorites and can be used all year round. Not just for Christmas.

DSC_0221 Valentine flat shaker

These are so much fun to make and go quickly for creating several of them. You won’t want to stop with just one. Also, it’s so much fun to play with these adorable Mini Heart Confetti in Iridescent and Gold colors. Here is a little tutorial along with measurements.

DSC_0240 step one

Step one: Cut a piece of card stock A2 size ( 4 1/4″ x 5 1/2″) and score in the middle at 2 3/4″

Step Two: Cut a smaller piece of cardstock ( 2 1/2 ” x 4″) that will be used for decorating

DSC_0173 Step two

Step Three: Punch out a heart on the right hand side or desired area using a punch or die

Step Four:  Next, I embossed the blue rectangle using We R Memory folder called Chain and added this adorable scallop border from the Stitched Border 1 die collection from Pretty Pink Posh and adhered it to the cardstock.

DSC_0175 Step three

Step Five: Since I needed to punch out another heart directly on the card base, I used the blue cardstock to help me align where I needed to punch out the heart. Keep in mind, do not glue it down, but instead use it as a placement to help you.

DSC_0182 step four

As you can see, now you have the card base with the heart punched out along with the smaller blue card stock as well.

DSC_0188 step five

Step Six: Add a piece of acetate on top of the heart to cover it. Here, I cut approximately 2 3/4″ x 2 rectangle.

DSC_0190 step six

Step Seven: Now add adhesive on top of the acetate starting around the entire heart, than along the sides of acetate. Think like you were adding foam mount and creating a wall around the heart to keep the sequins in. Here, I added in these adorable Mini Hearts from Pretty Pink Posh in Iridescent and Silver which I love how it sparkles.

DSC_0197 Bunny upright blue color

Final Step: Add the smaller card stock on top of the card base aligning it with the heart shape and finish decorating. Here I used a sentiment from the Sending and Wishing set from Simon Says Stamp along with this adorable bunny from the Holiday Pals set from Pretty Pink Posh. Again, this set is not just for Christmas as you can see.

DSC_0198 bunny laying down blue

Don’t want to forget, I also added in these adorable little mini envelopes from the Birdie Notes set (releasing in March) where I also used the little tiny heart it came with.border

If you want another great Valentine post, Liz created an additional tutorial over on her blog for a candy treat holder. It’s absolutely darling and uses the same stamps from this post! Read her post HERE.

candytreat

I’ll be back on Valentine’s Day with my next Favorite Free Fonts feature. It’s been a while since I did the last one and I know you all love them!

From the design team and I, we hope you have a LOVE-ly weekend.

|

Simon Says Stamp Feature + Challenge Reminder

blogfeature

Hello friends!

I wanted to pop in and share about the recent feature we had over on the Simon Says Stamp blog. Nina-Marie create the most adorable card using the Darling Friend stamp set that was designed exclusively for SSS back in September. This set was initially intended just to be sold in September, but it’s been a popular one, so they’ve been stocking it ever since. If you haven’t had a chance to get it, be sure to add it to your cart soon; I don’t know how long it’ll be available!

set1 set2

I wanted to remind you that the Valentine Challenge I have here on the blog is ending on February 14th, so there’s only a couple more days. This is a great way for share your talent and gives me the opportunity to see what you can create with your Pretty Pink Posh products. I’m always on the lookout for new talent!

valentinechallenge2border

Thank you for spending some time with me today. Be sure to check out Nina-Marie’s great post/ video and I cannot wait to see more of your entries in the Valentine challenge.

| |

DIY Treat Bag Tutorial

Pretty Pink Posh

Hello Everyone, Joni here for a treat bag tutorial for Valentine’s Day (but you could adapt it for other occasions). You can simply change the color of the patterned paper and sentiments to make it work to the theme of your choice.

Pretty Pink Posh

For this project I cut a piece of cardstock like the image below 4 ½ by 3 inches.

Pretty Pink Posh

Next, I cut the middle side of the piece of cardstock like the image below, then fold to make a box.

Pretty Pink Posh

Next, I put a double sided tape on both sides of the box and cut the tag using the Stitched Duo 1 dies.

Pretty Pink Posh

For assembling, I adhered both of the tags on both sides of the box. This box can hold 3 Ghirardelli chocolate square.

Pretty Pink Posh

To decorate my box, I kept it simple. I die-cut a black cardstock using the oval tag from Stitched Tags die and I also used the bow die-cut from Twine and Bows dies. I also used the stamp and dies from Holiday Pals for the tag.

Pretty Pink Posh

Here’s the look of the finished goodie tag side view.

Pretty Pink Posh

Here’s the front view.

Pretty Pink Posh

I hope you guys enjoyed this tutorial for your next goodie project. Thank you so much for stopping by and don’t forget to tag #prettypinkposh on Instagram with your projects featuring our stamps, dies and sequins!

sig name

|

Valentine Challenge

valentinechallenge2

Hello, friends!

For quite some time, I’ve wanted to post a challenge where YOU could share your Pretty Pink Posh creations. This is the perfect opportunity for me (and others) to see your stunning work. Many of my designers started as customers and once I saw their work, I invited them to join the team. Now is the time for YOU to share your creativity and beautiful works of art!

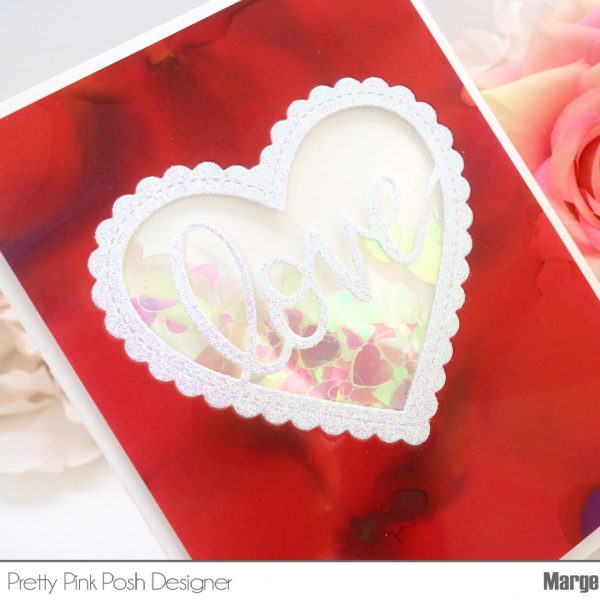
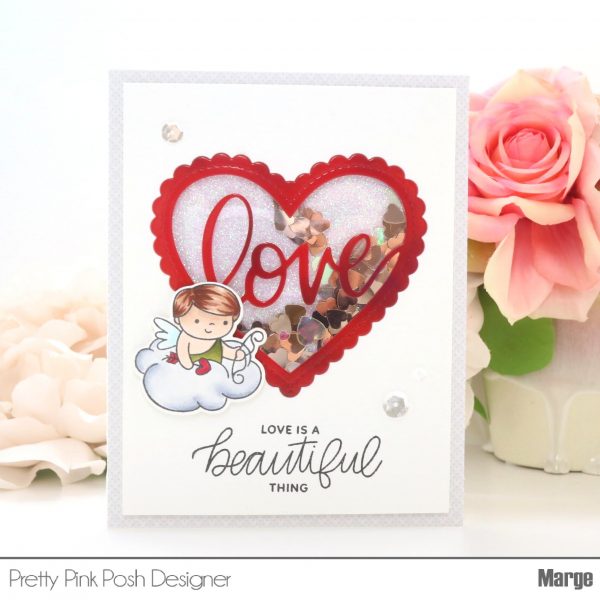
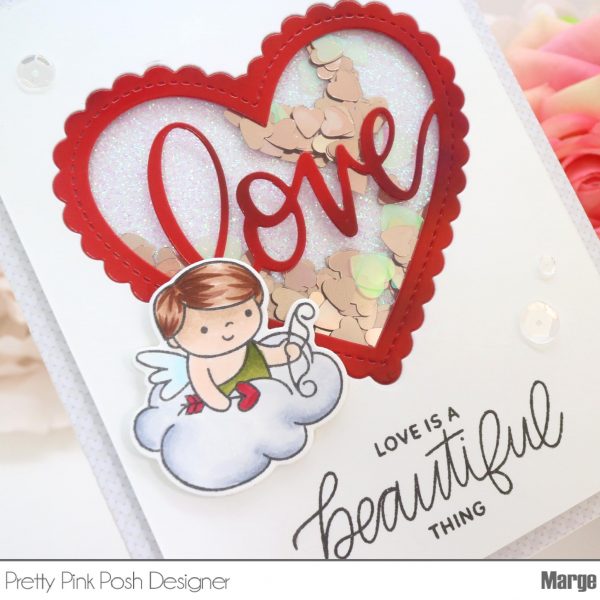
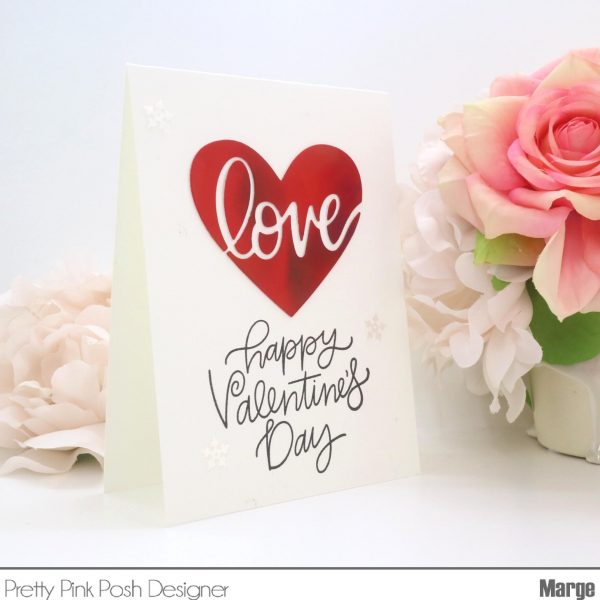
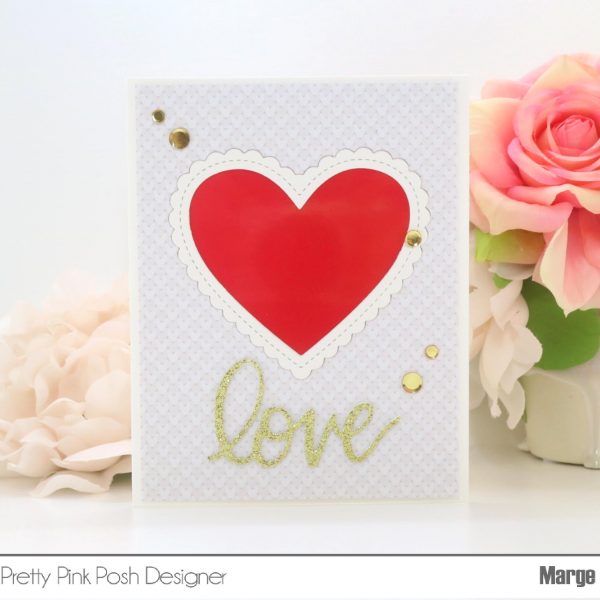
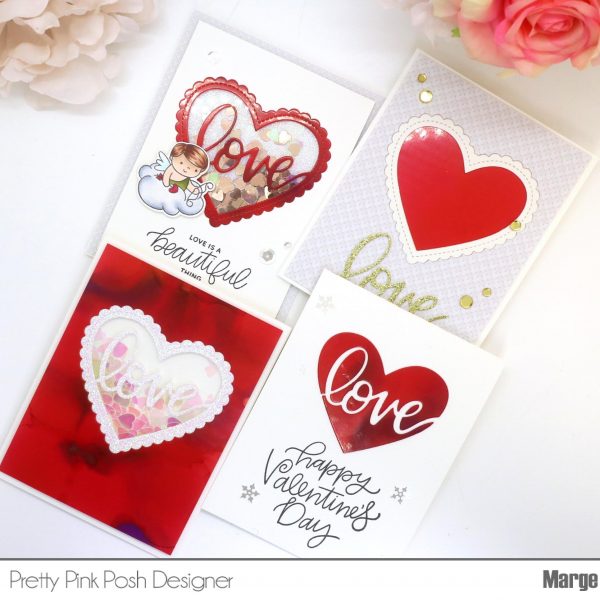
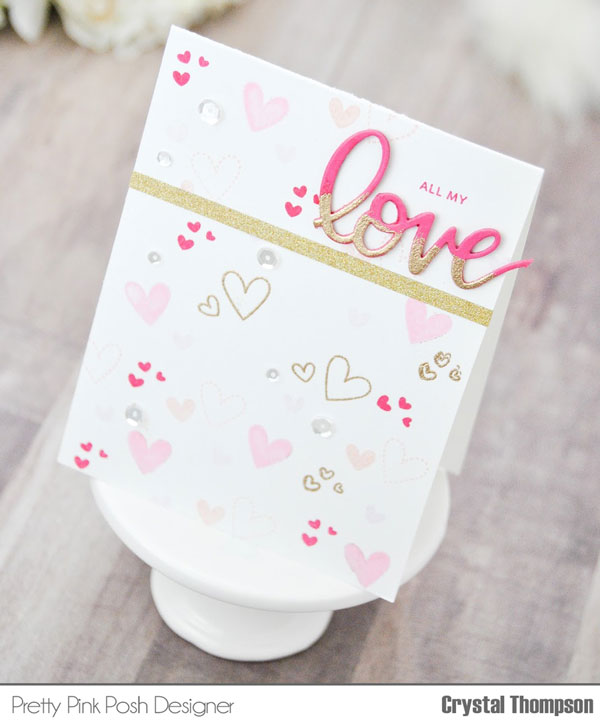
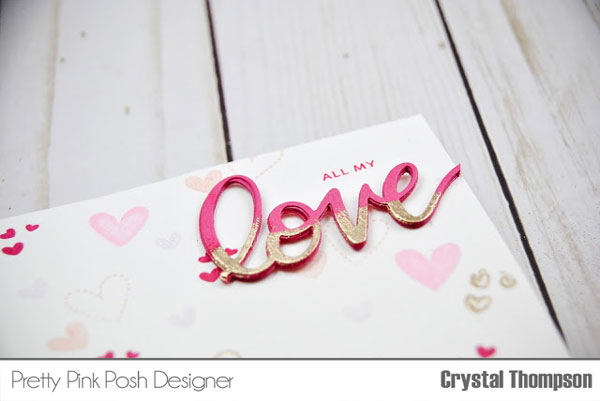
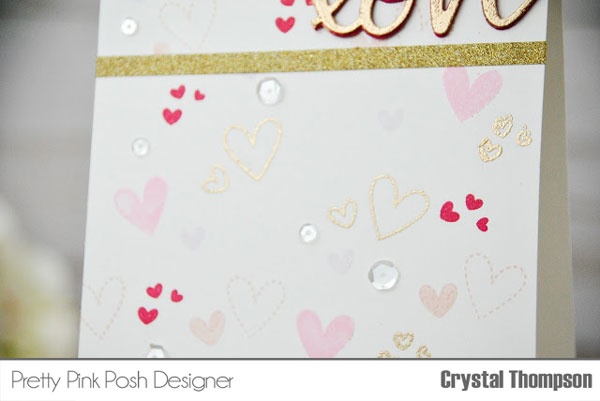
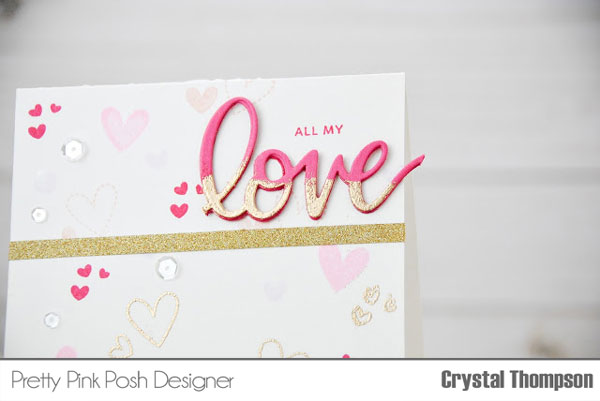
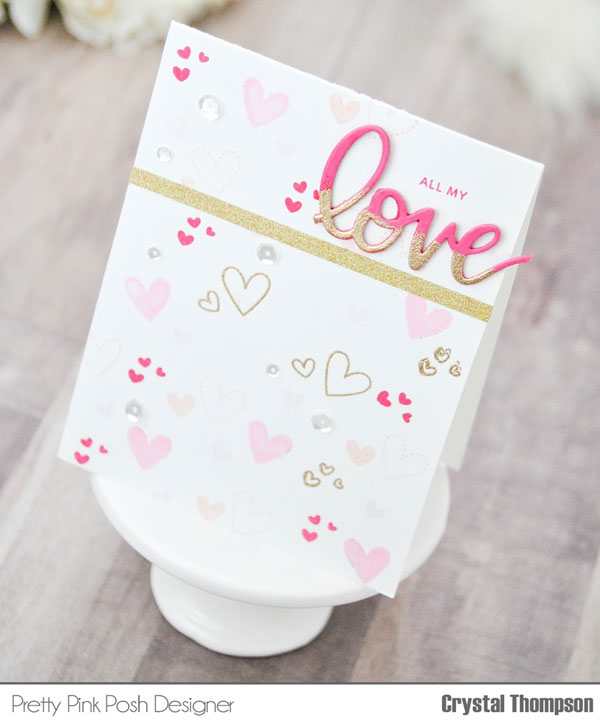
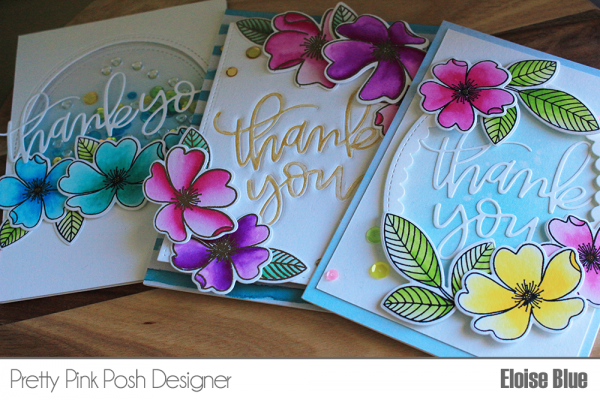
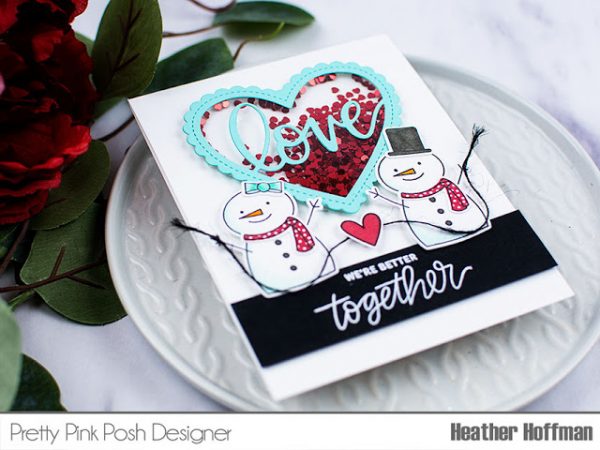
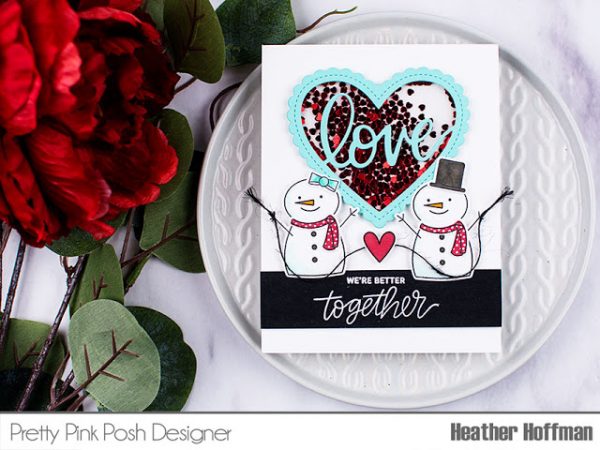
I pulled four different cards that some of my designers have created to serve as inspiration for this Valentine challenge. You could be inspired by the colors they used, stamps, layouts… it’s really up to you and your interpretation!

valentinechallenge

 Loading InLinkz ...
border
If you are social on Instagram, be sure to hashtag #prettypinkposh and tag me @prettypinkposh so I can be sure to see your work there as well! I love seeing what my customers and readers create and as I’m looking to the upcoming months, I just may be in need of some new talent to join the team as a guest designer!

I’m really looking forward to seeing what you create!

|

New Confetti + Store Restocked

Happy February 1st!

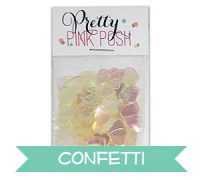
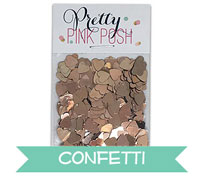
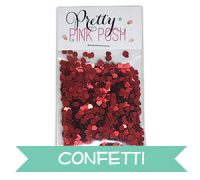
If you’ve been reading the blog posts this week, the team and I hinted there was going to be new mini confetti releasing soon. Today is the day! Due to the huge demand of the mini stars, I thought I’d sneak in a surprise release and have mini hearts available when I restocked the store! See the newest products in the Pretty Pink Posh Shop HERE.
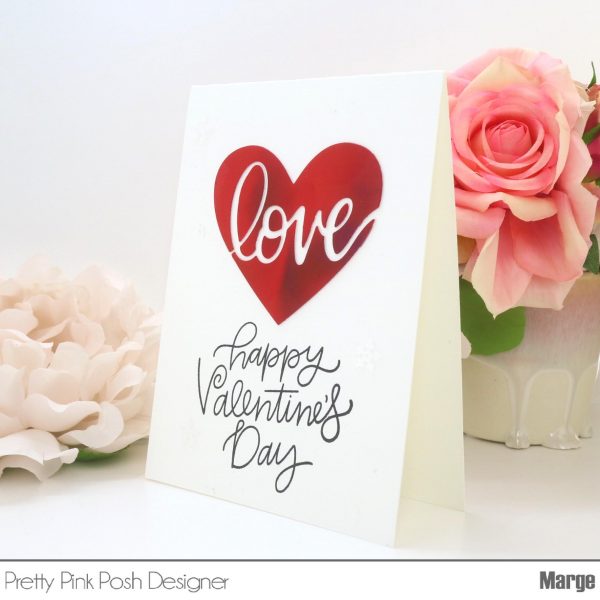
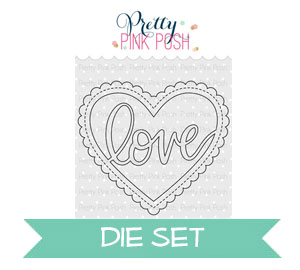
Pretty Pink Posh

As many of you know, the birthday celebration and sale prompted a LOT of items to sell out. Today I’ve restocked the store and almost everything is back in stock– there’s a few exceptions, but those items are ordered and will be here very soon.

I did the very best that I could to get enough inventory back in stock based on the waiting lists, but if items sell out quickly, they will be restocked.

Pretty Pink Poshborder

In this post, I wanted to address a few frequently asked questions…

FAQ

  1. Where is my order? If you have placed an order on my site, you can log into your account and see if the order has shipped, along with a tracking number.
  2. Why is my tracking information not updated? Unfortunately, once I ship off a package, it is out of my hands and in the hands of USPS. Sometimes they’re really good about scanning at each stop the package makes, and other times, they won’t scan an update for days. Sadly, the only information I know, is what you also see when you track the package.
  3. Can I carry your products in my store? Due to the current demand and my passion for providing quality service to my current retailers, new wholesale accounts are not being accepted. If you would like to be put on the waiting list, please send me an email with your store information.
  4. Why do your items sell out so quickly? As my long-time readers and customers know, I am a one woman business and an itty bitty one at that. I do my very best to order enough products for a release, but every now and then, a few products are more popular than I predicted. As I grow, I’m trying to order bigger quantities, but even then, each item is hand packaged, so I’m limited in how many I can make available at one time.
  5. How can I be on your design team? This is one question I get quite often. I previously did a series called Design Teams 101 where I shared some information and tips and also asked some questions from other popular stamp company owners. It’s a great resource if you want your work to be seen and are looking to be on a design team in the future.border

I know I say it often, but thank you for all your love and support. I’m looking forward to releasing even more new products, sharing inspiration and stopping in to chat with you here in 2016!