Pretty Pink Posh Shop

January 2020 Product Reveal + Bundle

Hello friends! It’s time to reveal all of the individual products that are part of the January 9th release,

Here’s a look at the six new stamp sets that will be available for purchase: Birthday Borders, Large Floral Hearts, Love, Love Borders, Party Friends and Pond Friends.

Pretty Pink Posh: January 2020 Product Reveal + Bundle

Here are the individual die sets that will be available: Balloon Shaker, Birthday Frame, Happy Birthday to You Script, Happy Valentine’s Day Script and You’re Invited Script.

Pretty Pink Posh: January 2020 Product Reveal + Bundle

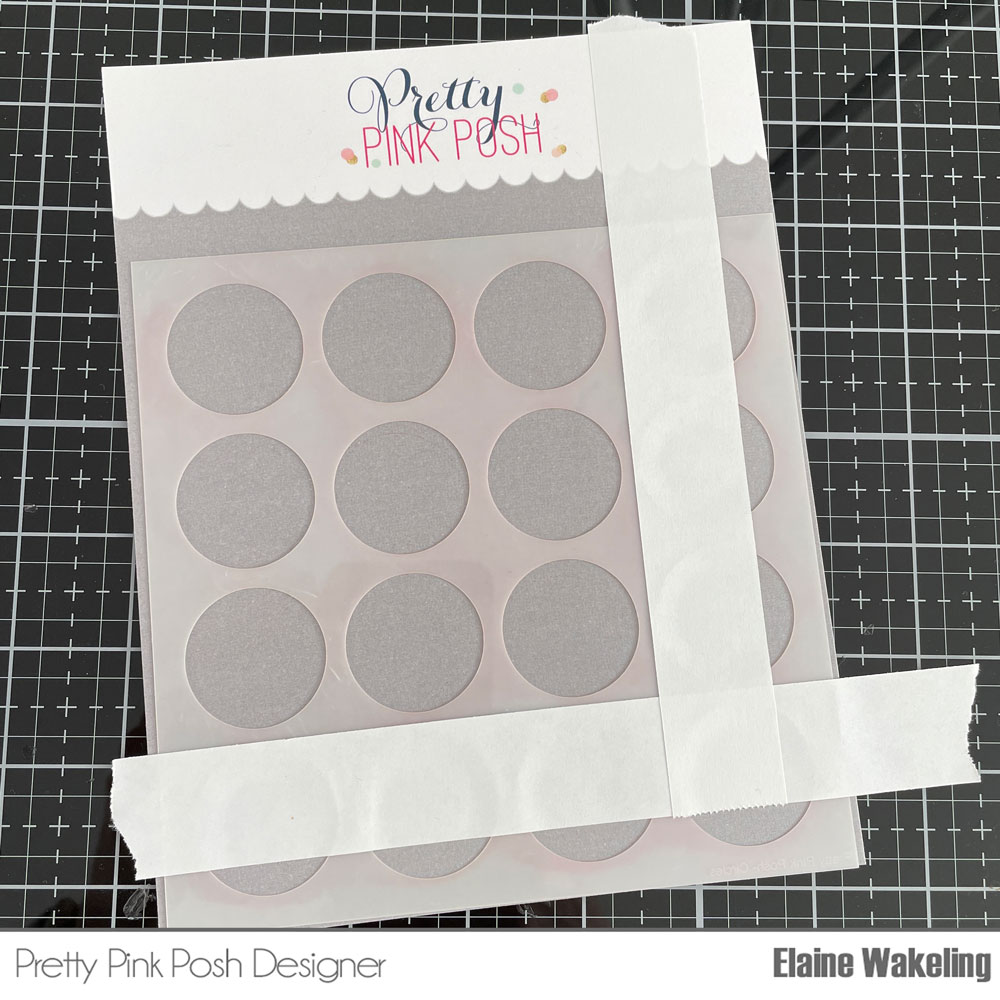
This release we have four new stencil packs, including two that are layered stencils (they have two stencils included and they can be used individually or together)Birthday Background, Layered Birthday (2 pack), Layered Hearts (2 pack) and Love Background.

Pretty Pink Posh: January 2020 Product Reveal + Bundle

We have a limited amount of bundles available where you can buy the whole collection in one easy click. You can get it all for 10% off AND you will automatically get our free not-yet-released stamp and die that we are offering this month.

Pretty Pink Posh: January 2020 Product Reveal + Bundle

Lastly, here’s a look at the free gift that will be included with orders starting today, January 8th. Remember, these are while supplies last (I did order quite a bit, but cannot guarantee they will last through the end of the month).

Pretty Pink Posh: January 2020 Product Reveal + Bundle

We will see you tomorrow as we show you the new products in a video, the individual products go live in the shop and we’ll share two cards using the adorable free set!

| |

Sneak Peek: January 2020 Stencils

Hi friends! Angelica here and I am excited to showcase some of the new stencils coming in the January 9th release. Lets get started!

Pretty Pink Posh: Sneak Peek-January 2020 Stencils

My first set of cards showcases the new Layered Hearts stencils. I sprayed the back of the stencils lightly with Pixie Spray, then picked 2 ink pads and blender brushes for each card.

Pretty Pink Posh: Sneak Peek-January 2020 Stencils

I used The Stamp Market Bubble Gum and Blush inks for the pink card. I blended Blush ink over Layer A, and Bubble ink over Layer B. Before taking Layer B off, I spread a thin layer of Nuvo Moonstone Glimmer Paste over it. I carefully took the stencil off, then cleaned the stencil with soap and warm water. I picked Raspberry Sorbet card stock to coordinate with the pink inks.

Pretty Pink Posh: Sneak Peek-January 2020 Stencils

I used Pinkfresh Studio Ocean Breeze and Aquamarine inks for the teal card. I did the same steps as the pink card. I picked Cookie Monster card stock to coordinate with the teal inks. I trimmed both panels with a stitched rectangle die, and mounted them onto their matching card stock. I attached them to card bases with foam adhesive, and finished the cards with a heat-embossed sentiment from the new Love stamp set.

Pretty Pink Posh: Sneak Peek-January 2020 Stencils

I used the new Layered Birthday stencil set to make my next card.

Pretty Pink Posh: Sneak Peek-January 2020 Stencils

I started with the balloons stencil (Layer A). I attached it on top of masking paper, traced the balloons with pencils, and quickly fussy-cut them out. I attached the stencil to a white card stock panel, covered the balloons with the masks, and started blending ink with a blender brush, taking off one mask at a time. Once I finished, I used a T-ruler and glitter gel pen to draw balloon strings. Next, I attached the banners stencil (Layer B) over the balloons, and added Gina K Designs Bubblegum Glitz Glitter Gel. I set the panel aside to dry, and cleaned my stencil thoroughly with warm water and soap.

Pretty Pink Posh: Sneak Peek-January 2020 Stencils

I trimmed the panel edges down, and attached it a card base. I glued a thin strip of black card stock to each side, and added a heat-embossed sentiment from Piñata Party stamp set.

Pretty Pink Posh: Sneak Peek-January 2020 Stencils

Be sure to join us tomorrow as we reveal all of the new products in picture form and the January 2020 Bundle is available! Then on January 9th, all the individual products will be available.

I hope you enjoyed this sneak peek of the new layered stencils. Have a great rest of your day!

| |

Sneak Peek: January 2020 Dies

Hello crafty friends. Happy New Year! It’s Yoonsun here to share a couple of my happy birthday cards with the new dies from the January 9th release. I’m featuring the Birthday Frame, Happy Birthday to You Script and Balloon Shaker dies.

Pretty Pink Posh: Sneak Peek- January 2020 Dies

I started by die cutting the Birthday Frame from watercolor paper. I then inked some Distress inks to the Birthday Frame in rainbow order using blender brush. After inking up, I applied water to lighten colors.

Pretty Pink Posh: Sneak Peek- January 2020 Dies

Once the frame was dry, I adhered the acetate behind the frame – made a shaker window panel. I added sequins to the center of the gray card – I used Mini Sparkling Clear Flowers, Mini Gold Star Confetti, 6mm Sweetheart Mix and Sparkling Clear Mix. I then covered the birthday frame over the card. For the sentiment, I die cut the word Happy Birthday to You from white cardstock, then added it to the center of the card (as shown in the picture) using foam tape.

For my second birthday card, I used the Balloon Shaker die and the Birthday Borders stamp set. For the background panel, I die cut stitched rectangle panel from red cardstock using the Stitched Notes die. I hear embossed the birthday borders with clear embossing powder, then added white pigment ink all over the panel.

Pretty Pink Posh: Sneak Peek- January 2020 Dies

I die cut the Balloon Shaker from white cardstock, I die cut a bow from the Twine and Bows die set from glitter gold cardstock. I mounted all elements as shown in the picture using foam tape, and then embellished with a few Sparkling Clear Mix.

Pretty Pink Posh: Sneak Peek- January 2020 Dies

Thank you so much for stopping by! Stop by tomorrow for a look at the new stencils!

Hugs,
Yoonsun

| |

Sneak Peek: Party Friends + Birthday Borders

Hello, Gemma here with a sneak peek to share with you all. Today I have two cards featuring the new Party Friends stamp set, along with the Birthday Borders stamp set. These sets work so well together.

Pretty Pink Posh: Sneak Peek- Party Friends + Birthday Borders

For my first card, I began by heat embossing the candle border from the Birthday Borders stamp set repeatedly on a piece of patterned paper, using white embossing powder.

Pretty Pink Posh: Sneak Peek- Party Friends + Birthday Borders

Next, I stamped and copic coloured the cute koala and birthday cake image from the Party Friends stamp set, using colours to echo the background paper. I then used the coordinating die to cut it out.

Pretty Pink Posh: Sneak Peek- Party Friends + Birthday Borders

I cut a panel of white card, layering it on to a piece of yellow card to give a small border. I stamped a sentiment from the Party Friends stamp set. I layered the patterned paper and the card panels to my card base, then I adhered the koala and cake image using foam tape. I finished with some jewels from the Valentines jewel mix.

Pretty Pink Posh: Sneak Peek- Party Friends + Birthday Borders

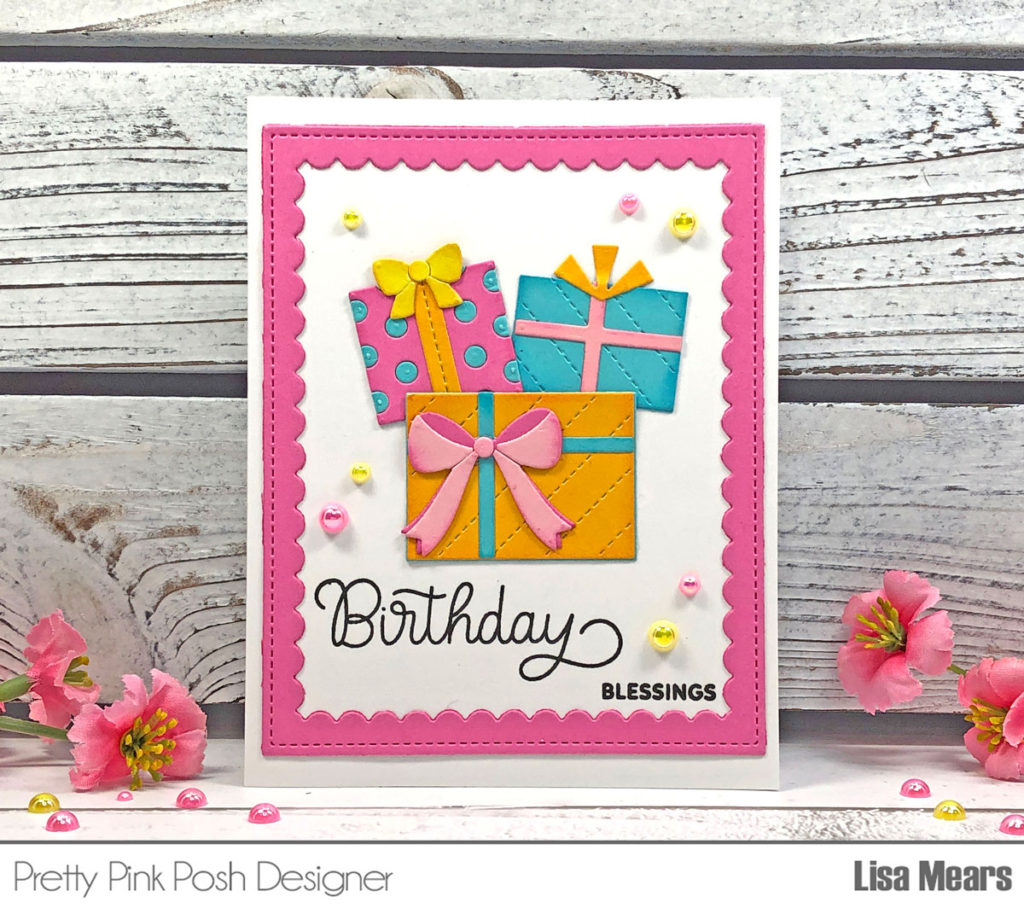
For my second card, I used another border from the Birthday Borders stamp set to create a clean and simple design.

Pretty Pink Posh: Sneak Peek- Party Friends + Birthday Borders

I selectively stamped a section of the border on a white card panel. This is easy to do – just place some low tack purple tape over the part of the image you don’t want to stamp, ink the stamp, then remove the tape before stamping.

Pretty Pink Posh: Sneak Peek- Party Friends + Birthday Borders

I used some copic markers to colour the images, leaving the ribbons white so they stand out against the presents.

Pretty Pink Posh: Sneak Peek- Party Friends + Birthday Borders

I stamped a sentiment from the Party Friends stamp set below the presents.

Before adding the panel to me card base, I used my BG13 copic marker to add colour to the edges of my card base. I finished by adding some Pearl White jewels around the presents.

Pretty Pink Posh: Sneak Peek- Party Friends + Birthday Borders

Thank you for visiting the blog today! We have more sneak peeks tomorrow- be sure to visit us again.

| |

Sneak Peek: Large Floral Hearts

Hi Everyone! It’s Melody here today and I am kicking off the new year with sneak peek at the new Large Floral Hearts Stamp Set being released on January 9th. I have two cards to share with you that I created with the stamp set and the Large Floral Hearts coordinating dies

Pretty Pink Posh: Sneak Peek-Large Floral Hearts

I used the two heart stamps and their coordinating dies to to give you some ideas for Valentine’s Day cards. I love that this stamps can be used for so many different occasions throughout the year! 

Pretty Pink Posh: Sneak Peek-Large Floral Hearts

PPP released a similar smaller version of the stamp set last year, the Floral Hearts Stamp Set. Here is how the two stamp sets compare in size. You can see that the new Large Floral Hearts Stamp Set is much larger and will be the centerpiece of your project. 

Pretty Pink Posh: Sneak Peek-Large Floral Hearts

Here’s a closer look at my first card. I stamped the heart and flowers in black ink, colored with Copic Markers, and then die cut with the coordinating dies. Next I cut a piece of white cardstock for the card front, sponged on Distress Ink in Tumbled Glass, and used the heart die to cut a heart directly into the card front. Then I inlayed the flower heart into the card front. Behind the heart I stamped a sentiment from the stamp set in Versamark Ink on red cardstock and embossed with white embossing powder

Pretty Pink Posh: Sneak Peek-Large Floral Hearts

At the bottom of the card I stamped the heart border from the new Love Borders Stamp Set in red ink. I added another sentiment from the stamp set. Then I arranged the extra flowers around the heart and finished off the card with a two Lemon Drop Jewels

Pretty Pink Posh: Sneak Peek-Large Floral Hearts

On my second card I stamped the other floral heart in the stamp set on white cardstock. I brushed the cardstock lightly with pale pink ink and then colored with Copic Marker. I die cut the heart and layered it on a large heart die cut. I added a few more flowers around the heart. Next I cut a piece of white cardstock with the largest die in the Stitched Notes Dies and stamped another sentiment in the set. 

Pretty Pink Posh: Sneak Peek-Large Floral Hearts

I used the Wide Stripes Stencil to add pattern to card front, added a piece of lace, and few Flamingo Pink Jewels

Thanks for stopping by! Be sure to visit tomorrow for another sneak peek of the January 9th release!

| |

Sneak Peek: Love

Hi friends, this is Angelica, and I’m sharing sneak peaks of the new Love stamp set, which is in the upcoming January 9th release.

Pretty Pink Posh: Sneak Peek- Love

For my first card, I started with my background. I used the new Layered Hearts stencils and the following Distress Oxide Inks: Aged Mahogany, Victorian Velvet, and Tattered Rose. I blended Victorian Velvet and a touch of Aged Mahogany around the edges, then used the stencils to ink-blend on the hearts. Before removing Layer B stencil, I brushed the hearts with Ranger Perfect Pearl powder for shimmer.

Pretty Pink Posh: Sneak Peek- Love

I used the new Love coordinating dies to die-cut four different pink/red tone card stock. I stacked and glued the letters together, then attached them to the heart panel. I added the panel to a card base with foam adhesive, and added a stamped sentiment and colored heart from the new Love stamp set. I brushed the letters and colored heart with a shimmer pen for extra sparkle, and added shimmer and added Crystal Glaze to the heart to finish the card.

Pretty Pink Posh: Sneak Peek- Love

My second card I am sharing today is a bright shaker card.

Pretty Pink Posh: Sneak Peek- Love

I used the small accessory stamps from the stamp set to make my own background. This is one of my favorite card making techniques to do. I stamped all of the images onto white card stock, then trimmed the panel. I used Love Shaker die die-cut a window. (I did this before coloring so I didn’t color more than what was necessary.) Before coloring the images with Copic markers, I added a drop shadow to each image with W3 and W1 markers.

Pretty Pink Posh: Sneak Peek- Love

To make the shaker element, I added 1/8″ Scor tape around the backside of the die-cut window. I attached a piece of acetate onto the adhesive to close the window. I turned the panel around and added the Love shaker die cut to the front. I turned the panel back around and added thin foam adhesive strips around the window.. I filled the window with Iridescent Heart Confetti, and closed the window with a another piece of acetate. I added foam adhesive all over the back of the panel, and attached it to a red card base. I used a shimmer pen and Crystal Glaze to add sparkle and shine to finish the card.

Pretty Pink Posh: Sneak Peek- Love

Stop by tomorrow for a brand new sneak peek of the new release!

|

Sneak Peek: Pond Friends

Hello, Gemma here today and I’m excited to share with you a sneak peek of the fabulous Pond Friends stamp set. This set is part of the January 9th release and has the sweetest critters.

Pretty Pink Posh: Sneak Peek- Pond Friends

The two swans are the stars of my first card. I stamped images from the Pond Friends set and coloured them copic markers. I then die cut them with the coordinating dies.

Pretty Pink Posh: Sneak Peek- Pond Friends

I added a blend of distress oxide inks in peacock feathers and mermaid lagoon to my card base, fading the colour out to white. Next, I heat embossed a border from the new Love Borders stamp set on a panel of white card, using metallic gold embossing powder. Underneath this, I stamped the sentiment from the Pond Friends stamp set. I added the panel to my card with foam adhesive.

Pretty Pink Posh: Sneak Peek- Pond Friends

I adhered the reeds to my scene with liquid adhesive, then added the swans, hearts and flowers with foam adhesive. As a finishing touch, I added Nuvo Morning Dew Crystal Drops to the hearts.

Pretty Pink Posh: Sneak Peek- Pond Friends

For my second card, I used a frog from the Pond Friends stamp set to make a Valentines card. I gave him a crown so he’s a frog prince.

Pretty Pink Posh: Sneak Peek- Pond Friends

To create a window scene on my card, I die cut the previously released Scallop Hearts die from a white card panel. I die cut the scallop heart a couple more times and layered them together for dimension. On the top layer, I used a white pearl embossing powder.

Pretty Pink Posh: Sneak Peek- Pond Friends

On my card base, I added a blend of colour using distress oxide inks in squeezed lemonade and spun sugar. I stamped the flying trail image directly on the card.

Pretty Pink Posh: Sneak Peek- Pond Friends

Next, I adhered the panel to my card base. I used a stamp positioner to help me curve the sentiment stamp, from the new Large Floral Hearts stamp set, around the window. I then added the stacked scallop heart to my card.

Pretty Pink Posh: Sneak Peek- Pond Friends

I used foam tape to add the frog prince and lily pad, and adhered the fly to the frame with liquid adhesive. Finally, I added a few Pearl White jewels for sparkle. 

Thank you so much for stopping by. Be sure to visit tomorrow for another sneak peek of the January 9th release!

Designer Announcement + Giveaway

I wanted to announce the new team for this upcoming design term. Change is hard but as the years go by, new opportunities arise and goodbyes happen. We are saying a very fond farewell to Alix, Marge, Thi and Eloise (though we do have several more videos from her that you’ll see in the future). Each of these gals will be greatly missed on the team!

We do have a new face on the team and she is someone I’ve been admiring on Instagram for some time. Please welcome Leica to the Pretty Pink Posh team! She is a fantastic crafter and photographer and we are excited to introduce her to the crafting world!

 width=
 
Melody
Yana Yoonsun 
Yana

In honor of the new team, let’s have a big $100 gift certificate giveaway! Leave a comment on THIS post sharing your top 5 favorite products from Pretty Pink Posh. One lucky comment left by January 7th will win a shopping spree. Congratulations to Cyndi Morris! You’re the lucky winner. I will email you with the prize information!

Thanks for joining us today. Be sure to give lots of love to the designers!

| | |

Happy New Year Cards + Video

Hi everyone! It’s Ardyth here today and I’m making the same card twice, so that I can compare two methods of adding shine to a card using a stencil.

I started by blending two panels with blue and black inks to create a night sky. I trimmed the panels with the stitched rectangle die from Stitched Notes.

Here’s a video with lots of tips for inlaying die cuts and a comparison of the two ‘foiling’ methods!

Watch the video above  I  Watch the video in HD on YouTube

I used the Happy New Year Script die and cut it out from the 2 blue panels, as well as twice from white cardstock, so I could inlay the white die cuts into the blue panels.

When the inlaying was complete, I used the Fireworks stencil on both panels – one with Deco Foil Transfer Gel and Foil (with my Minc machine) and one with Nuvo Glacier Paste in Golden Era.

The results of both cards were really pretty, but you may prefer one or the other. Glacier paste gives a beautiful shine in one step, with no machine involved. The foil leaves more of a mirror shine and it’s a slightly warmer tone of gold. 

I hope you have a great 2020. Thanks for stopping by!

|

Merry & Bright Christmas

Hi friends! Jeanne here and today I’m sharing a card made completely from die cuts! They’re my favorite paper crafting product to play with. I love the crisp clean lines and bold graphic designs! I especially love the stitched detail you’ll find on Pretty Pink Posh dies that gives a unified appearance when you use several together.   

Pretty Pink Posh: Merry & Bright Christmas

I started this card by cutting a slightly smaller panel of aqua card stock to layer over my card base. I cut several of the Stacked Edges 1 curved border die from ombre shades of green card stock. To save time I always cut several of the border dies at the same time and reserve the extra pieces for future projects. I love that they stack together edge to edge so the finished design is smooth and flat. 

Pretty Pink Posh: Merry & Bright Christmas

The Winter Scene craft die couldn’t be easier to work with. All of the pieces are cut completely so you can cut the sky, trees, and snowy hills and piece them together. I taped the pieces together in place on their reverse side. I adhered the completed scene to my card with adhesive foam tape. 

Pretty Pink Posh: Merry & Bright Christmas

I tucked Festive Holly die cuts under the raised Winter Scene to add dimension. I adhered the “Merry” sentiment along the stitched lines to capture the motion created by the curved border dies. 

Pretty Pink Posh: Merry & Bright Christmas

Wishing your holidays be merry and bright!