Sneak Peek: January 2023 Stencils
Hi crafty friends! It’s Dana here and I am excited to be back sharing a sneak peek of the new stencils coming to Pretty Pink Posh. This release includes four new stencils: Layered Chocolates, Layered Valentine Hearts, Layered Cherries and Layered XOXO. Today I will be using two of the sets, so let’s get started…
New release will be available January 5th.
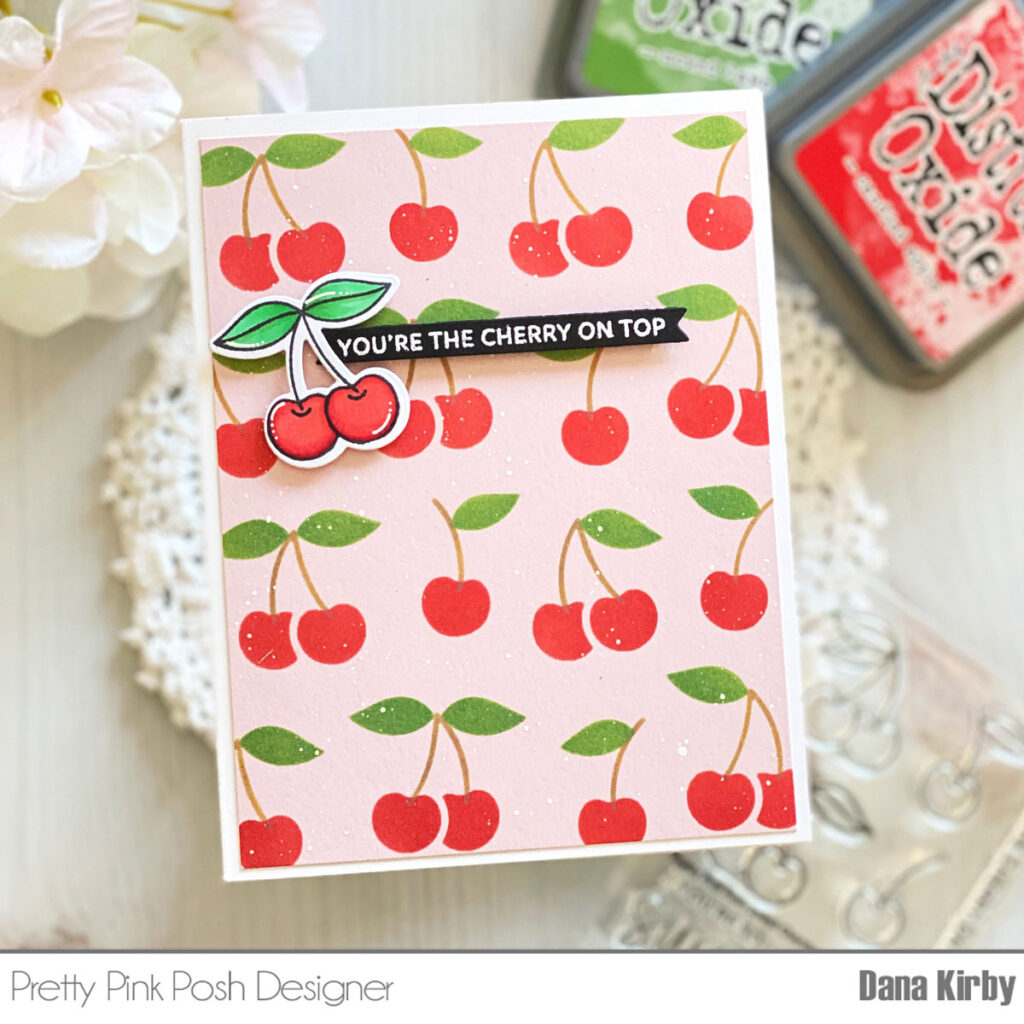
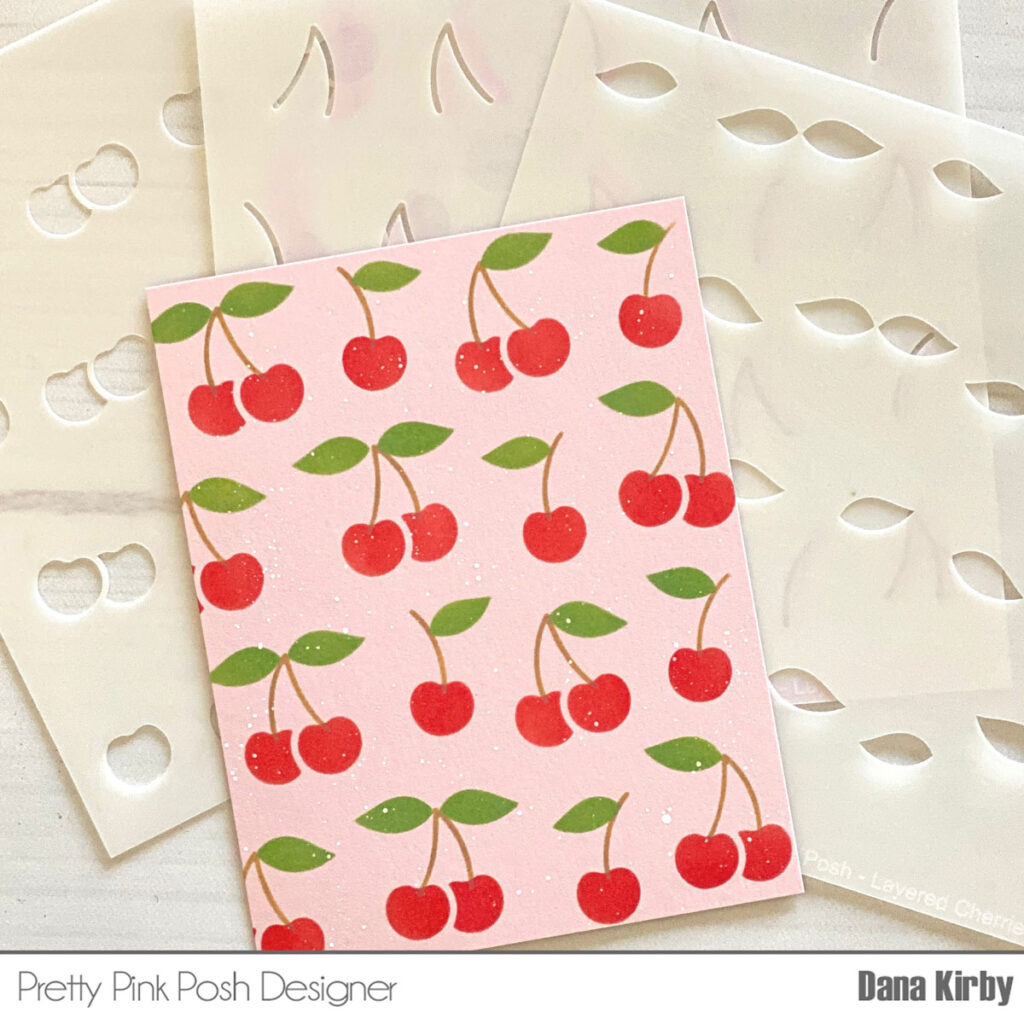
My first card uses the Layered Cherries stencils to create my card panel. This is a three pack of stencils that layer together to create a fun background. To make my background, I used Distress Oxide ink (Candied Apple, Mowed Lawn and Brushed Corduroy) and small blended brushes to add ink to each layer. Once my panel was finished I added a few white paint splatters and set it aside to dry.
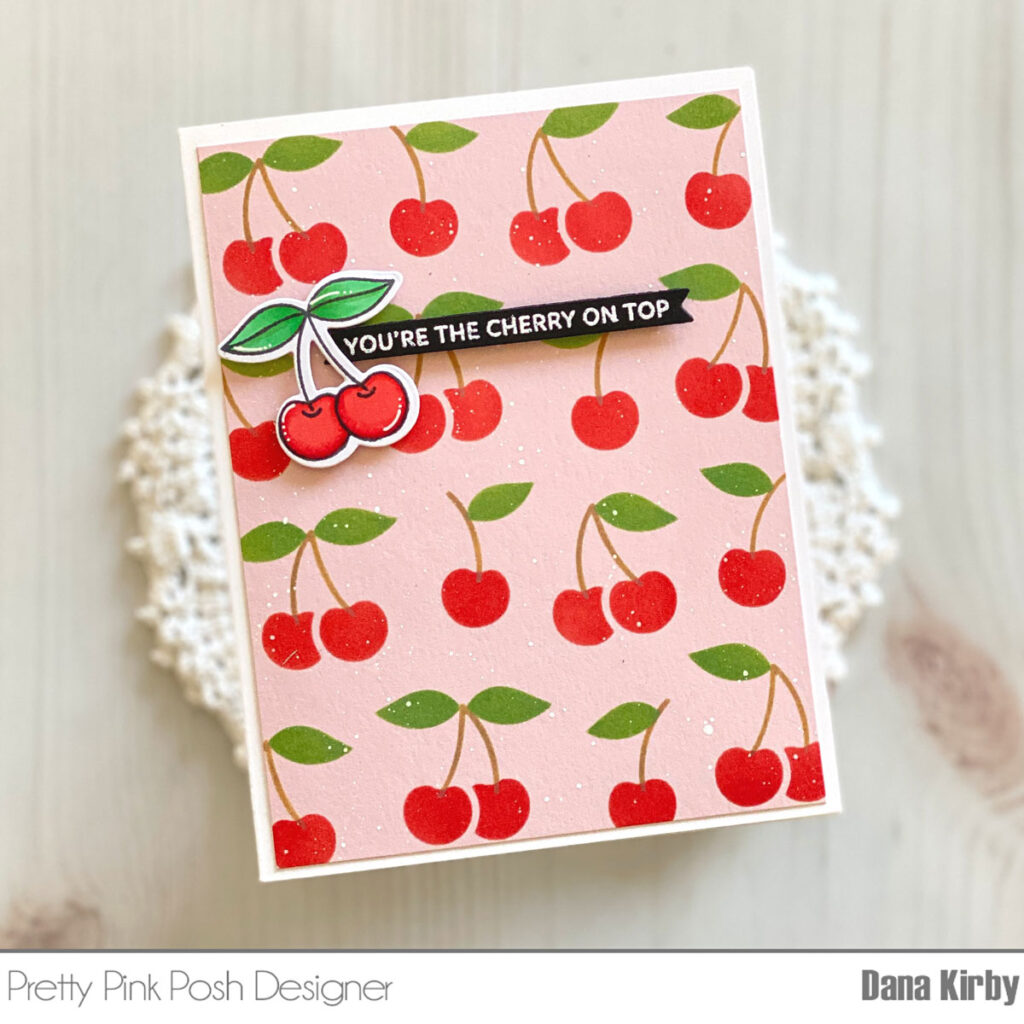
Next, I used the Sweet Cherries stamp and die set for my stamped cherries and sentiment. I colored the cherries with Copic markers and attached them along with my sentiment to my card panel with foam adhesive. I love how these products coordinate together though also can be used on their own! Lastly, I trimmed my panel down and attached it to an A2 card base to finish my card.
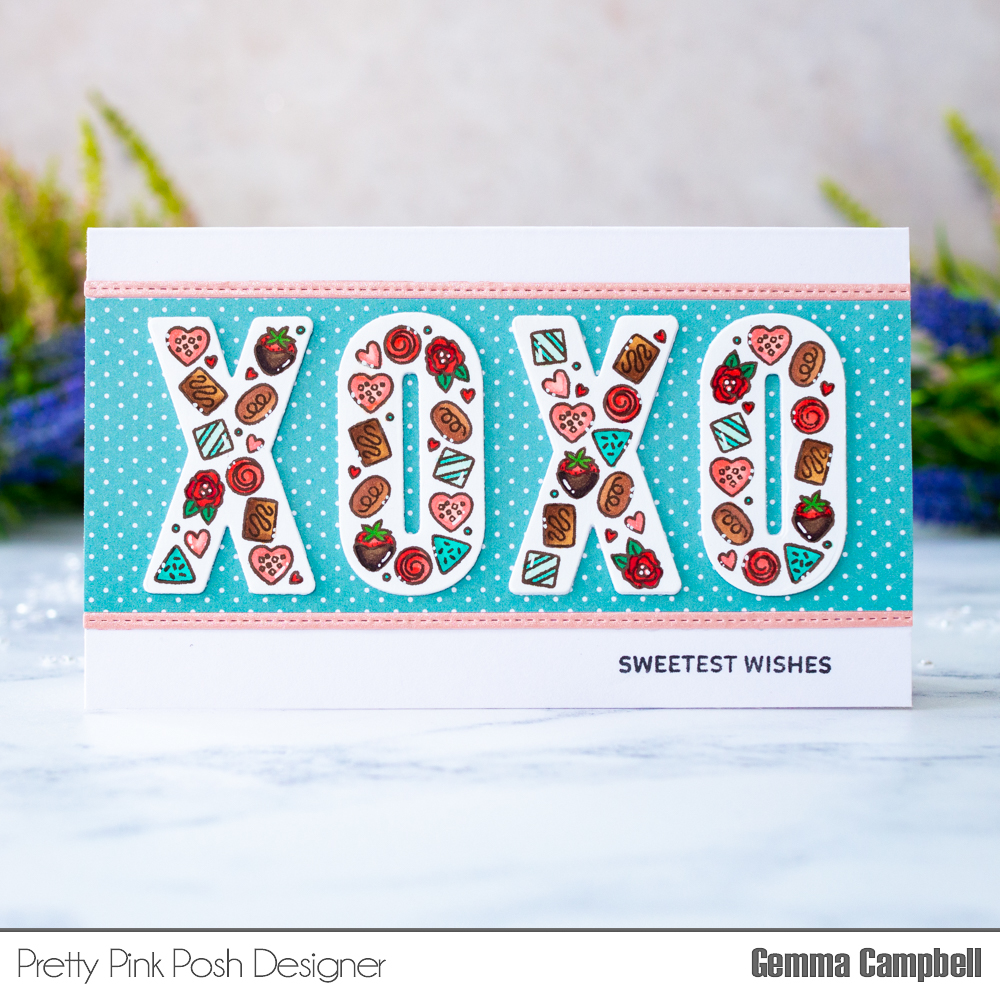
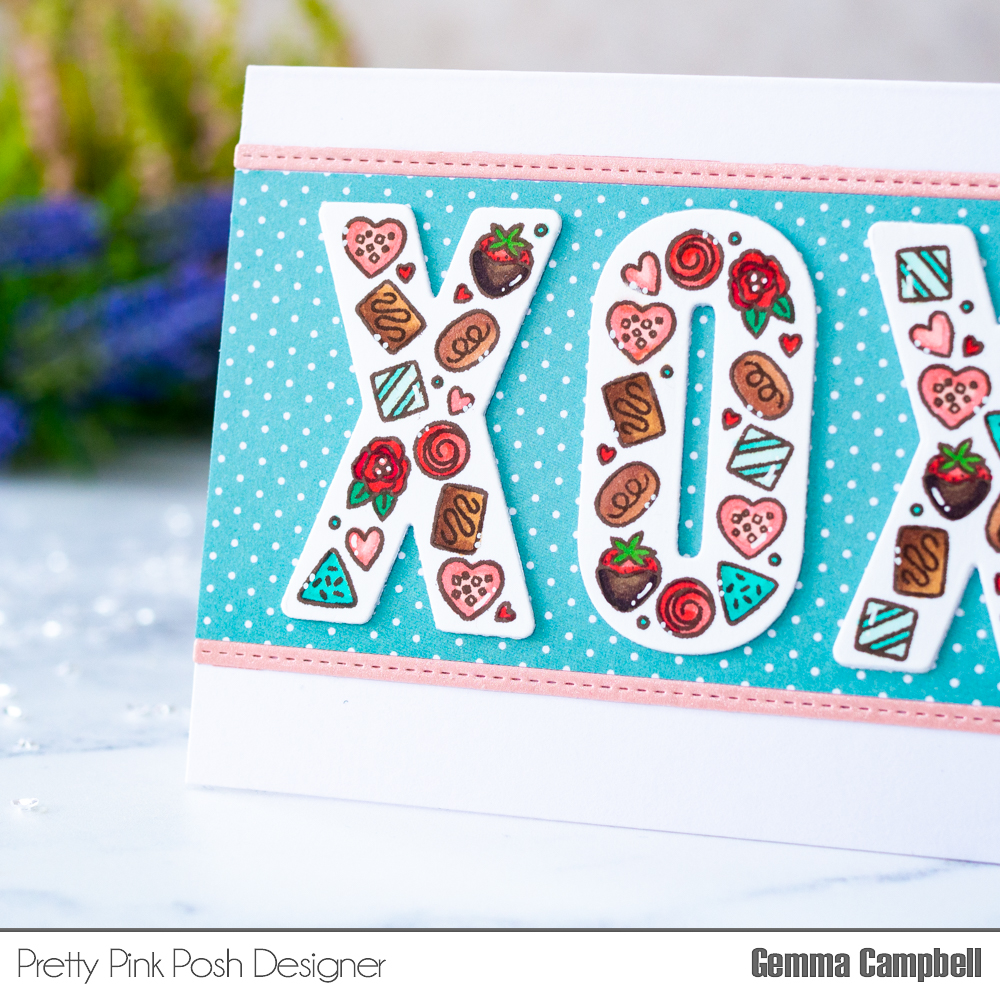
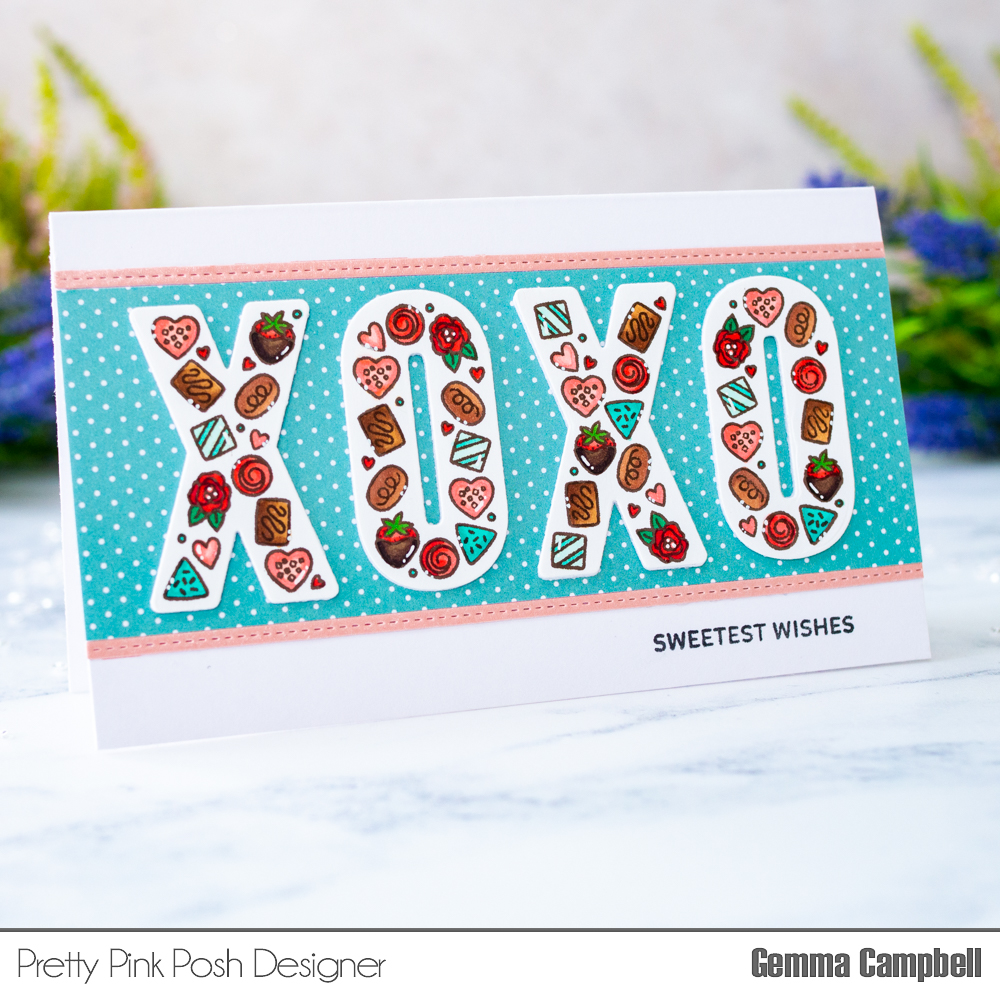
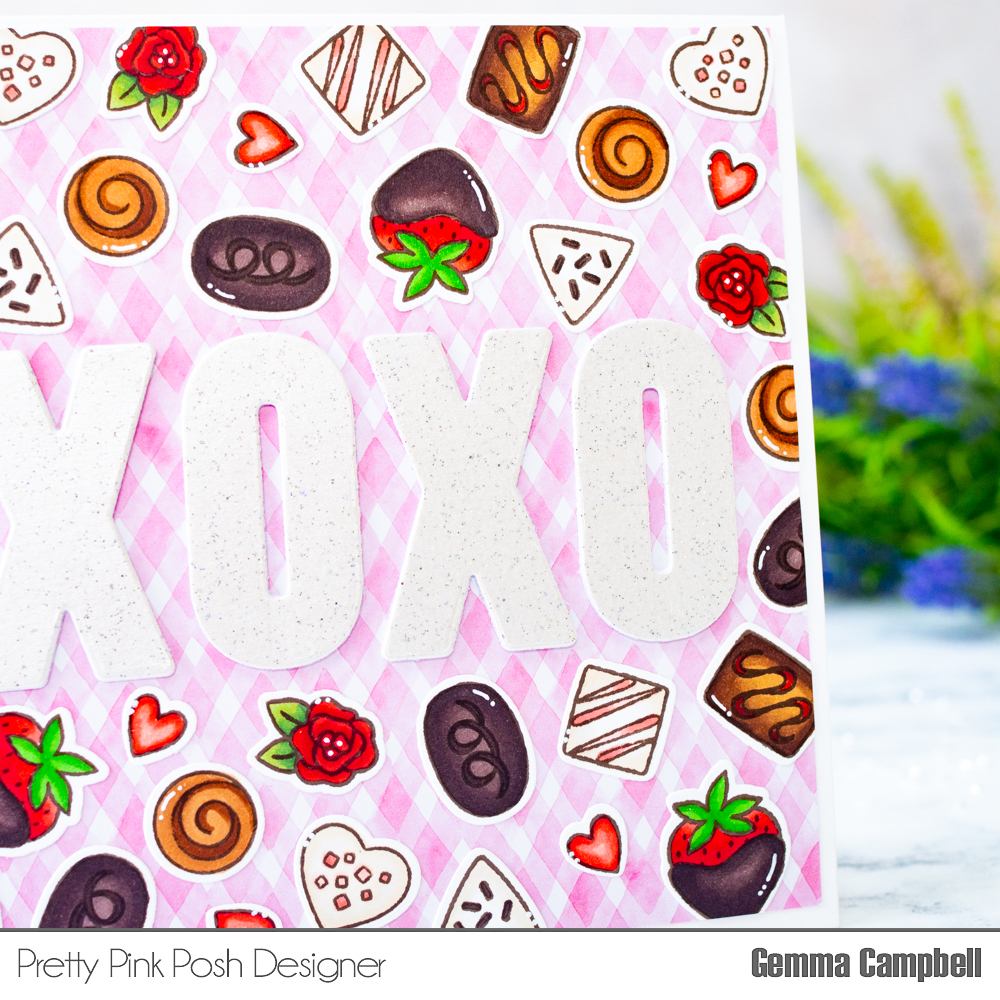
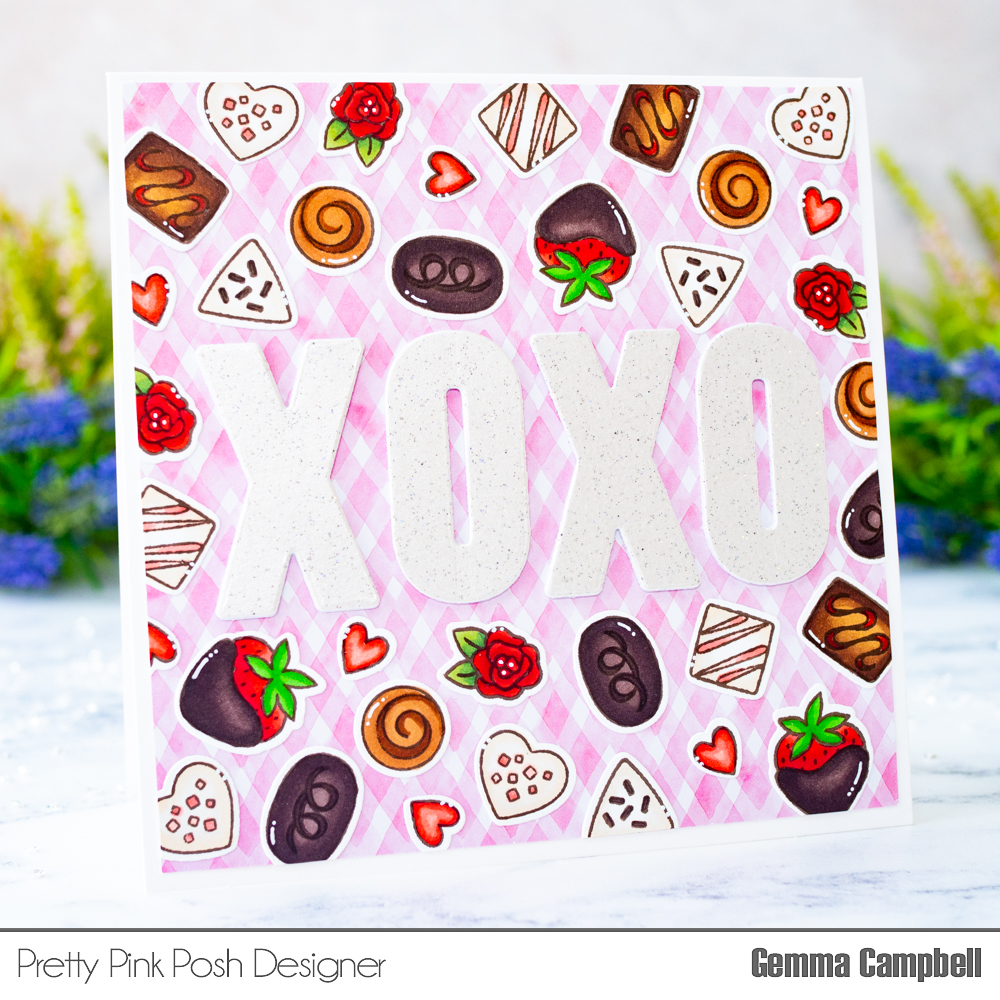
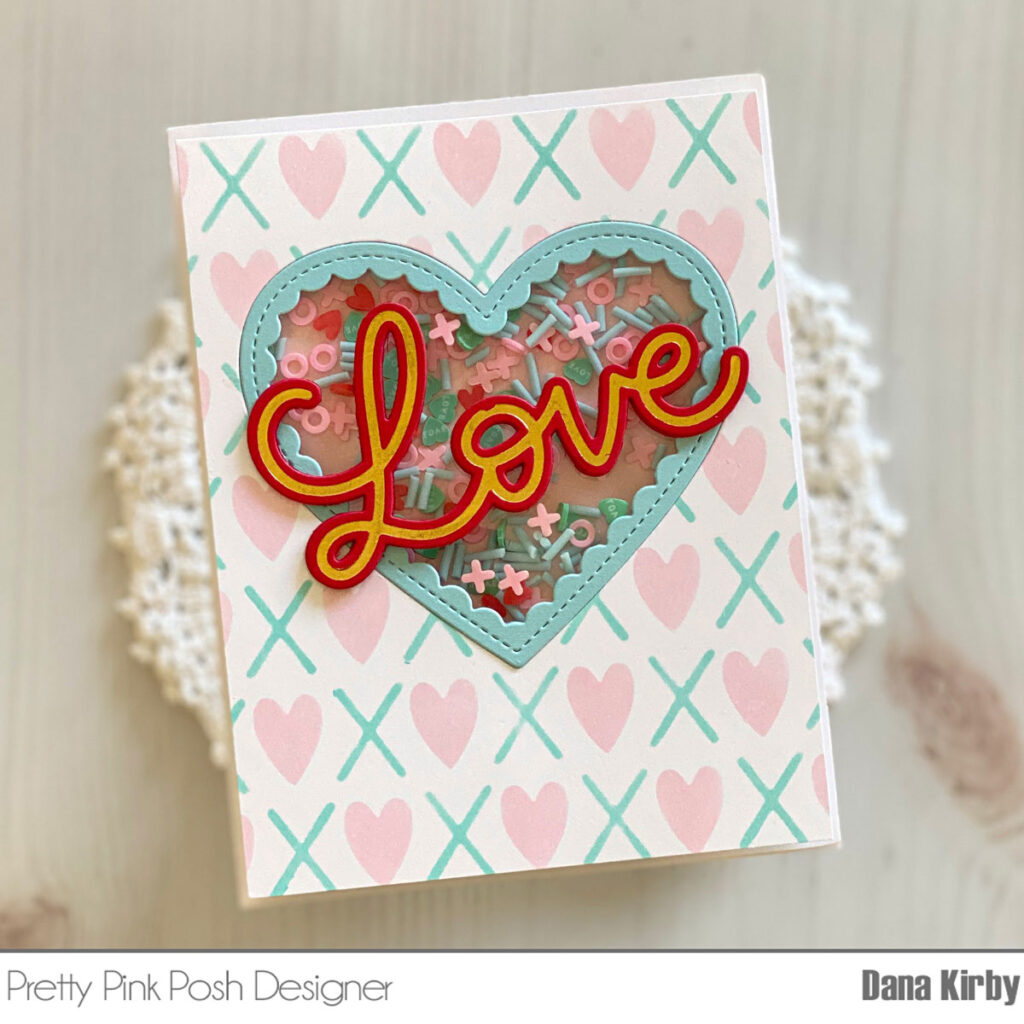
My next card uses the Layered XOXO stencil set.
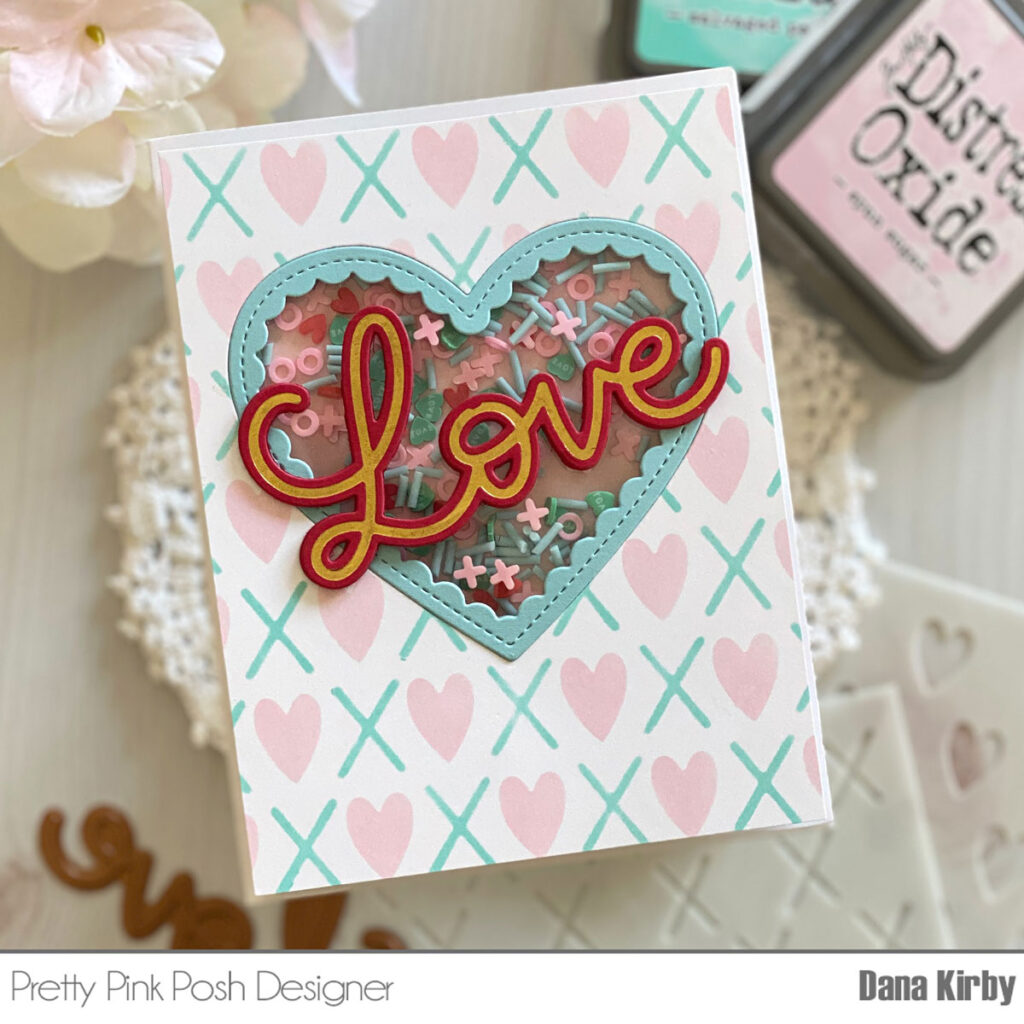
I started my card by using the Layered XOXO stencil set to make my card panel. This is a set of three stencils: X’s, O’s and Hearts. I used the Hearts in place of the O’s to make my background, but either layer works the same. I love that you have both options! I used Distress Oxide ink in Spun Sugar and Salvaged Patina for my layers.
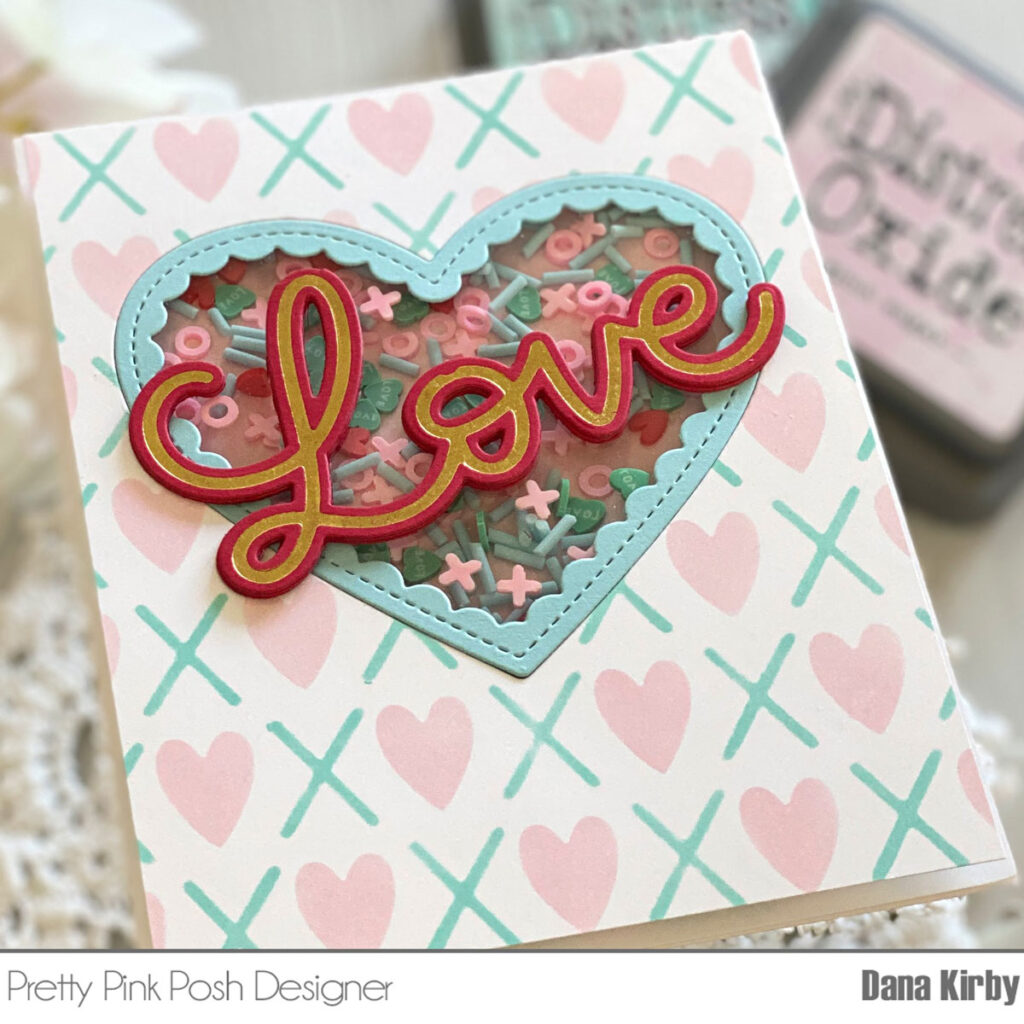
Next, I used the Scallop Heart die to die cut a heart from the center of my panel. I attached acetate behind the opening and added foam adhesive to create a shaker. I then filled the shaker with the XOXO confetti mix before closing it up. Lastly, I used the Large Love Hot Foil Plate to create my sentiment. Following the directions for my machine I foiled the sentiment onto a piece of red cardstock with gold foil. I then used the Large Love Shadow die to cut it out. Lastly, I attached it to my card panel with a little liquid glue.
Thanks for joining me today! I know you will love these new products and I can’t wait to see what you create with them!
Enjoy your day, Dana