
Sweet Layered Letters
Hello, Gemma here. I’m using the fabulous new Layered Letters stencil set on my card today. I love using layered stencils as they create amazing backgrounds, quickly and easily.
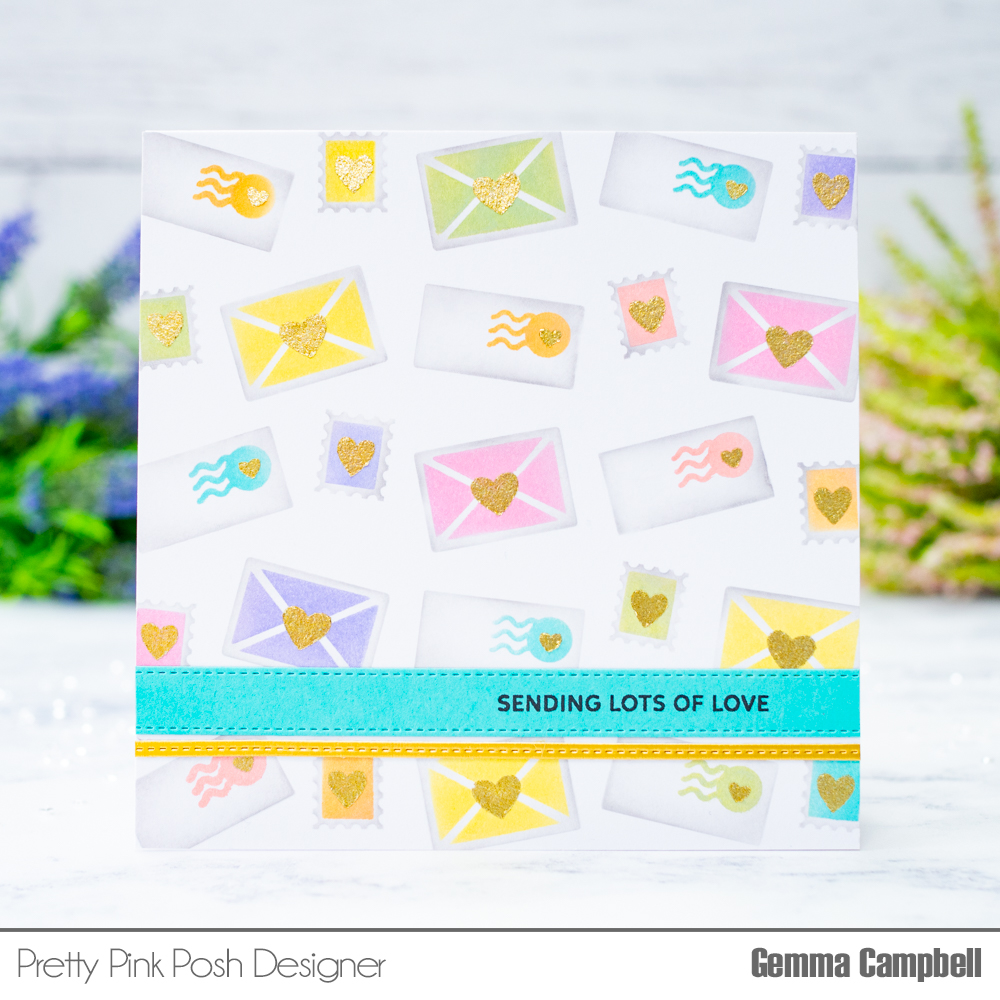
I began with a 6″ square piece of card and Hickory Smoke distress oxide ink. I blended lightly through Layer B of the stencil set, concentrating the colour around the edges.
Next, I chose a rainbow of distress oxide inks and blended them through Layer A of the stencil set. The vibrant colours show up well over the grey ink.
Here is a list of the distress oxides I used for Layer A: Saltwater Taffy, Dried Marigold, Squeezed Lemonade, Shabby Shutters, Salvaged Patina, Shaded Lilac, Kitsch Flamingo.
For the last layer, I used Nuvo Glacier Paste in Golden Era. The shine is beautiful! Make sure to clean off the stencil well after using any kind of paste. The panel will need to dry for a few hours, too.

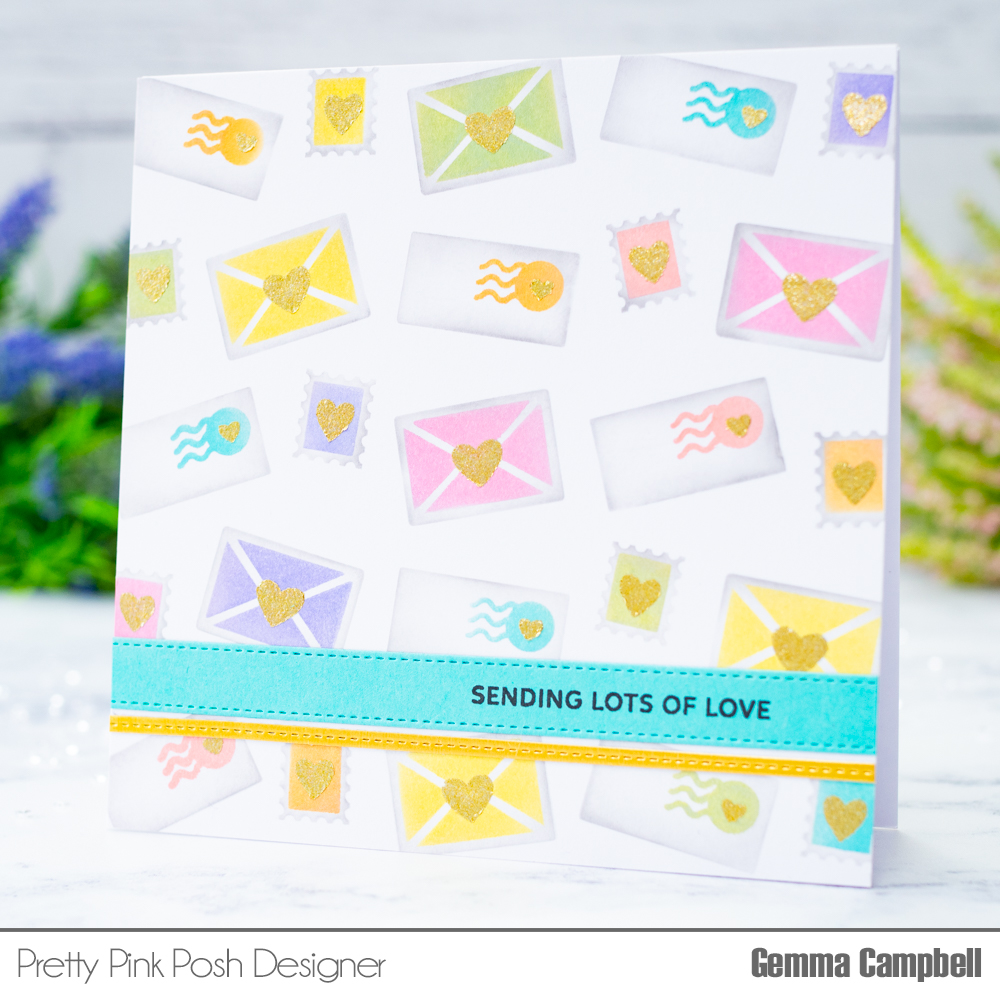
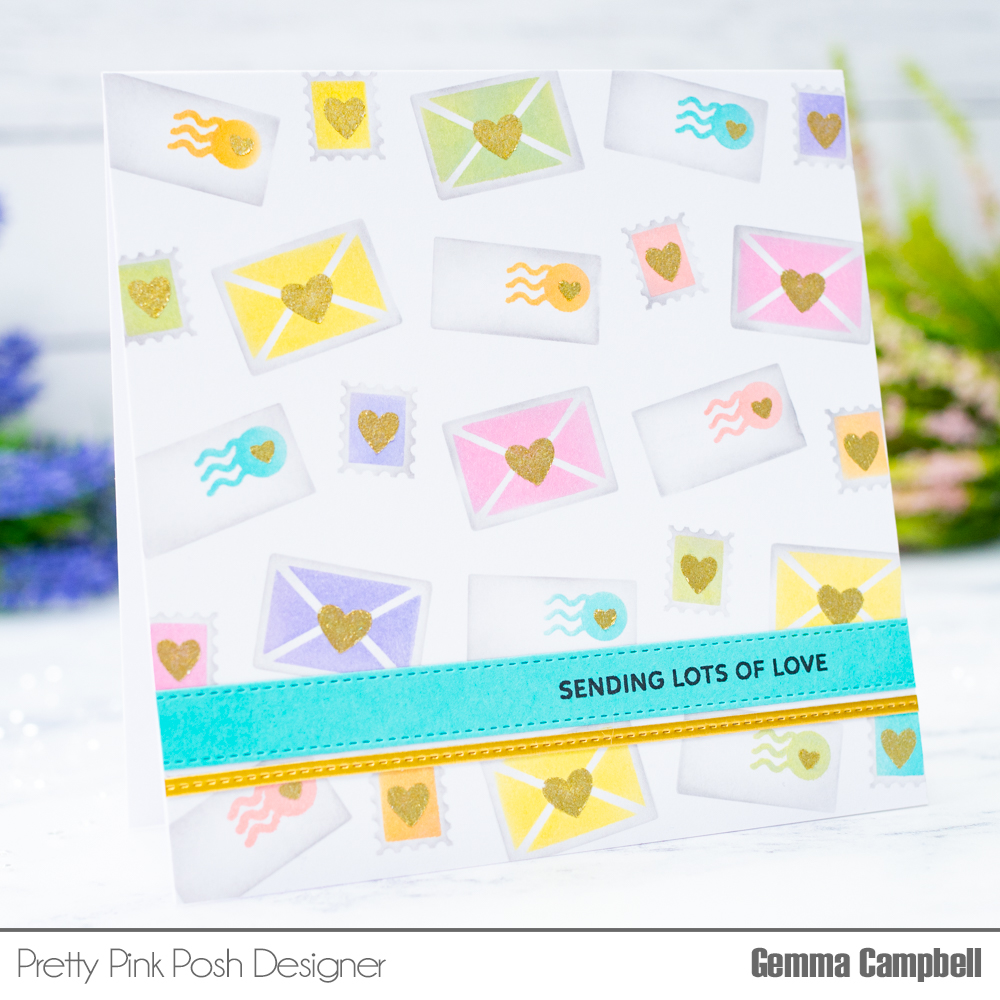
Once the panel was fully dry, I trimmed it down to 5.25″ and adhered it to my card base.
For the sentiment, I cut a Stitched Strip of coloured card and stamped a greeting from the previously released Sending Love stamp set. I also cut a thinner strip of gold mirror card, then adhered both to my card to finish.
I hope you enjoyed this card. If you’re on Instagram, there will be a reel of how to create this card up very soon.
Happy mail is always fun to send and receive!
The extra sparkle would be a real day brightener for the recipients!
Thanks for the inspiration!
Love these letters!!!
I love this card! Thank you for the great explanation. I hope you put a video on You Tube.
This is such a cute stencil. I saw it used on a card the other day. LOVE it.
This is so pretty!
Have a wonderful day,
Migdalia Rodriguez
Migdalia’s Crafts
Beautiful!