Frosty Mitten Shaker
Hi Friends! It’s Raquel here today. This release is all about Christmas and all I can say is WOW!!! So many gorgeous products to play with. I’m in love with everything but I had to try the new dies first!
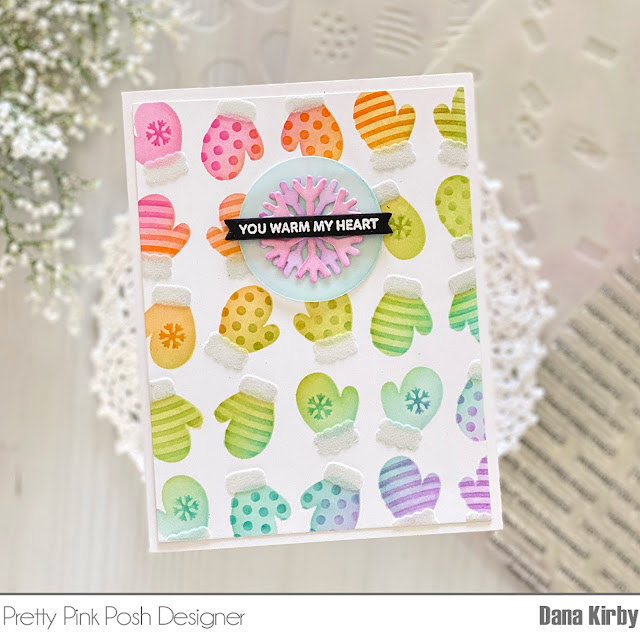
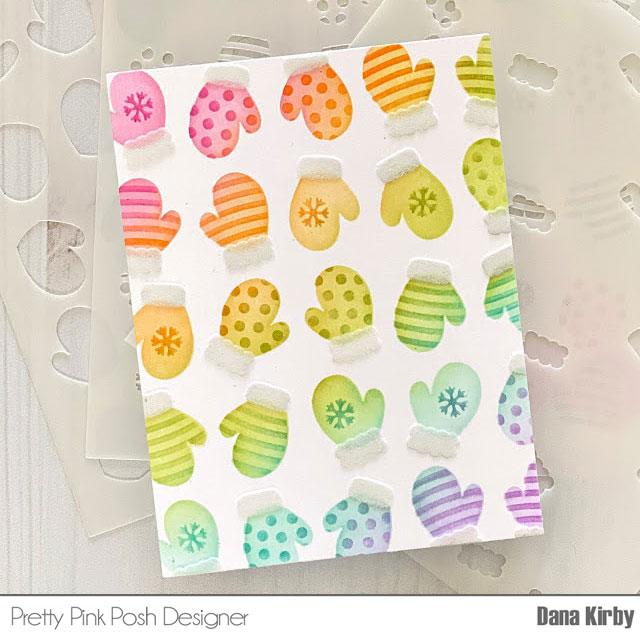
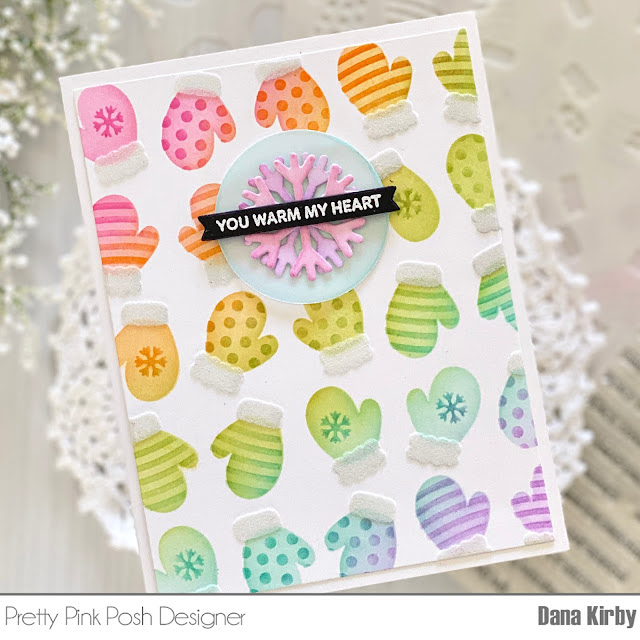
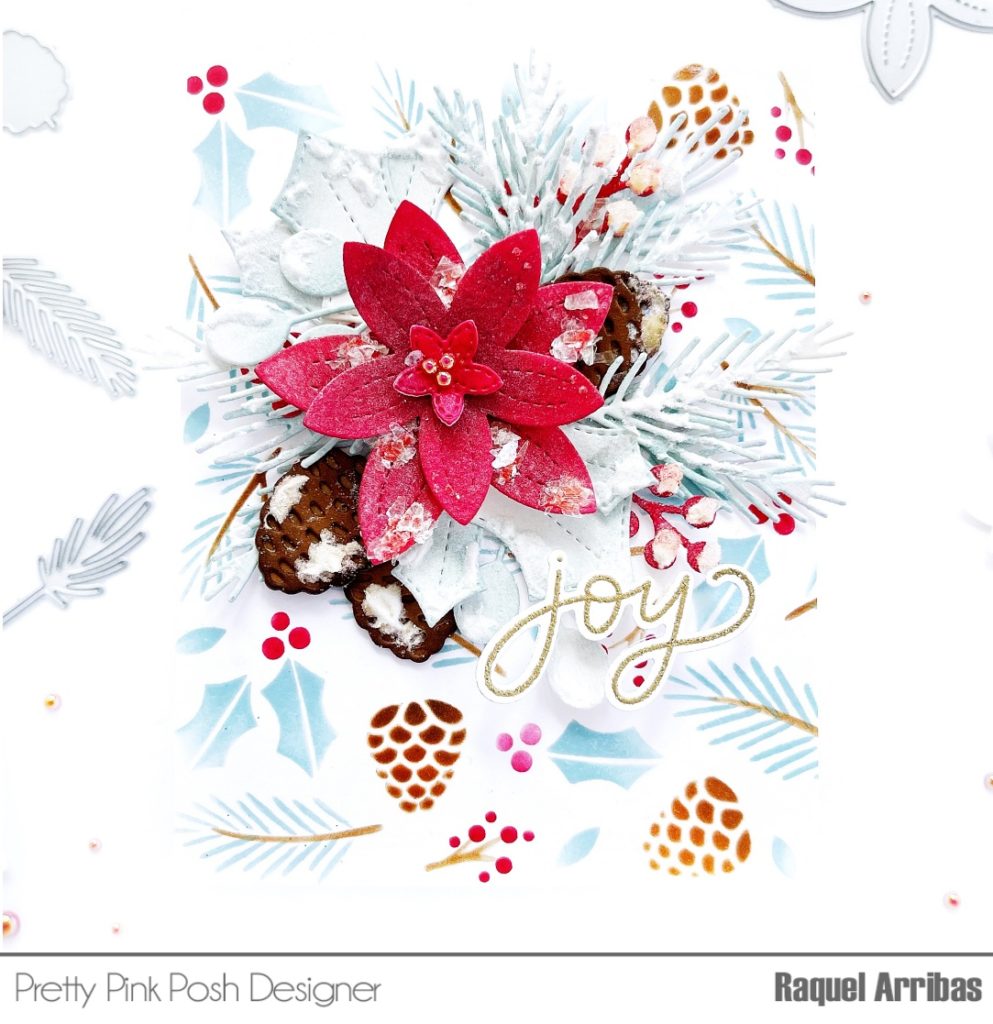
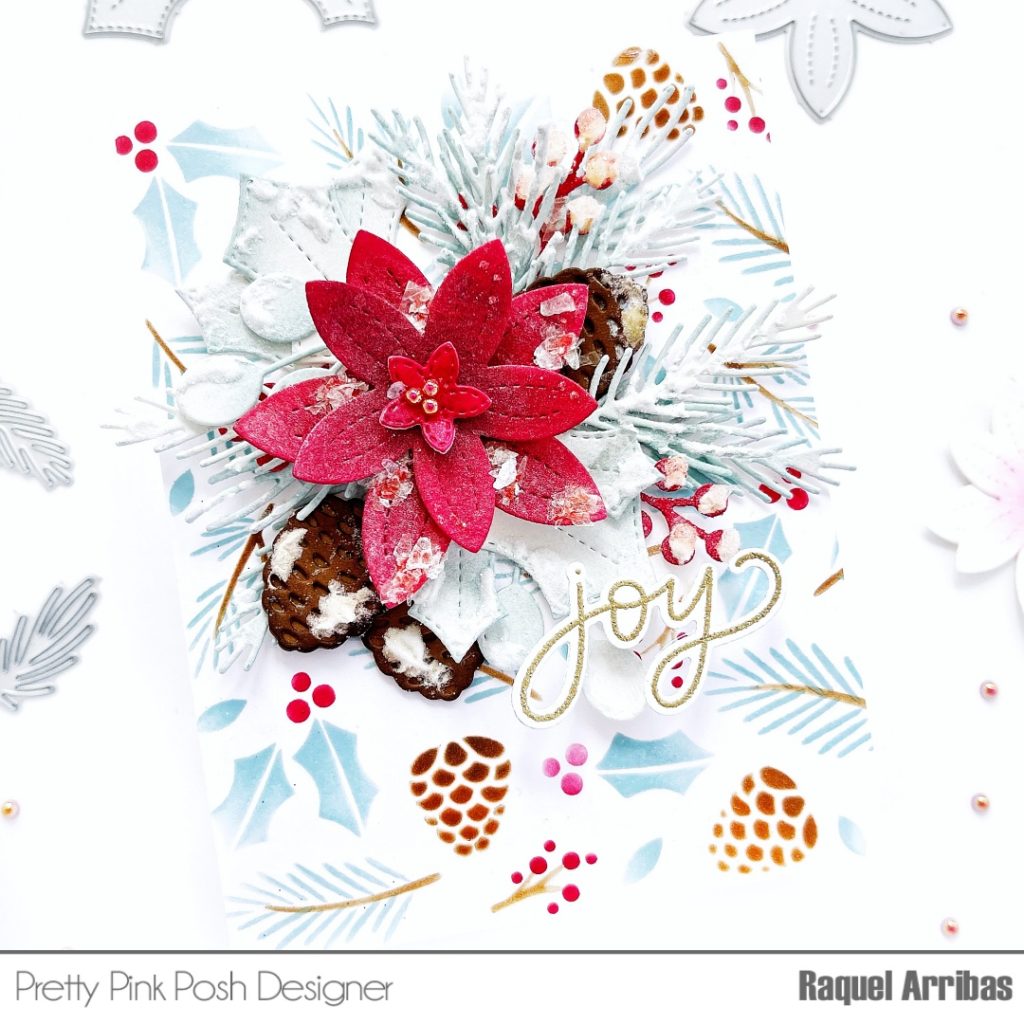
To create this adorable shaker, I started by using the Layered Snowflakes Stencils.

I wanted to create a winter snowflake background with light turquoise and intense pink snowflakes. I really love this combo for Christmas. I applied all three layers using randomly Distress Salvaged Patina and Festive Berries Distress inks with a heavier hand in some areas.
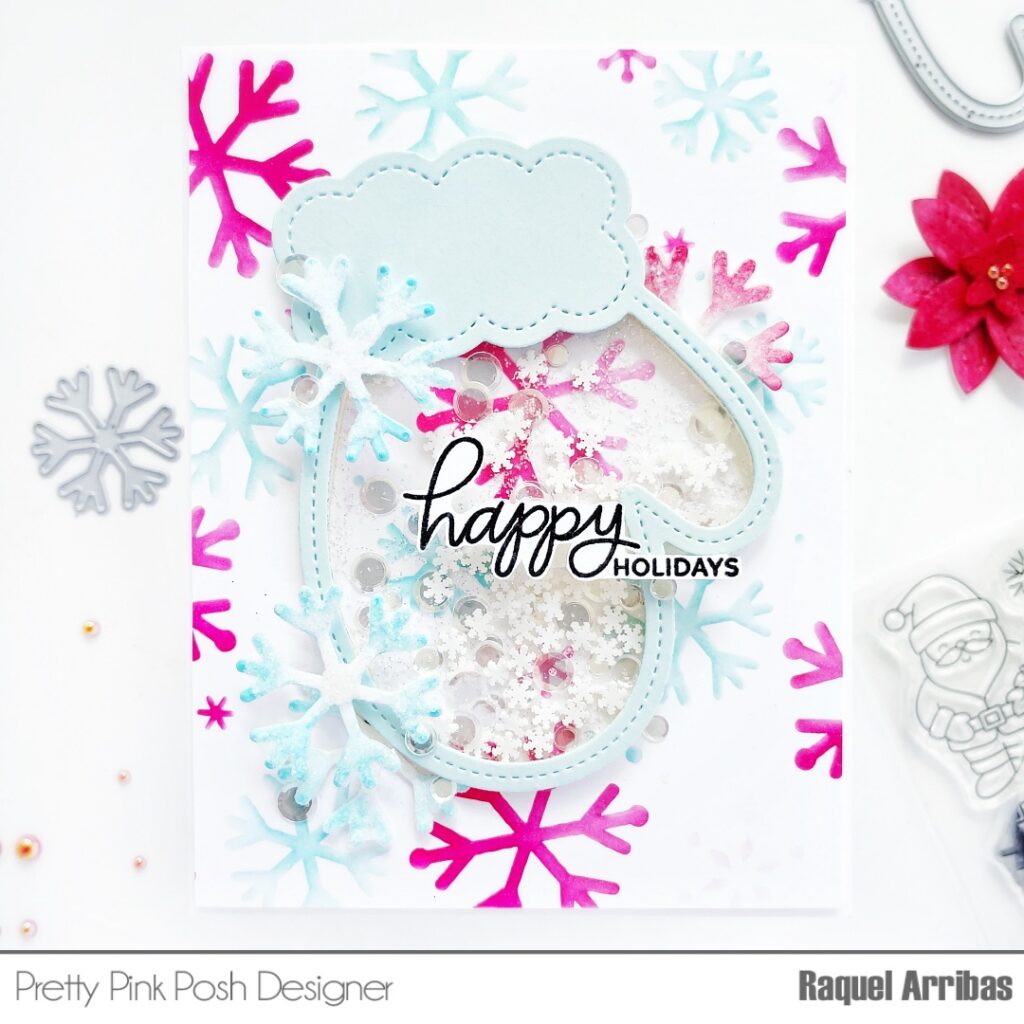
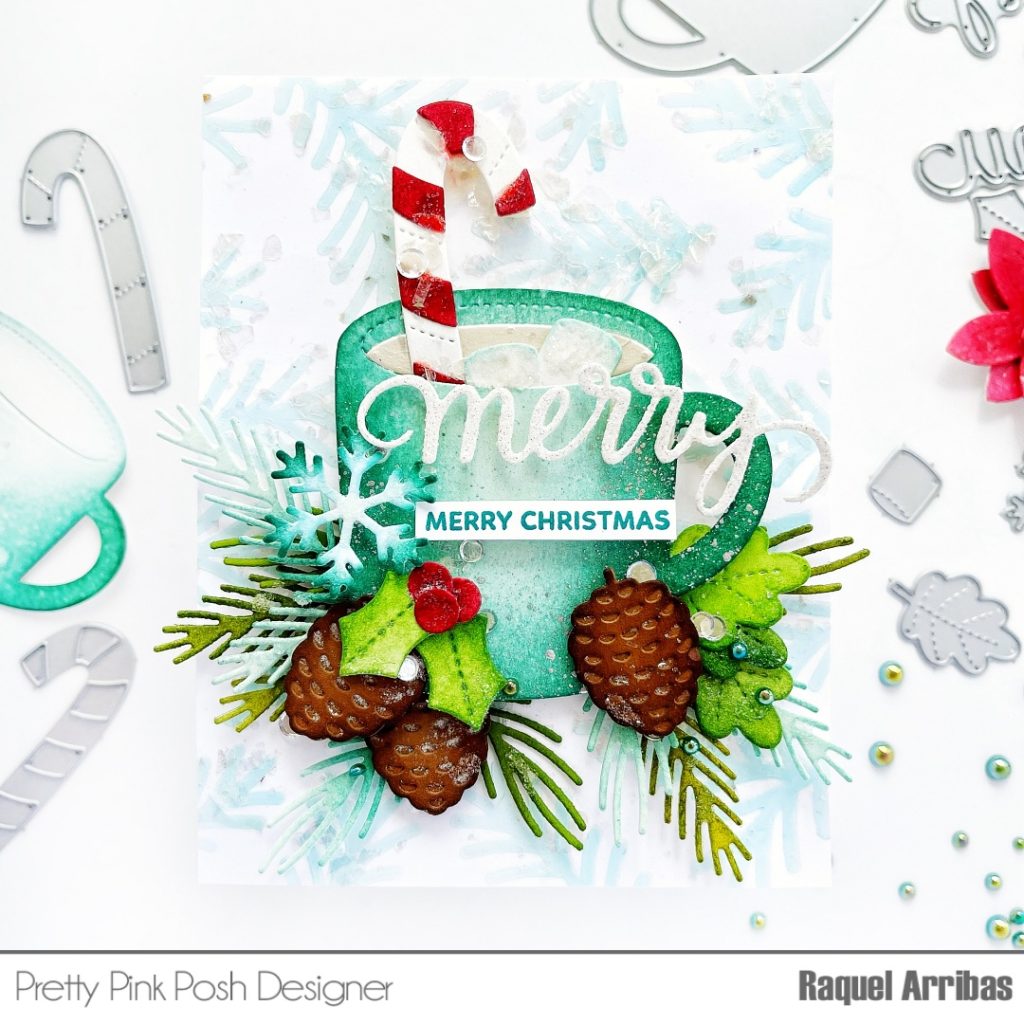
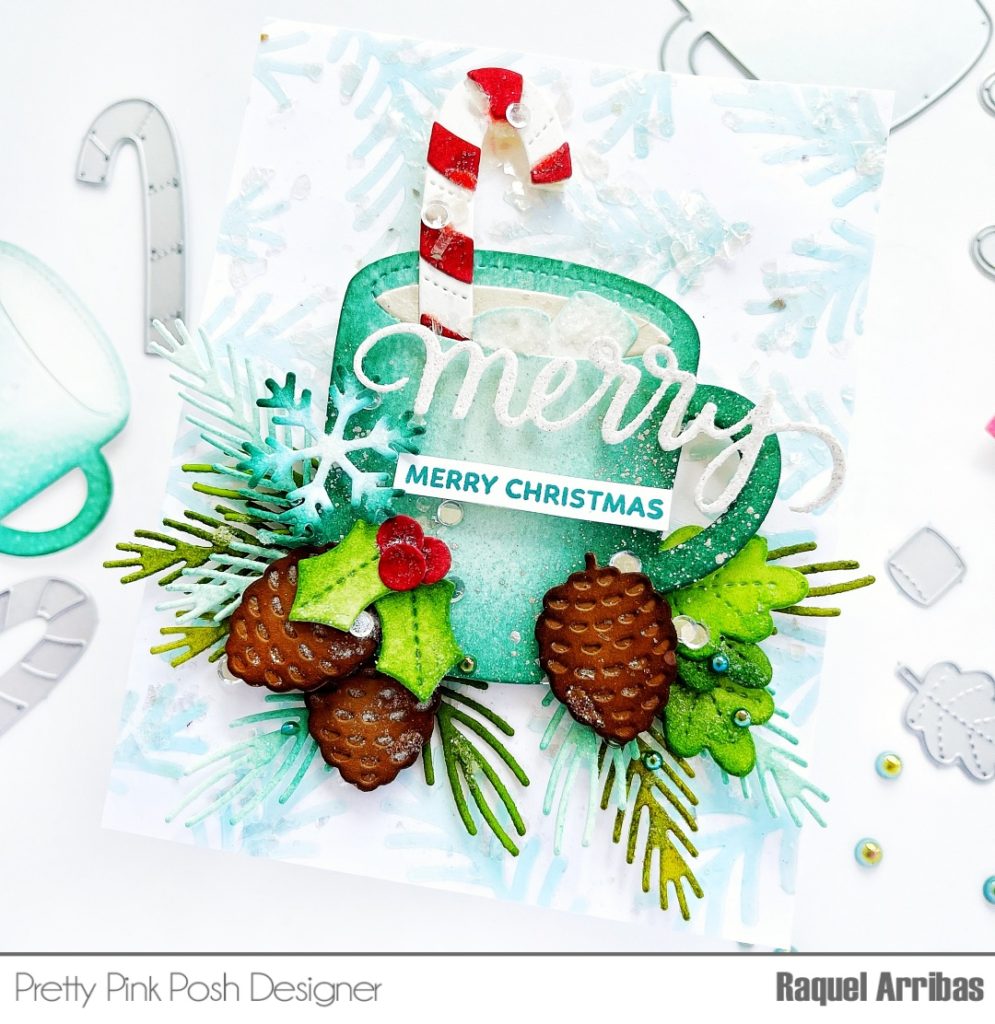
Then I used the Mitten Shaker Die to build my shaker. I used Sea Glass cardstock and once I had glued the acetate I filled this cute shaker with the Winter Snowflakes Clay Confetti, some sparkling clear sequins and also some glitter.
Next up I die cut the snowflake die included in this set three times and applied some Salvaged Patina on the edges on two of them and Festive Berries on the third one. I used some Glossy accent on these snowflakes and poured some Glitter Candy on top to achive this icy look and placed them around the mitten.
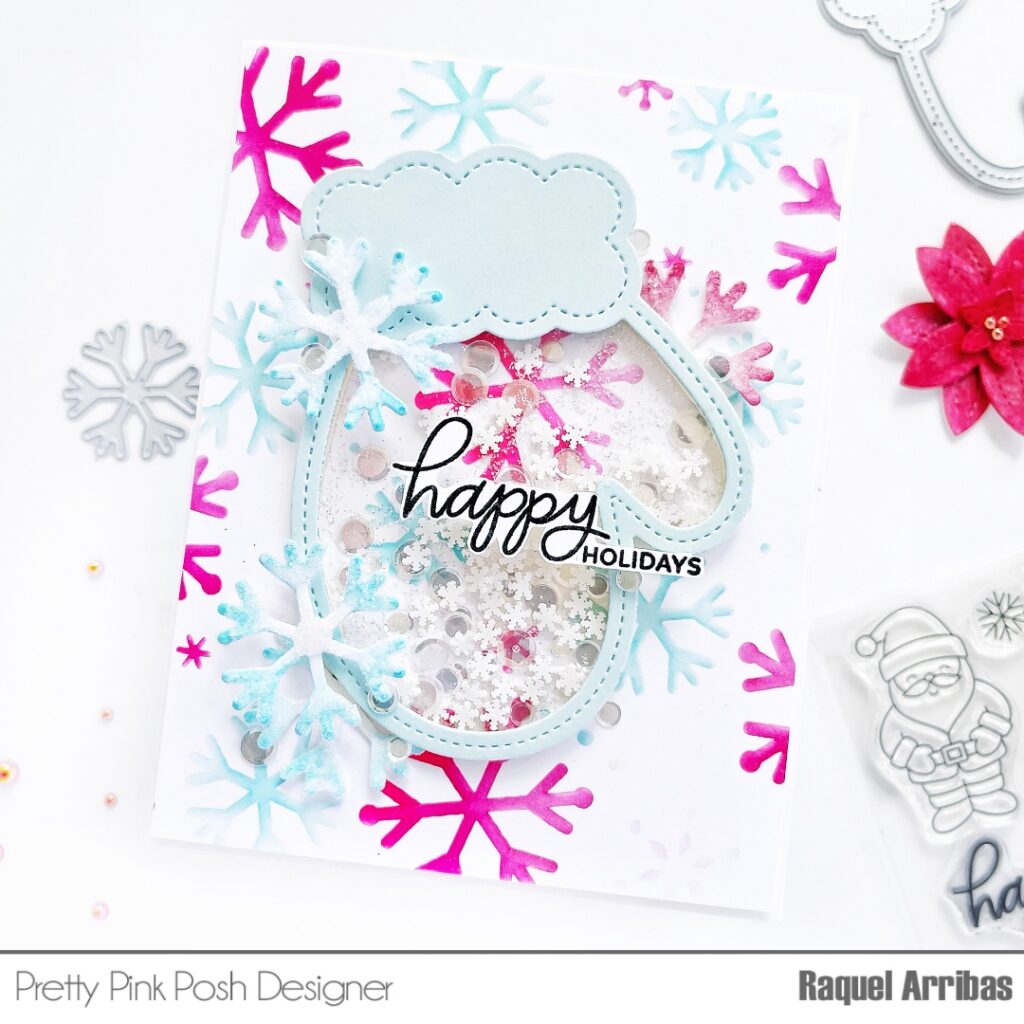
Lastly, I stamped with Versafine Onyx Black ink the Happy Holidays sentiment from the Happy Santa set and placed it on top and placed it onto the envelope.
Hope you like this project and I hope I inspired you to create. Thank you so much for stopping by!