Sneak Peek: March 2023 Dies
Good morning! It’s Lindsey here, and I’m delighted to be giving you a peek of some of the new dies releasing this month. I have been smiling ever since I laid eyes them. I just know you are going to love them!
New release will be available March 8th.
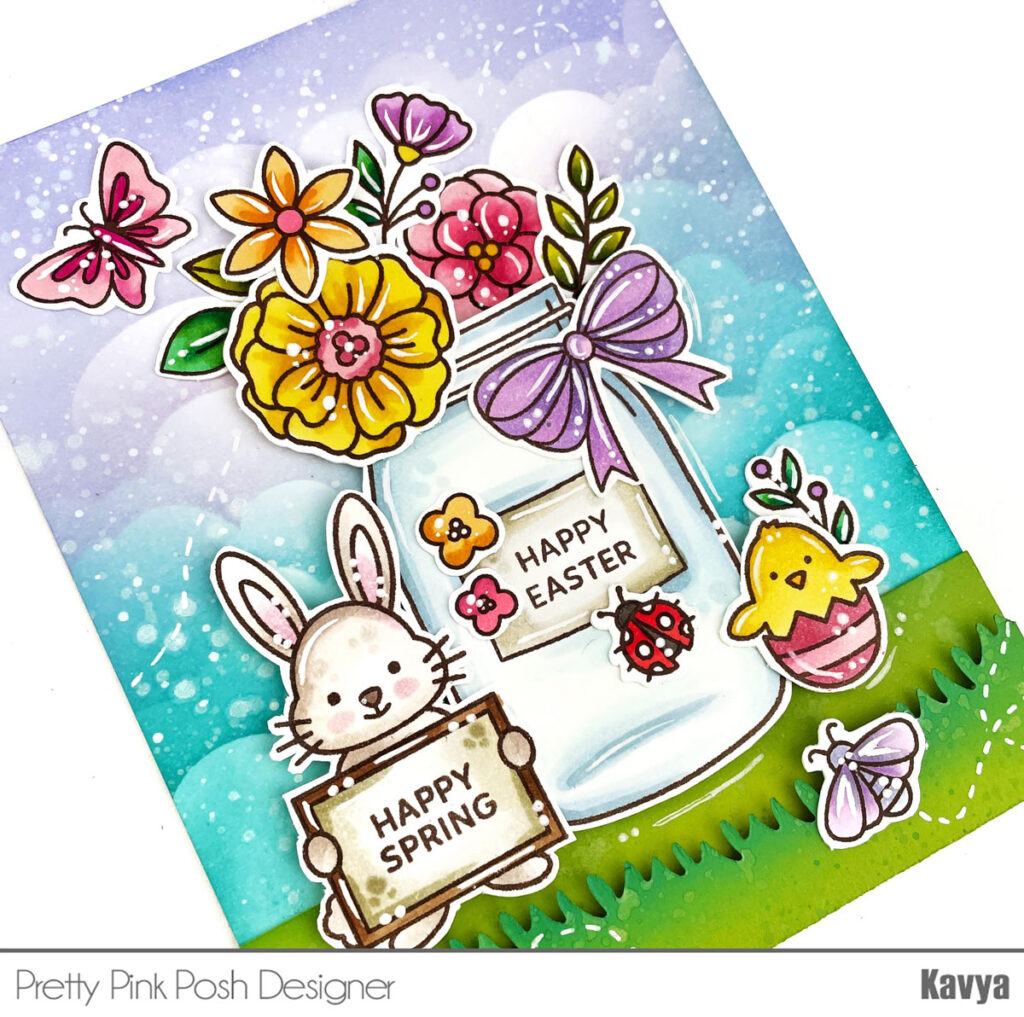
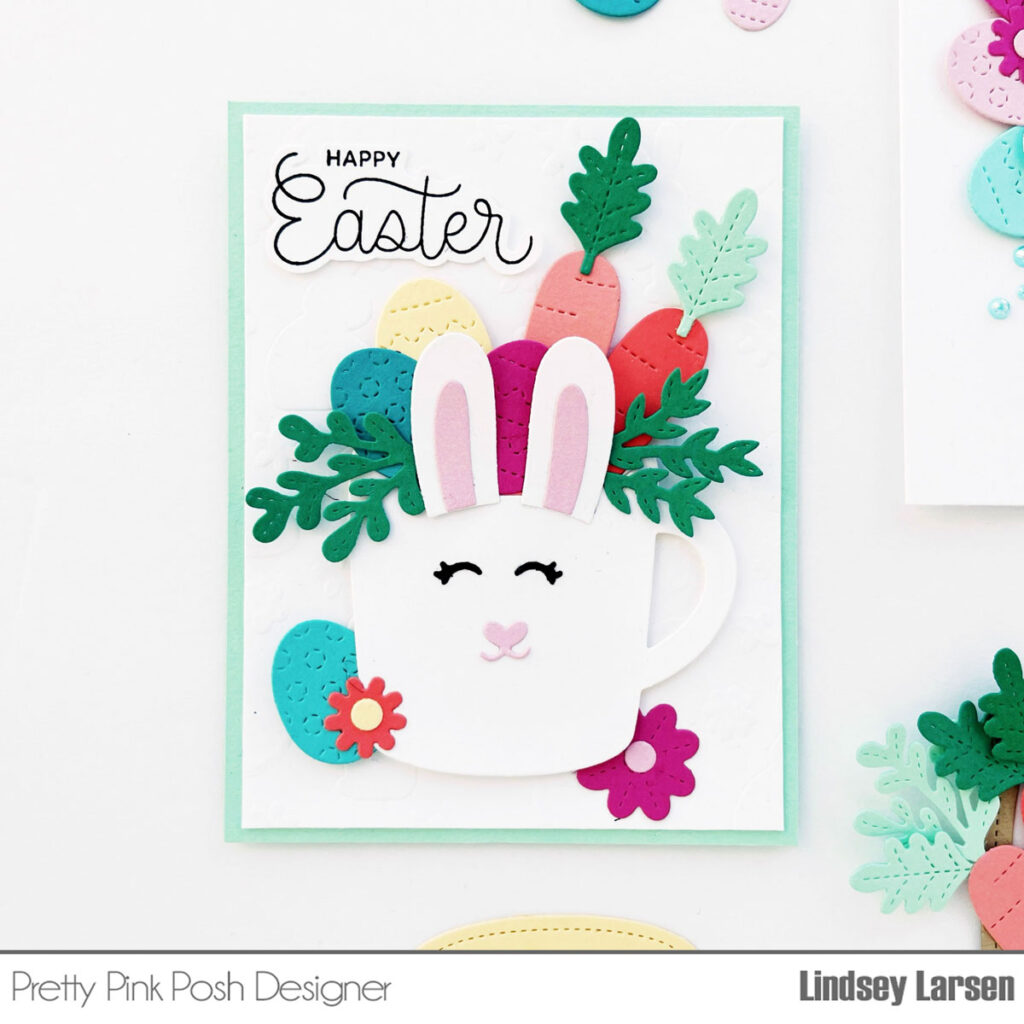
I’ll start with the fabulous new Easter Mug Additions. As the name states, these will pair perfectly with the previously released Winter Mug Dies, but they can definitely stand on their own. I always appreciate that about the mug addition sets.
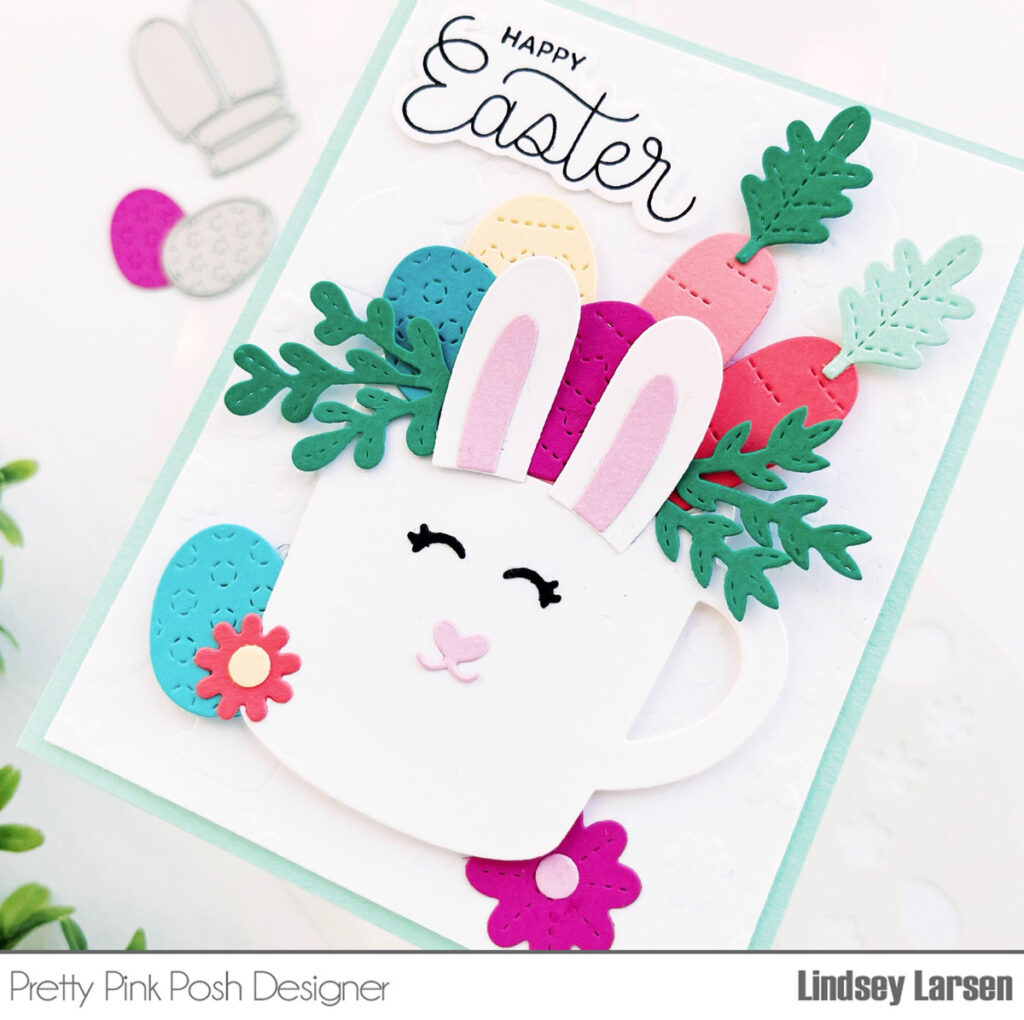
I started my card by building this sweet bunny with the Winter Mug and Easter Mug Additions dies. The Easter additions include several eyes, noses, and mouths to choose from, so you can mix and match to your heart’s content.

Then I chose a rainbow of bright cardstock and cut carrots, flowers, and eggs, which are also included in the Easter Mug Additions. I added a larger flower and some greenery from the Spring Foliage Dies.
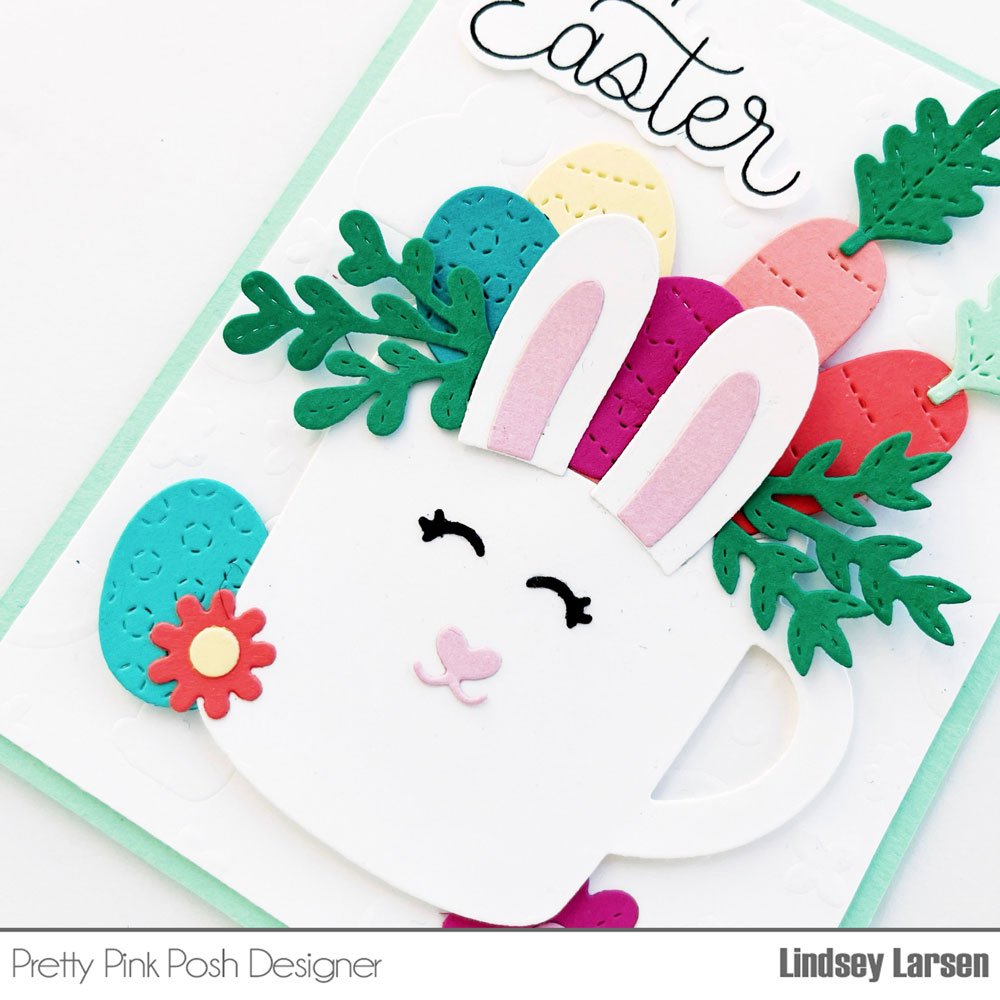
If you look closely, you’ll see bunnies, eggs, and flowers that I dry embossed on the card base using the new Layered Easter Florals Stencils. Finally, I finished my card with a sentiment from the new Easter Sentiments stamp set.
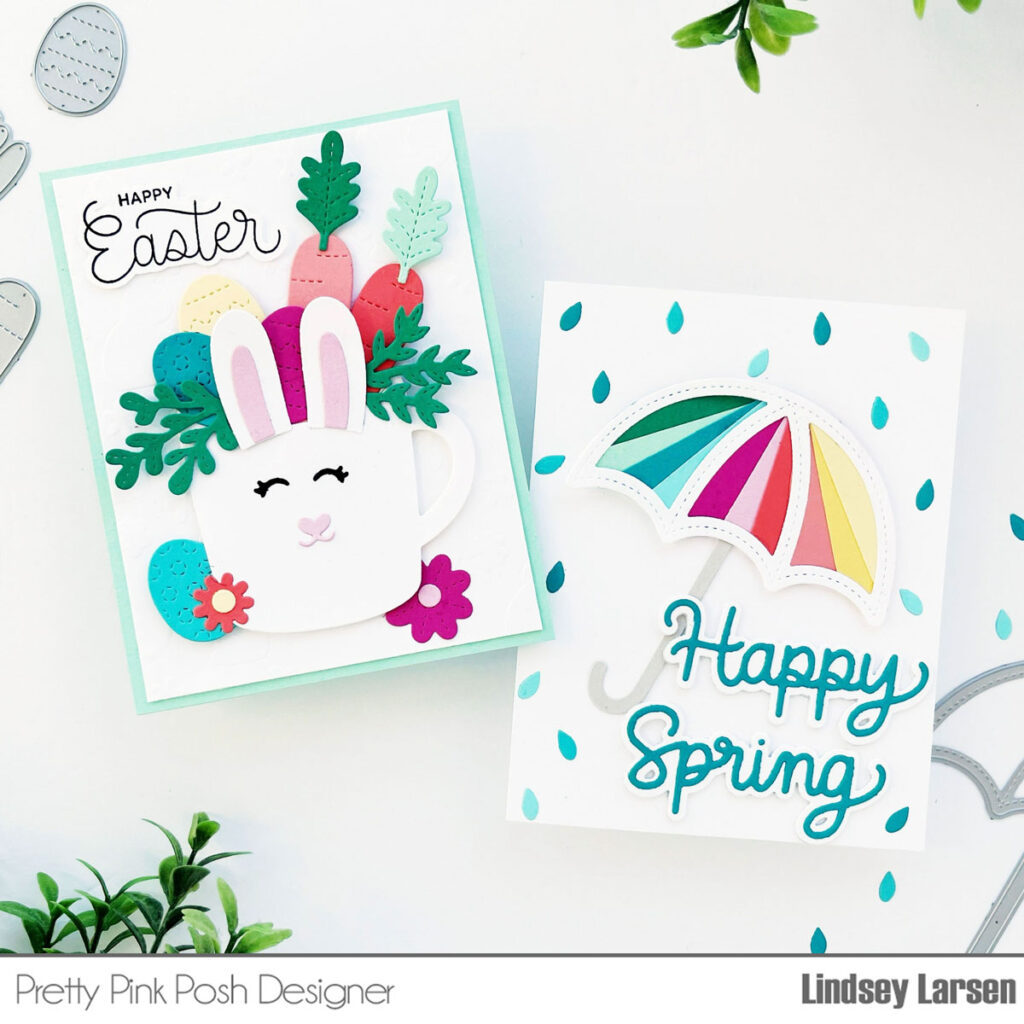
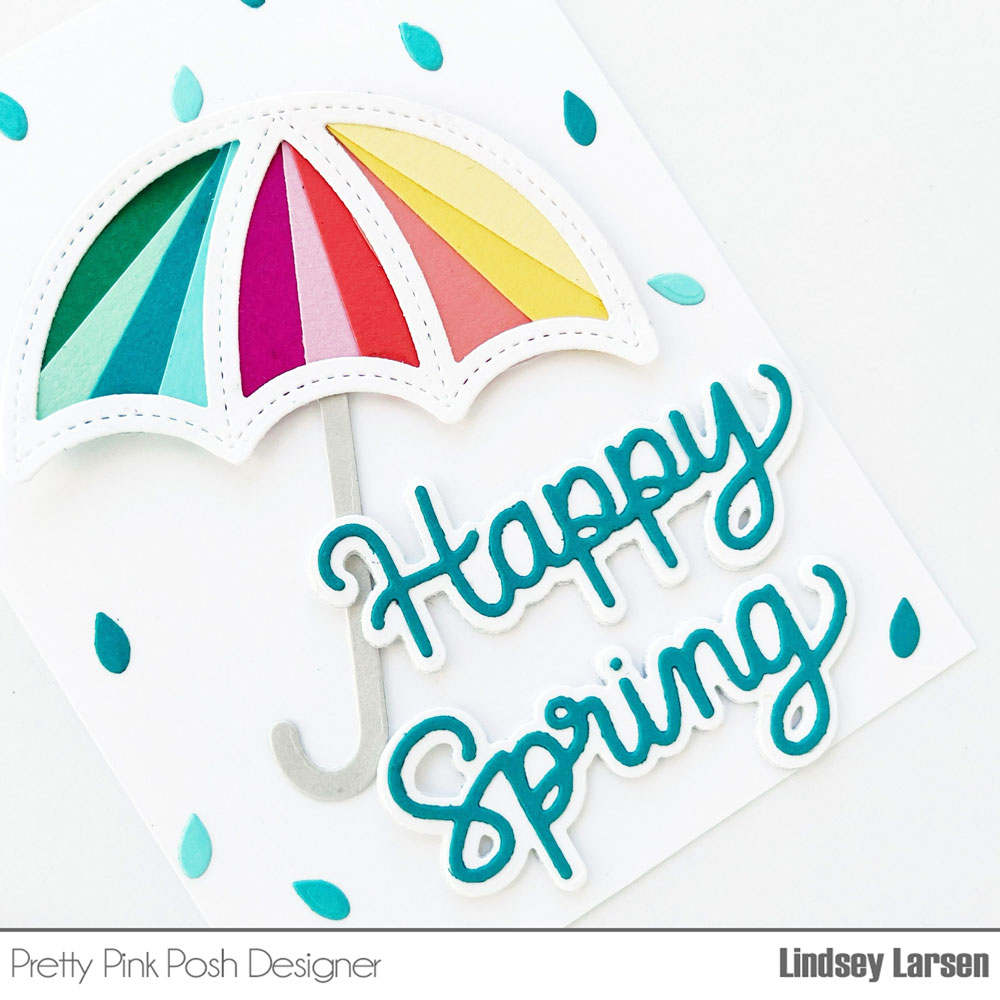
Next up is the adorable Umbrella Shaker die. It is the perfect size to take center stage on a card, which is how I’ve used it here. I used the same rainbow of colors as my previous card just more literally on this one.

You are going to love this die set because you have the option to cut the umbrella in one solid piece with stitched lines, or you can use a second die to cut out the middle of each section. I used both dies, and then layered strips of each color diagonally in the negative spaces of the umbrella.
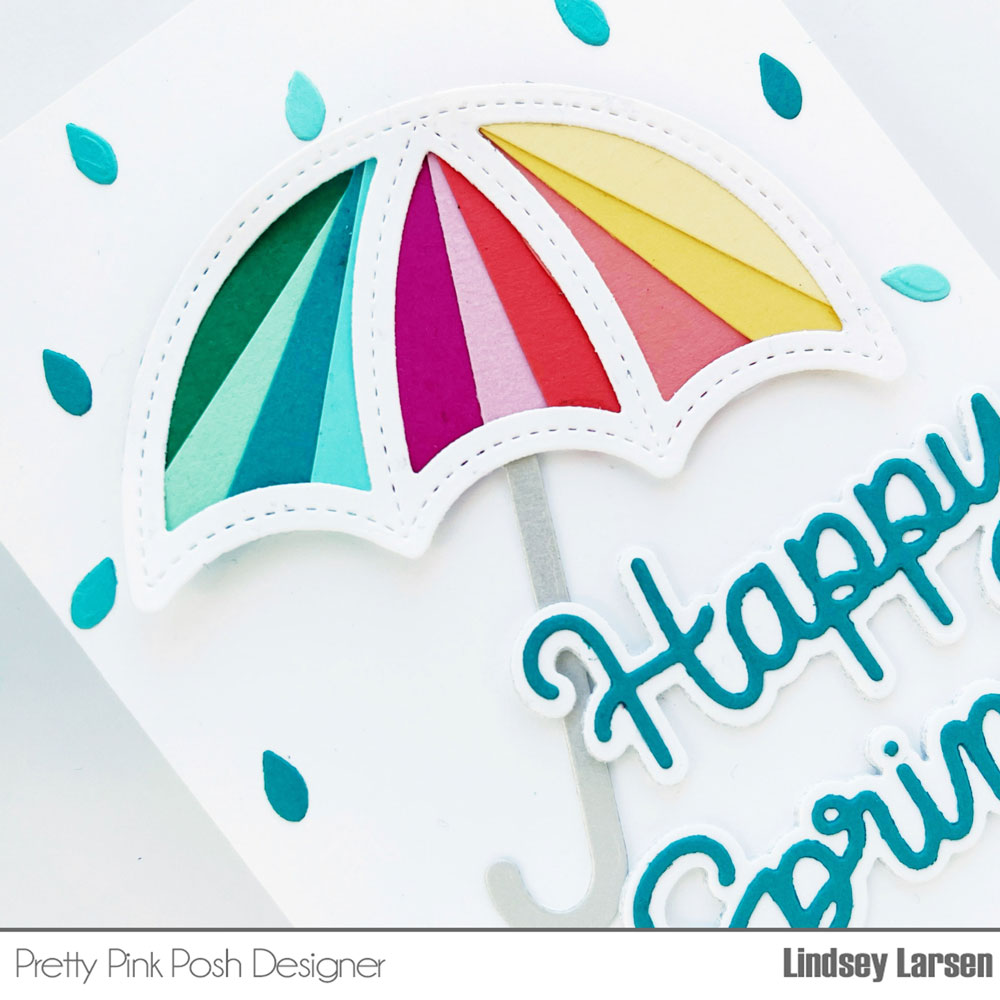
I finished off the umbrella with a shimmery gray shaft. There is also a die option for the handle that you can add.

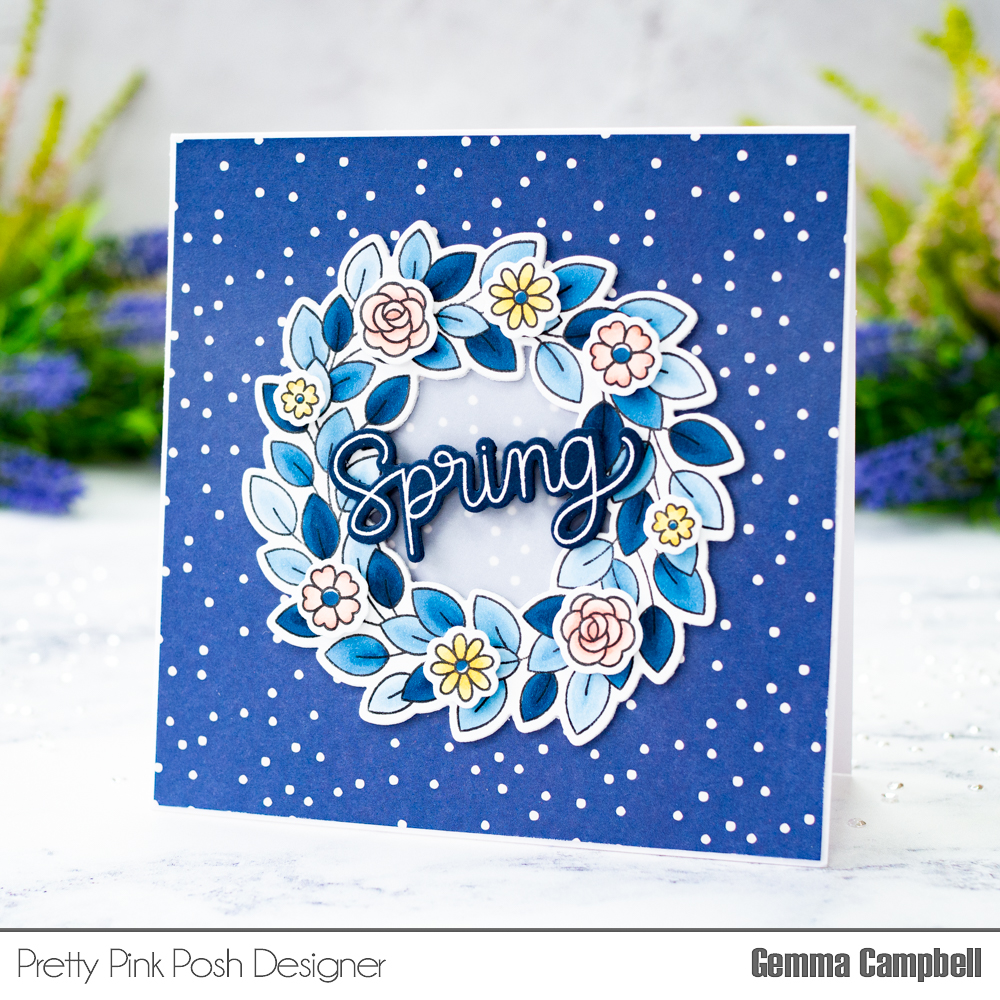
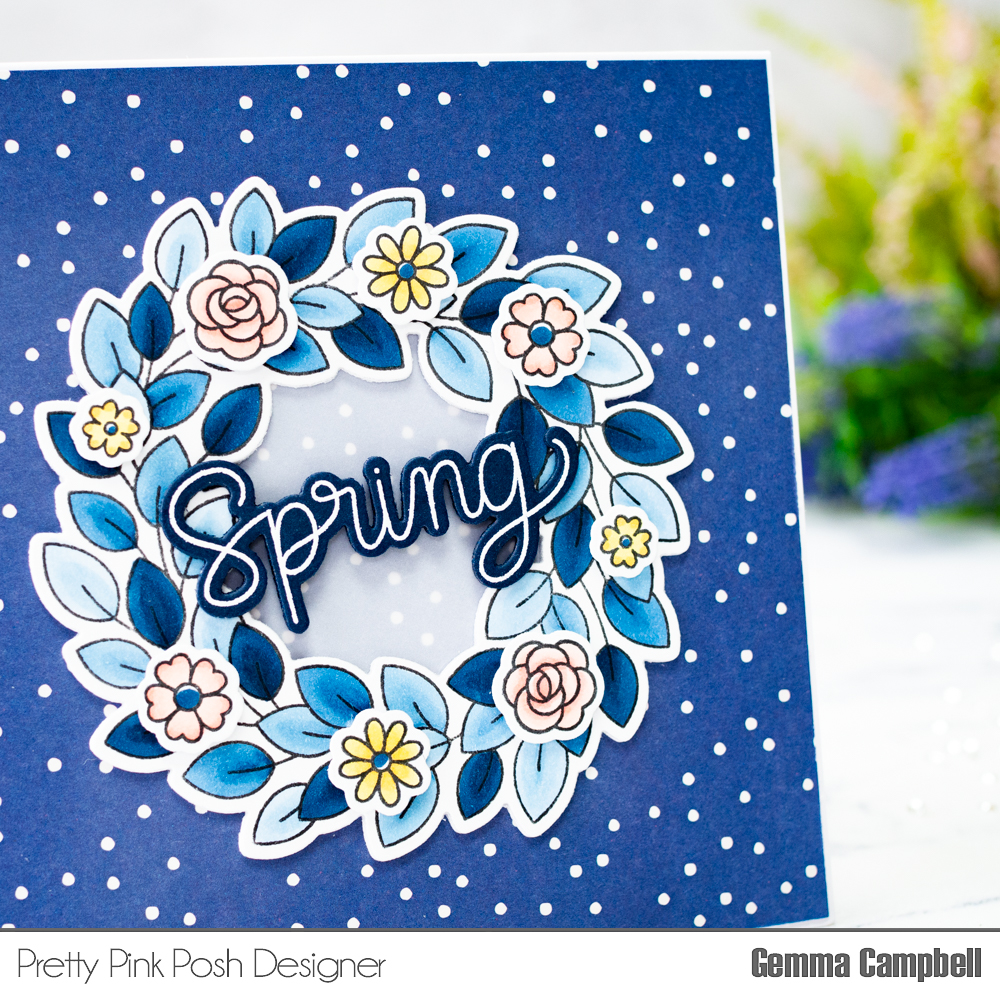
The sentiment on my card is the Happy Spring Shadow Die, one of two new shadow sentiment dies being released this month.
After adding my sentiment I finished off my card with a little rain. There is a little raindrop die included in the Umbrella Shaker die set; however, mine had disappeared in my crafty mess, so I actually used the negative cuts from the “y” and “g” in the Happy Spring Shadow die for my raindrops. I did end up finding the raindrop die (hooray), but in a pinch now you know a backup option. ;)
Thanks so much for joining me today! I have several more projects using these dies that I’m excited to be sharing with you throughout the month. Stop by tomorrow for a look at all the new products.