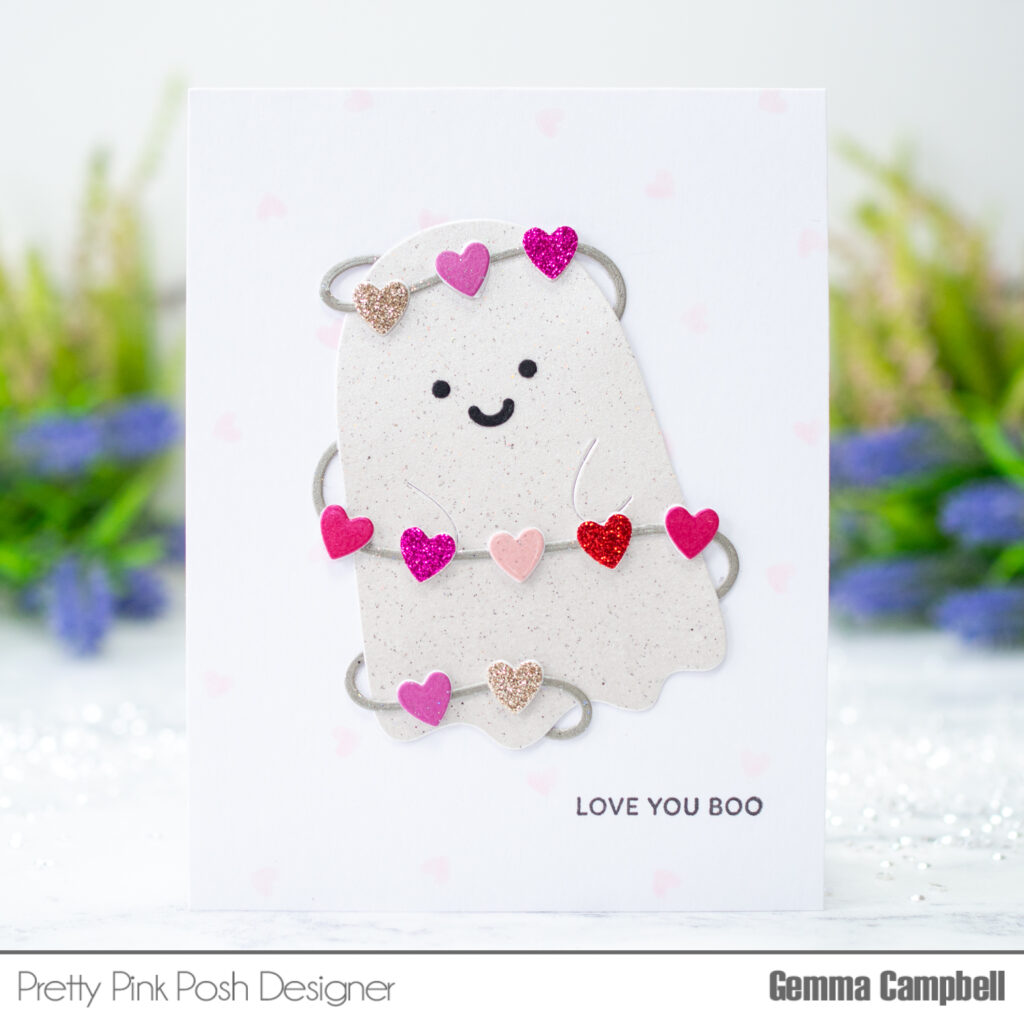
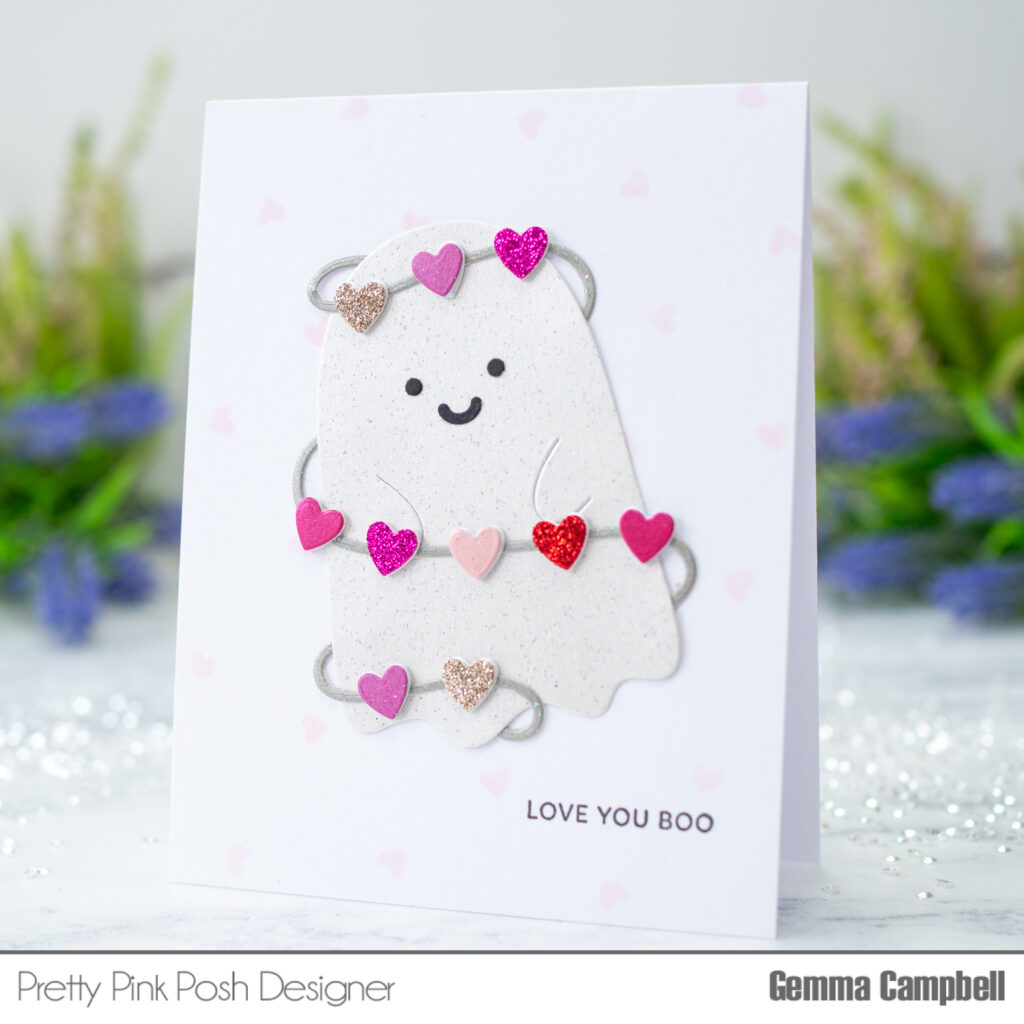
Hello, Gemma here today, sharing a fun Valentine ghost card.
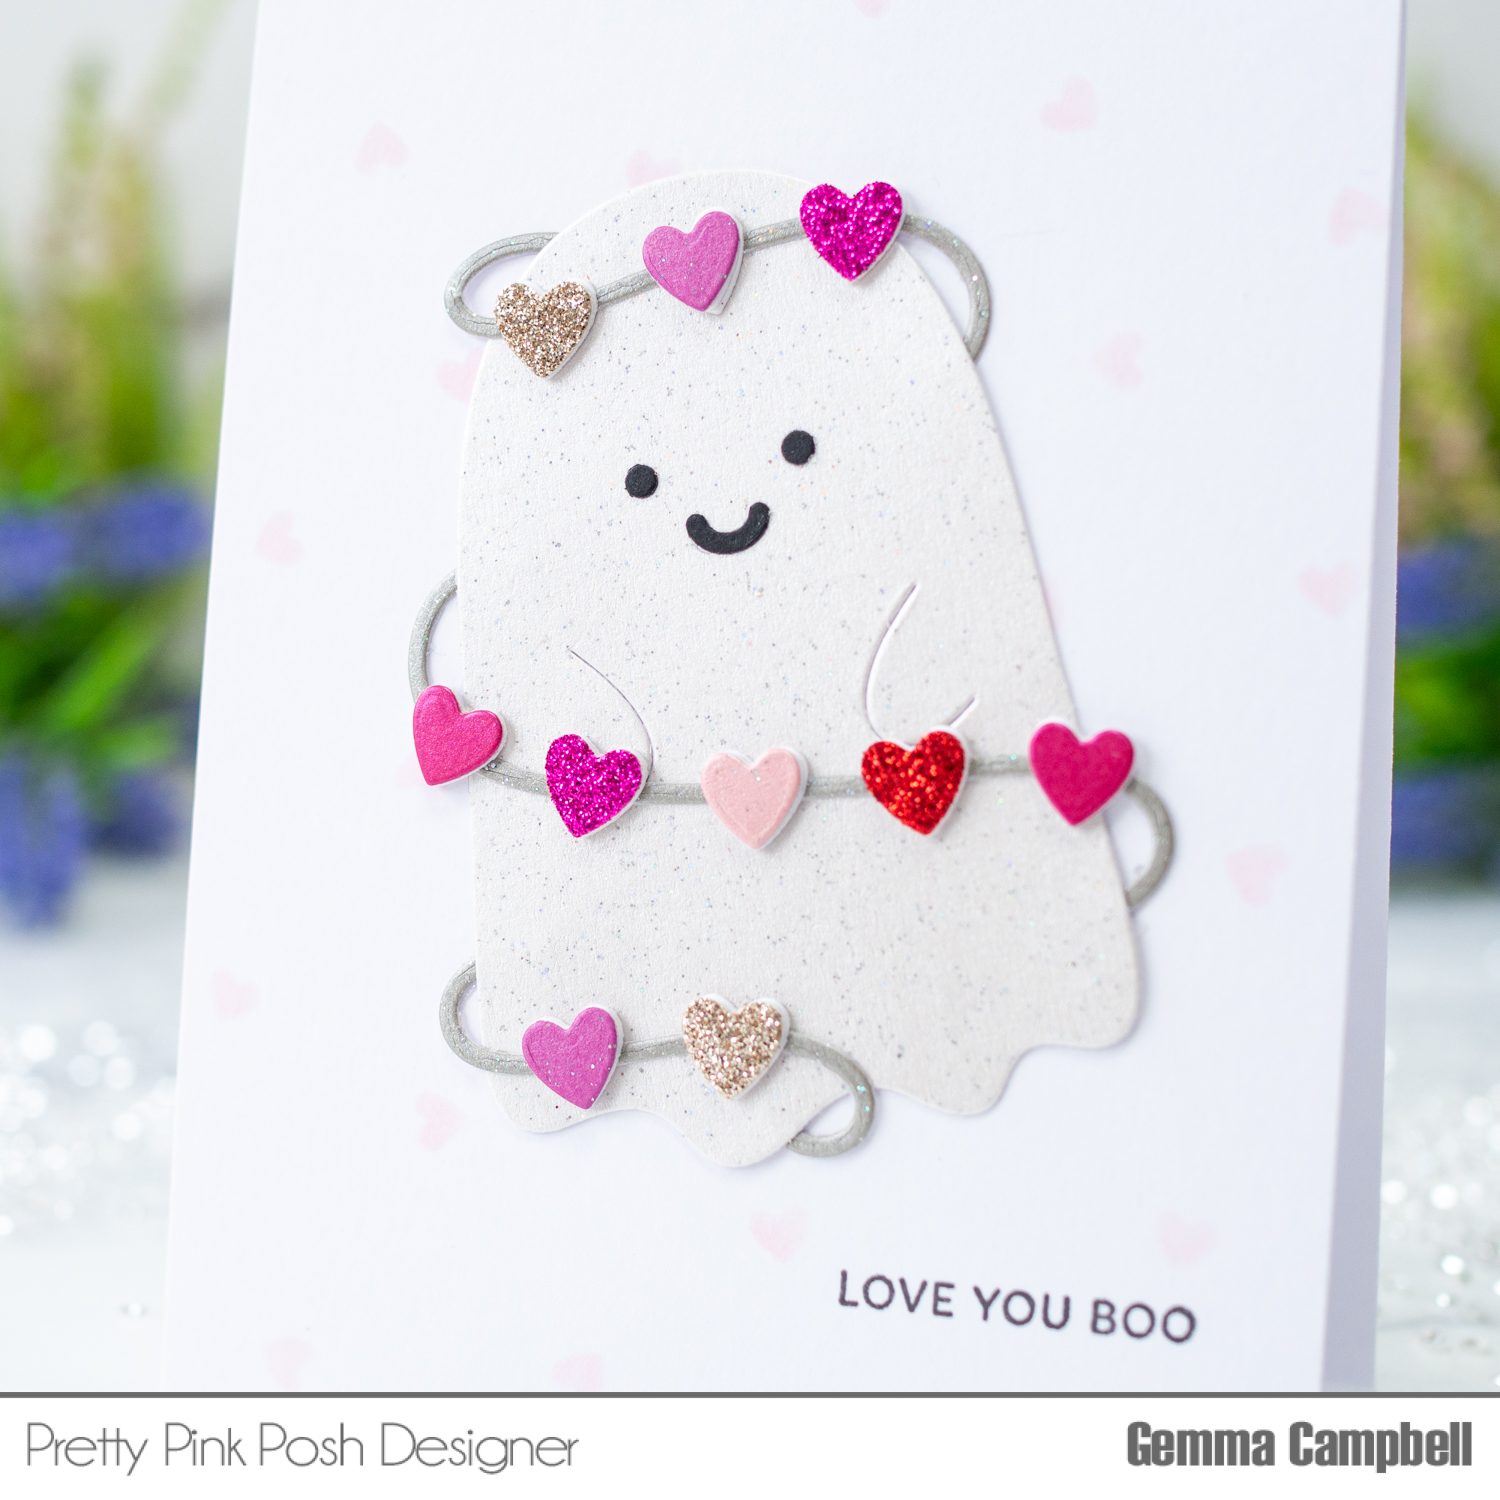
I began by die cutting the previously released Ghost Holder die set ghost from white pearl sparkle card, and adding the face features from black card.
Next, I die cut the strings and lots of hearts from the Valentine Holder Additions die set. I used some different textures of card for the hearts – pearl, pearl sparkle, and glitter.
I adhered the strings to the ghost, then added hearts along the string. Each heart is layered with a couple of white die cuts, for extra dimension.
On an A2 card base, I added some subtle heart details, using the new Layered Heart Sprinkles stencil set. I used just one layer of the stencil, with the light pink Spun Sugar distress oxide.
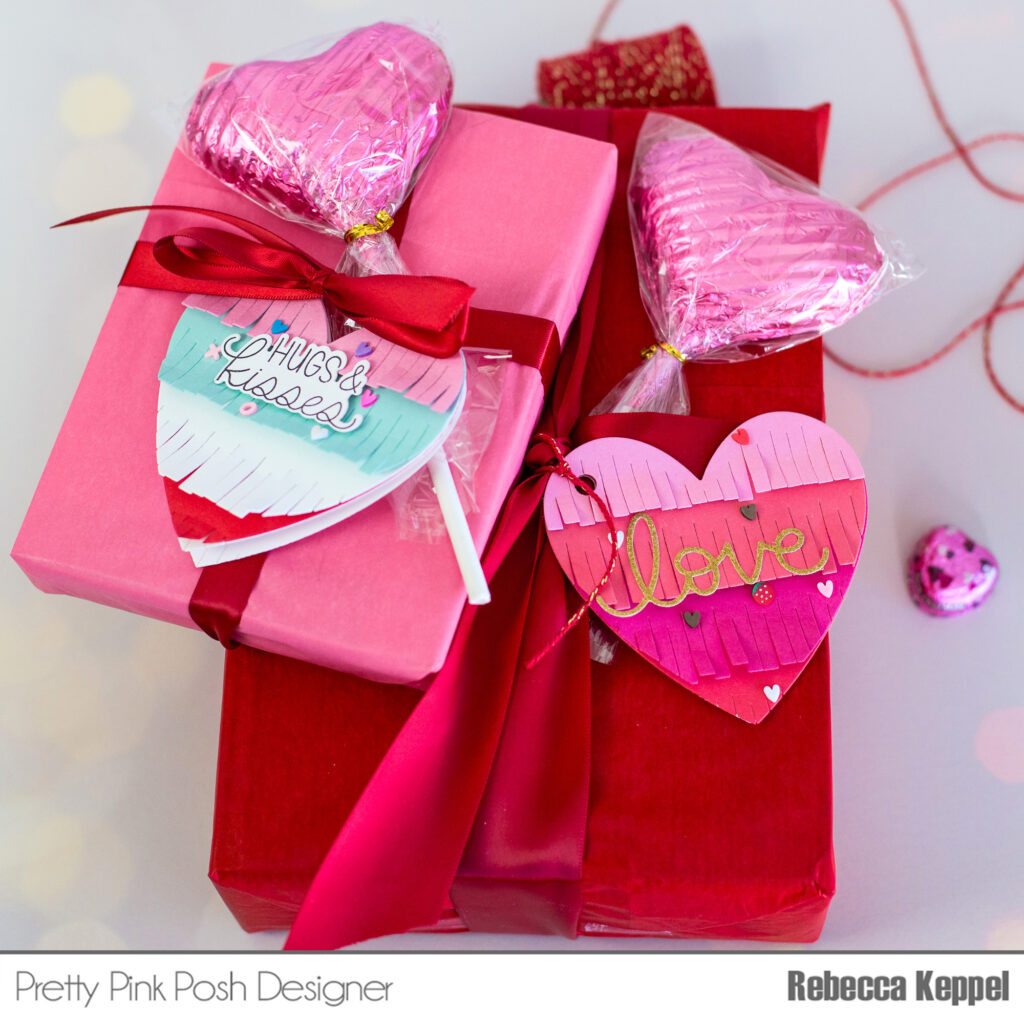
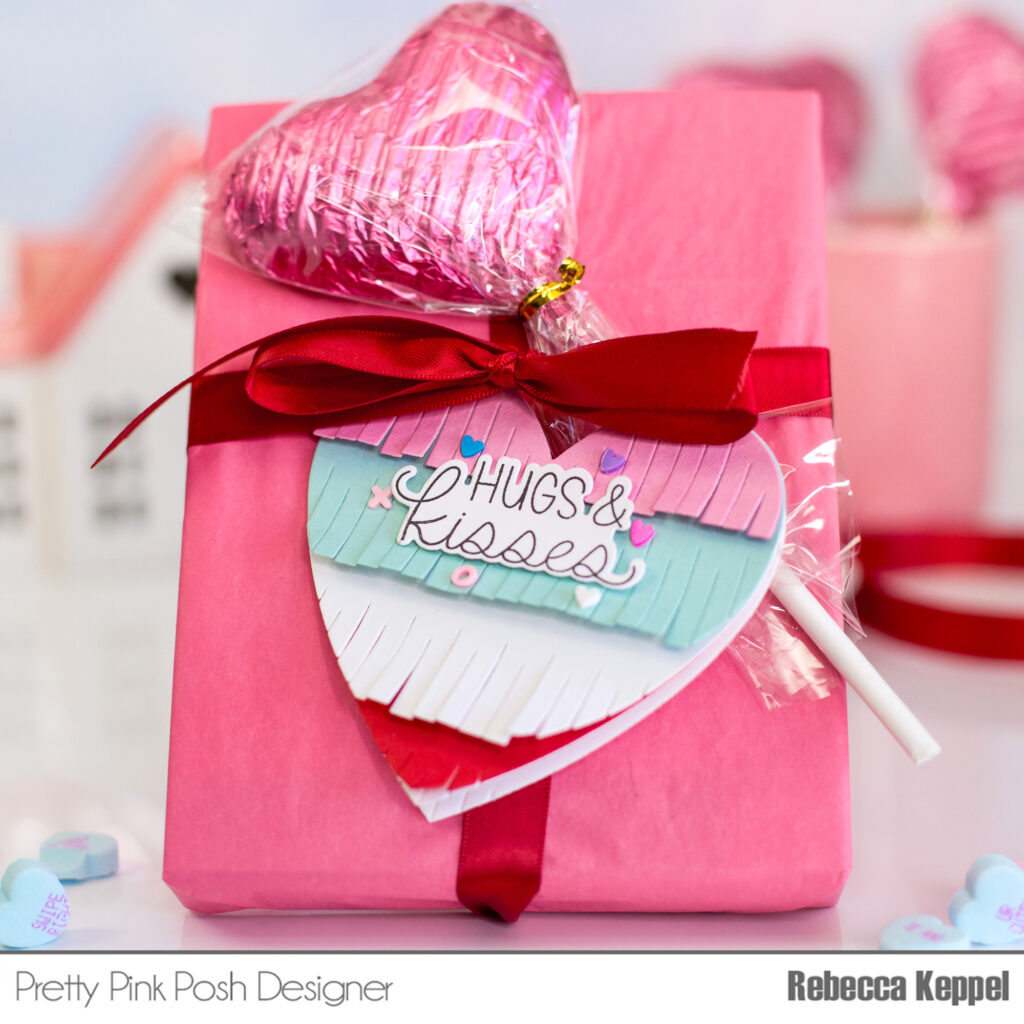
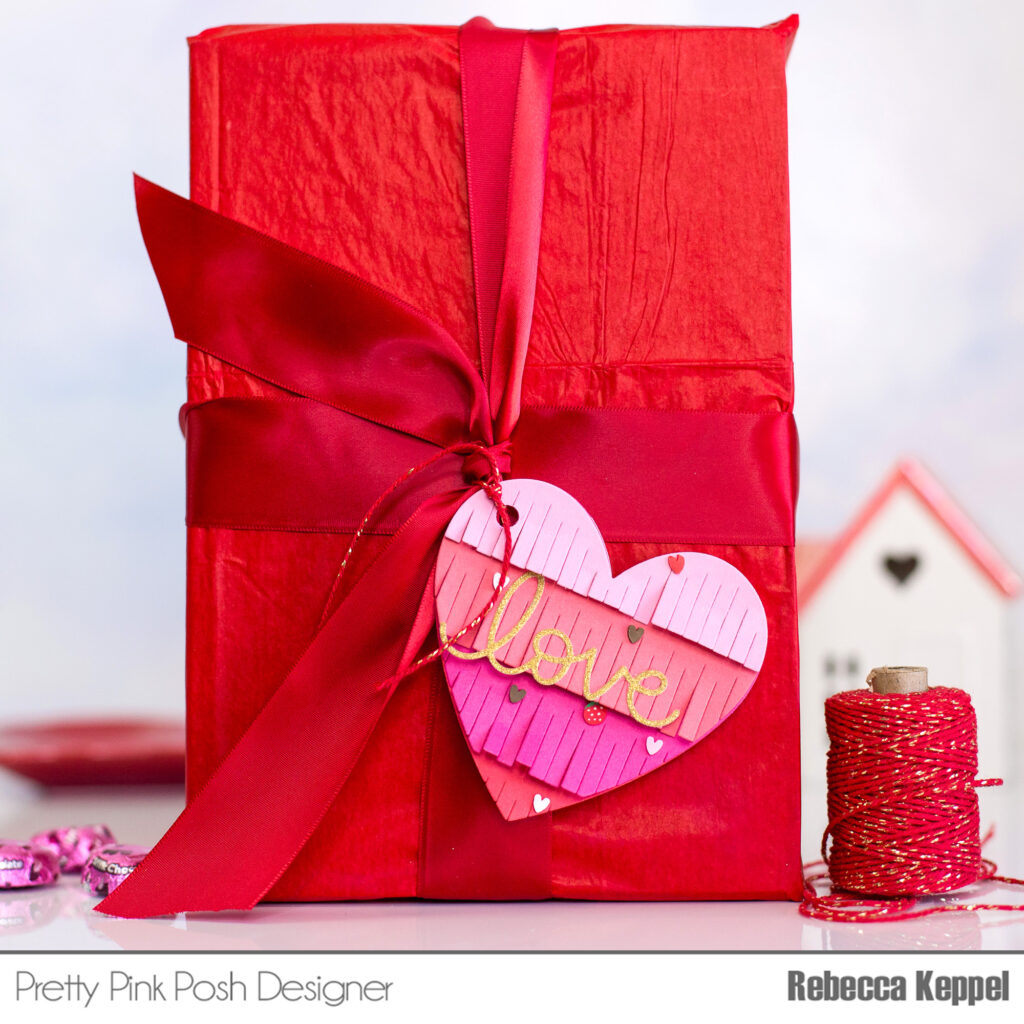
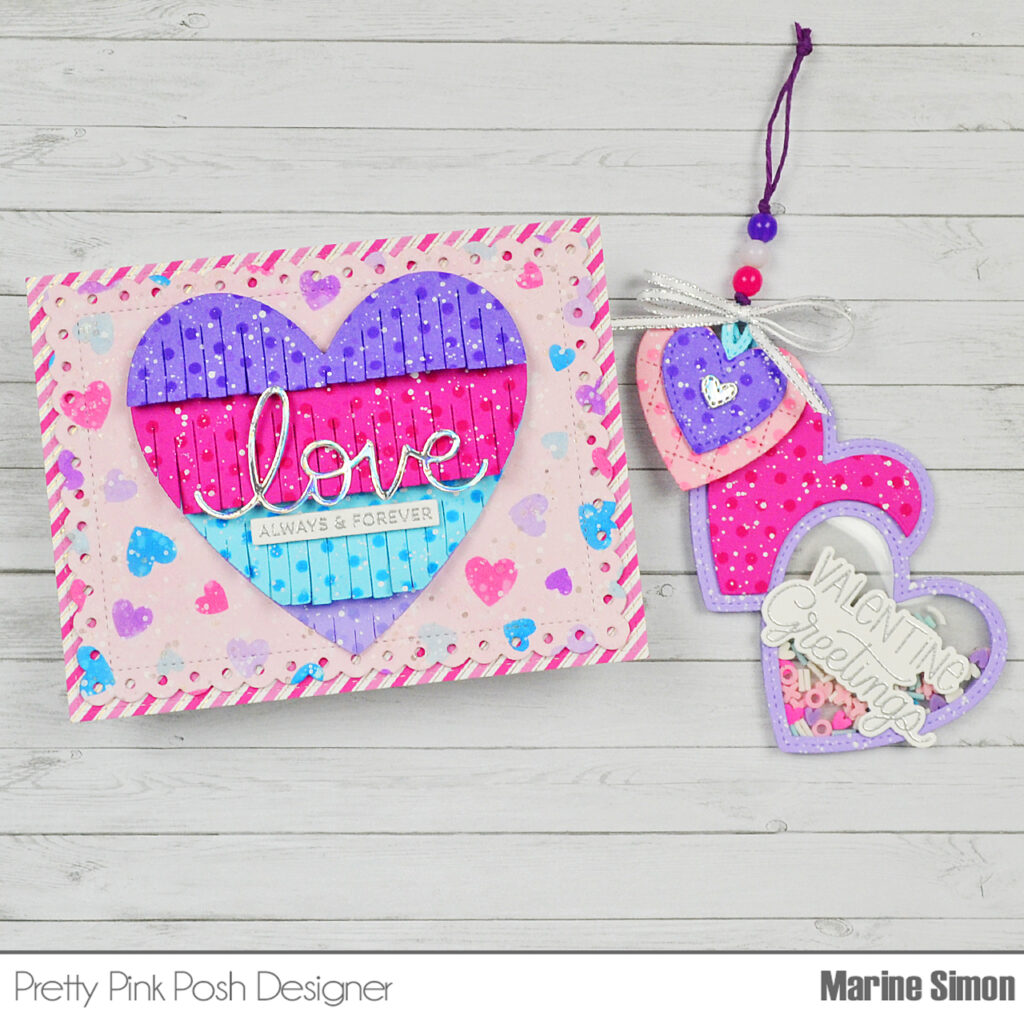
Hi everyone! I’m Rebecca and I am so excited to be here sharing some of the Pretty Pink Posh Valentine’s release! I LOVE LOVE LOVE all the hearts and happiness in this release. Today I have a card and tag for you made with the Fringe Heart Dies that would be great to add to a Valentine’s Day gift!
I cut each die from the Fringe Heart Dies from different colors of cardstock. You could use thinner paper or even tissue paper to create more traditional fringe, but I had more colors of regular cardstock so that’s what I used. If using cardstock you can curl up the ends or fluff them with your fingers to give them a nice fringe effect.
I embellished my hearts with the Hugs and Kisses Clay Confetti and the Strawberry Valentine Clay Confetti. I decided to turn one heart into a tag by punching a hole using a We R Memory Keepers hole punch in the top left corner of the heart. I was able to then use some cord to tie it onto a present that I had wrapper with ribbon I had left over from Christmas! The other heart I can use as a card for the present with a handwritten message inside!
The Fringe Heart Dies quickly and easily creates such a fun look that it is great on a card or as a topper on a gift! I absolutely adore it!
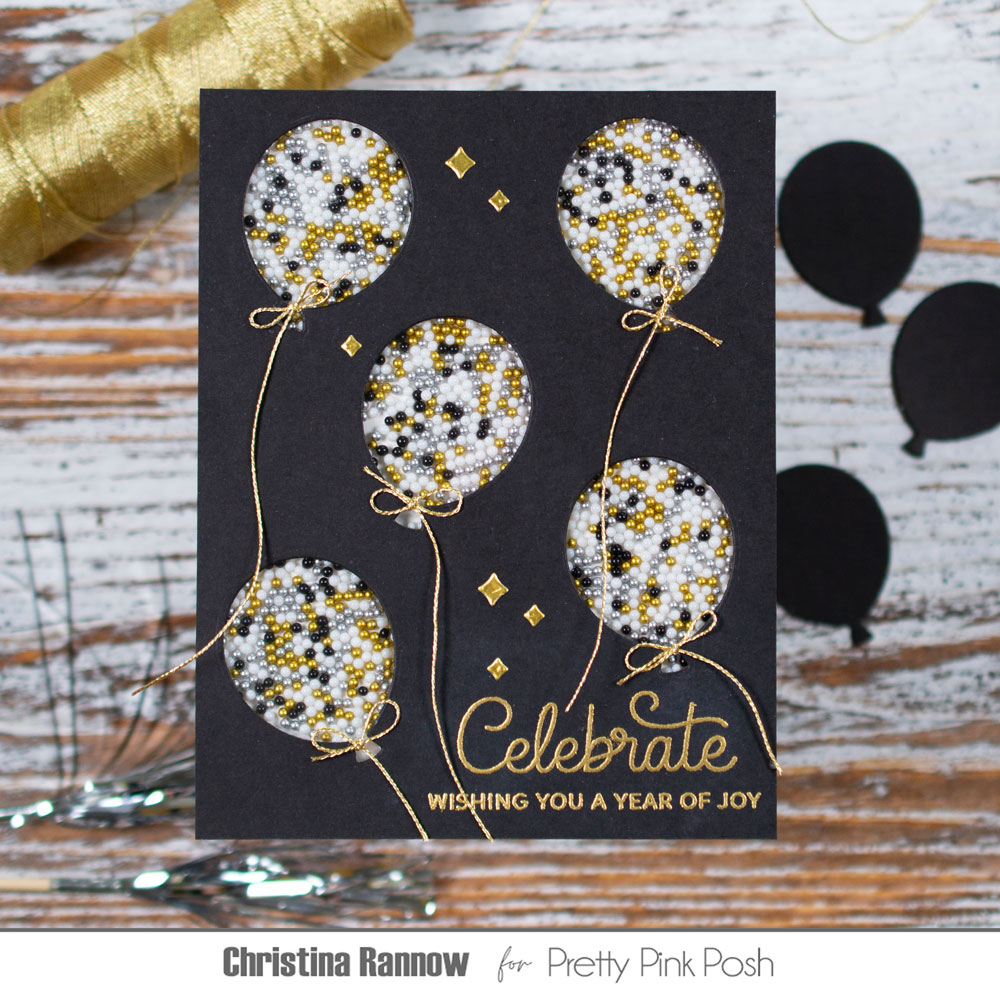
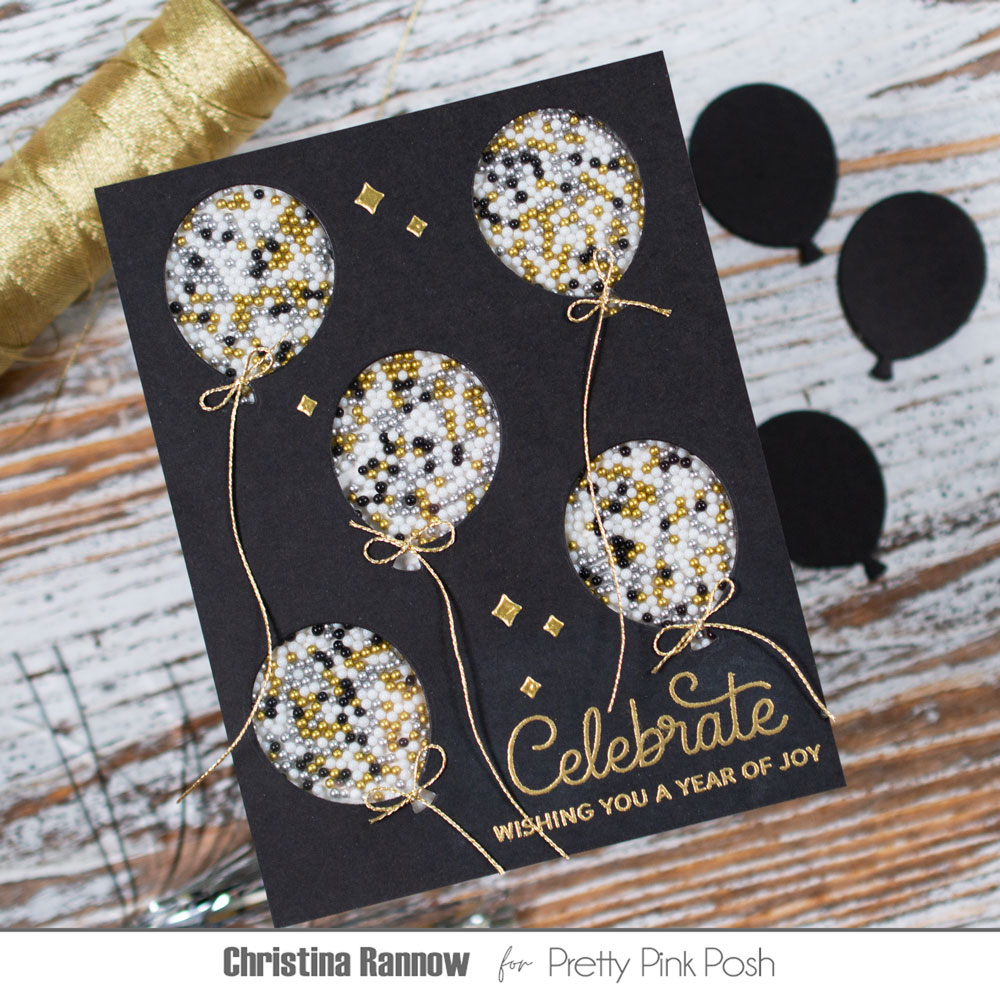
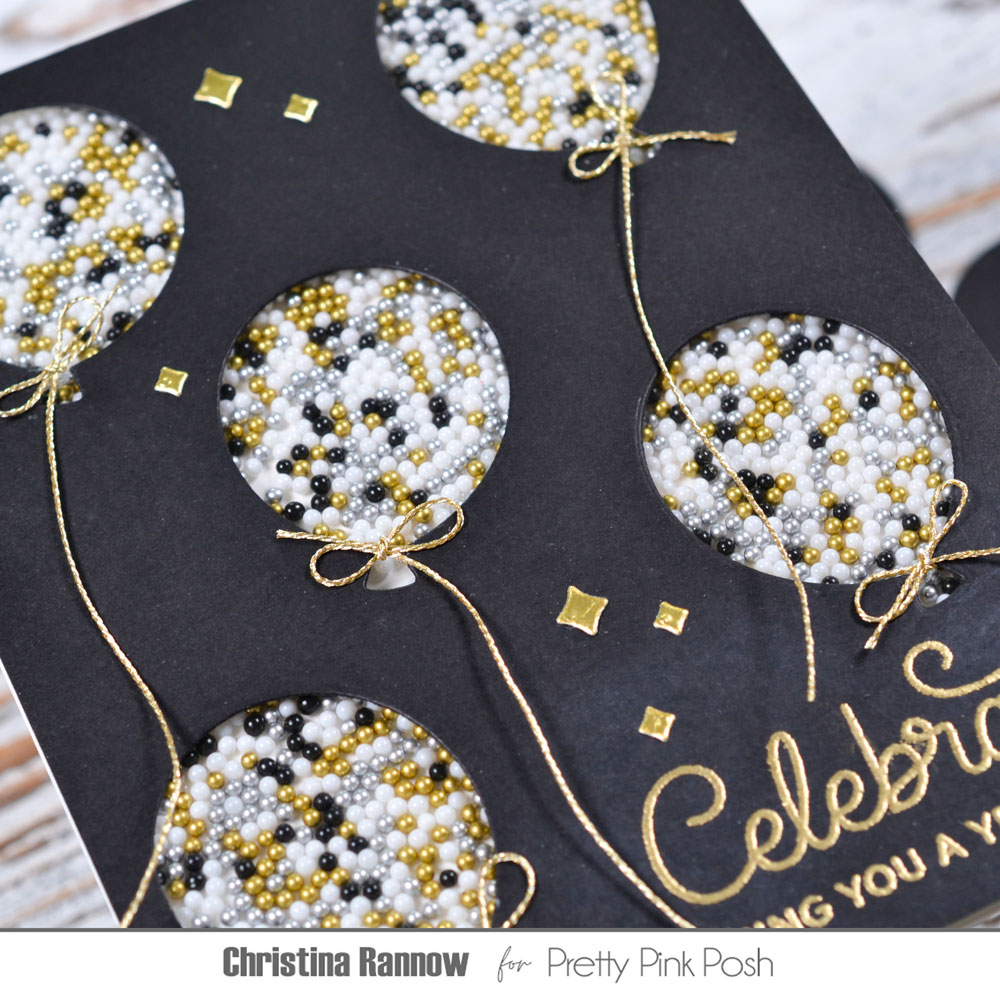
Hi friends, Christina here to share a fun shaker card, perfect for an elegant birthday card or celebration. I used the Party Balloons set and a super simple shaker construction for this project, and it took no time at all to put together. Let’s get started!
I started with an A2 black cardstock panel and five rounded balloons die cut from scrap cardstock. I used the balloons as templates to figure out my placement on the black cardstock panel and then lightly traced around them with a pencil. I die cut each balloon from the panel, and then before attaching a piece of acetate to the reverse side, I heat embossed a couple of sentiments on the bottom corner with gold embossing powder. I chose Celebrate from the Birthday Scripts stamp set and a sub-sentiment from the Sentiment Strips: Birthday stamp set.
Next, on the reverse side of the panel, I attached foam strips around each of the balloons, creating wells for the shaker beads, and foam tape to any other open area. I filled each shaker well with mostly Celebration Shaker Beads and just a few black beads from the Construction Zone Shaker Beads. I removed the release paper from the foam strips and tape and attached a white A2 cardstock panel to the tape.
To finish the shaker card, I tied tiny bows in gold cording and glued them in place and added some matte gold sparkles die cut from the Halloween Mug Addition Dies.
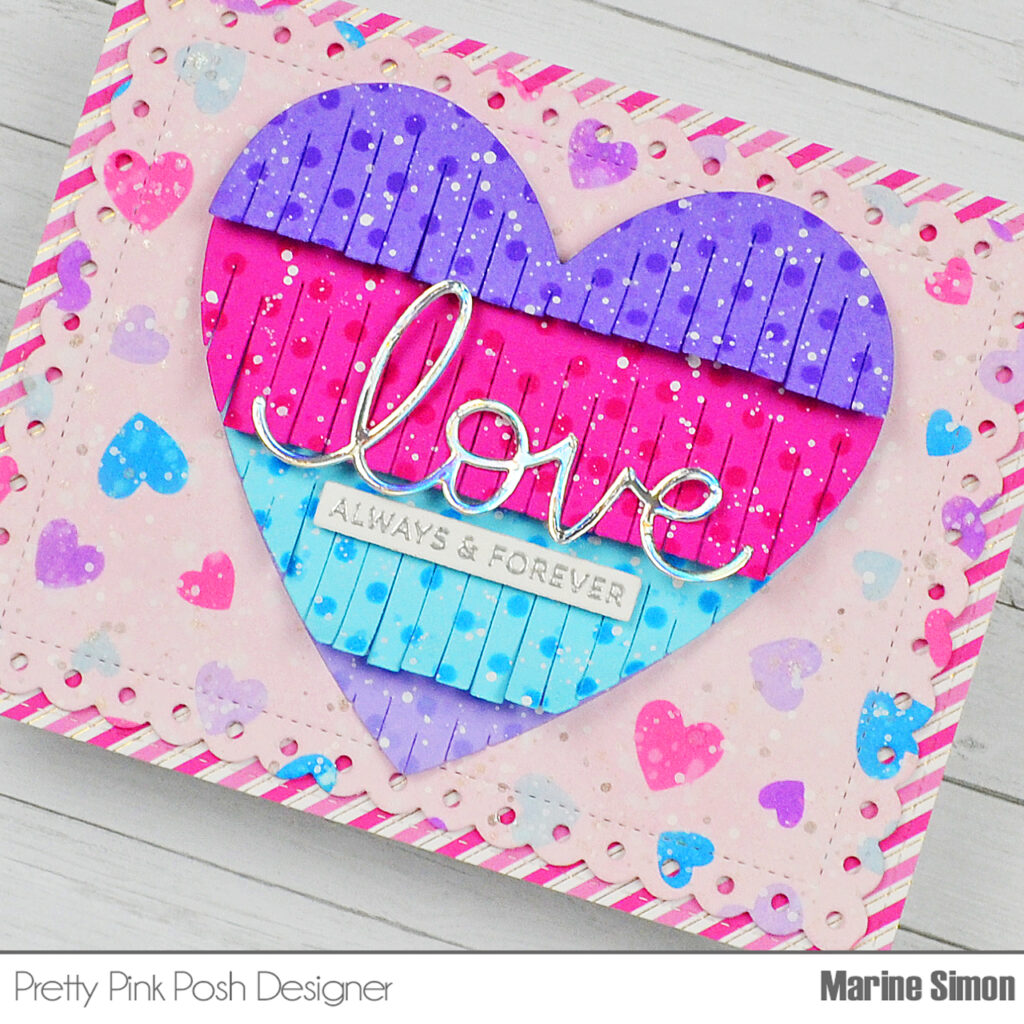
I started off by creating the card and cut a large Eyelet Rectangle panel out of Strathmore bristol smooth cardstock. I colored the whole panel with spun sugar oxide ink, and then created an extra fun pattern using the Scattered Heart Frame stencil along with oxide inks that coordinate with the Hugs & Kisses confetti mix: picked raspberry, salty ocean, tumbled glass, shaded lilac and wilted violet. I splattered water all over the panel and dried it using a paper towel, mixed some copic opaque white ink with water and used a slim brush to add white splatters on the panel, and did the same with liquid stardust for a touch of shine.
Next I cut the four Fringe Heart pieces out of different colored cardstock, and added a pattern to each element using the Mini Polka Dots stencil and matching distress inks. And just like the background, I added white splatters to each of those four pieces. Once these were dry, I assembled the heart using 1mm foam squares between each layer, and I attached the complete heart right in the middle of my Eyelet Rectangle panel using liquid glue.
I cut the Love Script out of holographic cardstock, and attached it right on the fringes using liquid glue. I also stamped and embossed “Always & Forever” from Sentiment Strips: Valentine in silver on white cardstock, trimmed it into a slim banner using a Sentiment Strips die, and attached it below “Love” using foam squares. I stuck my Eyelet Rectangle panel to a pink striped 5,5 x 4,25 inches panel using 1mm foam squares, and finally to a white card base using liquid glue.
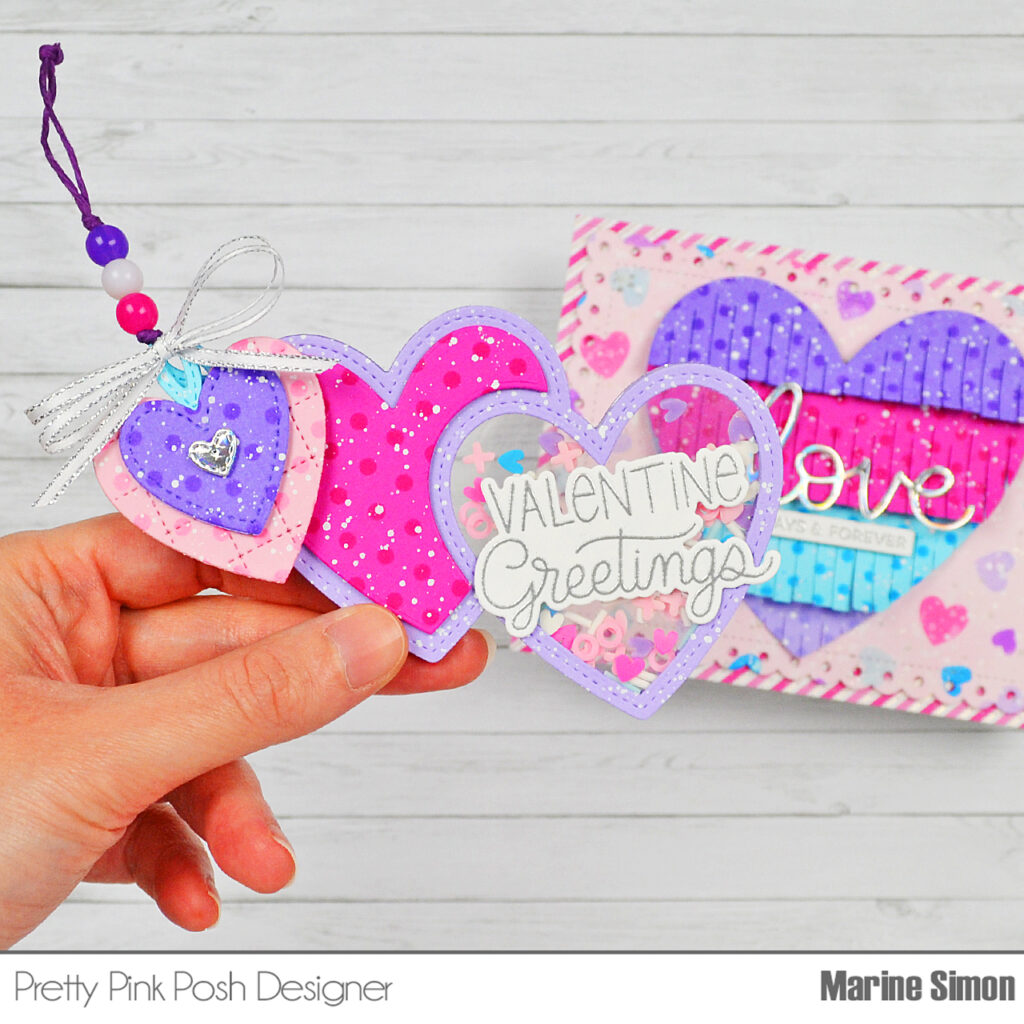
To make the shaker tag, I followed those steps:
1. Cut a Double Heart Shaker purple frame using the main die and whole heart die from the set 2. Cut a Double Heart Shaker panel out of acetate, and attached it at the back of the purple frame using liquid glue 3. Still at the back of the frame, added foam strips all around the whole heart, and at the back of the cropped heart as well 4. Poured a bunch of Hugs & Kisses confetti inside the whole heart frame 5. Cut another Double Heart Shaker panel out of acetate, and stuck it to the foam strips to close the shaker tag 6. Cut another purple frame, and attached it at the back of the tag to finish it nicely
I stamped and embossed “Valentine Greetings” from Valentine Greetings in silver on white cardstock, cut it using the coordinating die, and attached it right on the acetate heart using 1mm foam squares. I cut a cropped heart out of pink cardstock using a Double Heart Shaker die, added a pattern using the Mini Polka Dots stencil along with a matching distress ink, splattered white ink on it, and once it was dry I attached it to the front of my shaker tag using 1mm foam squares.
I cut a light blue handle using a Build A Stocking die, and attached that handle on the left edge of the cropped heart, created an additional small heart tag using Stitched Hearts and a tiny heart from Baby Mug Additions, and I tied this extra heart tag to my Double Heart Shaker using purple twine and beads from my stash.
And that’s it! Another cute and fun set of card and shaker tag! Thanks so much for stopping by, see you next time.
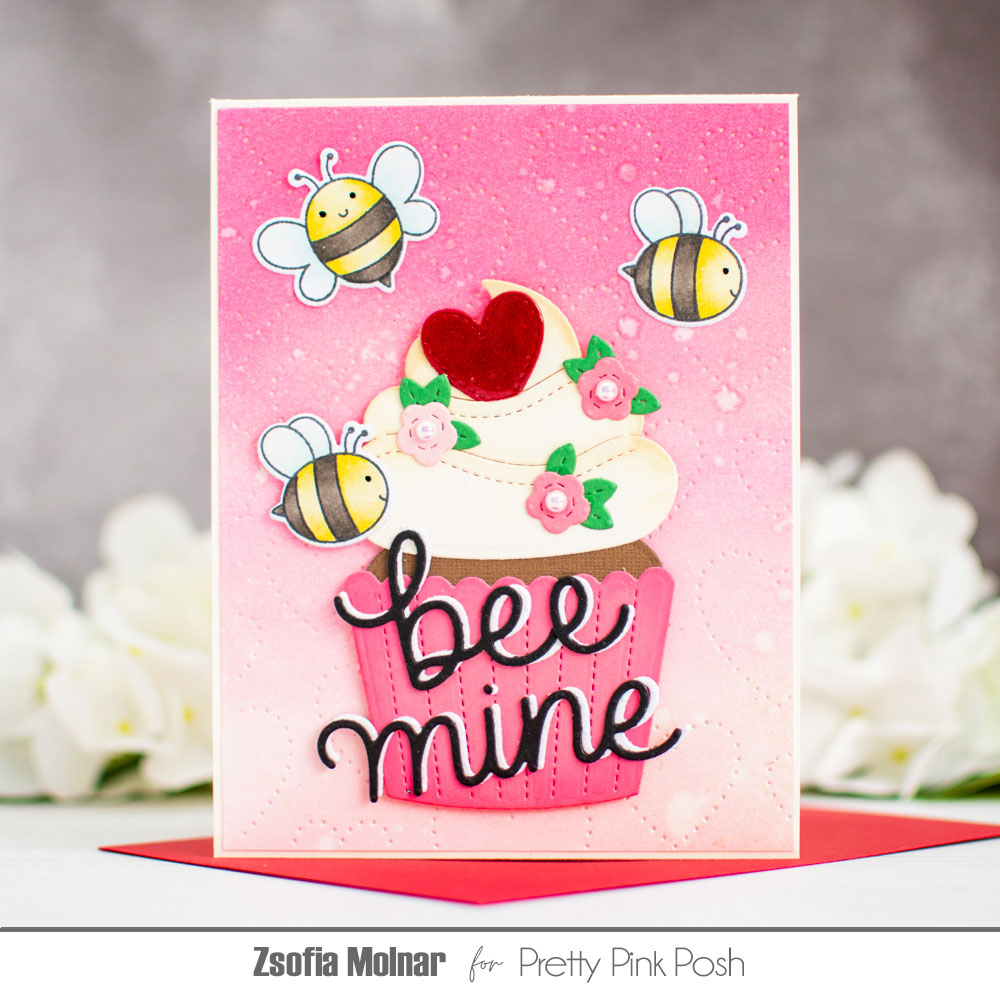
Welcome to Valentine Theme week! It is Zsofi here today with a fun mix and match love card. Recently, I make more cards with die cuts, but to increase the cuteness level, I love to add some coloured images too. Just like on today’s inspiration.
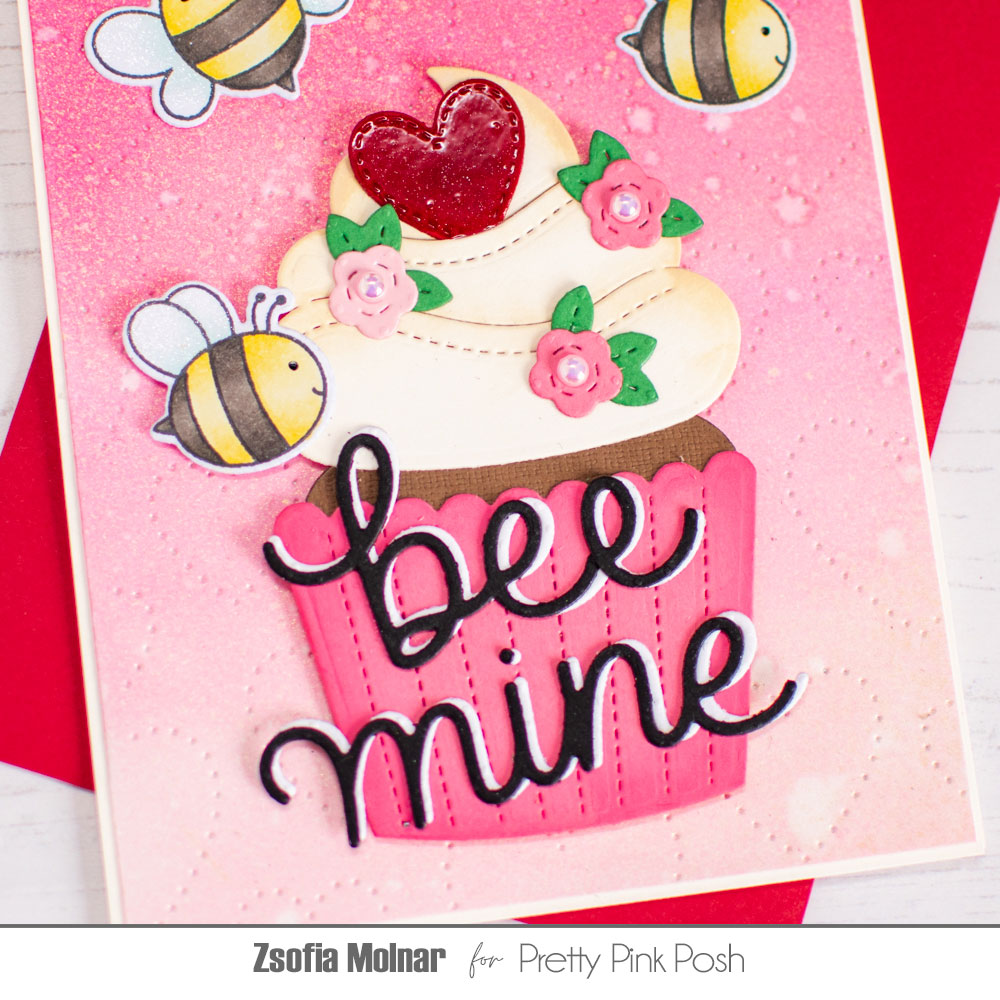
First I die cut the elements from the Big Valentine Cupcake die set using coloured cardstock: the base from pink, the cupcake from brown, the cream from ivory cardstock scraps. I also cut a heart, a bunch of roses and leaves to embellish the cupcake. I used Distress Oxide inks and blending brushes to add a tiny shading to the die cuts, I love how big difference it makes!
Then I worked on the background: I did some ink blending on Bristol Smooth cardstock with Spun Sugar, Kitsch Flamingo and Picked Raspberry Distress Oxide inks. When I was happy with the blending, I spritzed it with gold shimmer mist for a subtle sparkle. I also added a few drops of water which I dabbed off with a paper towel to remove some of the ink and get more texture. When the panel was dry, I die cut it with the Pierced Hearts Plate die. It looks gorgeous!
I wanted to add some critters to the card, so I stamped and coloured some bees from the Bee Friends stamp set. I used Copic markers and cut them all out with their coordinating dies.
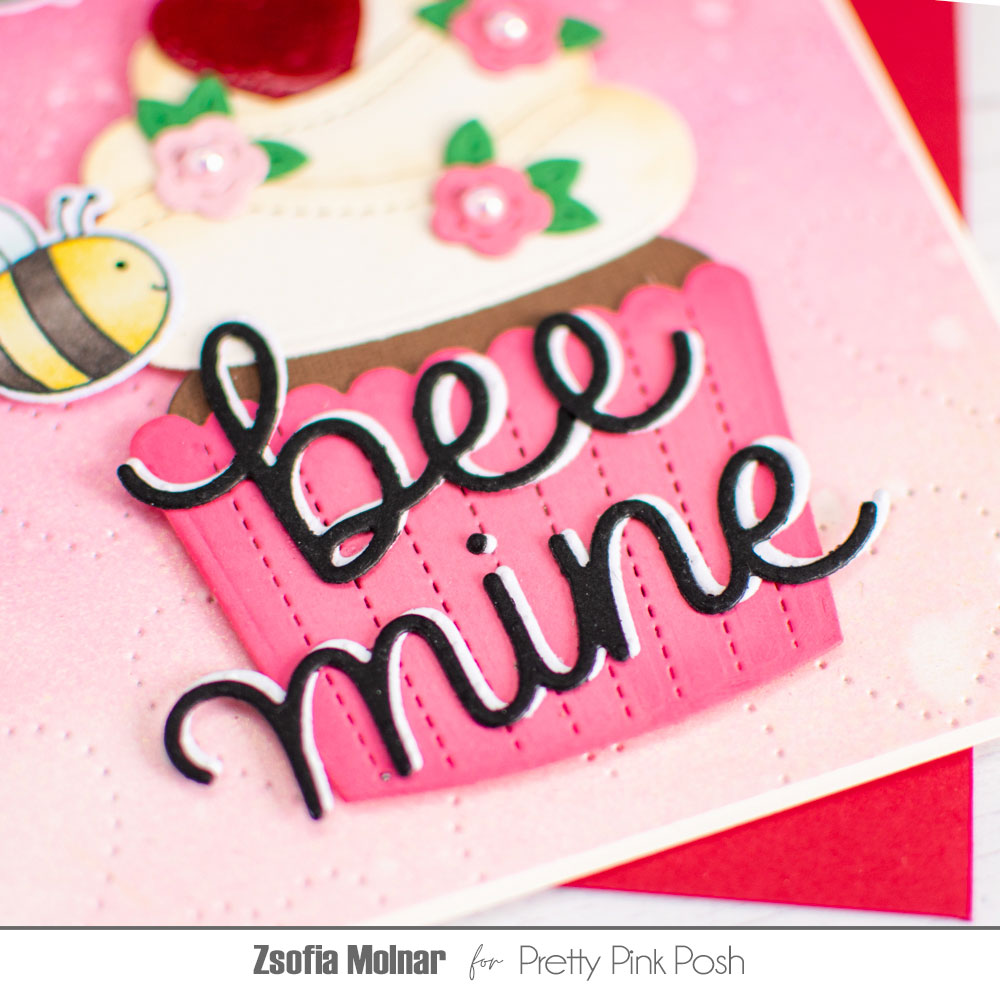
As I used the bees, I really wanted a matching, custom sentiment. I die cut the Be Mine shadow dies from white and black cardstock and layered them on top of each other tiny offset. To make the sentiment match the card more, I simple added another “e” at the end. Isn’t it cute?
When assembling the card, I used 3D foam squares to pop up the cupcake, while I adhered the bees with liquid glue. I just love to have dimension on my cards.
As a finishing touch I used a black glaze pen on the eyes of the bees and clear shimmer on their wings. I added glossy accents to the heart and I also used some pearl beads to adorn the little roses on the cupcake.
I hope you liked this card idea and got inspired. Thanks for stopping by and hope to see you soon,
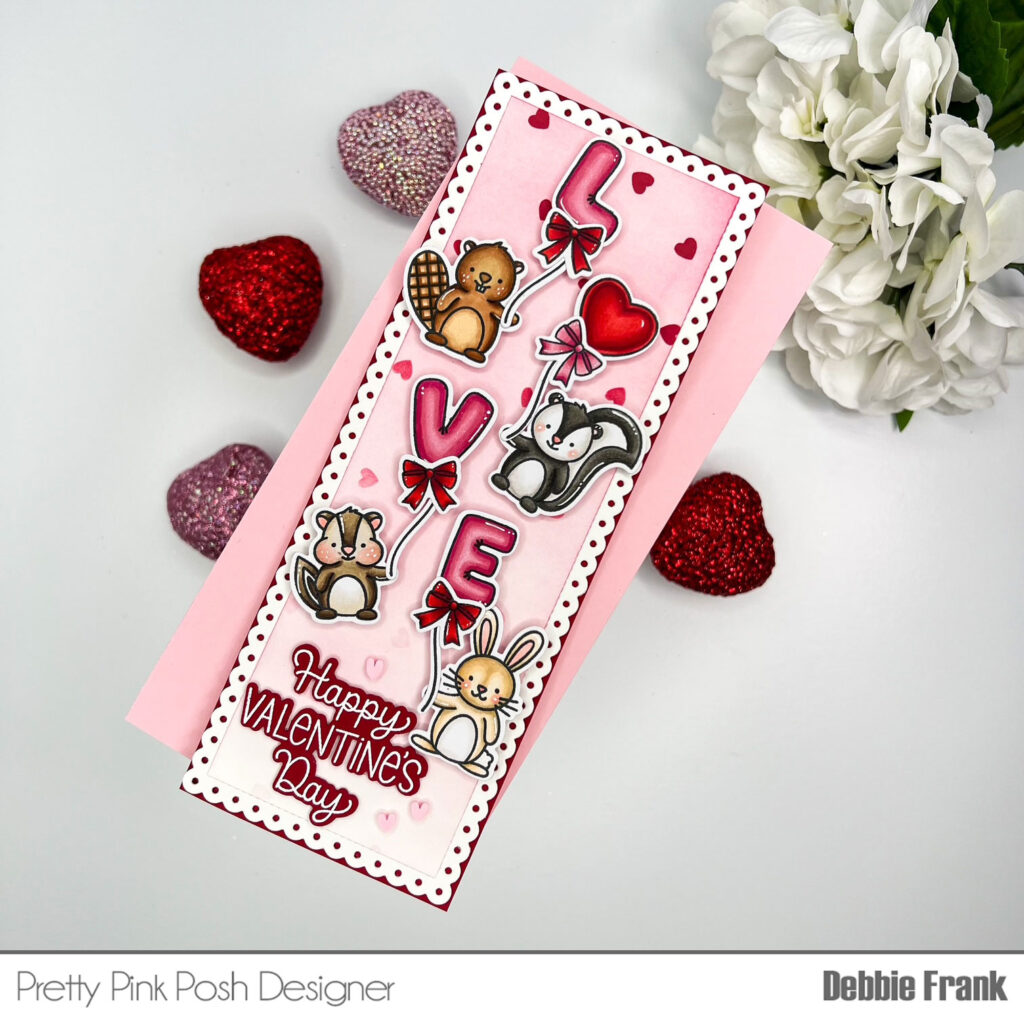
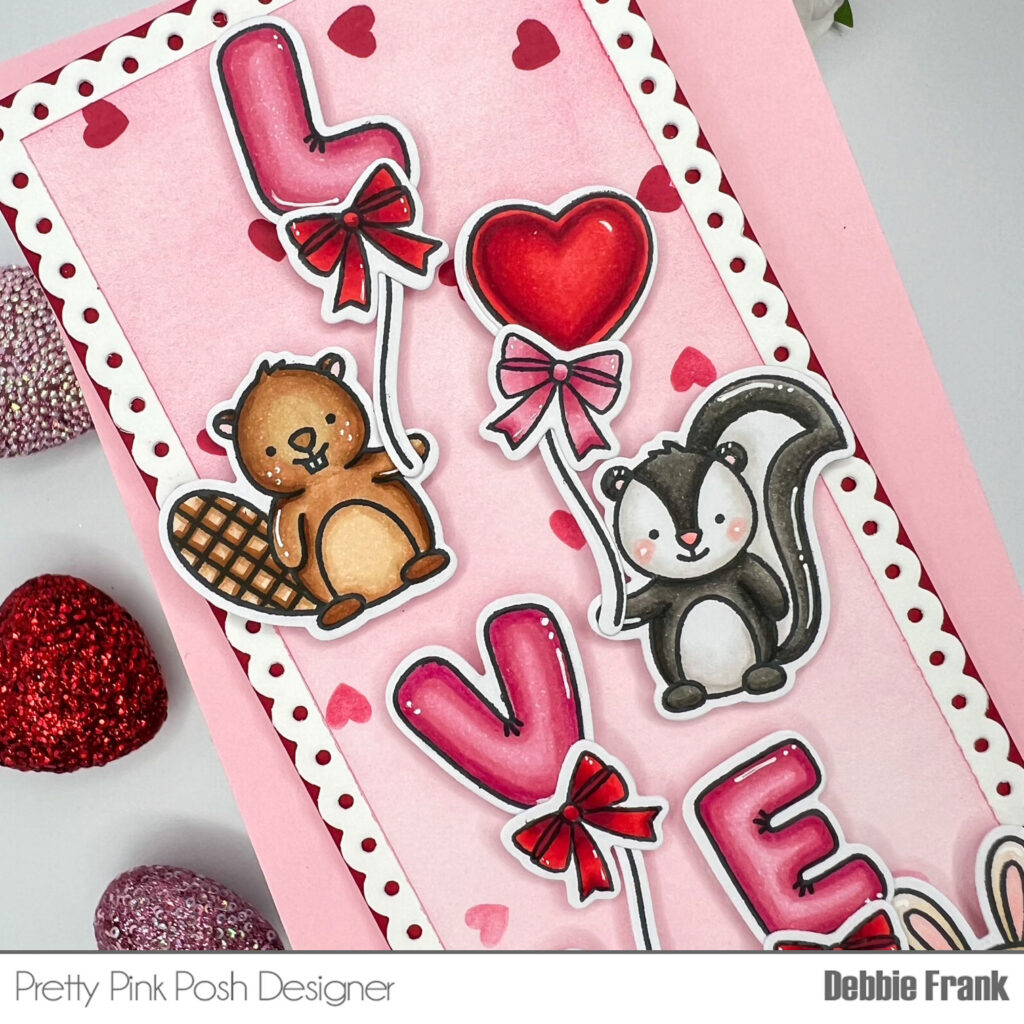
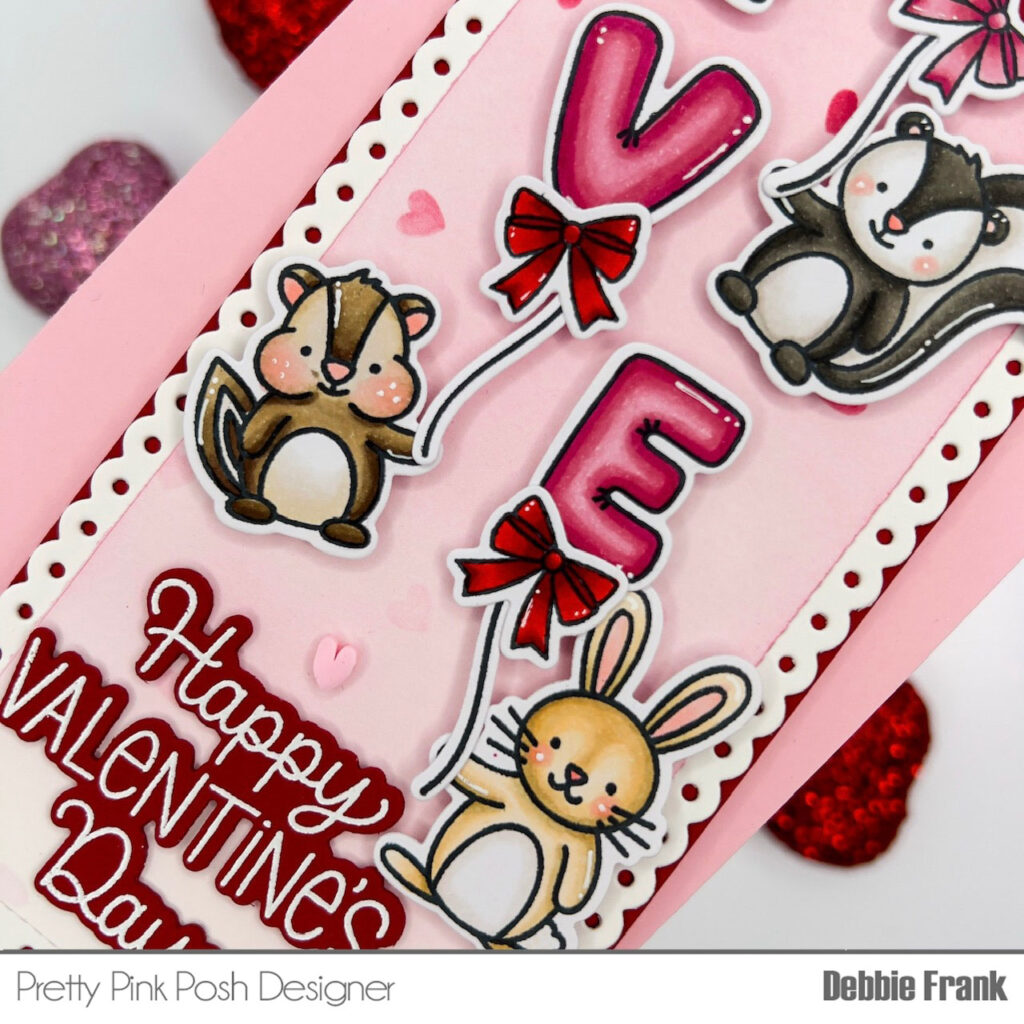
Hi friends, Debbie here today with the adorable Love Balloons stamp set. I love mixing new and previously released products. This was no exception, the hardest part was figuring out which cuties to use. So I used them all!
Let’s get started with stamping out all the cuties along with the balloons from the Love Balloons stamp setand Copic colored them in. Once colored die cut out with the coordinating dies. Also wanting cute bows hanging from the balloons. I stamped and colored them from Valentine Icons stamp set. Then die cut out with the coordinating dies.
Next was to make the panel and creative die cutting with theEyelet Rectangle Dies. So take a panel measuring 4.5 X8.5 inches. Placing the second to largest die on the every edge of the panel. Place the cutting plate over it but off set to where you don’t cut both ends. Then once cut slide the die down and lock it in and off set the plate again. Run the die and panel through your die cutting machine. It will be matted with a red card stock in my stash.
Now that you have the correct size Eyelet panel. You’ll need a panel to stencil the hearts on from the Layered Heart Sprinkles– Layer B. I did an Ombré with the hearts with a red ink. I removed the stencil and lightly blended the remaining ink on my brush over the panel. Trim the panel down to fit within the stitching of the white panel.
Lastly adhere together and pop up the images and sentiment with 3D foam squares and added three light pink Clay hearts from the Strawberry Valentine Mix.
Thanks for stopping by and stay crafty my friends!
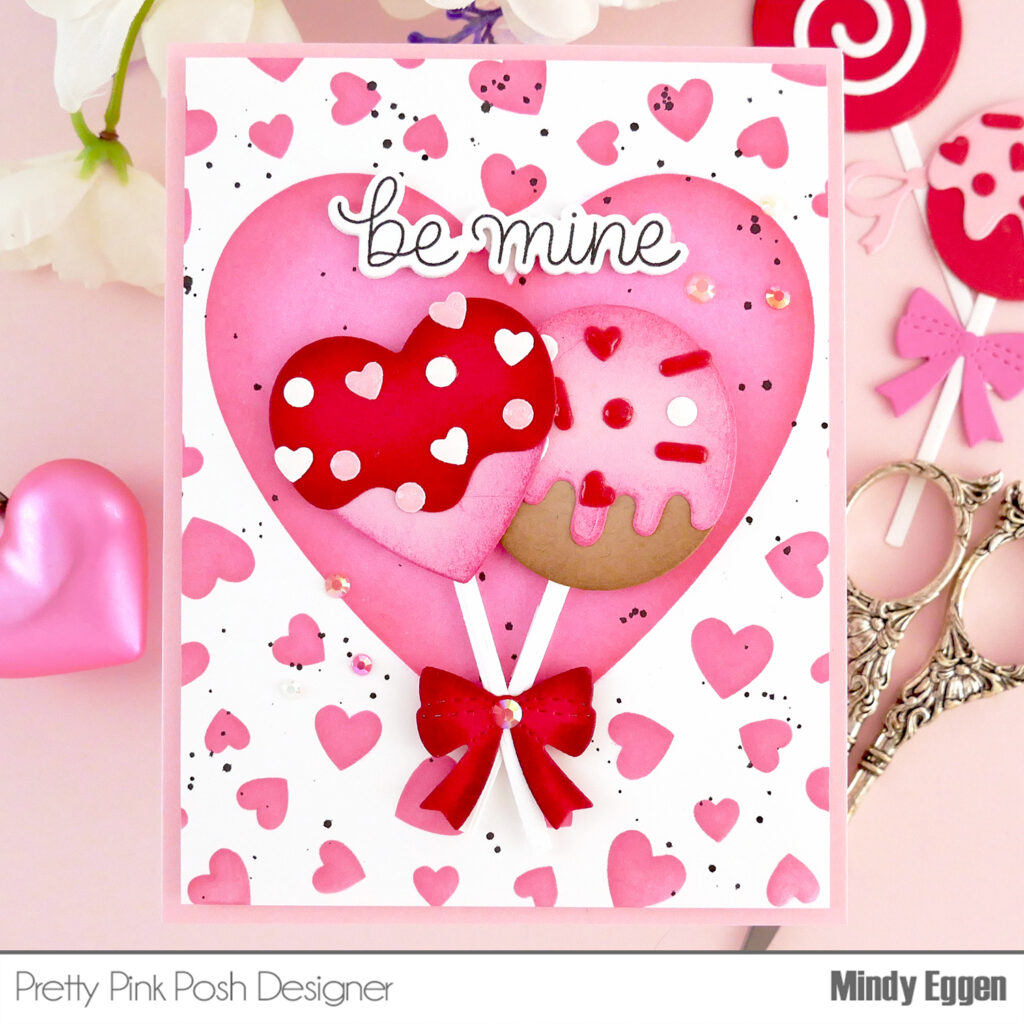
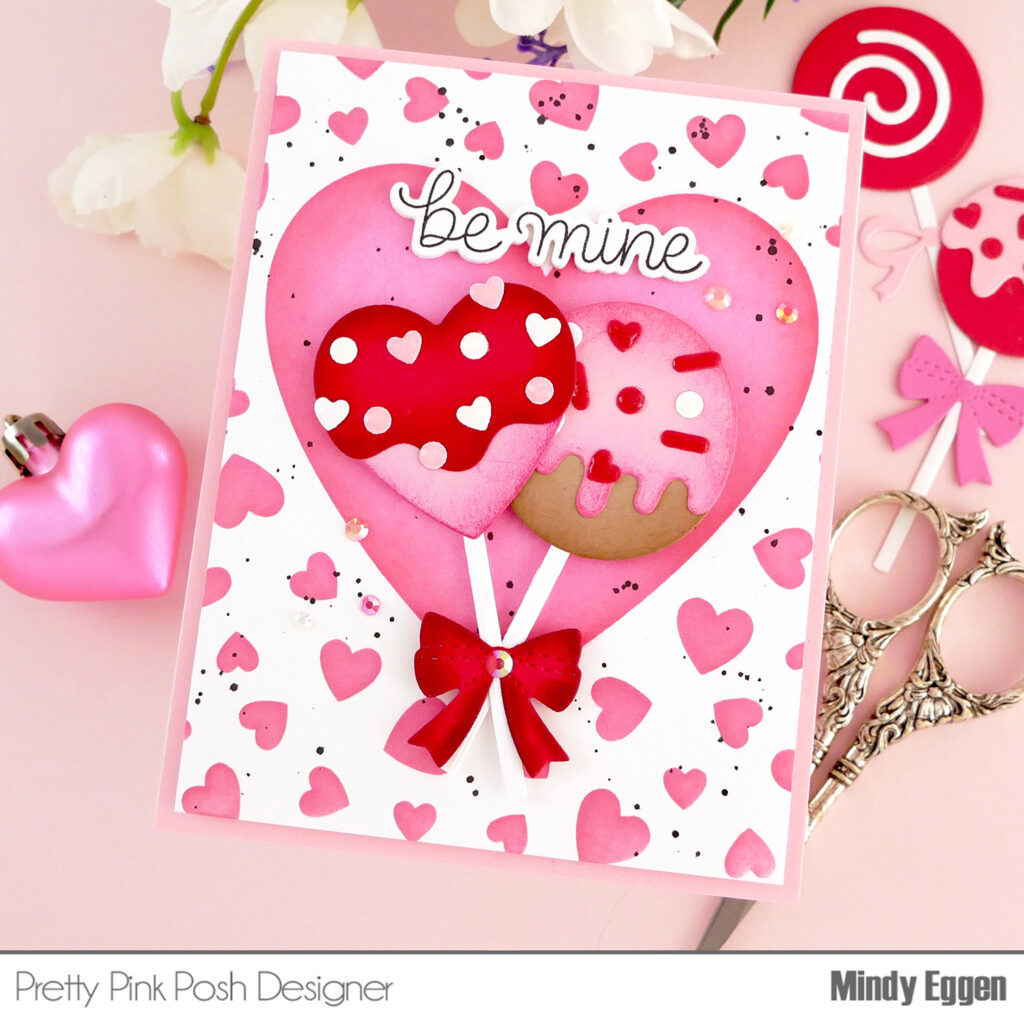
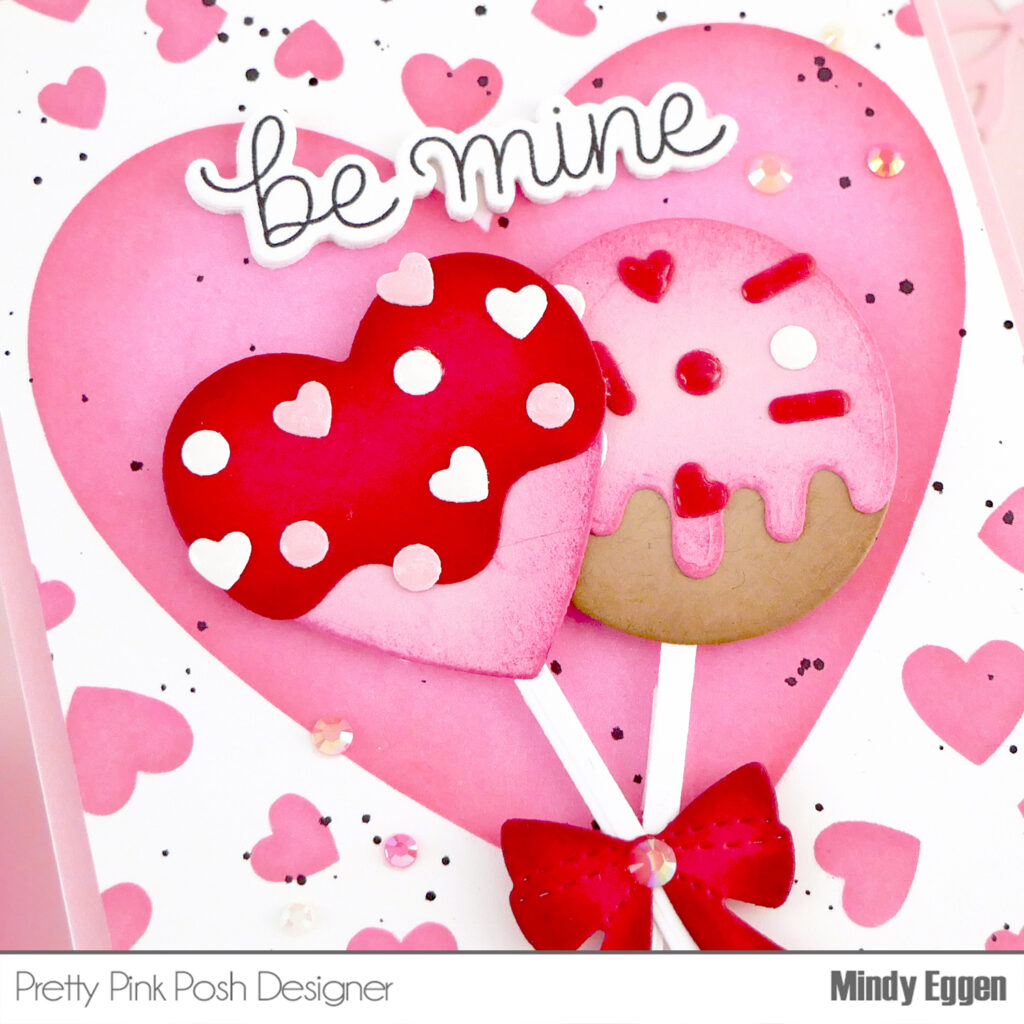
Have you tried cake pops? I’ll share a secret… I have never tried a cake pop. Gasp! What?! I know! But I’ve heard they are yummy.
So since I don’t have these in my home calling my name, I’ll admire them from afar by creating them on a card.
Although I created these in a Valentine’s Day theme with the Scattered Heart Frame stencil in the background with pinks and reds, these could easily be a birthday card, anniversary card or honestly any kind of card.
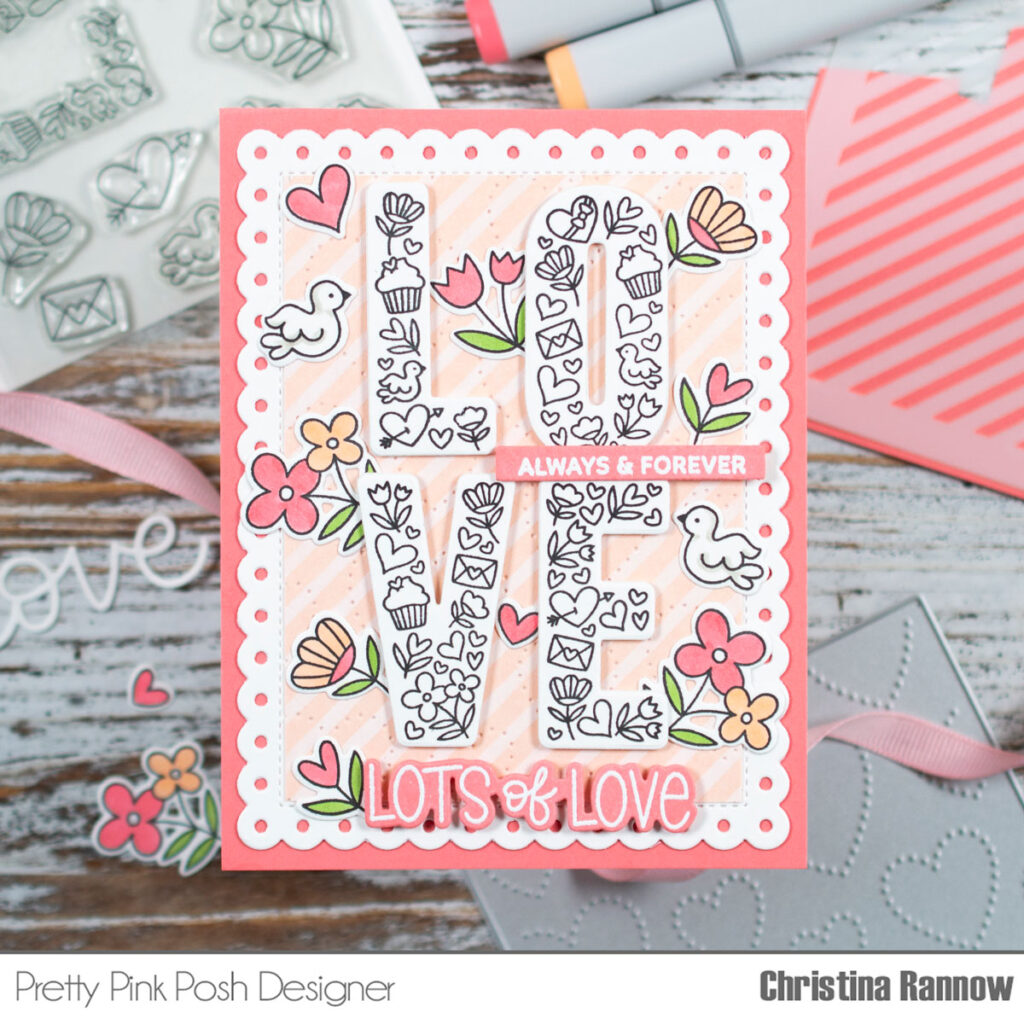
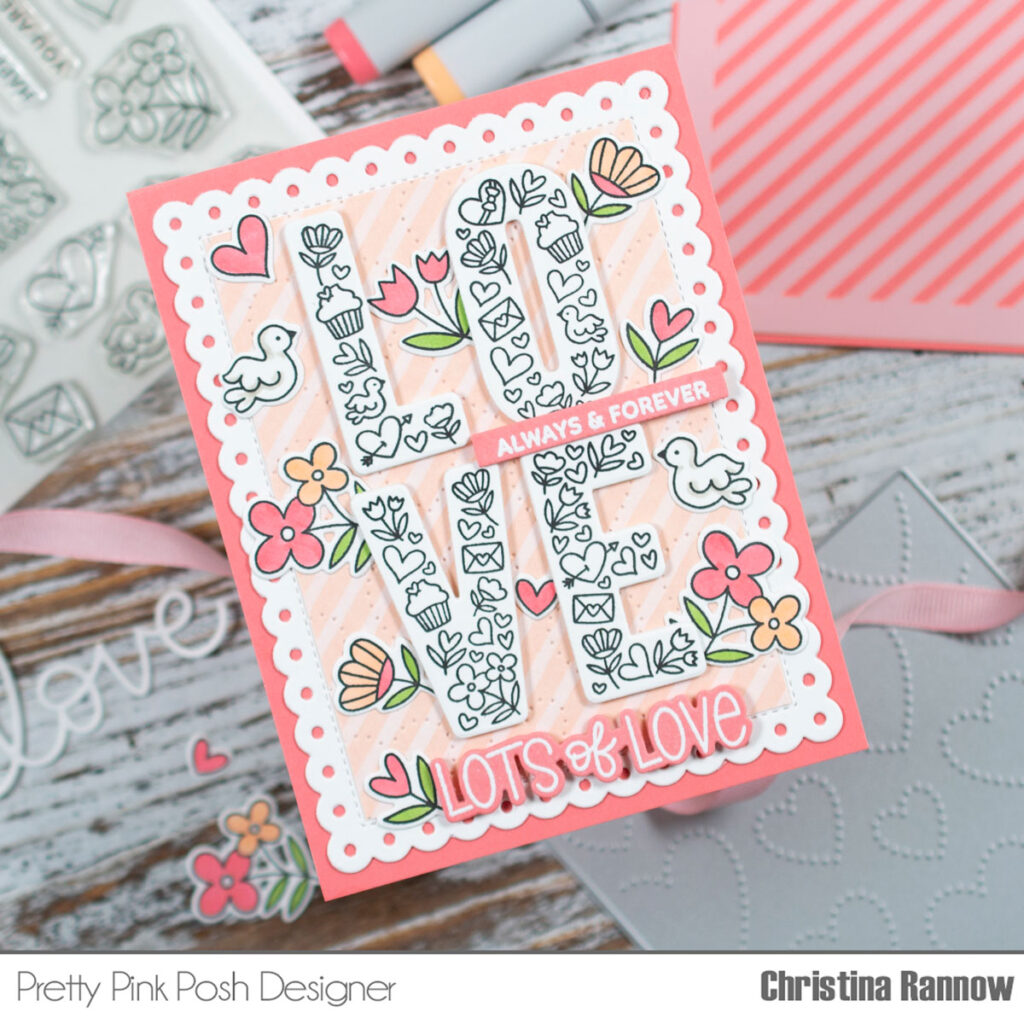
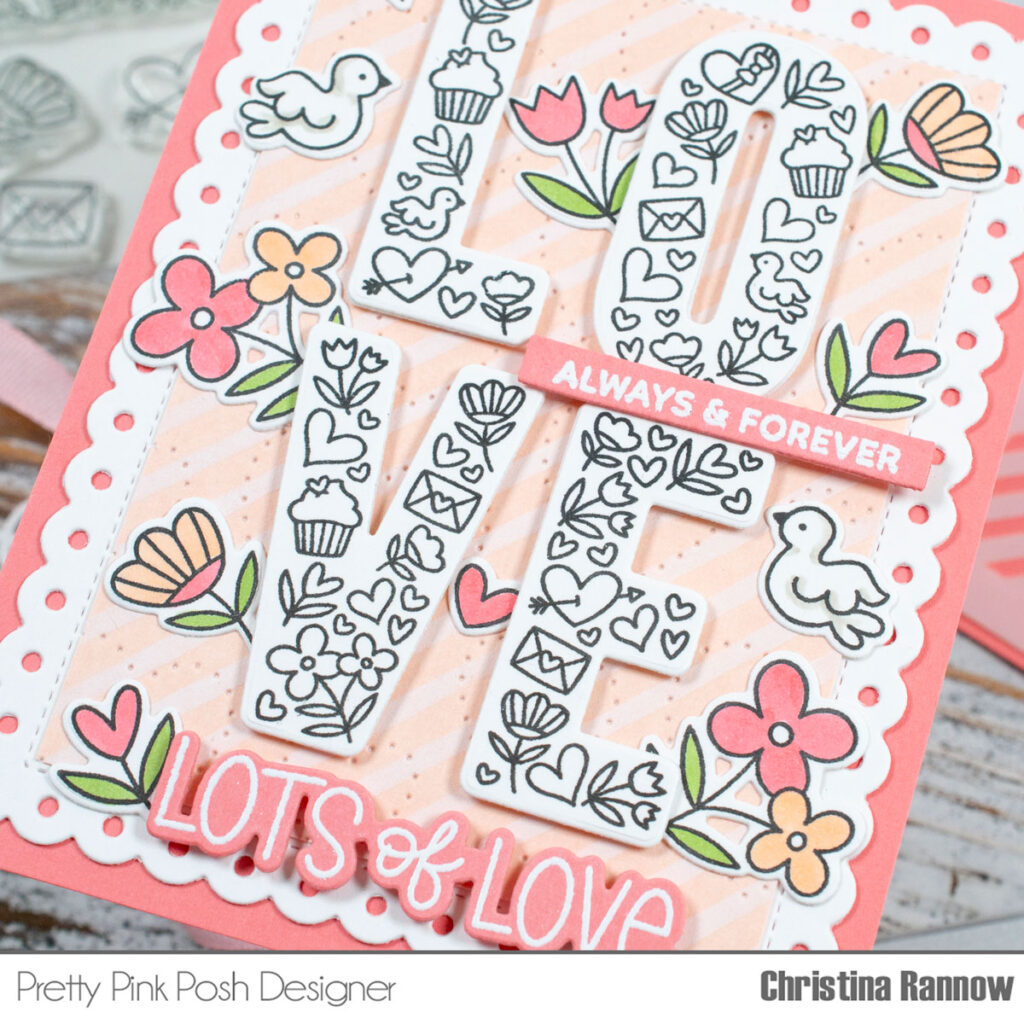
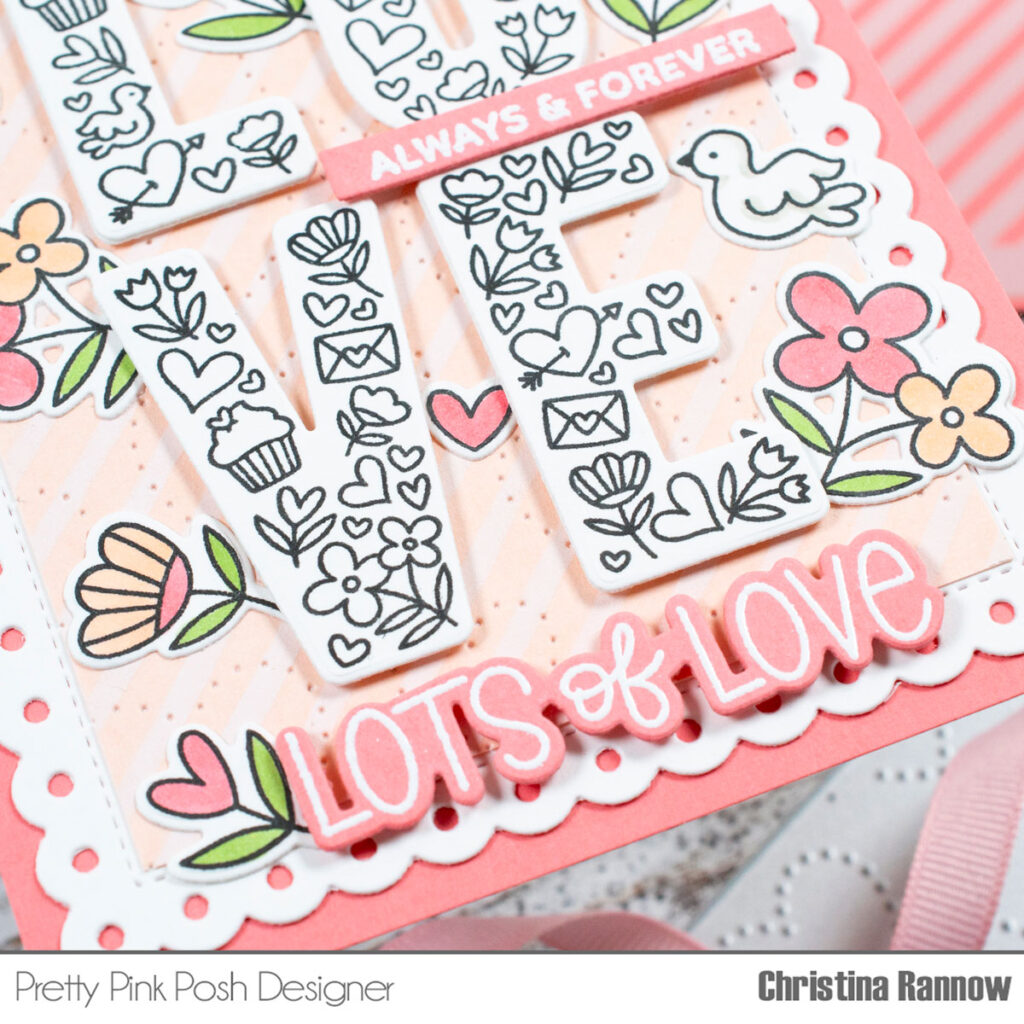
Hi friends! Christina here to share a charming little card featuring one of my all-time favorite stamps, the Love stamp set. I couldn’t wait to design an inspiration project with it to celebrate Valentine Theme Week here at Pretty Pink Posh! I chose a feminine color palette of peach and rose and layered in plenty of dainty details like a soft Pinstripe over a Pierced Hearts background. Follow along below to see how this Valentine full of love came together!
My first step was to create the background. I started with die cutting the Pierced Hearts Plate from a peach cardstock and then stenciled it with the Pinstripe Stencil using white pigment ink. Next, I trimmed this panel to fit inside the stitched detail of the largest Eyelet Rectangle that I die cut from white cardstock and layered everything onto an A2 rosy pink cardstock panel.
With the background completed, I got to work on the other elements. First, I stamped all the images from the Love stamp set that I planned on using with black ink. Then, using Copic markers, I colored just the larger, individual images using R43, YR61, G43, and W1. Just simple coloring with no shading. Easy! Next, I die cut everything with the coordinating dies before attaching them to my background panel. I used liquid adhesive for the images and thin foam squares for the letters.
Finally, I stamped a couple of sentiments on the rosy pink cardstock with clear embossing ink and then heat embossed them with white embossing powder. I chose one from last year’s Sentiment Strips: Valentine stamp set and die cut it with a thin Sentiment Strip and one from this year’s Valentine Greetings stamp set that I die cut with the coordinating dies. I attached both with foam squares, and that completed my charming little Valentine card.
Be sure to check the blog all week for tons of Valentine- themed inspiration! Thanks for following along, and I’ll see you again soon!
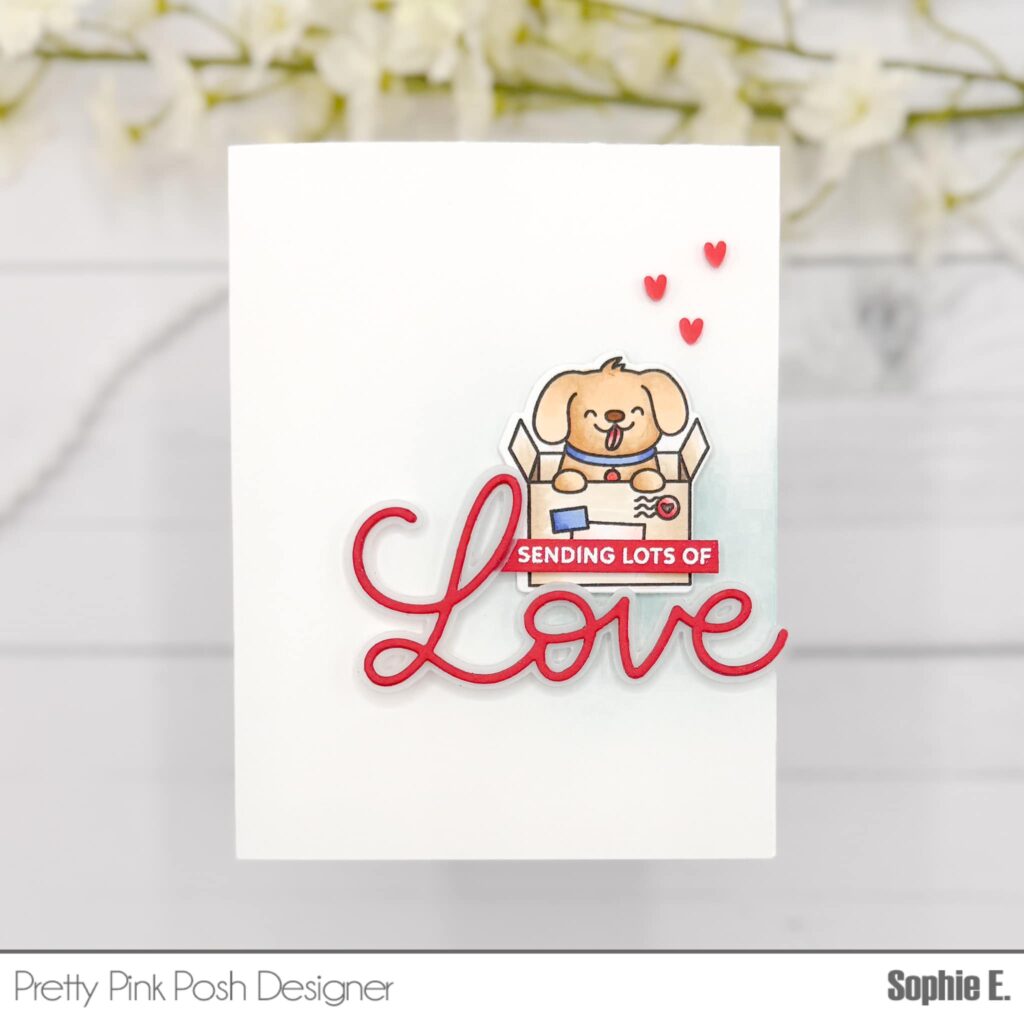
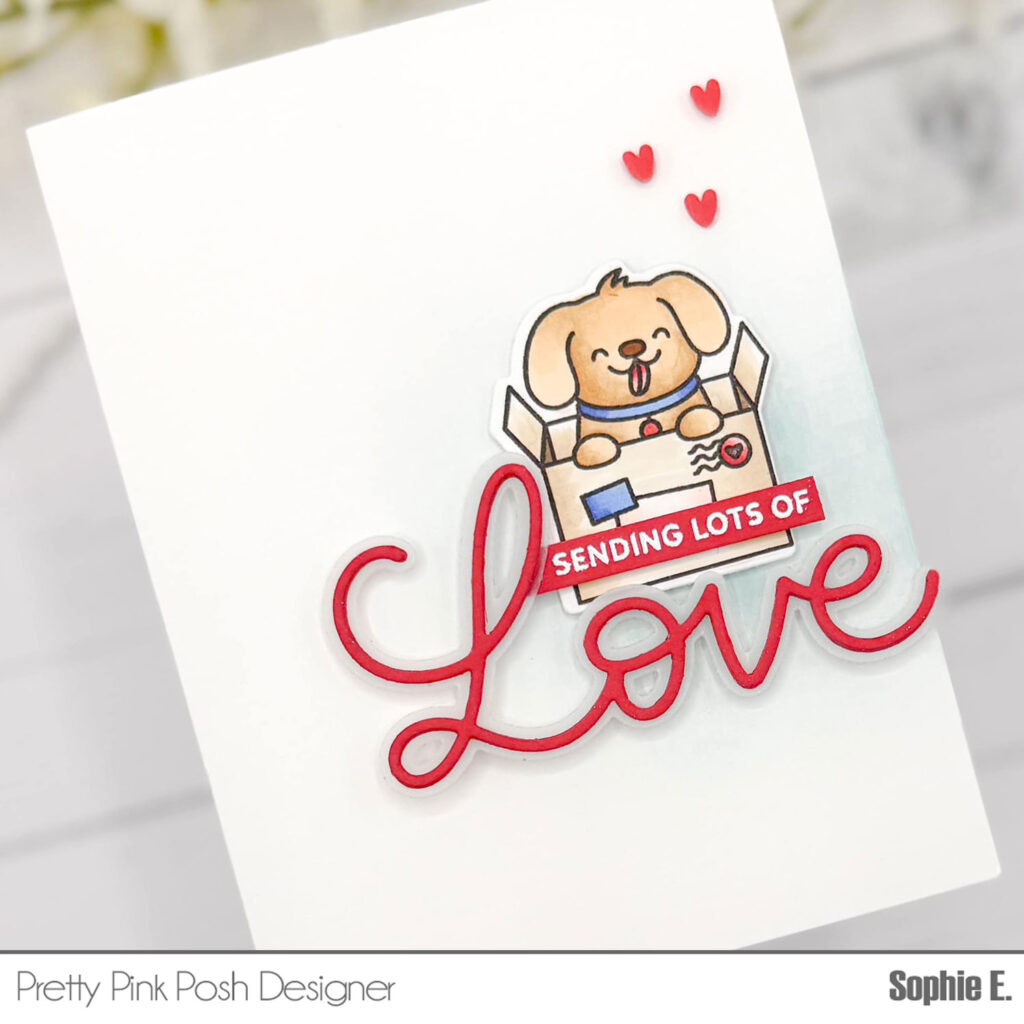
For my first card I wanted to create something clean and simple that would highlight this little dog peeking out of a shipping box. Is he not just the cutest thing?! I used Copic markers to color him and just kept it simple with the shading and number of markers used.
After cutting this little pup out using the coordinating dies, I added a faint bit of light blue ink blending in the background of the card panel to help him stand out a bit. For the sentiment I heat embossed part of one of the greetings from the set, but cut off the “love” part and instead used the Large Love Shadow die cut from red cardstock and vellum to finish off the greeting. I took the trio of red clay hearts from the new Strawberry Valentine Clay Embellishments!
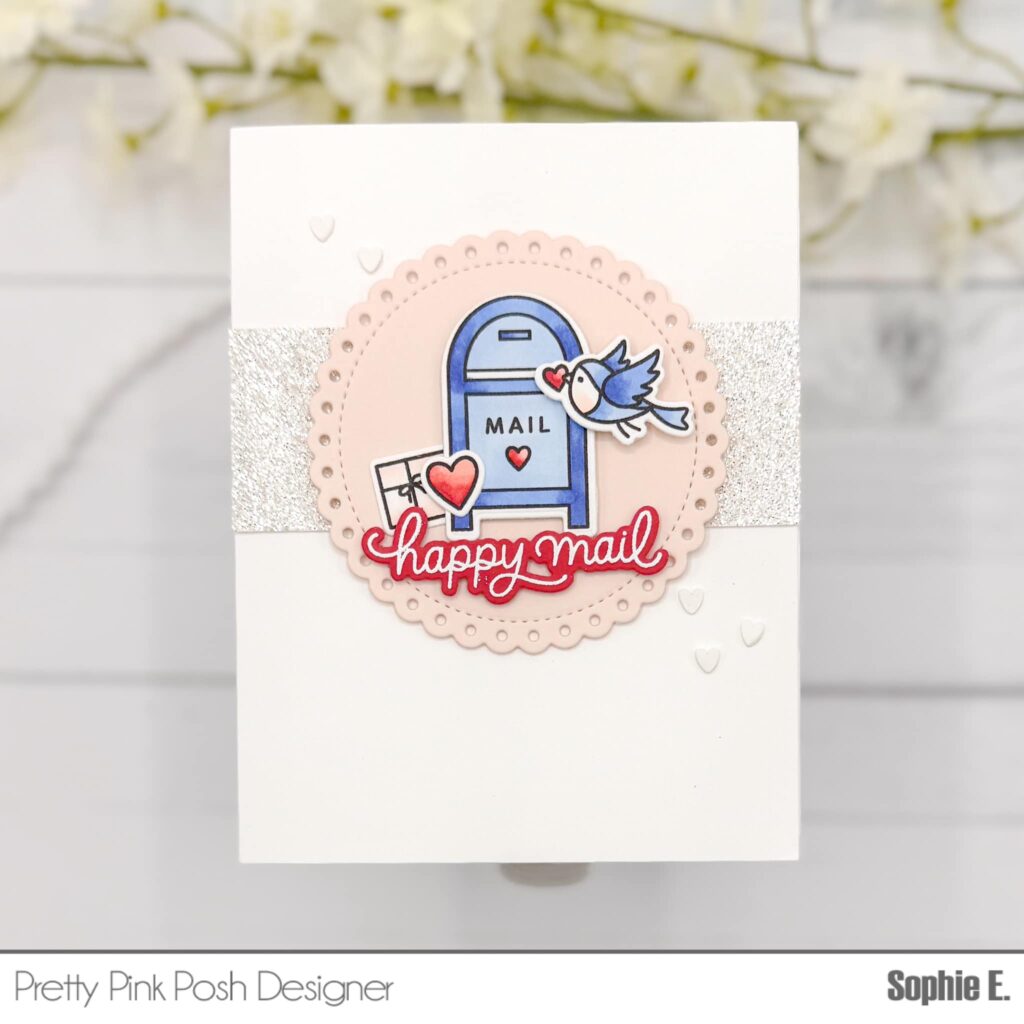
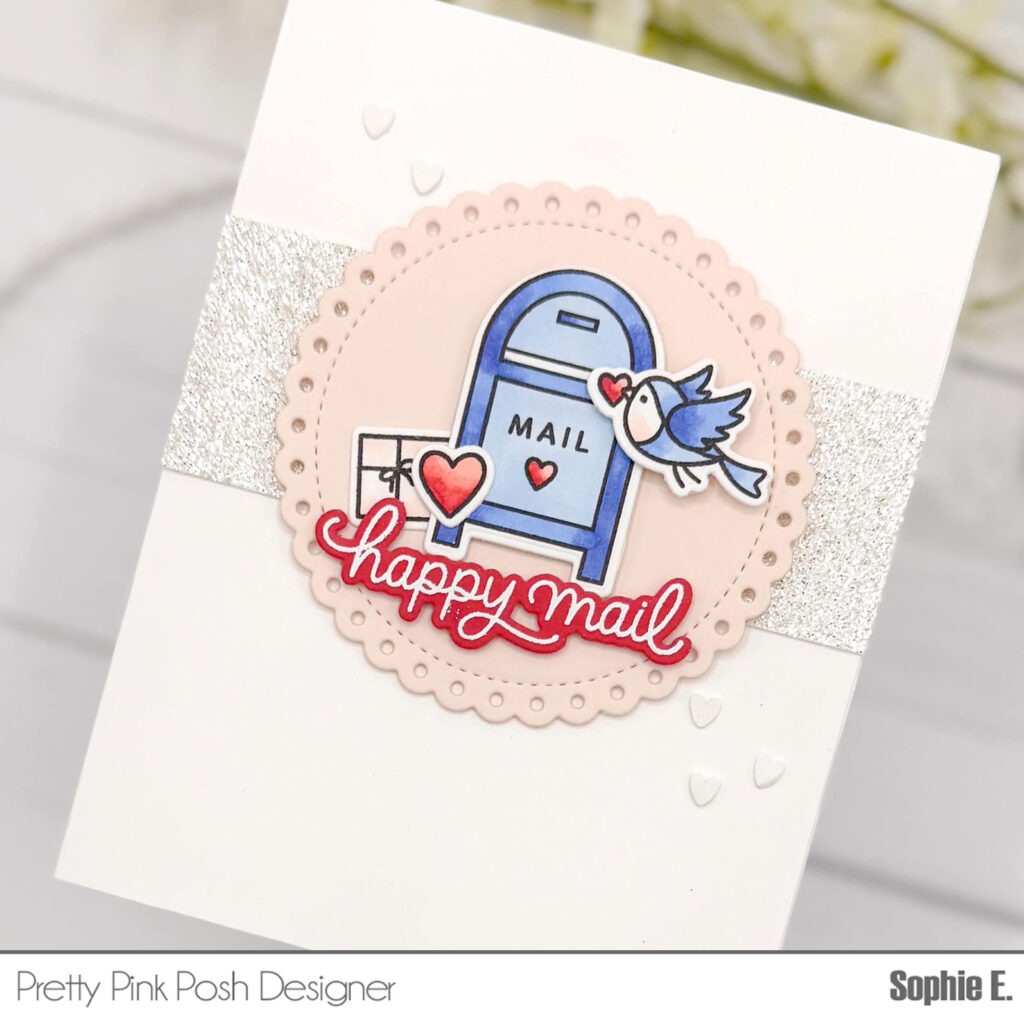
For my next card I couldn’t resist making a mail themed Valentine. I started off by coloring these images from the stamp set using my Copic markers (same colors as listed above), die cut them out, and then arranged a little scene. I used the Eyelet Circle dies to create a pink focal point/landing spot for my scene. I love that this happy mail sentiment comes with a coordinating die and I used white embossing powder on red cardstock so it would really pop on the scene.
Which card is your favorite? I can’t decide! I hope this was inspiring for you and I hope that you have a wonderful day!
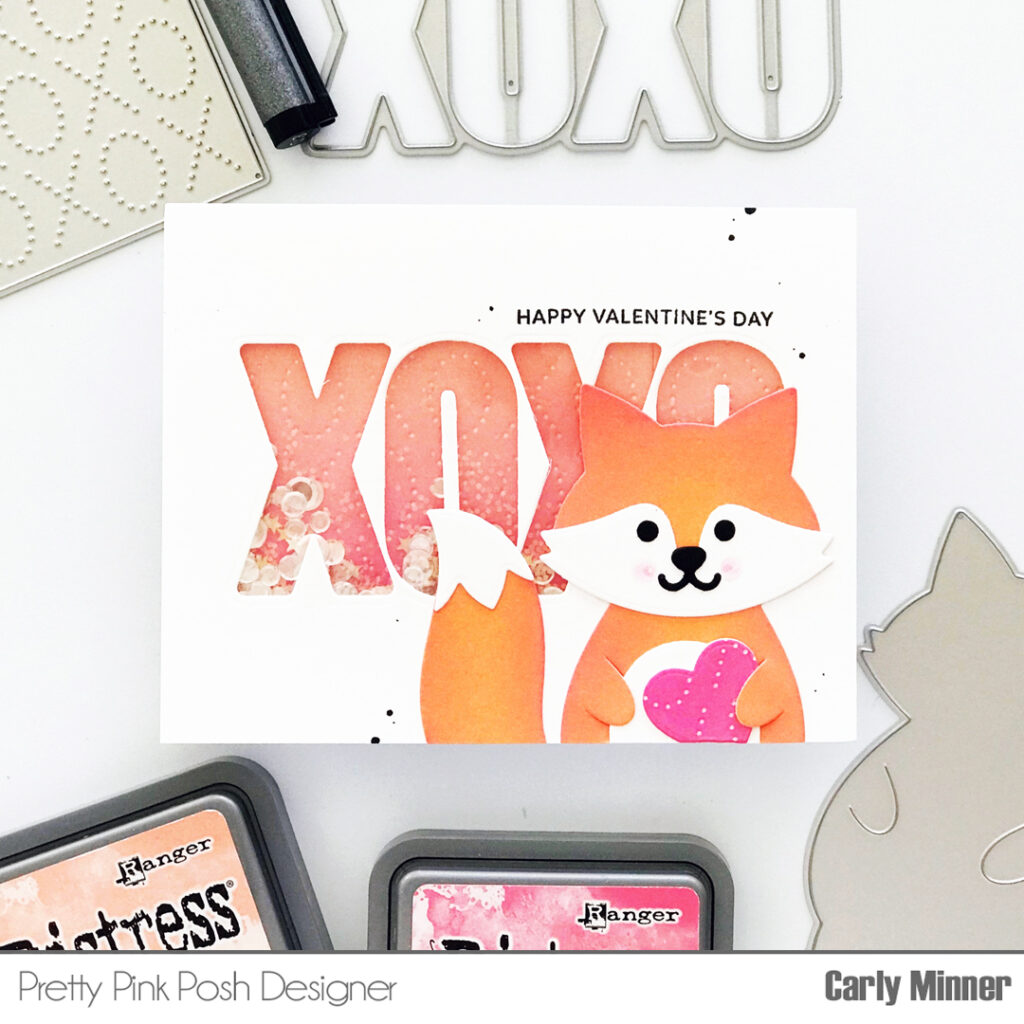
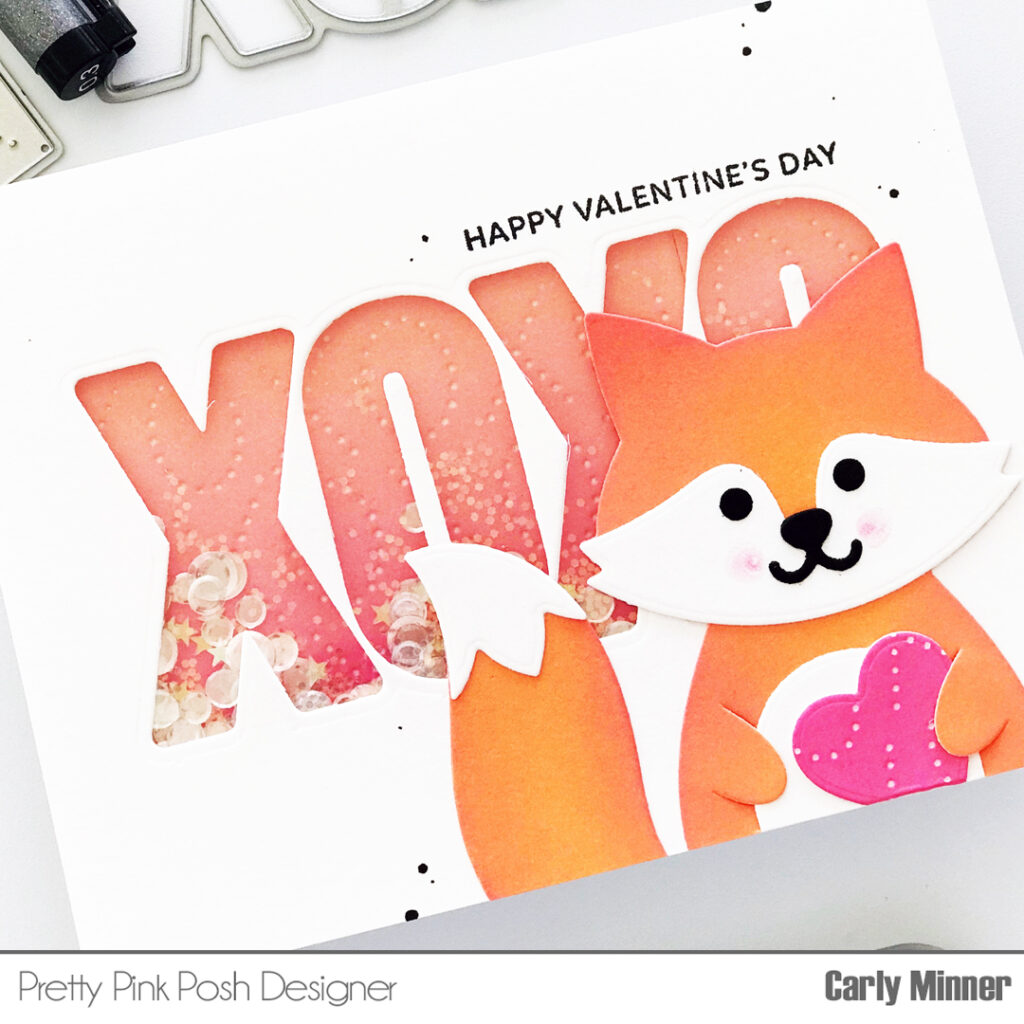
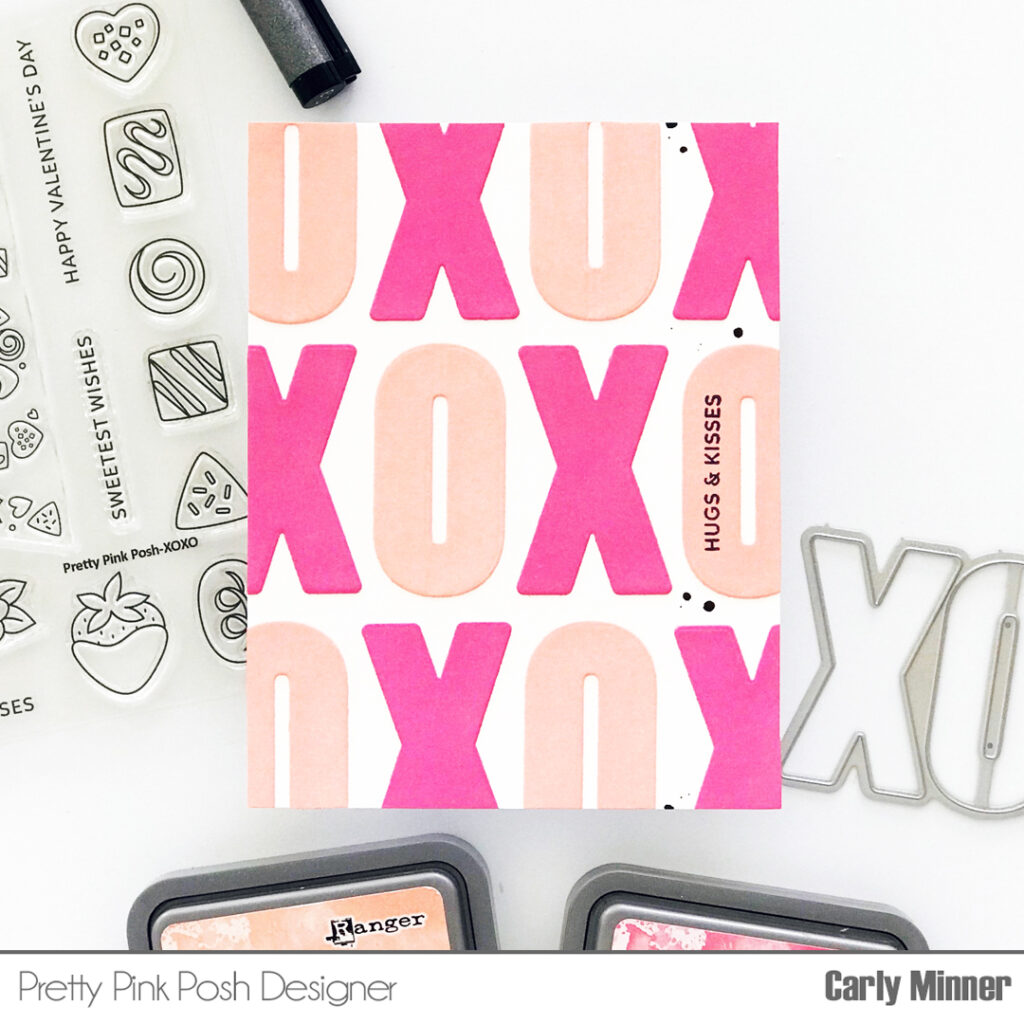
Hi Crafty Friends! Carly here and I must admit that I’m not really a romance & fancy dinner kind of Valentine but I do love to send cute cards to my friends to remind them how much I love them! And what better way to tell someone how loved they are than a shaker card!
You might know that I always love a shaker card, LOL, but it really is extra fun for Valentine’s Day! And the Pretty Pink Posh XOXO die makes the most fabulous shaker window!