Tutorial: Confetti Framed Cards
Good morning Pretty Pink Posh friends!
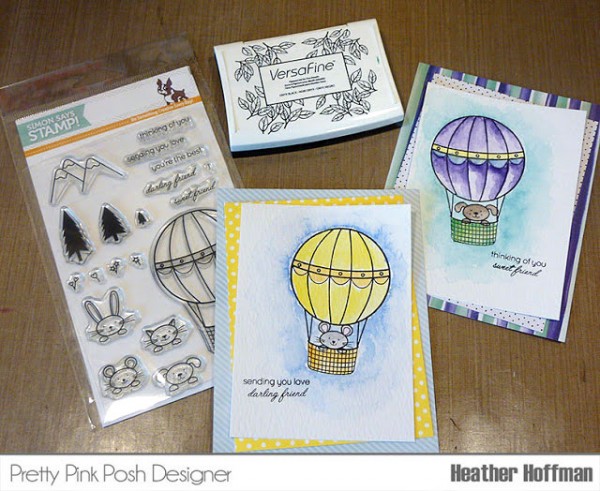
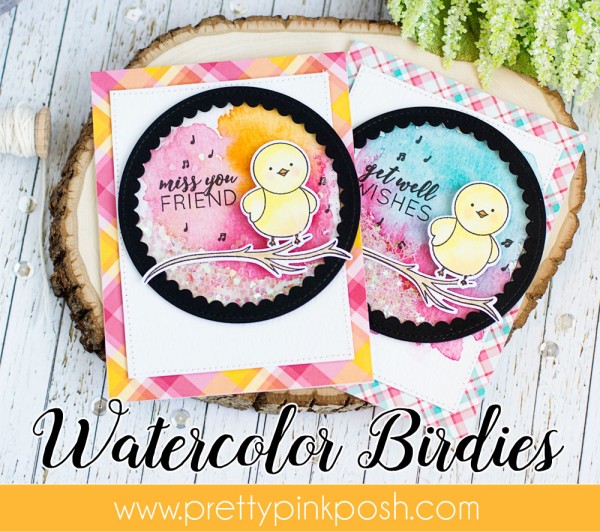
Heather here from Houses Built of Cards. I’m back sharing another photo tutorial today – this time to get a sparkly star-dusted edge with the Mini Star Confetti from Pretty Pink Posh. Once again, this is a picture heavy post – so consider yourself warned!
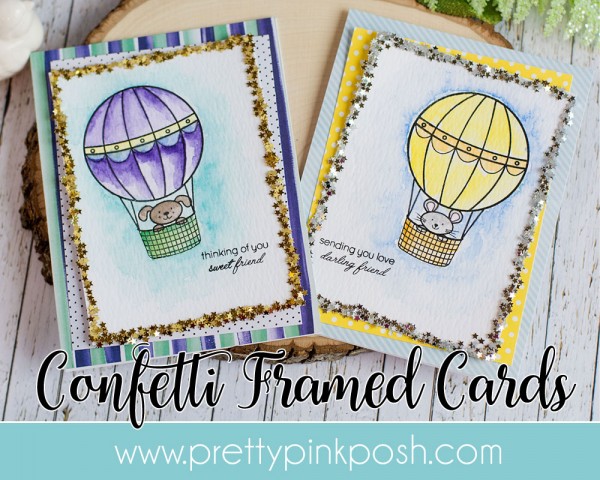
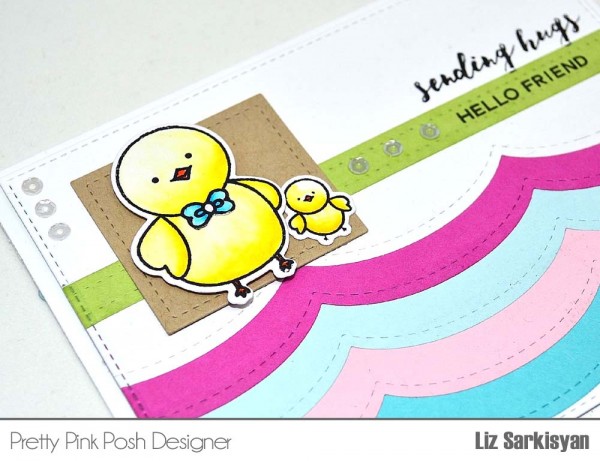
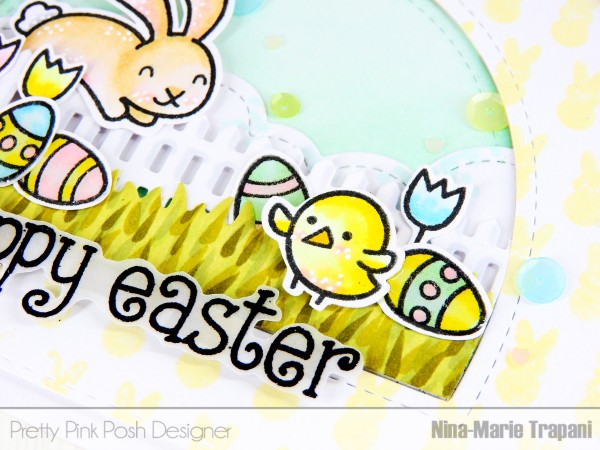
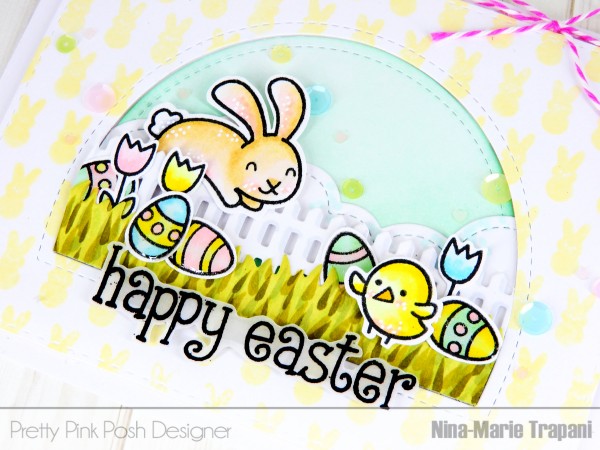
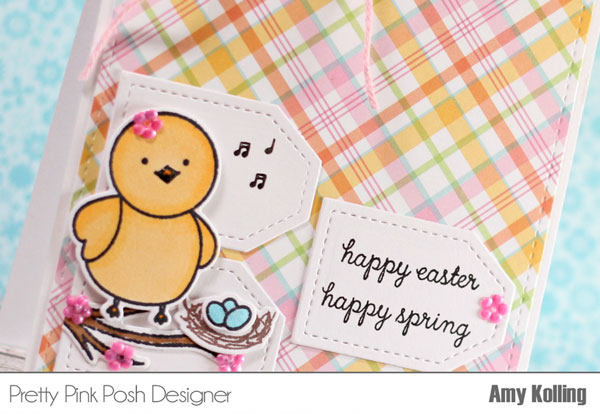
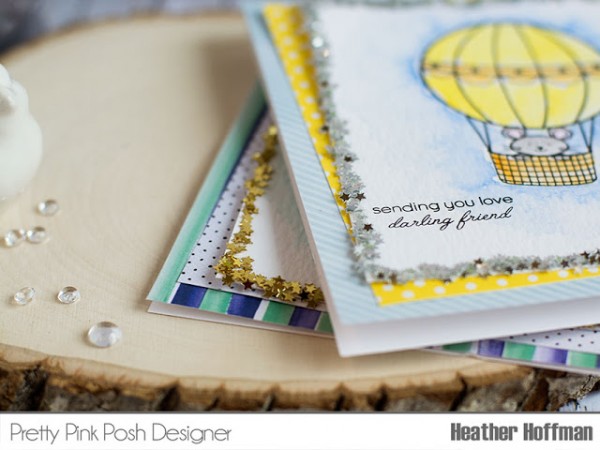
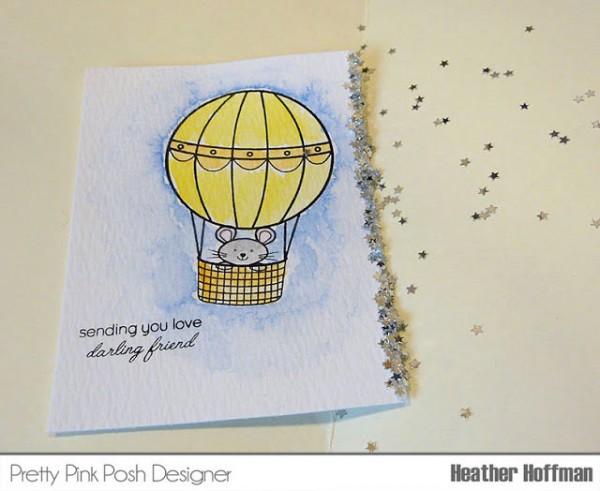
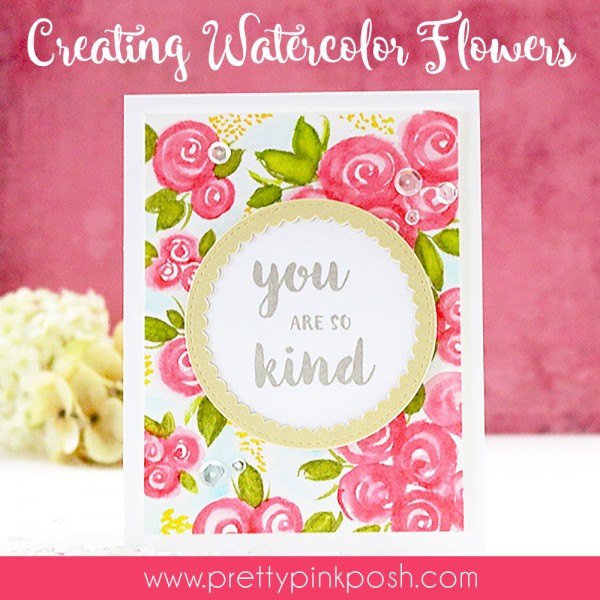
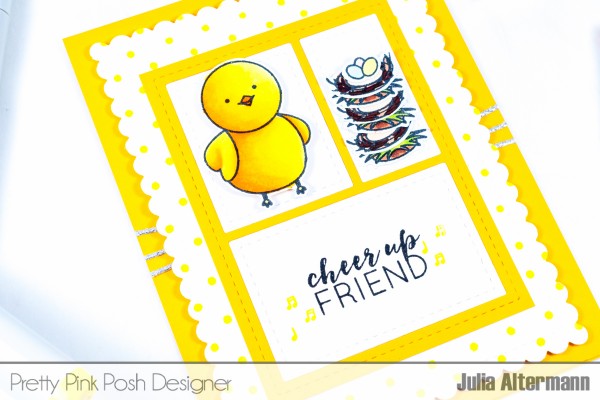
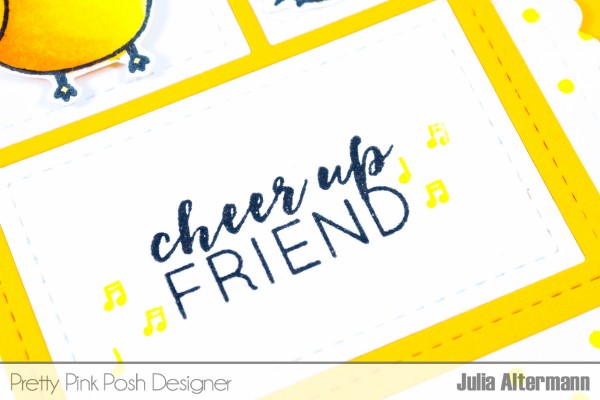
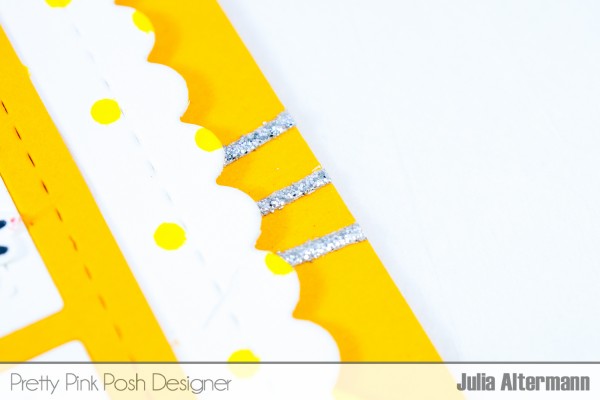
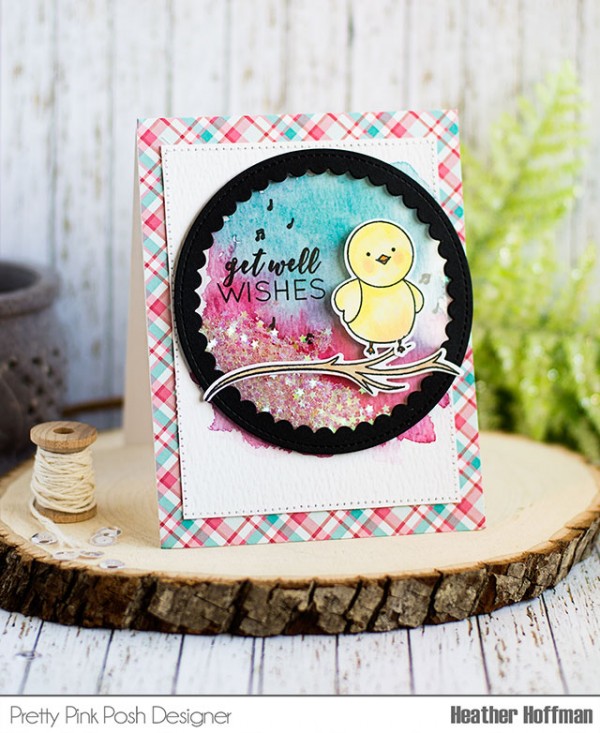
Here is a close up of the pretty sparkly edge – I love the magical look it gives!
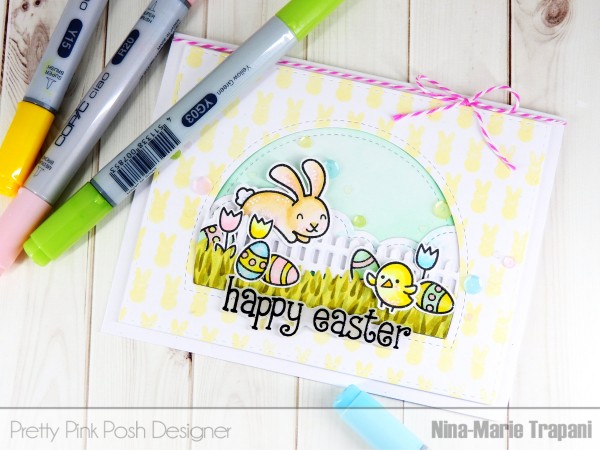
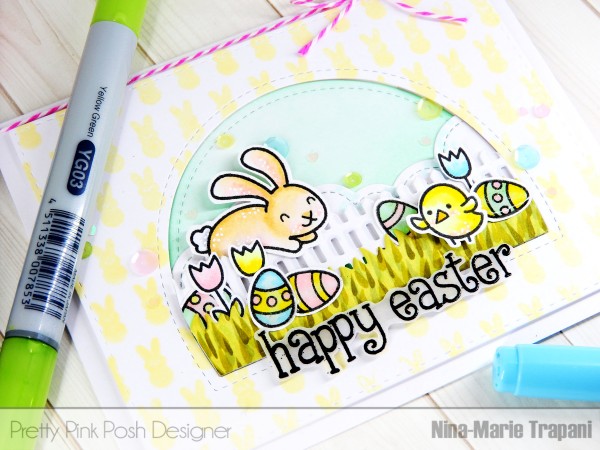
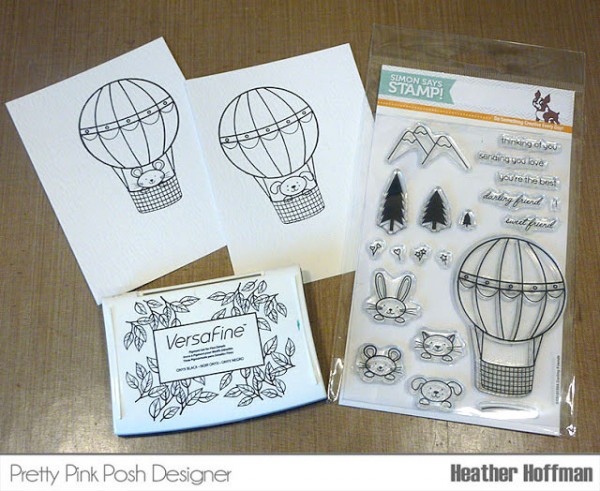
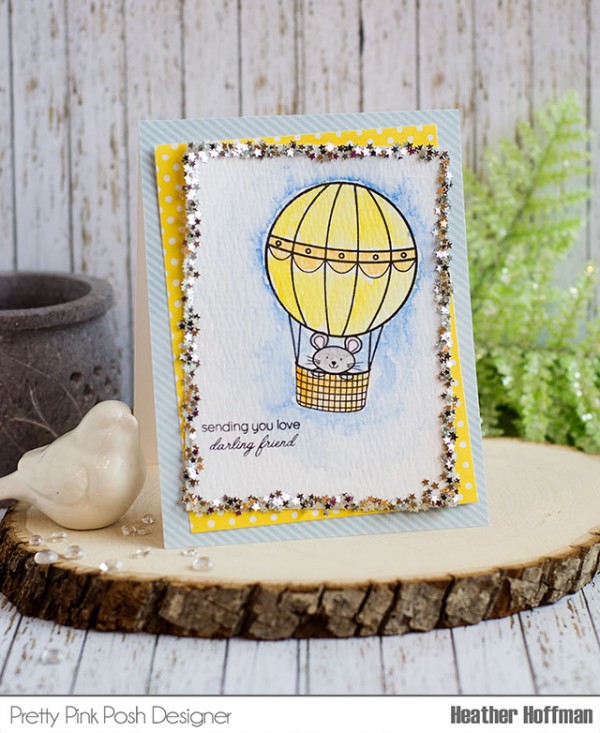
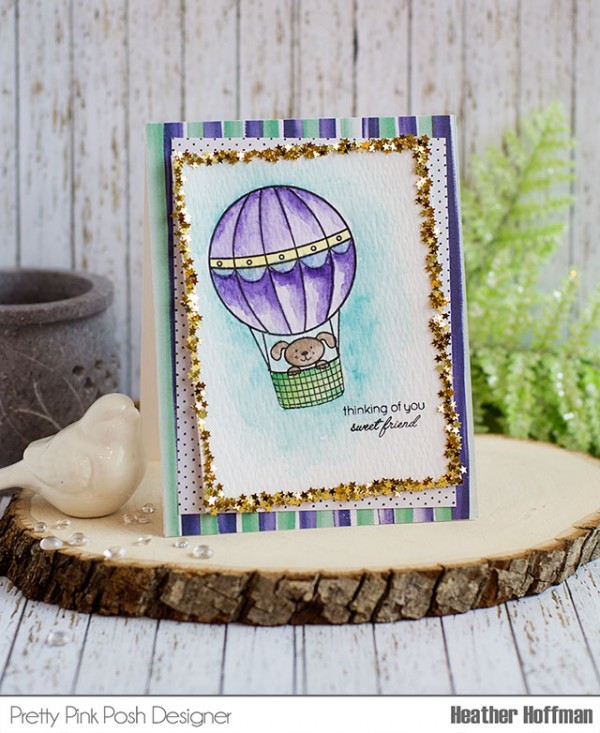
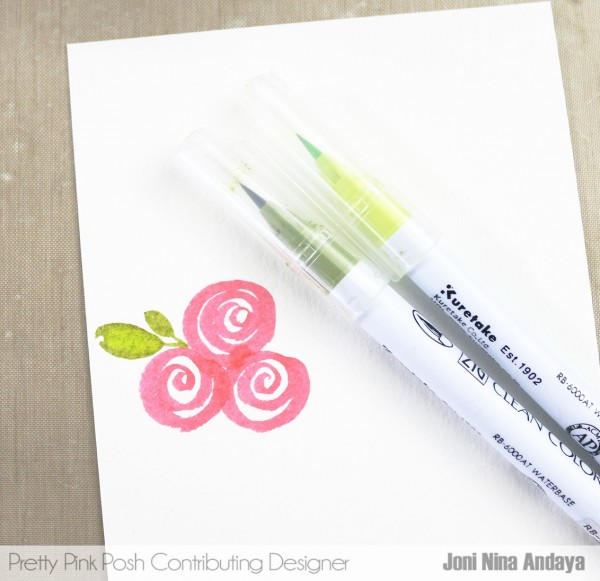
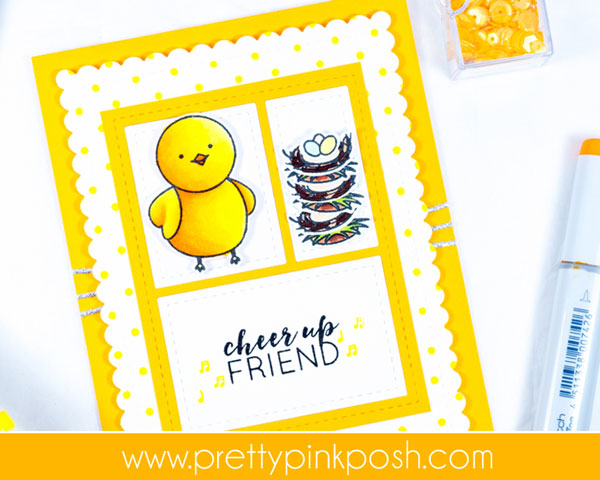
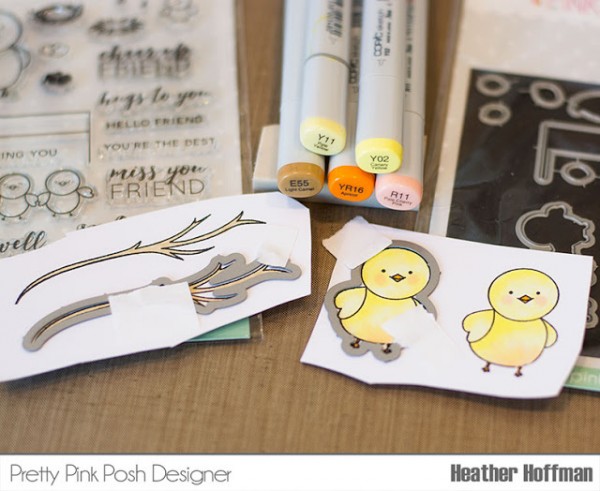
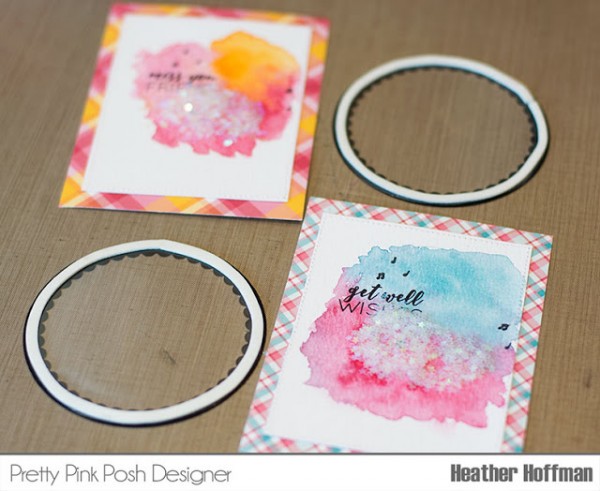
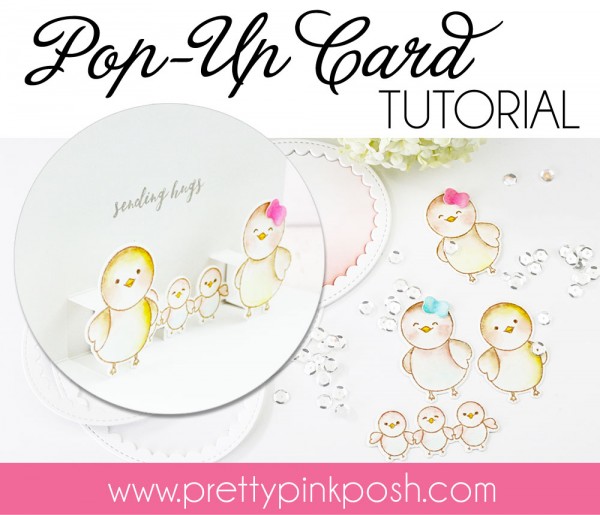
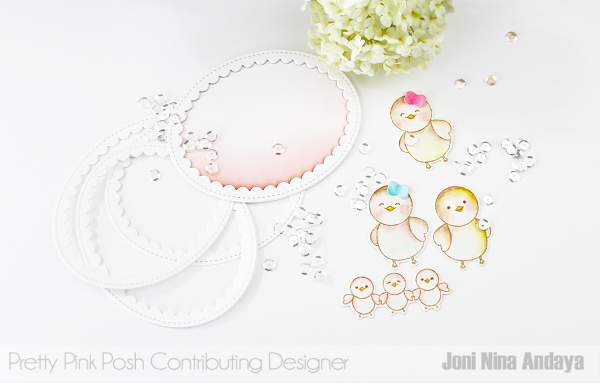
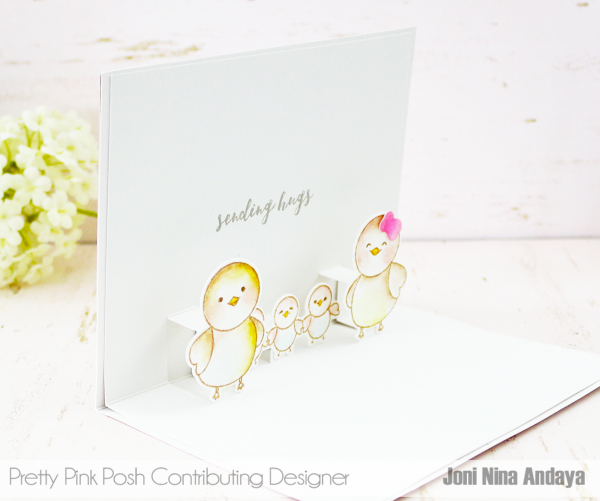
I started off by stamping my images on Ranger Watercolor paper using Versafine Ink – my favorite for watercoloring! I used the Pretty Pink Posh/Simon Says Stamp exclusive Stamptember Darling Friends set.
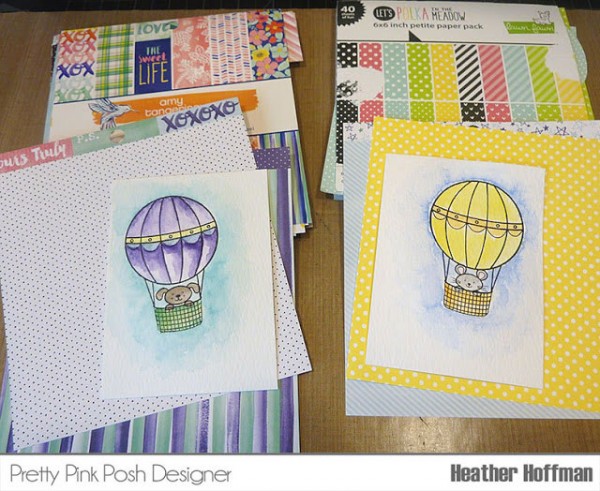
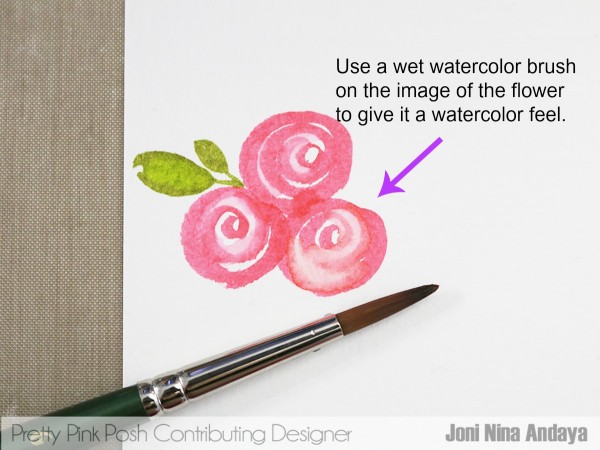
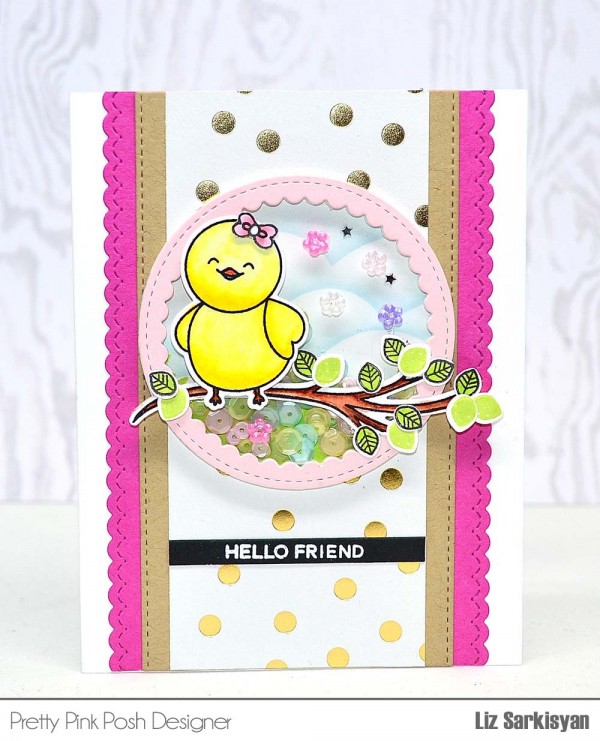
Sometimes I choose my pattern papers before coloring, and match my coloring to my paper, but this time, I watercolored first, then chose my papers. Took a little bit of time to play around and find what I liked, but these were the ones I settled on.
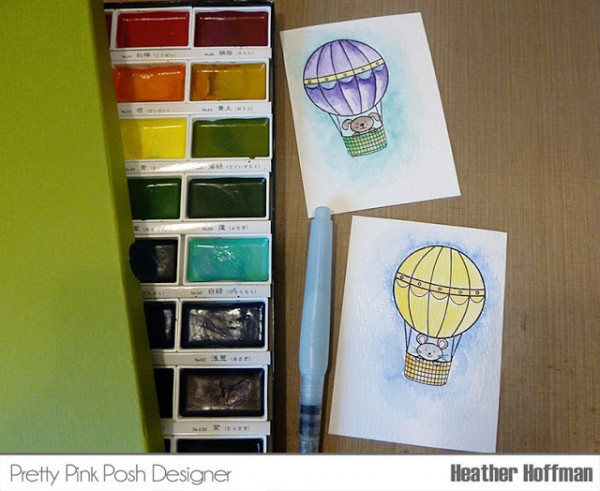
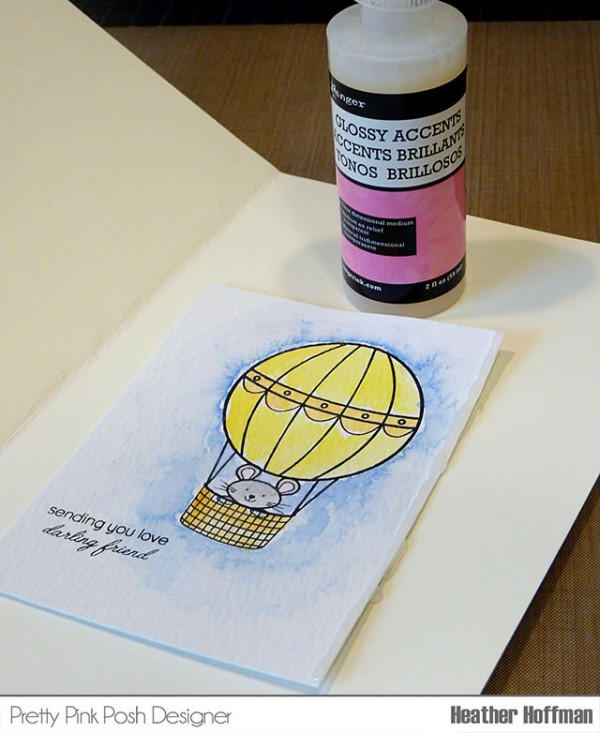
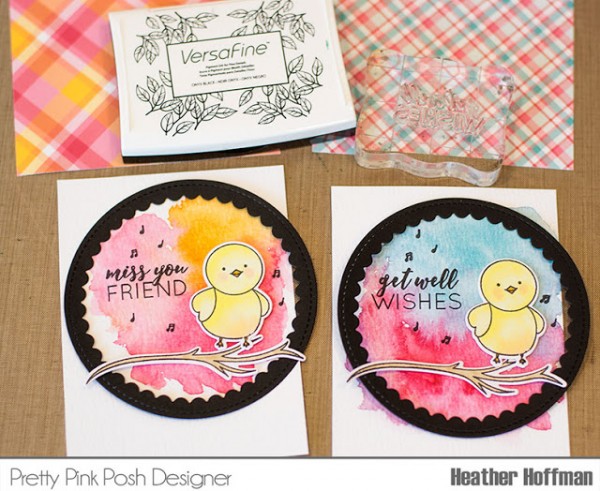
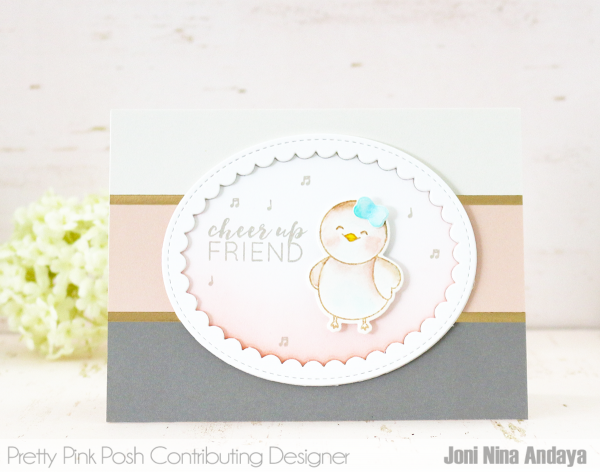
By this time my watercoloring was dry, so I stamped on my sentiments, again with Versafine ink.
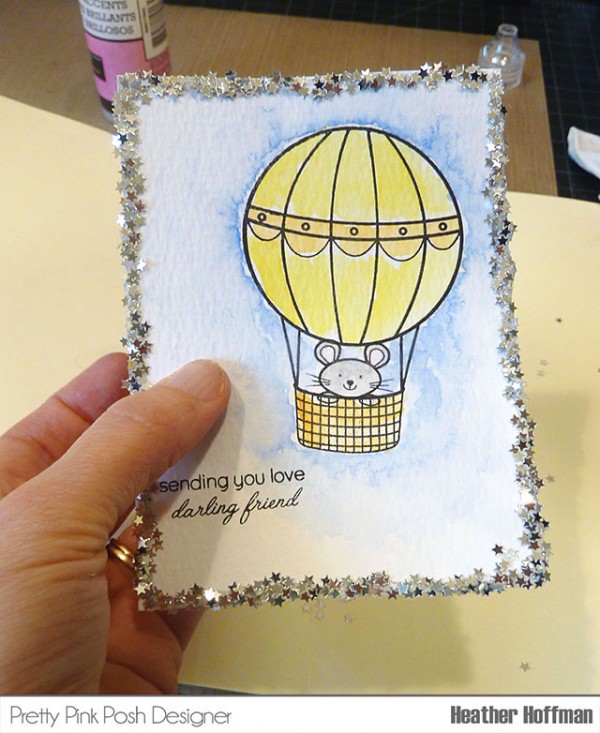
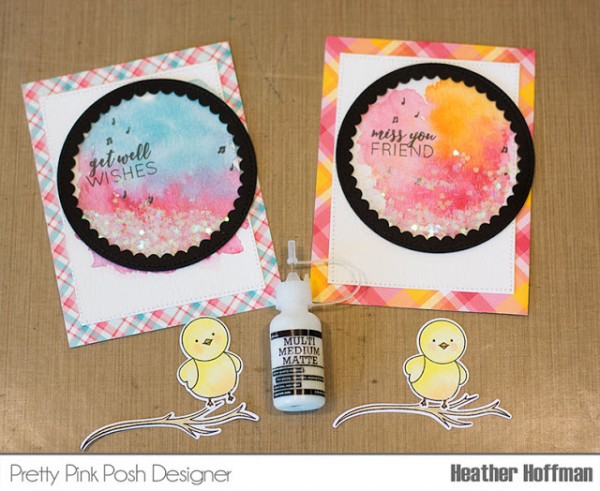
…then over another piece of scrap paper to catch the the extra confetti, I shake on a good coating of the Mini Star Confetti, then repeat, one edge at a time until complete.
Then it is time for some patience while you allow it to dry!
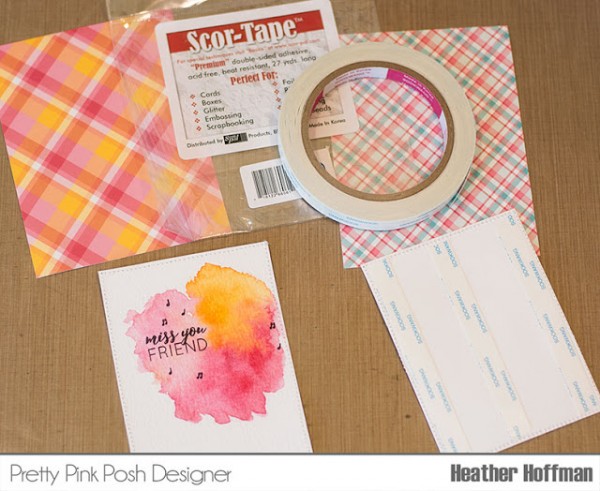
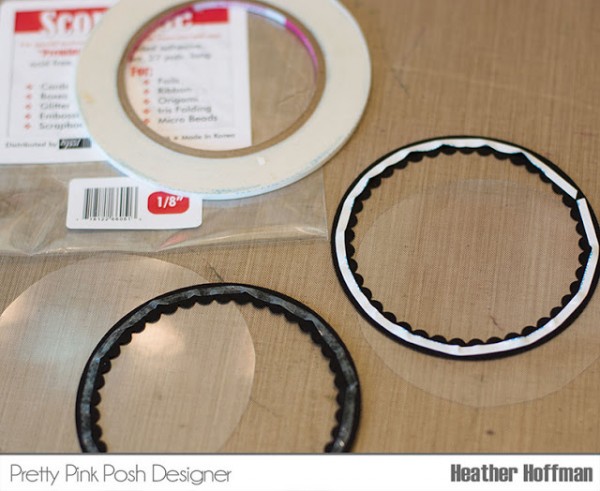
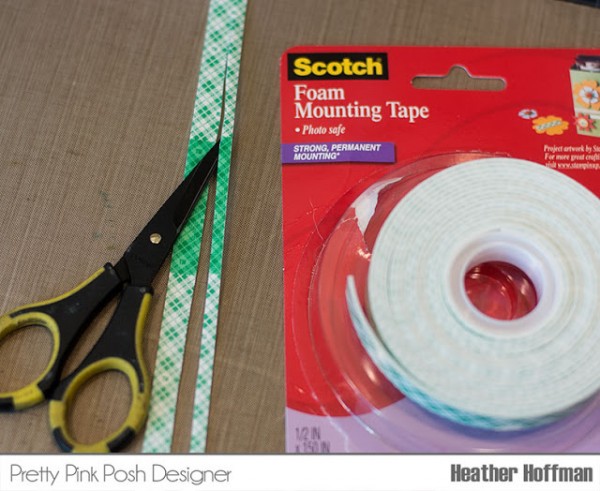
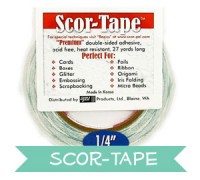
Next, I like to use a nice strong adhesive to hold everything together – Scor-tape does a lovely job of holding the watercolor paper in place so it doesn’t peel off.

And there you go – so easy!
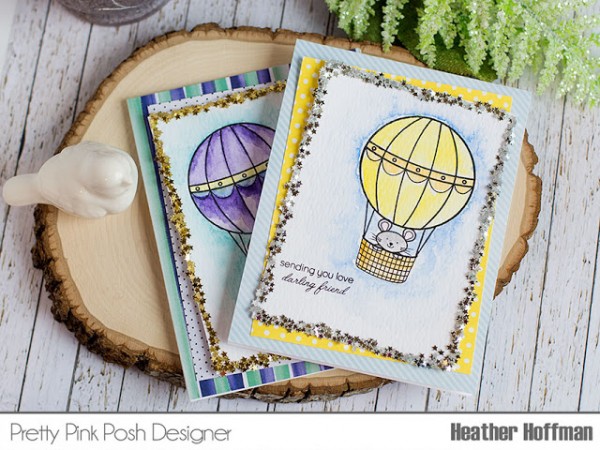
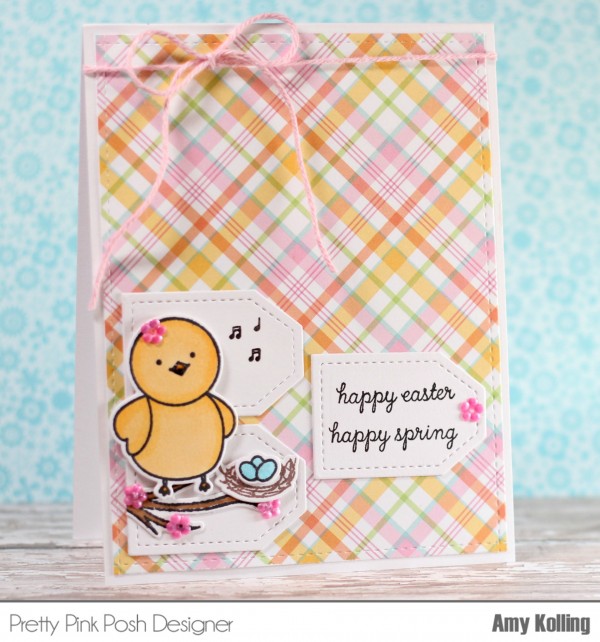
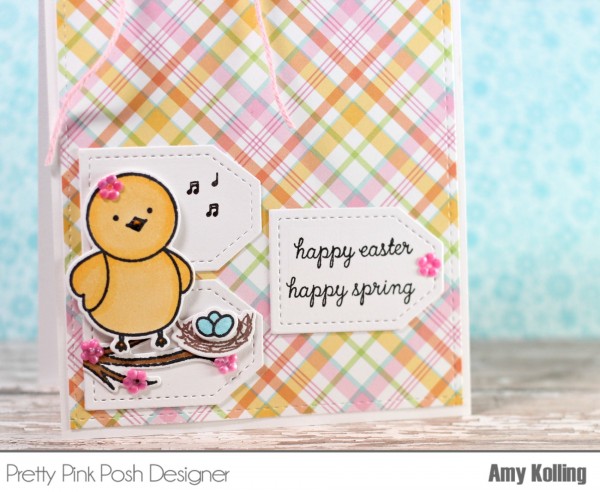
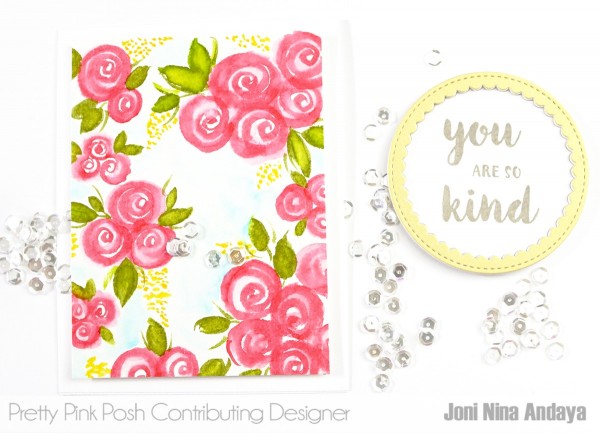
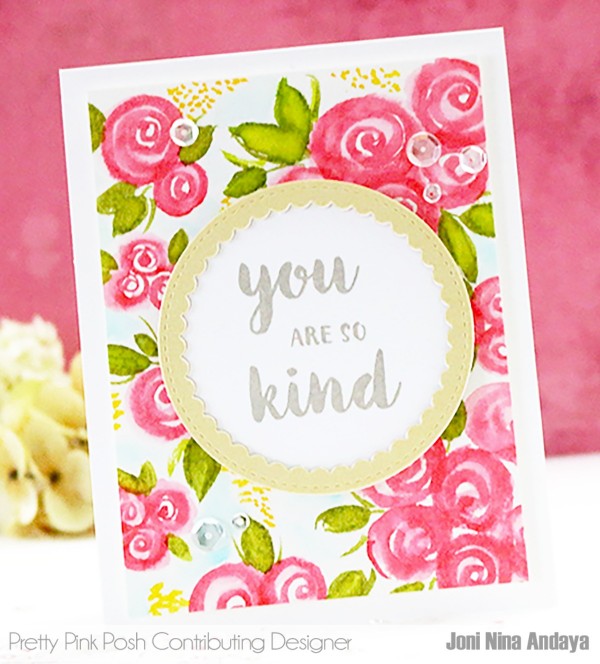
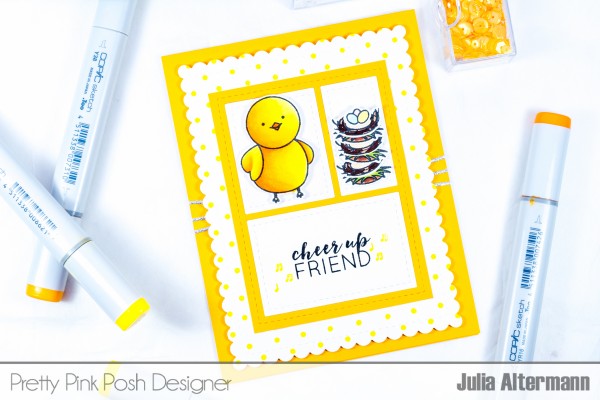
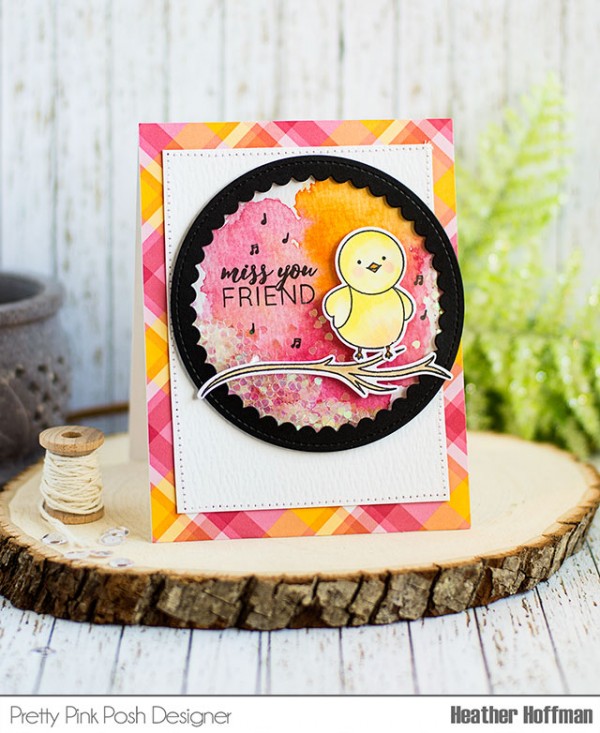
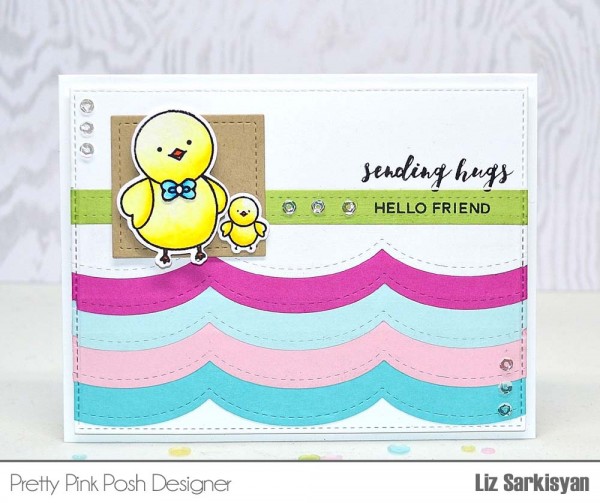
That’s it! Here is a close up of each of these cards the first one with Silver Mini Star Confetti:
And the other one with Gold Mini Star Confetti:


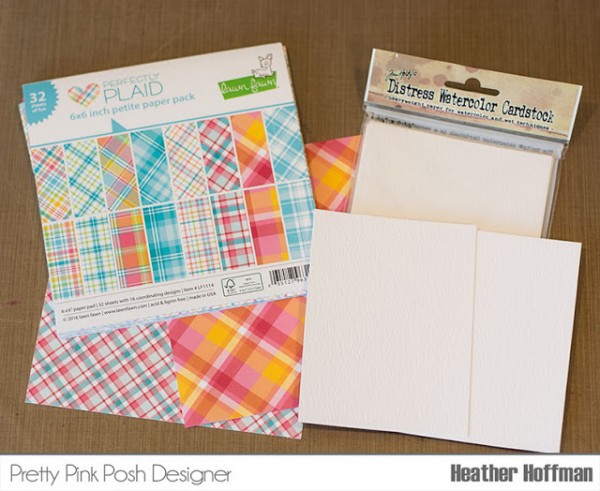
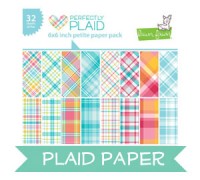
- Lawn Fawn Paper Pad: Ellen Hutson // Simon Says Stamp
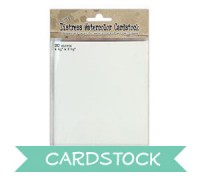
- Distress Watercolor Cardstock: Amazon // Ellen Hutson // Simon Says Stamp
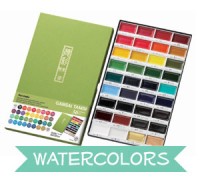
- Gansai Tambi Watercolors: Amazon // Ellen Hutson // Simon Says Stamp
- Glossy Accents: Amazon // Ellen Hutson // Simon Says Stamp
- Scor-Tape: Amazon // Simon Says Stamp
- Versafine: Amazon // Ellen Hutson // Simon Says Stamp


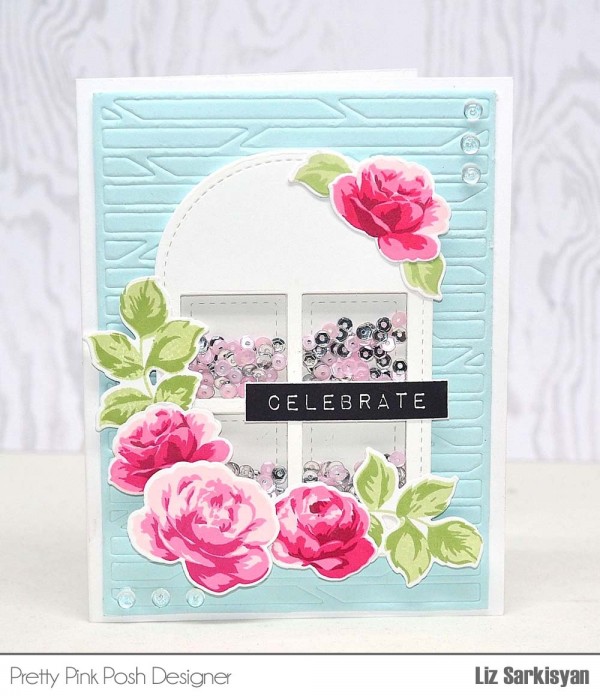
 Here, I used the larger window frame as my focal point as I wanted to use all of the (5) flowers from the


 For this first card, I used these fabulous new
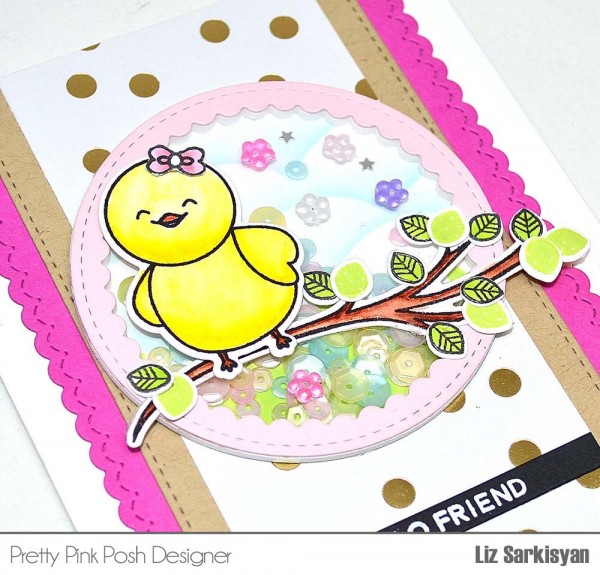
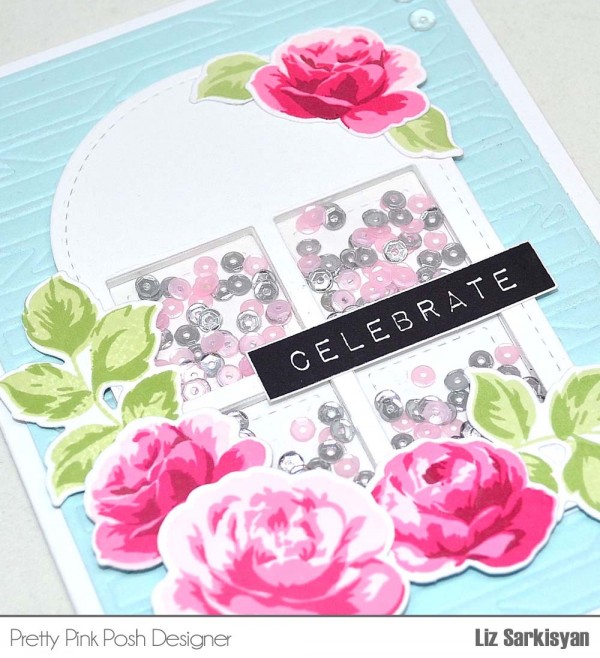
 On this next card, I had more fun using the new