
Easter Theme Week- Day 3
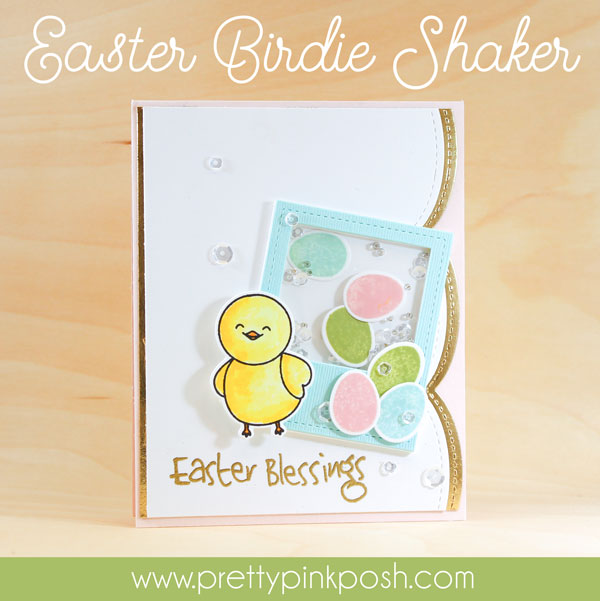
Hi everyone! It’s Carissa here. Thanks for stopping by today and for joining in all of the fun of the Pretty Pink Posh Easter Week. I have a fun little shaker card for you today, featuring that adorable little birdie from the Birdie Notes stamp set along with the Stitched Photo Frames Dies and Stitched Borders 4 Dies. Lots of Pretty Pink Posh goodness on this card.
I started out by stamping my little chick-a-dee in some black ink. I used permanent ink, as I knew I was going to watercolor this little guy with my Zig Clean Color Real Brush Markers. I used Lemon Yellow, Yellow and Bright Yellow to watercolor this little guy. Rather than take the markers directly to the cardstock, I decided to pick up the ink from an acrylic block using a watercolor brush. This gave me a little more control over the intensity of the color from the get go. I knew I was going for a more watercolor look, and I didn’t want to overdo it on the first stroke. :)
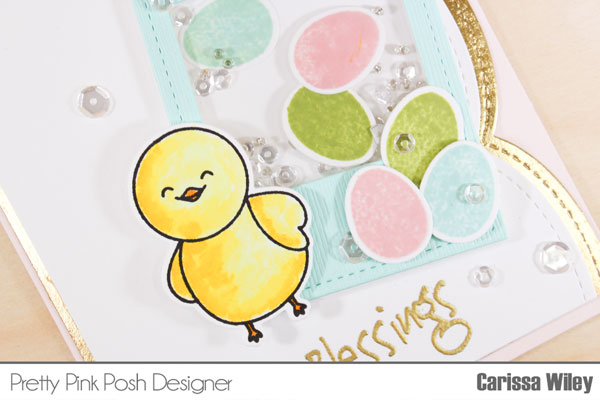
I also used an egg stamp from the Simon Says Stamp Melody’s Easter stamp set. I stamped the egg in several soft spring colors. I used the Simon Says Stamp hybrid ink cubes in Lake Shores, Twirling Tutu and Willow for my eggs.
Once all my stamping and coloring was done, I used the coordinating dies to cut out my images. I usually hold my dies in place with a little micropore tape as I run them through my Big Shot. This prevents them from shifting around and eliminates the oopsies that can sometimes come with die cutting colored images.
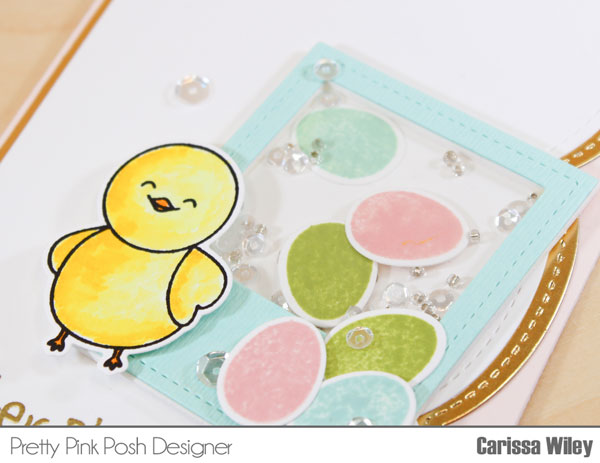
I also cut the Stitched Photo Frames die. I used a little bit of textured cardstock for my frame. I love the…well for lack of a better word…texture that this card stock adds. A simple little touch like this can make all the difference in the world. I used the same die to cut some fun foam as well. This will allow me to create the shaker window on the front of the card and eliminates the frustration of cutting down tiny pieces of foam tape to add to the back of the die cut piece.
Building the shaker window up off of the card front is one of my favorite ways to create shakers.

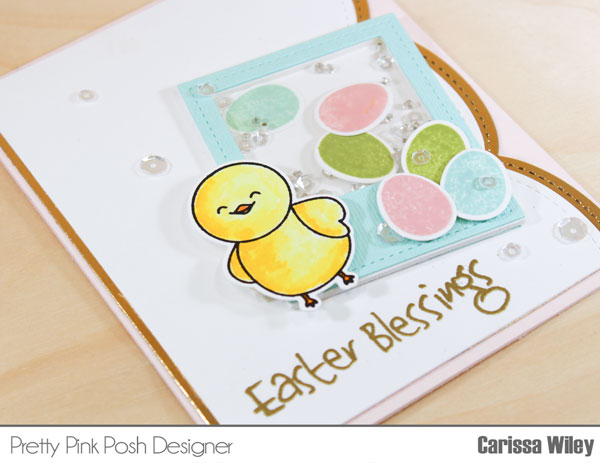
I filled my shaker window with some Pretty Pink Posh goodness and some of the die cut eggs as well. I used the 4mm Sparkling Clear Sequins and the Silver Shimmer Seed Beads to create subtle shimmer inside the shaker window. I love the movement that the seed beads add inside shakers. It adds a fun noise element too that you don’t get with just sequins. I also sprinkled a few of the sequins outside of the shaker window as well.
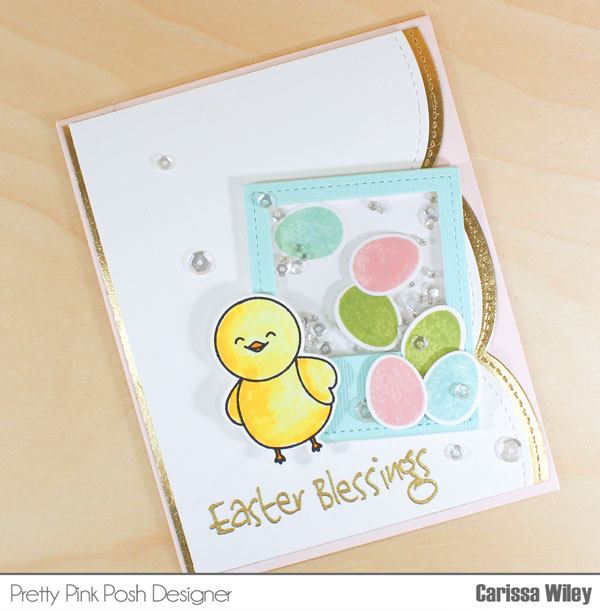
I used the scallop edge border from the new Stitched Borders 4 die to add a fun shaped element to my card front. I also used the same border die to cut some metallic gold cardstock. I just mounted the card front slightly offset from the gold to create a beautiful double scallop edge. I embossed my greeting on the bottom of my card front using some gold embossing powder from Ranger. This ties in the gold that I used to mat my card front.
For my card base, I used the Bazzill Pale Rose card stock. This is one of my favorite pinks. It’s just so soft and subtle and very springy!
I added my shaker window to my card front and added my adorable little chick as well. I added him with foam adhesive to make him pop off of the photo frame. I also added a few of the Easter eggs on the outside of the photo frame as well. I adhered them using a mix of foam adhesive and tape runner adhesive to create depth.

So there you have it, a fun idea for an Easter card featuring a whole bunch of Pretty Pink Posh goodness, new and old. I hope you’ve enjoyed this project.
![]()
If you have missed any of the previous posts, click on the photos below to see the post from that day.


See you tomorrow…

This is so cute!
Love this chick, it is so cute
So cute!…Love all the colors.
Cute, cute, cute! Love those large scallops especially in gold paired with the pastels.