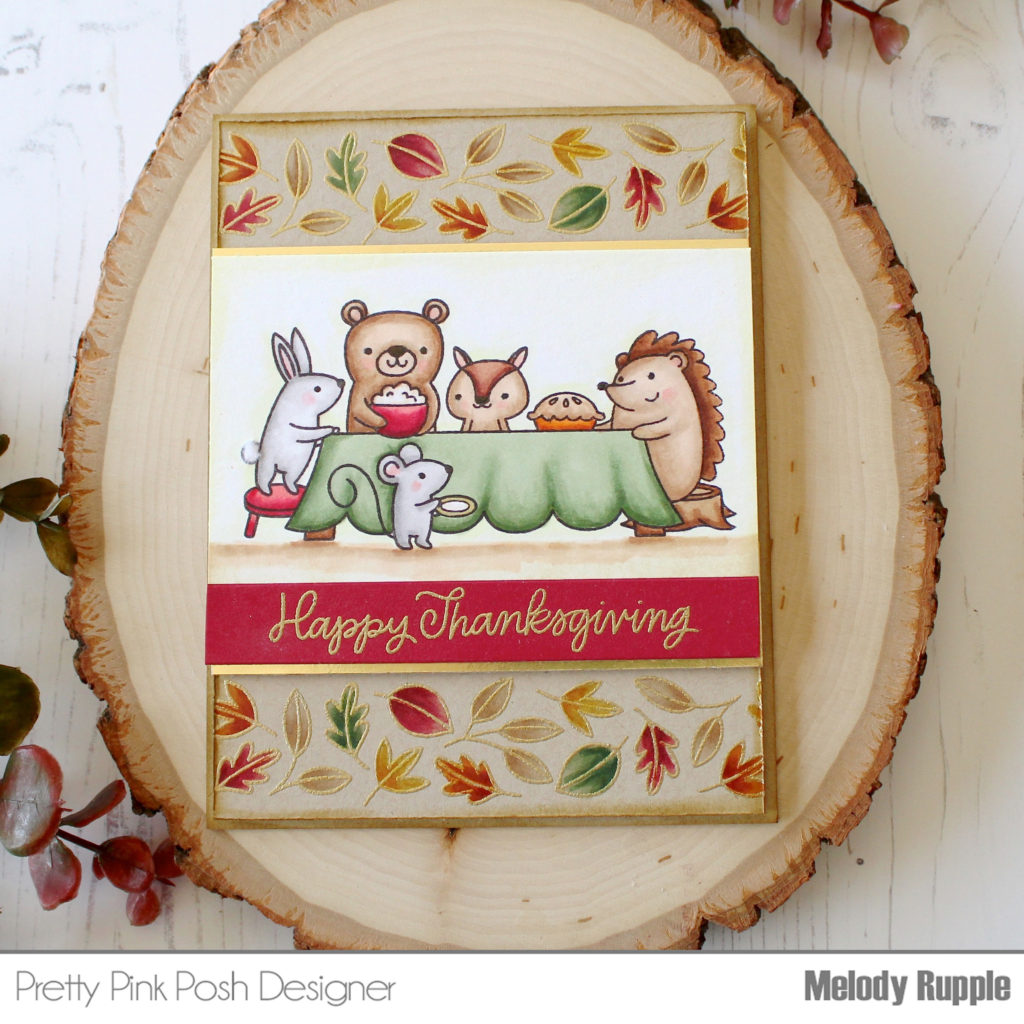
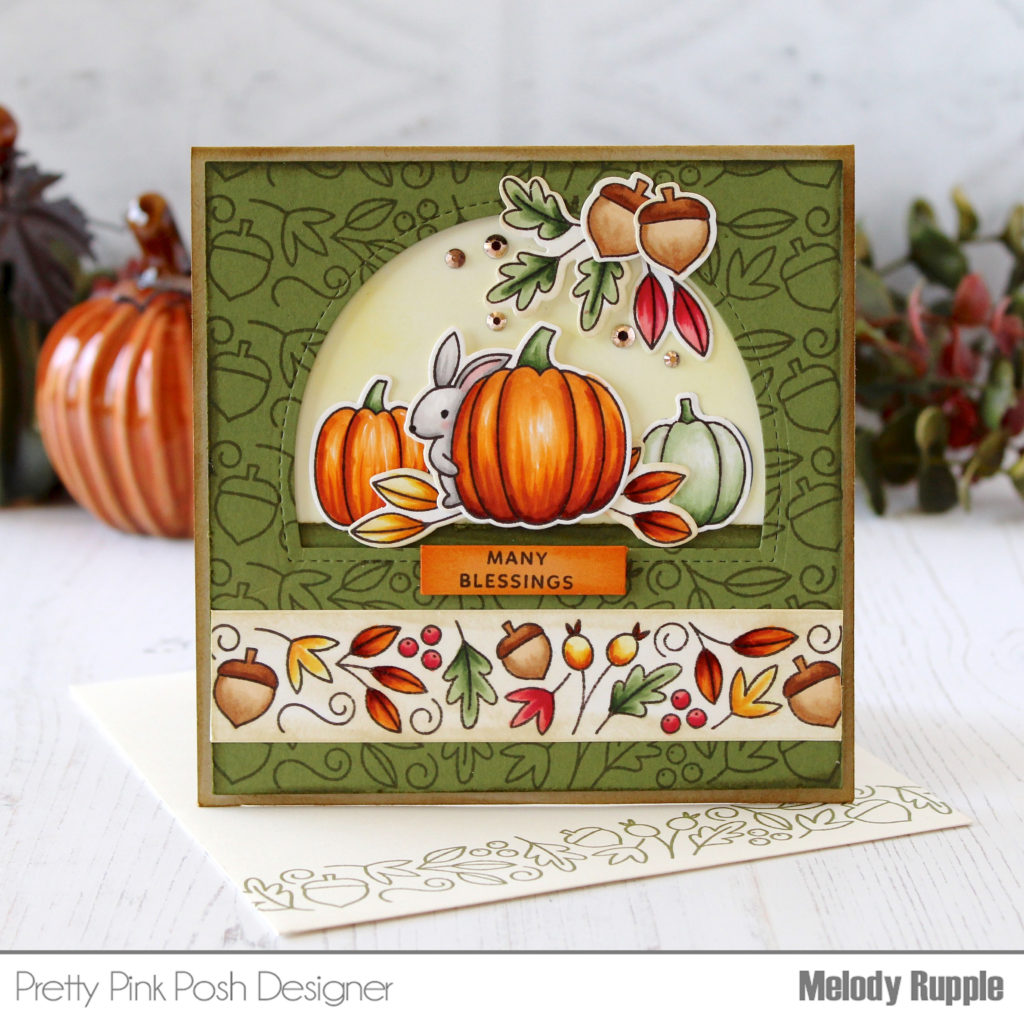
Hi Friends! It is Melody here on the blog today and I am going to give you a sneak peek at the new Fall Borders Stamp Set and the Thanksgiving Scene Stamp Set being released on August 20th. I always am a little extra excited for the Fall Release. It kicks off the start of creating for the holidays!
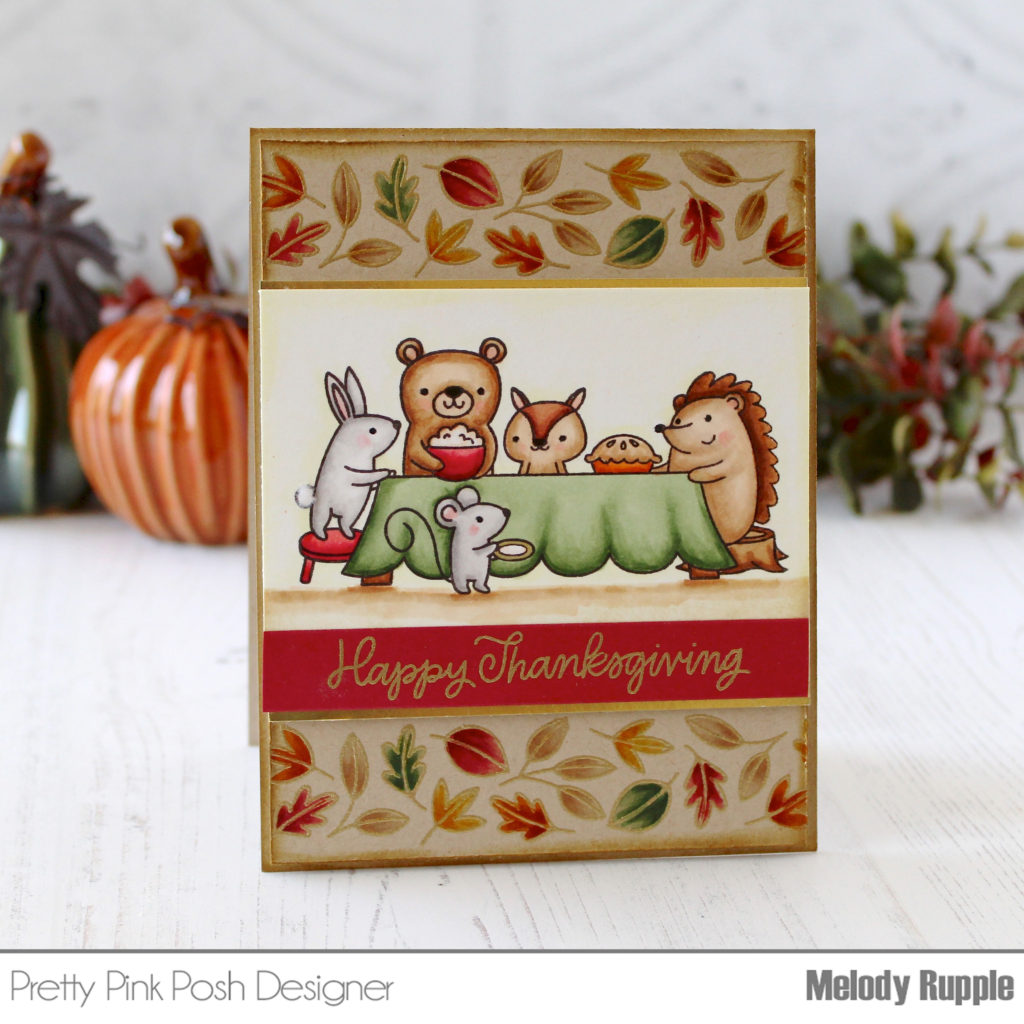
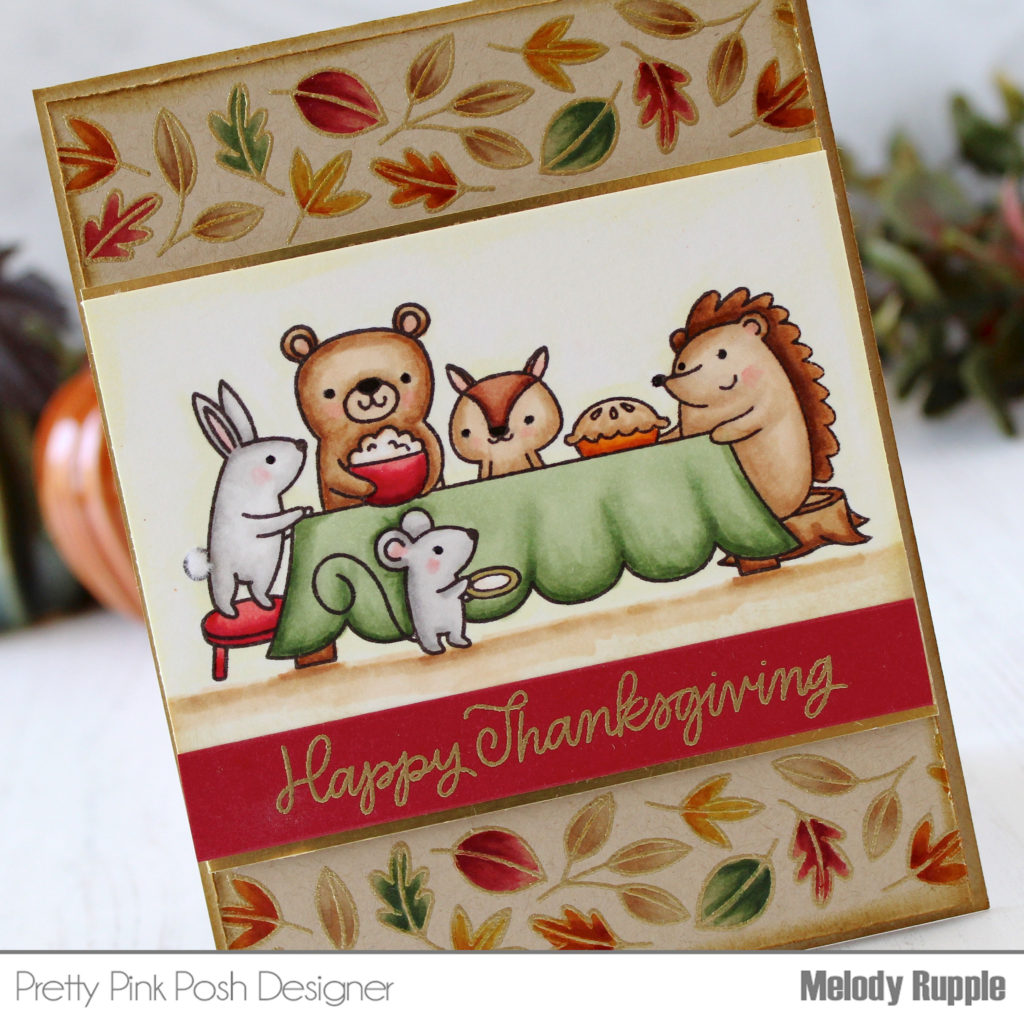
Here’s a look at my first project. I stamped the Thanksgiving Scene Stamp Set in a dark brown pigment ink and colored the with my Copic Markers. I used a blending brush to add a pale yellow ink to the background.
There are three different border stamps in the Fall Borders Stamp Set. I cut a piece of Kraft cardstock to fit the card front and stamped the leaves borderat the top and bottom of the card front. I stamped in Versamark Ink and embossed with gold embossing powder. Then I colored the leaves in a variety of fall colors. Around the edges of the card front I sponged on Distress Ink in Brushed Corduroy.
Next I stamped and embossed the sentiment from the Thanksgiving Scene Stamp Set on a strip of deep red cardstock and added a strip of gold cardstock at the top and bottom of the scene.
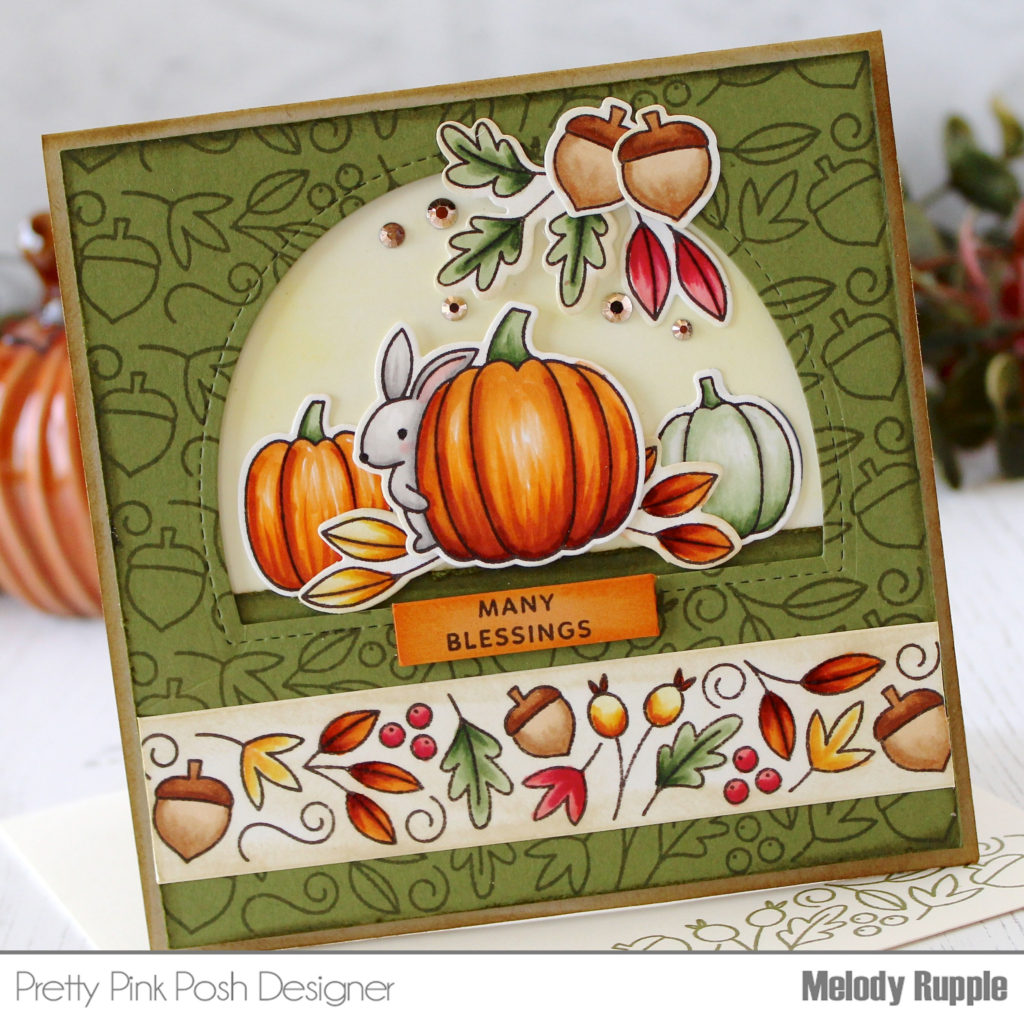
On my second card I used the Fall Borders Stamp Set in a couple of different ways. First I used the Fall foliage border to create the background pattern, stamping dark green ink on dark green cardstock. The I stamped the border again on a strip white cardstock, colored with Copic Markers, and sponged Antique Linen Distress Ink on the edges. Then I die cut the larger of the window in the Window Frames Dies directly into the card front.
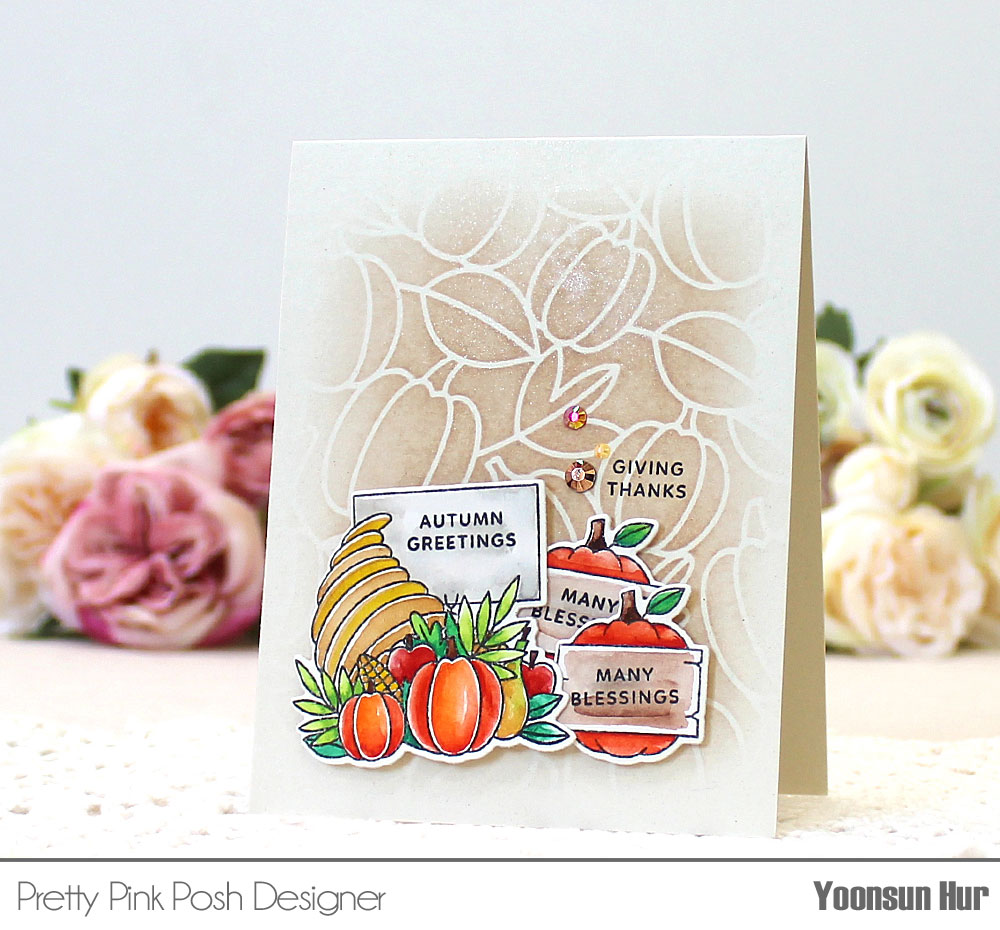
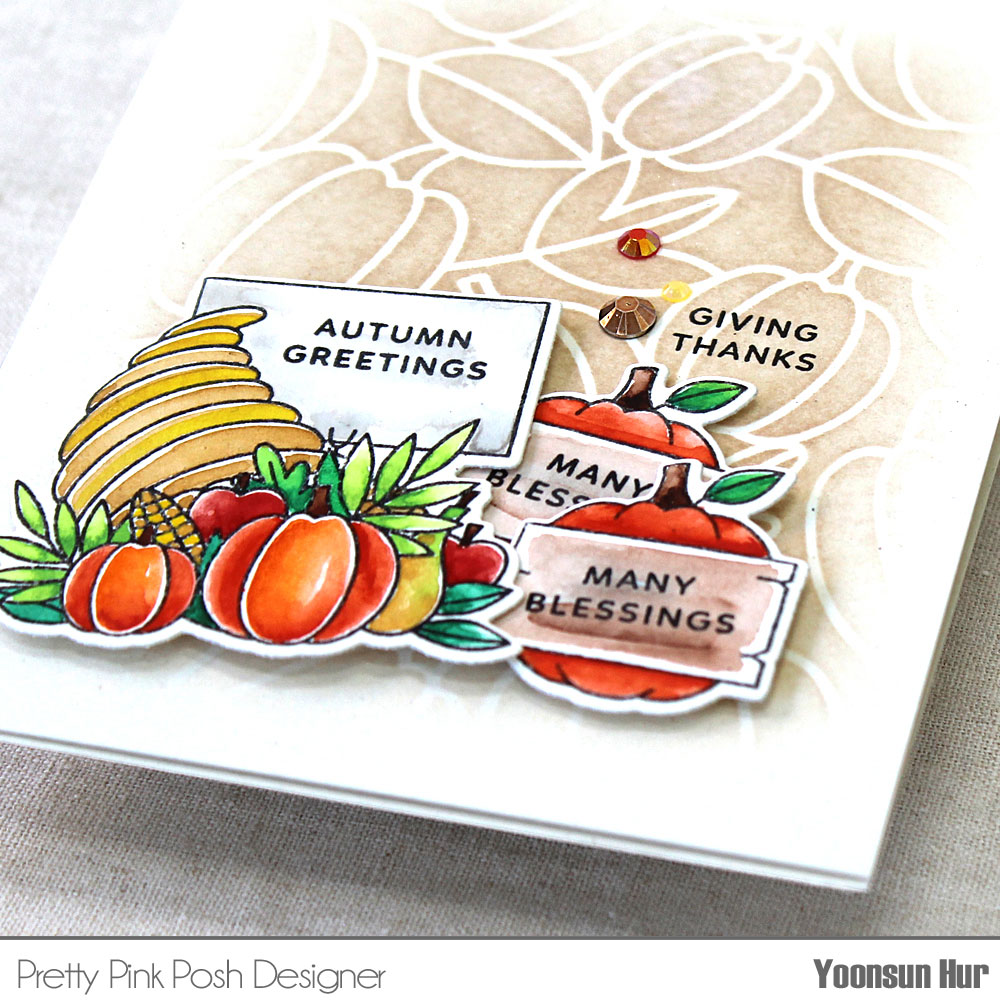
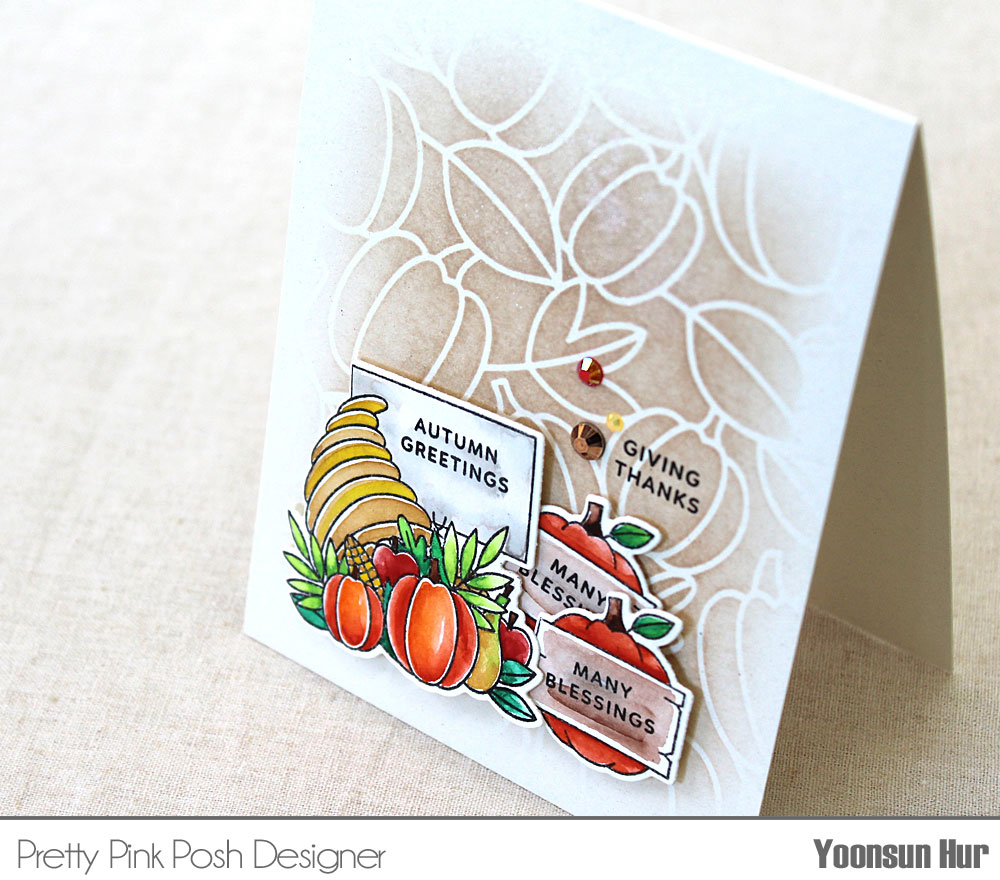
Hello crafty friends! It’s Yoonsun here to share with you my autumn-themed card with the Fall Signs StampSet & Coordinating Dies along with the Pumpkin Background Stencil. All of these products will be available on August 20th!
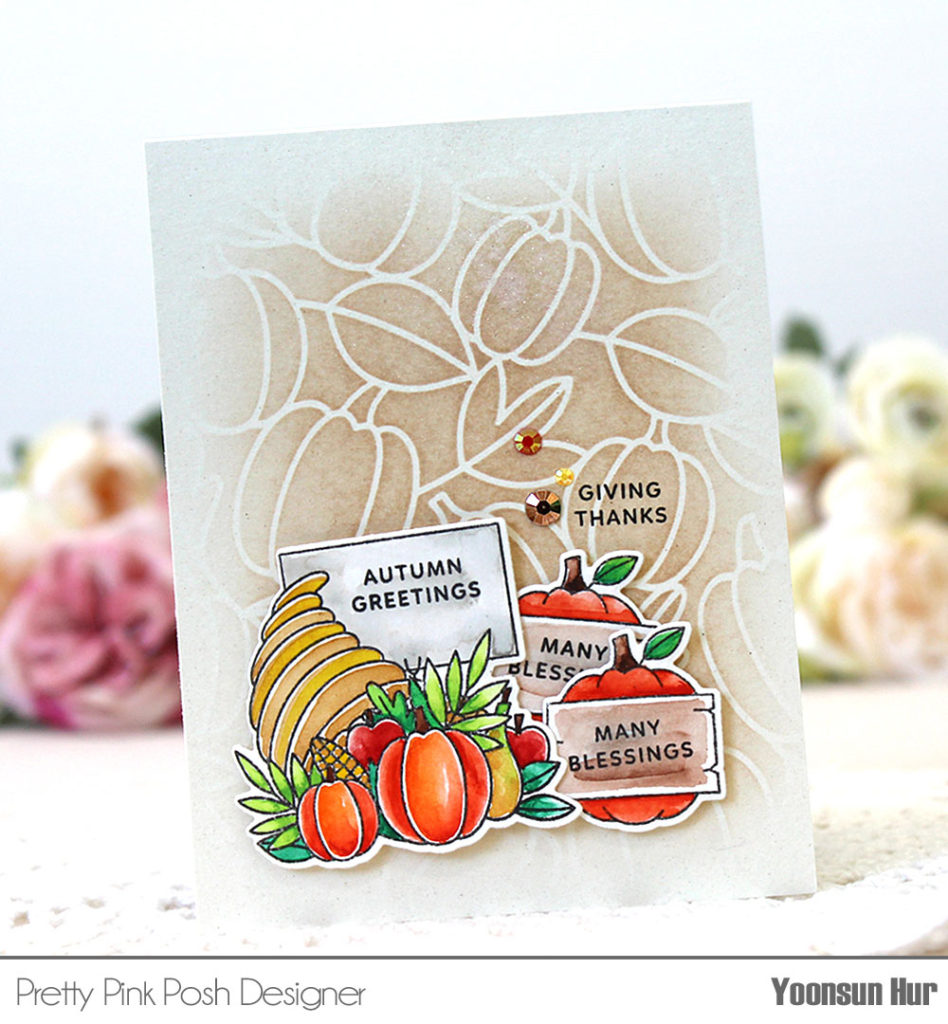
I started by stamping some images from the Fall Signs set on watercolor paper using black pigment ink. I watercolored all stamped images, and then die cut them with the matching dies. I stamped the autumn greetings on the sign boards using black ink as well.
For the background, I placed the Pumpkin Background stencil on white card base, and then inked with pale brown dye ink.
I adhered all watercolored images on the bottom of the card using foam tape. I embellished with a few jewels for finishing touches.
Isn’t this a fun set and stencil? You can create all sorts of cards with them for the fall season. Be sure to visit us tomorrow for another sneak peek!
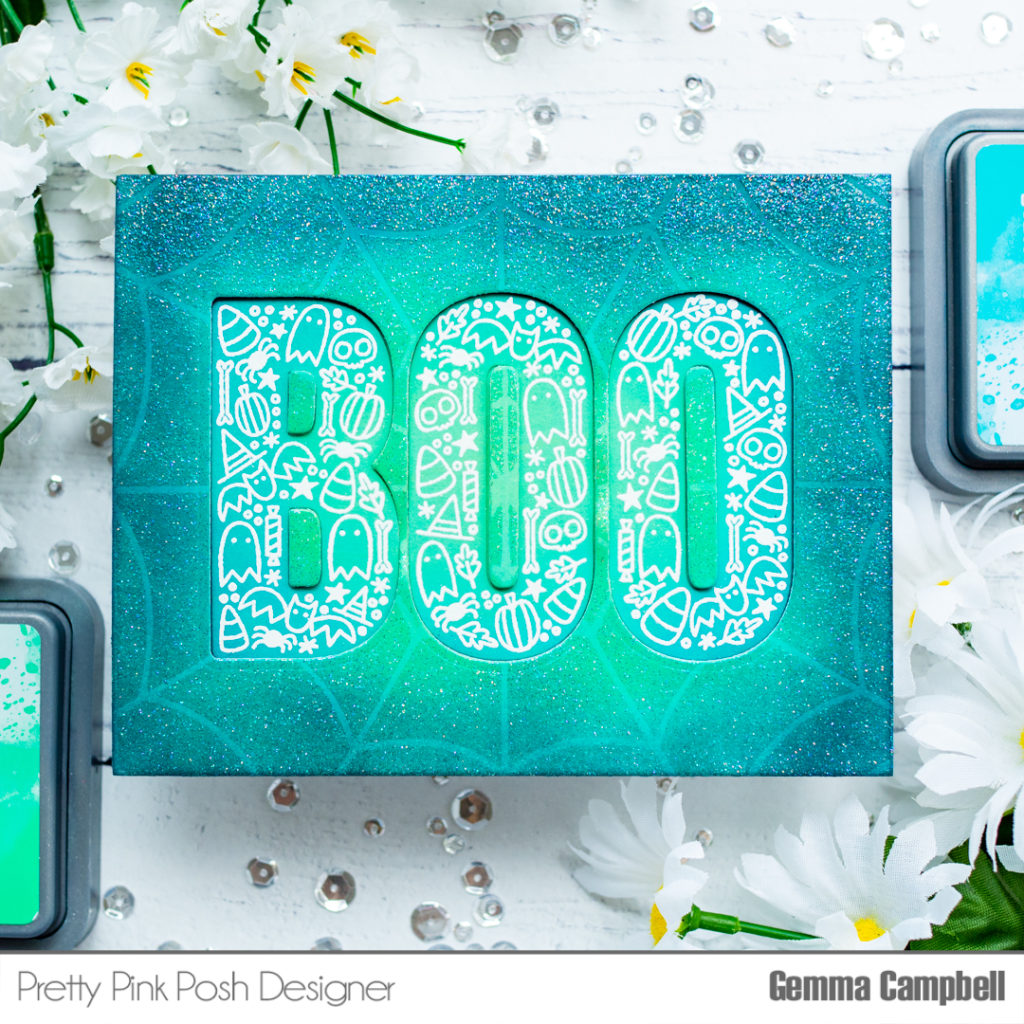
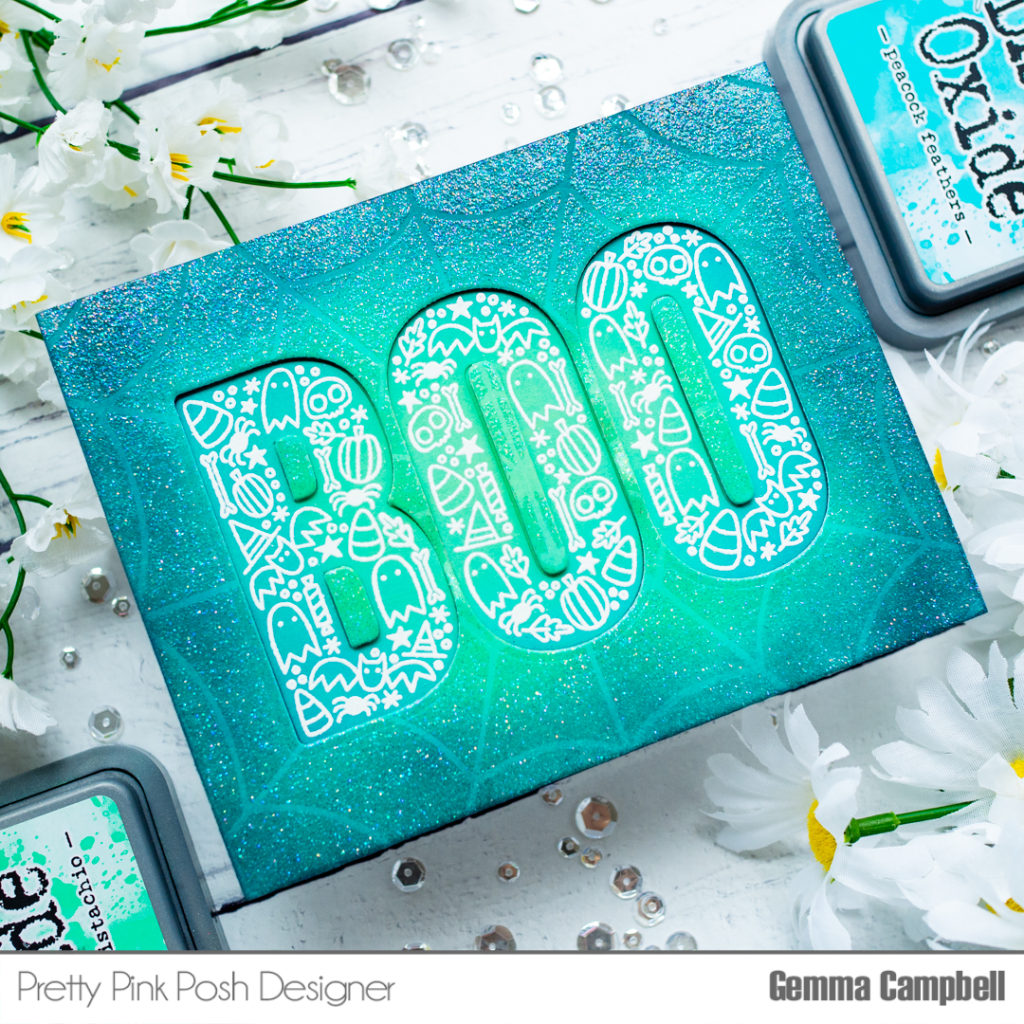
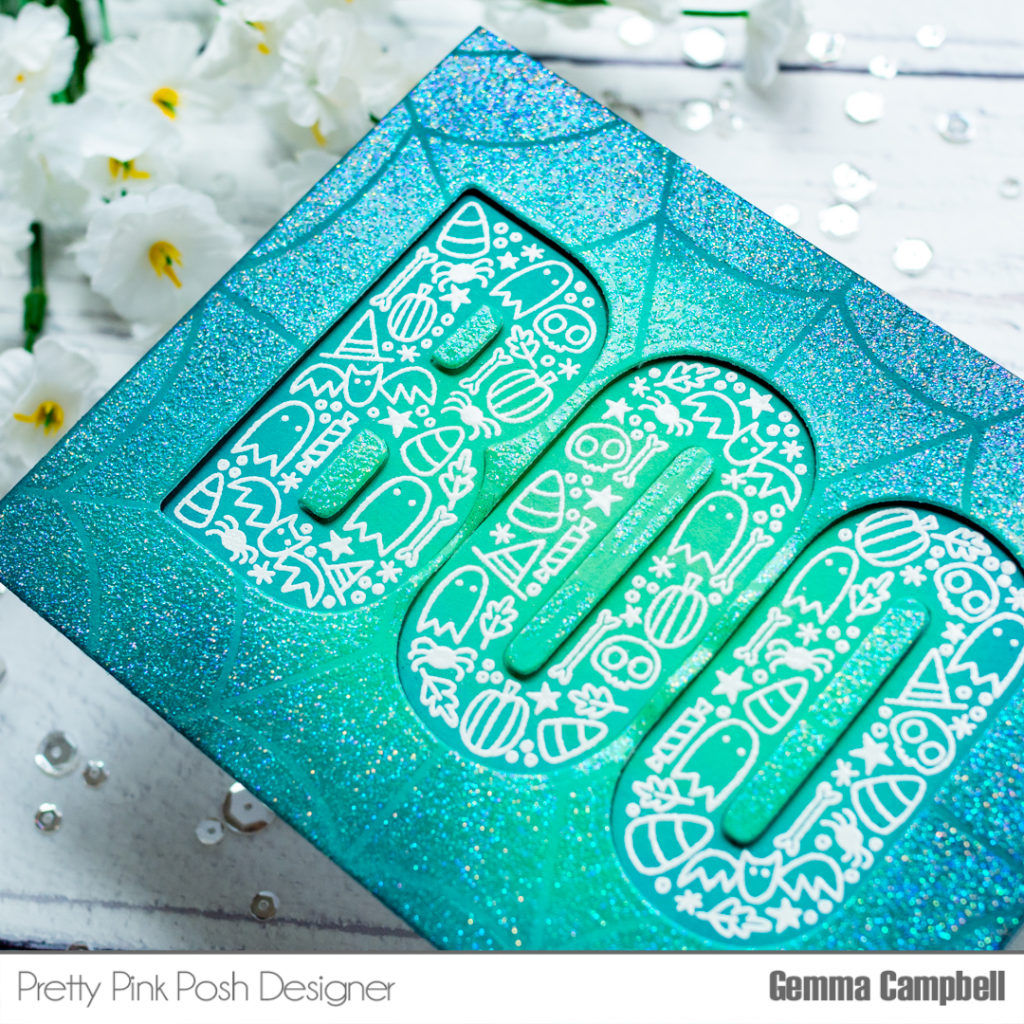
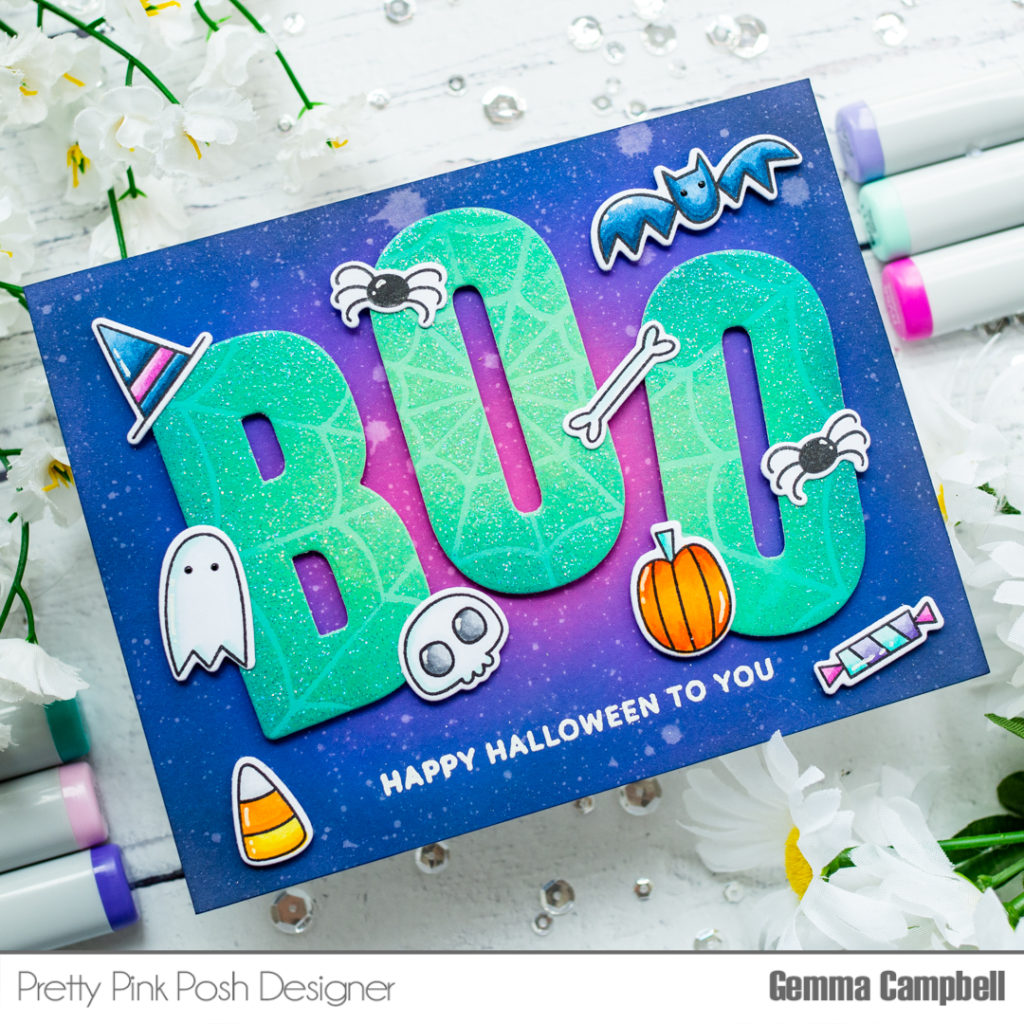
Hello, Gemma here with a sneak peek to share with you all. I’m using the new Boo set, which is so much fun for Halloween. I made two cards to show how easy it is to get very different looks with this set.
For my first card, I started with the background. I inked up two panels of white card with distress oxide inks in cracked pistachio, peacock feathers and black soot.
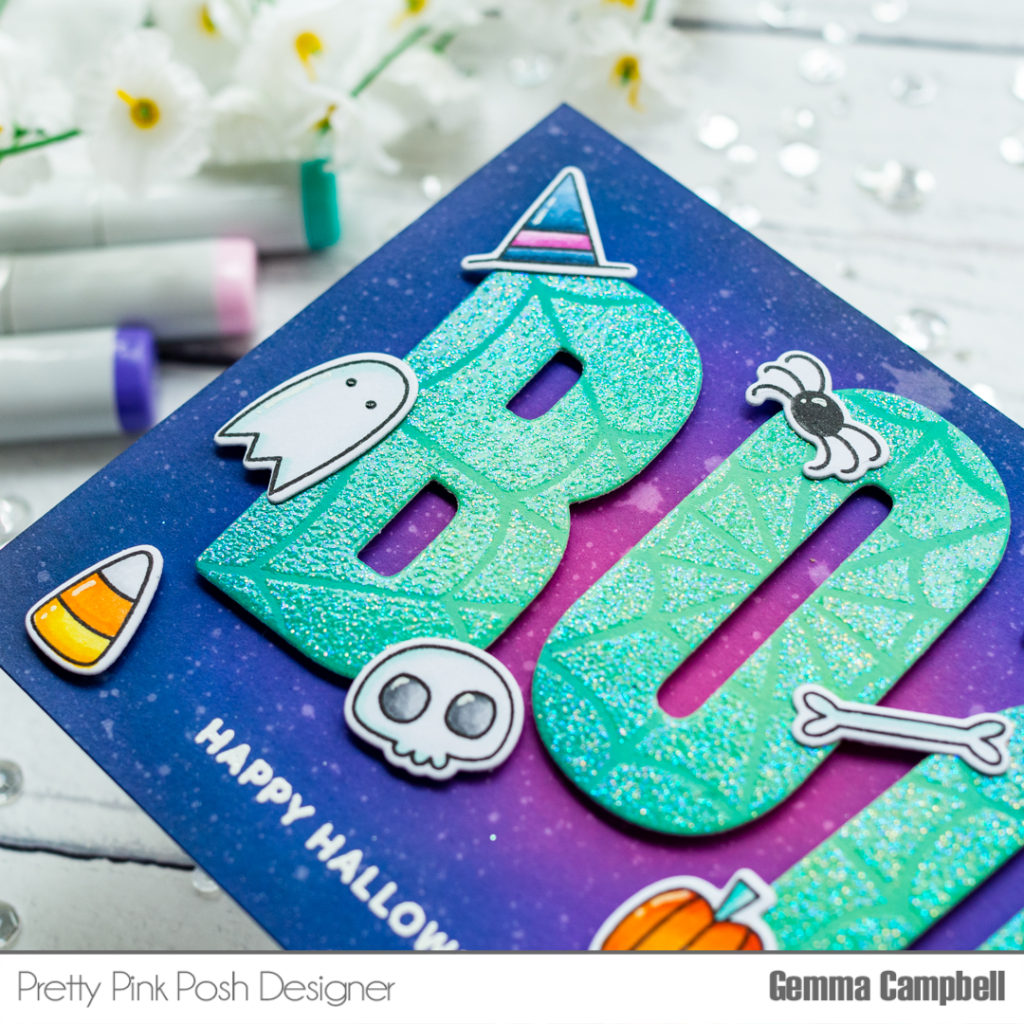
On one of these panels, I used the new Spider Web stencil with embossing ink, then heat embossed the pattern with a clear glitter embossing powder.
On the other panel, I stamped the larger ‘Boo’ from the set and embossed it with white embossing powder. I then used the coordinating die to cut the letters out, keeping all the pieces.
I layered the spider web panel onto my card base with foam tape, then adhered the stamped embossed letters from the other panel in the spaces. I set these back for dimension, and popped up the inside letter pieces (from the spider web panel) with foam tape.
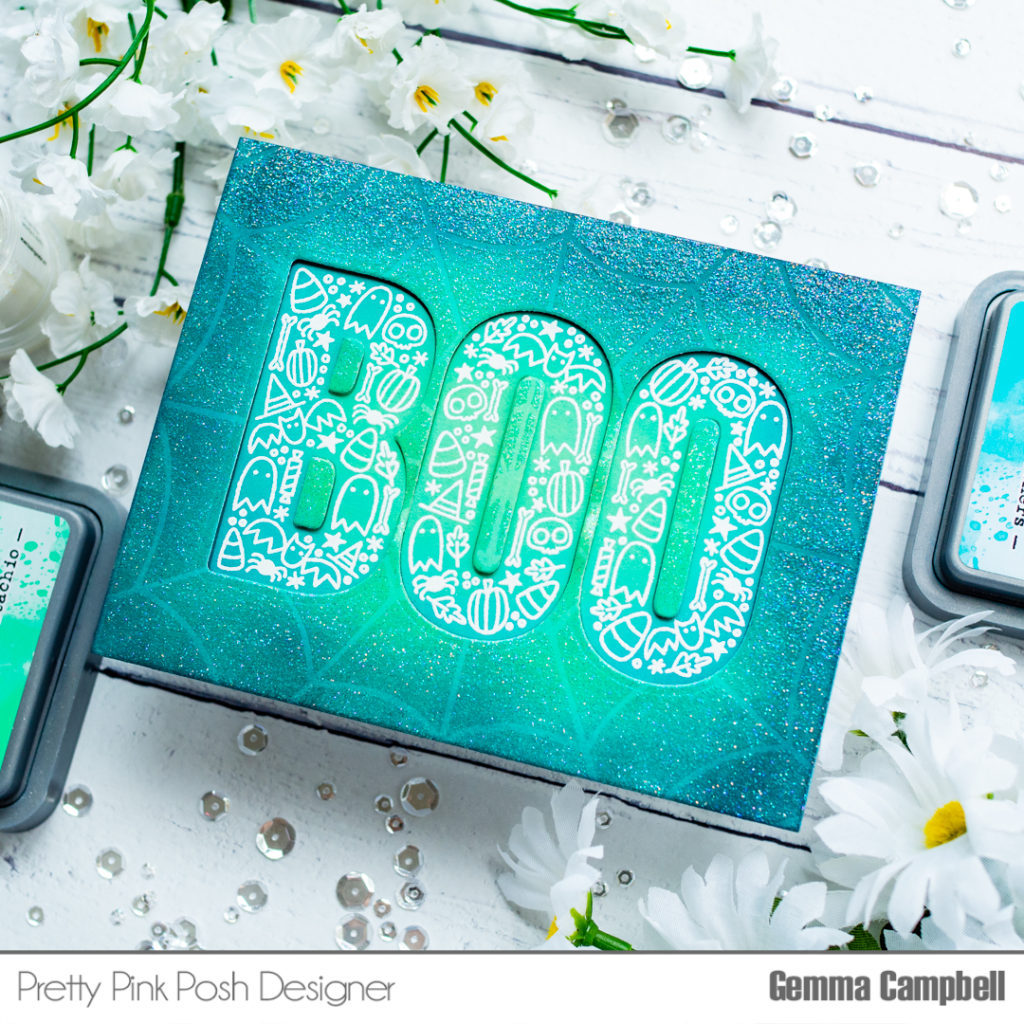
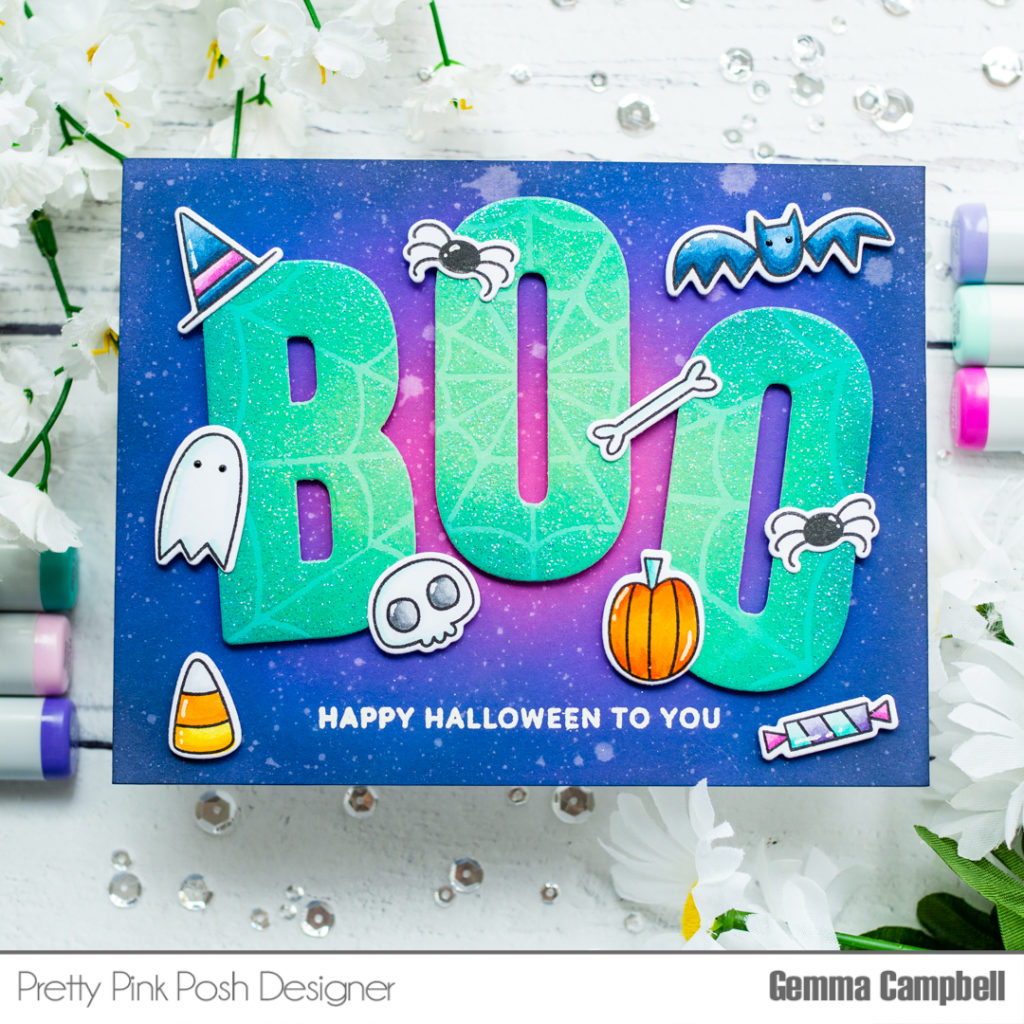
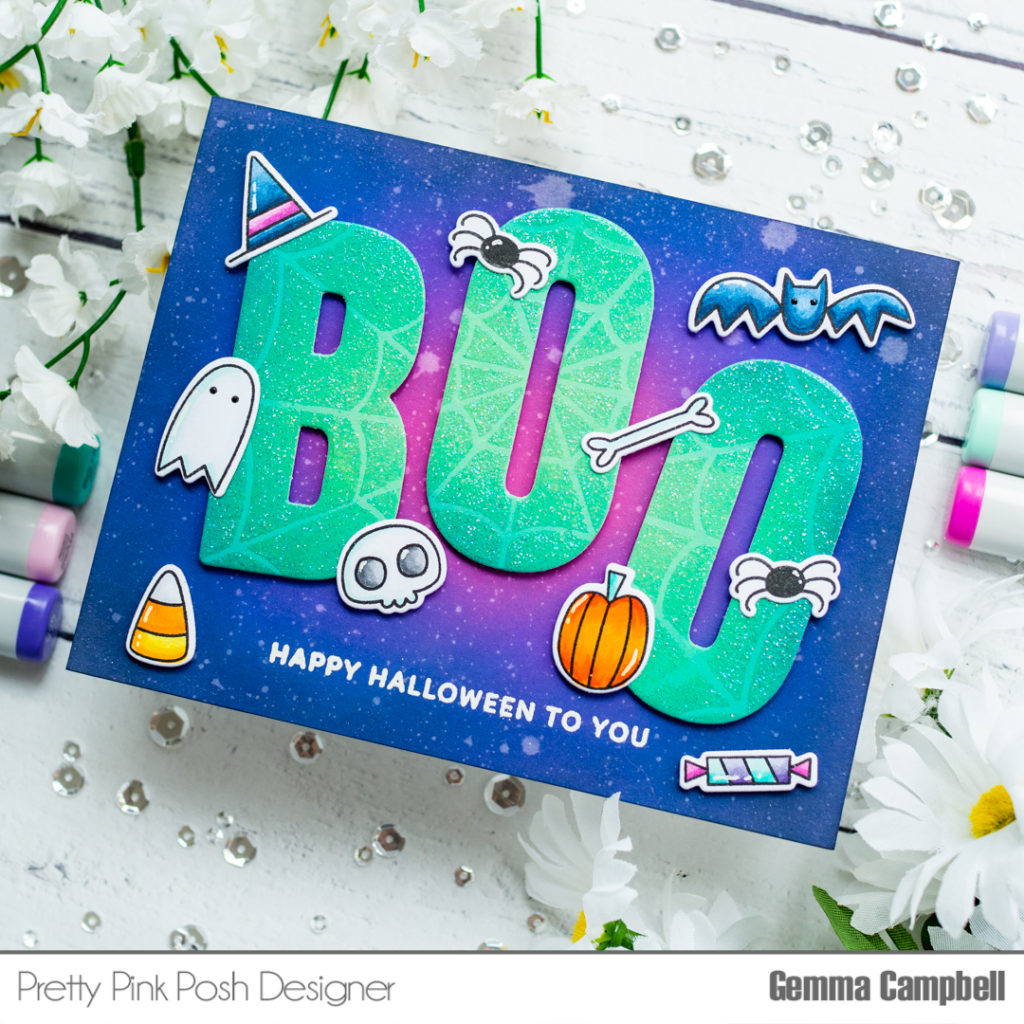
For my second card, I’m using the die cut spider web letters from my first card to create a very different look.
I white heat embossed a sentiment from the Boo stamp set at the bottom of the card, then used foam tape to adhere the Boo die cut letters. I love the impact of these large letters across the card.
The Boo stamp set has lots of fun Halloween images. I stamped and copic coloured them, choosing mostly blue, pink and purple colours to match my background.
I used the coordinating dies to cut the images out, then placed them around my card, adhering with foam tape. I love to add the hat to one of the letters.
I hope you enjoyed these Halloween cards- there are so many fun uses for this set. Join us tomorrow for another sneak peek of the August 20th release!
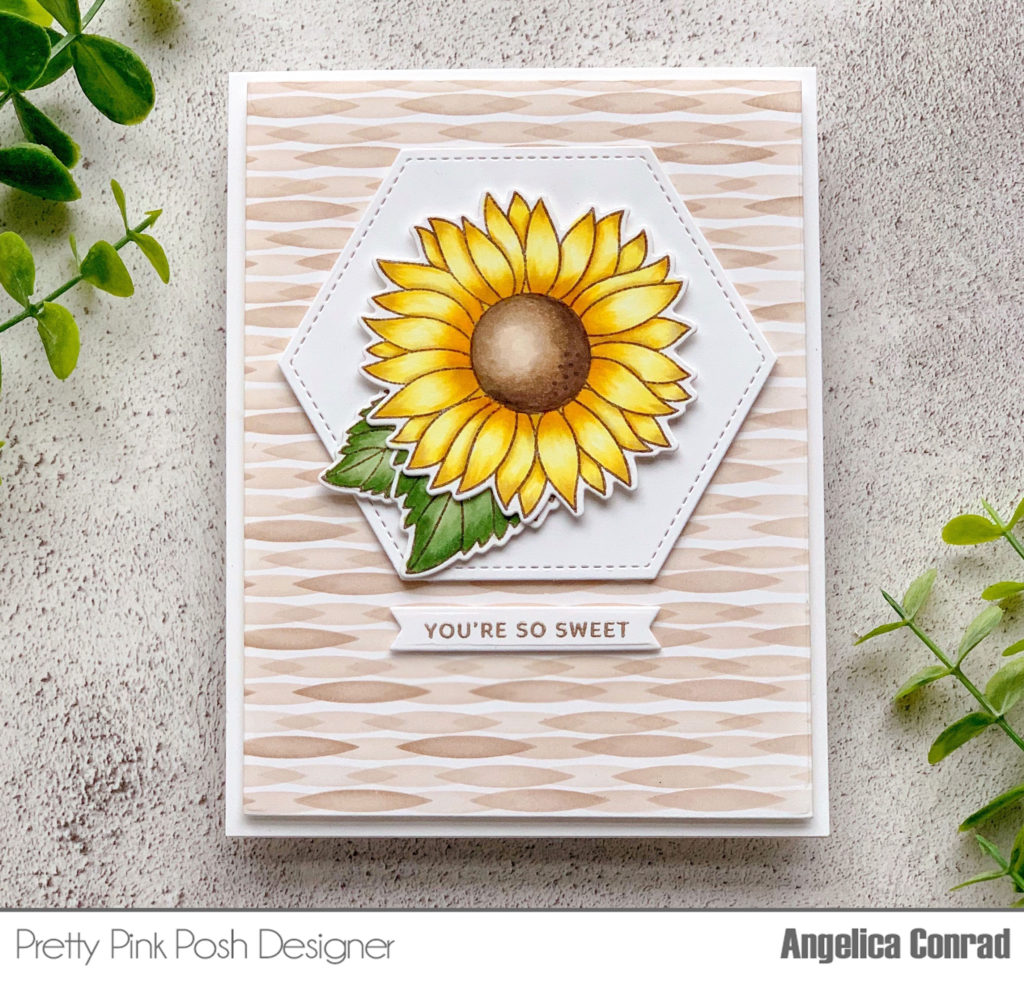
Hi friends, Angelica here, and I am so excited to sharing two cards today using products from Pretty Pink Posh’s August 20th Release. You’re going to love the new stamps, dies, stencils, and vibrant new jewels!
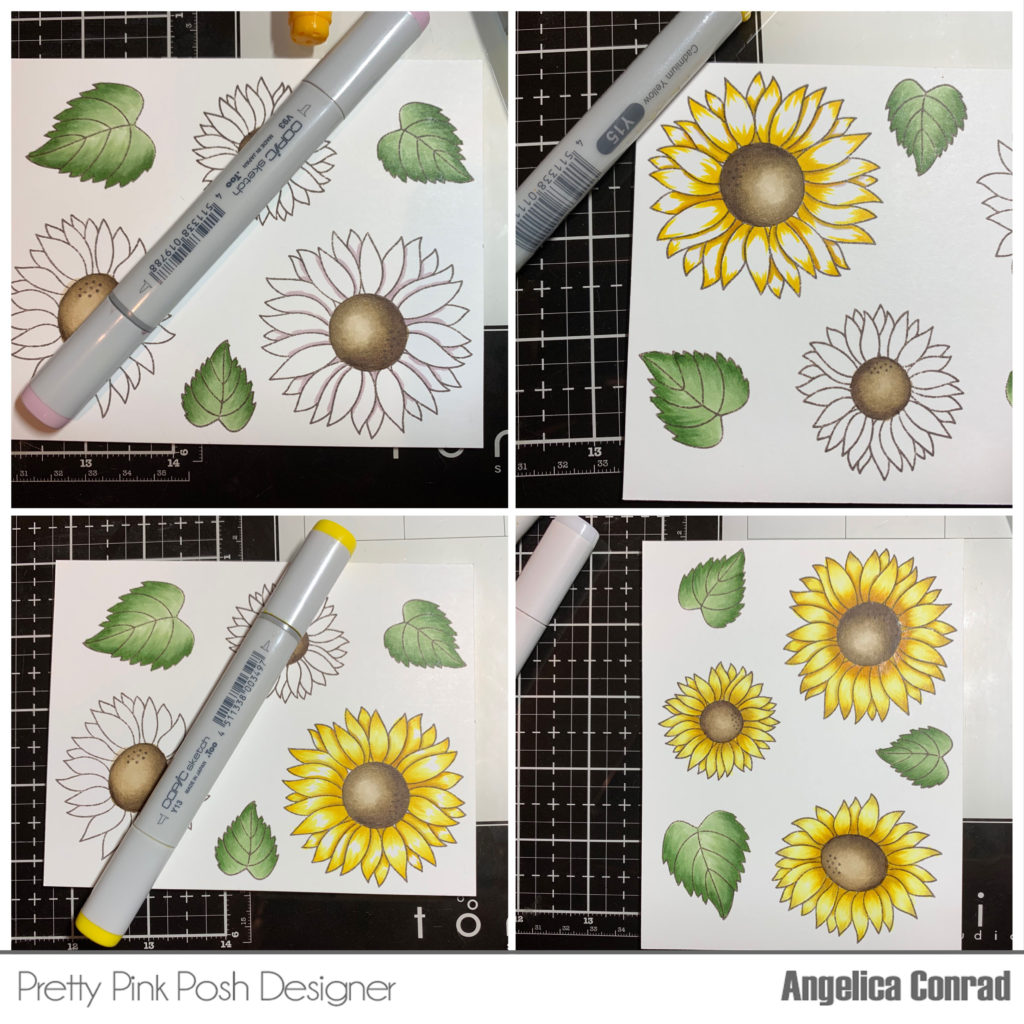
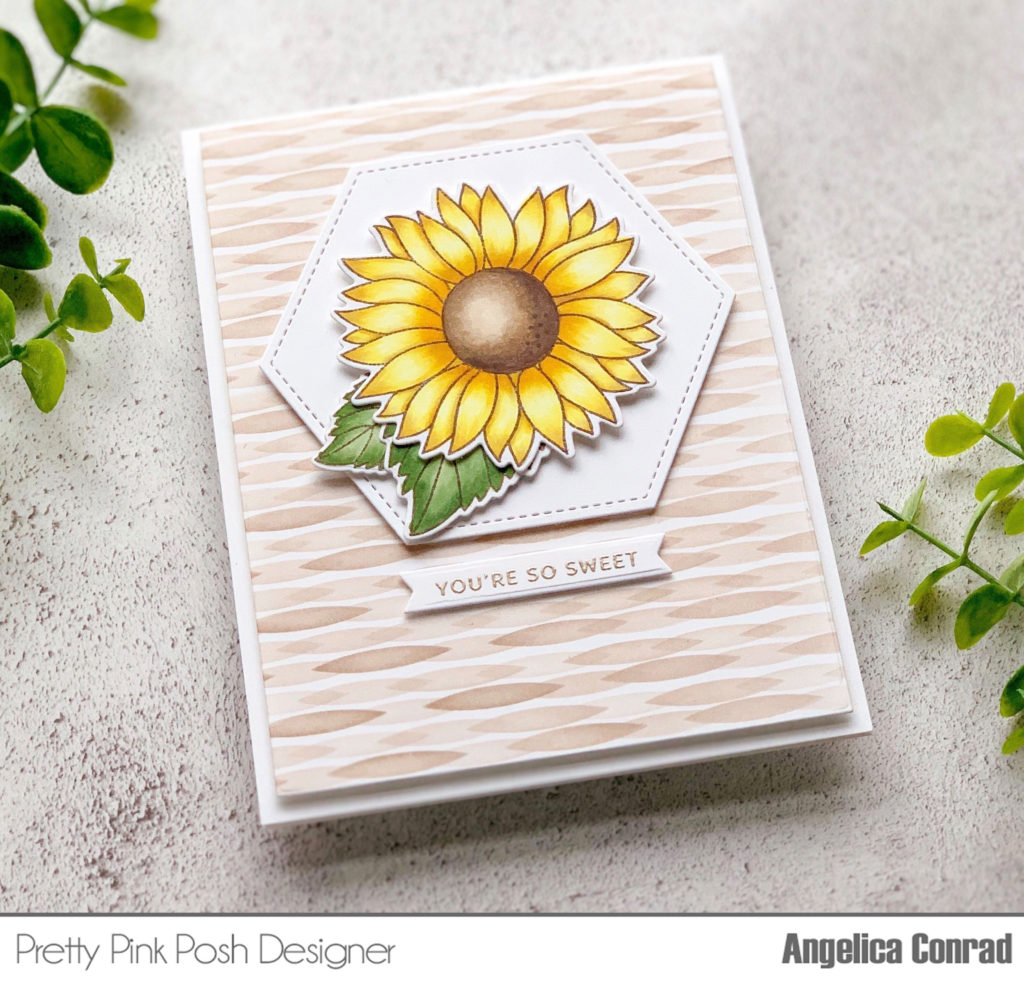
Today I am showcasing the new Sunflowers Stamp Set. I stamped the images onto white card stock, and colored them with the following Copic Markers: Flowers- Y13, Y15, V91, E47,E44, E43, E42; Leaves- YG61, YG63, YG67.
For the background, I used a blender brush to blend Kraft ink over the new Wafers Stencil. I moved the stencil 4 times for this pattern. I trimmed the panel down to 4×5.25, and attached it to a card base with foam adhesive. I used the largestStitched Hexagon Die to die-cut white card stock. I adhered it to the card, then added the sunflower and leaves with foam adhesive. I added a gold heat-embossed sentiment from the new Bear Friends Stamp Set to finish the card.
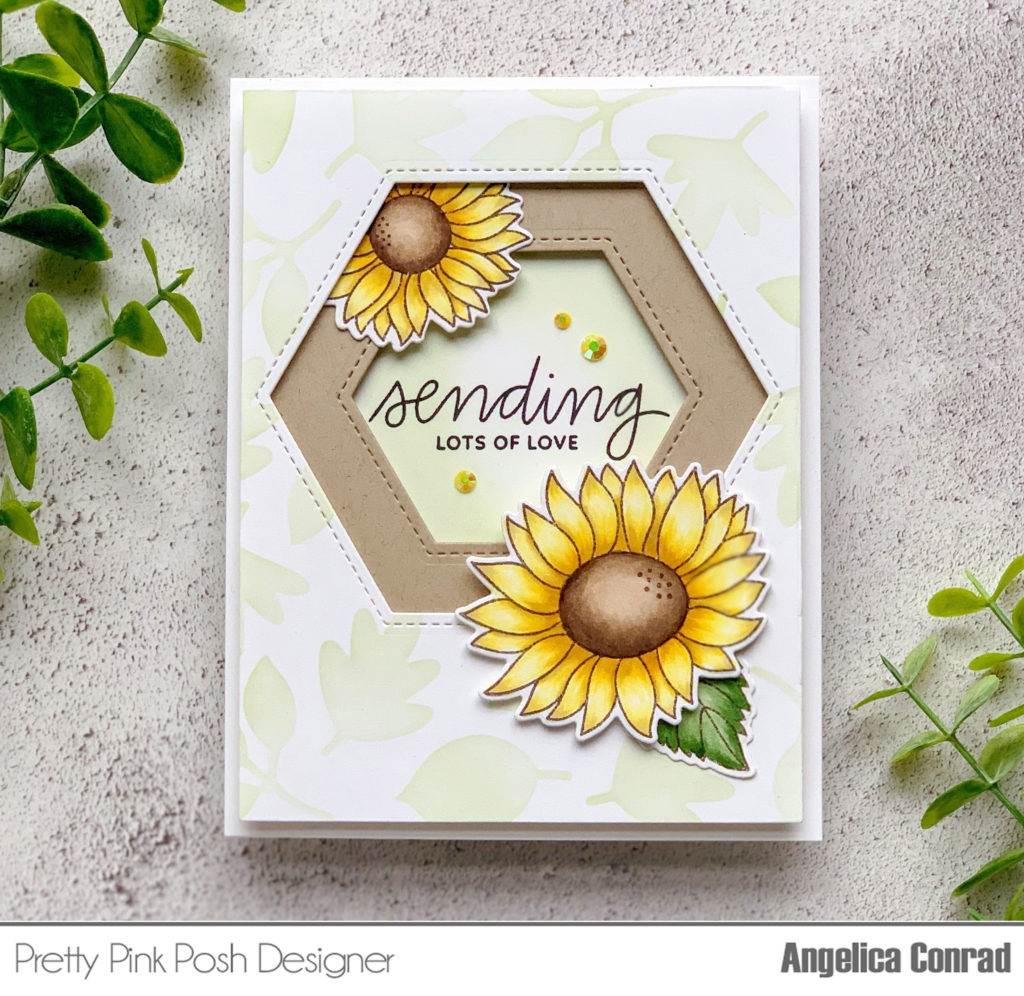
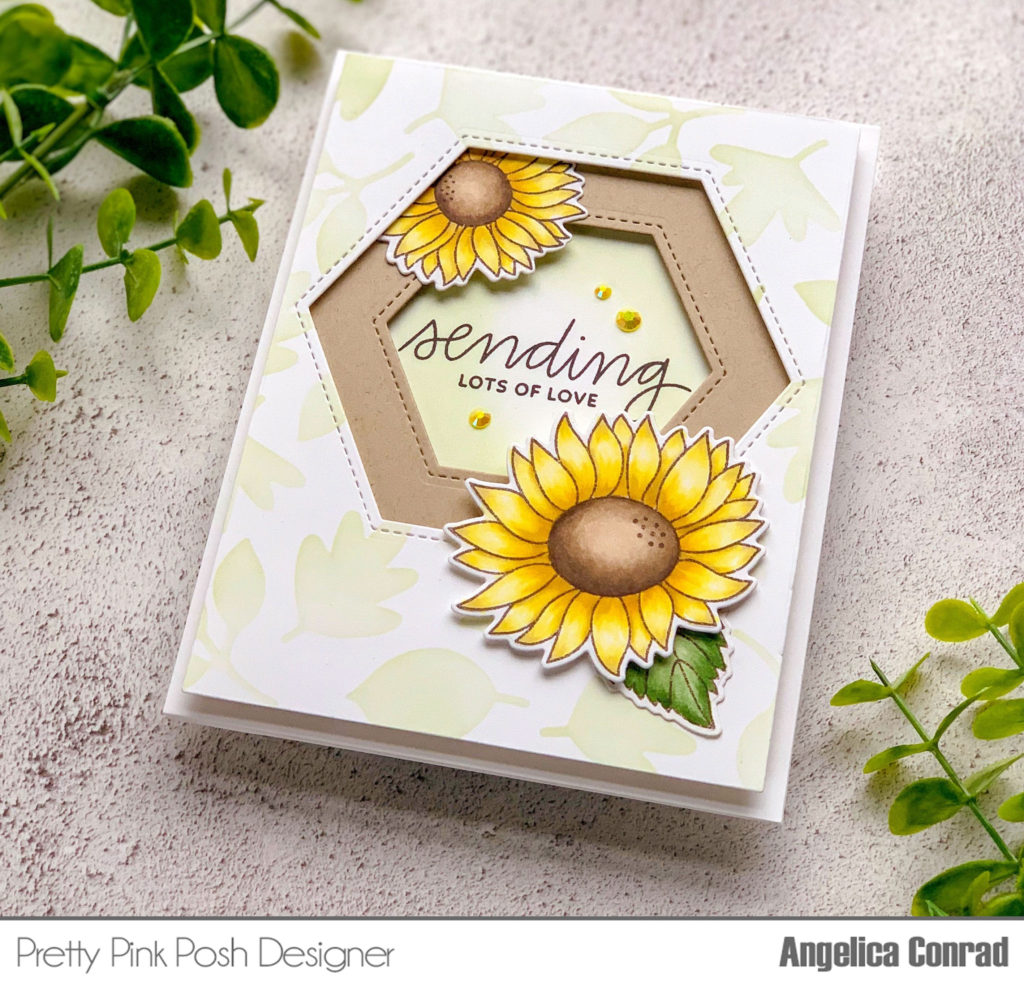
I used the rest of the floral images on the next card.
On the white card stock I had die-cut the hexagon from, I blended light green ink over the new Autumn Leaves Stencil. I die cut a smaller hexagon window from Neenah Desert Storm card stock, then attached the stenciled white frame with foam adhesive . I blended the same green ink onto the front of a card base, then stamped a sentiment from the Everyday Greetings stamp set. I attached the card front to the base with foam adhesive, then added the flowers. I finished the card with a few jewels from the Citrus Jewels Mix.
I hope I have given you ideas for the new Sunflowers stamp set. Join us tomorrow for another sneak peek!
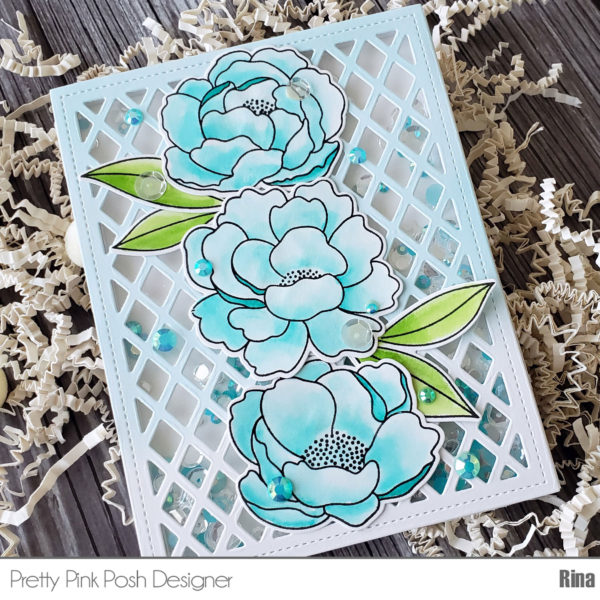
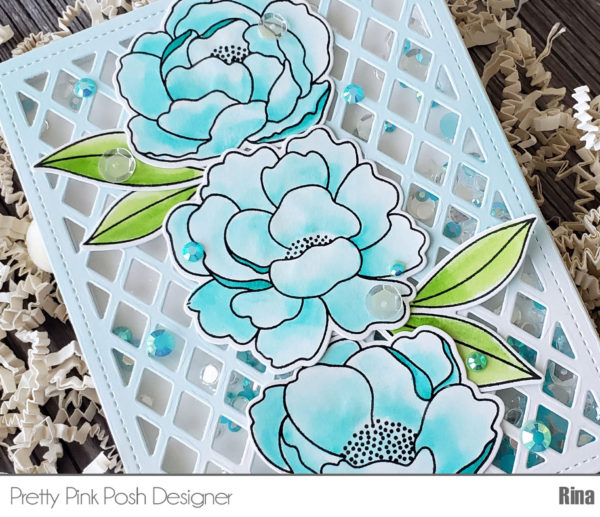
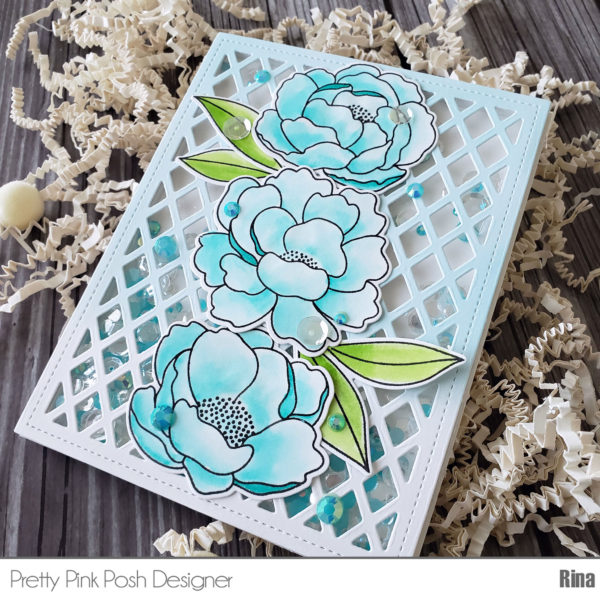
Hi everyone, Rina here with a fun floral shaker card. I have made this card a Mother’s Day theme, but you can make it for any occasion you want using a sentiment stamped on the inside of the card.
I used Bristol Smooth Surface cardstock stamped with Versafine Onyx Black ink to watercolor the images. I used the Peonies stamp set along with the Mother’s Day stamp set (for the inside of the card). I used two Zig Real Clean Color Brush Markers in Turquoise Green and Light Green. I adore these colors together.
I created the card front using the new A2 sized Lattice Background Die and lightly ink blended it with Tumbled Glass Distress Oxide ink.
I created my shaker card by adhering the acetate to the back of the Lattice Background die cut. And then applying double sided foam tape around the edges. I created a custom shaker mix to match with the images:
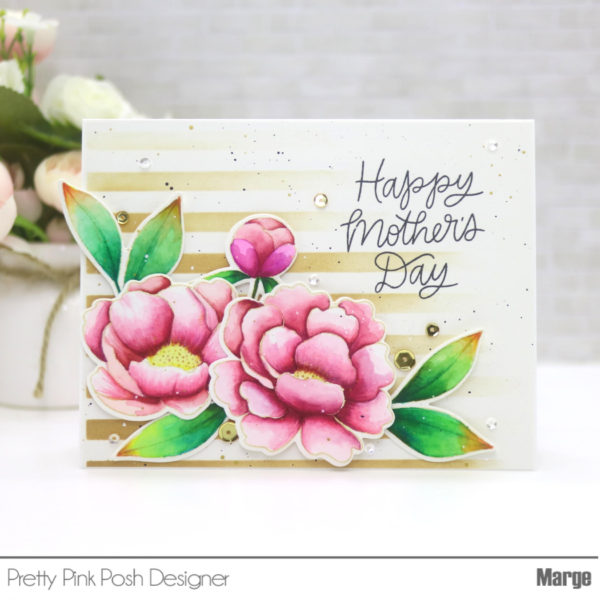
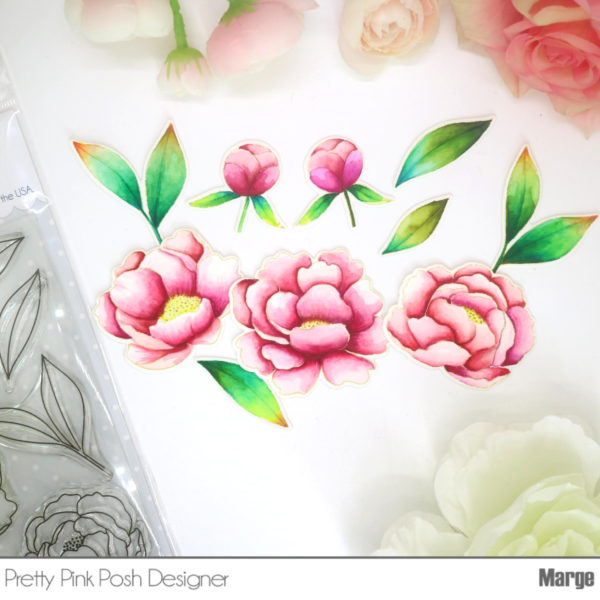
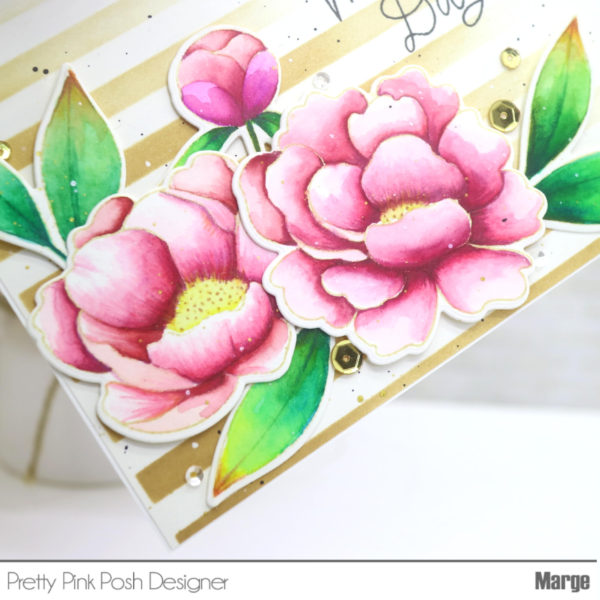
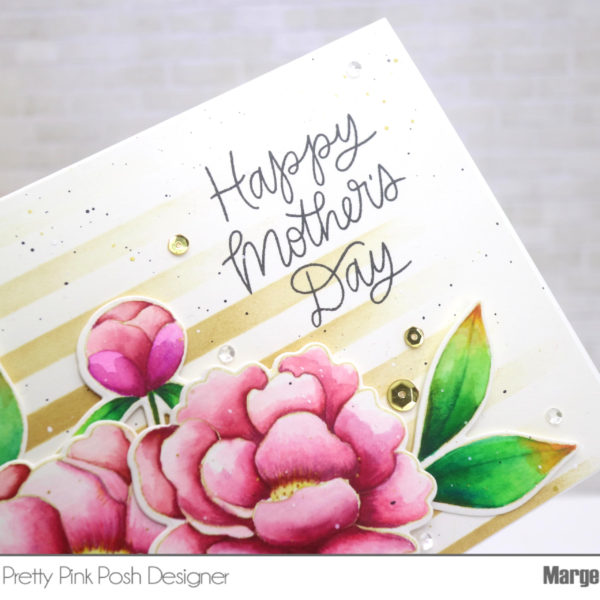
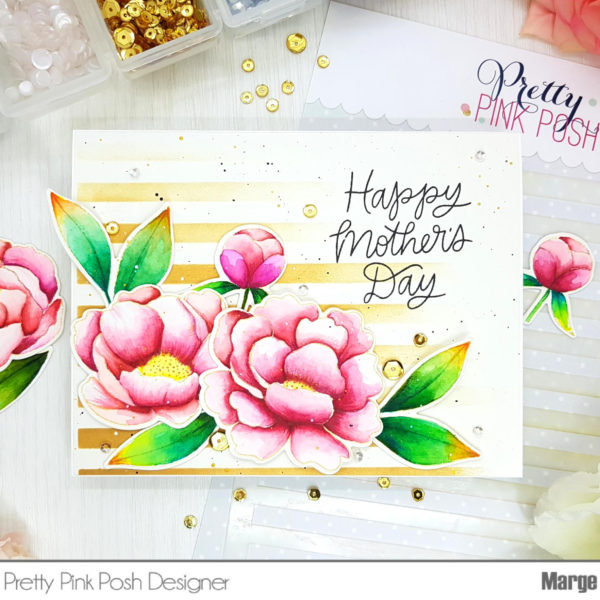
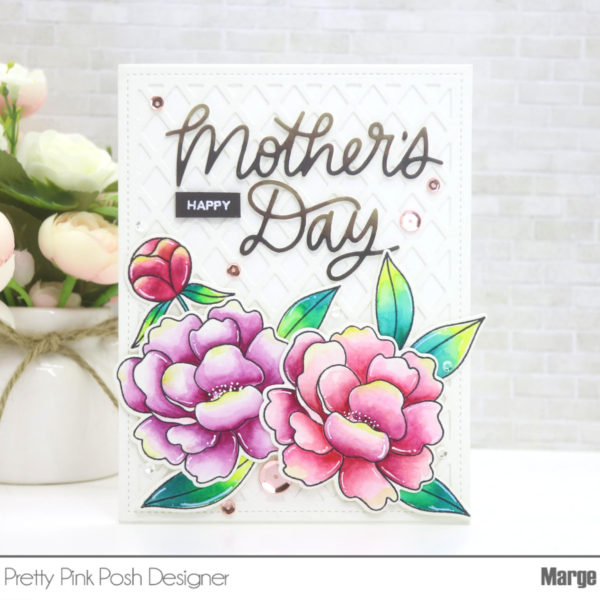
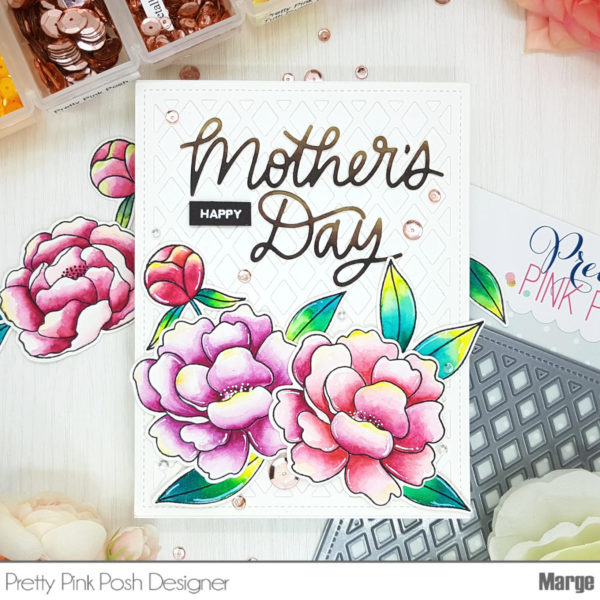
Hi, friends! It’s Marge here for you today. Mother’s day is soon and I’m going to share a card inspiration for Mother’s Day using the new products from Pretty Pink Posh.
I thought the new stencil would be a great background for the peonies, so I chose Wide Stripes Stencil from the new release, and I decided to go with earth-tone colors for stenciling to make a natural mood on my card.
I placed Wide Stripes Stencil onto A2 sized ivory card stock and then sponged warm-brown colored dye ink through the stencil, I didn’t fill all the space, instead, I left some part of the area to give the stenciled pattern some tapering effect and more depth to the shades. I then splattered with white, black and gold inks onto my panel and colored flowers.
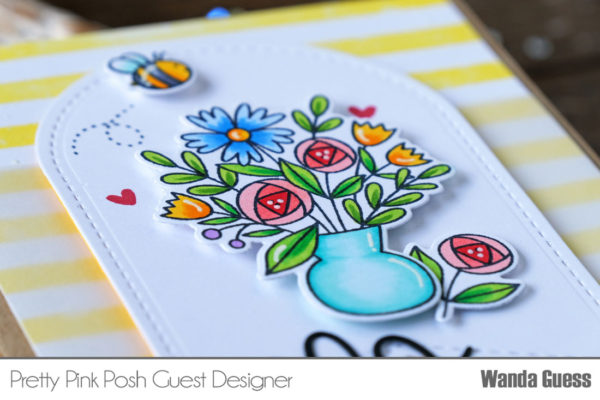
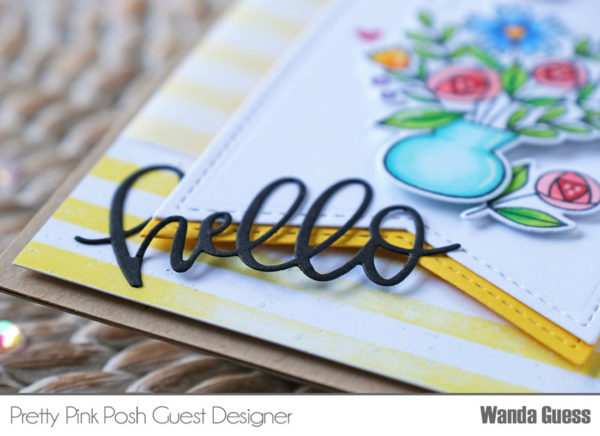
Hello there everybody, Wanda here guesting on the Pretty Pink Posh blog! I’m sharing a card today using products from the April release.
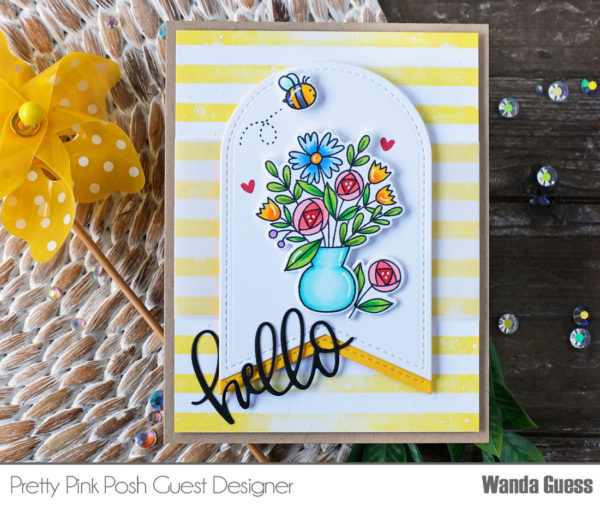
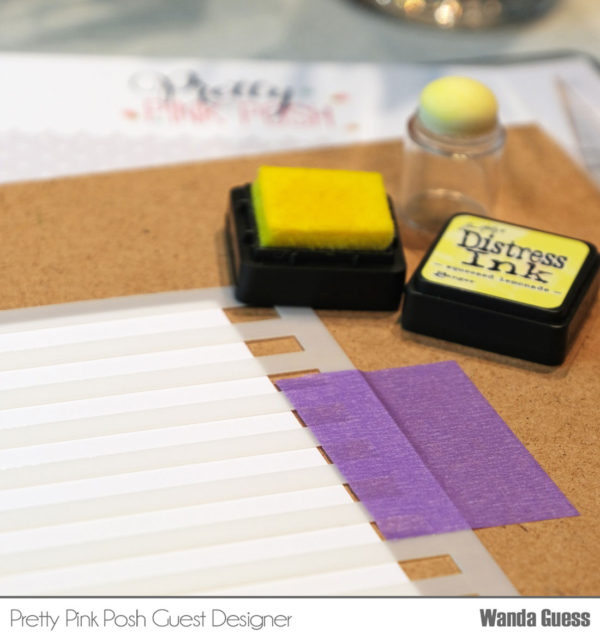
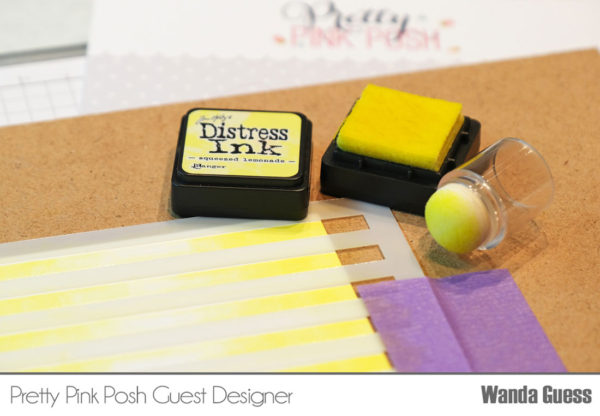
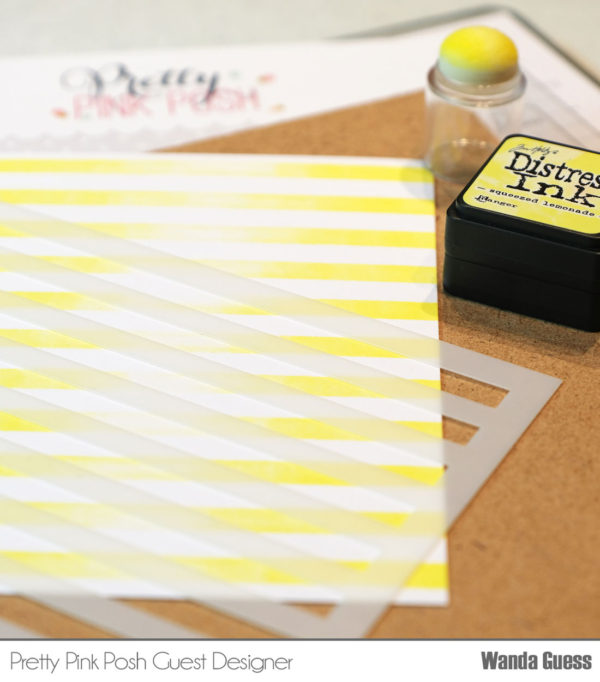
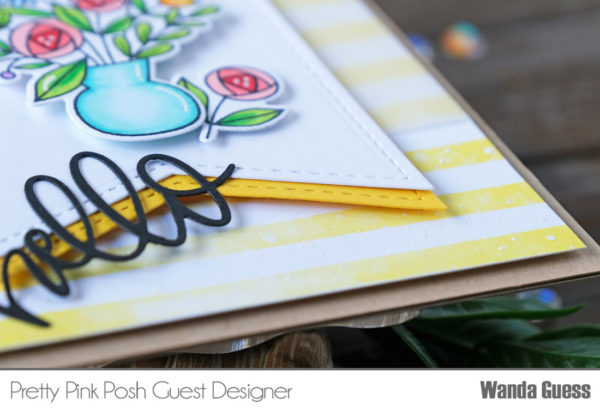
Begin by stenciling the Wide Stripes Stencil using a small sponge dauber and Squeezed Lemonade Distress Ink. Tape the stencil down over your paper using Purple Tape or some other temporary tape. Tamp the ink down with the dauber placing more color towards the outer edges and less color towards middle of the cardstock . Use a water sprayer to lightly mist the inked paper and let it dry. Splatter Copic Opaque White using a small paint brush.
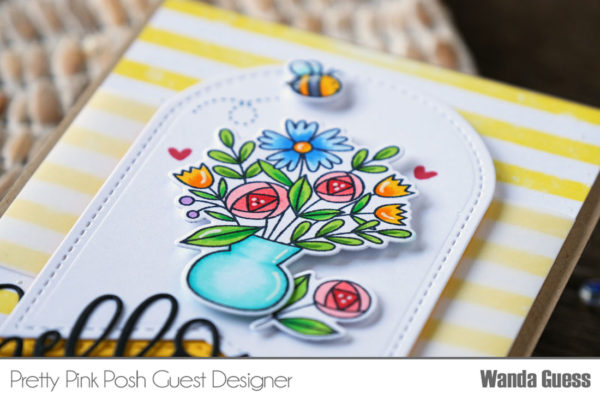
Stamp and die cut the bouquet and small flower from the Mother’s Day stamp set and bee from Bee Friends. Color the images with bright shades of Copic Markers. Add white accents with a gel pen.
To assemble the card, use a kraft A2 sized card base. Wrap a strip of vellum around the striped panel and affix it on the back side. Attach this layer to the card base using foam tape. Adhere the two tag shapes together with adhesive and then attach them to the card using foam tape.
Stamp the bee trail and the two tiny hearts onto the tag. Mount the bee, bouquet and flower to the tag. Using clear glue, glue the word die at an angle across the bottom of the card.
These products work together so beautifully and you can really customize the card to fit the recipient.
That’s it for today….Hope you have a beautiful, happy day!
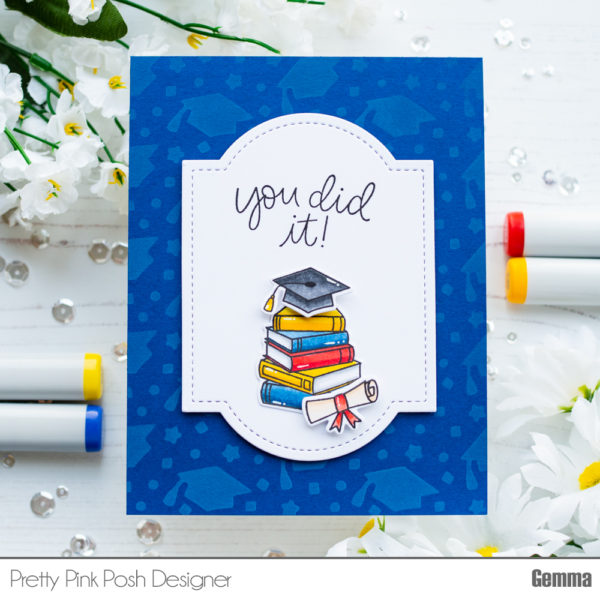
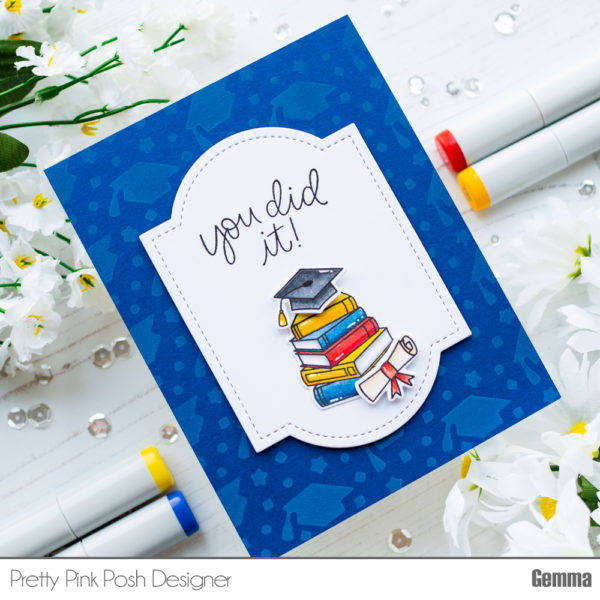
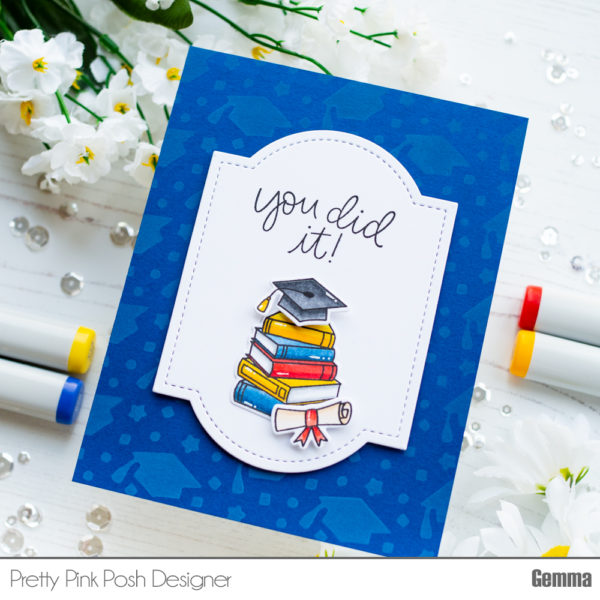
Hello, Gemma here today to share a graduation card featuring the latest release from Pretty Pink Posh. The release includes stencils for the first time and they are fabulous!
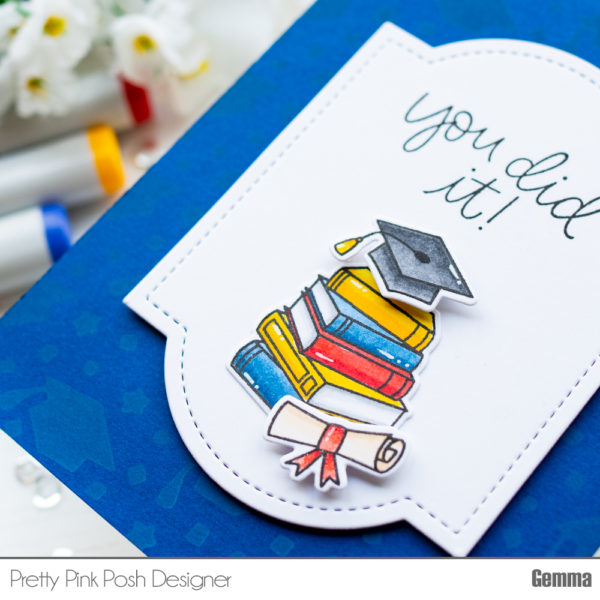
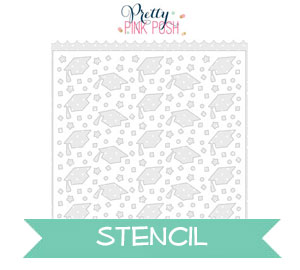
I love stencils for several reasons – how easy they are to use, the possibility to get many different looks, the price point is low, and they are easy to store if you have limited craft space like me. I’ve used the Graduation Stencil for my card today. I inked onto dark blue cardstock with Faded Jeans distress oxide ink. I love the luminous quality of distress oxides on dark cardstock.
After coloring and die cutting, I added more shades with my colored pencils.
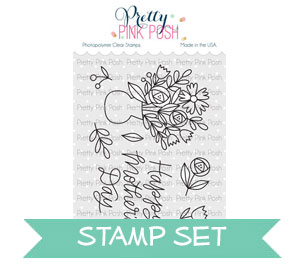
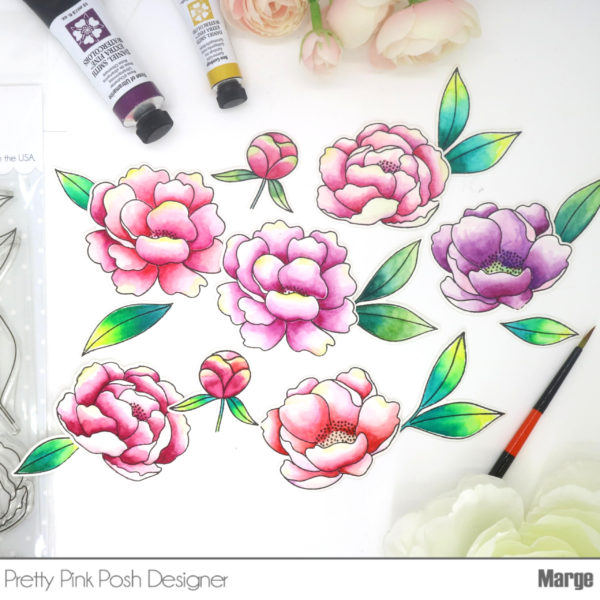
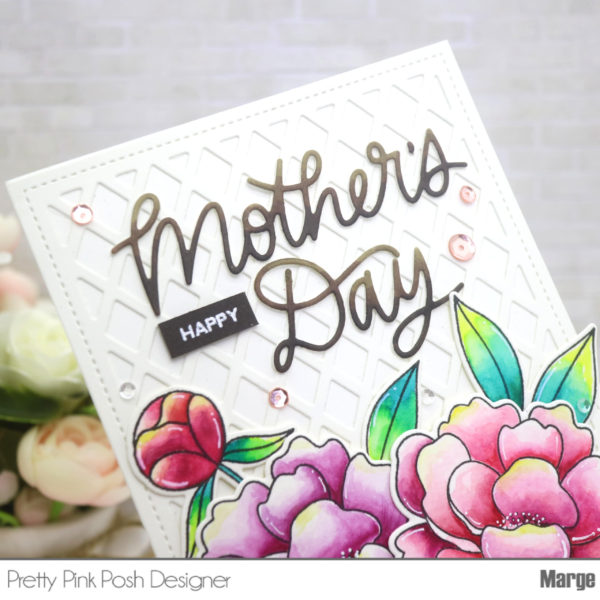
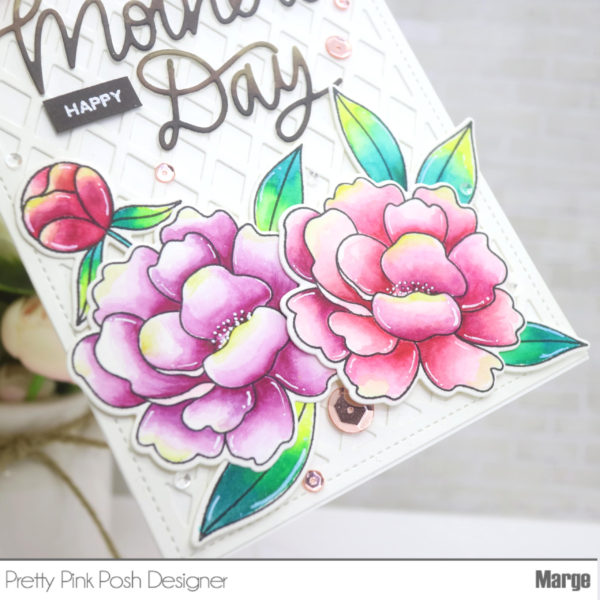
Next, I die cut the Mother’s Day Script Die out of white card stock, then I colored the die-cuts with Copic Markers: E49-E47-E44. I diecut the same letters again and glued them together using Multi Medium Matte. The small ‘Happy’ was from Fox Friends stamp set and was heat embossed in white on brown card stock.
In order to make a background for my flowers and scripts, I diecut the same watercolor paper using Lattice Background Die and adhered it on a white card base using with the use of Multi Medium Matte. Now it’s time for adding all the colored pieces and create a scene on our A2 panel.
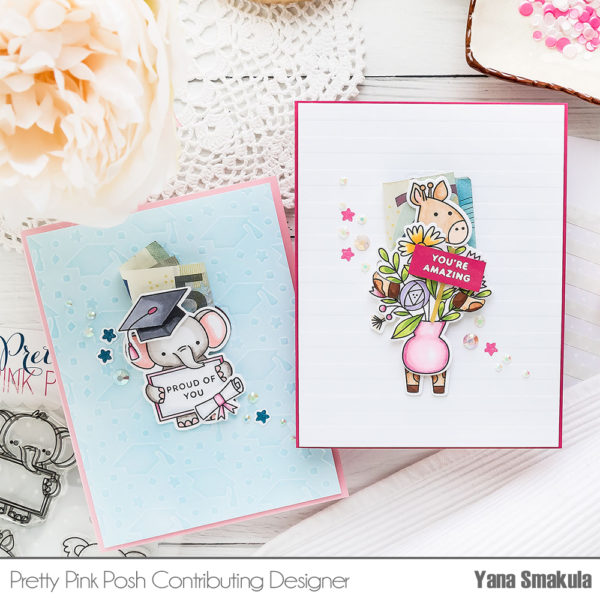
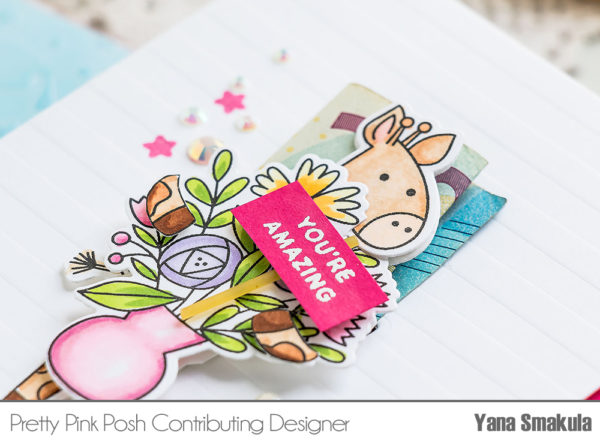
Hello, Pretty Pink Posh’ fans! This is Yana Smakula. In this video, I’m sharing a very easy method to create money holder greeting cards. You won’t need any specialty dies or supplies for this type of card and you should be able to create a card design like this using most of your Pretty Pink posh stamps and coordinating dies.
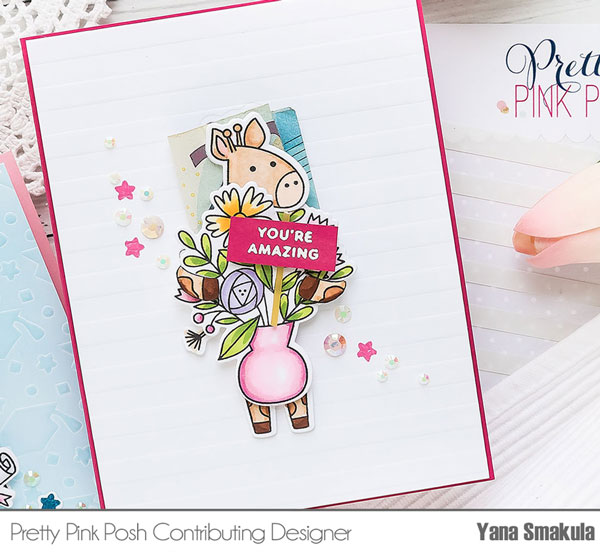
I started by stamping some images in black Copic marker friendly ink onto white paper. The size of the images you pick is the only thing that matters as you’ll want to use something that’s big enough to hide a folded bill behind it. So a small critter stamp, for example, is not going to work. But a cute giraffe, like the one I’m using here and also a gorgeous floral arrangement will. Both of these images are from Pretty Pink Posh and come from the Animal Signs and Mother’s Day stamp sets respectively.
Watch my video tutorial below to learn how I made this card.
Next, I quickly colored these using Copic markers. Nothing fancy, just some quick strokes of color to bring these images to life. I used YG03, YG17, RV34, RV11, RV10, Y11, Y35, Y17, BV11, BV00, and BV000 markers. To color the giraffe I used E37, E33, E31, R0, and E51.
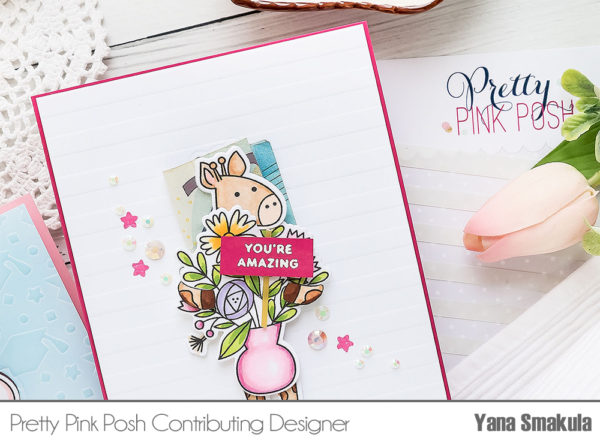
I wanted to combine these two images and have my critter holding a floral bouquet and not the frame. I did some fussy cutting to eliminate the image parts I didn’t need and using foam adhesive squares I foam mounted the flowers onto my critter, added front legs and the tail. Super cute! and it wasn’t hard to do at all.
Next, I’ve done some partial die cutting using a coordinating die. To make the partial cut I only covered the part of the die that I wanted to cut into the paper and left the other part of the die free. This allowed me to do partial die cutting and only die cut the top part of my giraffe.
I also wanted to add some dry embossing to the background. I used a new Wide Stripes stencil and dry embossed on the background. I love the result! It looks very clear and simple, yet there’s pretty linear texture in the background!
I trimmed this panel down to 4” x 5 1/4”, I also made an A2 card base using hot pink cardstock. I folded the money bill and inserted it into the partially die cut panel. Next, I added foam adhesive around it making sure not to touch it. I wanted to block the bottom part of the panel so that I didn’t have stuff falling down into the card and making it impossible to get it out.
I also used my anti-static powder tool to eliminate any of the residual stickiness on the foam tape so that nothing would stick to it. Once done, I adhered the panel onto a card base, foam mounted the critter, added the bill and dressed up this card using pink stamped stars and Pearlwhite jewels.
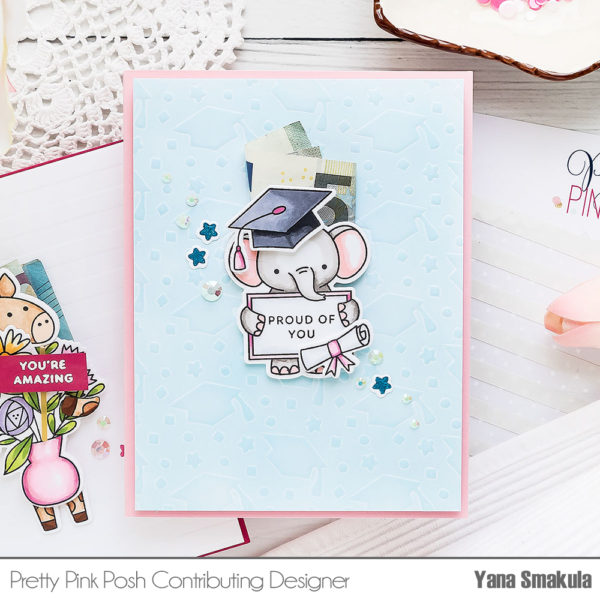
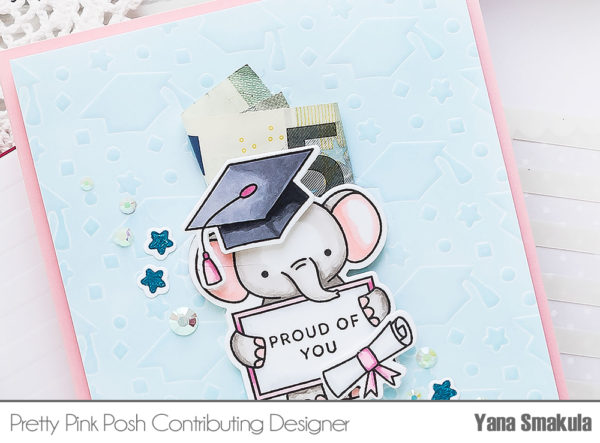
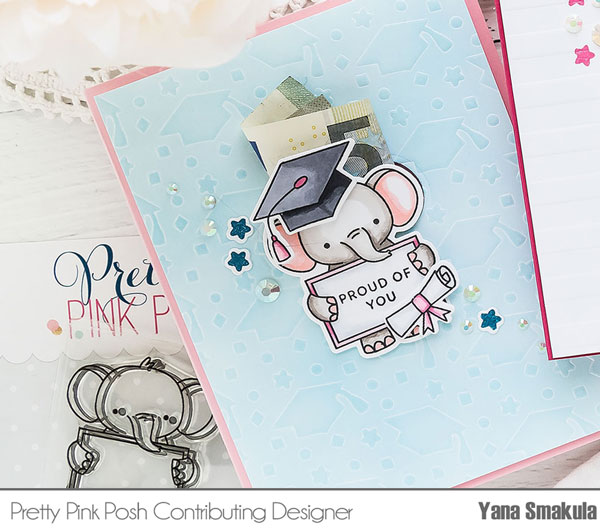
I also made one more card to share, this one is for Graduation and it uses the same concept and almost same supplies.
I used a different stencil for the background, Graduation, and blended some pastels over it to give it some color and help highlight the embossed areas.
Next, I stamped, colored and cut out an adorable elephant from the Animal Signs stamp set. I used W5, W3, W1 and R20 markers. I also stamped a graduation cap and a scroll from the Congrats Grad stamp set and colored those images using Copic markers as well. I used RV34, RV11 and RV10 colors along with C9, C7, and C5 markers.
I foam mounted this darling baby elephant onto the background matching him with the partial cut already made. Next, I added his graduation cap and a scroll using foam adhesive. I foam mounted the entire panel onto a light pink card base and also embellished it with a few stamped & die cut stars and pretty white jewels.
While the slits in these cards are relatively small you should be able to tuck any folded currency bill inside or tuck a little handwritten note if you like.
PRIZES: be sure to leave comments on each stop. I’m giving away 4 $25 gift certificates to four random comments (2 winners each day) left before May 8, 2019 at 11:59 PM PST. I’ll be announcing the winners next week, so be sure to return and see if you are one of the winners!