Christmas Card with Copics

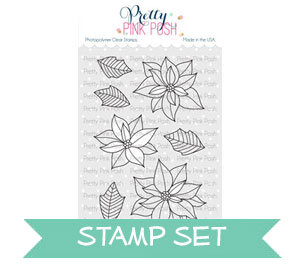
Hello friends, Eloise here and today I have a Christmas card to share with you all using the Poinsettias stamp set. I decided to also do a little dry embossing on the background for some added interest.
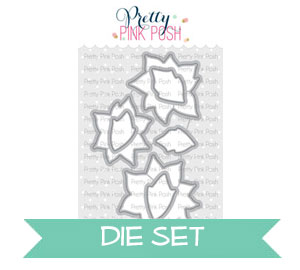
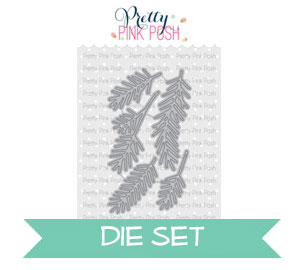
I started off with dry embossing my leaves. I took a piece of watercolour cardstock and ran through the coordinating leaves dies of the Poinsettias set. I used a thin tan embossing mat between two plates in my Big Shot Machine to get the effect. I then die cut the same leaves from some masking paper and adhered them over top. I then use Tumbled Glass and Salty Ocean Distress Inks for the background, I flicked on some water and dried it with a heat tool.

Next, I could colour my images in. I stamped out all the poinsettias and leaves and used Copic Markers to colour them in. I then cut them out using the coordinating dies and added foam tapes to the backs.
Copic Markers Used: R24, R29, R39, R89 / G03, G05, G16, G29 / Y35, YR12, YR24)

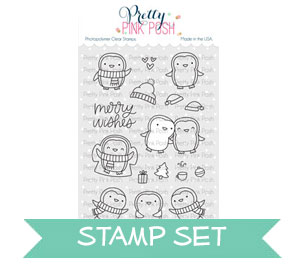
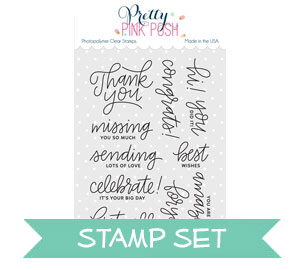
I then arranged all my images onto my background and adhered them down into place. I added Wink of Stella in clear for added interest as well. I also arranged the leaves around the dry embossed ones. I then stamped the ‘Merry Wishes’ sentiment from Penguin Pals onto the right-hand side of my panel as well as a piece of red and white striped patterned paper.

For a last finishing touch, I used some Holiday Jewel Mix and scattered them around my card and adhered them into place.


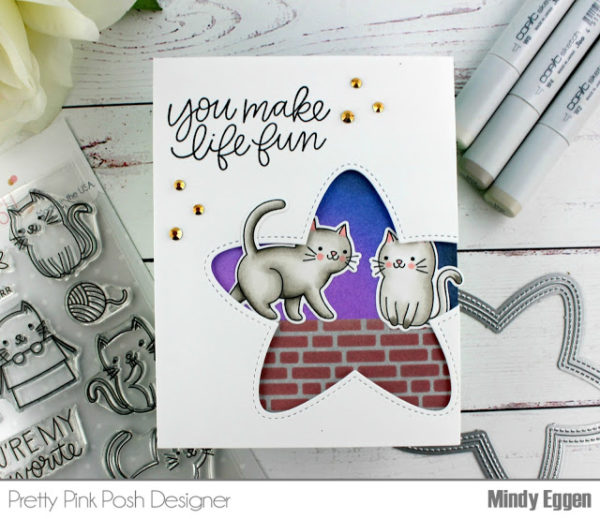
 I began by heat embossing the images from the
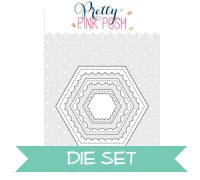
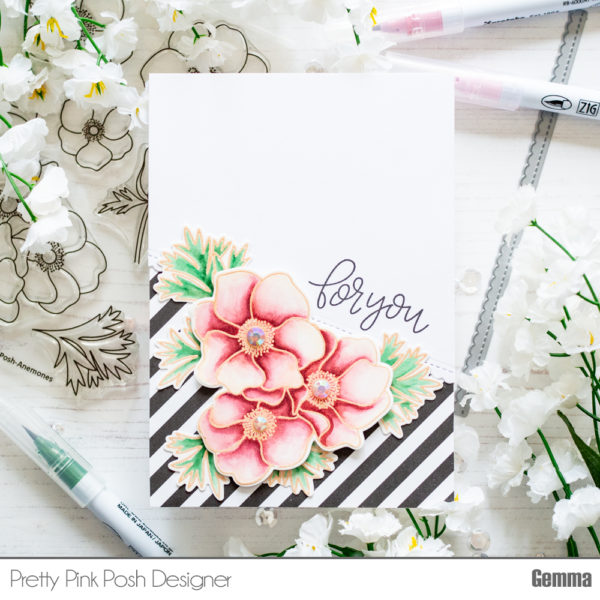
 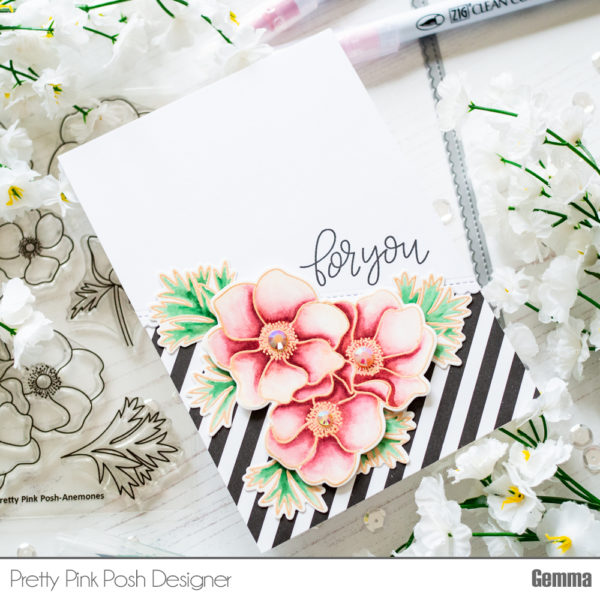 On a card base, I adhered a piece of black and white patterned paper. I took another piece of white card and used one of the dies from the
 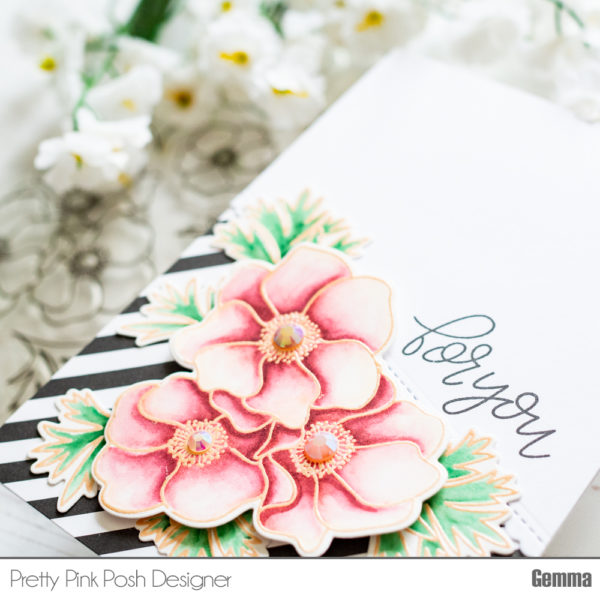 I adhered this panel to my card base with liquid glue, then placed the flowers and leaves onto the card, adhering with a mix of foam tape and liquid glue. As a pretty finishing touch, I added some
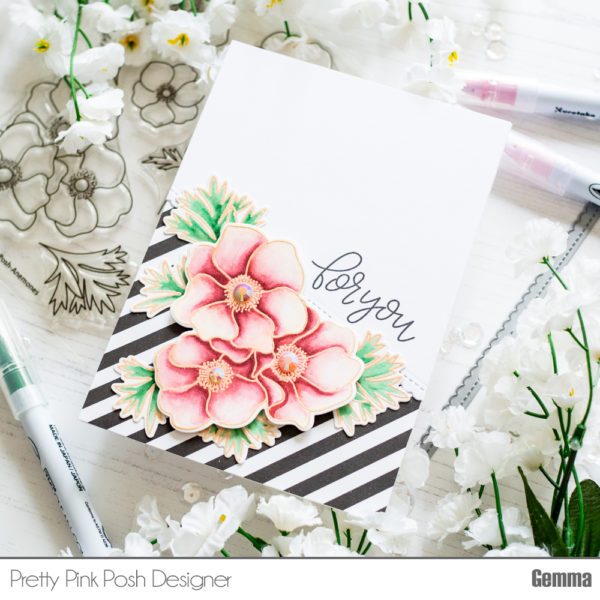

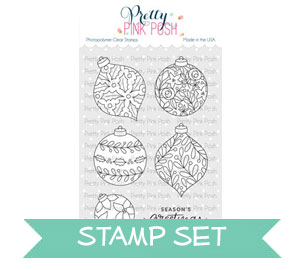
 I’ve had fun trying different techniques with this set, including watercolour with zig pens, and embossing on vellum. I love to copic colour images, though, so decided to stamp some images with copic friendly black ink and colour that way. I kept to one colour family on each bauble, to keep the tones similar and let the patterns shine out. Once they were coloured in, I die cut them with the
  For this card, I thought it would be fun to revisit a design I made (
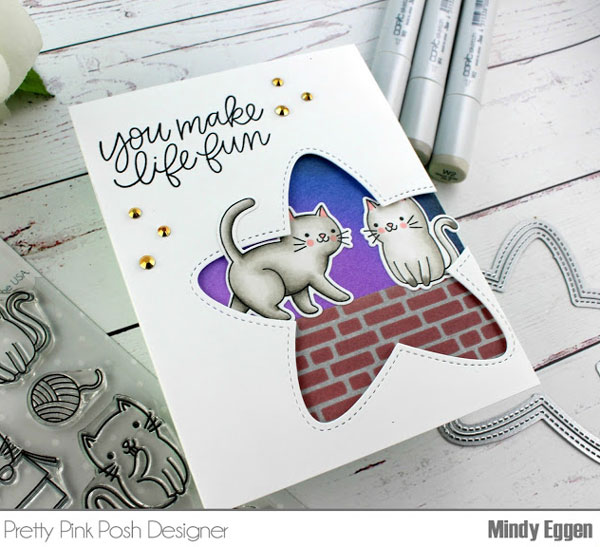
 I took another piece of card, not as wide as my card base, and blended on