Day 5: Valentine Theme Week + Daily Giveaways
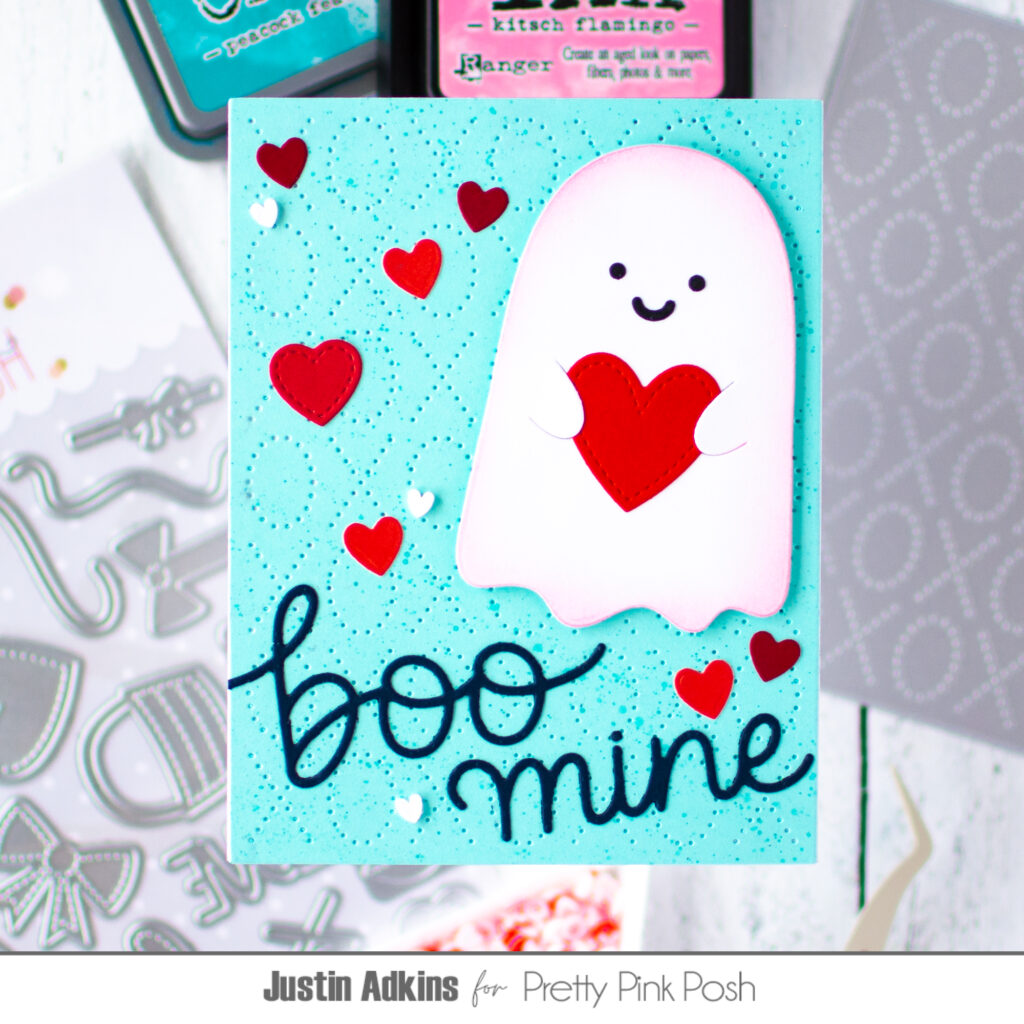
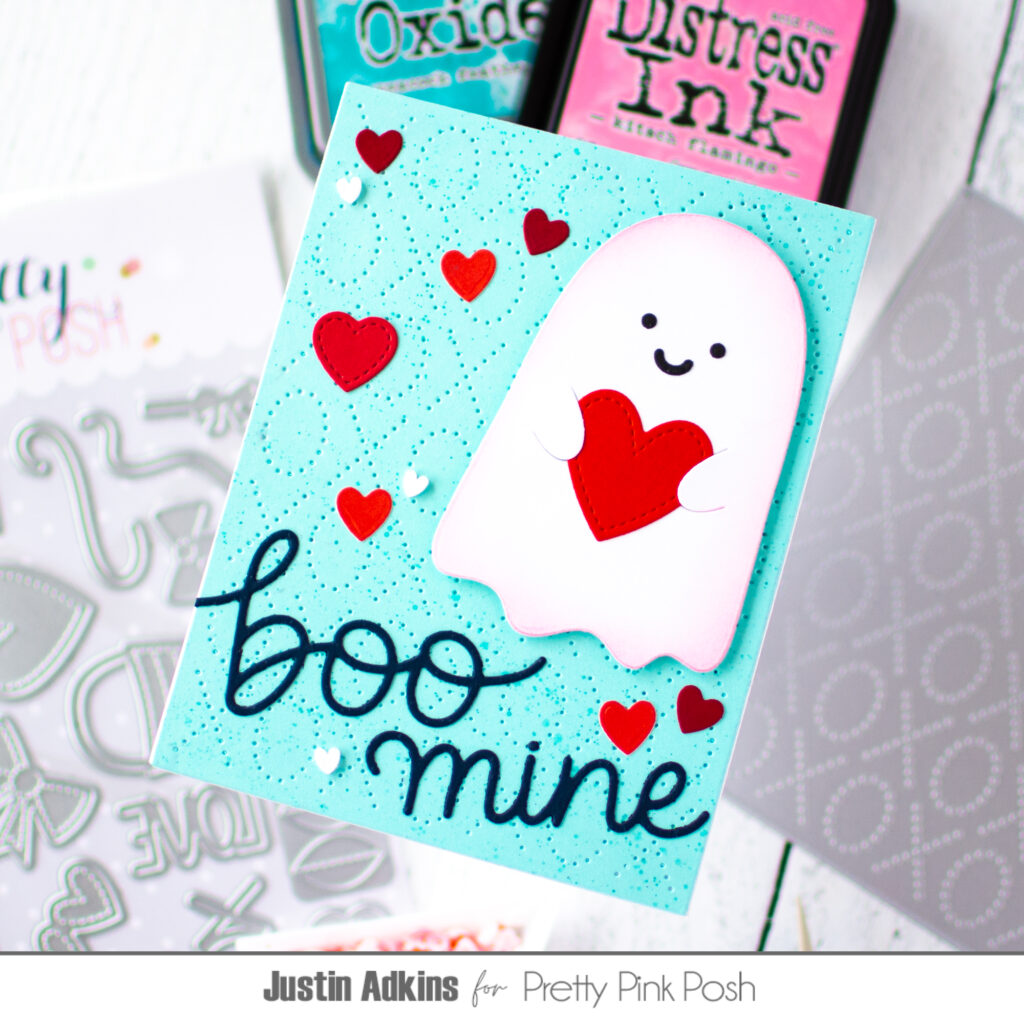
Hello my adorable spooks! Justin here, and I am so thrilled to be jumping in to share a boo-tiful card for our Valentine Theme Week! I love all things Halloween, which, most times, doesn’t overly translate well to Valentine’s Day. But, with a little bit of Pretty Pink Posh die set mash-up, I was able to create an adorable Valentine’s Day card featuring the Ghost Holder die set!
Below is a list of Pretty Pink Posh products that I used to create this card:
Ghost Holder Dies
Valentine Holder Additions Dies
XOXO Pierced Plate Die
Heart Card Base Dies
Be Mine Shadow Dies
Large Boo Shadow Dies
Sweet XOXO Clay Confetti
For this Valentine card, I initially struggled with my card layout because I was planning on a heavy ink-blending route for this card. When that wasn’t turning how I had envisioned, I took a step back and thought “what about an approach that incorporates minimal ink blending?”, which is the final direction I went in for this card!
This card ends up using only 2 different ink colors: For the first, I die cut the XOXO Pierced Plate Die from aqua cardstock, and splattered it with Peacock Feathers Distress Oxide Ink. For the second, I ink-blended the edges of my Ghost die cut, which was originally from Stark White cardstock, with Kitsch Flamingo Distress Ink to give my ghost a slight bit of color. Everything else that appears on this card was untouched by ink!

I had the idea to make a custom sentiment by combining the Large Boo Shadow Dies and the Be Mine Shadow Dies, so that my card read “boo mine”. Truthfully, the “boo” sentiment is slightly larger than the “mine” sentiment, but the way the letters appear on my card doesn’t make it too noticeable! I had decided to die cut the words from navy cardstock, and adhere them on a slight angle towards the bottom of my card panel.
Using the Valentine Holder Additions Die Set, I dressed up the rest of my card with hearts. I gave my Ghost Holder a big red stitched heart to hold, and then I used the smaller heart dies that were included in the set for some further embellishments. I also had a larger red stitched heart die cut left over from a card that I created using the Heart Card Base Dies that I pulled in for some added variety. I used a couple different colors of red cardstock to add extra detail, and then also pulled in some white clay hearts from the Sweet XOXO Clay Confetti!
Thank you so much for stopping by the Pretty Pink Posh blog for some Valentine Inspiration! I hope this card leaves you with some fun ideas on how you can pull in some non-traditional holiday products to create cards for any holiday!
GIVEAWAY
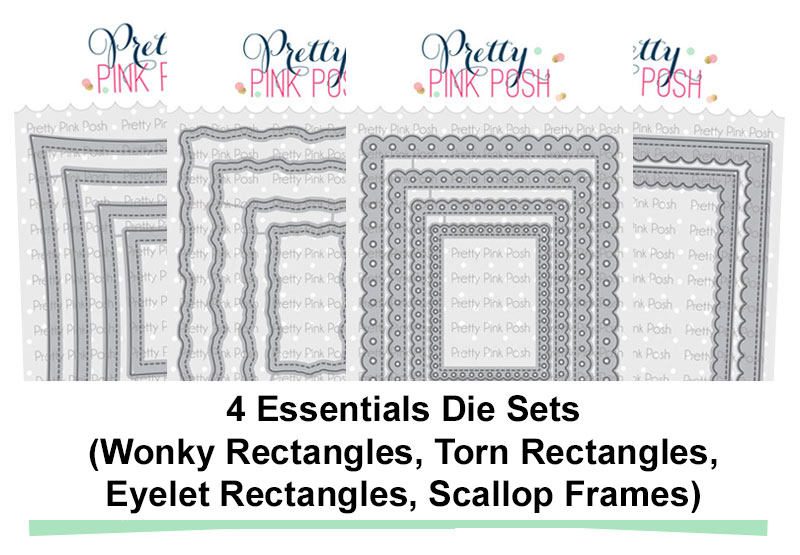
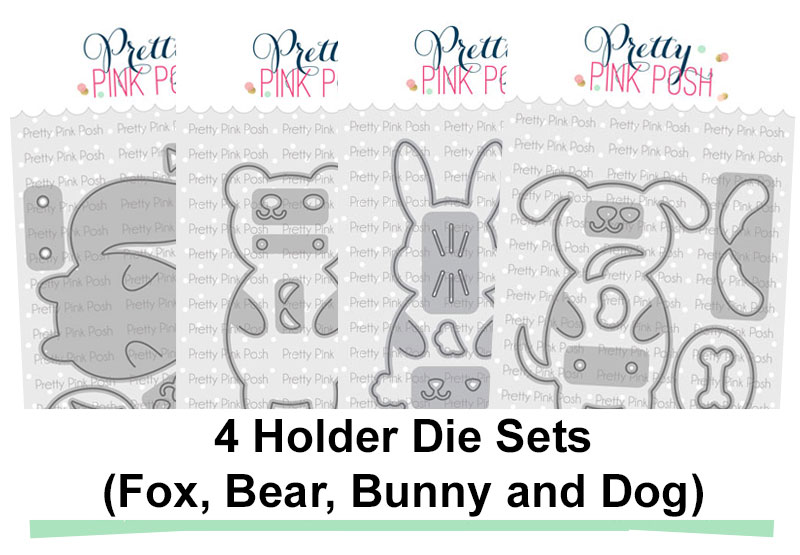
For today’s giveaway, we are giving away a prize pack featuring FOUR of our popular holder die sets. All you have to do is leave a comment on this post sharing how you got started in paper crafting.
All giveaways for Valentine Theme Week will end on February 3rd. We’ll share a post with all the winners on the PPP blog.
For more crafting inspiration, please be sure to follow me on Instagram and YouTube at @justanotebyjustin!
– Justin