Neon Happy Spring
Hi everyone, Sophie here and today I’m showcasing a card made using some of my favourite products from the new Spring release.
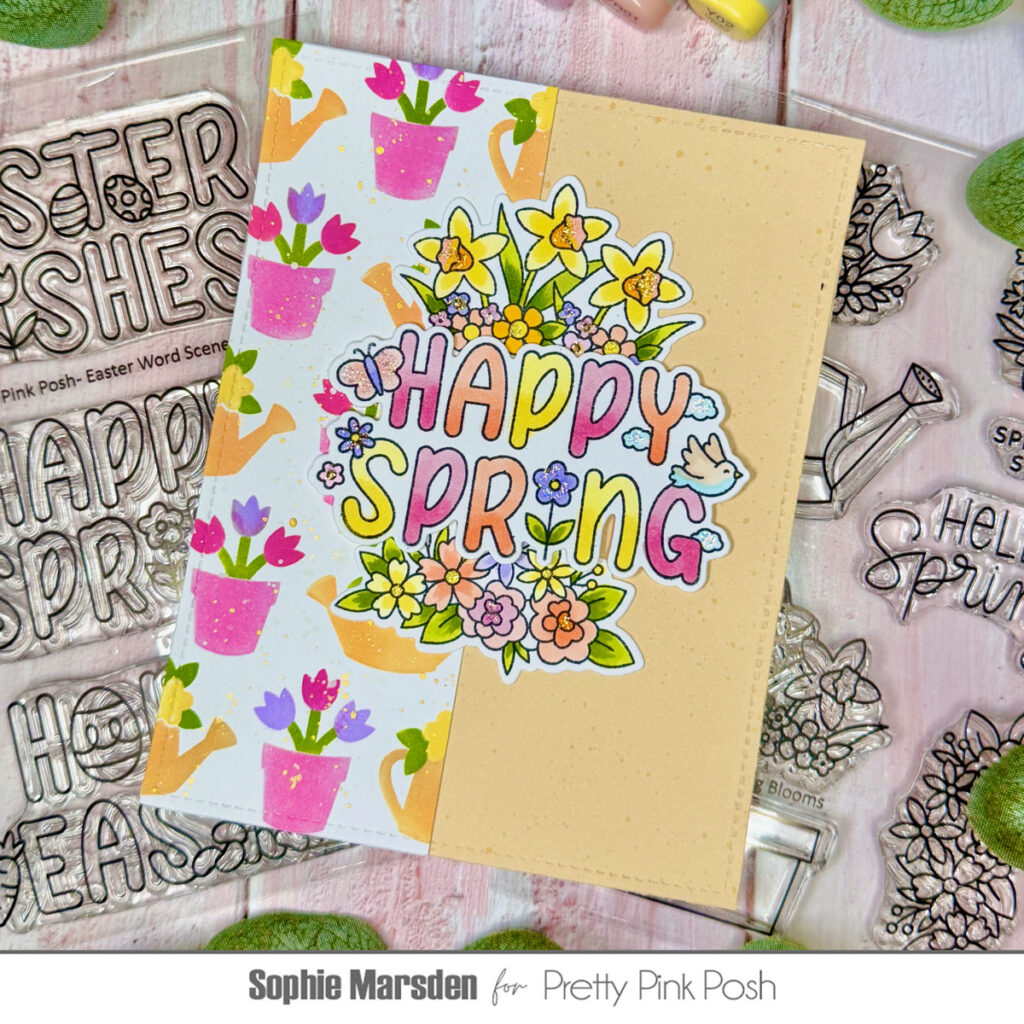
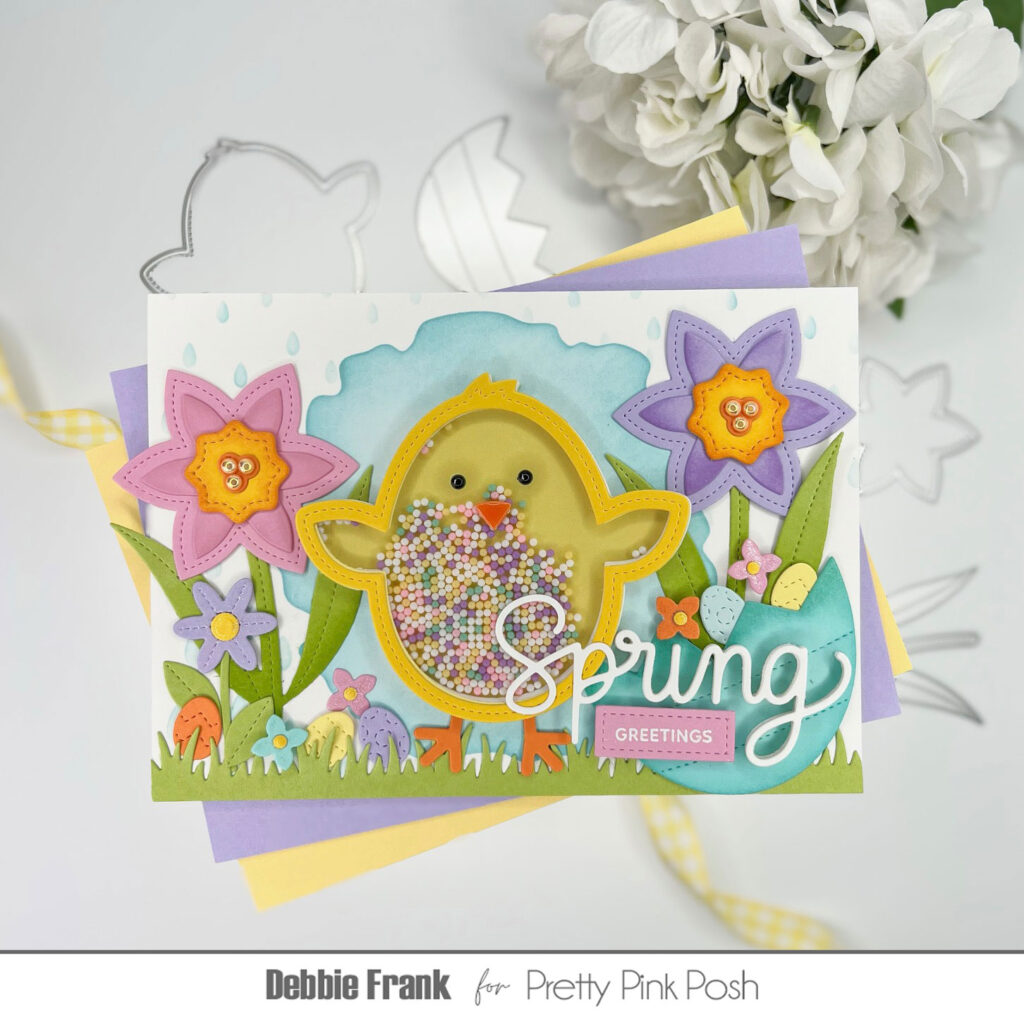
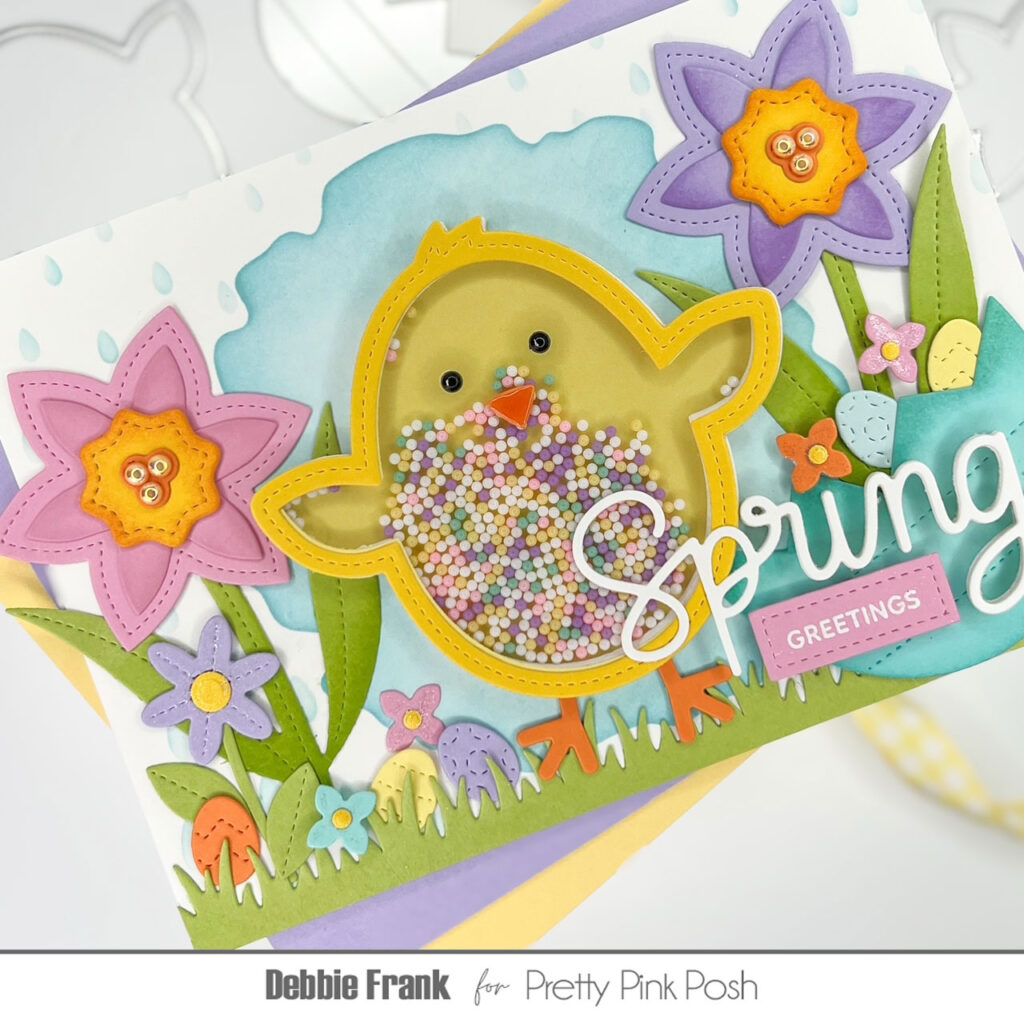
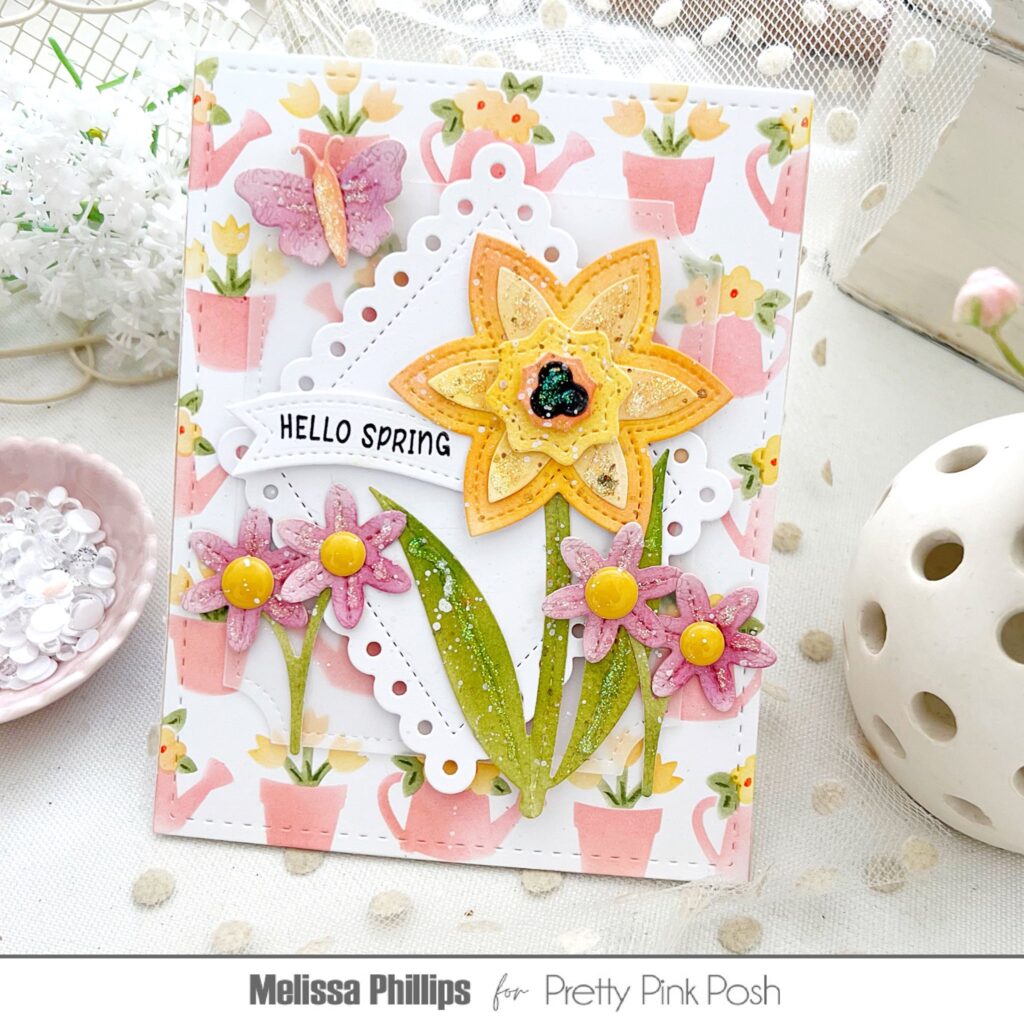
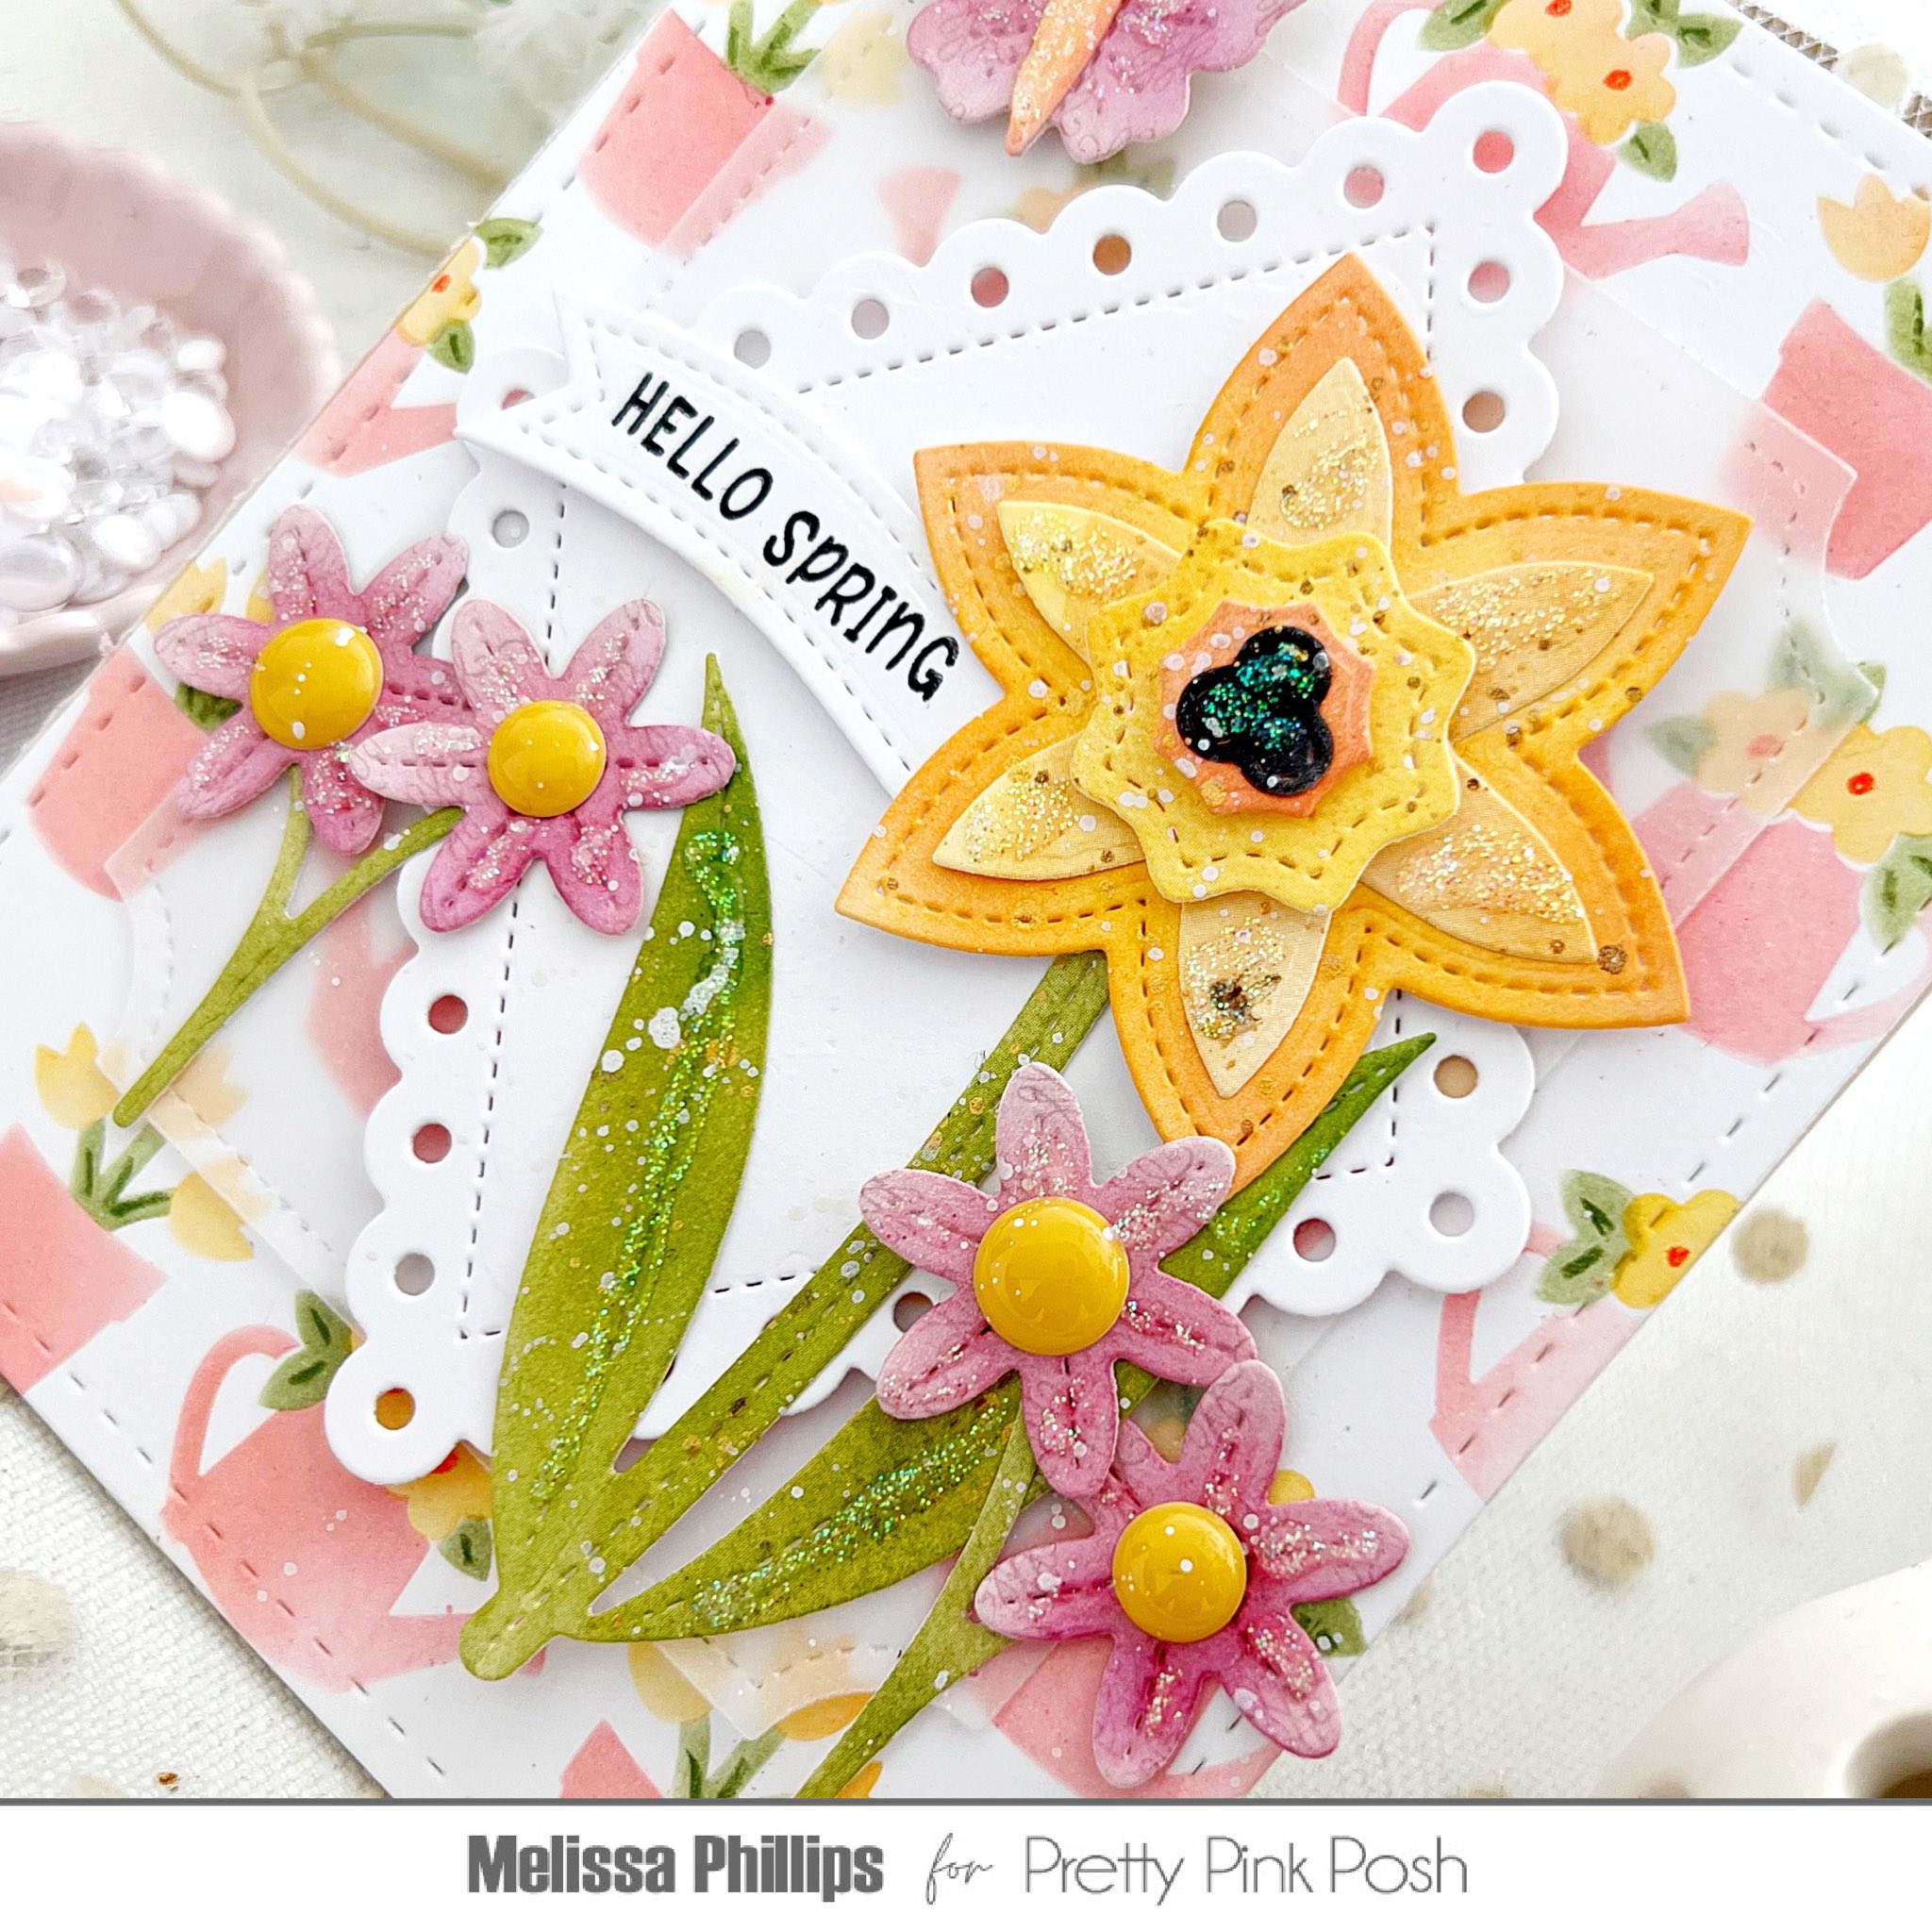
I started by ink blending a panel of card using the Layered Watering Can Floral Stencils. I think this might be one of my all time favourite stencils as it creates the most beautiful backgrounds and you can switch the colours up depending on what your card colour scheme is. I used a combination of colours that I particularly love for Spring cards – yellow & orange on the watering can and pink & lilac on the potted tulips. I then added splatters of gold ink for texture and sparkle.
From the large panel of stencilled card I cut a strip about 2 inches wide and adhered it to a panel of yellow paper. I saved the remaining stencilled card for a second project. I always love being able to make multiple cards from one stencilled panel, partially because it saves time!
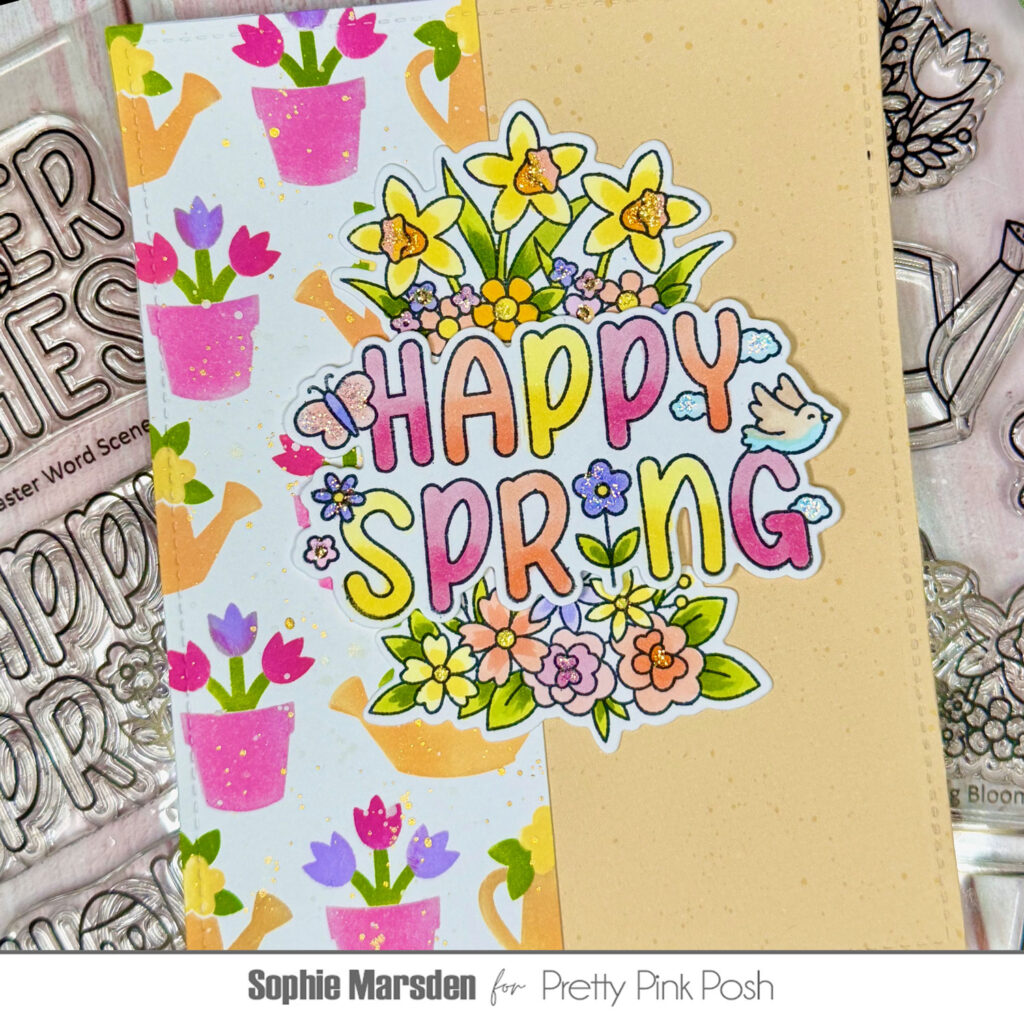
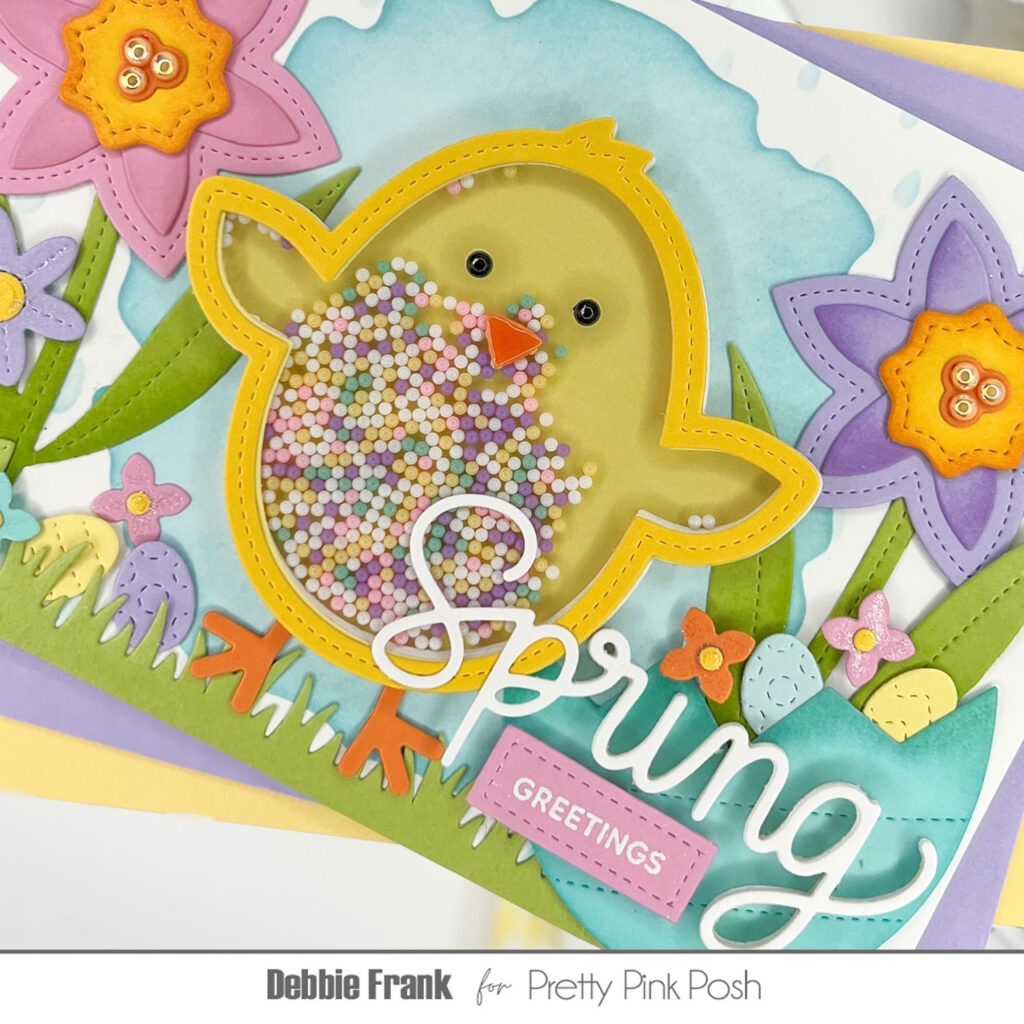
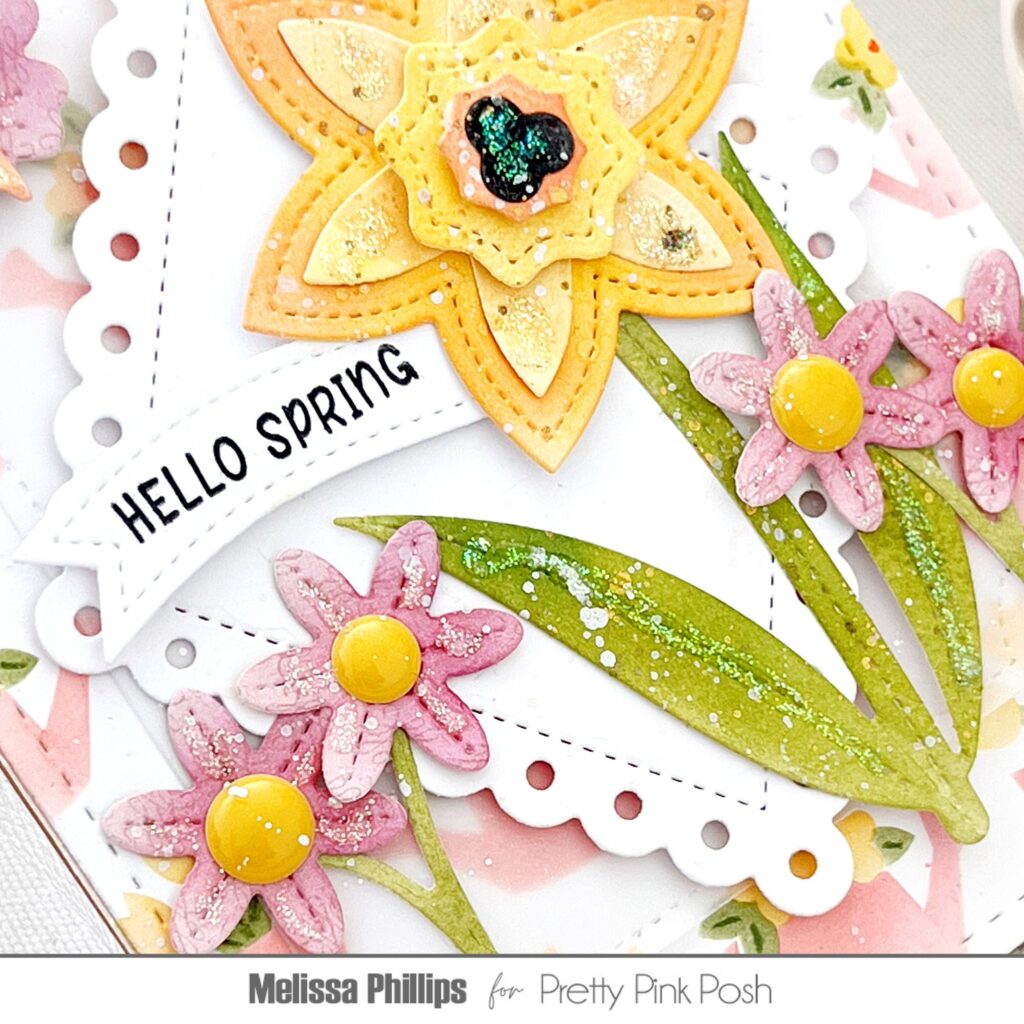
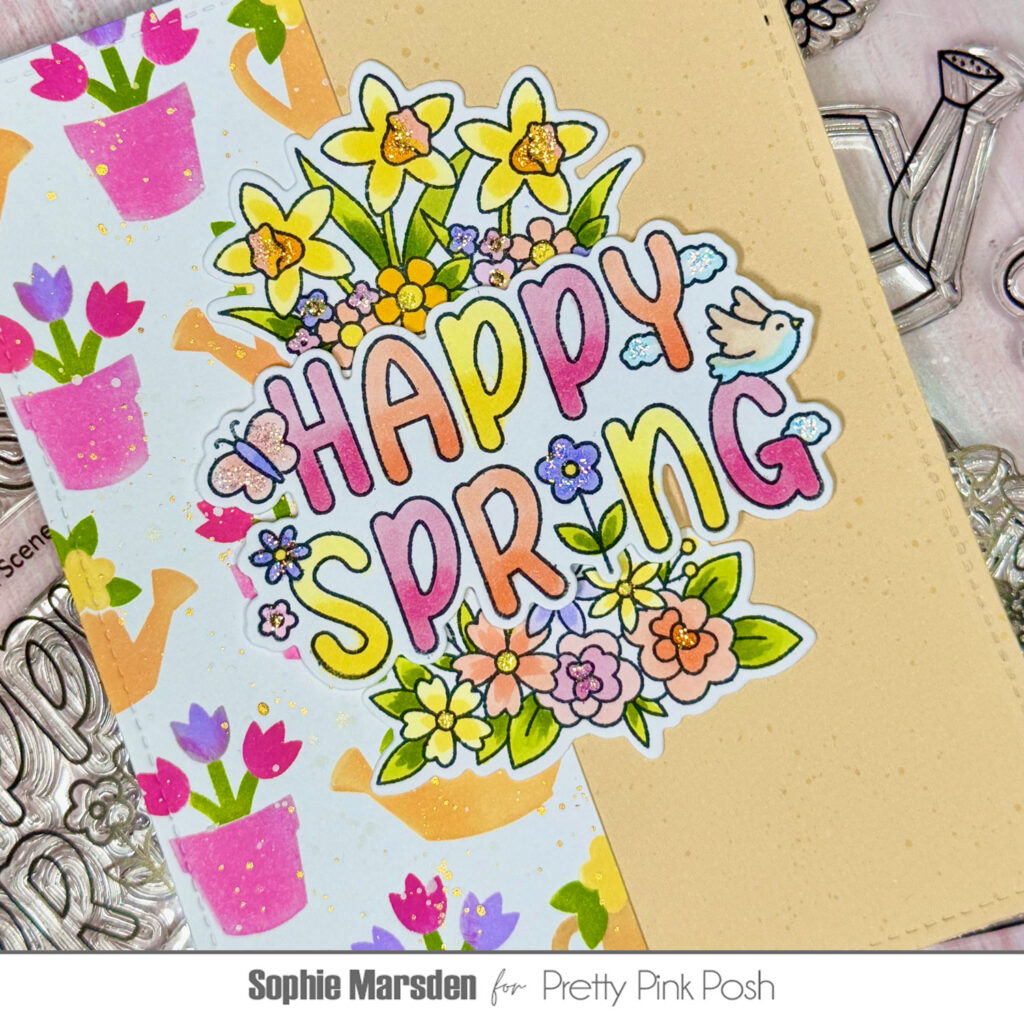
For the centre decorations I stamped out the ‘Happy Spring’ message from the Easter Word Scenes stamp set. To coordinate with the stencilled images, I coloured in the sentiment with pink, orange, yellow and lilac Copics.
To add even more Spring details I stamped out some flowers from the Spring Blooms stamp set which I coloured in with the same Copics to ensure cohesion across my images. I added glitter glue to some of the flowers, the butterfly and the clouds. You’ll always find glitter on my cards!
I adhered the flowers onto the card base using glue but popped the sentiment up with some foam strips for added dimension and so that the sentiment really stood out.
This card represents Spring and my personal crafting style perfectly and I had so much fun making it! The Layered Watering Can Floral Stencils are so easy to use and I know I’ll be making a lot of my Spring cards with it.
Happy crafting everyone!