
Day 2: Easter Theme Week
Save 15% on all products in the Easter section
Hello Crafty Friends! It is Hanh here with you today. Happy Easter Theme Week! There are oodles of super cute Easter theme products over at the Pretty Pink Posh Shop. Be sure to check them out and take advantage of the 15% discount on all items in our Easter category during this theme week!
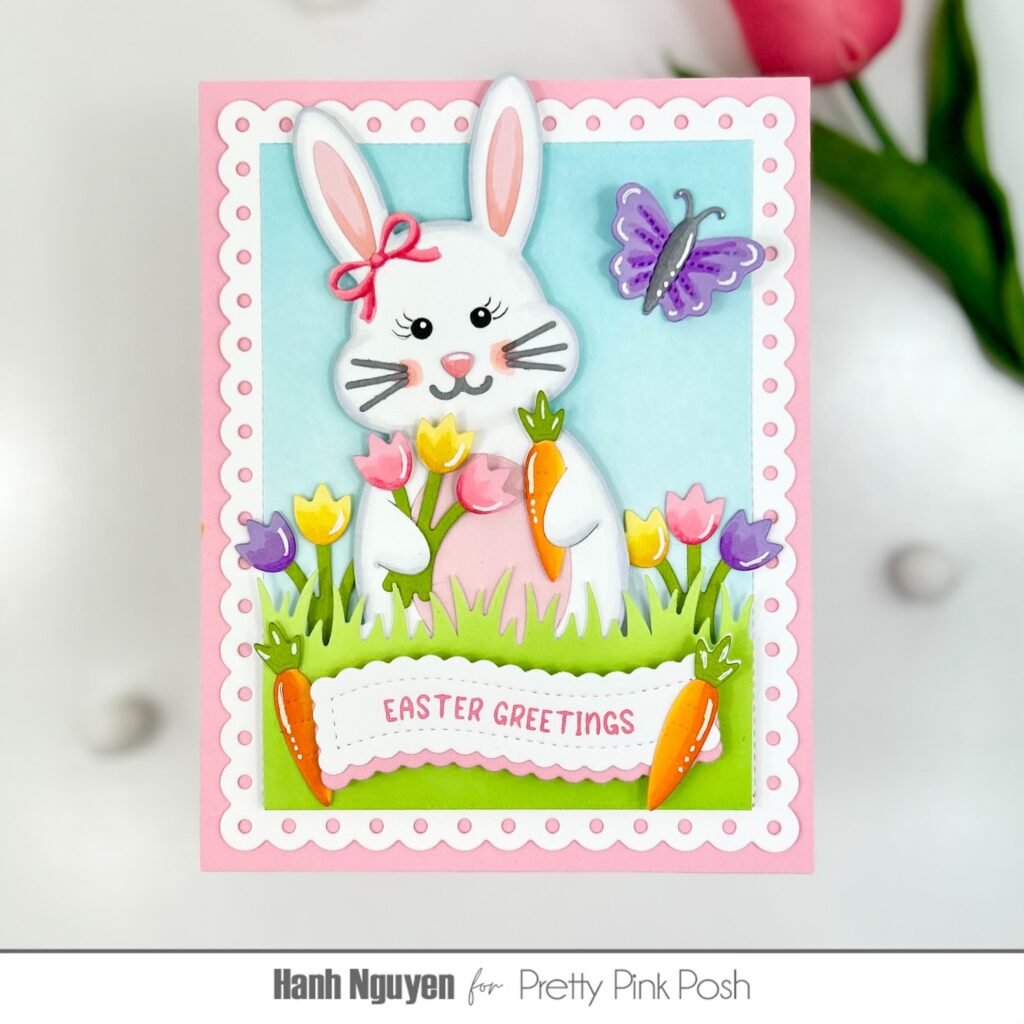
Today, I am so excited to share an Easter card with you featuring the absolutely adorable Bunny Holder Dies, Grass Border Die, Springtime Holder Additions Dies, Easter Banner Greetings and Banner Greetings 2 Dies. I just adore the sweet face on that Bunny Holder Die! So let’s get started.
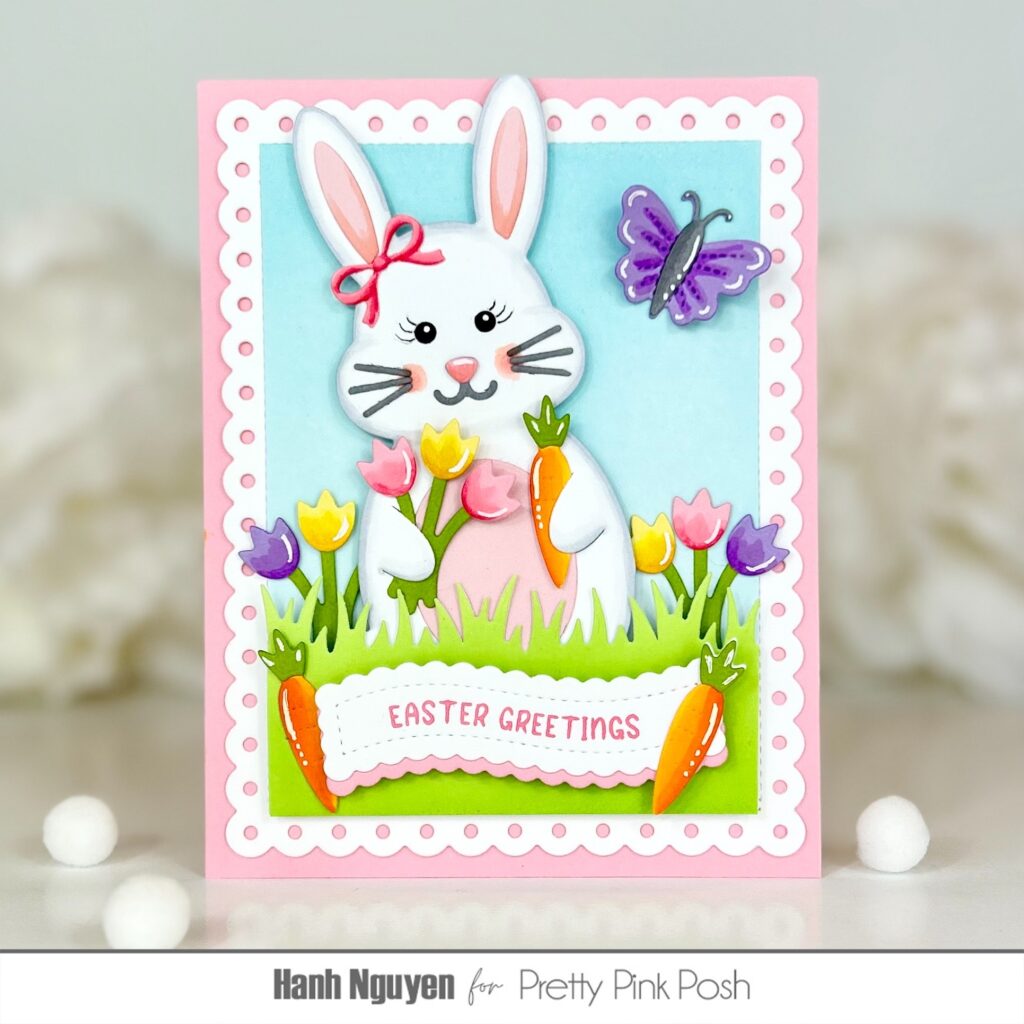
I used the Bunny Holder Dies, Springtime Holder Additions Dies and the Easter Bunny Mugs Dies to die cut the bunny, carrots, flowers, butterfly and bow out of Neenah Solar White, pink, yellow, purple, gray and black cardstock. I colored them with Copic markers and highlighted with a white gel pen. I assembled the bunny, butterfly, flowers and carrots with liquid glue. I used Copic markers and a thin black marker to add some blush and eyelashes to the bunny.
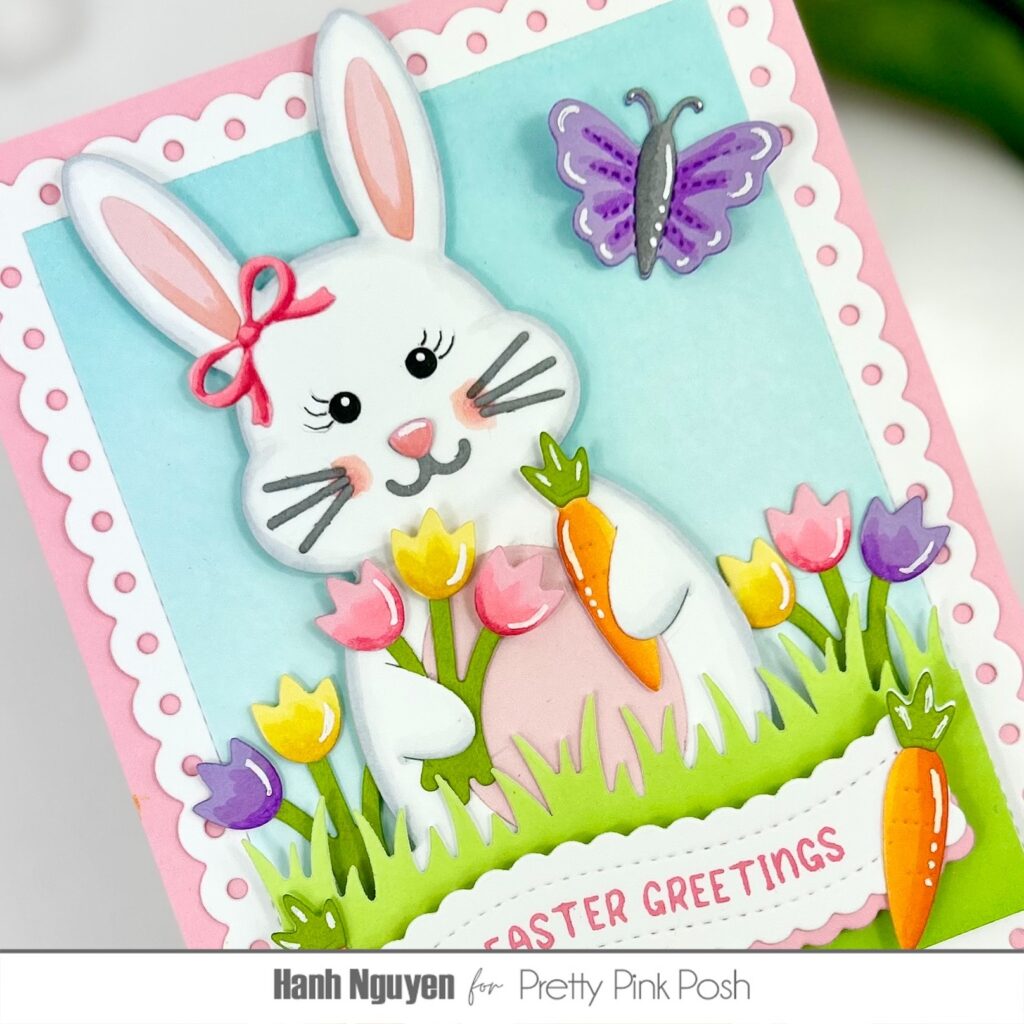
For the background, I used the largest die from the Eyelet Rectangles Dies to diecut a panel out of white cardstock. Next, I took two pieces of Bristol Smooth cardstock and lightly ink blended one with Tumbled Glass Distress oxide ink and the other with Mowed Lawn Distress Oxide ink. I trimmed the blue panel down to fit just inside the stitched details of the Eyelet Rectangles dies. I adhered the two panels. I used the Grass Border Die to trim a strip for the bottom of the panel.A combination of liquid glue and foam tape to adhere the bunny and flowers to the inked blue panel. The grass strip was adhered with foam tape for a bit of dimension and interest.
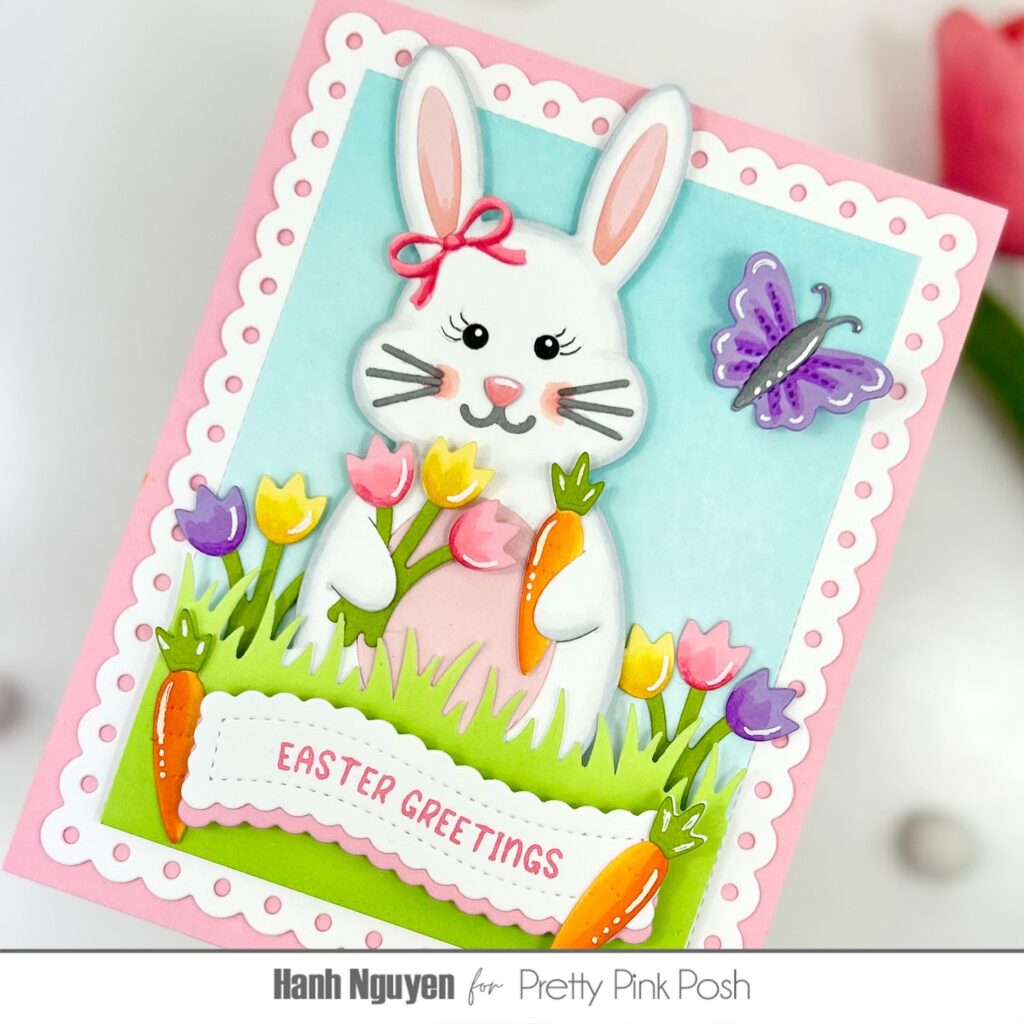
For the sentiment, I stamped the “Easter Greetings” sentiment from the Easter Banner Greetings Stamp with Worn Lipstick Distress Oxide onto a piece of white cardstock. I used the Banner Greetings 2 Dies to diecut the sentiment out. I used the same die to diecut a pink banner. I layered the two and adhered it to the front of the panel with foam tape, Finally, the eyelet panel was adhered to a piece of pink cardstock before it was adhered to a white A2 card base (4.25” x 5.5”).
I appreciate you taking the time to stop by and visit today. I hope you liked my card and are inspired to create and send out some Easter themed cards of your own. Be sure to head on over to the Pretty Pink Posh Shop to check out all of the fun Easter themed products.
Have a wonderful and crafty day!
Hi, Hahn –
This is SUPER cute!!!! Love the cheerful colors.
Lori S in PA
I love your cute bunny card and all the added coloring as well as die cut details!