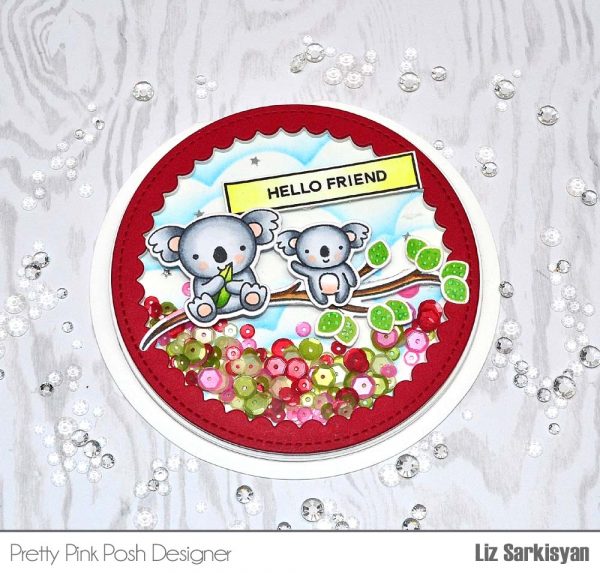
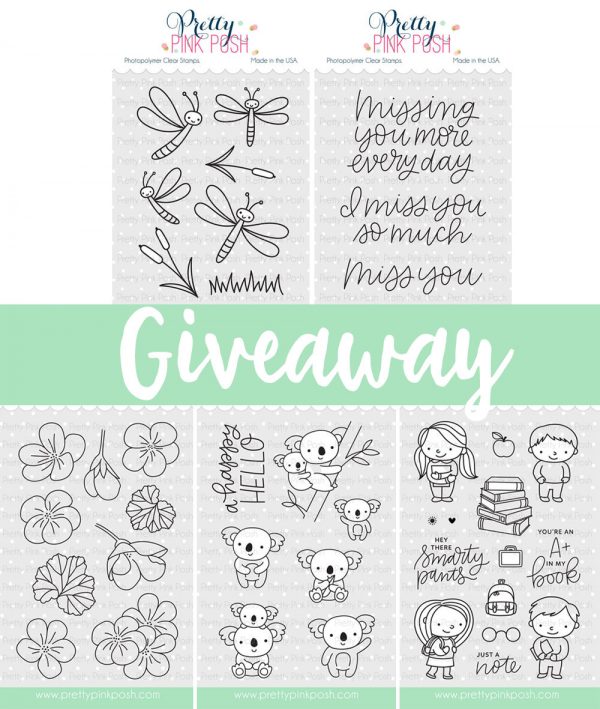
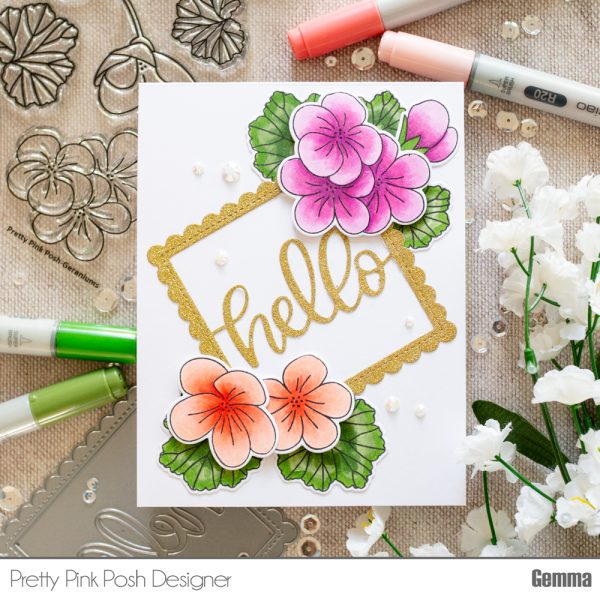
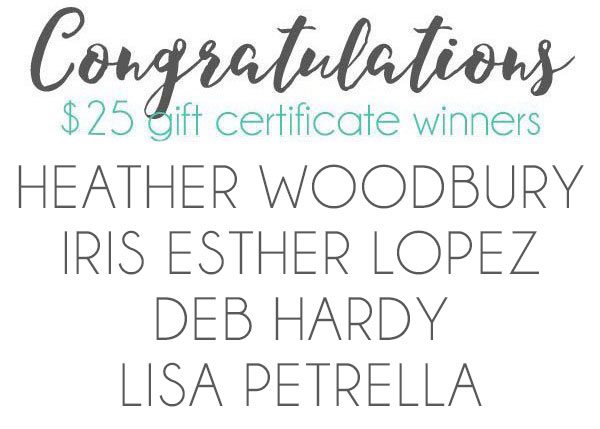
We are excited to announce the winners of the 2018 Mega Sponsor Spring Blog Hop. Thank you to all who participated! We are so happy that you joined in on the fun.
The lucky winner of the $30 Pretty Pink Posh gift certificate is: Linda K Kahn
We had so much fun participating in this blog hop- thank you for all the lovely comments. Watch for future Mega Sponsor giveaways!
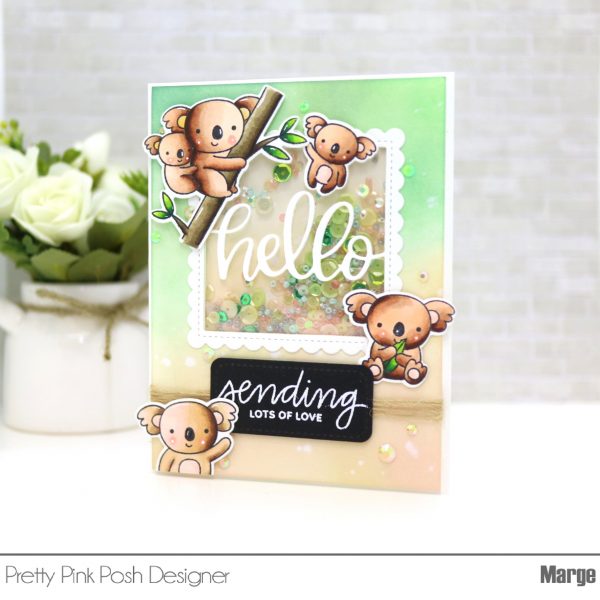
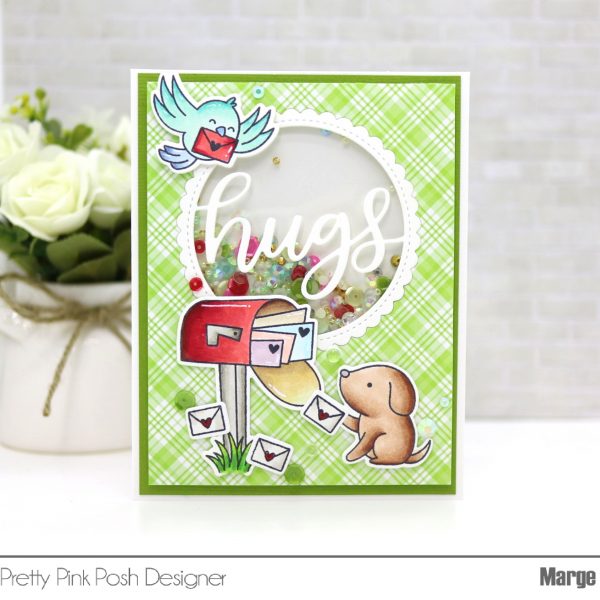
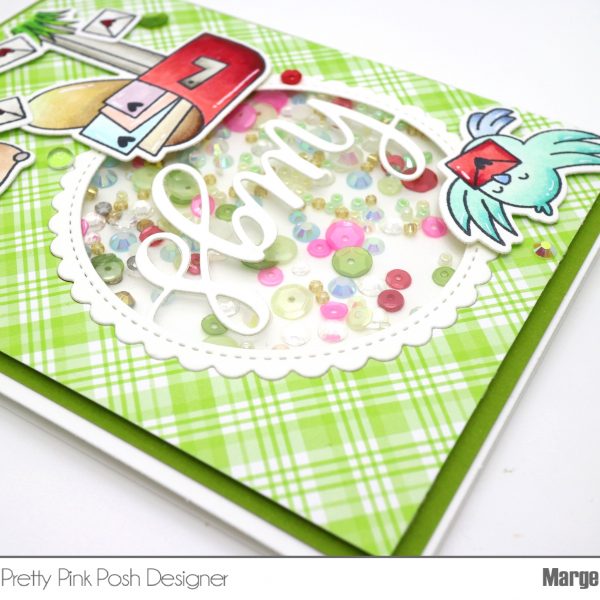
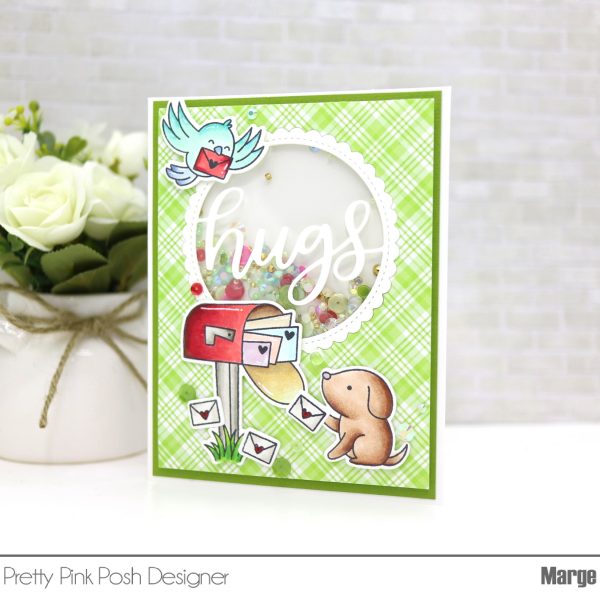
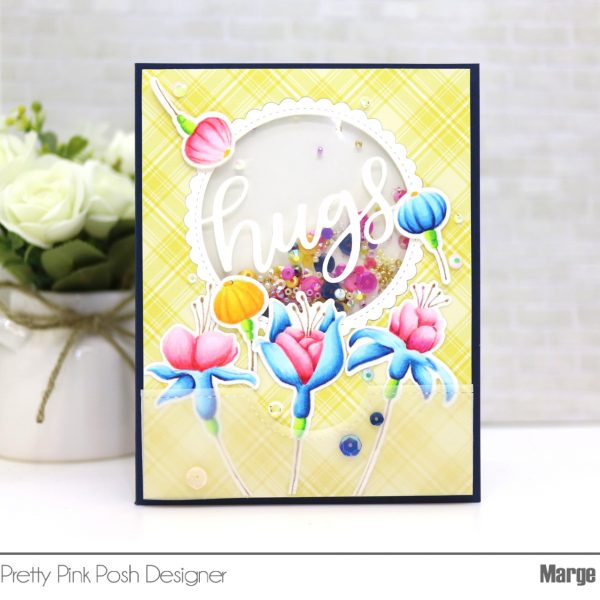
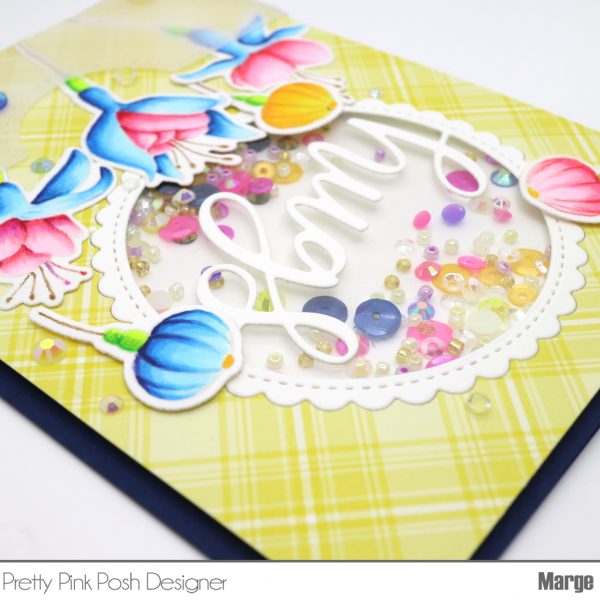
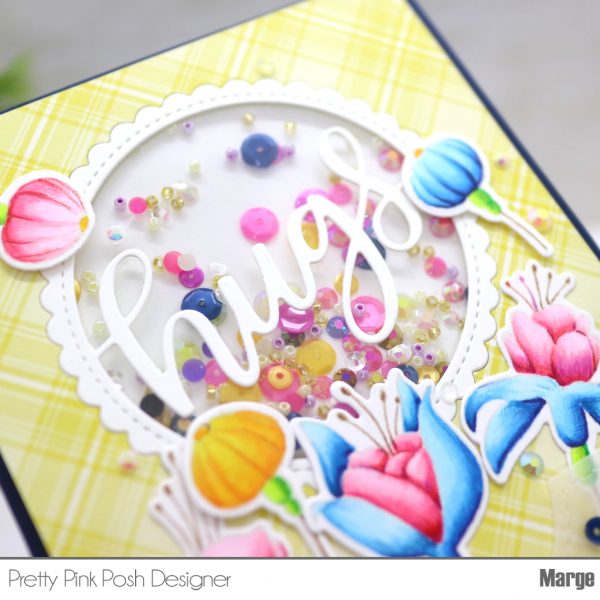
Hi, there! It’s Marge here with you and I’m sharing two shaker cards featuring the new Hugs Shaker Die from Pretty Pink Posh. I’m so glad to share these as I really had fun playing with the shaker die along with other new products from the May 2018 Release.
I started my cards by diecutting Hugs Shaker Die out of heavyweight white card stock . I also cut lovely pastel colored pattern papers to use as front panels of the cards. Then I adhered acetate film on the back of front panel, and then adhered Hugs Shaker Die cut onto the front surface of acetate film.
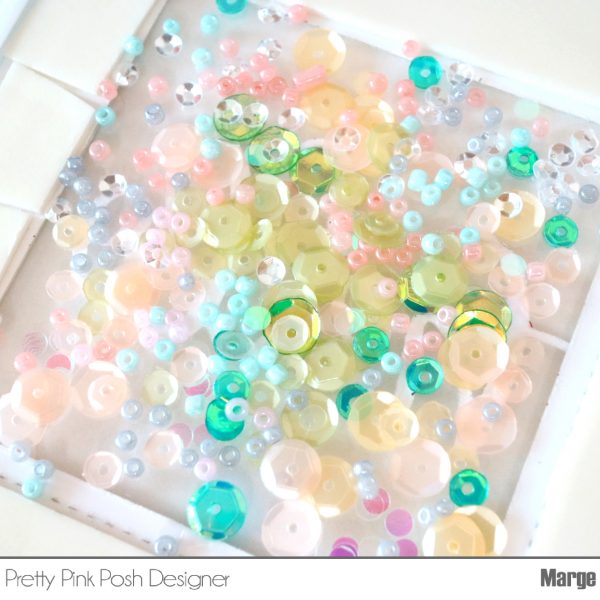
Now I finished my two cards. As Pretty Pink Posh provides us all colors of beautiful sequins, jewels, and seed beads, I always enjoy making my own assortment according to the color schemes of my cards.
PRIZES: be sure to leave comments on each stop. I’m giving away 4 $25 gift certificates to four random comments (2 winners each day) left before May 14, 2018 at 11:59 PM PDT. I’ll be announcing the winners next week, so be sure to return and see if you are one of the winners!
We hope that you enjoyed the blog hop these last two days. Be sure to leave comments on all the stops- we’ll be randomly picking comments to win gift certificates.
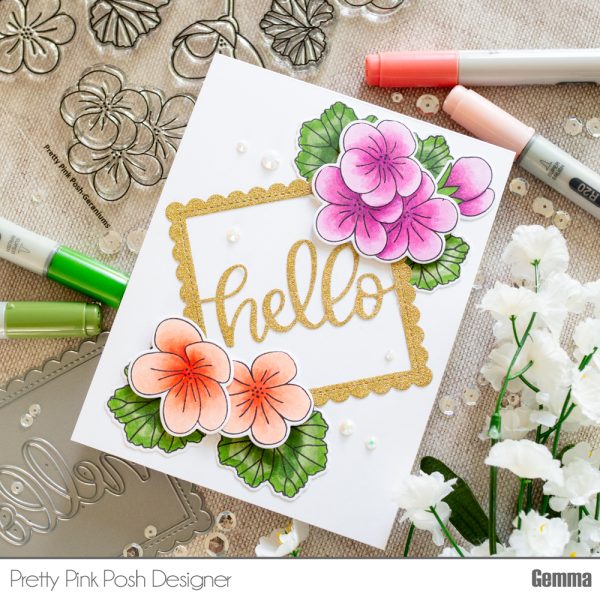
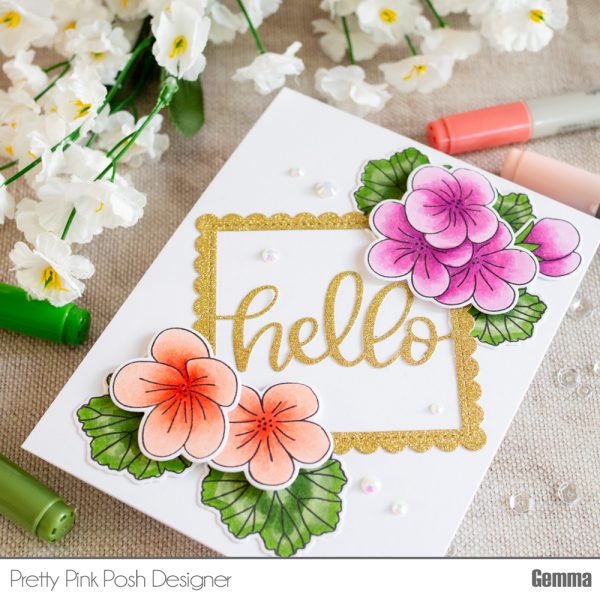
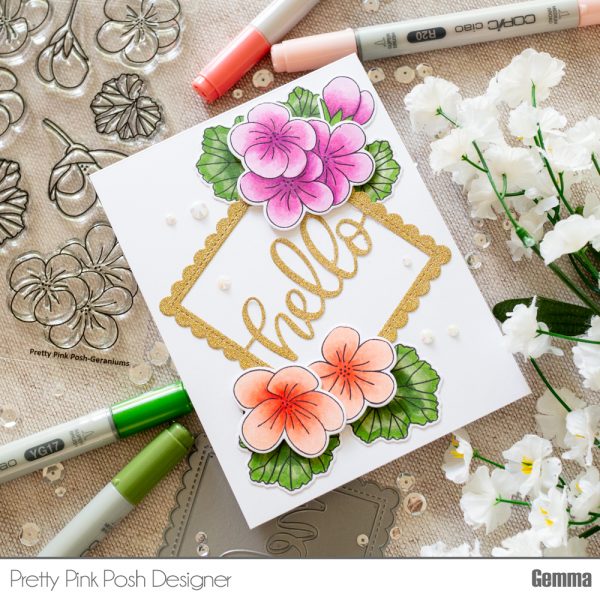
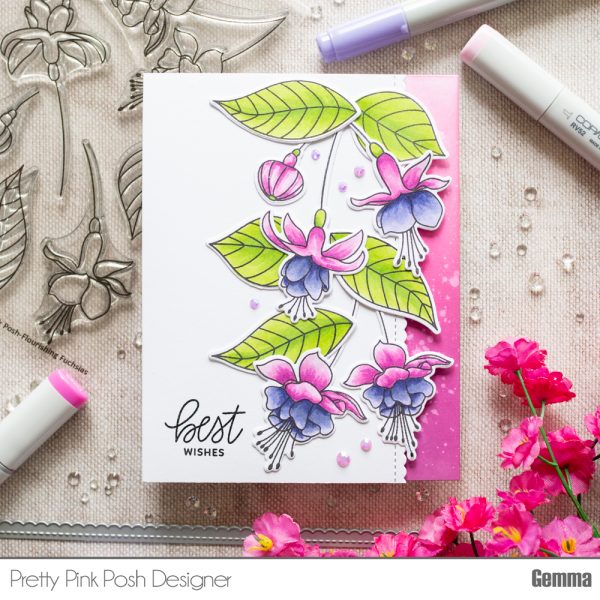
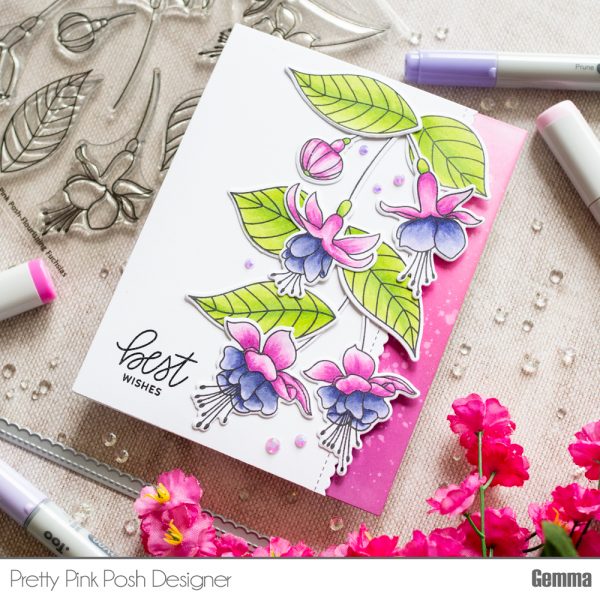
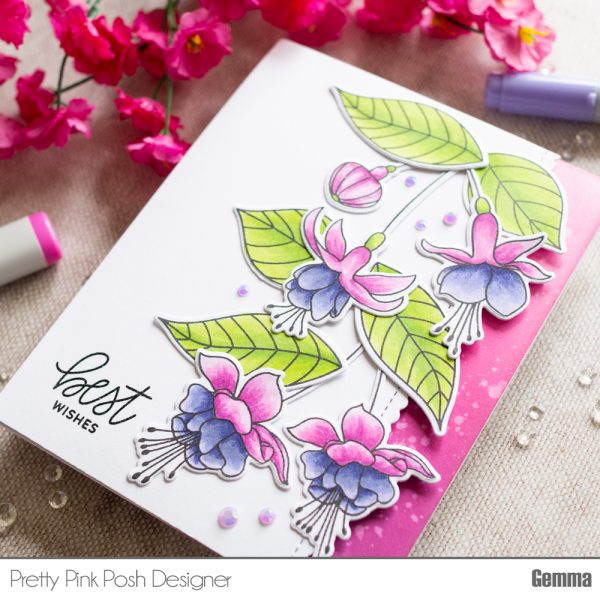
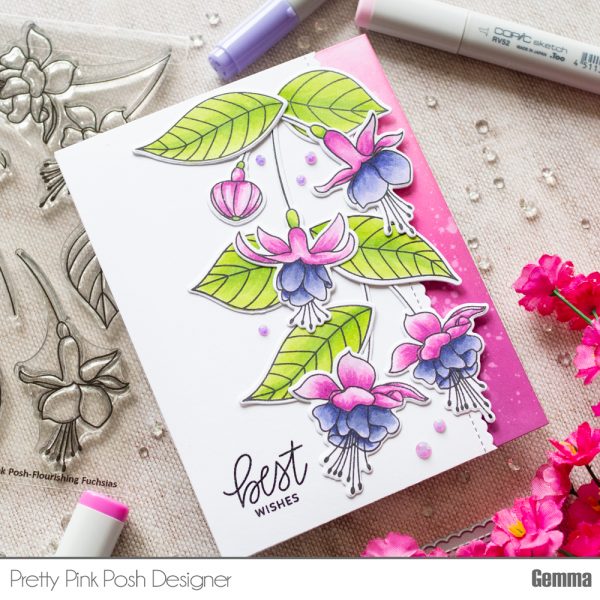
Hello, Gemma here today to share a card for the May blog hop. When I think of fuchsias, I think of the classic pink and purple flowers so I chose this colour scheme for my card today.
Next, I blended on some distress oxide inks in Picked Raspberry and Seedless Preserves on the right hand side of a white card base. I flicked it with water for distress details. I then used a Scallop Border die to trim down another panel of white card, which will sit on top of the card base and allow the pop of colour to show at the edge.
I planned out my layout of flowers and leaves to help me figure out the best placement for my sentiment. I then chose a sentiment from the Everyday Greetings stamp set, stamping it in black versafine ink and heat embossing with sparkle embossing powder.
I added the panel to the card base with some foam sheet behind, which adds some nice dimension. I then adhered the flowers and leaves on top, using a mix of liquid adhesive and foam squares.
I finished the card with a scattering of Pansy Purple jewels, which fit the colour scheme perfectly.
Ready to hop along and see LOTS more fabulous inspiration with this new release?
PRIZES: be sure to leave comments on each stop. I’m giving away 4 $25 gift certificates to four random comments (2 winners each day) left before May 14, 2018 at 11:59 PM PDT. I’ll be announcing the winners next week, so be sure to return and see if you are one of the winners!
There is so much amazing inspiration today, I hope you enjoy it all! Be sure to leave comments on all the stops- we’ll be randomly picking comments to win gift certificates. See you tomorrow!
We are excited to be part of this super fun blog hop event. We have partnered with 17 other stamp and papercraft companies to do a special blog hop and will be giving away 18 prizes to 18 lucky winners!
WHEN: Starts TODAY, April 23 and ends Friday, May 4th at midnight EST
HOW: Follow this blog and each participating sponsor in the hop. Comment at each blog stop
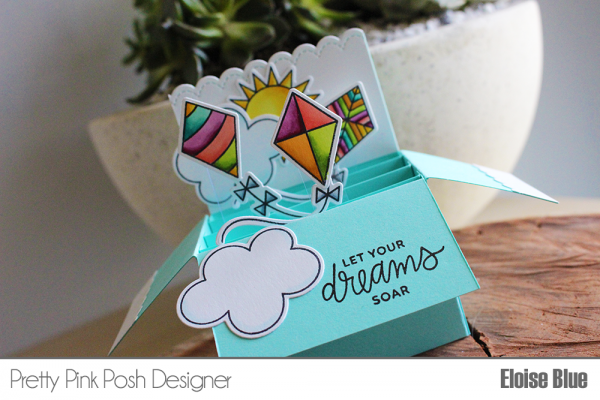
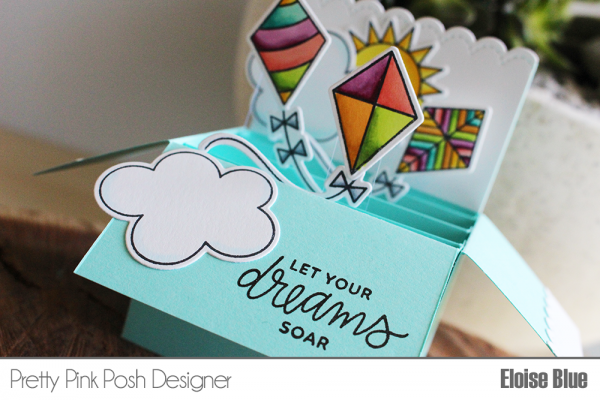
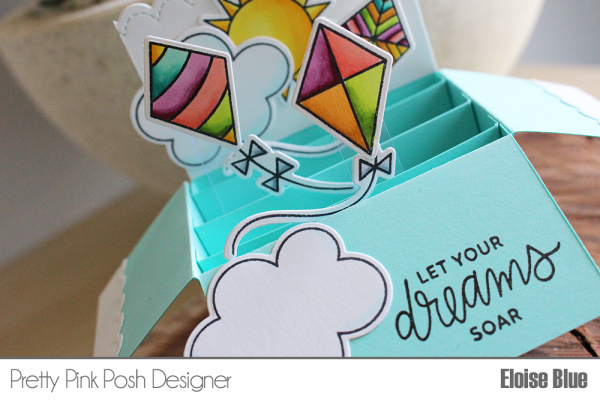
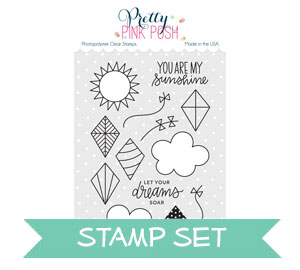
Hi everyone, Eloise here and today I have a card to share with you all using theFly A Kite Stamp Set along with showing you how to create your own pop-up box card.
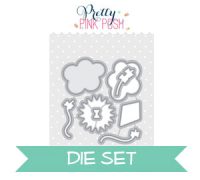
To begin my card I first started off with my images. I coloured these a while ago and just used them now for a card. I used Copic Markers to colour them in and then used the coordinating dies to cut them out. Once my images are ready I can begin to work on my box card.
Making these box cards are actually surprisingly easy. I first pulled a piece of blue cardstock and cut down two pieces to 5 ¼” wide and 4 ¼” tall. Out of the same blue cardstock I also cut three pieces down to 3 ½” wide and 1” tall. Once they were all cut down I could score them. For each 5 ¼” x 4 ¼” pieces I scored them at 2” and 5” on the long side, then I turned my piece 90 degrees in my scoring tool, to the short side and then scored at 2 ¼”. I repeated this step for both pieces. Then for each of the three pieces I cut, I scored each end at ¼”. So, score at ¼”, rotate 180 degrees, score at ¼” again. Once all my pieces were cut, I took them to my paper trimmer and cut down the 2” score line to the horizontal score line, and the same at the 5” score line. Then I rotated my piece 90 degrees again and cut up from the bottom to the 5” score line, cutting on the horizontal score line, just to remove the over hang. I did this to both pieces.
Now it was time to assemble the box card. I folded along all the score lines and then added a strip of adhesive on one of the flaps and adhered it to the other side of the box card. I then added strips of adhesive on each of the three long pieces and adhered one side into my card. I them removed the backers from the other side and closed the box card on top of them, this adhered both sides of the middle pieces to the inside of my box card. Then on the last flap, I added more tape and adhered that inside too. Now my box card was all ready to go.
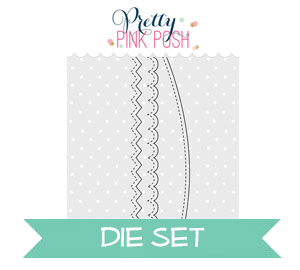
First up I die cut down a white cardstock piece using the Stitched Borders 1 Dies and I used the little scalloped edge as a border and adhered that to the background of my box card, to make it look like white clouds. I then added strips of acetate onto the back of three of my previously stamped, coloured and die cut kites and then adhered the strings on the bottom of each too and adhered them into the middle of my card. I also adhered some clouds and a sun to the background of my card flat.
Now my images were adhered, I laid my card down flat and adhered another cloud and also stamped the sentiment ‘Let Your Dreams Soar’ in black ink onto the front of my card. At this stage my card was missing a little something so I used the same Stitched Borders 1 Dies and cut down two more small strips of white cardstock with the scalloped border and adhered those onto both side flaps of my card to finish it up completely.
I loved making this card today and I hope you enjoyed the DIY tutorial on how to make a box card without a die. Thanks so much for stopping by and I’ll catch you next time!
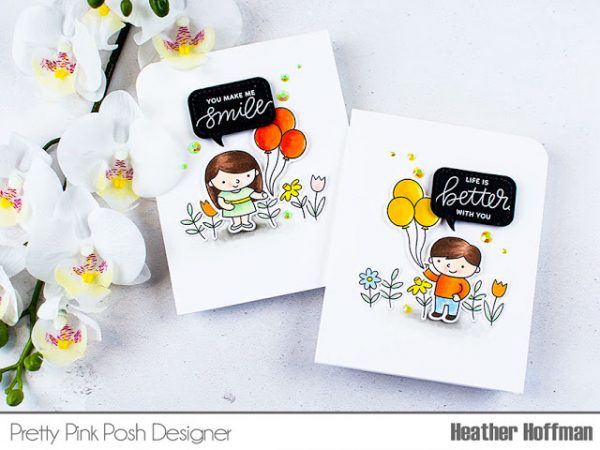
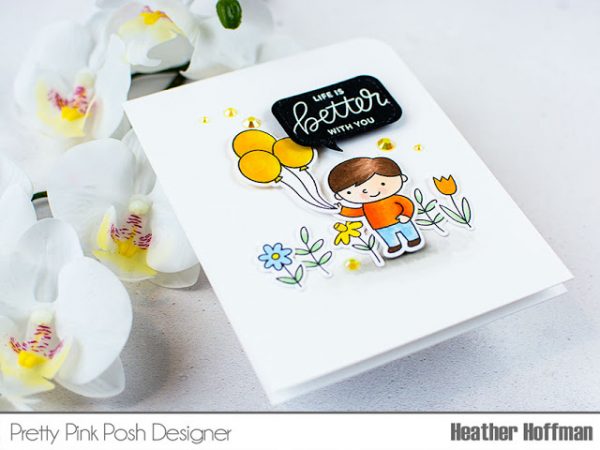
Good morning Pretty Pink Posh friends! Heather here this morning with a couple cards to share for a very special blog hop for Autism Awareness! You can find all the info on the hop HERE – what it’s all about, who’s participating, and all the sponsors of this great event!
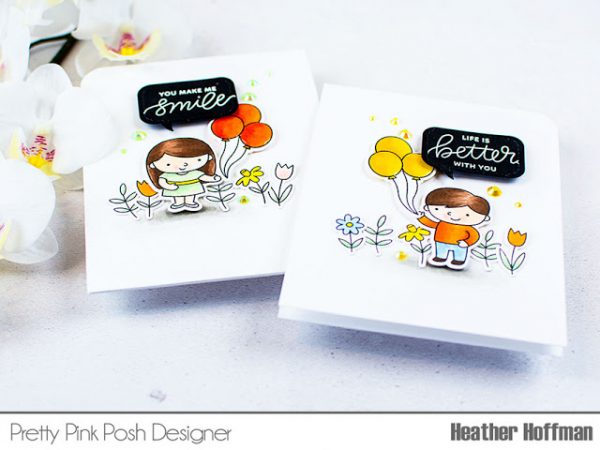
I made two cards today featuring a variety of new and old Pretty Pink Posh products!
I created some bright happy scenes with fun sentiments, happy balloons, and pretty flowers – not to mention a few of the popular new Pretty Pink Posh jewels!
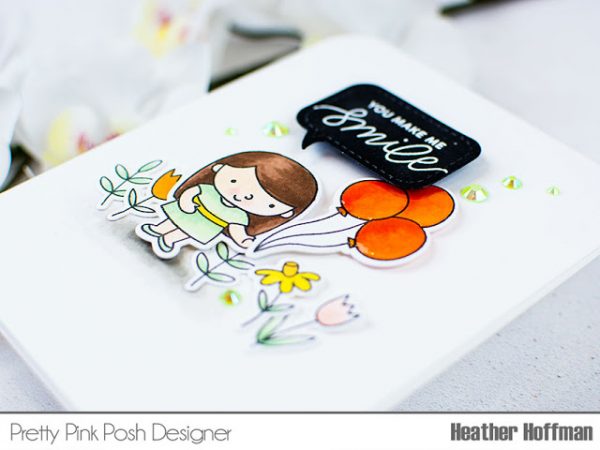
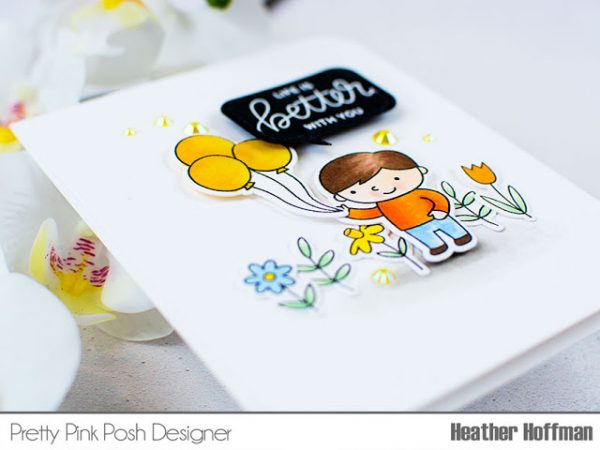
I started off with the cute little boy and girl from Birthday Friends, and stamped the bundle of balloons for them as well. I colored them up, then die cut with the coordinating Birthday Friends Dies. I die cut a couple of Stitched Speech Bubbles from black cardstock, and heat embossed sentiments on them from the new Encouraging Greetings Stamp Set(a must have!).
Next, I stamped several of the flowers and greenery from the new Bunny Friends Stamp set, and cut them out with the coordinating Bunny Friends Dies. I tried to keep the color combos well coordinated, using the same Copic colors between balloons, flowers, and clothes, then mixing them up between the cards to balance everything out.
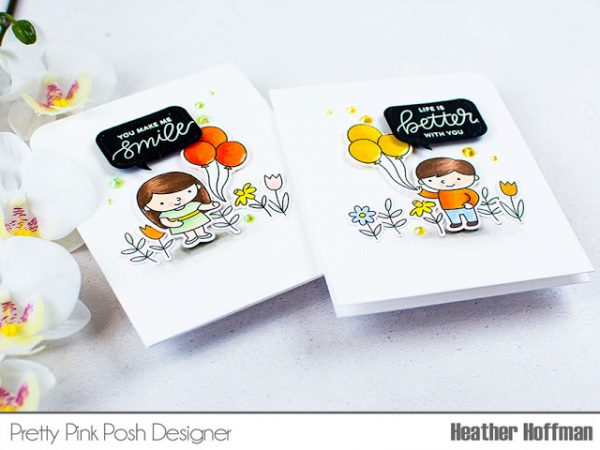
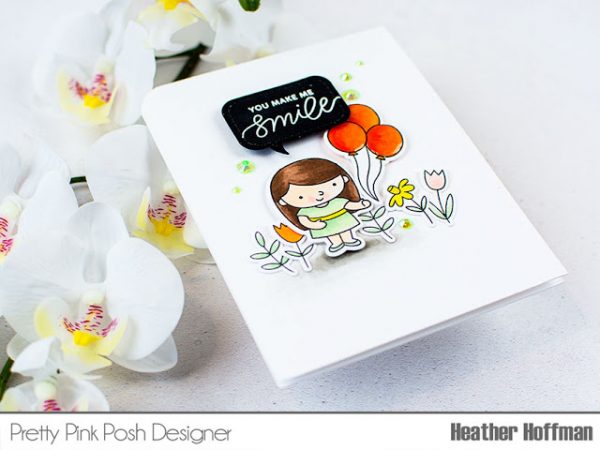
After I planned my placement of everything, I did some Copic coloring with my Warm Gray Copics to add a ground for the scene. Next, I adhered the girl and boy and their balloons with foam adhesive, and covered the balloons with a good thick coat of Glossy Accents. Once they dried, I even added a second coat for lots of shine! You can see it best in the next two photos.
Once that all dried, I adhered the sentiment on the speech bubble with two layers of foam adhesive to pop it up above the rest, then adhered the flowers directly on the cardbase. This layering makes the scene pop just that much more! I finished off by adhering a few of the new jewels- Spring Green on the girl card, and Lemon Drop on the boy card.
I had so much fun building the scene on these! Pairing all the different sets together was so much fun – and as always, I love how well all the Pretty Pink Posh products work together!
Thanks so much for stopping by today! Have a wonderful day!
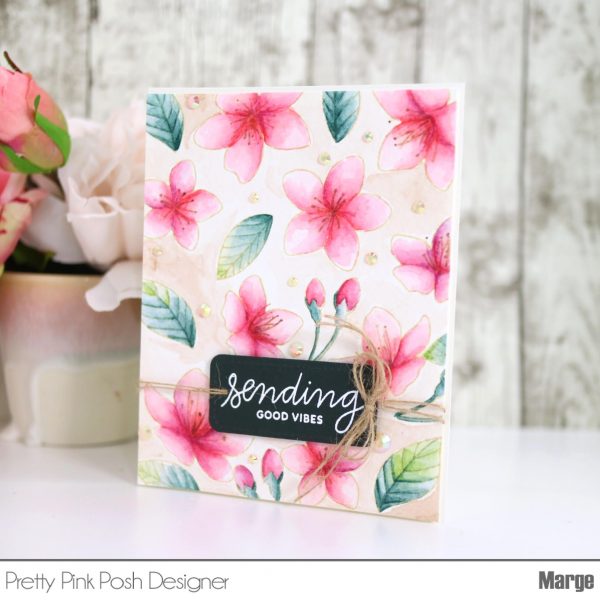
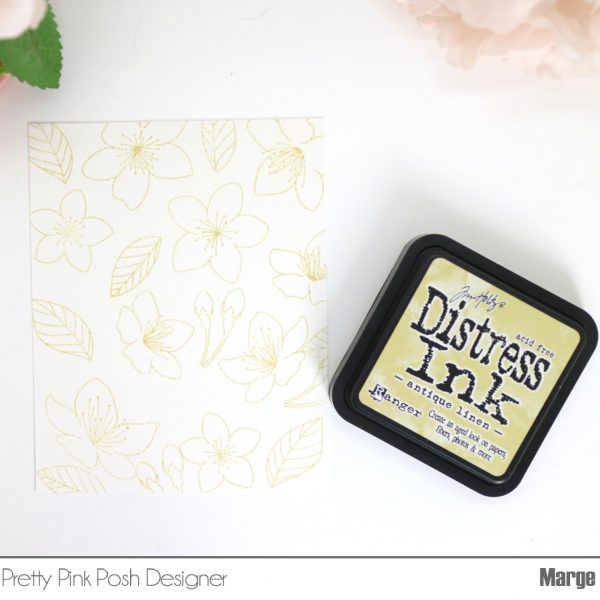
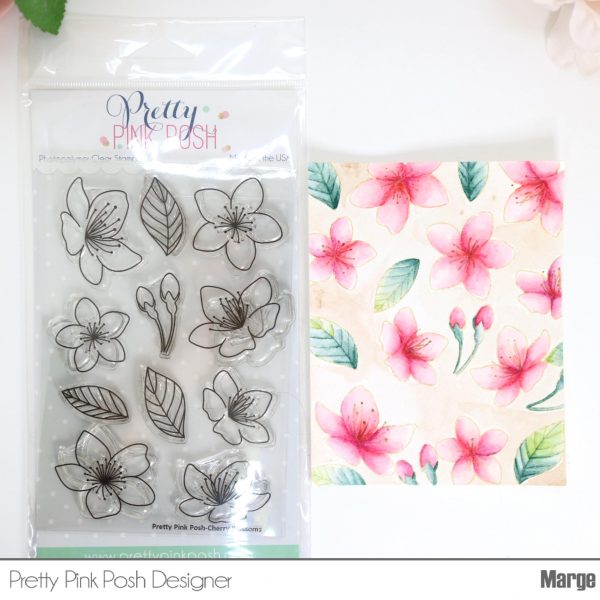
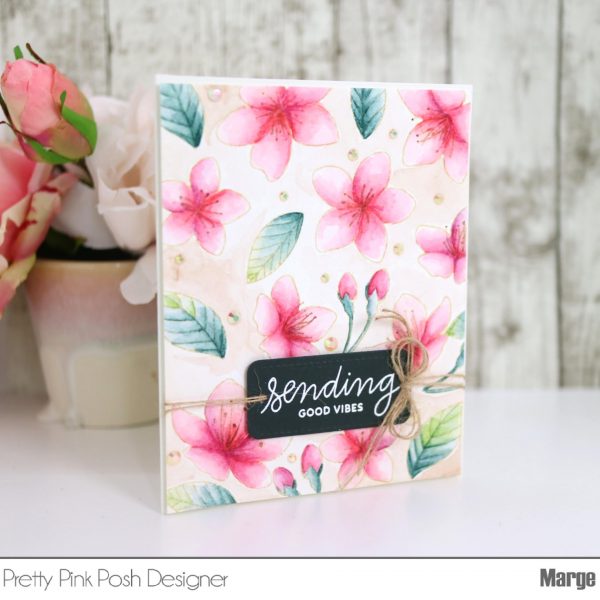
Although we call this no-line coloring, it actually isn’t no-line coloring because we can see lines stamped with a light colored ink. Since the Cherry Blossoms images have simple yet beautiful outlines, no line coloring is not too difficult. Coloring these small to moderate sized blossoms was really fun!
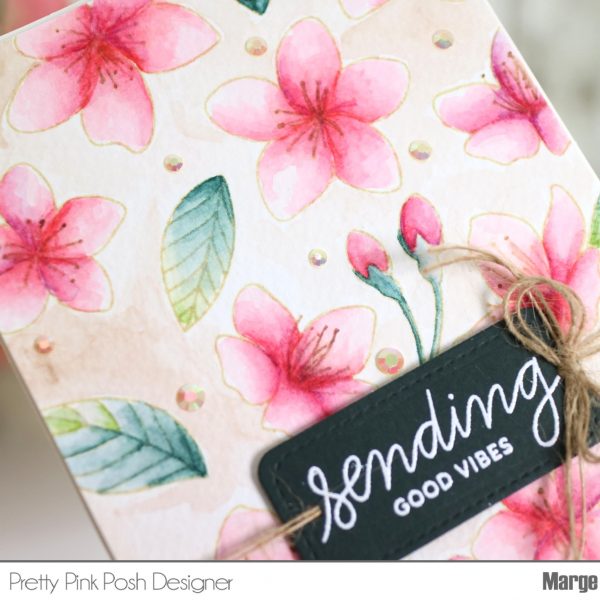
There are so many color options in Daniel Smith Paints that you may feel difficult what to choose, but, I found that I need only several of those colors to make watercolor flower cards. Here, I used my favorite colors which are Quinacridone Coral, Quinacridone Violet, Permanent Alizarin Crimson for blossoms, Prussian Green and Sap Green for leaves, Burnt Umberfor background. After I finished watercoloring, I trimmed the four edges a little to make the panel look clean.
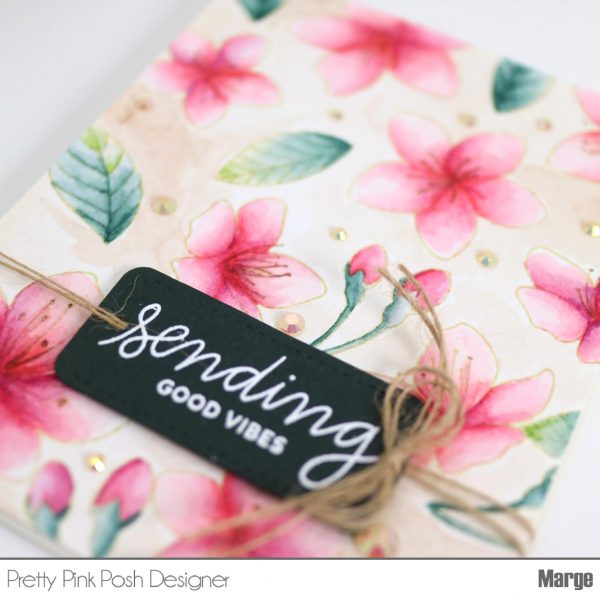
To add a sentiment, I made a round stitched rectangle tag from a deep green card stock using the Stitched Pieces Die, then a sentiment from Encouraging Greetings Stamp Set was chosen and heat-embossed on the tag with white embossing powder. Then I punched two small holes on both sides of the tag, put natural twines through the holes, and tide a bow. The tag was also adhered onto the panel using foam tape.
Next, I foam mounted the panel onto an A2 sized side-folded card base. As a final touch, I added Buttercream Jewels onto the empty spaces between blossoms and leaves. Look how the jewels sparkle beautifully on the card! The Jewels Collection is now my favorite among the new release!
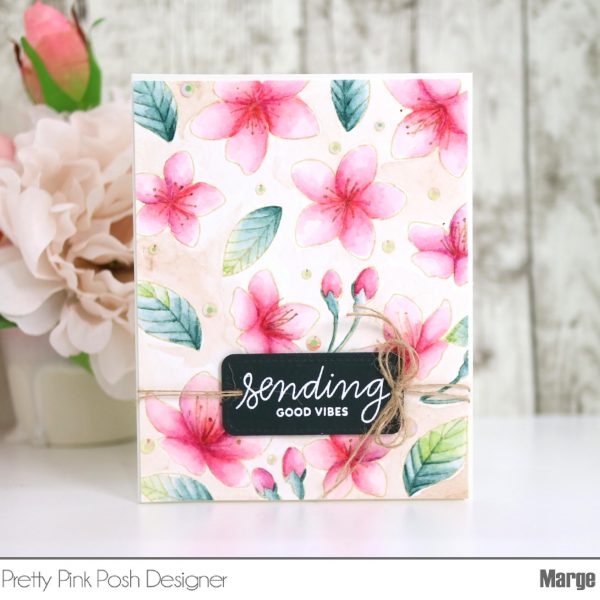
Here’s another look at the finished card.
Ready to hop along and see more inspiration with this new release?
PRIZES: be sure to leave comments on each stop. I’m giving away 4 $25 gift certificates to four random comments (2 winners each day) left before March 12, 2018 at 11:59 PM PST. I’ll be announcing the winners next week, so be sure to return and see if you are one of the winners!
We hope that you enjoyed the blog hop these last two days. Be sure to leave comments on all the stops- we’ll be randomly picking comments to win gift certificates. Also, join us next week as we have our Easter Theme Week here on the blog!
Hello, Gemma here today to share a card featuring the beautiful new Happy Easter Shaker die along with the cute Bunny Friends stamp set. I wanted to create a layered look with the Happy Easter Shaker die, with different colours of cardstock and some jewels too.
To begin, I die cut the Happy Easter Shaker die from four colours of card stock – green, light pink, dark pink and lilac. I chose the green die cut as my base layer, so the leaves are set back the most when all the layers are put together.
Next, I fussy cut the flowers from both of the pink die cuts and adhered them over the green layer. Although these flowers will eventually be covered by jewels, where any of the card does show underneath, I want it to be the same colour as the jewels. I then trimmed away the leaves and flowers from the lilac die cut, leaving just the frame and the sentiment. I added this onto the green die cut.
Once all the layers of card are put together, I picked out some Pink Blush jewels and Watermelon jewels and adhered them over the top of the flowers with liquid glue. The jewels look so pretty as an accent on the card. I put the Happy Easter Shaker aside to work on the rest of the card. I die cut the largest of the Scallop Frame dies from white card, then blended on an ombré of lilac ink, to closely match the colour of the shaker frame.
I just had to add two of the cute bunnies from the Bunny Friends stamp set to my card. I stamped them out and coloured them with copic markers, then die cut them with the coordinating dies. I tucked one of the bunnies under the scallop frame at the bottom. I tucked the other bunny at the top of the Happy Easter Shaker die cut, trimming him a little to fit, then adhered everything to the card.
To finish, I added some foam squares just under the heads and ears of the bunnies, so they have some dimension.
Ready to hop along and see LOTS more fabulous inspiration with this new release?
PRIZES: be sure to leave comments on each stop. I’m giving away 4 $25 gift certificates to four random comments (2 winners each day) left before March 12, 2018 at 11:59 PM PST. I’ll be announcing the winners next week, so be sure to return and see if you are one of the winners!
Hello and welcome to the last day of the birthday celebration!
Before I start with today’s post, I just have to say a truly heartfelt thank you to every single person who has ordered during this release, left comments on the blog hop/ social media and been supportive during the last four years of Pretty Pink Posh. As many of you know, I’m a one woman business, so I’m working as quickly as I can to get all of your orders sent off. Please be patient as the order volume is far greater than it usually is so I’m struggling to keep up but I’ll be working through the weekend to try to get caught up!
This is Yana and today I am sharing video tutorial showing how to color petunias from the Pretty Petunias stamp set for a no-line look!
Since violet is the color of this year and because I happen to love this color quite a bit I decided to color my petunias violet. I started working on my card by stamping images I wanted to use in watermark ink onto light gray cardstock panel. I knew I wanted to use the large flower duo and also add additional flowers and leaves to make this cluster a bit fuller. I am very lazy when it comes to masking, I was planning to use masking for today’s stamping, but later ended up not making them and I simply stamped my images in watermark ink overlapping previously stamped layers.
Watch my video tutorial below to learn how I made this card.
I picked embossing watermark ink, but any pale ink color will do for this technique – just make sure to pick the color of ink you’ll be able to color over with the pencils you plan to use – and you can always test this on the back side of your paper. Use it as your palette, I always do so.
As I was stamping I made notes in my head which flowers and leaves were going to be in the front and which would be in the back. If you struggle with this – you can either mask your images so that you don’t have confusing stamped lines on your panel or test stamp your cluster onto a piece of scrap paper and label everything – then when you go to color your image you can use that as a cheat sheet.
The pretty Petunias stamp set from Pretty Pink Posh has very little detail to it and this is a good thing, because as you color, regardless of what coloring method you chose, you can add those details in yourself.
I used Polychromos colored pencilsto color this images and I went with just a handful of pencils. I sharpened my pencils prior to starting an first used the blue violet color and outlined the base of the petal, added vines and slight details on the tip of the petal.
It is very helpful to look up the image you are coloring online. I simply go to Pinterest and type in Petunias. I look at photos, sometimes I search for illustrations, I can also add the name of the coloring medium I plan to use to look up examples. For instance petunias watercolor, or petunias pencils – it is very helpful to see how others have colored it – this will give you color combo ideas, detail ideas.
I added my pencil strokes going in one direction – I followed the imaginary vines of the petal. I don’t color in circles or horizontal and vertical lines. To blend out the violet color and color the rest of the petal I used a white pencil. I went over the violet coloring and extended it further into the petal. Next, I came in with the violet pencil again and added more details to the particular element.
I don’t use any blending solutions when I color, I only blend the using my pencils and as I get to the end of the blending I use a very heavy hand.
Once my coloring was complete I trimmed my panel to 4 x 5 1/4″. To create a sentiment I white heat embossed Hello Gorgeous from the Love Sentiment stamp set onto vellum. I trimmed it into a skinny strip, wrapped one end around the panel and cut the other end at and angle. I foam mounted the panel onto an A2 card base and added sequins from the Spring Blooms Mix to embellish this card.
No party would be complete without guests, gifts and a party favor, right? During the celebration, save 10% off your order using the coupon code provided below.
We have lots of amazing designers in today’s blog hop sharing new inspiration. Be sure to leave them lots of love- I’ll be giving away prizes to some comments left on their blogs!
Thank you for celebrating with me. I’m looking forward to the upcoming year and bringing you new products, inspiration and of course, some surprises along the way. Have a great weekend!
Hello and welcome to Day 2 of the Pretty Pink Posh 2nd birthday celebration! If you missed Day 1, click here.
Have you seen the new Love Shaker die? I think this die is so versatile. It’s more than a shaker die – it’s a gorgeous frame too! I can envision lots of pretties (sparkling sequins) peeking through the open frame design – but I can see this pretty die layered over photographs on a layout too.
I created an ombre background with the scalloped border from the Stacked Edges 1 die set. I wanted to repeat the scallops on the Love Shaker die. I love the colorful stripes of red and pink card stock peeking through!
To accent the heart I added Cupid Friends that were stamped with Memento ink and colored with Copic Markers. I’m smitten with these little guys! They’re easy to color, and the coordinating die cut makes them a breeze to cut too!
I love the stitching, scallop outline, and gorgeous hand written font on the Love Shaker die – the perfect details I expect from Pretty Pink Posh! Paulina never disappoints!
No party would be complete without guests, gifts and a party favor, right? During the celebration, save 10% off your order using the coupon code provided below.
We have lots of amazing designers in today’s blog hop sharing new inspiration. Be sure to leave them lots of love- I’ll be giving away prizes to some comments left on their blogs!
PRIZES: We’ll be giving away 2 $50 gift certificates to random comments left on the different stops every day! That’s right, we’re giving away a total of SIX $50 gift certificates! Comments must be left before January 15th at 11:59 PM PST. I’ll be announcing the winners next week, so be sure to return and see if you are one of the winners!
Thank you for celebrating with me today and for all the love! I’ll see you bright and early tomorrow for day #3 of the birthday celebration. I hope you have a fabulous day!
Then I adhered Birthday Friends Images on the front using foam tapes. I also put a small star tag on the left upper corner of the card usingStitched Stars Dies to give it more cuteness .
1) For brown hair colors , my favorite copic color combination is : E13-E15-E18- any dark E (from light to dark shades)
2) When you put sequins to make shaker cards, try to mix the sequins with some seed beads like I did today. That will make your shakers look prettier.
3) Although this is not the Christmas season, I found that our snowflake sequins look so well on the soft color-distressed background.
No party would be complete without guests, gifts and a party favor, right? During the celebration, save 10% off your order using the coupon code provided below.
For the celebration, I brought along some very special guests to celebrate with me and I cannot wait for you to see what they made. Be sure to leave them lots of love- I’ll be giving away prizes to some comments left on their blogs!
PRIZES: We’ll be giving away 2 $50 gift certificates to random comments left on the different stops every day! That’s right, we’re giving away a total of SIX $50 gift certificates! Comments must be left before January 15th at 11:59 PM PST. I’ll be announcing the winners next week, so be sure to return and see if you are one of the winners!
Thank you for celebrating with me and being so incredibly supportive. Go hop on over to the other stops, be inspired by the design team and special guests and be sure to share this with your friends. I’ll see you bright and early tomorrow for day #2 of the birthday celebration.