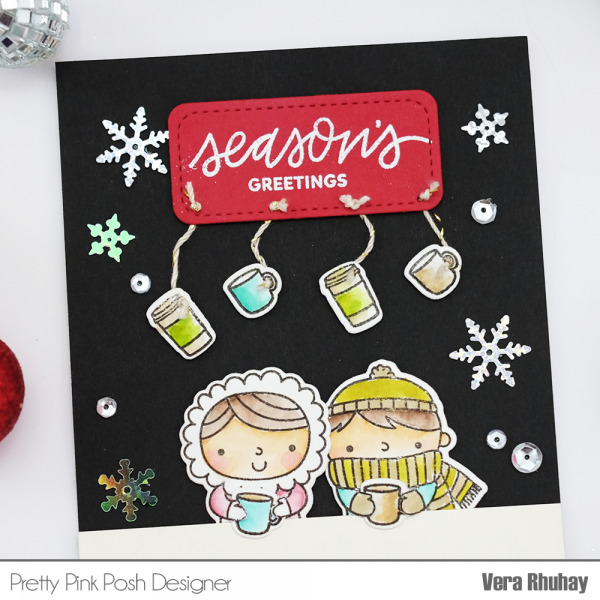
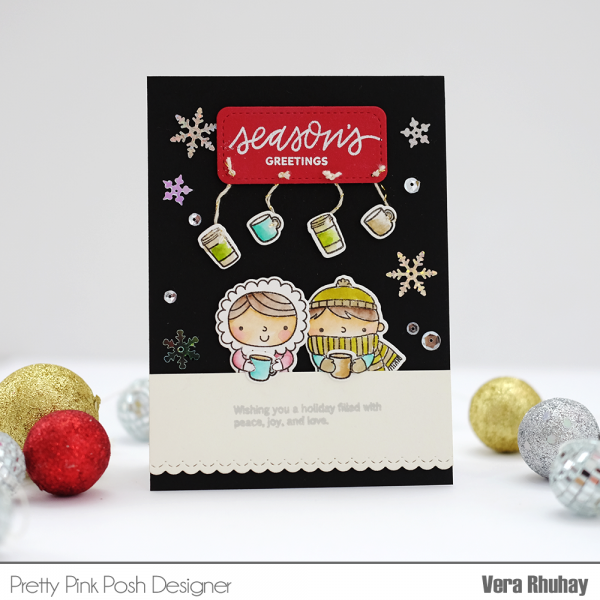
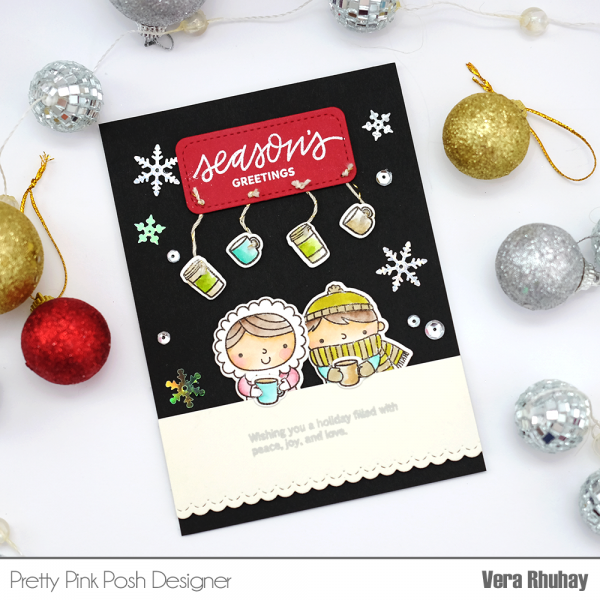
I create a coffee shop scene using Stitched Pieces Die and coffee cup and mug from Christmas Friends stamp for wall decorations. I used scallop border dies from Stitched Borders 4 to make a table, so the sweet couples can sitting in the cafe and enjoy their coffee latte.
Today we have another big giveaway as part of our giveaway week. We are giving away a 60 pack of Zig Clean Color markers! Leave a comment below sharing your favorite Christmas or holiday memory.
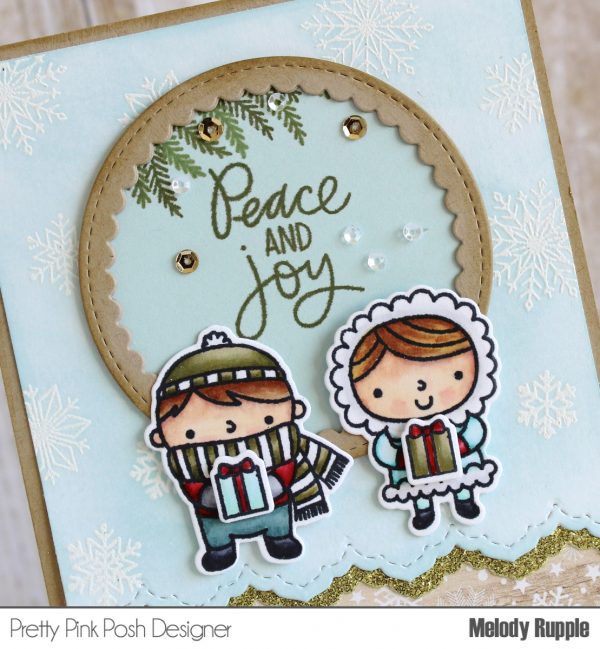
Hello Friends! It is Melody here on the blog today sharing my project for the Christmas Theme Week. If you are like me, you are finishing off those last few Christmas cards to give over the next few weeks. Here is my card I created with the Christmas Friends Stamp set.
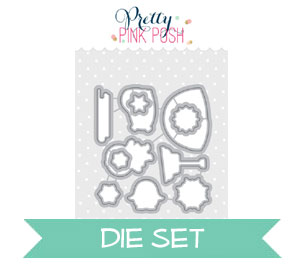
First I created the background of the card front. I stamped the snowflakes from the Winter Wonderland Stamp Set on white card stock in a white pigment ink and embossed with white embossing powder. Next I used a blending tool to ink the background with distress ink. I cut the smaller circle in the Scallop Circles Dies from kraft card stock. Inside the circle I stamped branches and a sentiment from the Holiday Greetings Stamp Set and added a few 4mm Metallic Gold Sequins and 3mm Clear Sparkling Sequins.
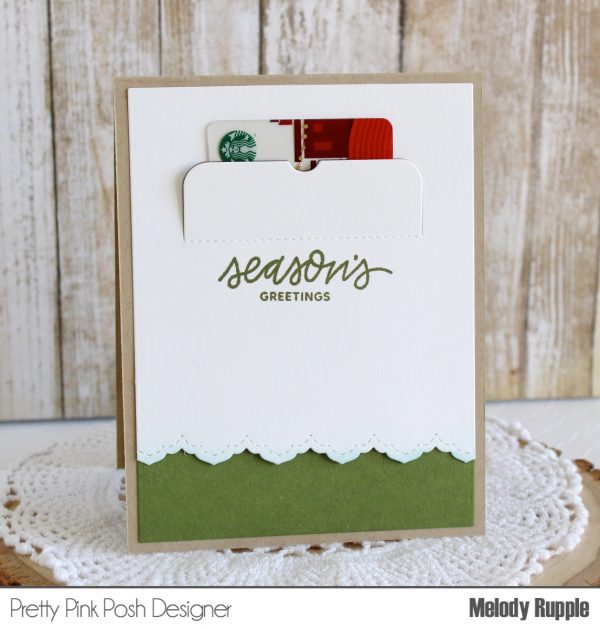
At this busy time of year I like to finish off the inside of my cards so that my cards are ready to go when I need them. I decided I wanted this card to hold a gift card. I used the Peekaboo Windows Die to create the pocket and stamped a sentiment from the Christmas Friends Stamp Set. Just remember when you adhere the inside panel to the inside of the card to leave the middle section open so that you can slide the gift card inside the pocket.
Now it’s time for our giveaway for today. Paulina is giving away a $25 Simon Says Stamp gift certificate! All you have to do is leave a comment sharing your favorite craft blogs to follow.
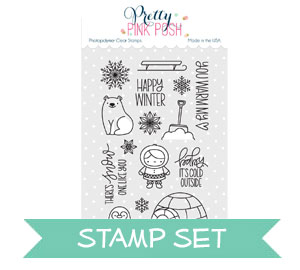
Hi friends! Lisa here today with a frosty card made with Winter Wonderland Stamps and Dies. This card came together quickly and would be easy to mass produce!
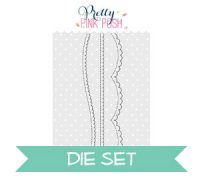
I began by die cutting My Mind’s Eye Sugar Plum paper with the wavy die from the Scallop Borders set. Next it was adhered to my card base with the coordinating stripe paper.
Now comes the fun! I stamped and die cut the Eskimo girl, igloo and a trio of snowflakes. She’s colored with Copics and a slight bit of gray shading was done on the igloo. An extra igloo door was stamped and fussy cut then added to the igloo with foam tape.
To bring in more sparkle, I used Frosted Lace Stickles on the hood. The Iridescent Mini Circle Confetti worked perfectly for snowy accents!
We’re continuing on with our week of giveaways and today we are giving away a $50 Ellen Hutson gift certificate. It’s super easy all you have to do is leave a comment sharing which craft item(s) are on your wish list!
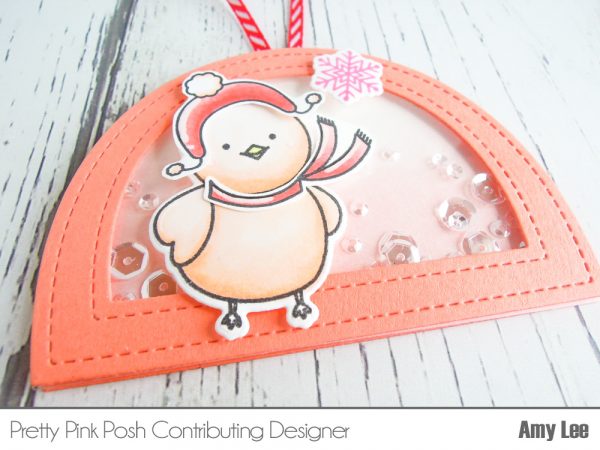
Hello friends!! Amy L. here today with a special project. I have made a set of Christmas ornaments. They are so adorable and so easy to create. Let’s get started right away!
Mount everything in place with foam tape. Embellish with ribbon, twine and jingle bells to finish
Now it’s time for our second giveaway of the week. We are giving away the two exclusive STAMPtember sets we designed for Simon Says Stamp that are sold out and no longer available!
Good morning Pretty Pink Posh friends! Heather here to share a couple cards using the Clarity Stencil Brushes – along with a video review of them. I was super excited to recently get my hands on a set of them – I have been seeing them used so much, that I was really curious how they worked.
If you aren’t familiar with them, they are brushes that can be used as an alternative to foam ink blenders with beautiful results! I paired them up with the adorable Fox Friends Stamp Set and coordinating Fox Friends Dies to create one layer stenciled panels. I was originally going to just make one layer cards, but they kind of grew into this by the time I finished!
Here is the video sharing how I used the stencils – and with my first voice over of my video (I was a bit nervous – please forgive the soft voice and occasional humming or losing my place!)
After the video I colored all the foxes in with some Copic Markers – I used Warm Grays – W00, W1, W3, and W5, and Blush R20, added my frames, and stitched with my sewing machine around the outside edges to finish them off a little. Added some jute twine, then attached with foam adhesive to colored card bases to finish off.
Here is a close up look at each one – on this first one I also used the Scallop Circles Dies to frame my fox.
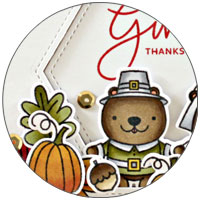
Hi there, Jeanne here. Have you noticed? The leaves are changing colors and there’s a crispness in the air! Fall is officially here! It’s that special time of year when we take the festivities indoors and welcome family and friends into our homes and hearts.
Thanksgiving is always at our house – we have as many people as we can fit around the table and there’s always great food and conversation! I like to send out personal invitations, and special notes to those who can’t make it this time… just to let them know we’re thinking about them as we’re separated by the miles.
I’m smitten with these adorable pilgrims from the Giving Thanks Stamp Set. The set has lots of extras – pumpkins, leaves, and sentiments in the prettiest script font. There’s even a Giving Thanks coordinating die set that has a stamp for each of the images in the set making crafting a breeze!
I created a scene inside a Scallop Circles die – this is the larger of the two circles in the set. It’s perfect for an A2 size card (4.25 x 5.5”). Scalloped on the inside and beautiful stitching on the outer edges, these Scallop Circles make everything just a little more elegant! Landscapes couldn’t be easier using the border dies from Pretty Pink Posh. There’s lots of different style borders to choose from. I chose the Scallop Borders Die Set. They coordinate perfectly with the Scallop Circles!
The finishing touch was a sprinkle of Sparkling Clear Sequins – who doesn’t love a little shimmer?
To close out our Thanksgiving theme week, we’re hosting a giveaway for a $50 Pretty Pink Posh gift certificate. Leave a comment sharing what theme week, or collaboration, you’d like to see in the future and you could win this prize!
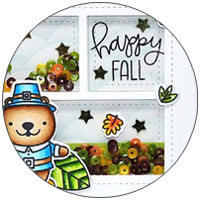
Hi there, Joy here today, sharing my creation for the Thanksgiving Theme Week…
Being that I live in Australia, we don’t actually celebrate Thanksgiving, however, that being said I could not possibly go past making a card for someone that needs a little thanks, and what is better then using the Giving Thanks stamp and coordinating die set. Let’s jump in and I will tell you how I created this cutie…
I started out by die cutting a piece of white card stock using the Stitched Hexagons, on the centre hexagon that die cut out I stamped out a sentiment from the stamp set in some red ink, setting aside to work on the images…
The images I stamped out and coloured in with my Copics and went about die cutting them all out, I die cut quite a few out so as to have as many images as I need for my design…
Next was, to put the card together, I trimmed a piece of Kraft card stock to form the card base, with the trimmed white piece I foam mounted that to the card base and with the other die cut hexagon that had the sentiment stamped I adhered it straight to the card front…along the base of the card I added my images to form a very festive bounty look and completed the card by adding a scattering of Metallic Gold Sequins.
So even if you don’t celebrate Thanksgiving there are still ways of giving thanks and with this Pretty Pink Posh set there are so many options to give thanks in the form of a card…
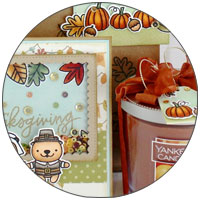
If you have missed any of our other Thanksgiving cards and projects, click on the photos below to see the post from that day.
Thanks for stopping by! I hope we have inspired you to create a fall project or card of your own!
On a watercolor paper, blend Altenew Ruby Red and Grapevine inks using a mini blending tool. Die cut out with Mini Storybook 1 Die. Add white watercolor splatters and Perfect Pearl solution
Die cut another watercolor paper with the same die, blend the little pieces with Altenew Evergreen ink
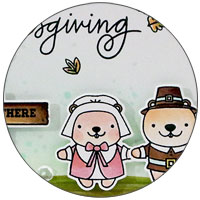
Hello, Pretty Pink Posh fans! This is Yana and I have a video tutorial to share today featuring one of the new stamp sets – Giving Thanks.
This stamp set, even though it’s focused towards Thanksgiving, can be used for a variety of Fall projects. Today I’m using botanical images to stamp a unique Fall background.
I filmed a video tutorial to walk you through the process from start to finish and explain everything in detail.
I wanted to create a one layer card so I started by stamping my sentiment first. When stamping a pattern I sometimes forget I need to leave room for my sentiment and then have to add it as a second layer and cover up a part of my background. For this particular card I wanted the sentiment to be placed on the same layer as my pattern so I started by stamping the sentiment first.
Next I arranged the images around it – I used several leaves, pumpkins and also tiny leaves and an acorn to stamp my background. I didn’t have enough images to cover the entire A2 card front at once, so I had to re-arrange stamps and stamp each image about 4 times to be able to cover the entire panel.
Because I wanted to watercolor these images I did my stamping on watercolor paper and used a waterproof ink. There are many ways how these images can be colored, so pick the way you are most comfortable with and select the paper and ink best suitable for your coloring method.
I didn’t do anything special in terms of coloring. I used Derwent Inktense pencils and quickly added color to my background. I used 5 colors and tried to keep each color to each specific image.
Lastly, I added some shimmer using Wink of Stella Glitter Pen, drew in white dots on the leaves and pumpkins and adhered several small and medium Clear droplets scattering them on the background.
Hello and Happy Halloween! It’s Keeway again and I’m back for my second guest post for Pretty Pink Posh. For all of you taking the kids out for trick or treating, stay safe! I recently moved to my first home only a week ago and my neighbors have decorated their homes for all the trick or treaters tonight. I hope there’s a nice turnout or else I’m going to end up with a lot of candy…eeks!
Hopefully your Halloween cards are all sent out, cause it’s time to get started on those winter holiday cards! Have you seen how cute the holiday sets in the October release are? Today I’ll be showing off one of them today, the Winter Wonderland stamp set.
Admittedly, today’s card took quite a bit of time since there’s a lot of layers involved even though it might not look like it! I started with blue A2 sized card stock and die cut Storybook 1 in the center. Then I heat embossed a few snowflakes from the stamp set in white in the top left and bottom right corners.
Next, I die cut the same Storybook 1 on white cardstock, extracted the pieces within the windows to inlay in the blue windows. I cut a curve in the top 2 pieces leaving areas window for my shaker window.
So here’s where it gets interesting and some piecing together. First, I adhered a piece of acetate directly behind my blue cardstock. Next, I inlaid my die cut snow pieces back into the window. Then, I added craft foam in back, all around the areas outside the clear windows, leaving a small area to add some Winter Sparkle Mix Sequins.
Now to seal all the sequins in, I need to add a background. I used another piece of white cardstock, blended on some tumbled glass distress ink, and then heat embossed my sentiment “baby it’s cold outside” in silver right where it will show in the top right window. Woohoo, now the shaker scene is done!
Lastly, I stamped my the eskimo, igloo, and polar bear on white cardstock and colored them up with copic markers. Then I die cut them with the Winter Wonderland coordinating dies and adhered them to my card with foam squares. It’s finally done!
Hope you enjoy today’s post and thanks for dropping by! Thanks Paulina for having me!


 I began by die cutting My Mind’s Eye Sugar Plum paper with the wavy die from the


")
")
")
")
")
")