
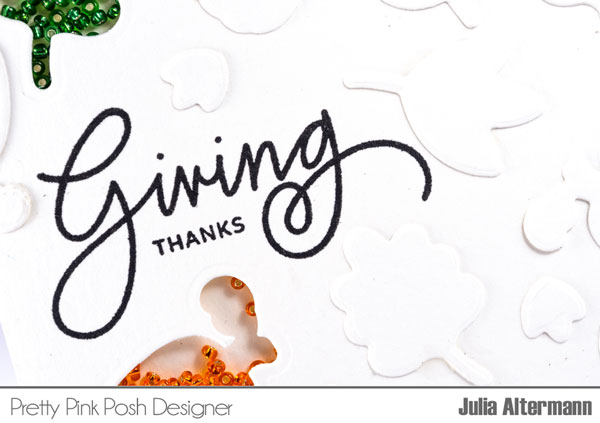
Optical Illusion Card
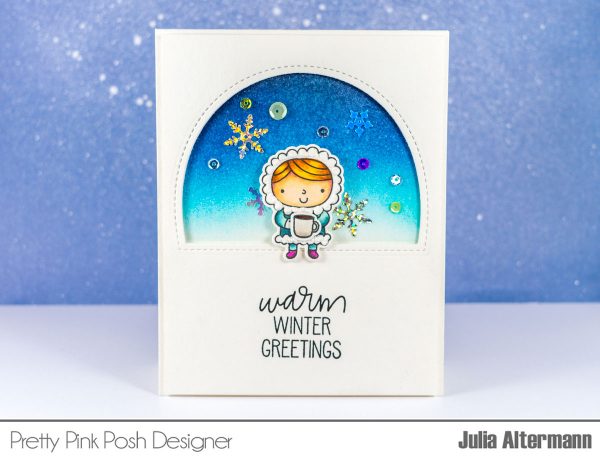
Hello crafty friends, this is Julia again! Today I am going to show you how you can use an optical illusion for a super neat card design that can be adapted to all sorts of shapes and stamp sets. Let’s have a look!

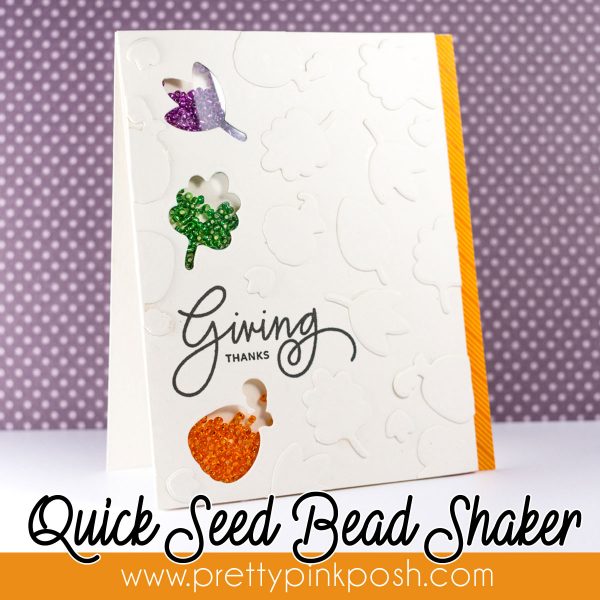
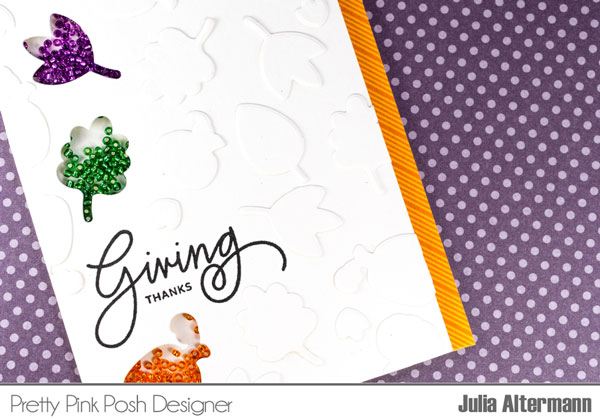
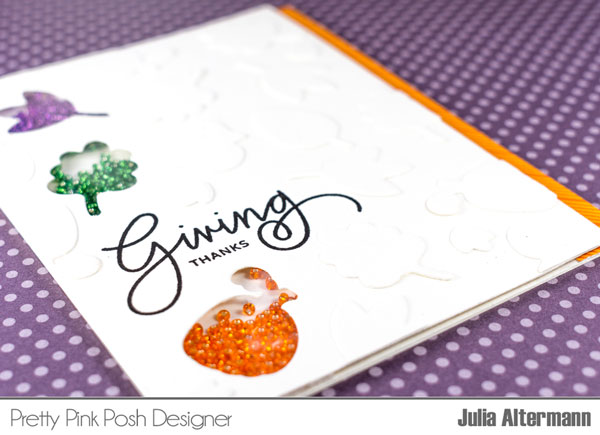
As you can see, the big Stitched Hexagons shape die is perfect for this card. I think there might be an easier way to go about creating the shape, but I though it was easiest to cut out the Hexagon first and then die cut all the other shapes from the Giving Thanks set from it.

The main trick is to make sure you have many shapes that go over the edge of the Hexagon. By having many partial die cuts you’ll be able to re-create the hexagon shape later on, even though it’s just an illusion. But this is just a neat trick our brain plays on us because it needs to make sense of everything, and so it fills in the blanks and suddenly you have a shape emerging before your eyes.

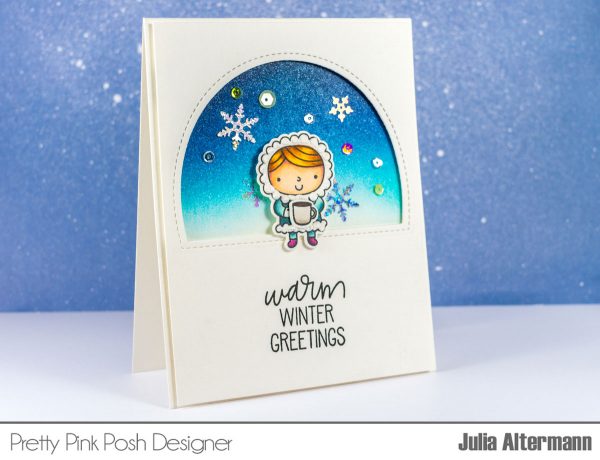
I decided to color these images once I had them adhered with foam to the card. You could very well also just mounts the black and white images to a kraft card base (perfect for fall), or if you have winter images mount them on a blue or red card base, etc.

Want to see how to create this card from start to finish? Click on the graphic below!

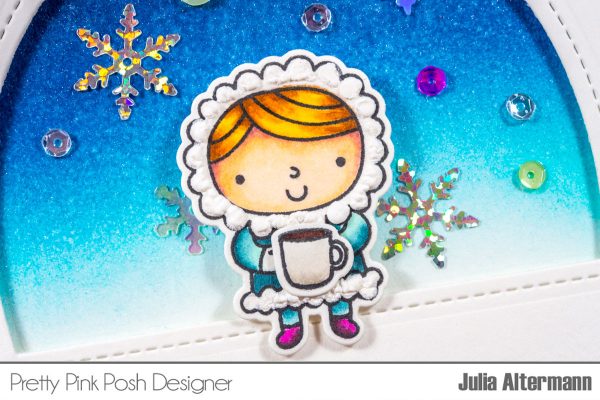
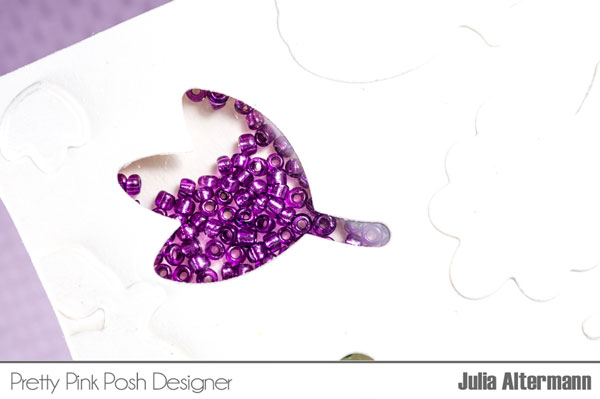
Of course I had to sprinkle some sequins inbetween the die cuts – fortunately, the 4mm Wildflowers Mix took the guesswork out of the equation, and I had to add in some 3mm Sparkling Clear sequins because I have a Sparkling Clear addiction!


")
")
")
")