Cards

|

Sparkly Koala Shakers

Good morning Pretty Pink Posh friends! Heather here this morning with a couple cute shaker cards featuring a combination of Pretty Pink Posh products, and WOW Embossing Powders. If you joined along in the fun collaboration blog hop we did HERE we have a lucky winner. Congratulations to Anne Sturgeon!
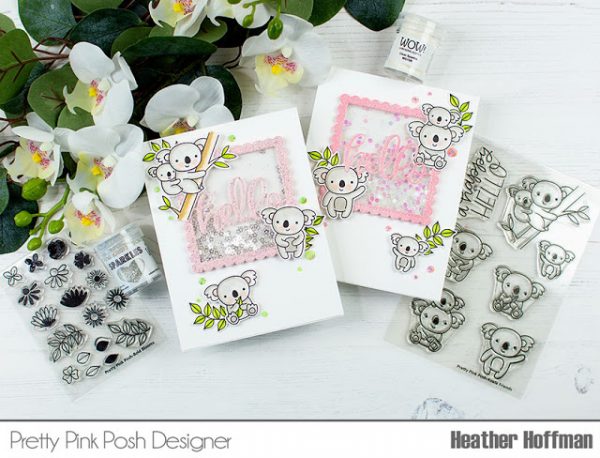
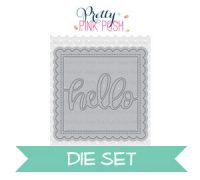
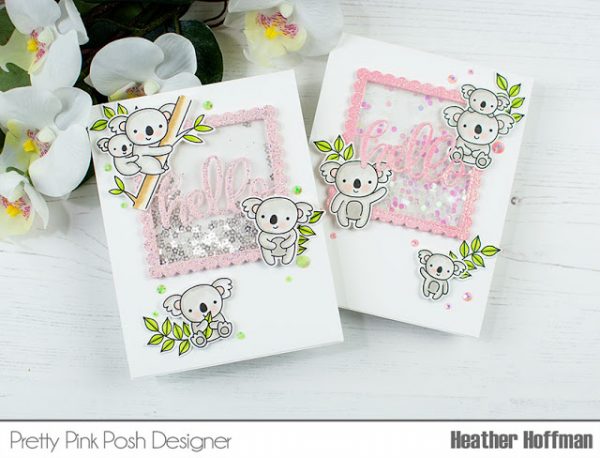
I used beautiful Clear Sparkle Embossing Powder and Bridal Sparkles Premium Glitter from WOW to add shimmer and shine to Pretty Pink Posh’s Hello Shaker Die for my cards. I used the same pink cardstock, but got a different effect on each one which was kind of fun!
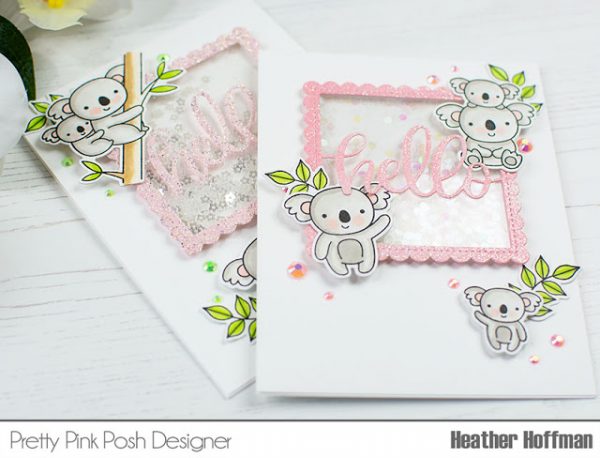
I thought they paired PERFECTLY with all the darling koalas from Koala Friends Stamp Set – these soft colors and sparkle makes me SOOO happy!
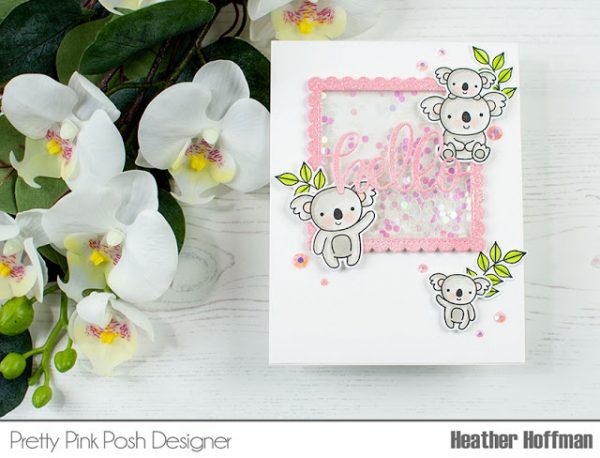
So…first up, this is the card I created using Clear Sparkle Embossing Powder. For this card, I die cut the Hello Shaker Die from pink cardstock, then rubbed my embossing ink pad over the entire surface, holding the edges carefully with my fingers. I then sprinkled the Clear Sparkle Embossing Powder over the entire die cut, and set with my heat gun.
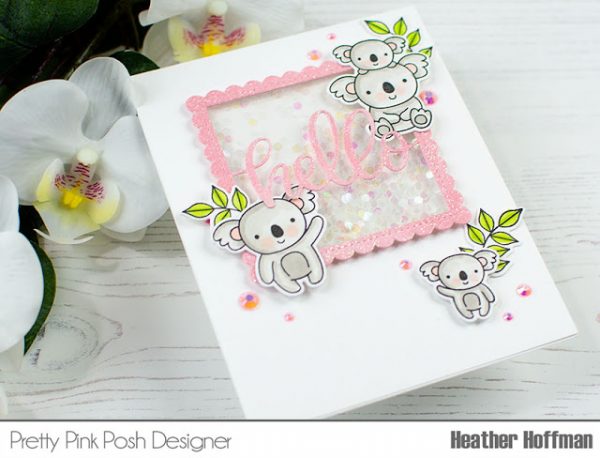
See that nice deep glossy shine? It also gives a layer of stability to this die cut, and makes it feel so dimensional and fun! I filled this one with Iridescent Mini Circle Confetti.
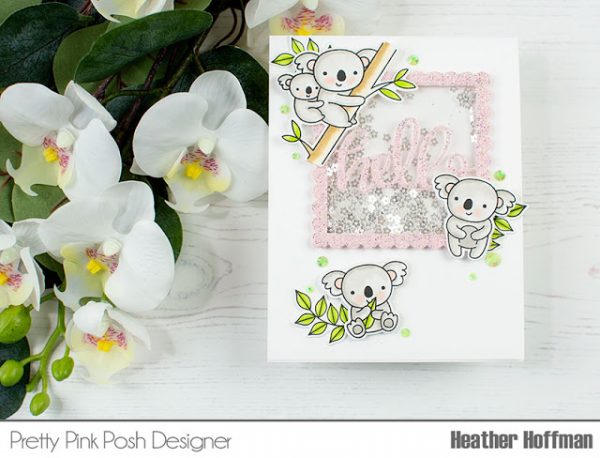
The second card is a super fun glittery effect, but a softer pink color was achieved with the Bridal Sparkles Premium Glitter. For this card, I used a super strong Scor Tape Adhesive Sheet to adhere the glitter. I adhered one side of the adhesive on my piece of pink cardstock, then die cut – placing the die cut on the side with the adhesive. Using a metal shim helped for this part, since it ends up being a fairly thick sandwich at this point. Once I had die cut it, I peeled the front of the adhesive sheet off to expose the tape, and sprinkled heavily with the glitter, shaking off the excess and rubbing any loose bits off. This does a fabulous job of adhering the glitter! You could also apply Glossy Accents or another liquid adhesive, but I liked that this was quick and didn’t need any additional drying time.
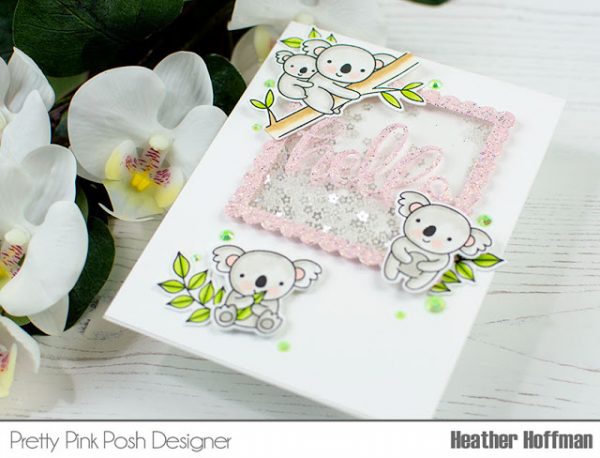
I filled this shaker with Mini Sparkling Clear Flower Sequins. Look at the softer pink you achieve with this method:
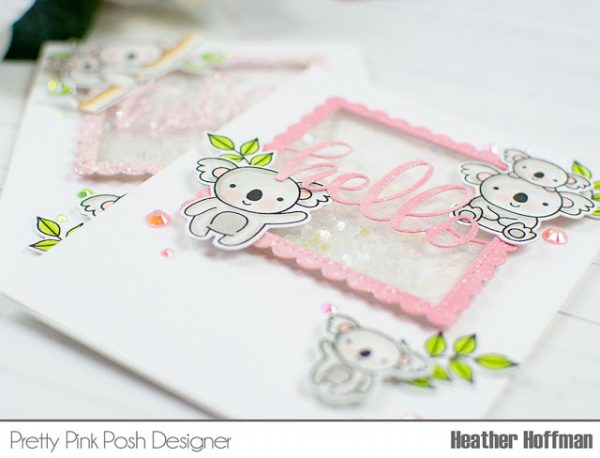
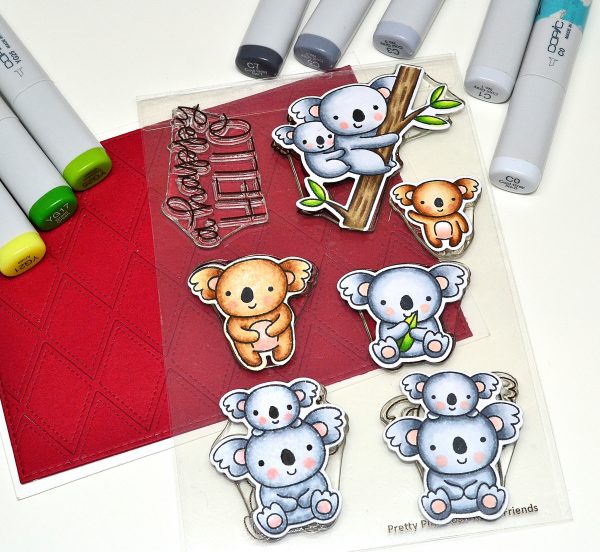
I stamped each and every koala from Koala Friends Stamp Set and colored up nice and soft with Copic markers, die cutting with the Coordinating Dies before adhering around my shaker. I also added some greenery from Bold Blooms Stamp Set, also die cut with their Coordinating Dies.
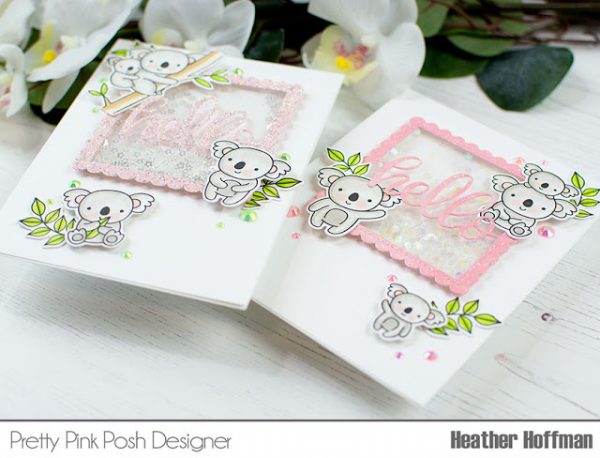
As a final embellishment, I added some sparkly Pretty Pink Posh Jewels in Spring Green and Pink Blush sprinkled around the cards!
Thanks so much for stopping by today! Have a wonderful day!

| | |

Tutorial: Creating A Double Shaker

Hi everyone, Rina here!

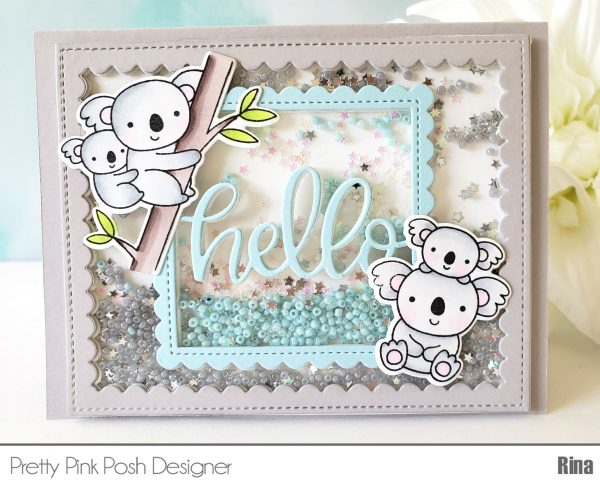
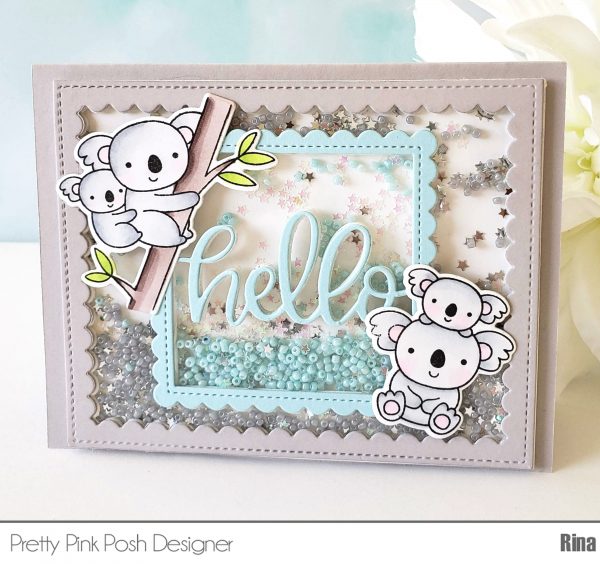
For today’s tutorial I thought it would be super fun to make a double shaker card where there are two distinct wells to put sequins in.  This way you can have two separate colors of sequins without having them mix together.

Watch the video above  I  Watch the video in HD on YouTube
 

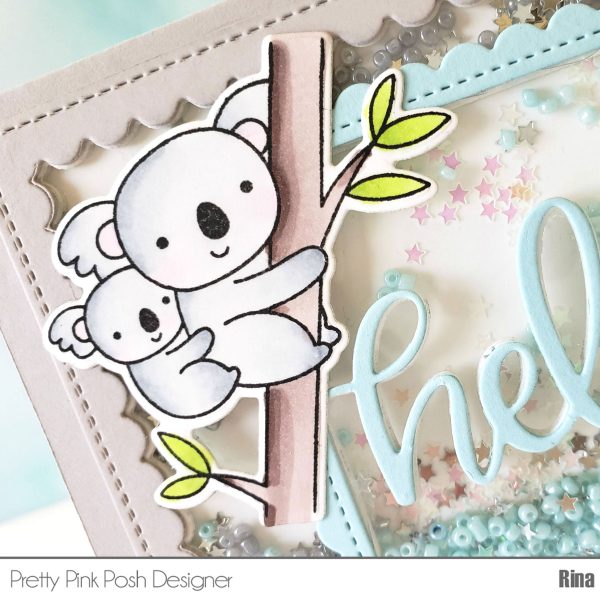
The video tutorial will show you how to cut all the white pieces from one piece of cardstock. You will need to cut out 5 pieces of the largest Scallop Frames Dies: One in a colored cardstock (I used gray) and 4 in white cardstock. Next you will need to cut out 5 pieces of the Hello Shaker Die: One in a colored cardstock (I used blue) and 4 in white cardstock.

You will also need:

  • Acetate 4×5 inches
  • White Cardstock 4×5 inches
  • 4 ¼ x 5 ½ inch standard size card base
  • Largest Panel in White Cardstock from Stitched Notes Dies

To create the double shaker wells

  • Adhere all 4 white Scallop Frames one on top of the other
  • Adhere all 4 white Hello Shaker Die one on top of the other
  • Adhere the attached Scallop Frames and Hello Shaker Die pieces onto a piece of acetate, these will create your 2 shaker wells. Make sure to put the glue on the front side of the Hello die and then adhere it to the back of the acetate.  The adhesive that shows through will be hidden later.
  • Fill the inside of the Hello Shaker Die with Aquamarine Seed Beads and Iridescent Mini Star Confetti and fill the outside of the Hello Shaker Die with Pewter Seed Beads and Silver Mini Star Confetti.
  • Make sure to not overfill. Use the 4×5 White cardstock to cover the back of the shaker mechanism.
  • Turn the shaker mechanism over and you will see the front, use the remaining die cuts that were cut out with colored cardstock and place them on top to cover the adhesive

I will be using some images from the Koala Friends stamp set to embellish the card. Here are the copic markers I used:

Gray –   C00, C1, C3, C5

Green – YG01, YG03

Pink – RV10

Brown – E70, E71, E74

To finish the inside of the card, take the panel die cut from the Stitched Notes Dies and stamp the sentiment “A Happy Hello” and adhere the small koala at the bottom.  Adhere your shaker mechanism to the front of the card.  Finally adhere the remaining koala images to the front of the card.

I hope you try this technique out! Thanks for stopping by!

Rina

|

Pretty Pink Posh + Wow Embossing Collaboration Blog Hop

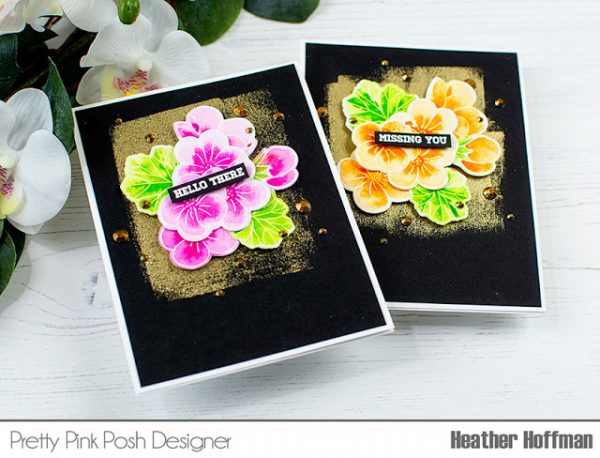
Good morning Pretty Pink Posh friends! Heather here this morning with a couple cute cards featuring a combination of Pretty Pink Posh products and WOW Embossing Powders and glitter!

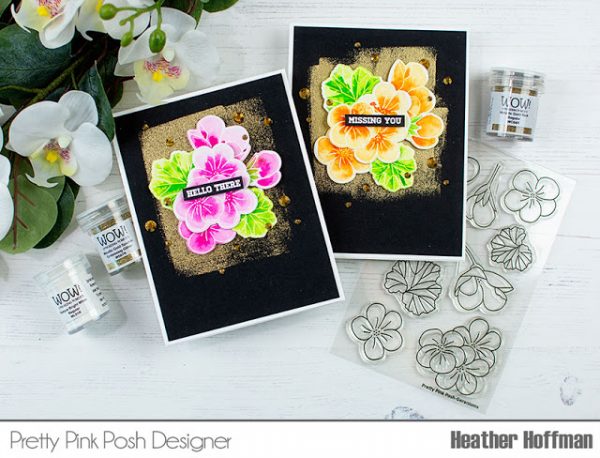
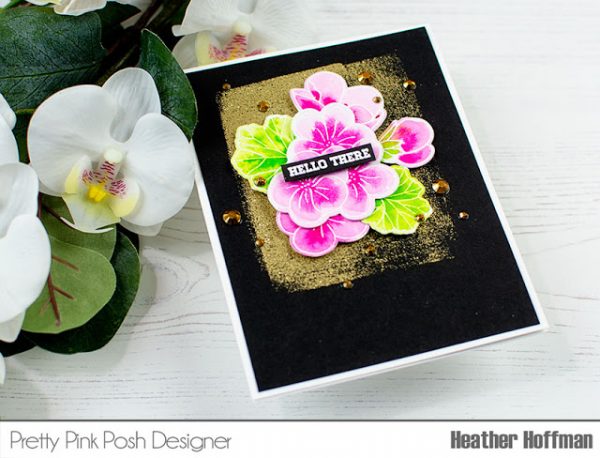
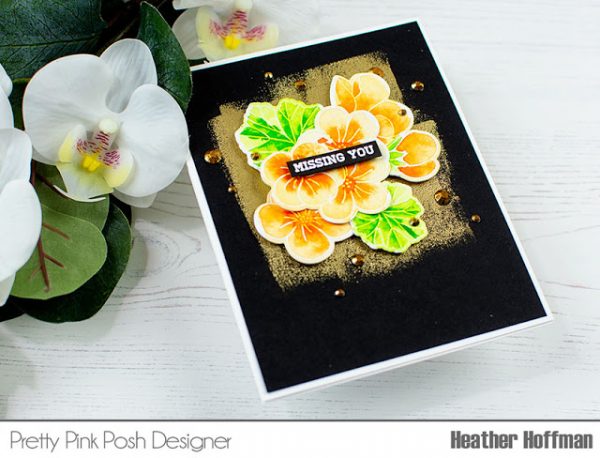
For my cards today I used two different WOW gold embossing powders – Metallic Gold Sparkle Embossing Glitter, and Metallic Gold Rich Embossing Powder – as well as a white embossing powder to watercolor my florals.

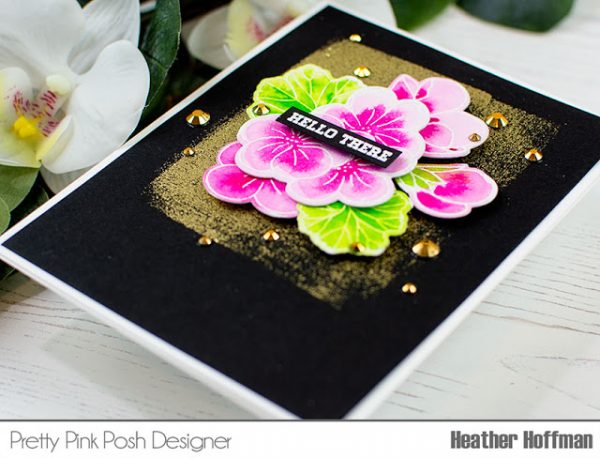
To begin, I created an embossed background for each card by swiping an embossing ink pad across a panel of black cardstock. This first card I used the Gold Embossing Glitter to create the background:

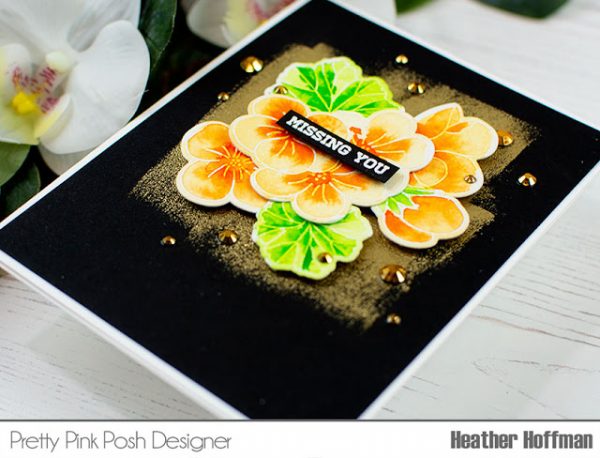
This second card features the Metallic Gold Embossing Powder – I love the effect of both of them! The glittery one definitely has more sparkle, but the other is a nice rich metallic gold as well!

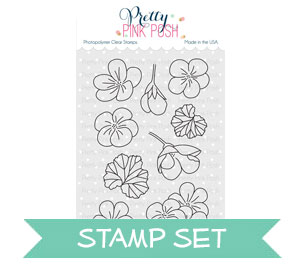
Next, I created a floral cluster using Geranium Stamp Set and WOW Opaque Bright White Embossing Powder. I stamped and heat embossed the flowers and leaves on the smooth side of Ranger Distress Watercolor Paper, then watercolored the images with liquid watercolors before die cutting them with the Coordinating Dies.

I arranged them over the gold embossed area with foam adhesive, then heat embossed a tiny sentiment from Camping Friends Stamp set using the same WOW Opaque Bright White Embossing Powder, and mounted that with foam adhesive over the flowers.

Final finishing touch was to add a few GORGEOUS Metallic Gold Jewels around the flowers. These are definitely rich and elegant cards with the gold and bright bold colors combinations!

Prizes: Each company has a prize pack to give away! WOW Embossing Powder- Any 6 powders from your choosing along with a WOW carry case to store your powders safely in.

Pretty Pink Posh Prize Pack- An assortment of goodies up to the value of $75!

The only thing you need to do for a chance to win is leave a comment on each of the design team members blogs! Winners will be chosen at random from comments left on all blogs on the blog hop by 6:00 AM PST on Sunday, July 29th. Winners will be announced on the Pretty Pink Posh and Wow Embossing blog.

Hop along: If you started from the beginning, this is your last stop on the hop. If you’re just getting started, grab a cup of coffee or tea and join us for 16 creative stops. I know you’ll find some new blogs to follow and be greatly inspired by the stunning samples showcasing our two brands together!

border

Did you have a favorite project on the hop? I’d love to hear what caught your eye! 
In closing, I want to thank the team at Wow Embossing for being so sweet and fun to work with. I hope that you loved today’s blog hop and were inspired by the variety of projects.
Thanks so much for stopping by today!
| | |

Creating with Zig Clean Color Markers + Video

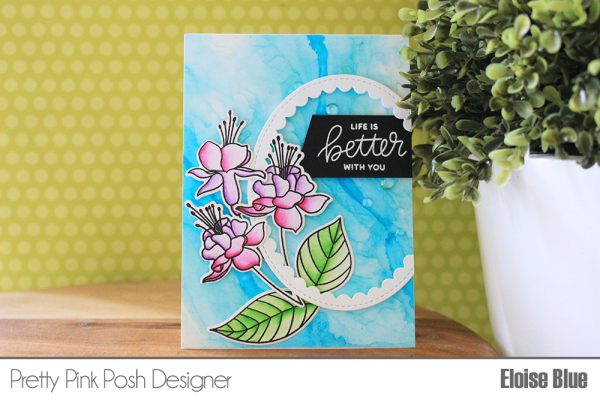
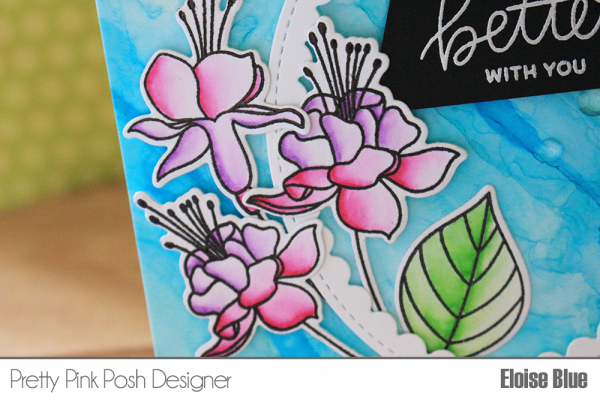
Hi everyone, Eloise here and today I have a friendship card to share with you all. I’ll be creating an alcohol inked background and using the Flourishing Fuchsias stamp set as my main focus. I’ll also be pulling in the Encouraging Greetings stamp set and Scallop Ovals Dies to help complete my card.

Watch the video above  I  Watch the video in HD on YouTube
 

To begin my card today, I started off with my background. I pulled a few colours of Alcohol Inks out and some Yupo paper. I sprayed the background with alcohol solution that I popped into a small spray bottle. Once the background was coated, I took the alcohol inks and drew lines onto the background. Then taking a paint brush and more alcohol solution, I added it around the edges of the lines to soften them. I repeated the same process for all four colours I used. Once I was happy, I dried it off a little with my heat tool, but also dabbing up any excess with a paper towel so the paper didn’t warp too much. I set that off to the side and worked on my images.

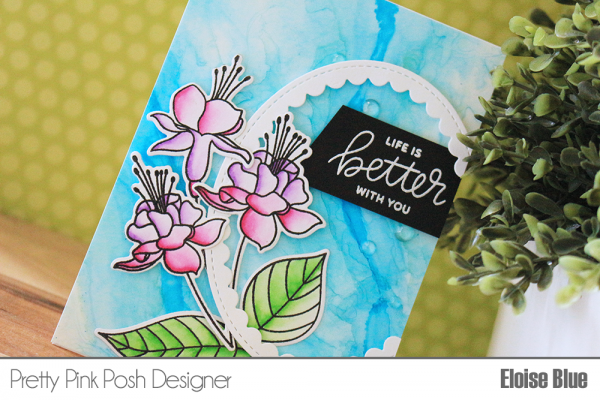
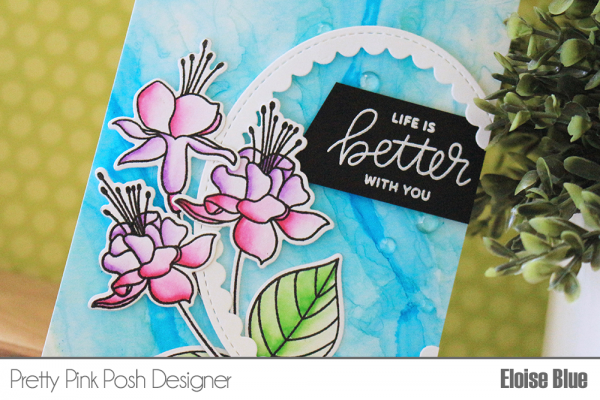
For my images, I stamped all the flowers and leaves I thought I would use from Flourishing Fuchsias onto some watercolour paper with Versafine Onyx Black Ink. Then, I clear heat embossed over the top so it would contain my watercolour easier. I used my Zig Clean Colour Real Brush Markers to colour today. These markers are super handy for when you want a quick colouring job and don’t feel like using a ton of shades of different colours. I used three colours for all my flowers today and they came out looking so gorgeous and with lots of shading, too. I also used a water brush to help spread the colour. I dried off my flowers and leaves with my heat tool and cut them out with the Flourishing Fuchsias coordinating dies.

Zigs Used: No. 25 – Pink, No. 81 – Light Violet, No. 47 – May Green

Now, it was time to finish up my card. I cut down my alcohol inked panel down to the size of my card base, then I used the Scallop Ovals dies and cut out the largest one from white cardstock. I added foam tape at the back and adhered it off to the right hand side of my panel and cut off the excess. I then added foam tape onto the back of my flowers and leaves and adhered them into place as well. I didn’t end up using all I coloured, but I can save those for another card later on. Once my card was looking pretty complete, I white heat embossed the ‘Life Is Better With You’ sentiment from Encouraging Greetings onto a strip of black cardstock. I adhered that down with foam tape as well underneath the frame a little. To finish off my card completely, I adhered my panel onto a white card base and scattered some of the Sparkling Clear Jewels around as well.

Thanks so much for stopping by and watching the video today, I hope you enjoyed and got inspired. I can’t wait to share more with you and I’ll catch you all next time.

Eloise

|

Birthday Bunny Scene

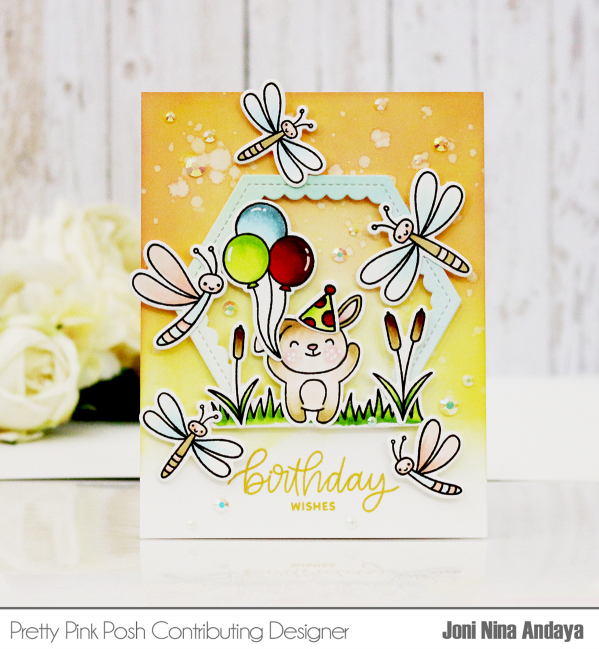
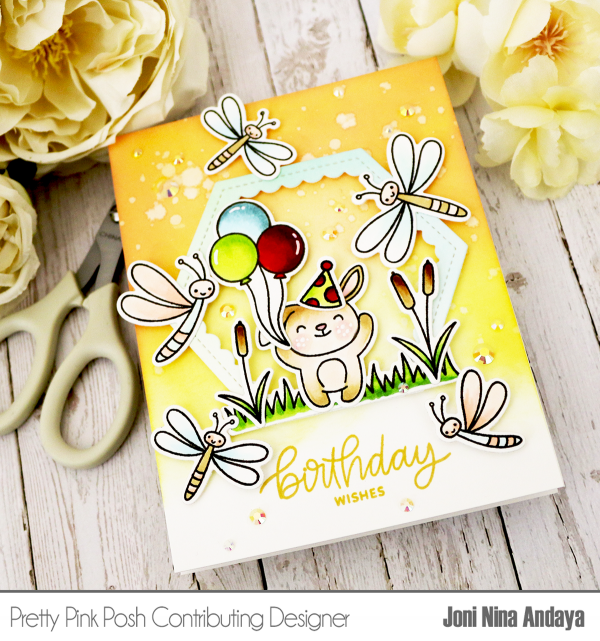
Hello everyone, Joni here sharing my take on the cute Darling Dragonflies and Darling Dragonflies Coordinating Dies. I mixed and match with Birthday Friends and Bunny Friends to create a birthday card with it.

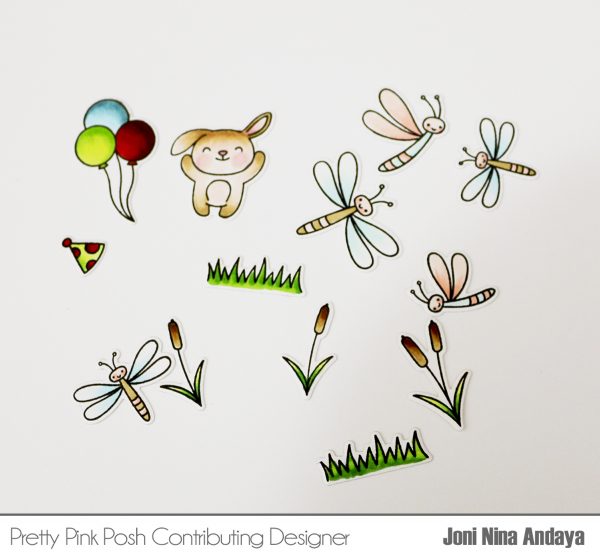
To begin I first stamped the images on a white cardstock and colored them with Copics. Then die-cut each image.

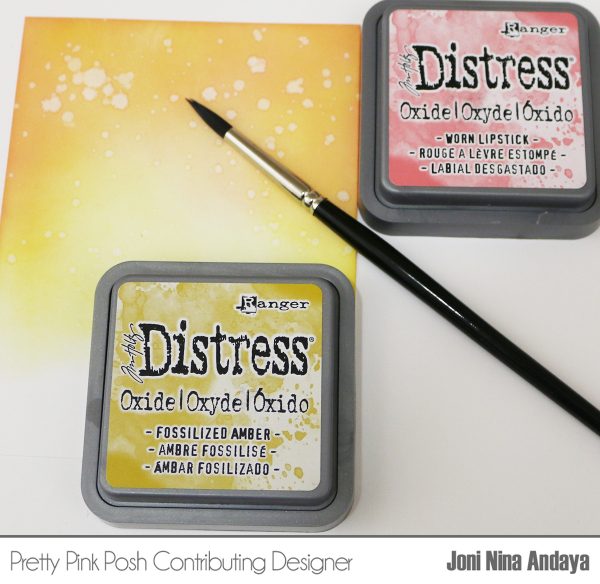
Next, I created my background using Distress Oxides inks and then splattered with water for interest.

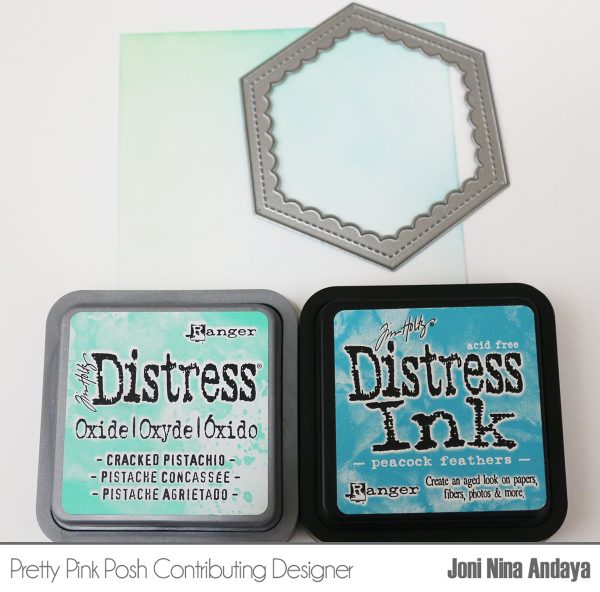
Next, I distressed another white cardstock and die-cut with large Scallop Hexagons Die.

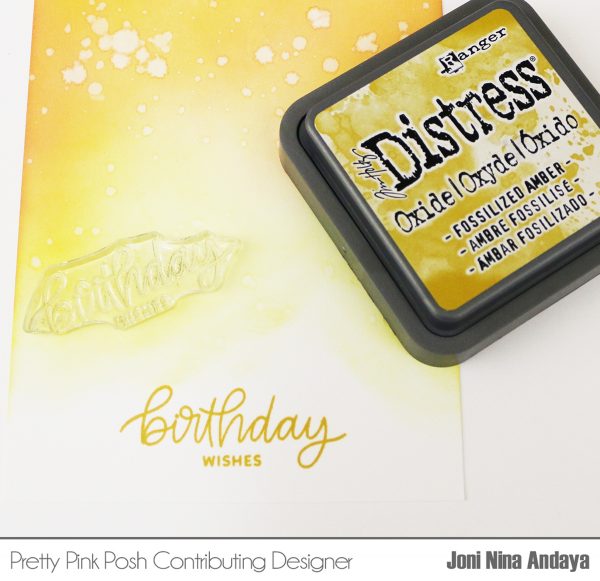
I stamped the sentiment from Birthday Friends in Fossilized Amber.

I also added some Ivory Jewels to finish off the card.

I hope you enjoyed! Thank you so much for stoppin’ by.

|

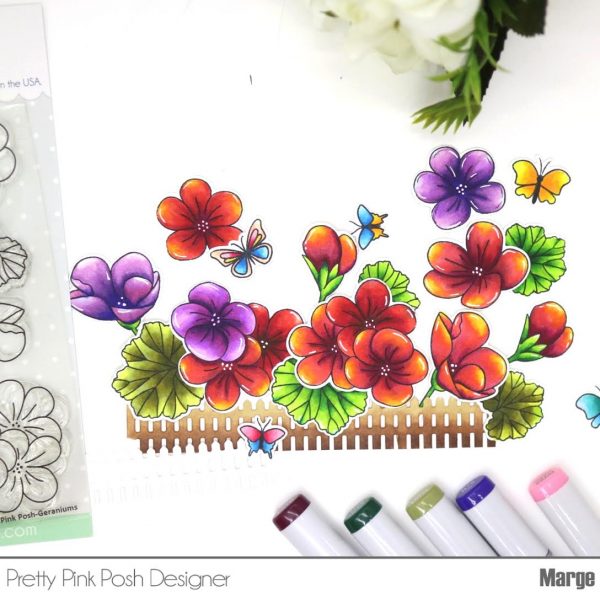
Geraniums Card Duo

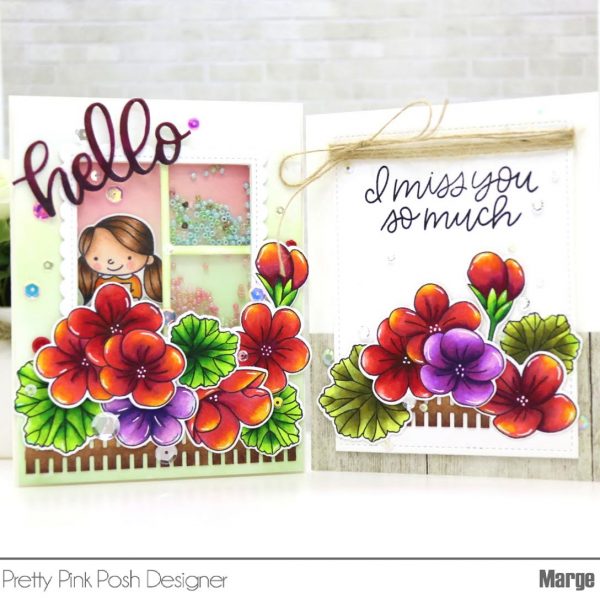
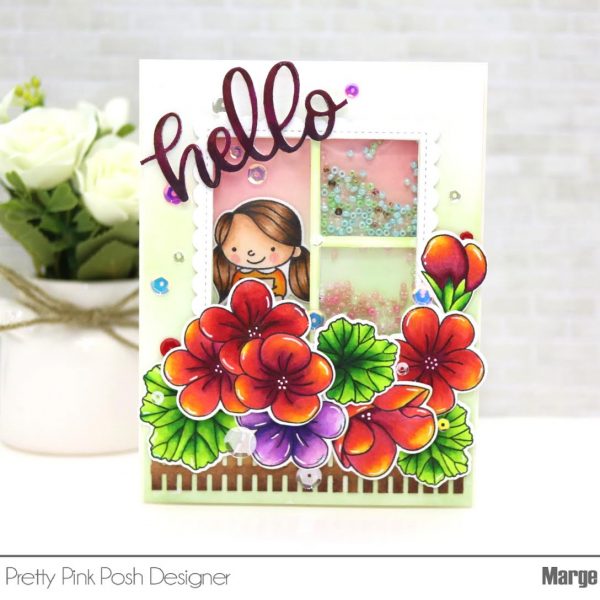
Hello, crafty friends! It’s Marge here with you today sharing my two cards from the latest Release.

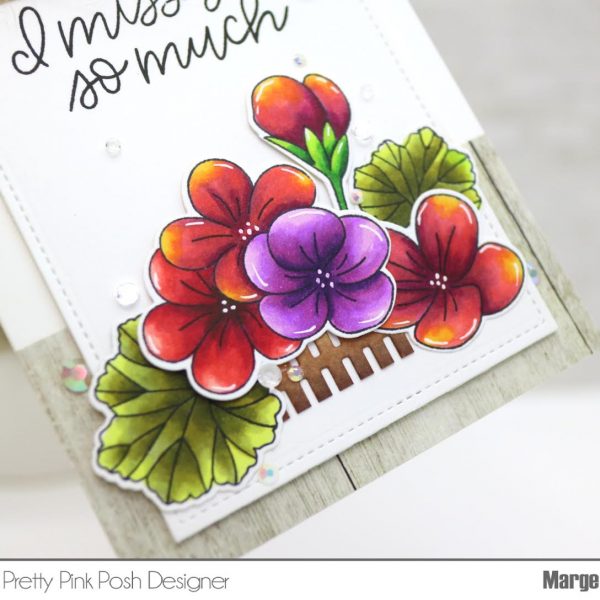
I started by stamping lots of Geraniums Stamp set on copic friendly paper, and colored them with copic markers. I cut the images using Geraniums Coordinating Dies.

The copic numbers I used are :

Red Geranium : RV69-R56-RV34-R14-YR15-Y35
Purple Geranium : B79-V17-V15-V12-V01-BG000
Leaves : YG99-YG97-YG96-YG93-YG21 (Olive green) G29-G07-YG03-YG01 (Green)

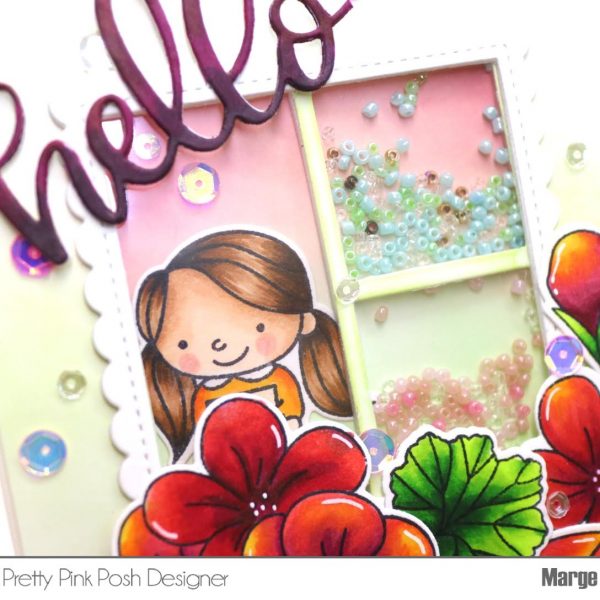
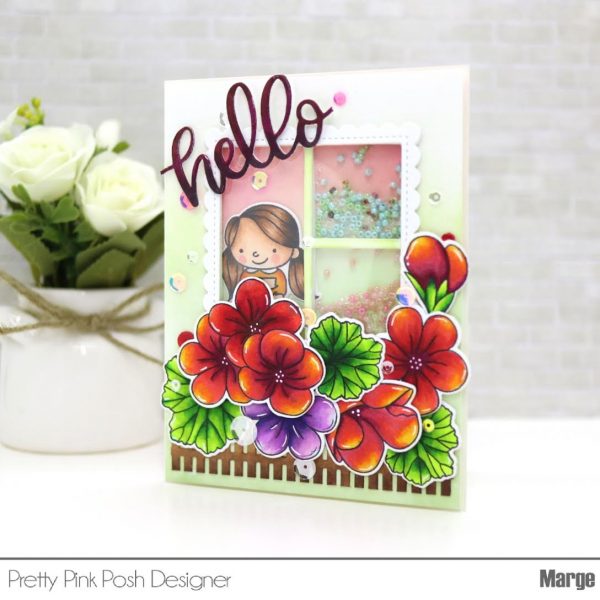
For the first card, I made a rectangle window shaker using Mini Storybook 1 Dies and Hello Shaker Die. I cut the Hello Shaker three times to make a dimensional frame. The “Hello” script die cuts were removed from the shaker and glued top on top. I colored the “hello script” using Copic makers : RV99-RV69-R89. The front panel was ink blended using Distress Oxide ink Bundled Sage.

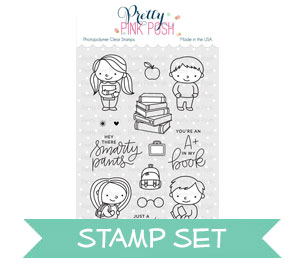
The girl who’s standing behind the window is from the School Friends Stamp Set, which was colored using copic markers and was cut using School Friends Coordinating Dies. The background panel for the shaker was inked using Distress Oxide inks Worn Lipstick and Bundled Sage.

I put AquamarineBlushCotton CandyRose PinkSparkling Clear, and Meadow Seed Beads in the shaker. I also adhered 4mm Ballerina Pink and 6mm Ballerina Pink on the background panel of shaker.

Once I assembled the shaker using foam tapes and Darice double sided foam strips, I put the Geraniums images on the front panel using foam tapes and glue. I also added a fence I made with the Picket Pence Die, which was colored with brown copic markers, under the geraniums. I finished off the card by adding Sparkling Clear Sequins Mix3mm Sparkling Clear Sequins4mm Strawberry Burst, and 6mm Strawberry Burst.

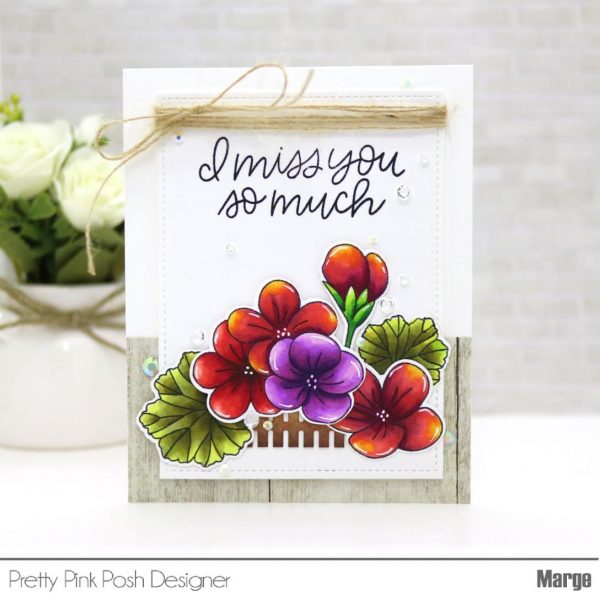
For the second card, I decided to go with simple design, so I adhered geraniums and pence onto a white stitched panel I diecut using Stitched Notes Dies, then I stamped sentiment from Simple Sayings : Miss You. I rounded natural twin on the top of the panel then I foam mounted it on card base which I adhered a small piece of wood grain pattern paper on the bottom area.

As a final embellishment, I added Sparkling Clear Jewels and Ivory Jewels.

That’s it from me today. Thank you for reading this post. I hope you enjoyed it!
|

Multi Dimensional Shaker

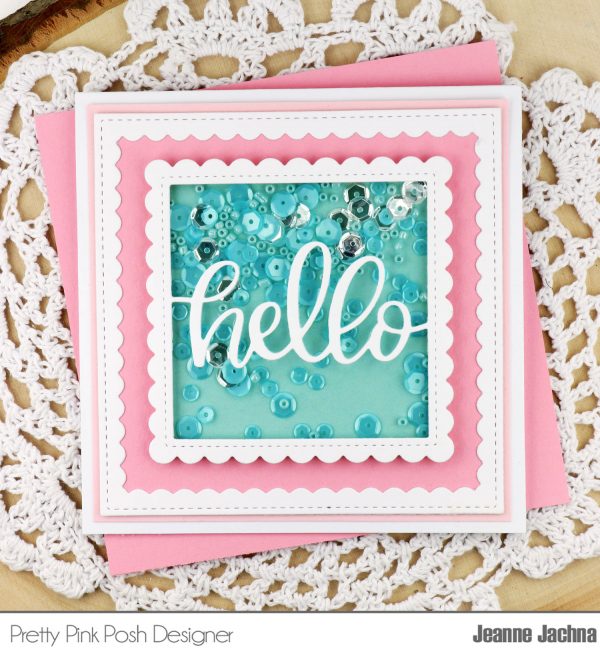
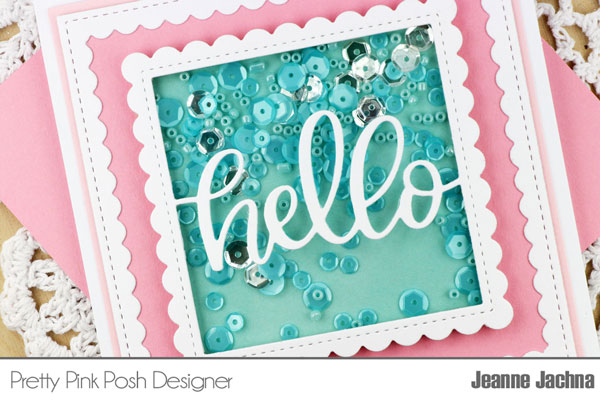
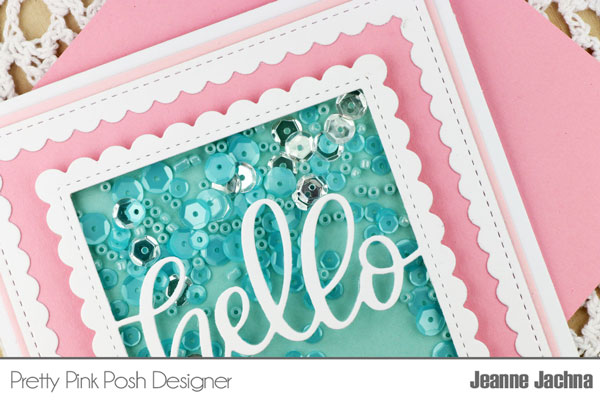
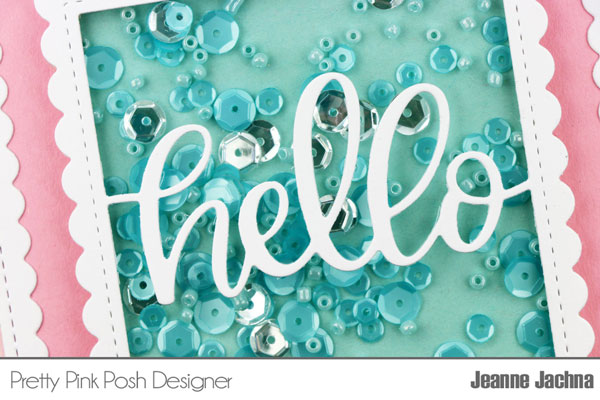
Hi! Jeanne here today and I’m sharing a fun card made with a die from this month’s release! I’m so excited with the new seed bead colors and used them as inspiration for my designs!

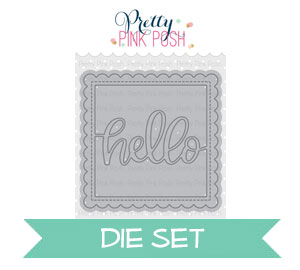
The Hello Shaker die is 3” square and fits perfectly inside the larger die from the Scallop Squares die set. I love that the scallop and stitch patterns repeat on the two frames giving them a unified look.

I layered different shades of card stock under each layer of the die cut frames to mimic the bead colors in the new release – aquamarine, cotton candy and rose pink!

The shaker is filled with Aquamarine and Sparkling Clear sequins and new Aquamarine seed beads. The shaker die series makes creating shaker cards so easy plus they come with a sentiment so you get a sentiment which makes it a two for one!

Reminder: there’s a 15% off sale through Sunday. Stock up on your embellishments or get the stamps and dies you’ve been eyeing for a while. Code: freedom18    Expires: 7/8/18

Thanks for stopping by. I hope you enjoyed today’s card.

| | |

Creating A Koala Shaker Card + Video

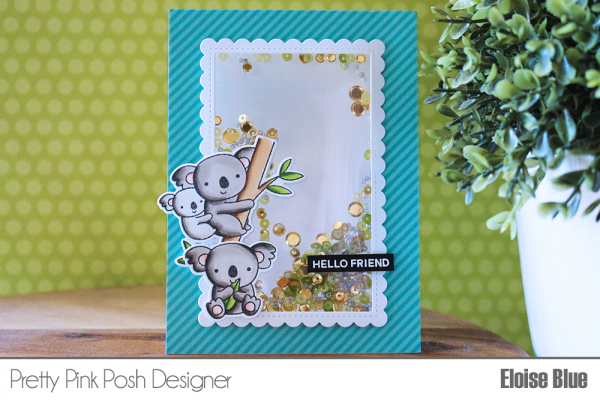
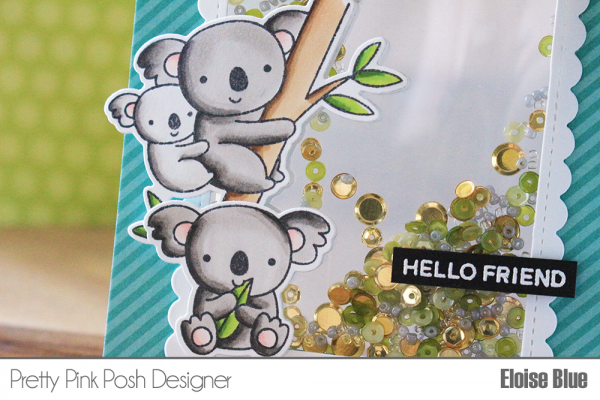
Hi everyone, Eloise here today with a new card and video. Today I’ll be using the Koala Friends stamp set along with the Hello Shaker die to create a windowed shaker card. I’ll be altering my dies to fit my card better and also to share how to stretch your dies as well.

Watch the video above  I  Watch the video in HD on YouTube
To begin my card today I stamped out the koala’s from Koala Friends onto some Neenah Solar White Cardstock. I then used my Copic Markers to colour them in and used the coordinating dies to cut them all out. Now that I had my die cutting machine out I took the Hello Shaker Die and ran it through my die cut machine partially. Meaning, I only ran through the top half of the die. Then, I pushed down the die a little more, making sure it sits into the grooves of the last die cut area, and ran it through again. This made sure that the die cut was longer than the square it was before. Now that the die was cut, I used an exacto knife to cut away the words from the inside, so now I’m just left with a scalloped frame.

Copic Markers Used: W0, W2, W5, W7 / YG03, YG13, YG17 / R000, R00, R20 / E53, E55, E57

Next up I measured how large the frame turned out to be and cut the same size rectangle out of a card base. I managed to find a rectangle die that was more or less the same size, but you can use an exacto knife and a ruler. I also did the same out of a piece of patterned paper. Once they were both cut, I added a piece of acetate to my card base and then adhered my patterned paper over top to hide the adhesive. I added another piece of acetate to the scalloped frame piece and then added a layer of foam tape around it. I then adhered my Koala images to the front of the scallop frame using foam tape as well. Then to cover the adhesive from the inside, I adhered my blank die cuts to the inside.

Shaker filling: Whimsical Forest Mix, Sparkling Clear Seed Beads, Pewter Seed Beads, Metallic Gold Confetti Mix

Now that my panels were ready, I added in some sequins and seed beads onto my card base. I removed the backers off my scalloped frame and adhered it over top. To finish up my card, I used the Bear Hugs stamp set and white heat embossed the ‘Hello Friend’ sentiment onto a thin strip of cardstock and popped it up on more foam tape.

Thanks so much for stopping by today, I hope you enjoyed and got inspired. Thanks for watching and I’ll catch you all next time.

Eloise

| |

Tutorial: Watercolor Background + Sale

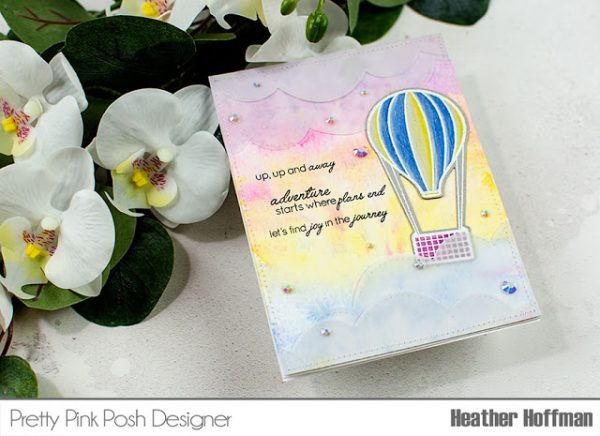
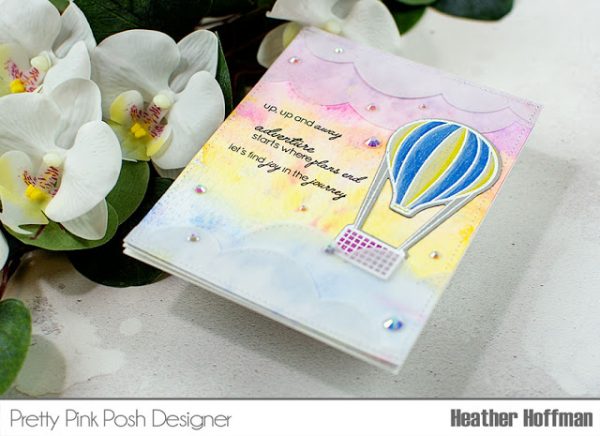
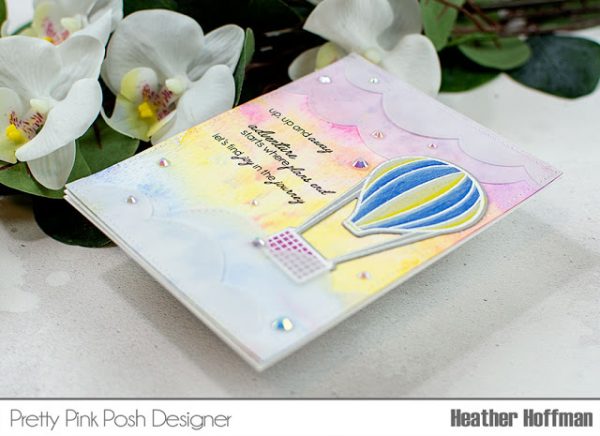
Good morning Pretty Pink Posh friends! Heather here this morning to share this soft and dreamy hot air balloon scene created with watercolors, vellum, and the fun Fly Away Friends Stamp Set!

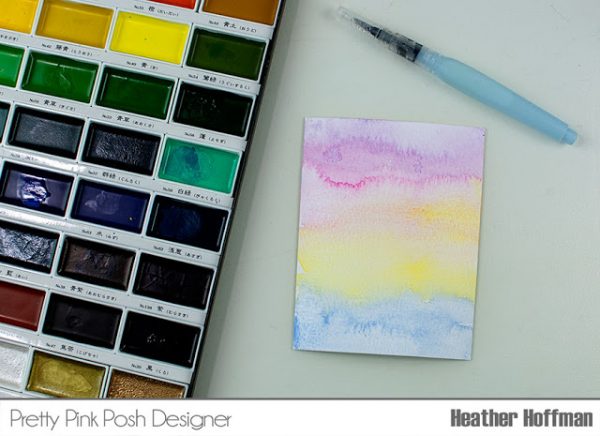
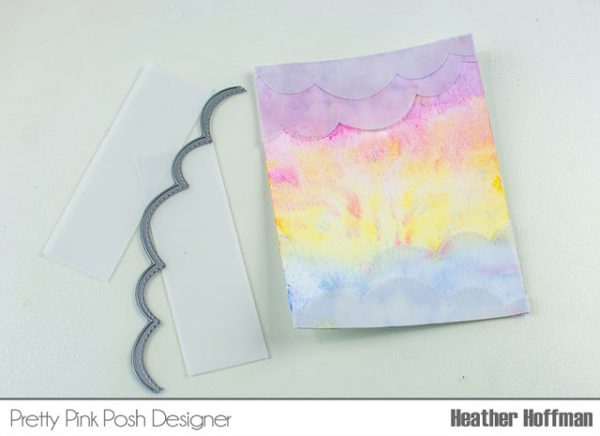
I started off by using a panel of watercolor cardstock, a waterbrush, and watercolors to create a soft watercolor wash – I aimed for a look that would resemble the sky at sunset or sunrise.

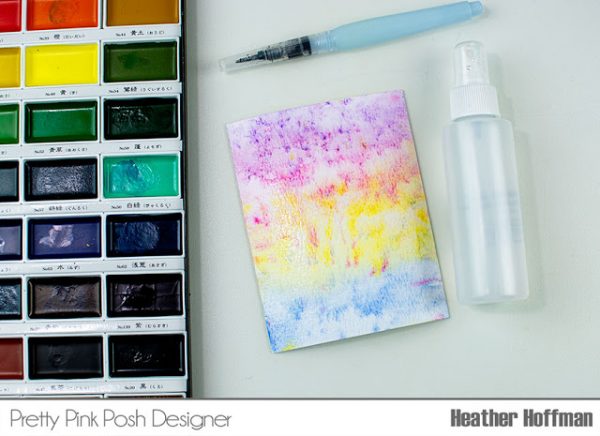
While it was still damp, I added some splatters with the same colors of watercolor, and misted the areas that were a little dryer with water so that it would blend out.

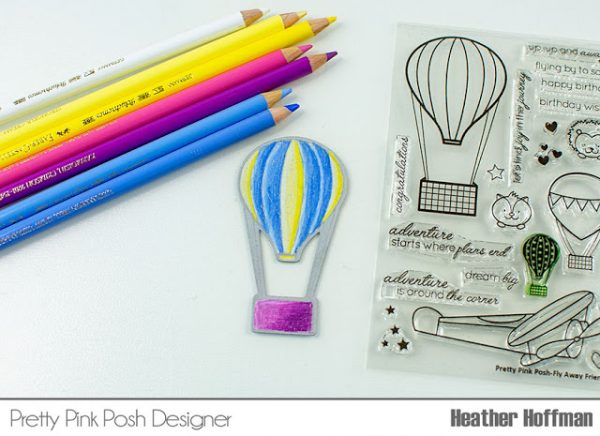
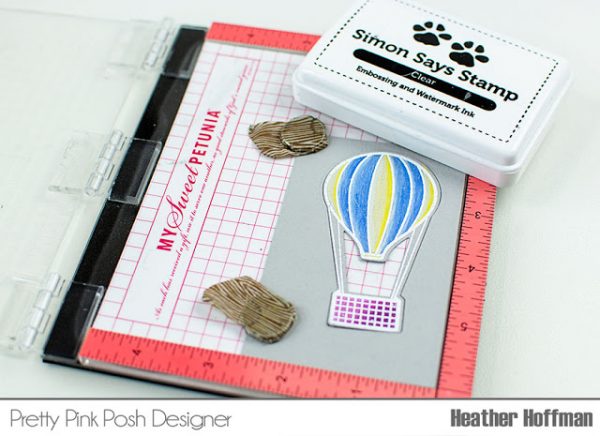
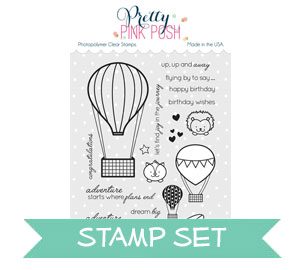
I set that aside to dry, and stamped the fun hot air balloon from Fly Away Friends in gray ink on gray cardstock, die cut with the Coordinating Fly Away Friends Dies, and colored with Prismacolor colored pencils.

I had actually die cut my image before stamping (playing in my head with the idea of using it as a silhouette, but changed my mind halfway through), so I had lined it up in the negative in my MISTI to stamp the original image. This allowed me to stamp over in the exact same place and heat emboss in white over the original image. It definitely would have been easier though to stamp, color, restamp and emboss, THEN die cut – but I thought I would share this tip in case you got things out of order like I did this time! Haha!

By now my sky background had dried sufficiently, so I decided to add some soft dreamy clouds to the scene! I used Stitched Borders 2 to die cut some panels of vellum, and layer them together at the top and bottom of the card. I held them in place with a *tiny* bit of adhesive, then took it to my sewing machine to sew all the way around the edges, thereby attaching the vellum clouds nicely and firmly.

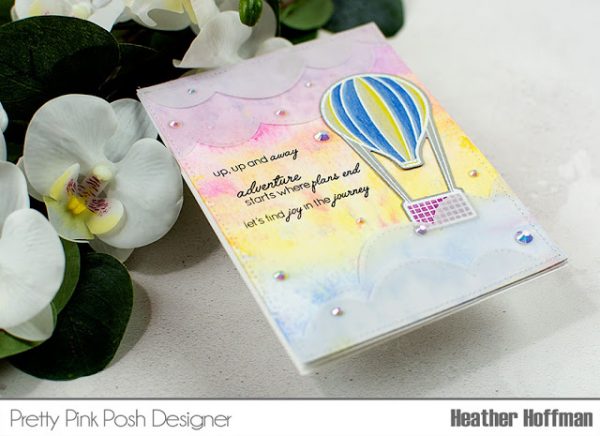
Finally, I couldn’t decide which sentiment to use, so I pulled out several, and built my own custom sentiment! I used my MISTI again to stamp these in black ink – thanks to the texture of the watercolor paper it can be difficult to get a clear impression, so using the MISTI helped make it super easy.

I adhered the hot air balloon, tucking the bottom under the clouds on the lower edge of the card – making it look as if it is floating up through the clouds!

Finished off by adding a good sprinkling of Pearl White Jewels for a touch of sparkle – these jewels are so fun! I can’t get enough of them!

I had originally planned on putting one of the cute critters in the hot air balloon…but ended up like the scene as it was! I loved that this set would work so well for cute and fun cards – but also something completely different like this card!

Thanks so much for stopping by today! Have a wonderful day!!!
| |

The Daily Marker 30 Day Coloring Challenge Blog Hop + Giveaway

Hello! This is Day 2 of a two day hop to celebrate the tenth 30 Day Coloring Challenge. Have you heard of “The Daily Marker’s 30 Day Coloring Challenge” hosted by Kathy Racoosin? Right now it’s in the middle of the challenge and it’s a great time to take a leap, jump in and get your feet wet!  Don’t feel like you are jumping into the middle of the challenge I hope you will think of it as a new beginning.

The premise of “The Daily Marker 30 Day Coloring Challenge” is to color something everyday even if it’s for five minutes. However feel free to  jump in or out as time permits.

Any coloring medium is welcomed. Click here for DAY 1. TO UPLOAD YOUR COLORING  or here on Instagram or here on Facebook (FB is a closed group). Please remember to use the hashtag #thedailymarker30day  and tag @kathyrac . For kids & young adults #thedailymarker30daykids

Ready to get started on today’s card? Let go!

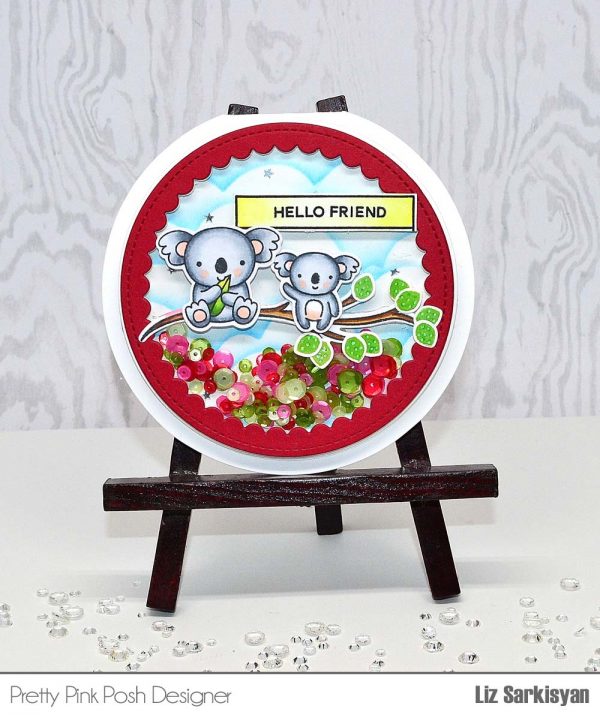
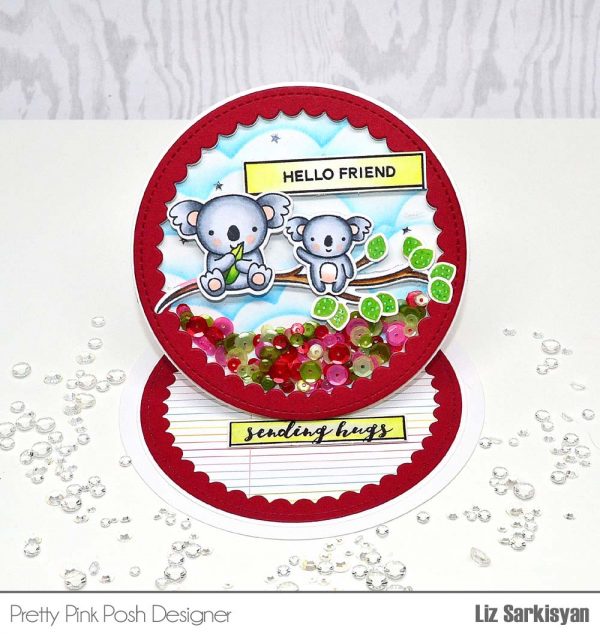
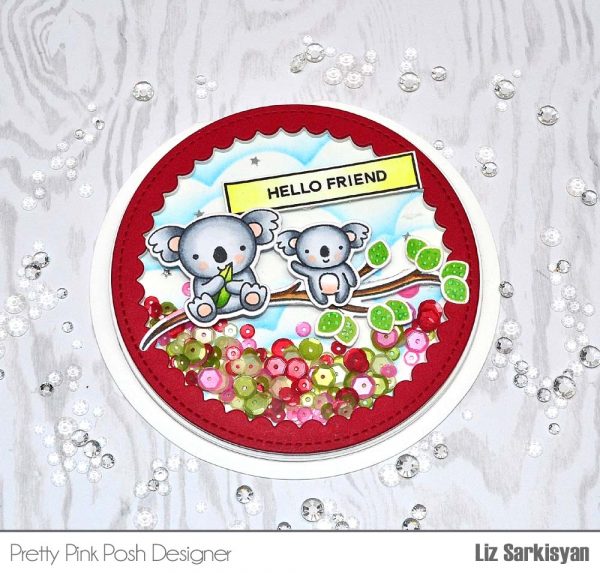
This Koala Friends from Pretty Pink Posh is so darn cute with the different size Koalas so I decided to create this fun upright card. Also, reached for the Birdie Friends set to add a branch, leaves, and sentiment to add to the scene.

For this card, I started out by die cutting a couple of Scallop Circles, one for the inside of the card and the other for the top of the card and shaker.

To color these Koala’s, I used the following copic colors: CO, C1, C3, C5, R11 for the belly and ears. For the branch, E37, E33, E31 and for the sentiments, I used the Zig Clean Color Brush.

Next, I die cut a large basic circle almost the same size of the Scallop Circles to create the background and use for closing the shaker from behind.  Added some clouds using Salty Ocean distress ink and began to piece together the shaker by adding several sequins using the Berry Bright Mix and glued down some Silver Mini Star Confetti on top.

From there, I created the circle card base by placing the same circle onto a folded card stock and ran it through the die cutting machine leaving a little portion of the circle die not hitting the top of the card stock.  This way it leaves a fold on top.

Once the card base was done, I scored the front cover halfway and glued the bottom half only to add the circle shaker on top.

To decorate the inside of the card, I used patterned paper for the center along with the second Scallop Circles. From there, I added a sentiment from the Birdie Friends set where I colored using my zig clean color brush. Also, added some foam mount under the sentiment to pop it up which helps to hold the card upright so one can place anywhere.

From there, I created another white circle card base, but used a larger circle die since I was trying to create a double card put together. Plus, I wanted to give this upright card a white border around it and add an extra area to write a message.

When it lays flat, it shows the white border around the card, but when upright, only shows the top original card.

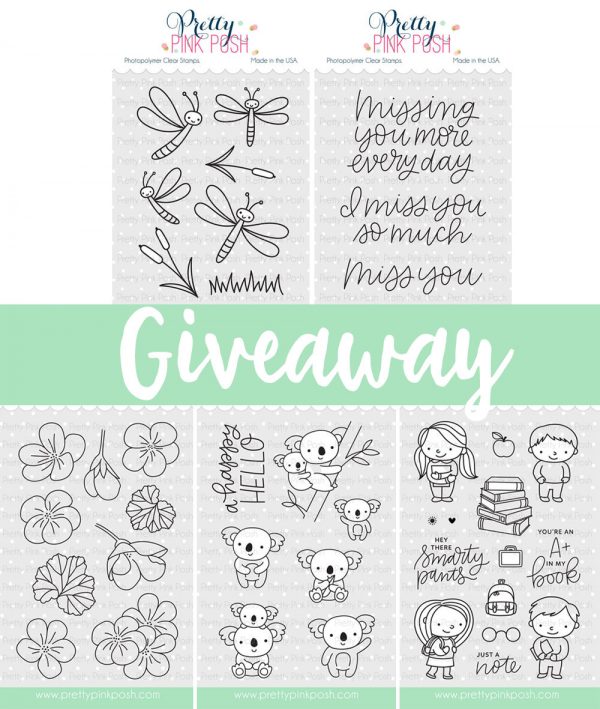
GIVEAWAY: leave a comment on this post and one person will win all five of our brand new stamp sets!

Congratulations to Katie Baird! 

If you have any questions about “The Daily Marker 30 Day Coloring Challenge” you can refer to this post.