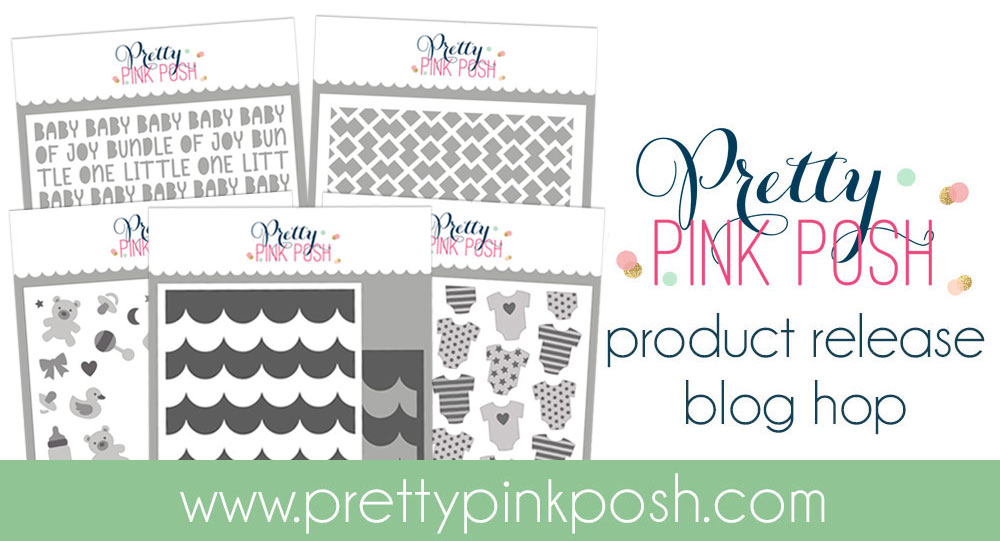
Day 2: May Blog Hop + New Release Now Available
If you missed Day 1 CLICK HERE
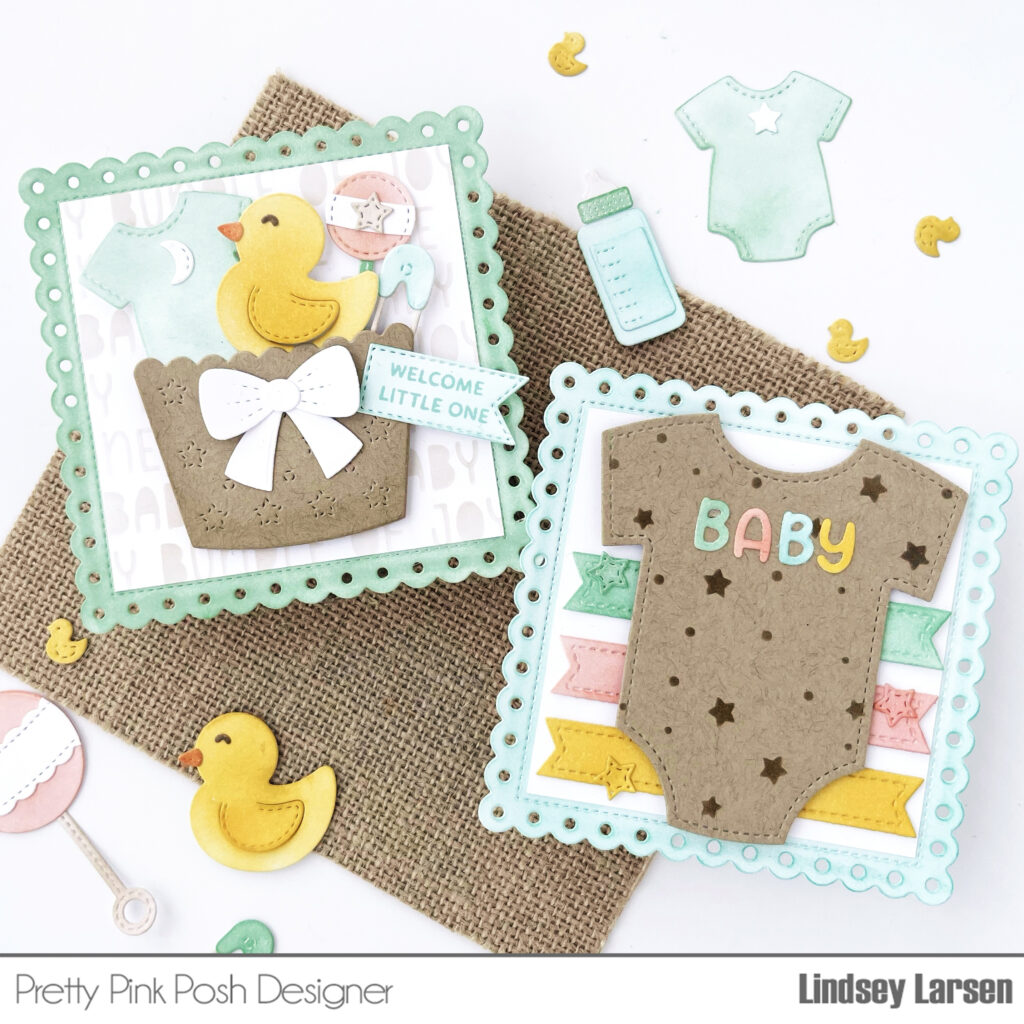
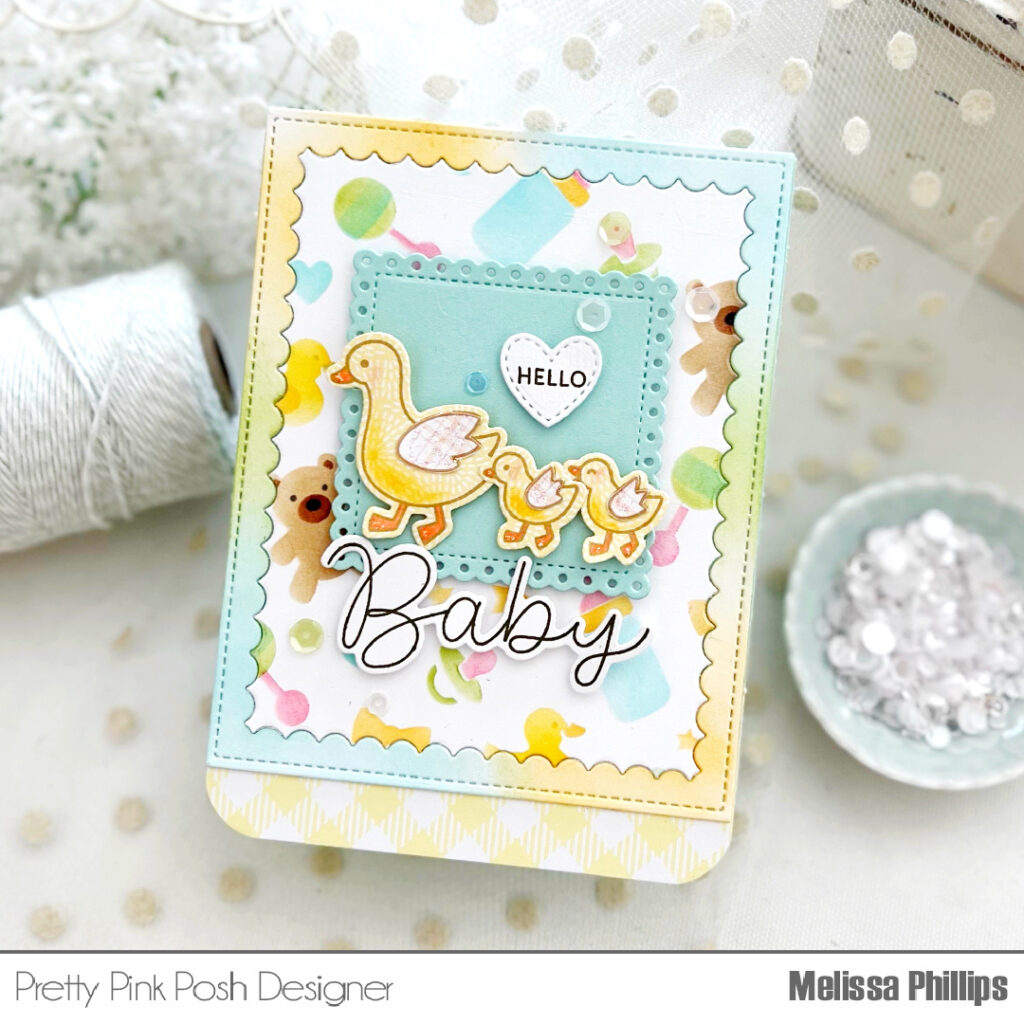
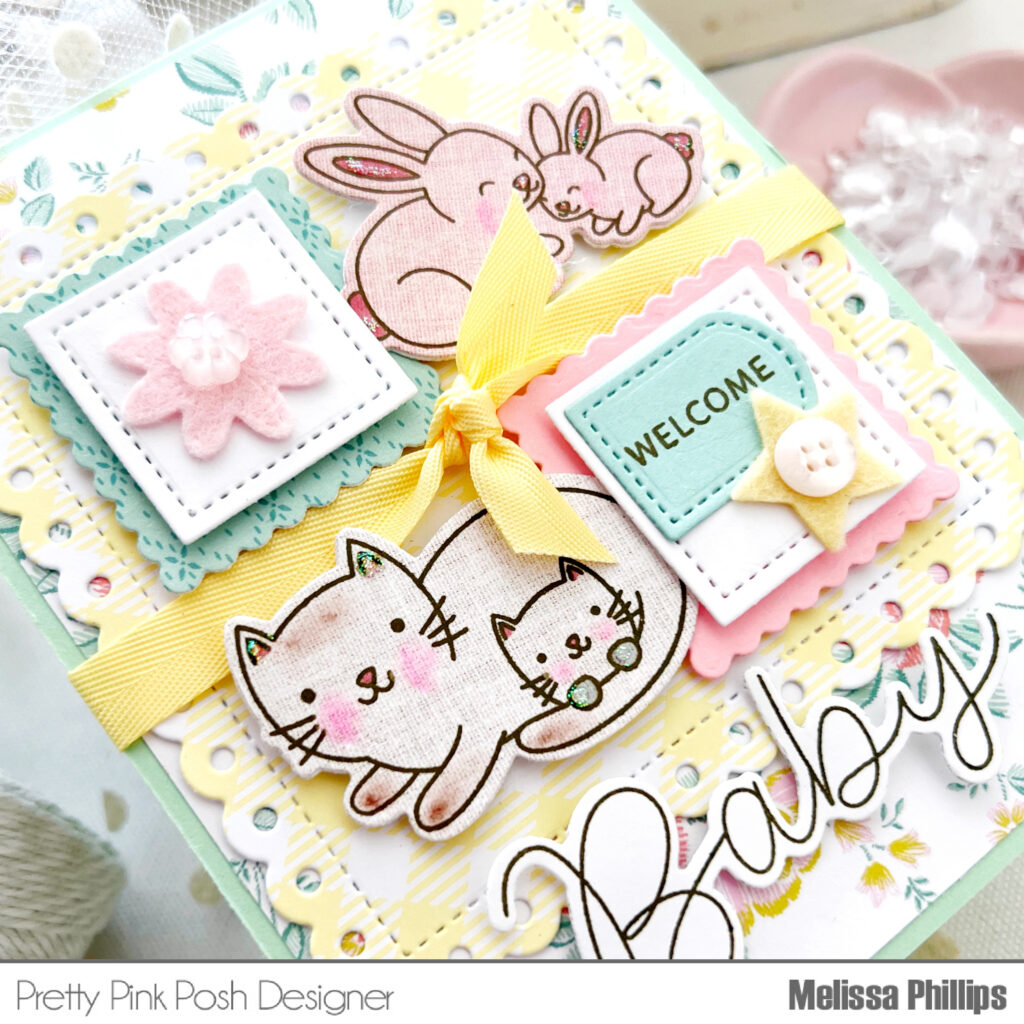
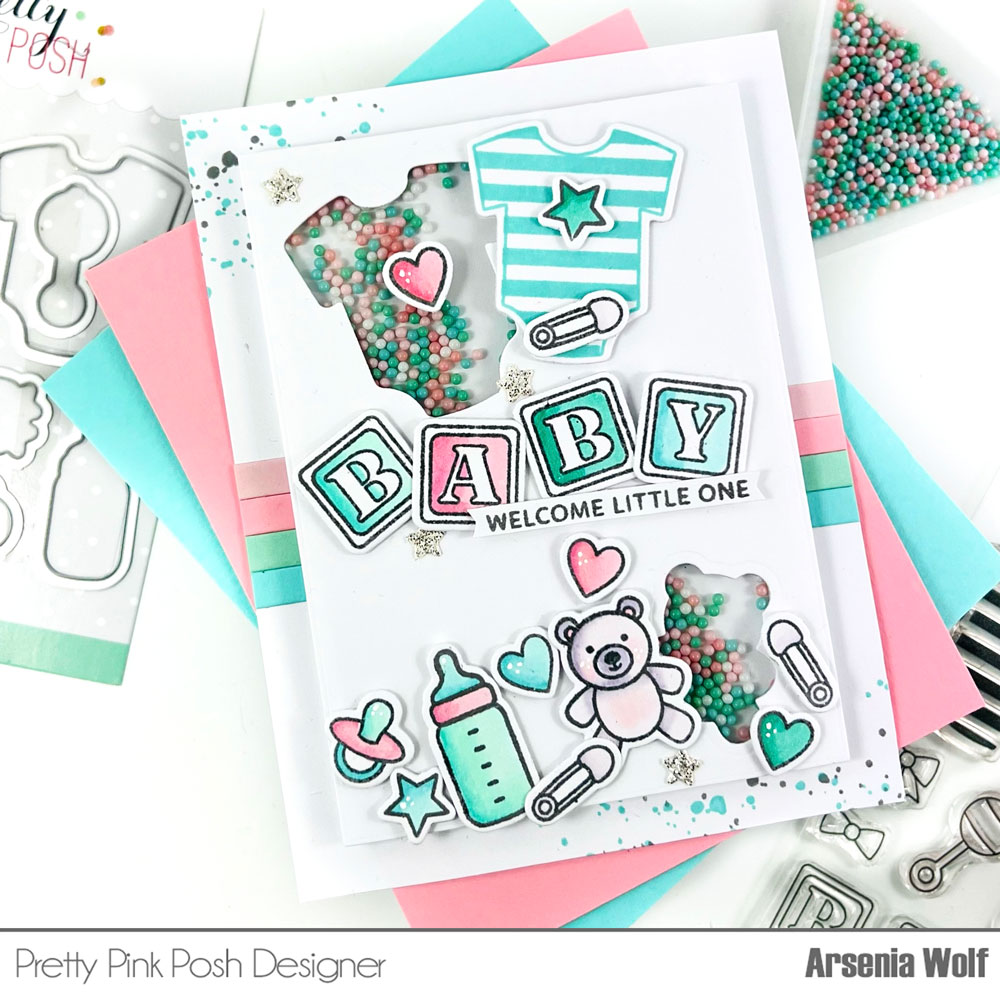
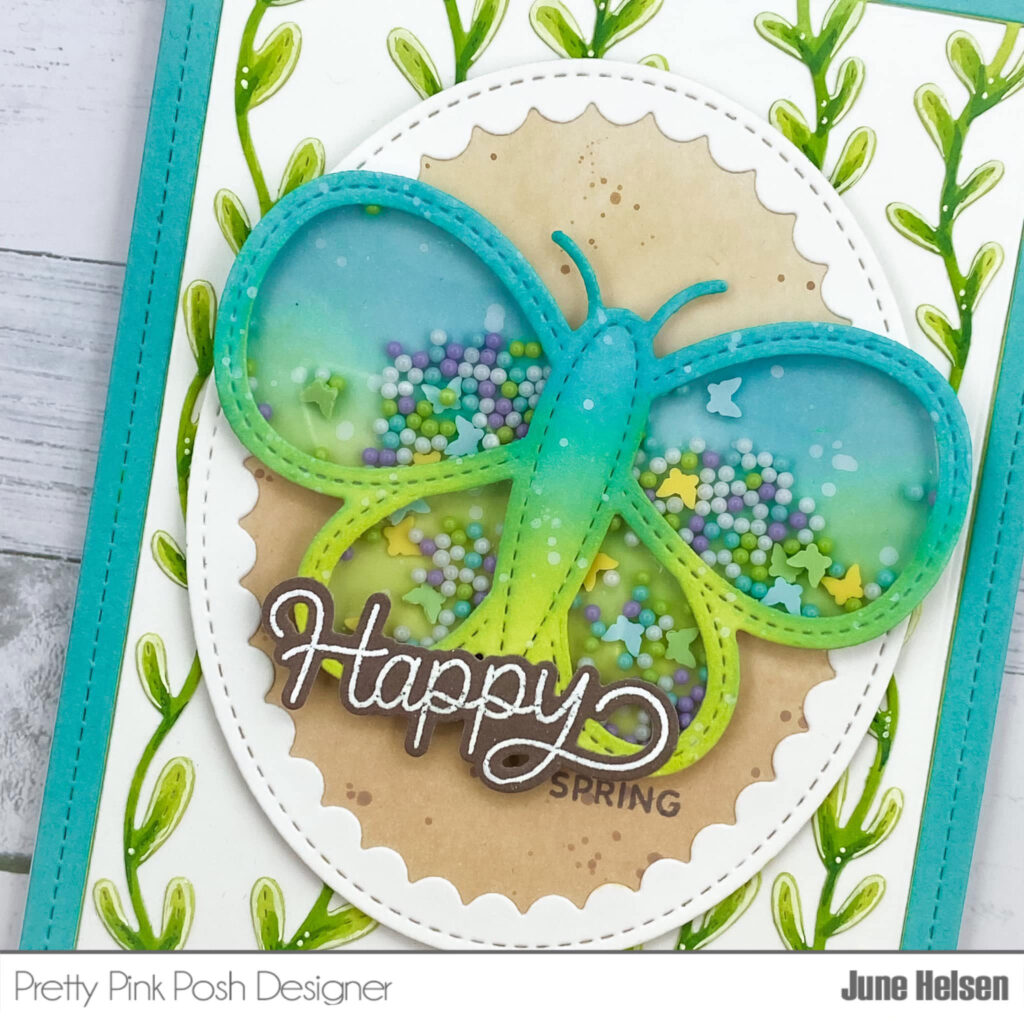
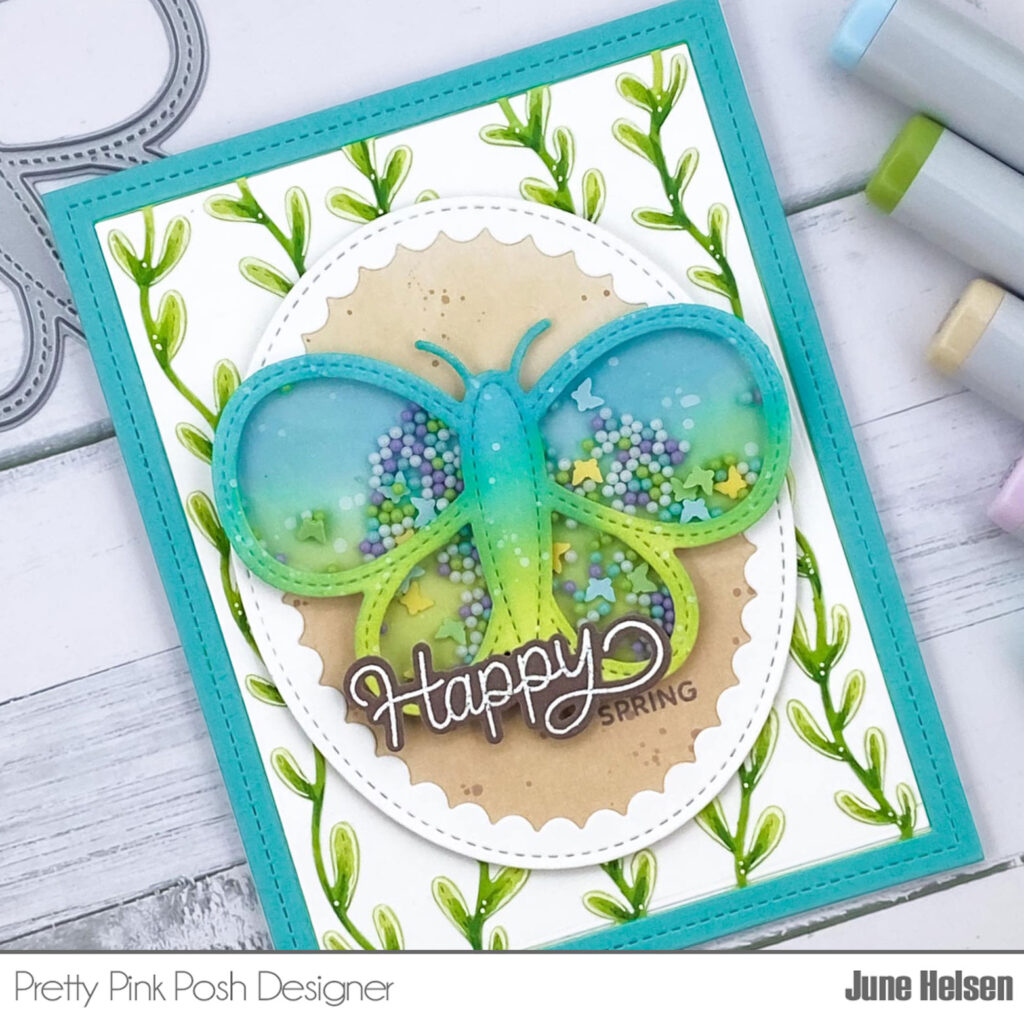
Welcome everyone to day two of the blog hop, Annette Allen here with you today and I am so excited to be guest designing again for this amazing release. I have created a card using the new..
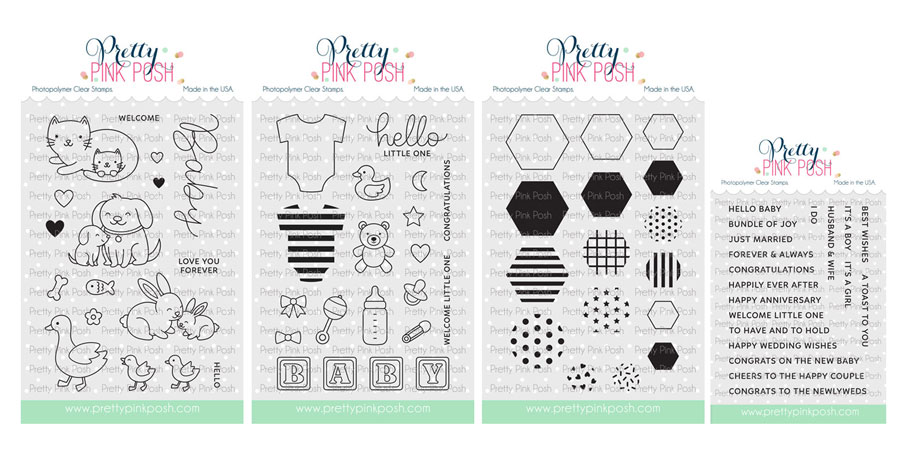
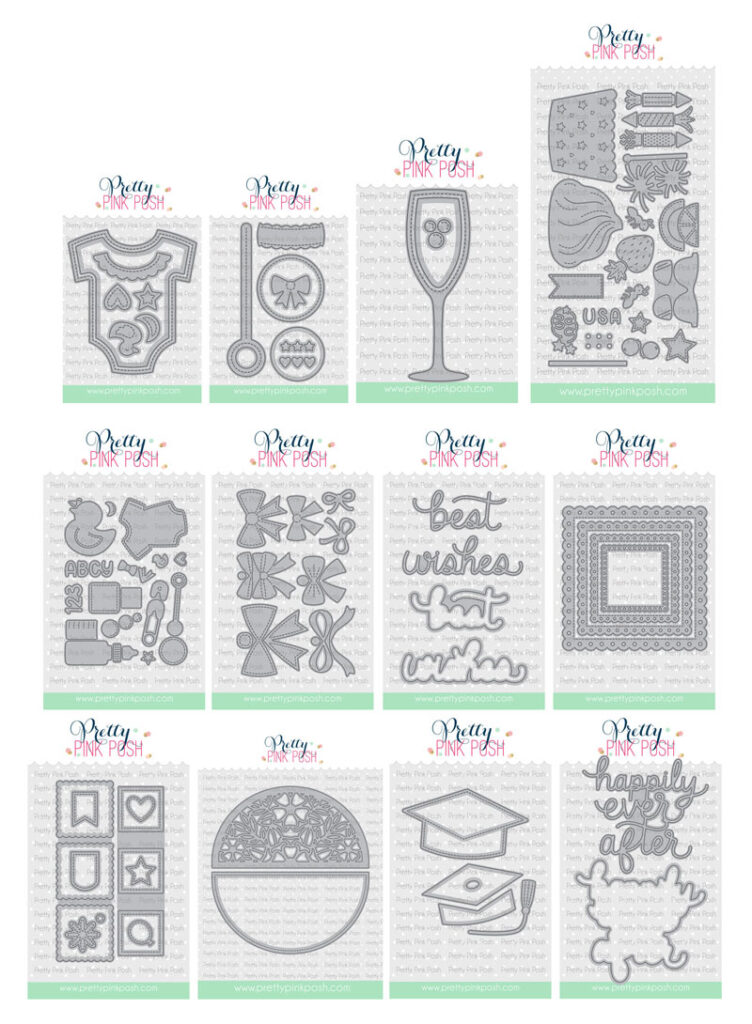
– Baby Mug Additions Dies
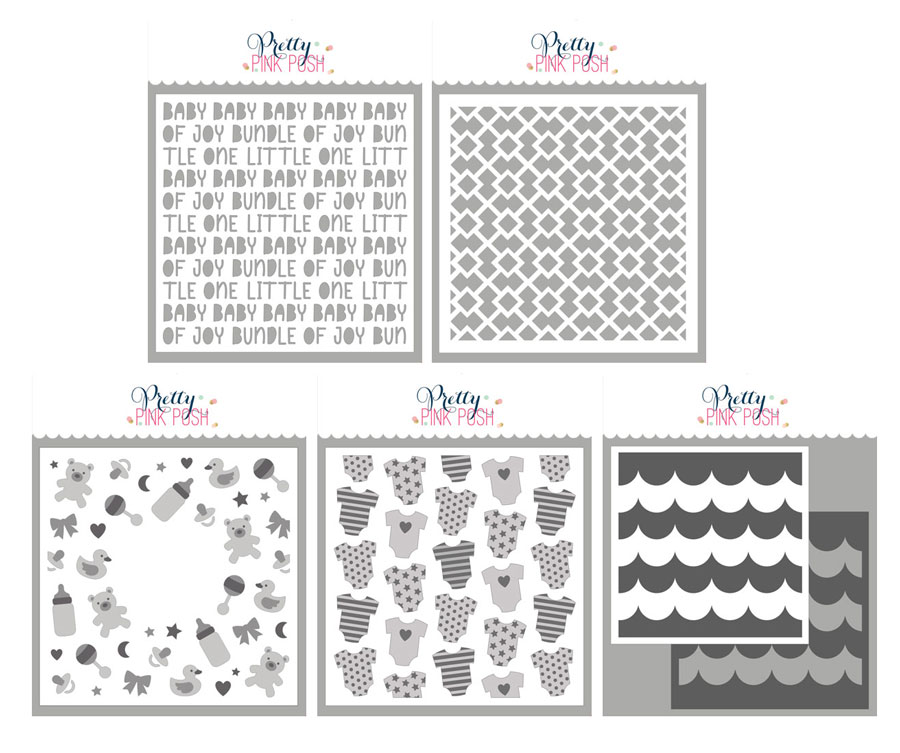
– Layered Baby Wreath Stencils (3 layers)
– Sentiment Strips Occasions Stamp Set
– Sentiment Strips Dies
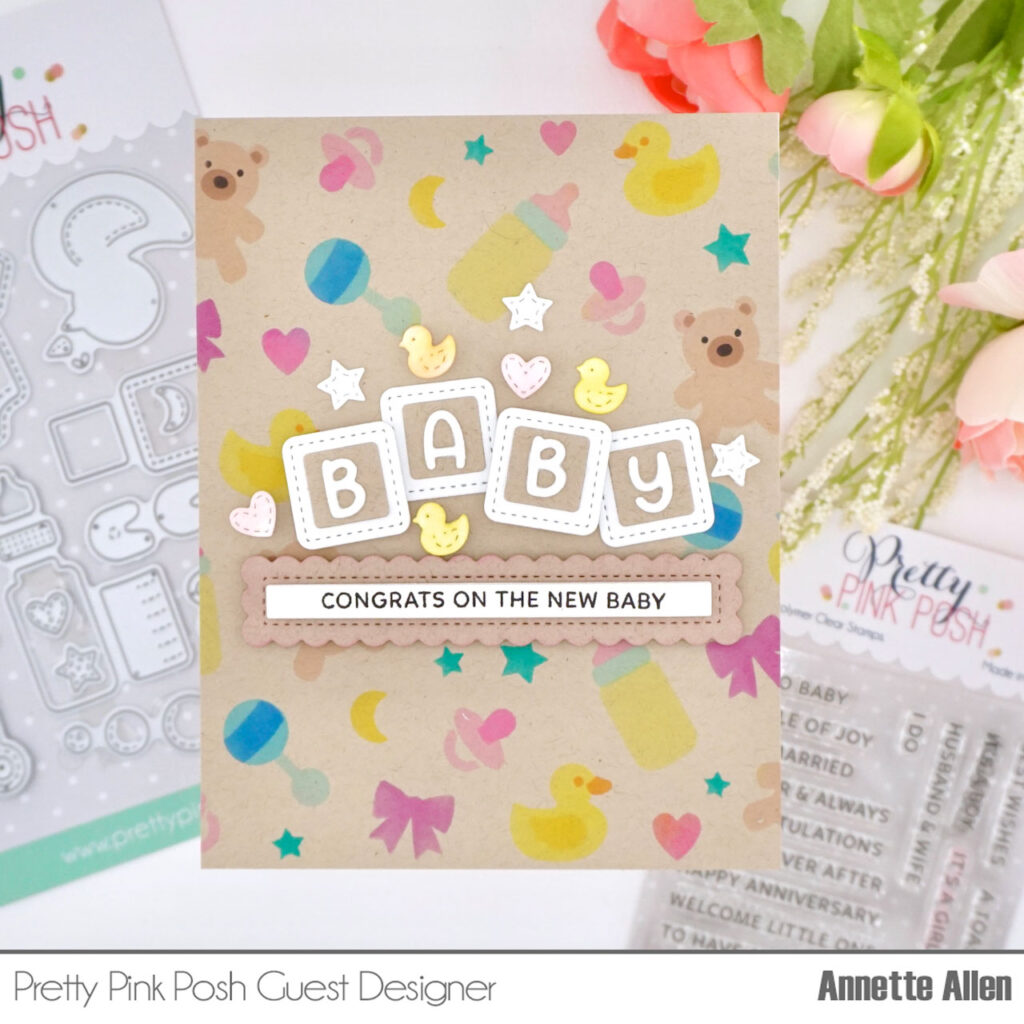
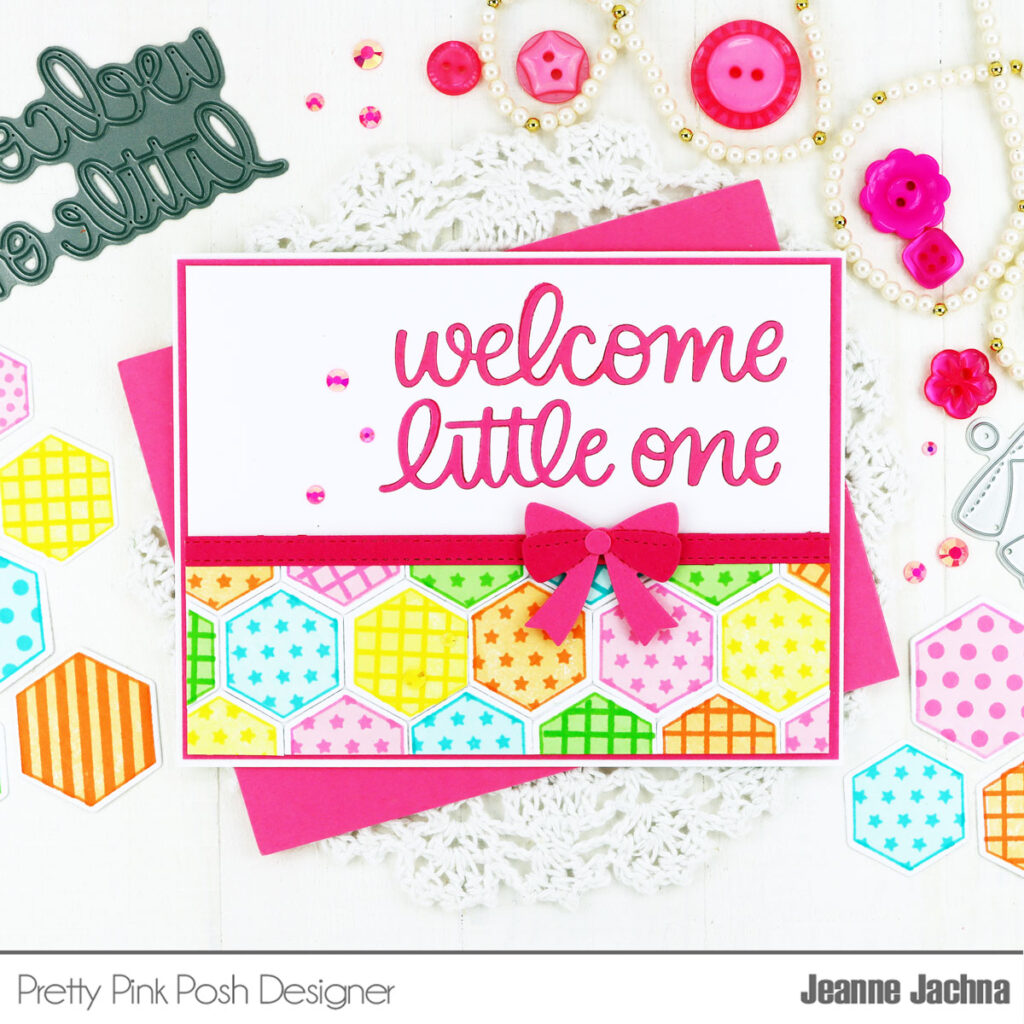
Create a card from white cardstock A2 size.
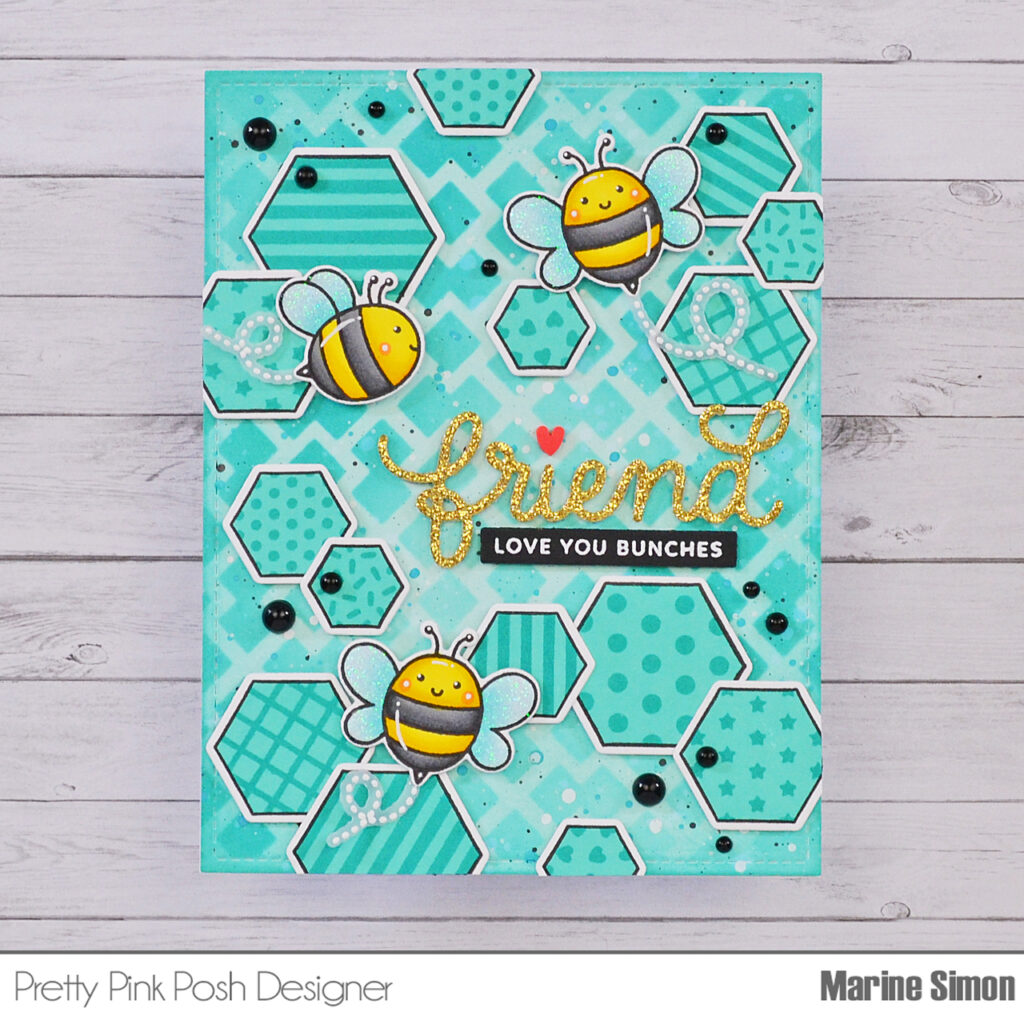
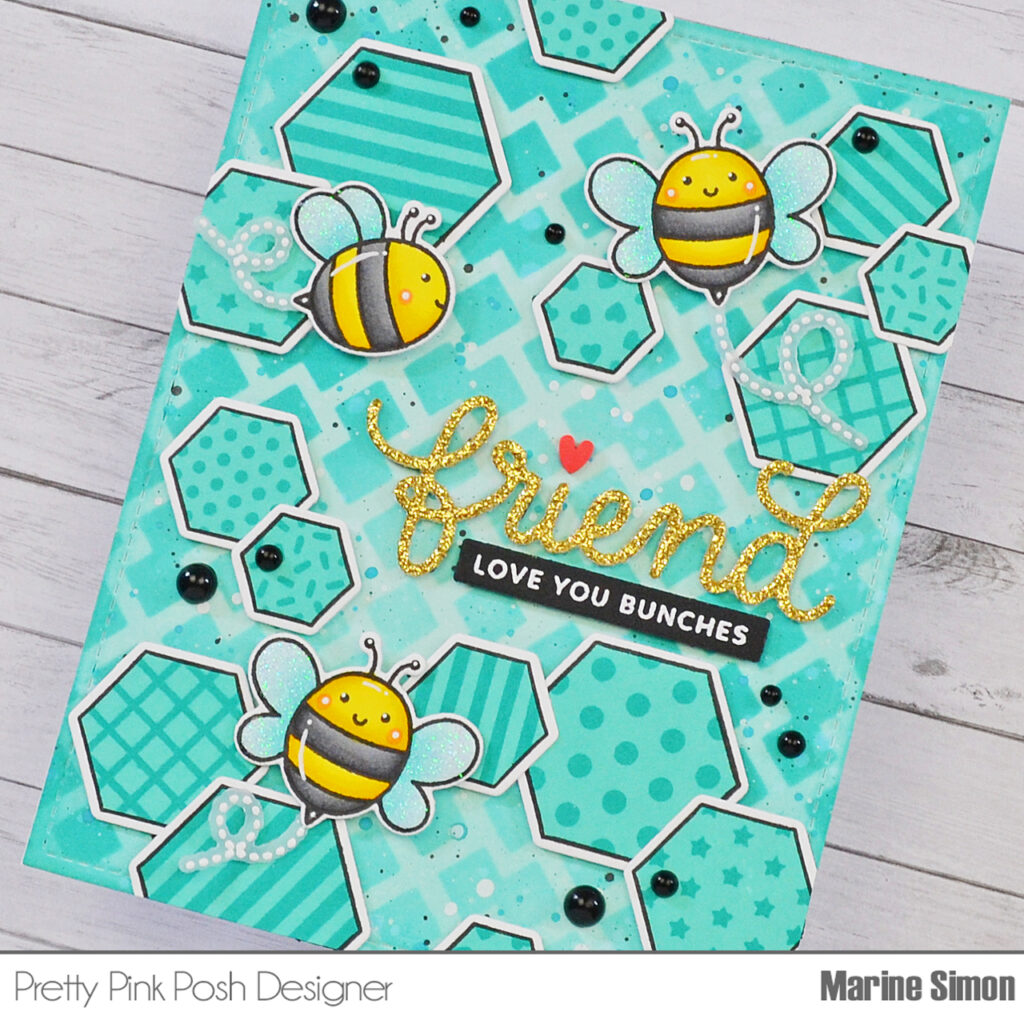
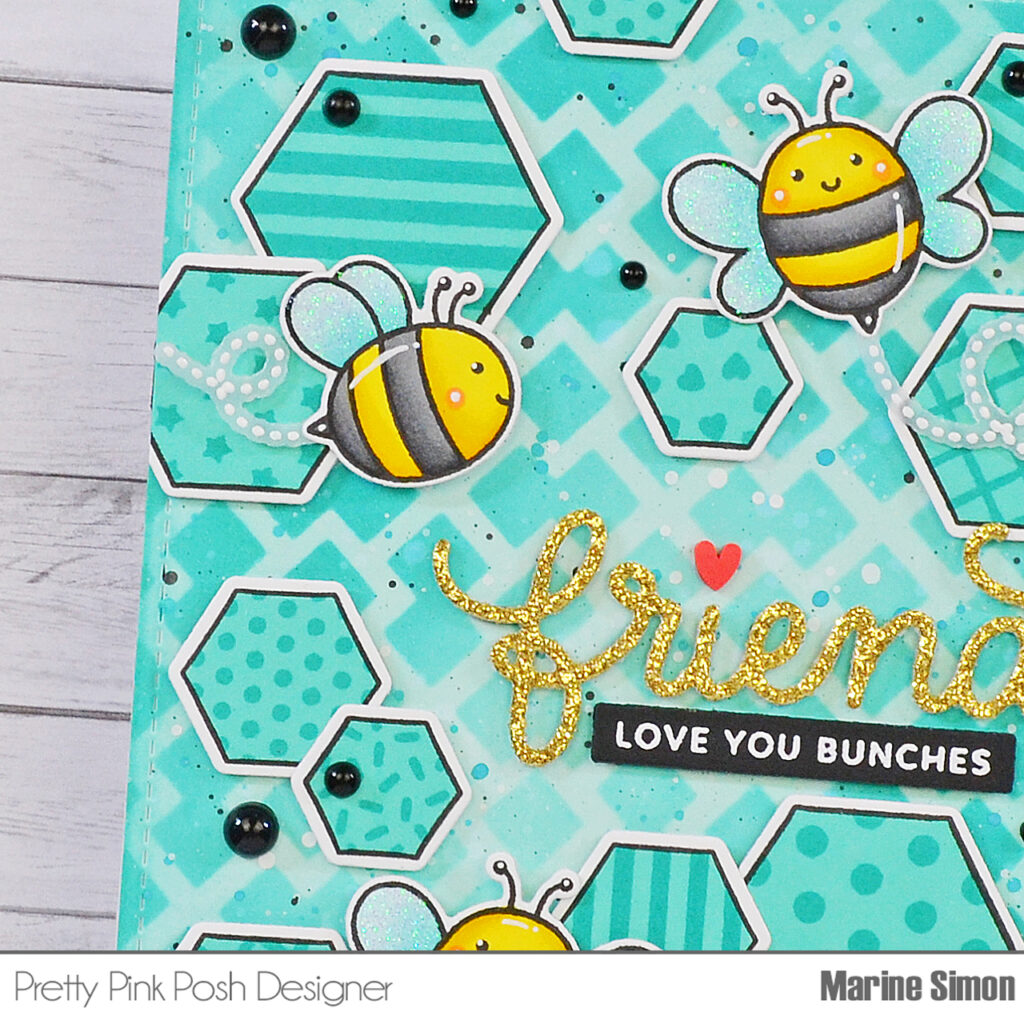
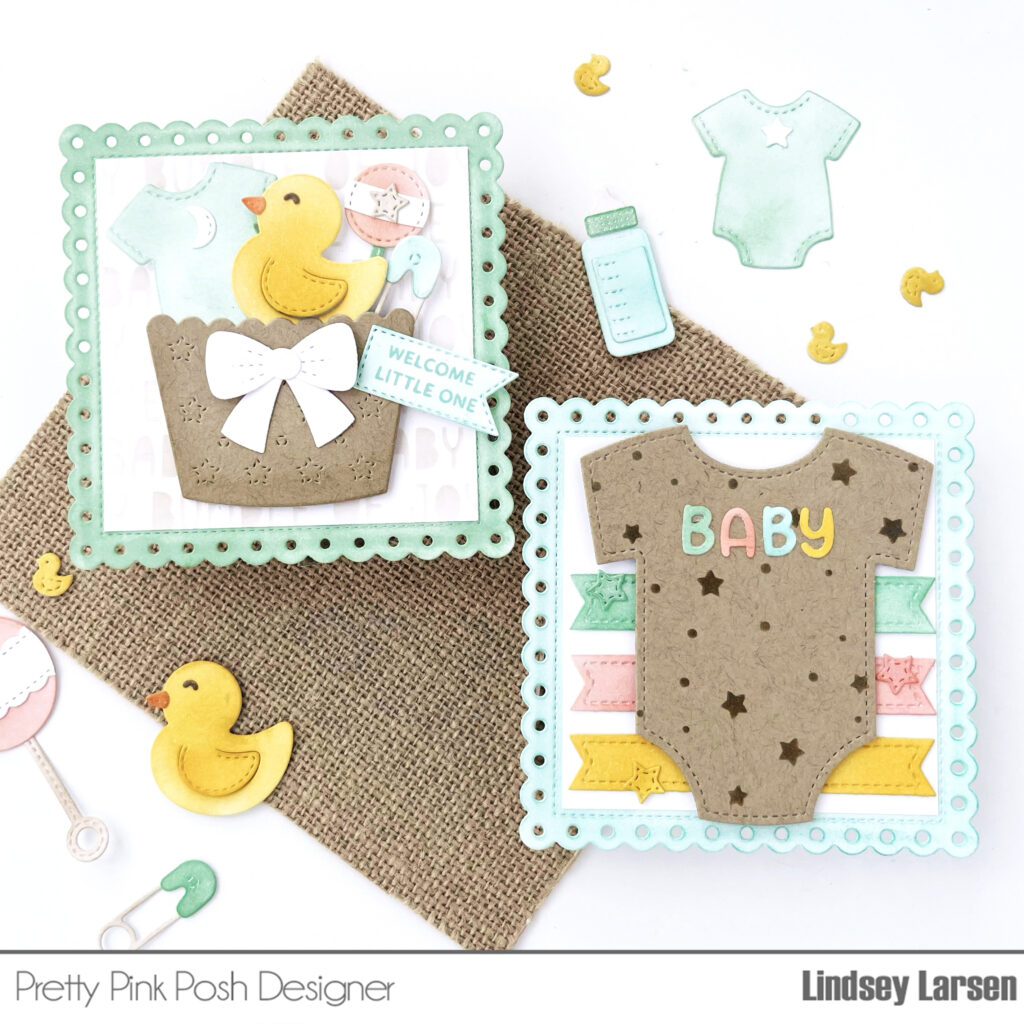
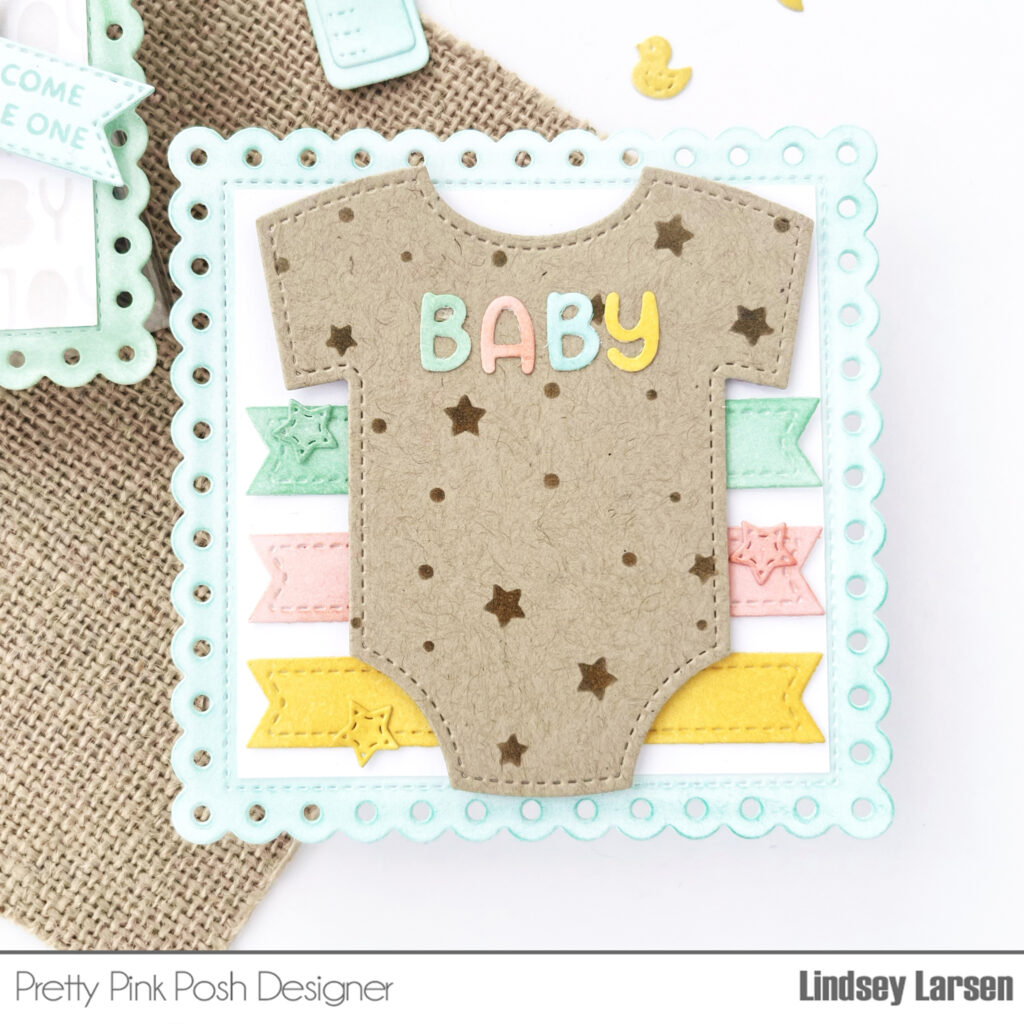
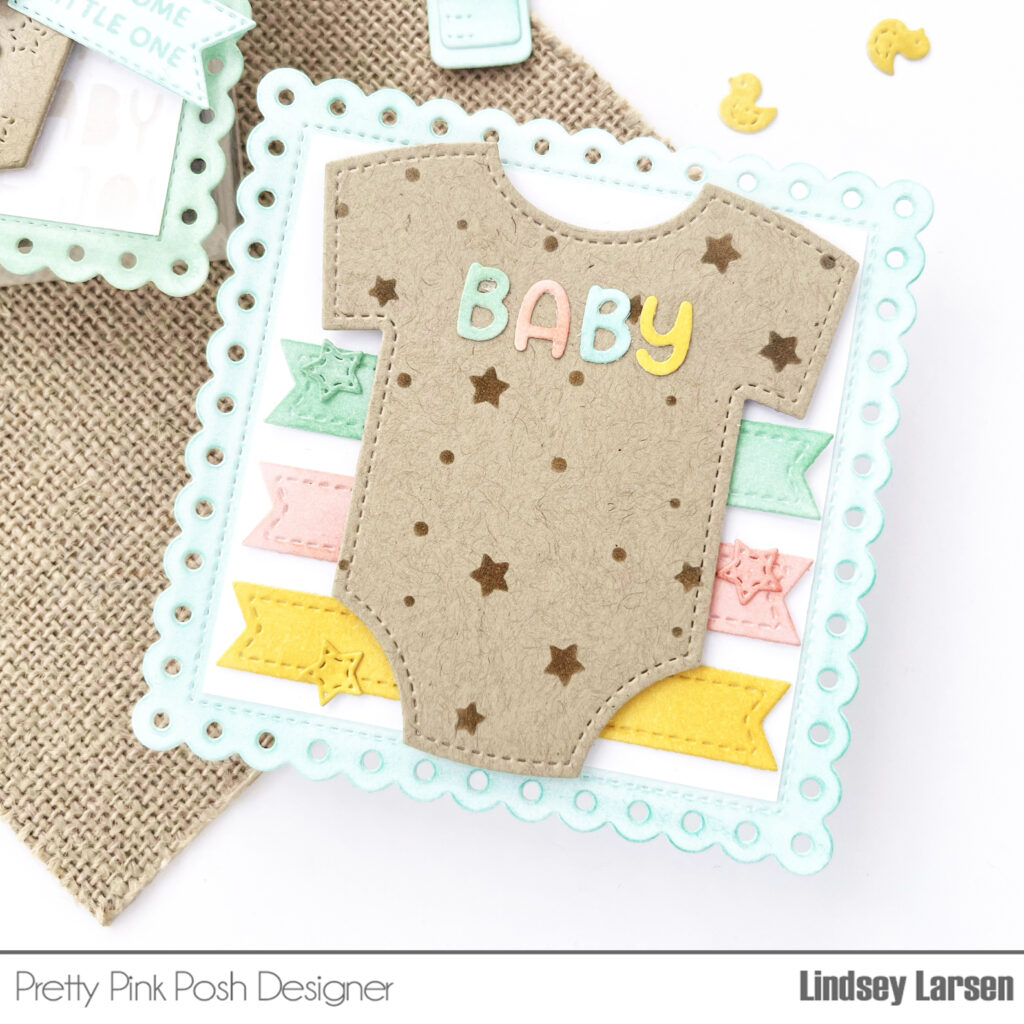
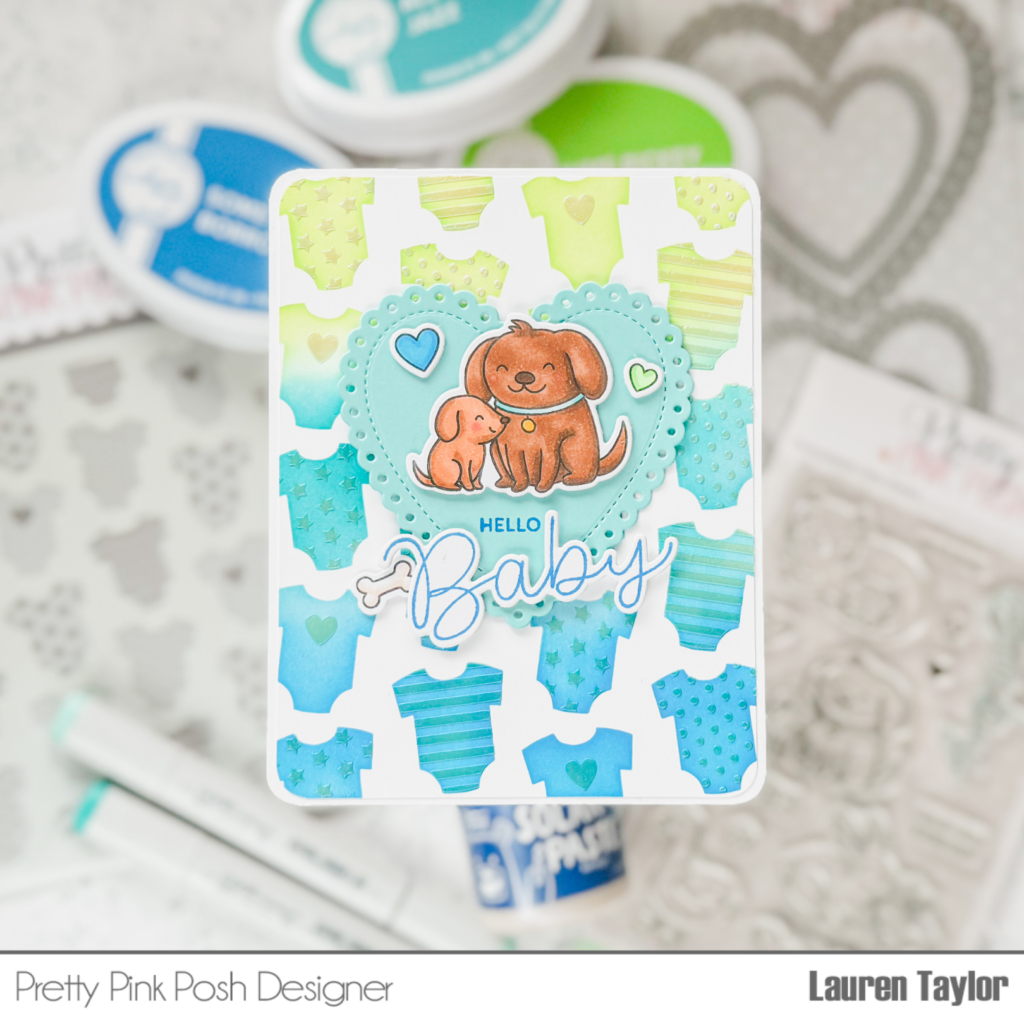
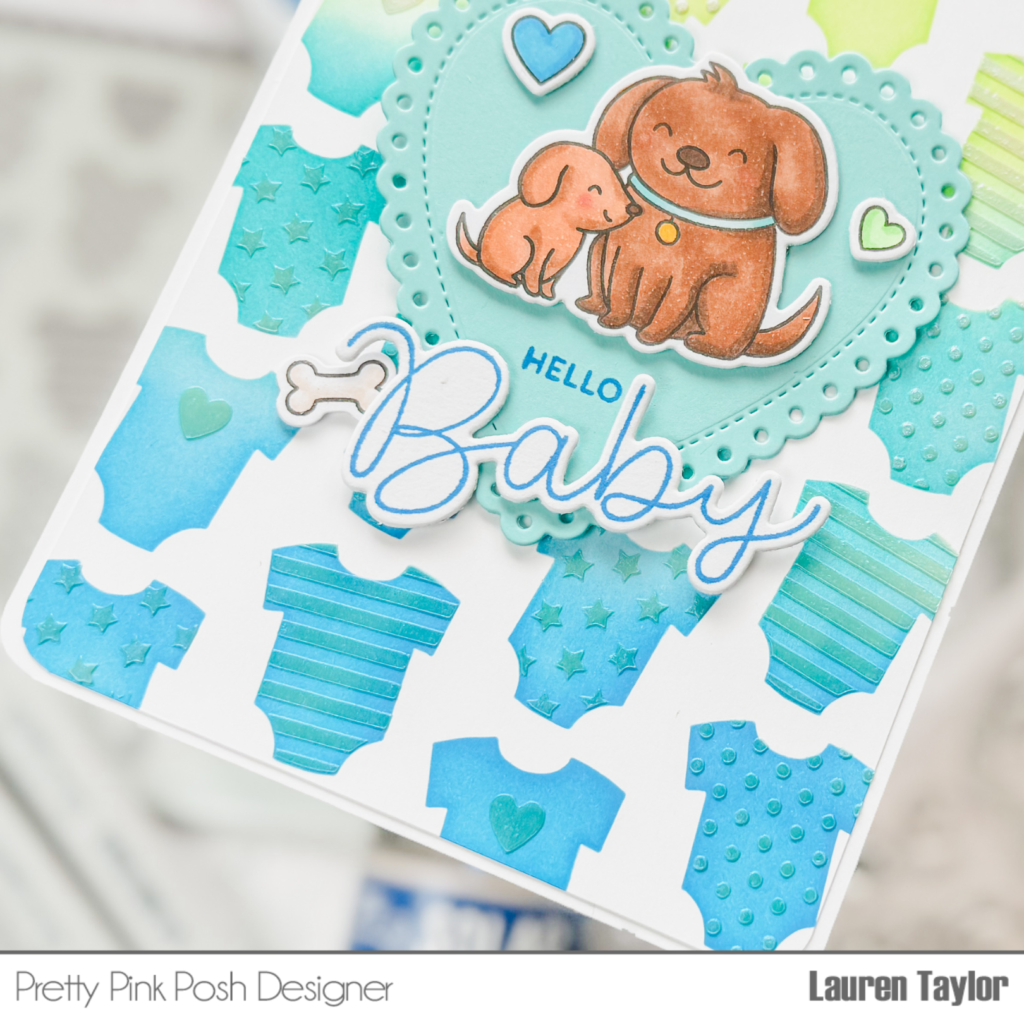
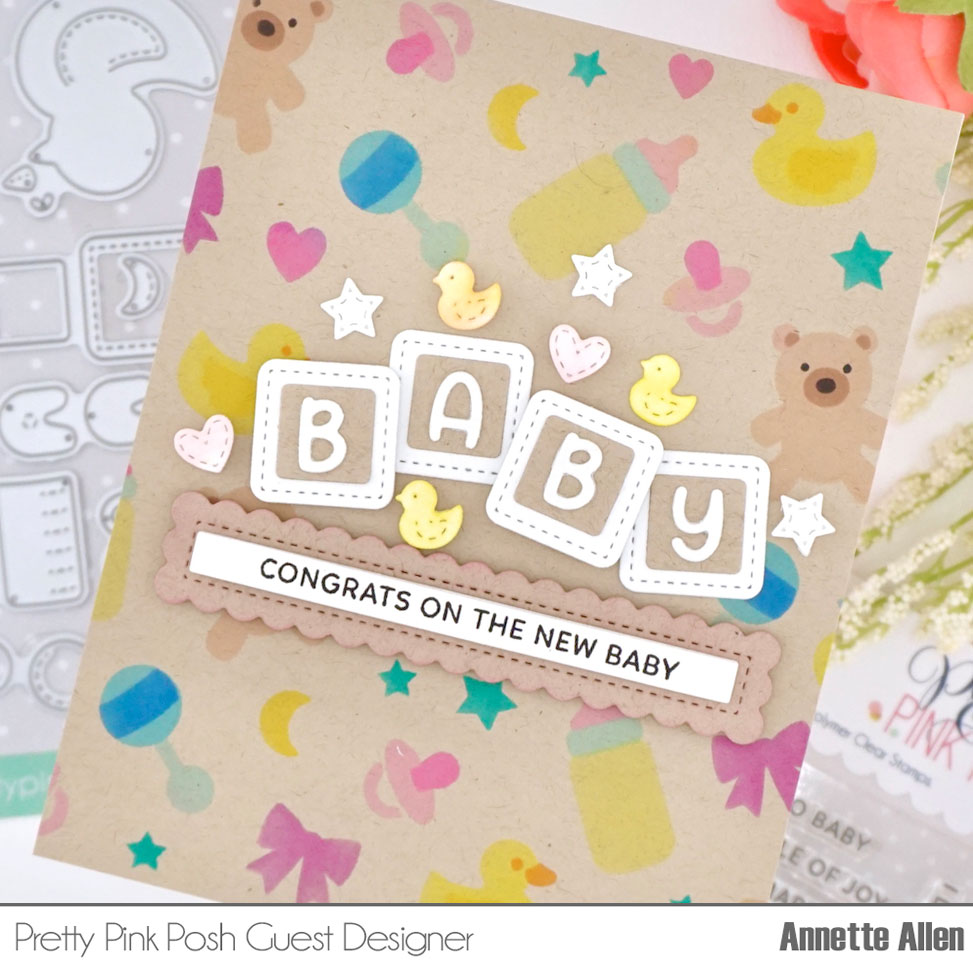
Cut a panel on kraft cardstock A2 size and stencil the new Layered Baby Wreath Stencils on it using colors that you love and well that would be great for a new baby.
Adhere your stenciled panel to your card base using liquid glue.
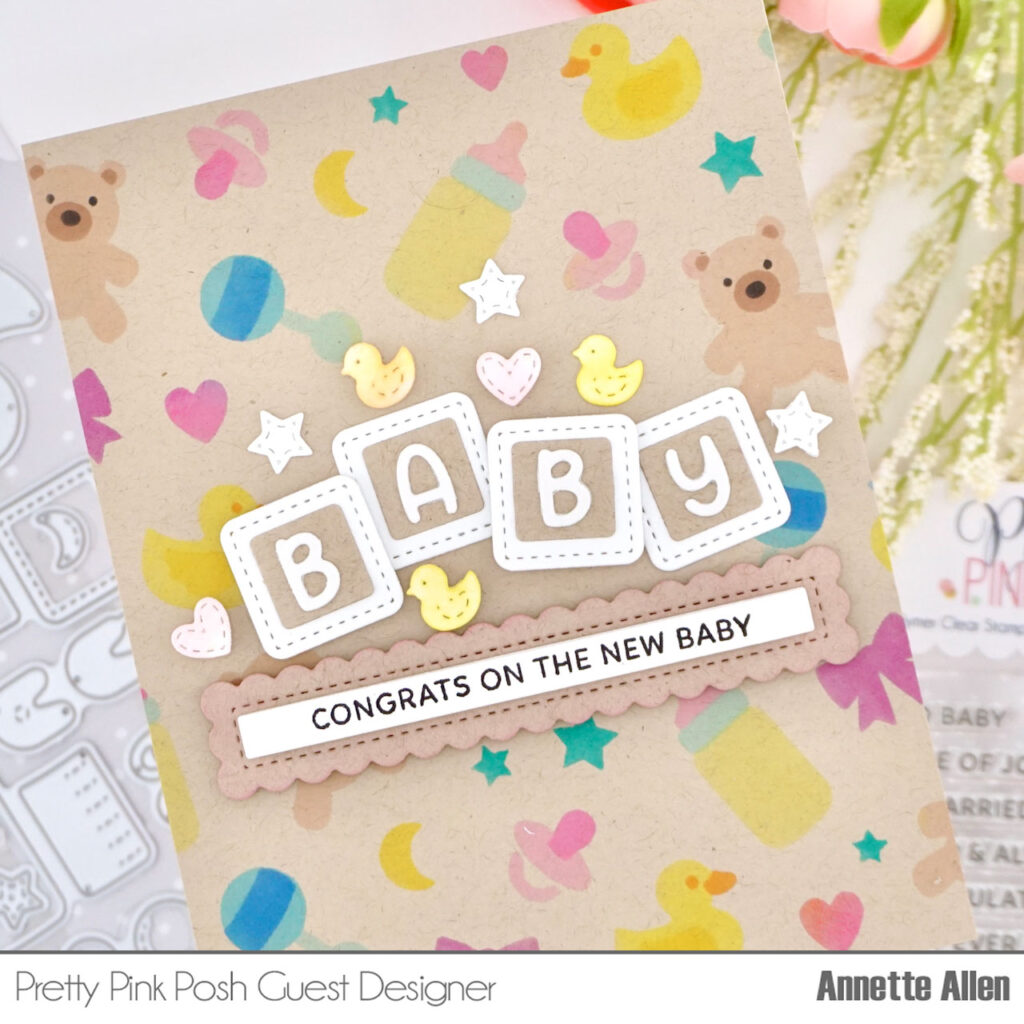
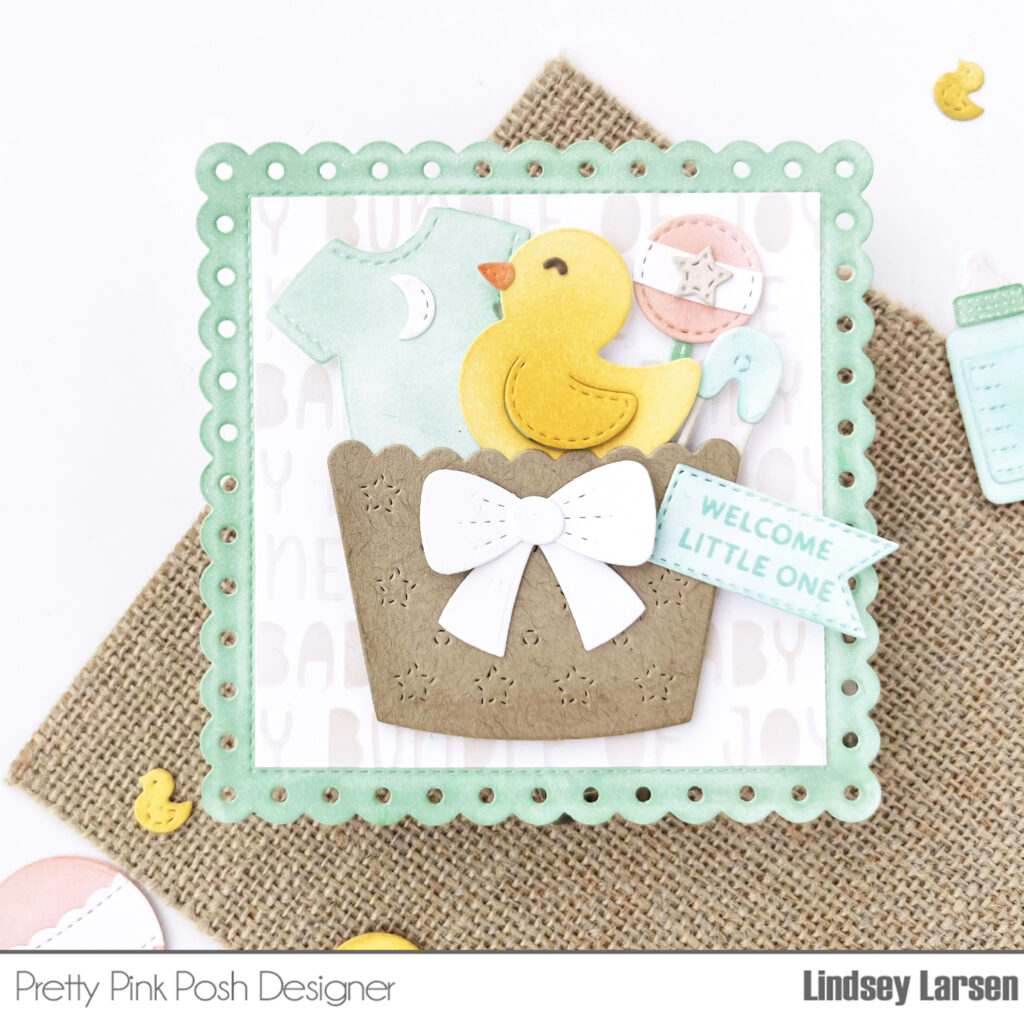
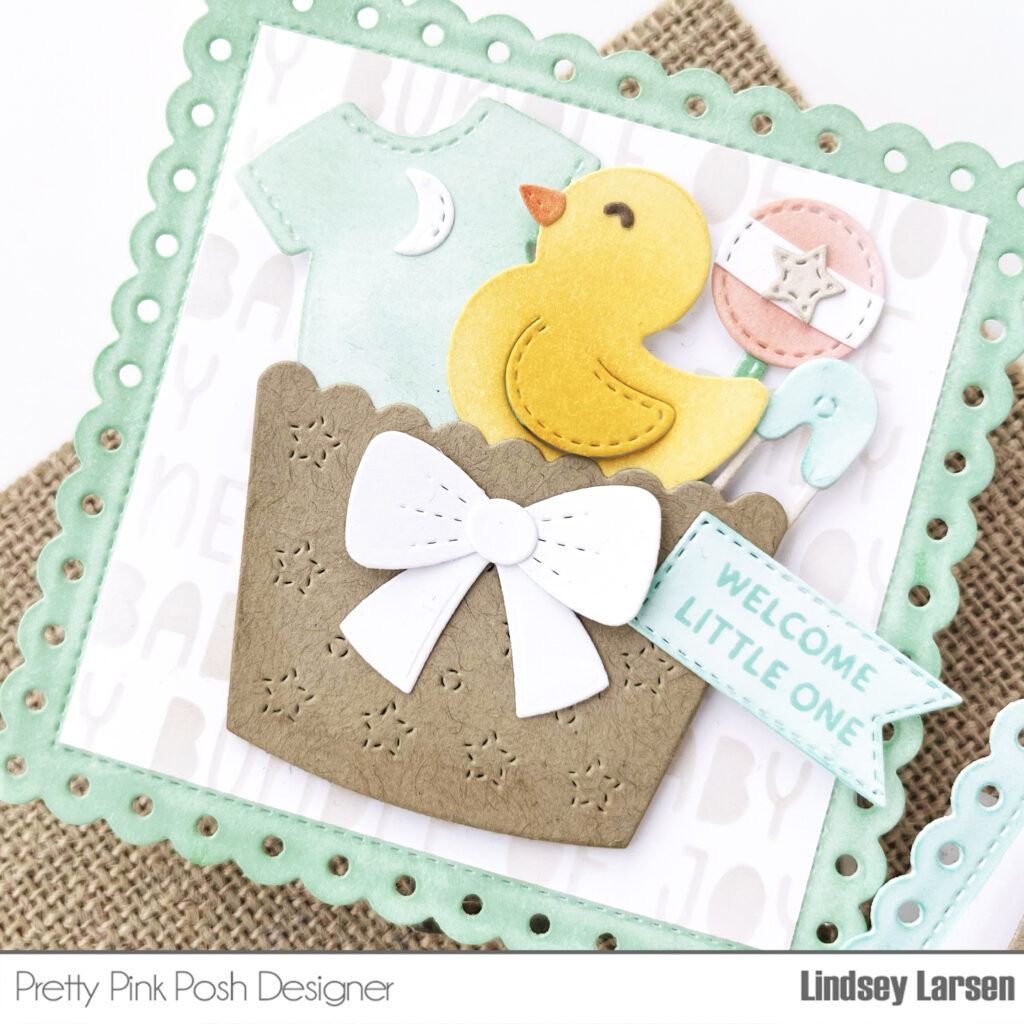
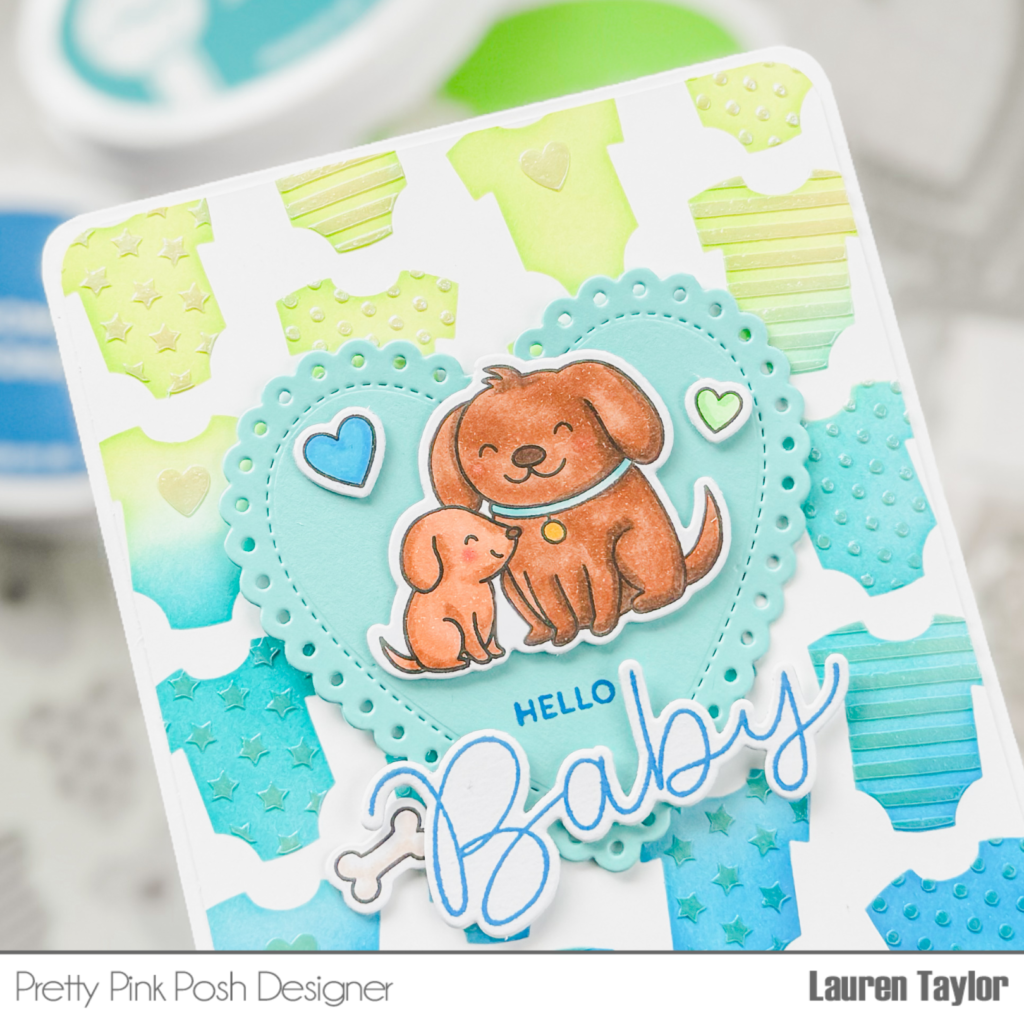
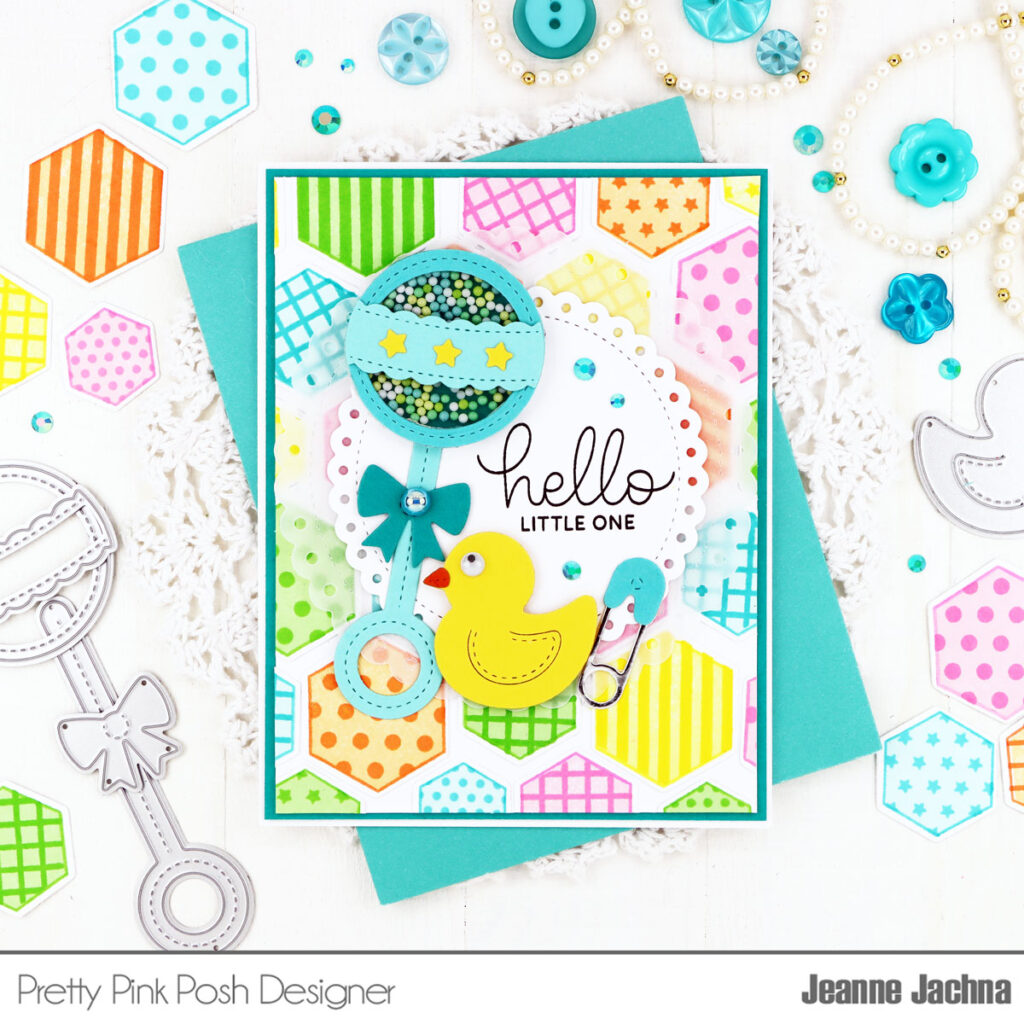
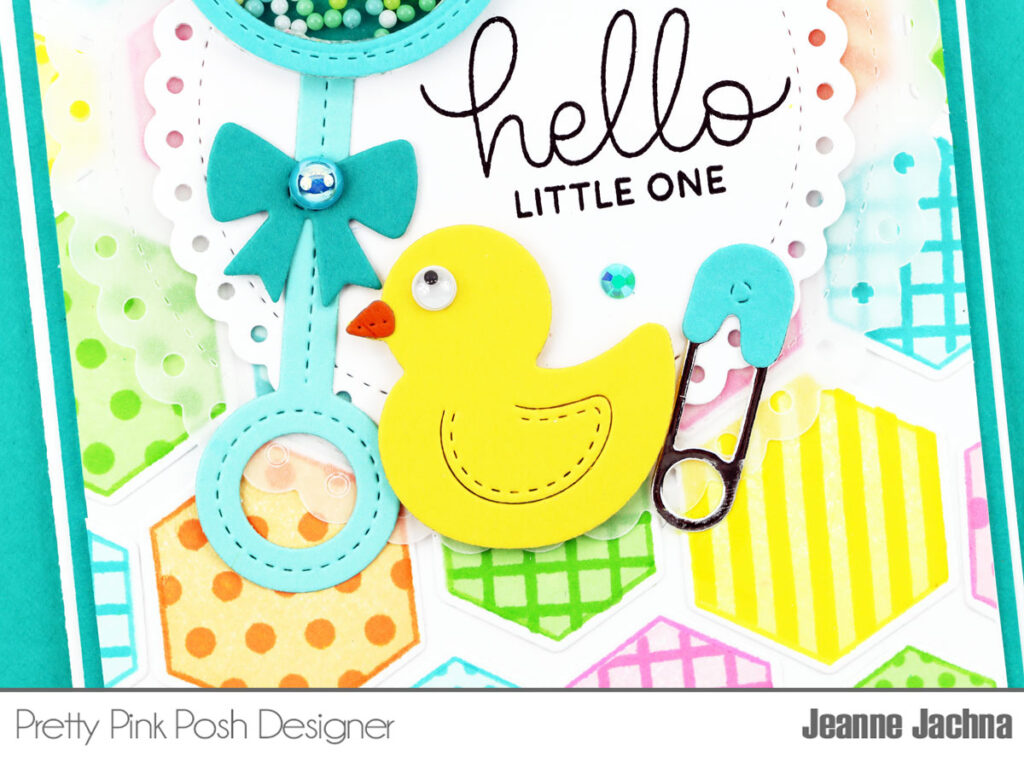
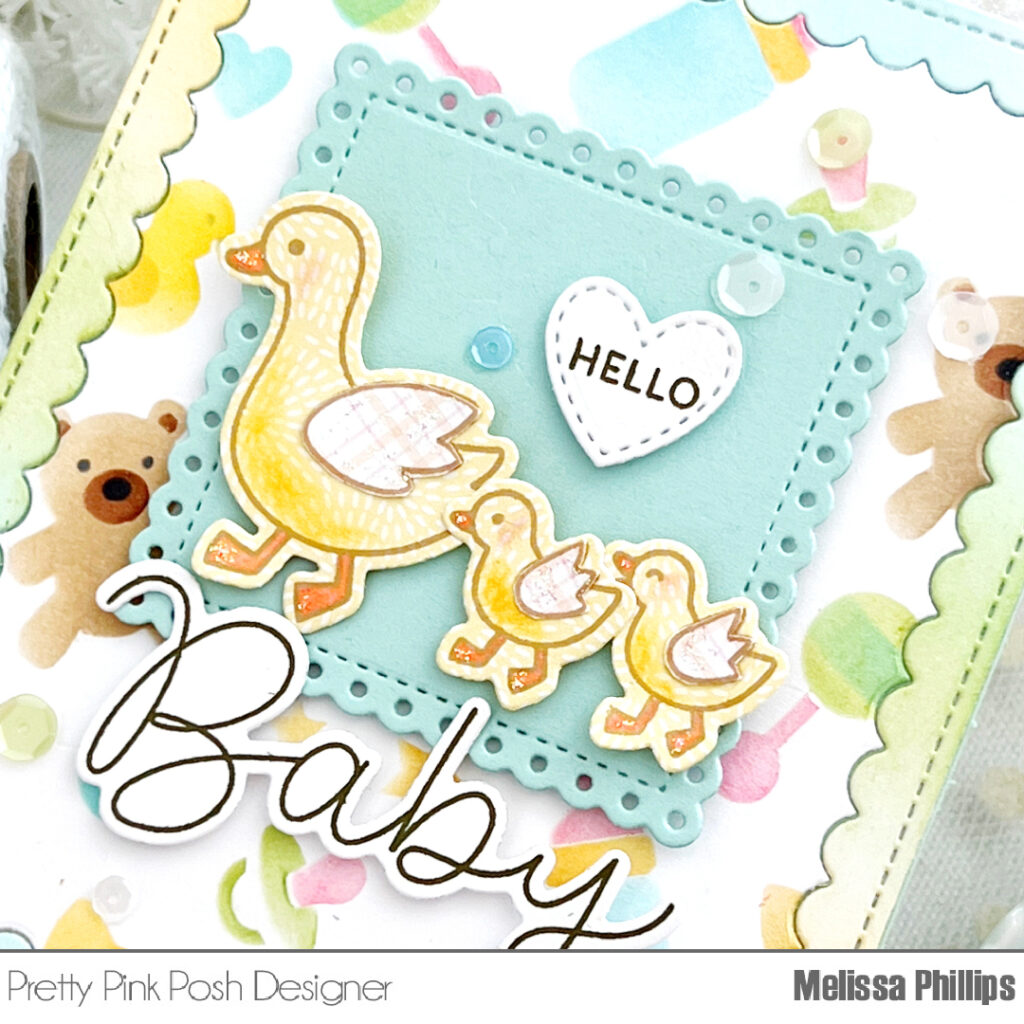
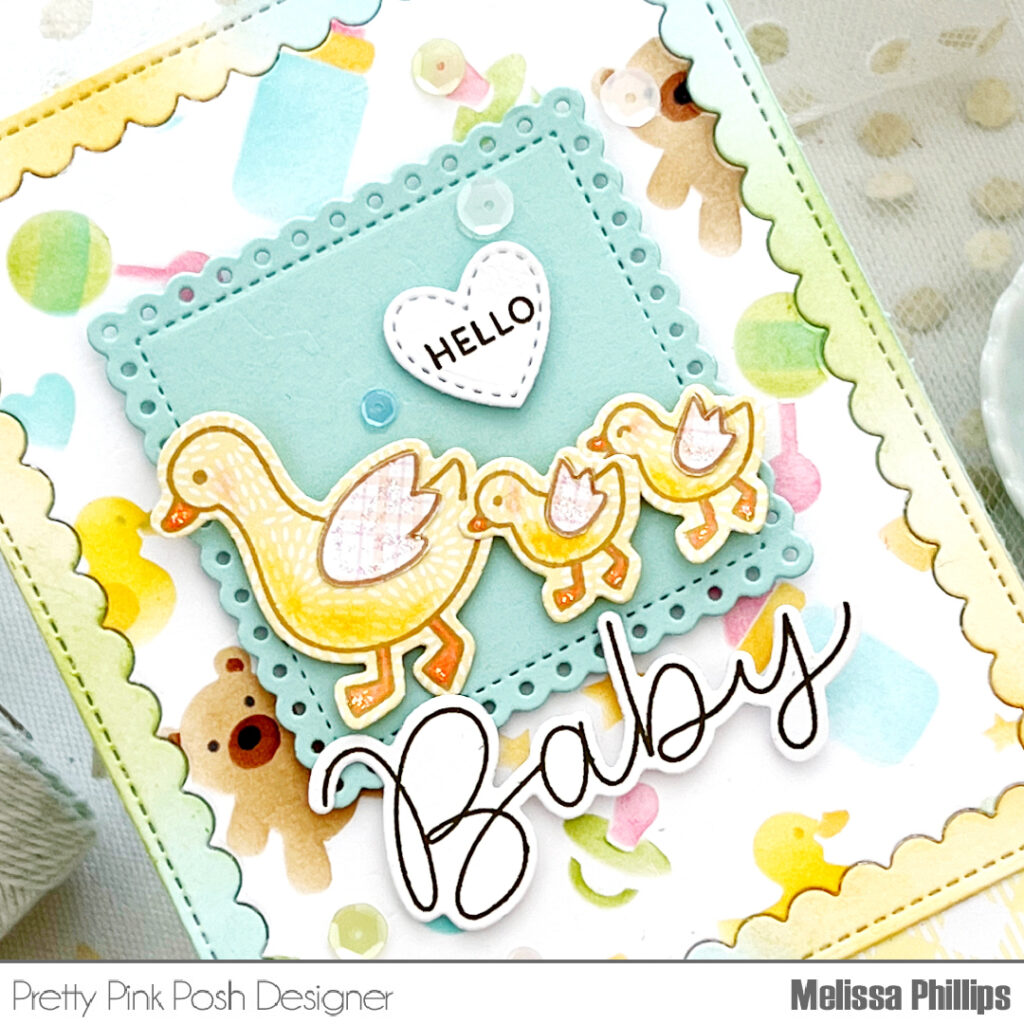
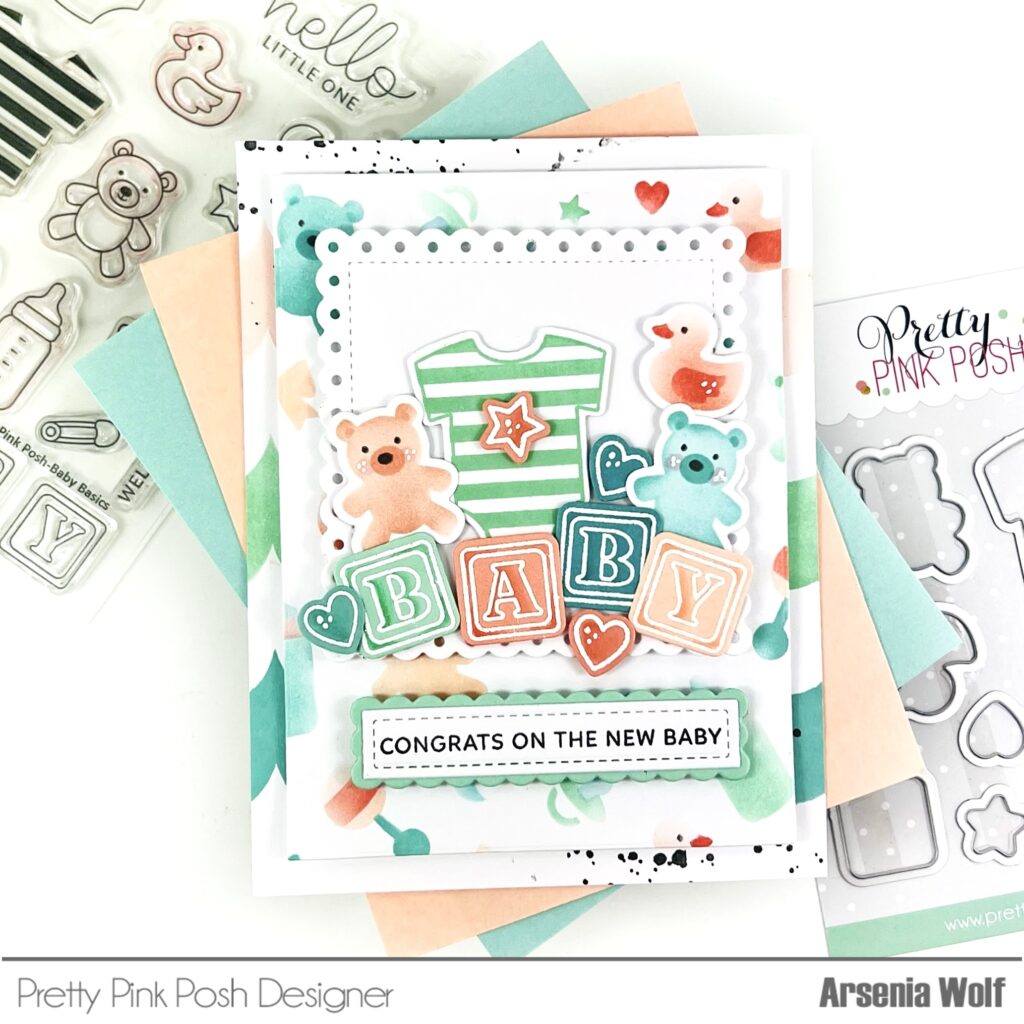
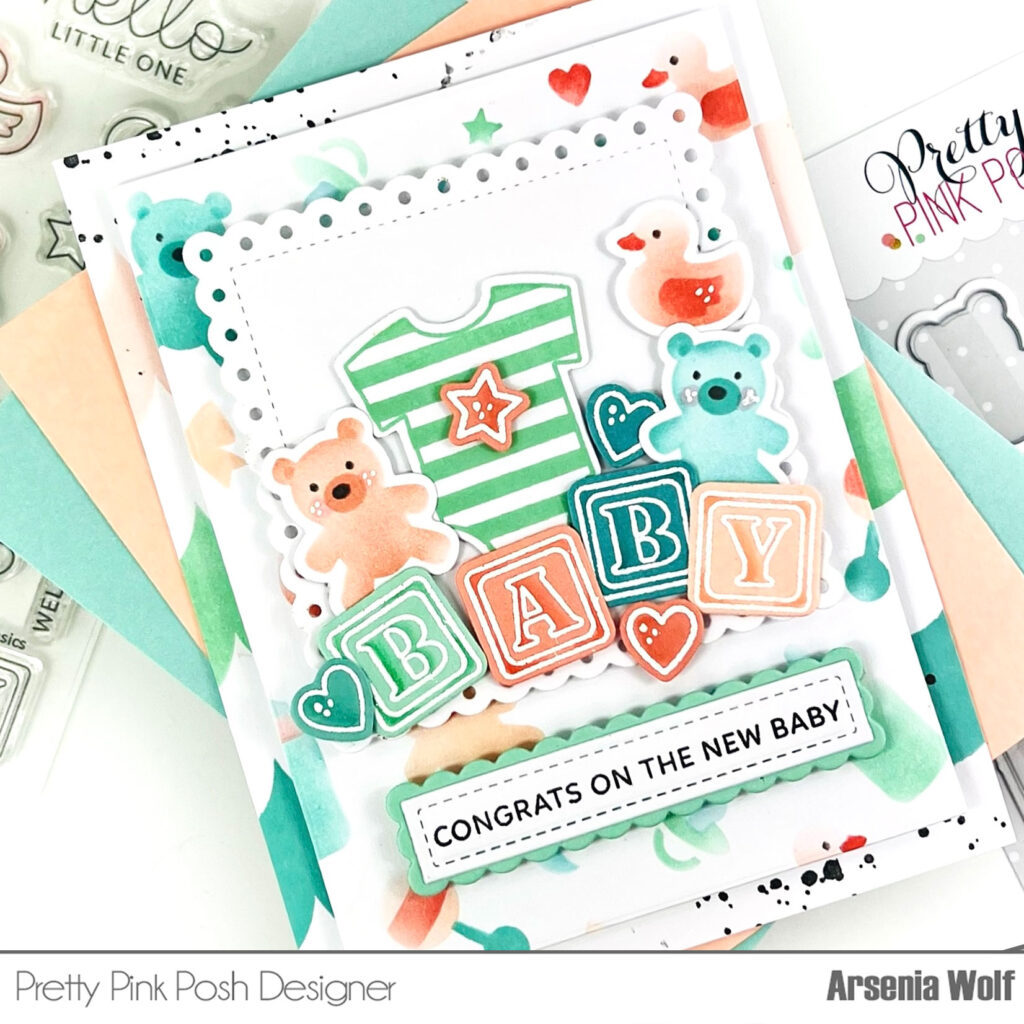
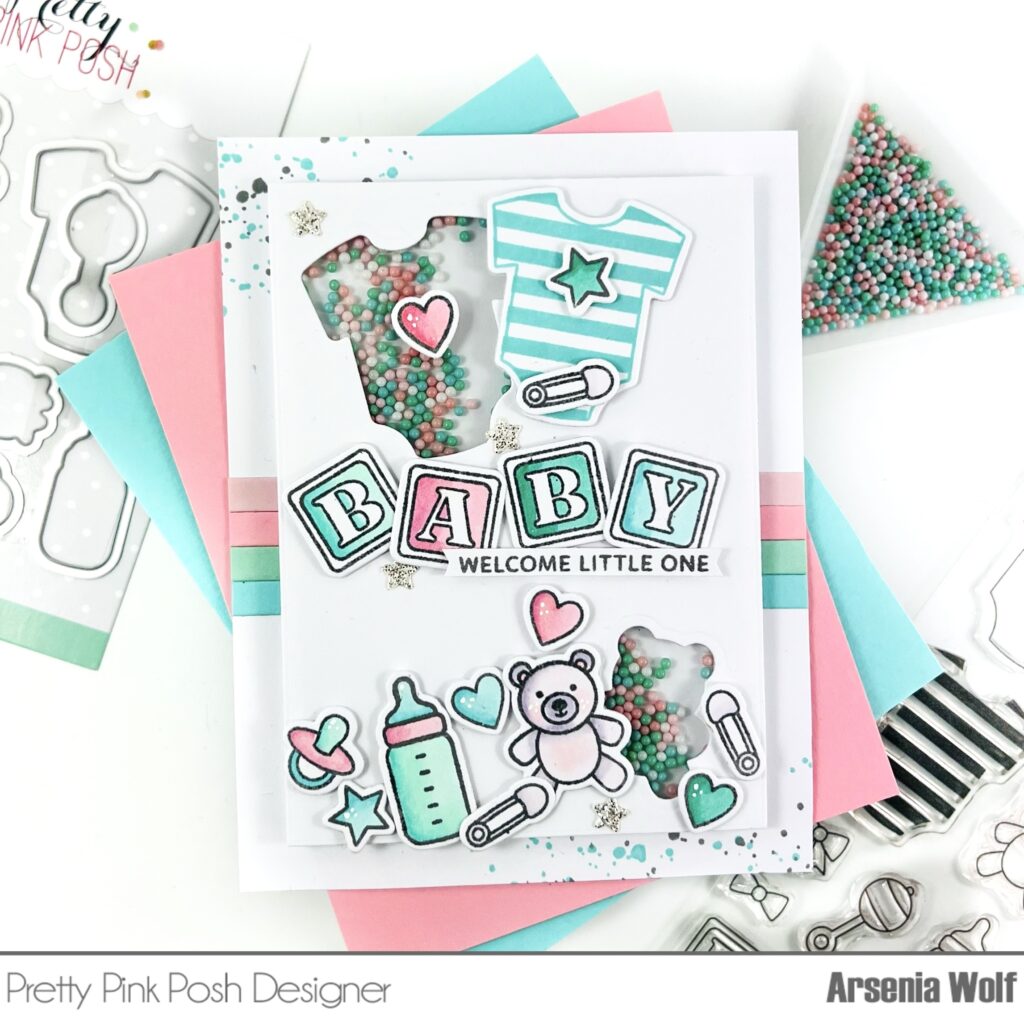
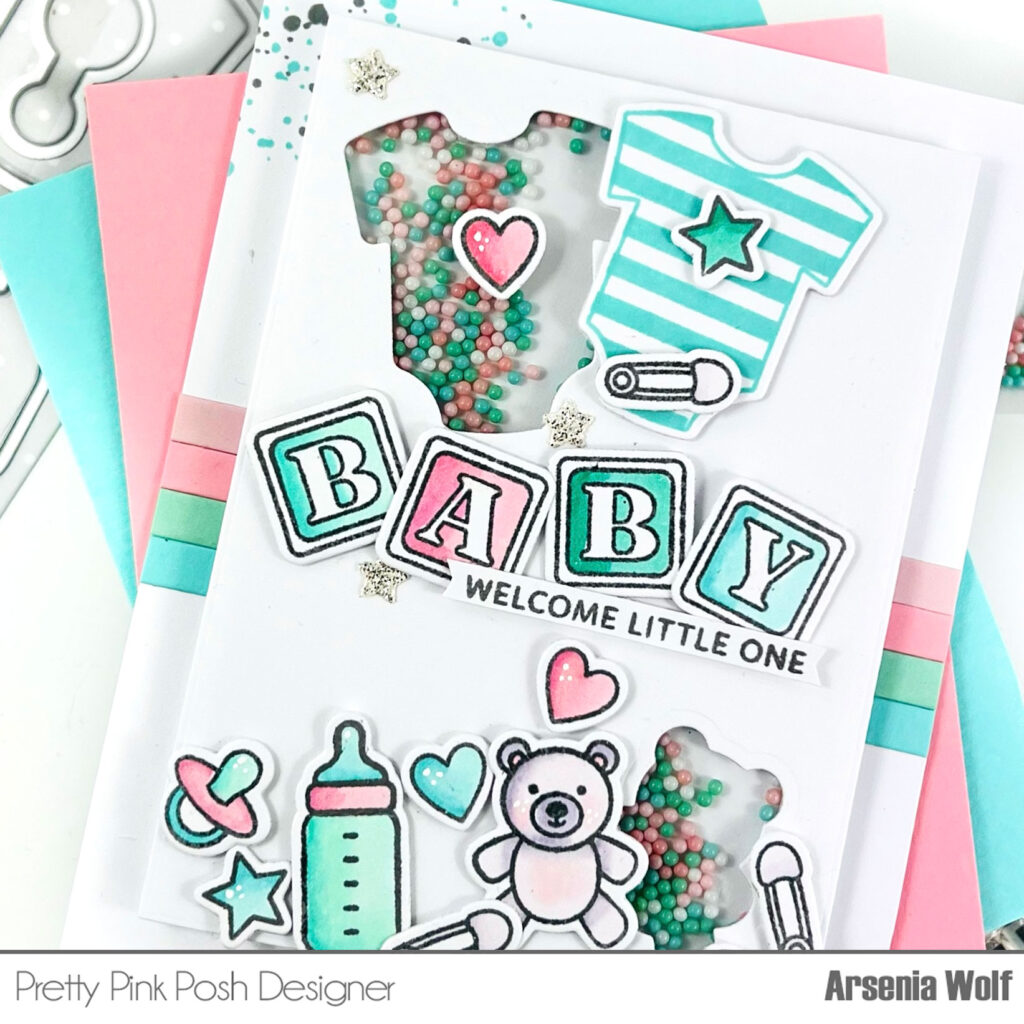
Die cut all the fun shapes, letters and images from the new Baby Mug Additions die set. You can use colored cardstock or just ink blend some colors on the images.
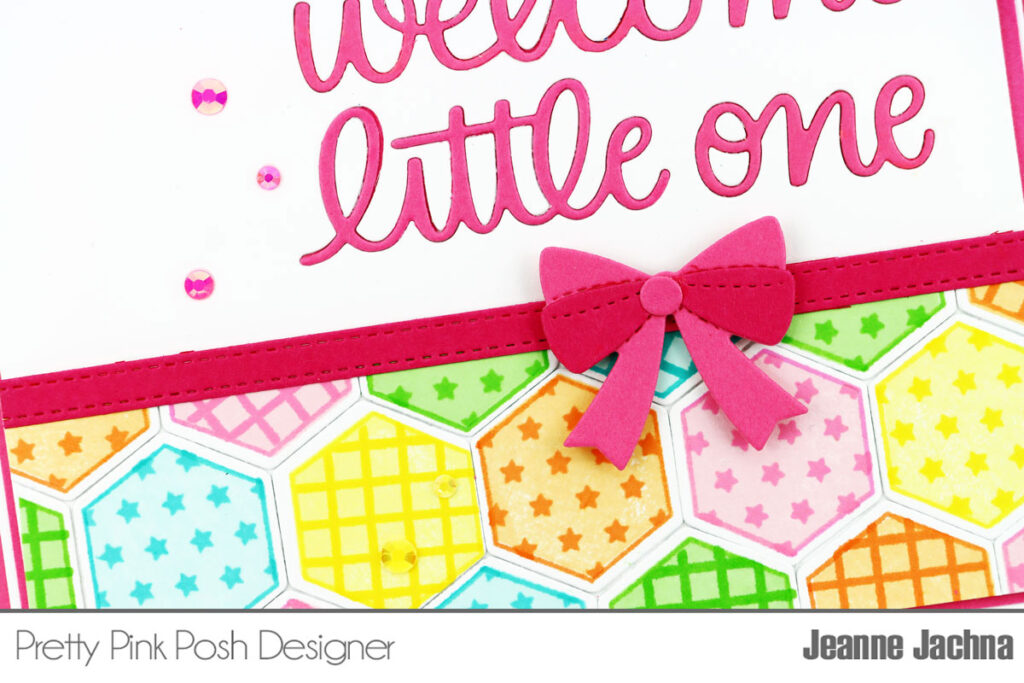
Stamp out the sentiment from the new Sentiment Strips: Occasions stamp set on white cardstock using black ink and then die cut using the Sentiment Strips die set.
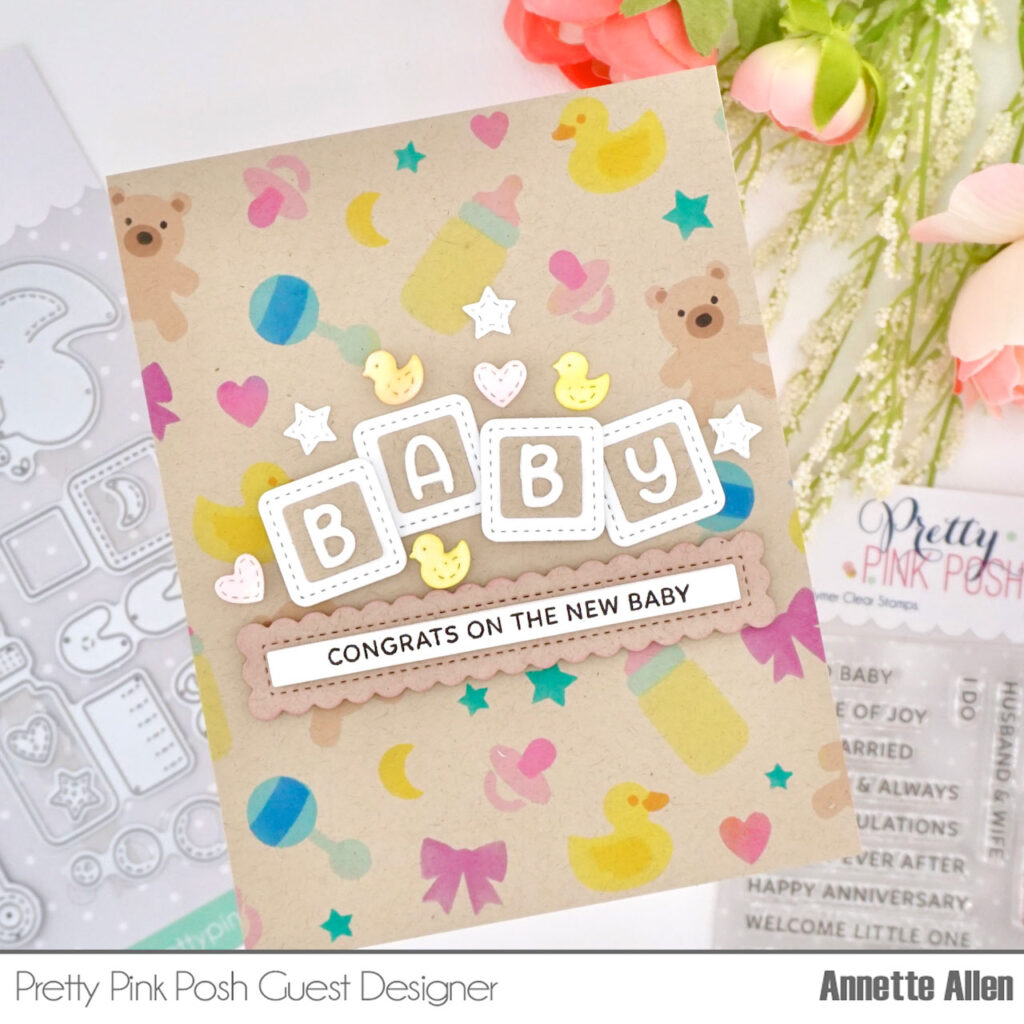
Die cut the scalloped Sentiment Strips die on kraft cardstock and ink blend lightly a little pink around the edges. Now adhere the sentiment to the center of the scalloped sentiment strip using foam tape. This gives the sentiment a little dimension.
Adhere your sentiment to the your card also using foam tape.
Now let’s build out little baby scene above the sentiment strip. Use liquid glue and foam tape where it is needed. Usually when layering your images using foam tape helps them stand out a little more then just gluing them down all with liquid glue.
PRIZES: be sure to leave comments on each stop. We are giving away 3 $30 gift certificates to three random comments (1 winner each day) left before May 15, 2024 at 11:59 PM PST. I’ll be announcing the winners next week, so be sure to return and see if you are one of the winners.
Pretty Pink Posh blog << you are here
Wanda Guess
Marine Simon
Barbara Tarayao
Jeannie Lieu
Christina Rannow
Rebecca Keppel
Sindhu Prajay
Dana Kirby
We hope you were inspired by today’s projects. Thanks for stopping by, we’ll see you again tomorrow!