Snowflake Shaker Card & Tag
Hi friends! It’s Christina, and today I’m sharing a sparkling, winter papercrafting duo with you featuring some of the beautiful new products from the holiday release. I made a shaker card and a matching shaker tag that are perfect for the snowy season ahead. Let’s get started!
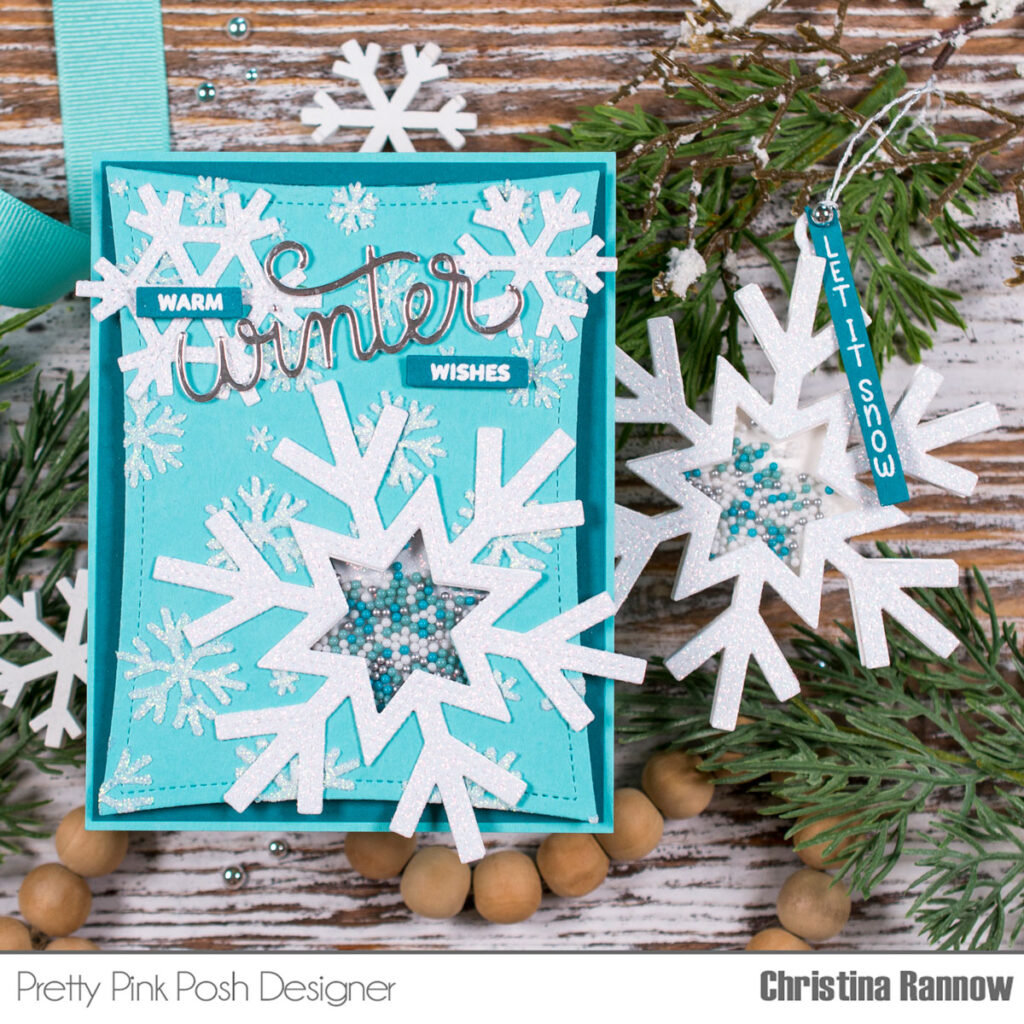
For the shaker card, my first step was to create the background panel. I die cut the Largest Wonky Stitched Rectangle from aqua cardstock and then used the smaller Snowflake Shaker dies to die cut the shaker window from the lower right corner. Next, I stenciled the Cascading Snowflake Stencil with a white glittery stencil paste and let it dry.
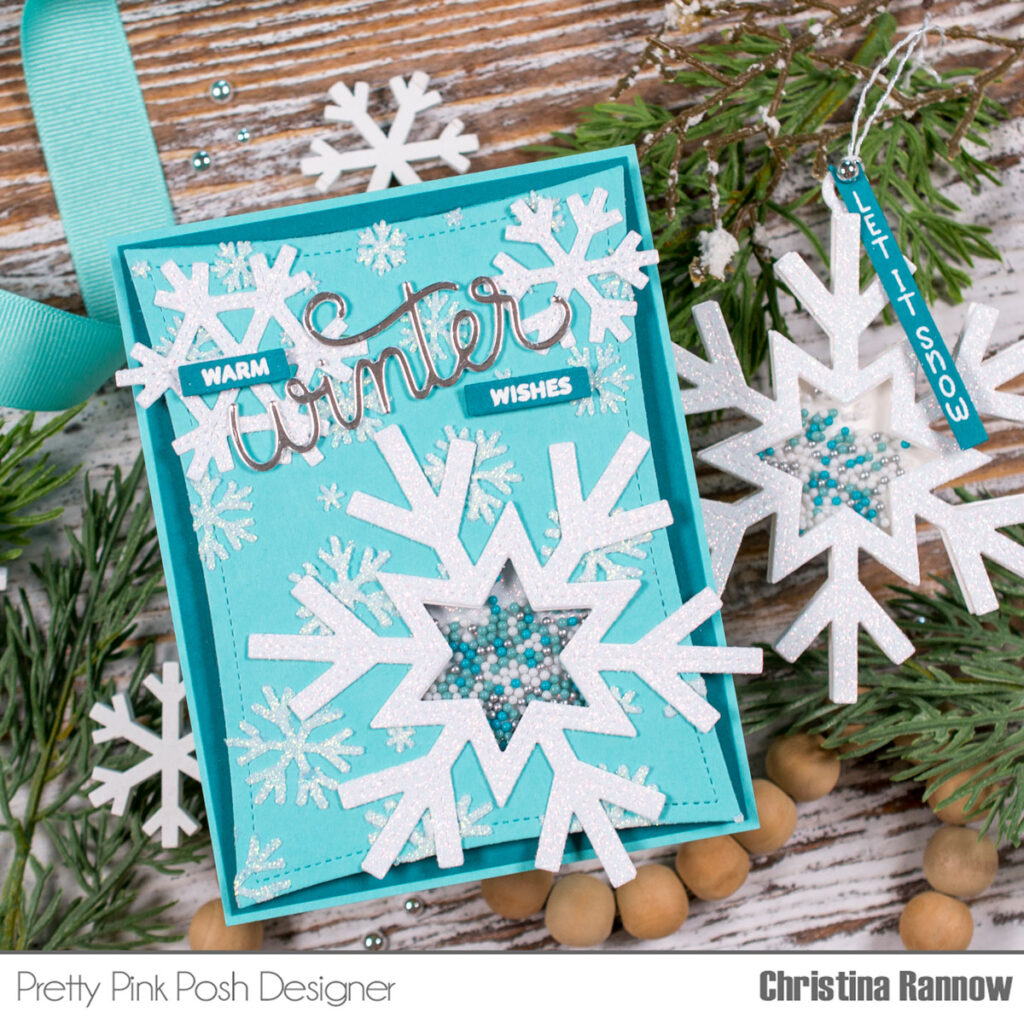
Next, I die cut the Snowflake Shaker Dies from glitter cardstock and attached the frame piece to the front of the background panel and the inside shaker piece to a teal cardstock panel measuring 4 x 5 ¼”. I attached thin foam strips around the inside shaker piece, creating a well for the Snow Days Shaker Beads, and foam tape across the rest of the panel. Then, I attached a piece of acetate over the shaker window on the reverse side of the background panel with double-sided tape before placing the panel onto the teal cardstock panel. Finally, I mounted the shaker panel onto an A2 aqua cardstock panel.
To finish things up, I die cut additional Stitched Snowflakes from glitter cardstock and attached them to my card front. For the sentiment, I die cut the Winter Script Die from matte silver cardstock and stacked it with a plain white die cut before attaching it along with a couple of white heat embossed words from the Holiday Scripts Stamp Set that I die cut with the Sentiment Strips Dies.
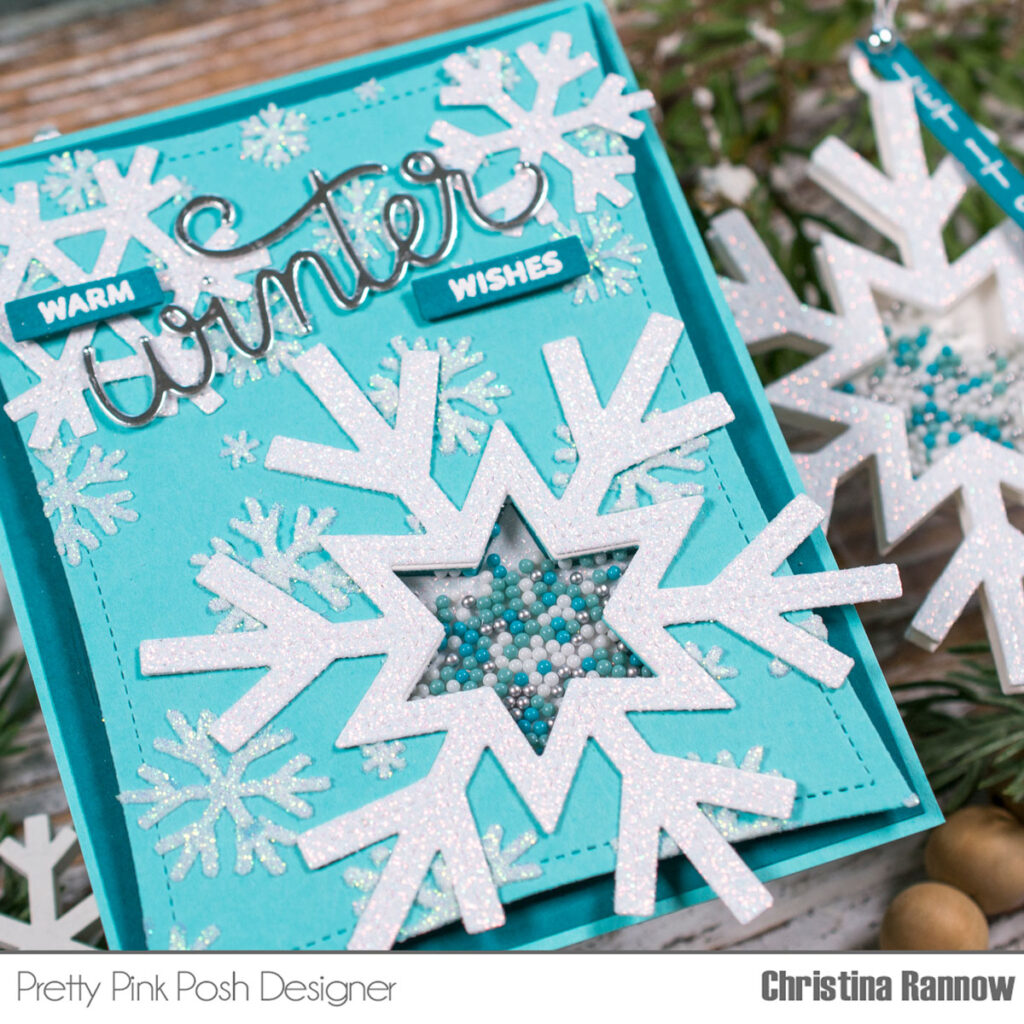
To make the matching shaker tag, I die cut the Snowflake Shaker two times, once from glitter cardstock with the center die cut for the window and once from plain white cardstock without the center portion die cut to be the base. I attached thin foam strips to the base snowflake and created a well in the center for more of the Snow Days Shaker Beads. Then I attached a piece of acetate to the reverse side of the glitter die cut before placing it on the snowflake base. I added a tag topper die cut from glitter cardstock so I could attach some twine and a sentiment from the Upright Greetings: Christmas Stamp Set that I finished with a Metallic Silver Pearl.
And that completes this sparkling winter duo featuring many of the new Christmas and winter-themed products from the Holiday Release. Thanks for following along, and happy holiday crafting, friends!

