Sneak Peek: Floral Corners
Hello, crafty friends! Leica here today with a sneak peek of the Pretty Pink Posh March 8th release. I have an A2-sized Mother’s Day card to share, using stamps from the new Floral Corners stamp set. I just love these florals and the design possibilities with this set are endless. Make sure to follow PPP socials for more inspiration from the design team.
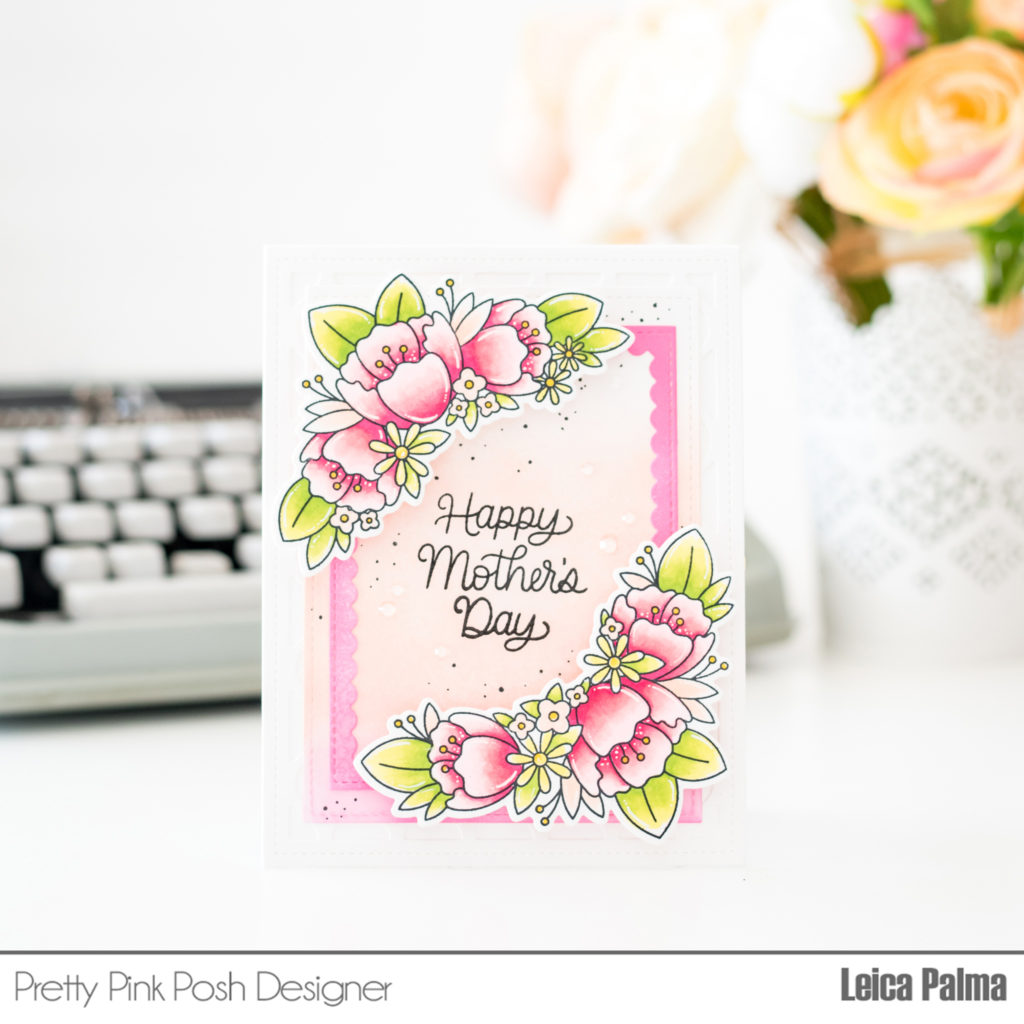
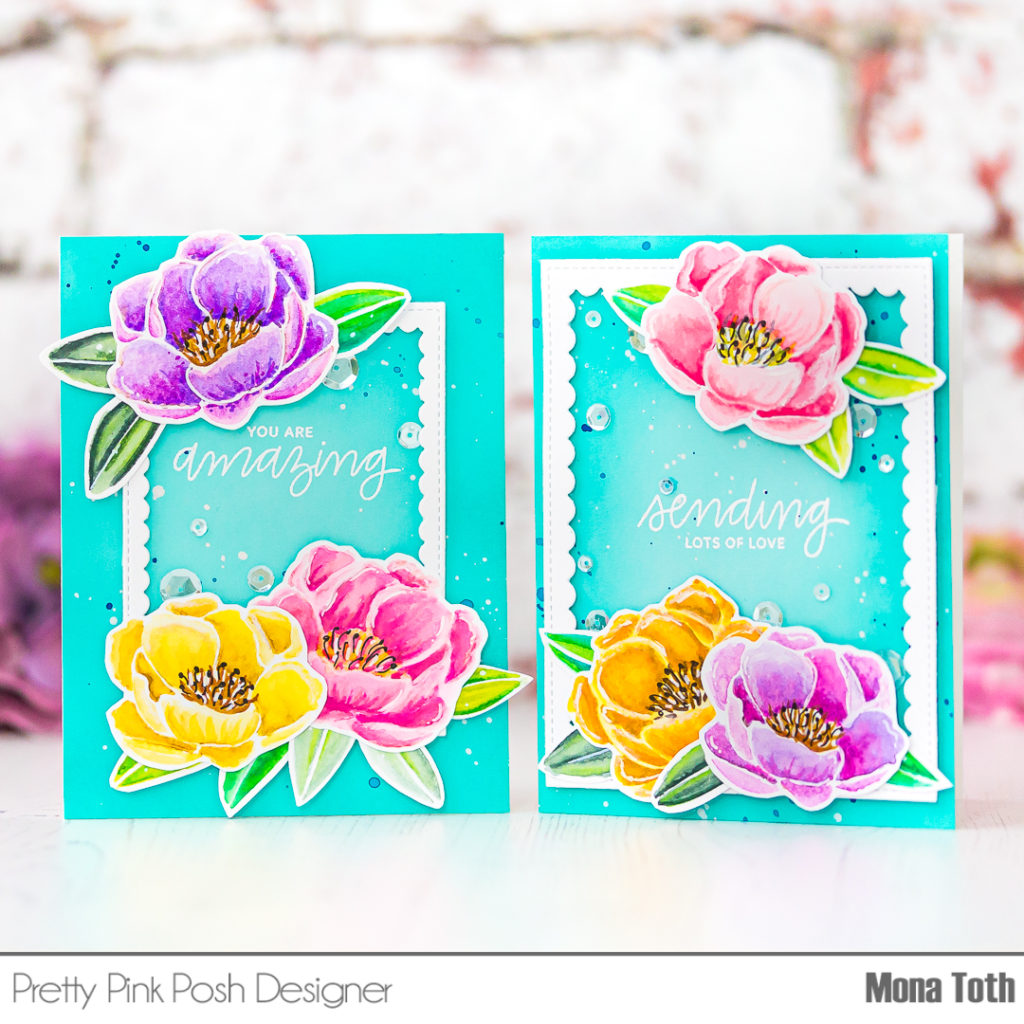
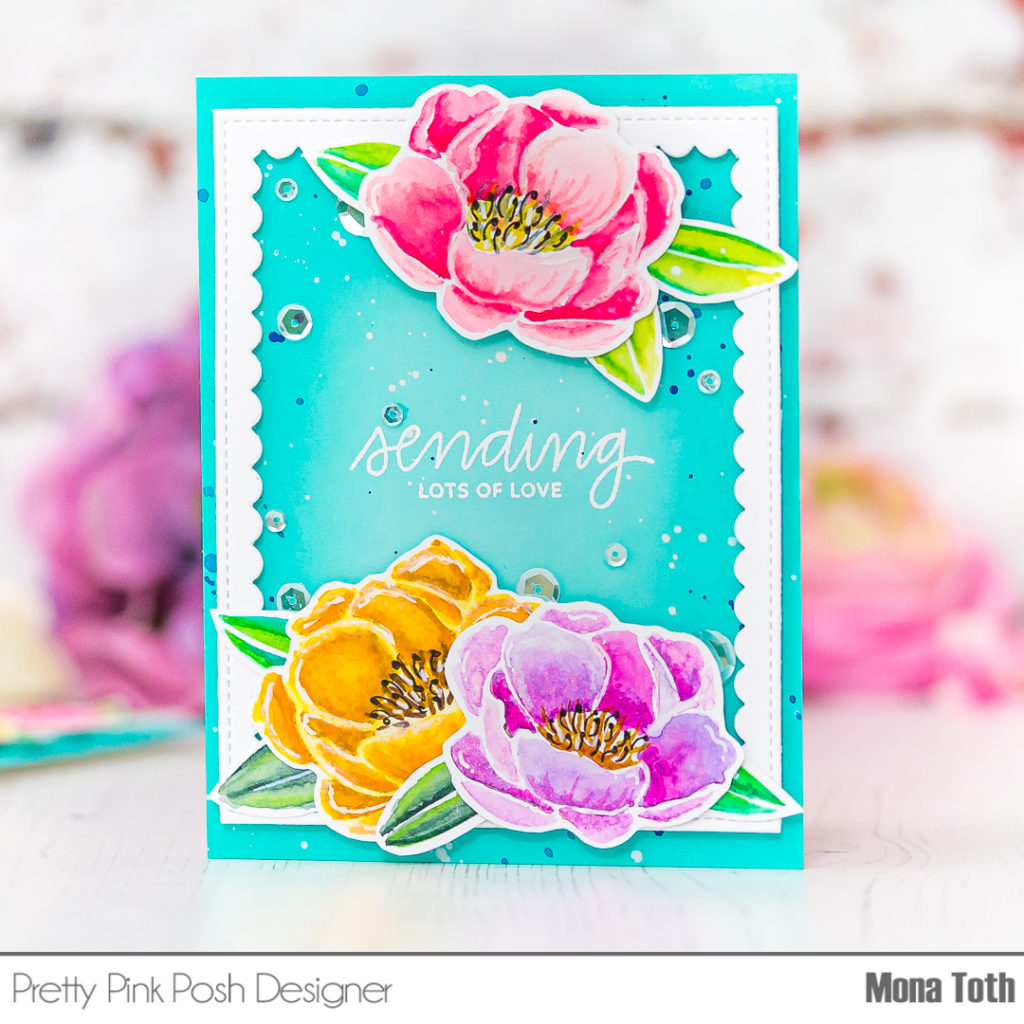
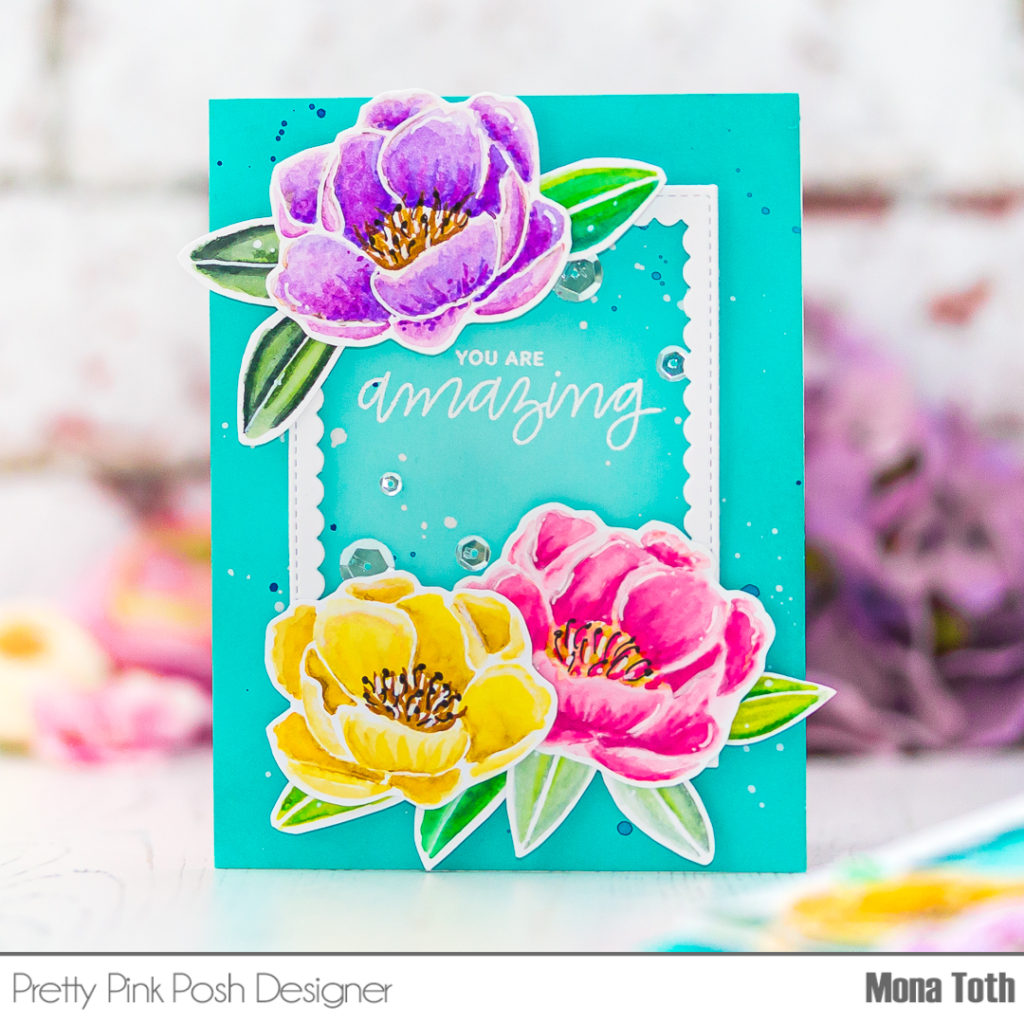
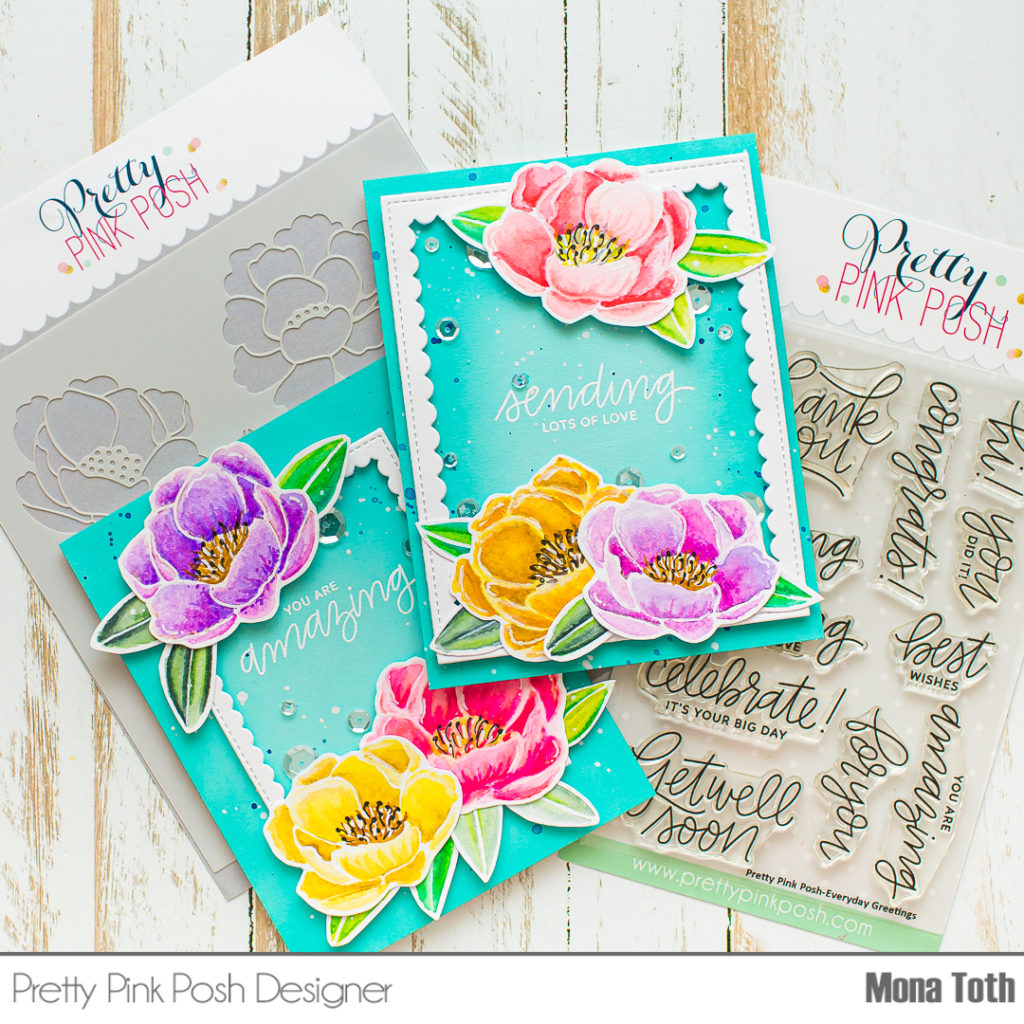
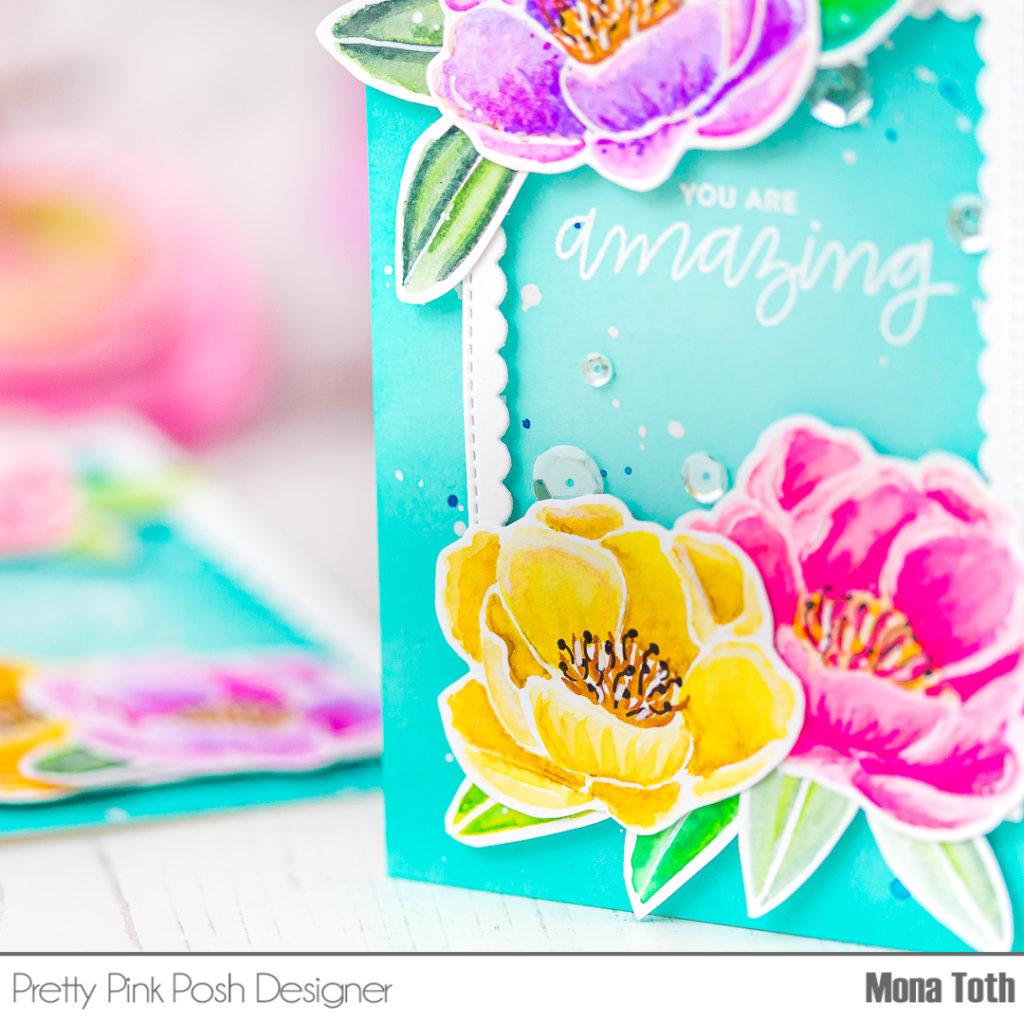
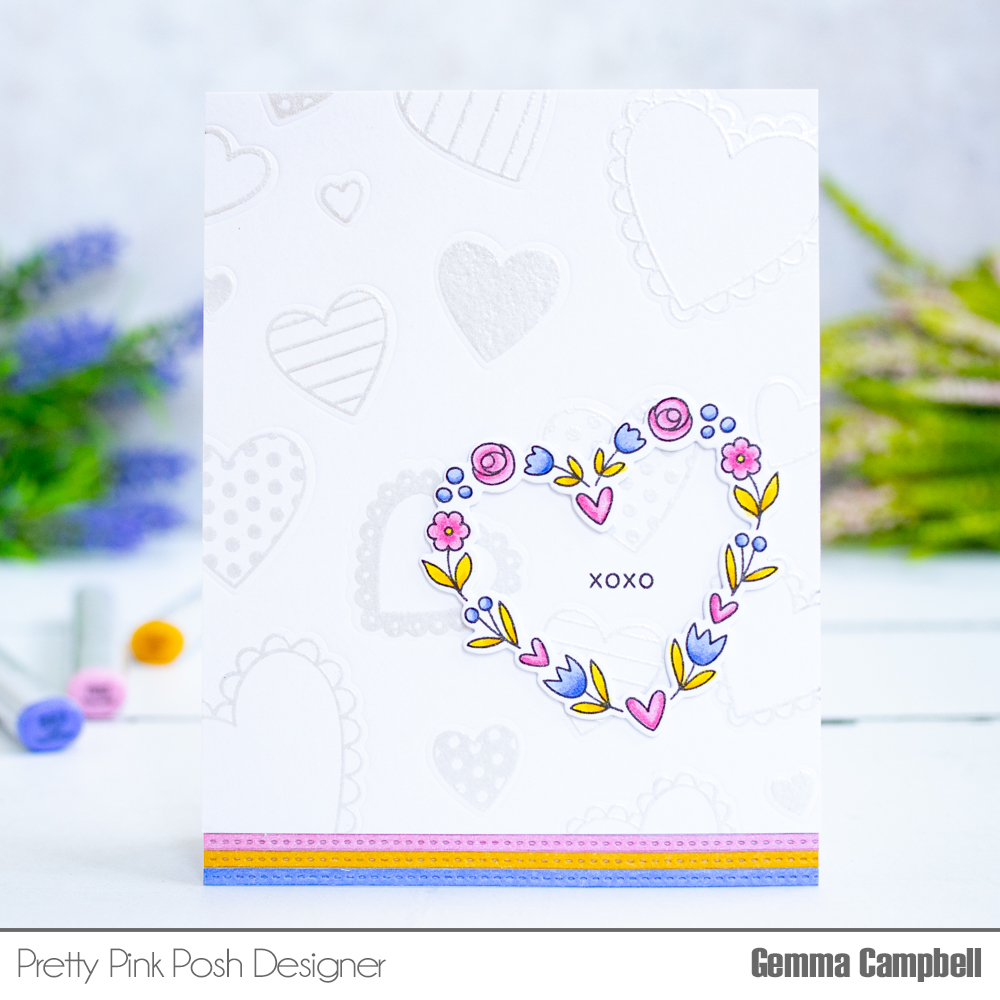
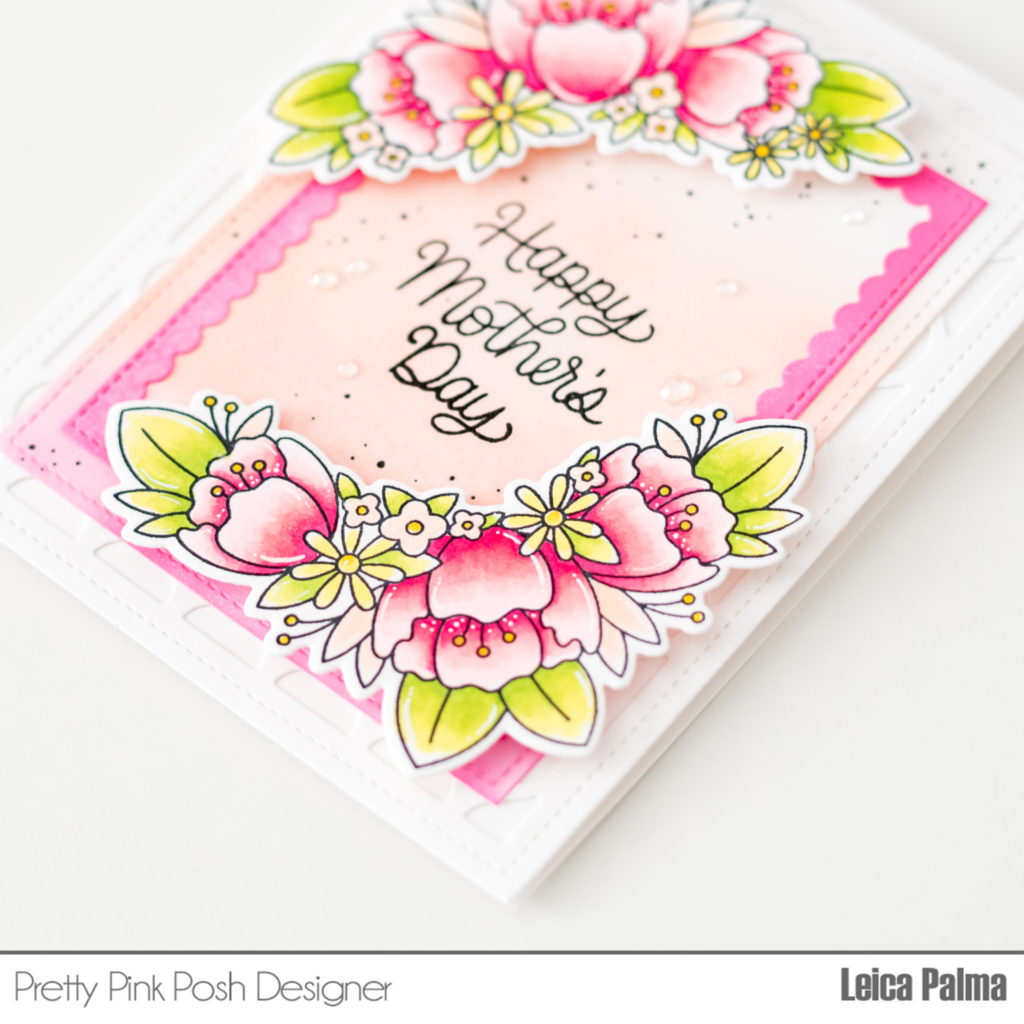
Let’s begin! For the first layer, I die cut the new Pretty Petals Background die in white cardstock. You can hardly see it in this photo, but I promise, in person it adds a beautiful texture. The next layer is the rectangular piece from the Stitched Notes die, ink blended with Picked Raspberry and Tattered Rose distress oxides. I then stamped the Happy Mother’s Day sentiment (from the Mom stamp set) and added black dots with black gel pen. And finally, I added a scallop frame that was inked in Picked Raspberry to frame the sentiment.

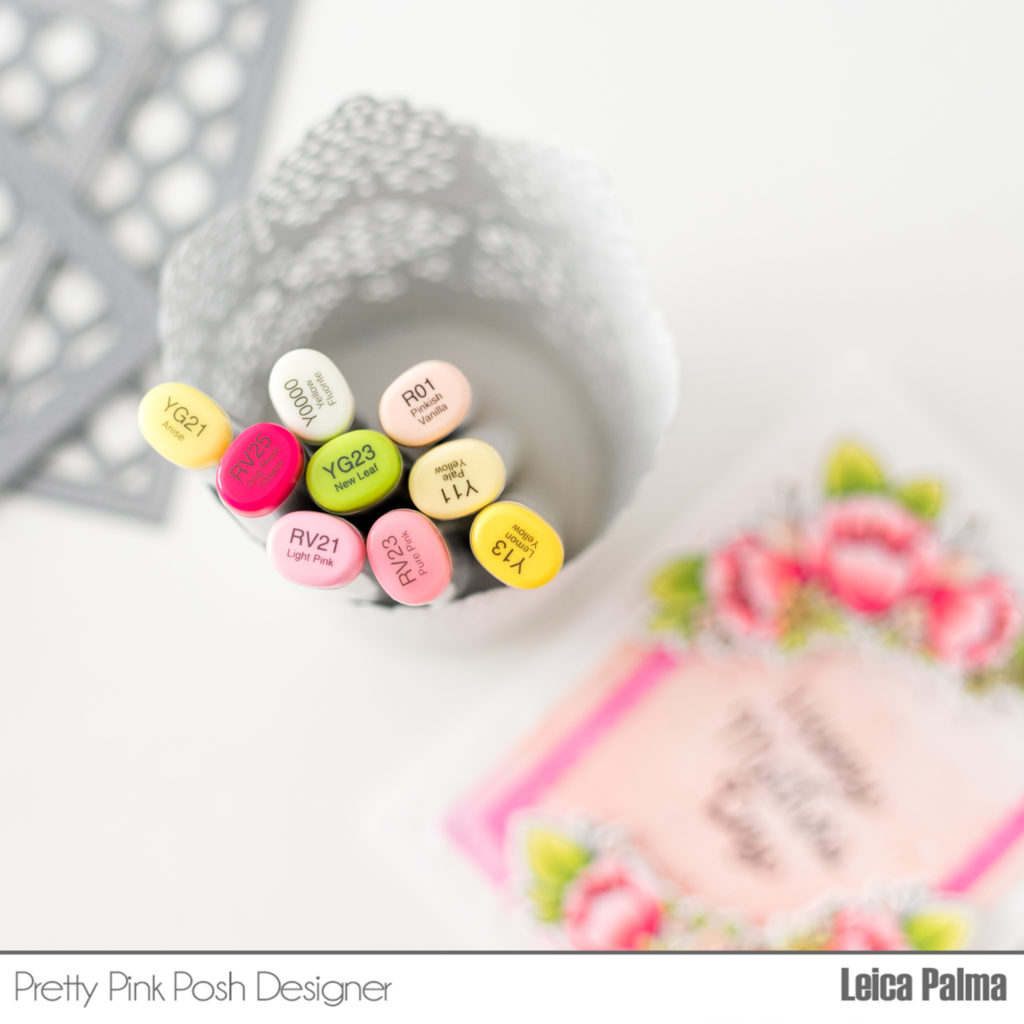
I then stamped the two floral corners stamps on Neenah 110lb white cardstock and colored with Copic markers. Next, I cut the floral elements with their coordinating dies
I adhered all the layers down onto the card base with liquid glue. The floral corners were foam mounted for added dimension. Last but not the least, I added Sparkling Clear Jewels here and there to complete this beautiful Mother’s Day card.
These floral stamps are great for any occasion and make the perfect embellishments for your cards and other projects. I hope my card inspires you to use this beautiful stamp set.
Have a great day! Be sure to visit tomorrow for another look at a new stamp set coming in the March 8th release!