Sneak Peek: May 2021 Dies
Hi everyone, Jane here and I’m so excited to be sharing a sneak peek of the new die sets by Pretty Pink Posh which will be released on May 3rd!
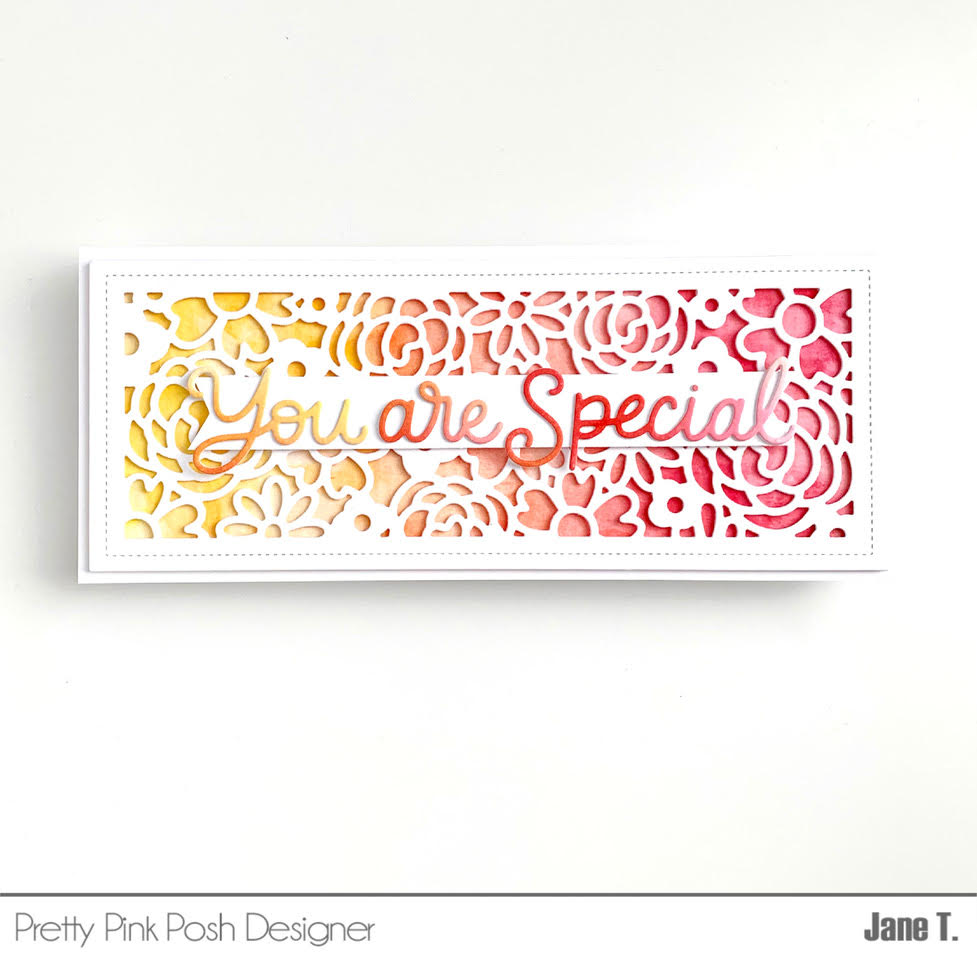
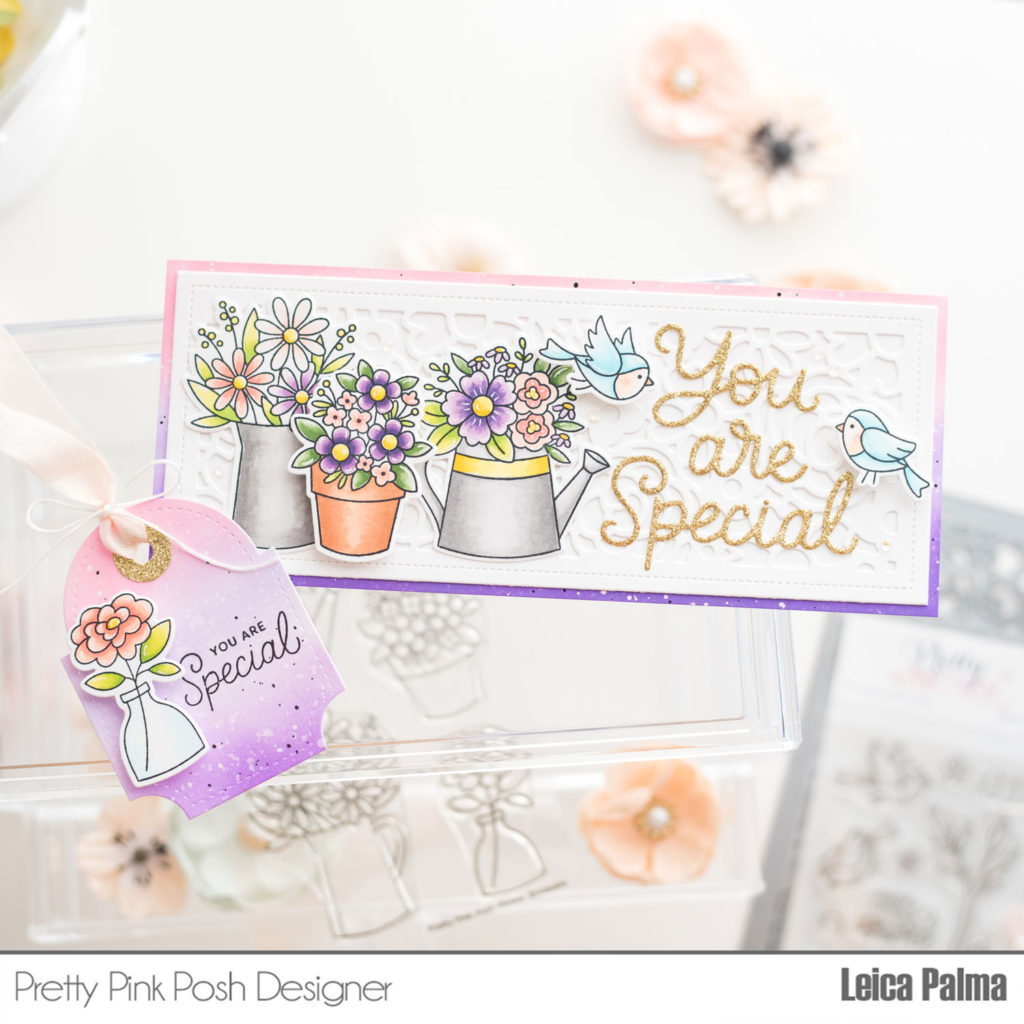
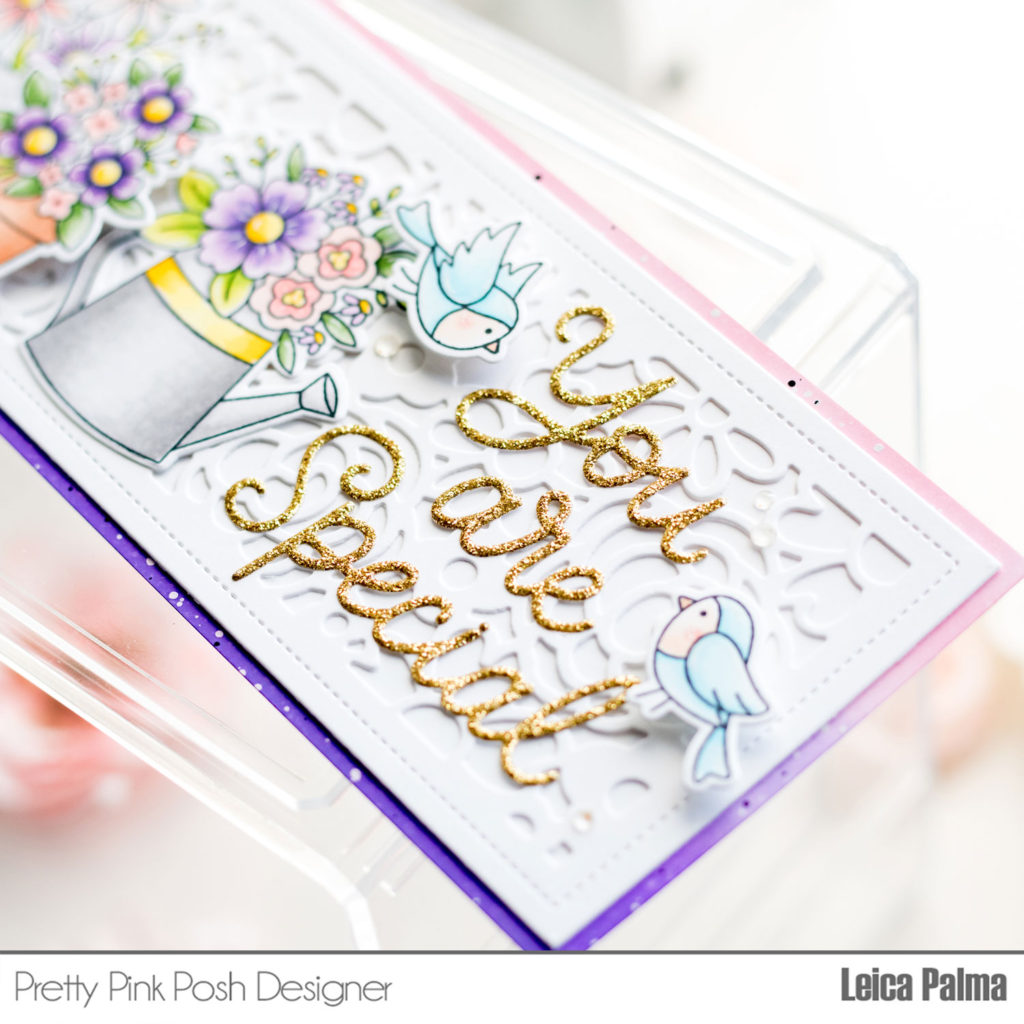
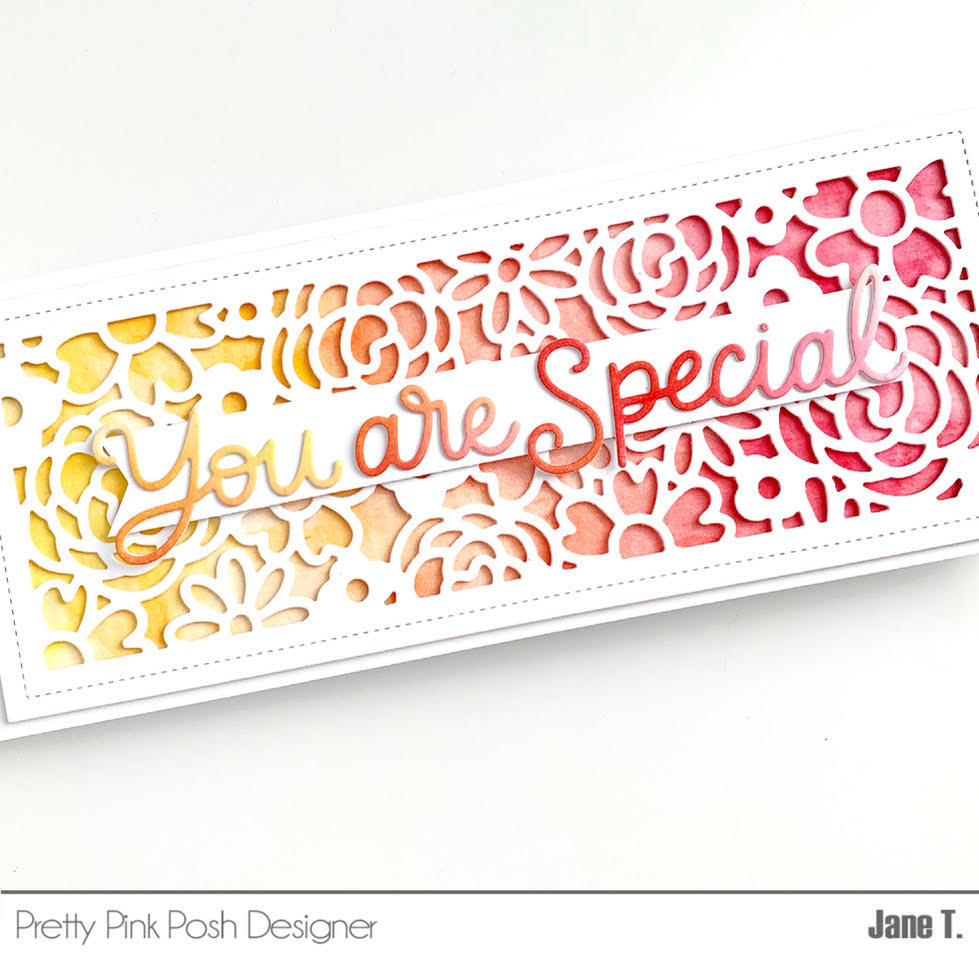
To create my first card, I cut a piece of watercolor paper to 3.25 inches by 8.25 inches. Next, I used various colors of watercolor to paint the background and then set it aside to dry. Then, I cut the Slimline: Floral Cover die from white cardstock and added foam tape to the back for some dimension. The panel was then adhered to the watercolor background and the edges were cut using a paper trimmer.
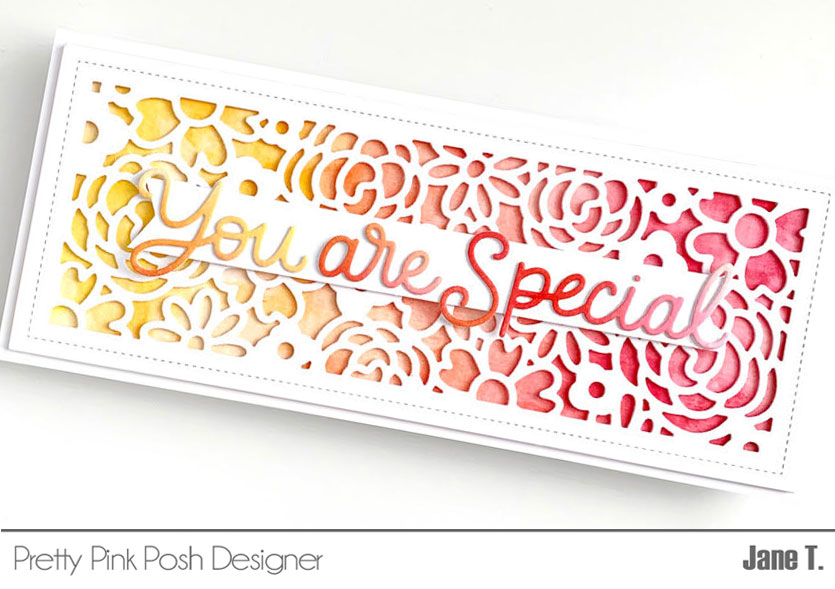
Next, I used the You are Special script die and cut it from white cardstock. The sentiment was stacked three times to create dimension. The top layer was ink blended to match the watercolor background. I cut a strip of white paper and cut the ends using scissors. Next, I used foam tape to adhere the white paper strip to the background and then adhered the sentiment on top using liquid glue.
The entire card front was glued to a white slimline card base and that finishes the first card!
My second card showcases the Tulip Cover Plate die. To create this colorful card I used a combination of ink blending and masking.
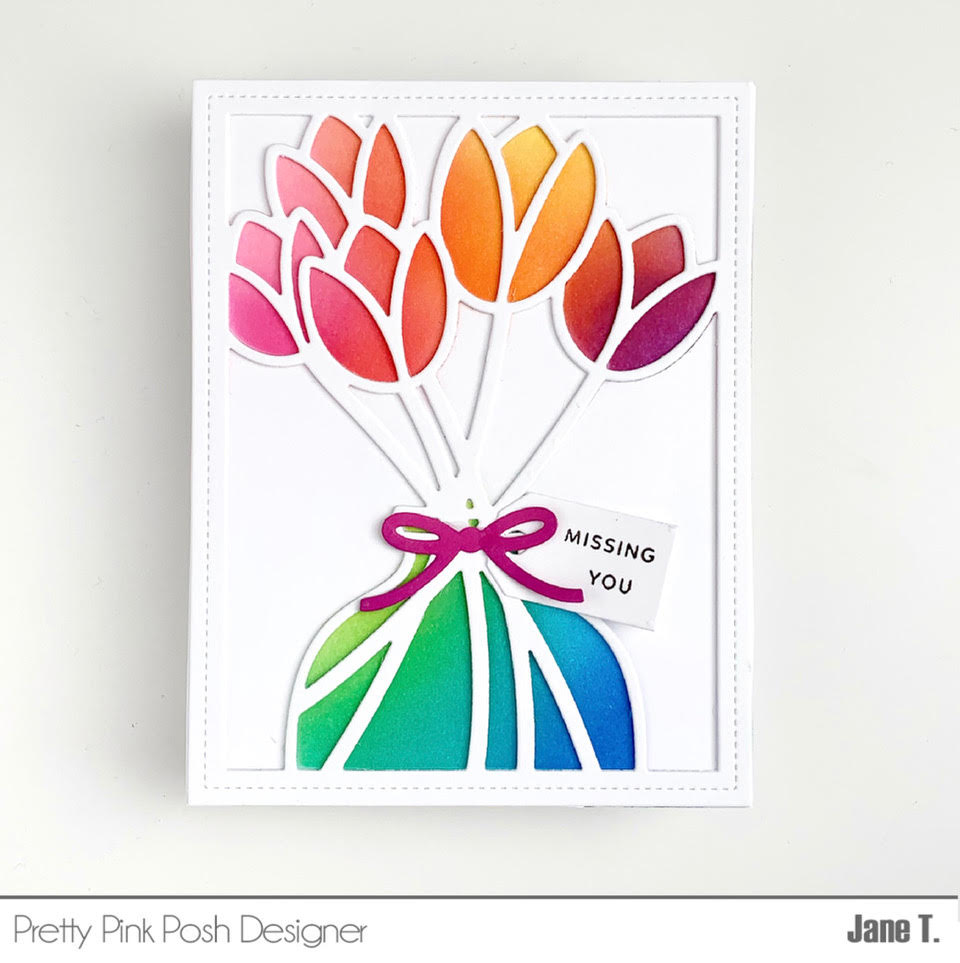
To start, I cut the Tulip Cover Plate die from heavy weight white cardstock. Keep the negative die cut pieces from the die cut since you will need them for masking. The tulip panel was adhered to a heavy weight piece of white cardstock using liquid glue.
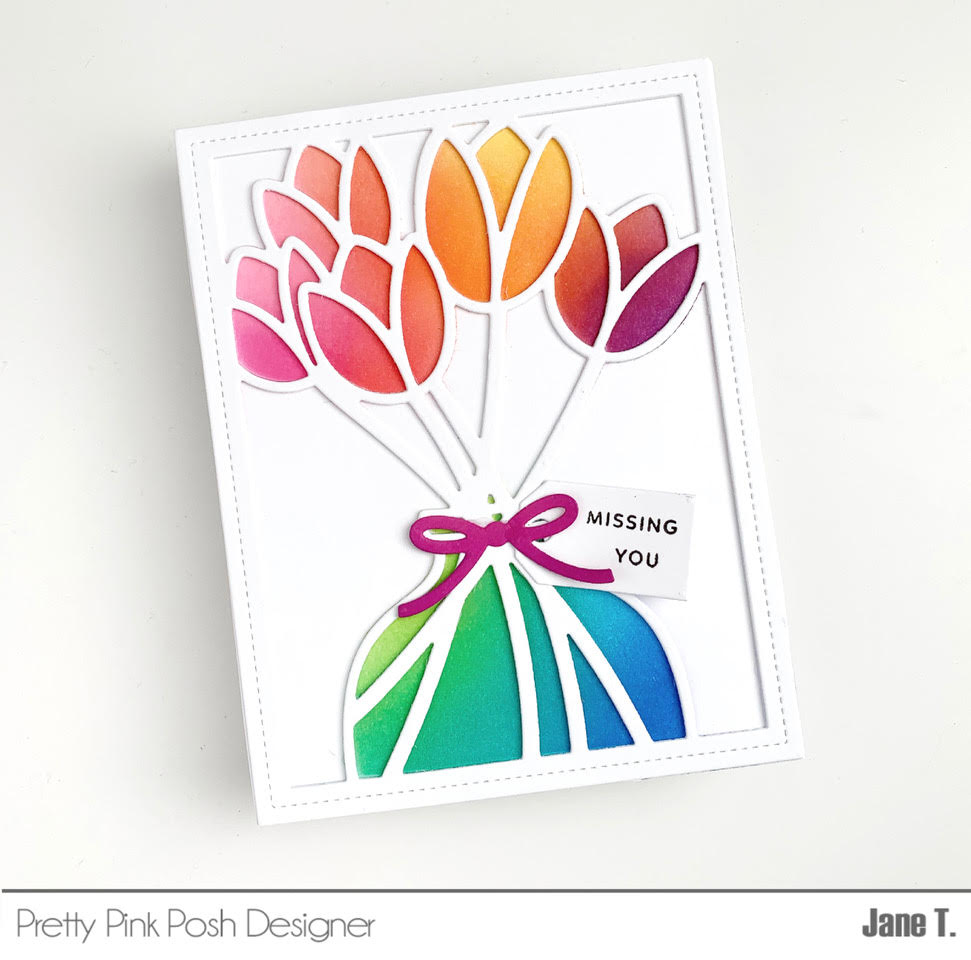
Next, I placed the negative die put pieces back onto place and used my distress oxide inks to blend the tulips and the glass vase. The following colors of distress inks used: spun sugar, kitsch flamingo, picked raspberry, abandoned coral, ripe persimmon, mustard seed, seedless preserves (flowers), twisted citron, peacock feathers, mermaid lagoon and blueprint sketch (vase).
After the panel was ink blended, I removed the masks (die cut pieces). Then, I used white card stock to cut another piece of the cover die and glued it onto the ink blended panel. This will cover up all the white lines on the tulips and vase that were ink blended and creates a nice finished look to the card.
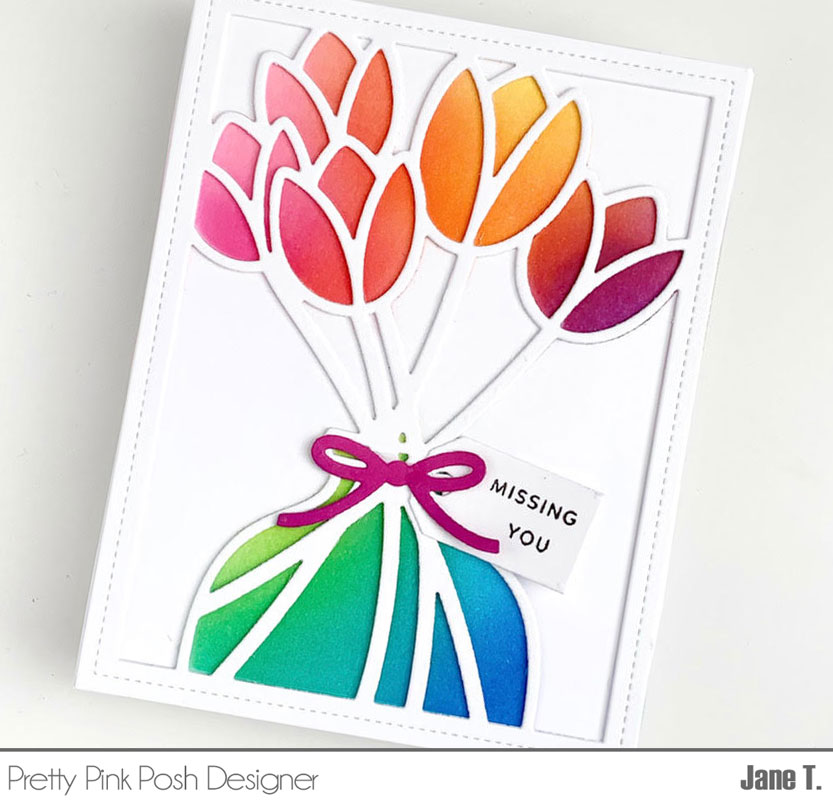
The coordinating ribbon and tag dies were cut using scrap cardstock. I stamped the sentiment “missing you” from the Simple Sentiment stamp set on the tag and adhered it to the card front behind the bow using liquid glue. The entire panel was then adhered to an A2 white card base and that completes the card!
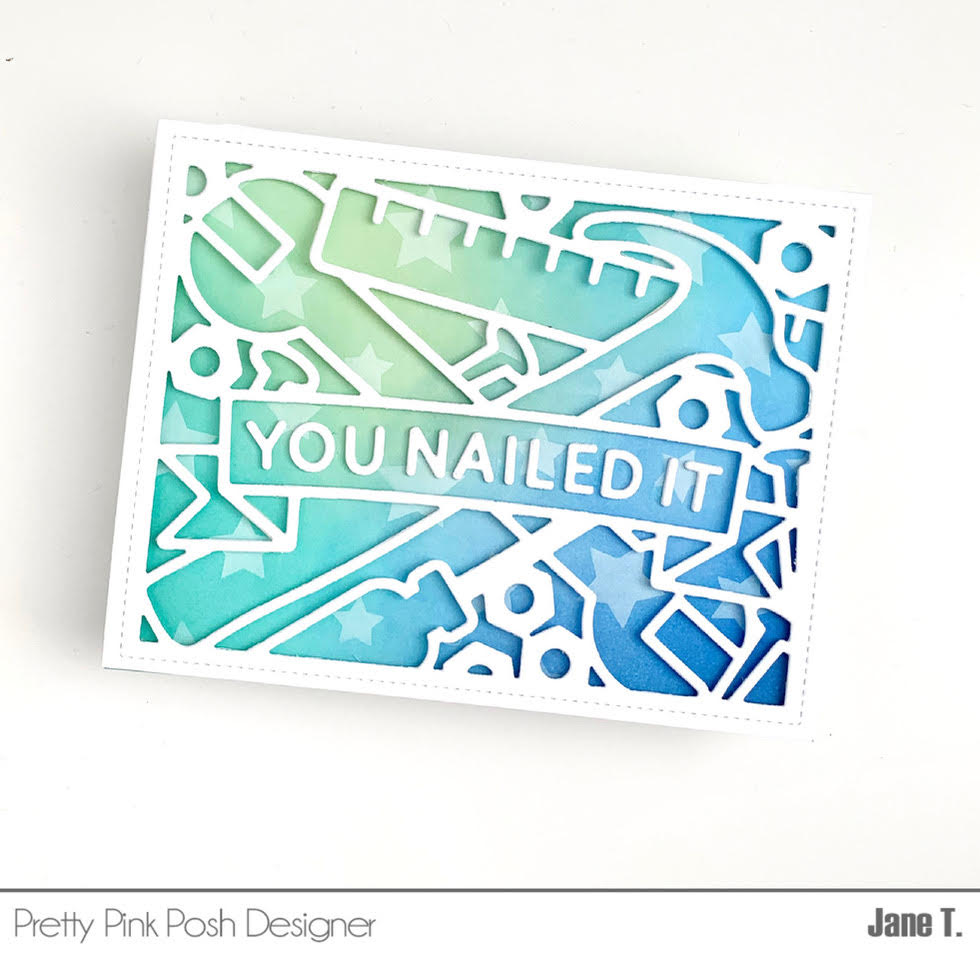
My last card features the new Tool Background die set and the new Layered Stars stencils. To create this card, I first ink blended a background using various green, teal and blue dye inks. Then, I used one of the the Layered Star stencils and masked off the larger stars. I used a white pigment ink and a large blender brush to create a starry background.

Next, I die cut the Tool Background die from white cardstock and used thin strips of foam tape to adhere it to the blended background. The central sentiment was cut from white cardstock and layered twice to create dimension. I then adhered this to the center of the card using liquid glue.
The entire card front was adhered to a white A2 card base and the finishes the card.
Thank you so much for stopping by today! Be sure to stop by the Pretty Pink Posh store on May 3rd for the full release!

