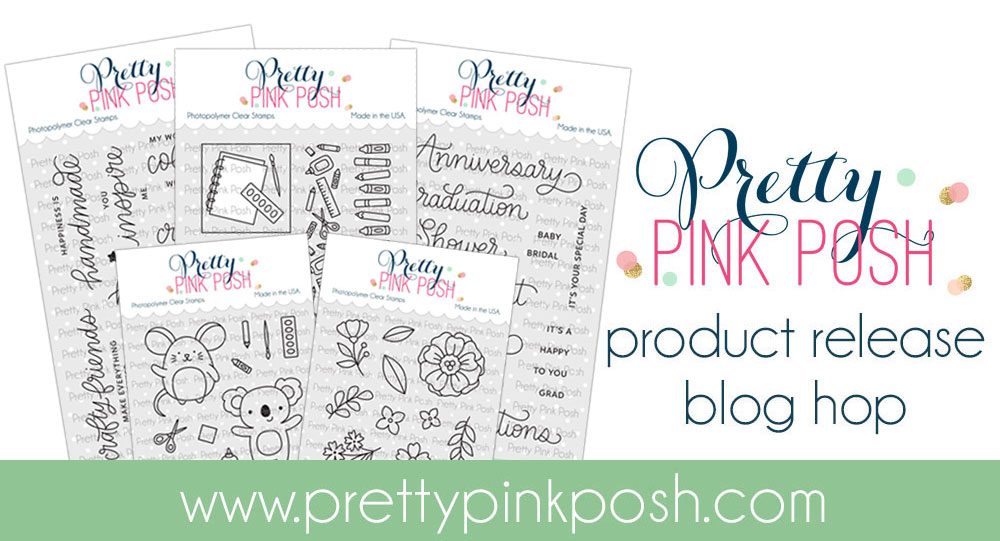
Day 3: Blog Hop + May Release Now Available
If you missed Day 1 CLICK HERE // If you missed Day 2 CLICK HERE
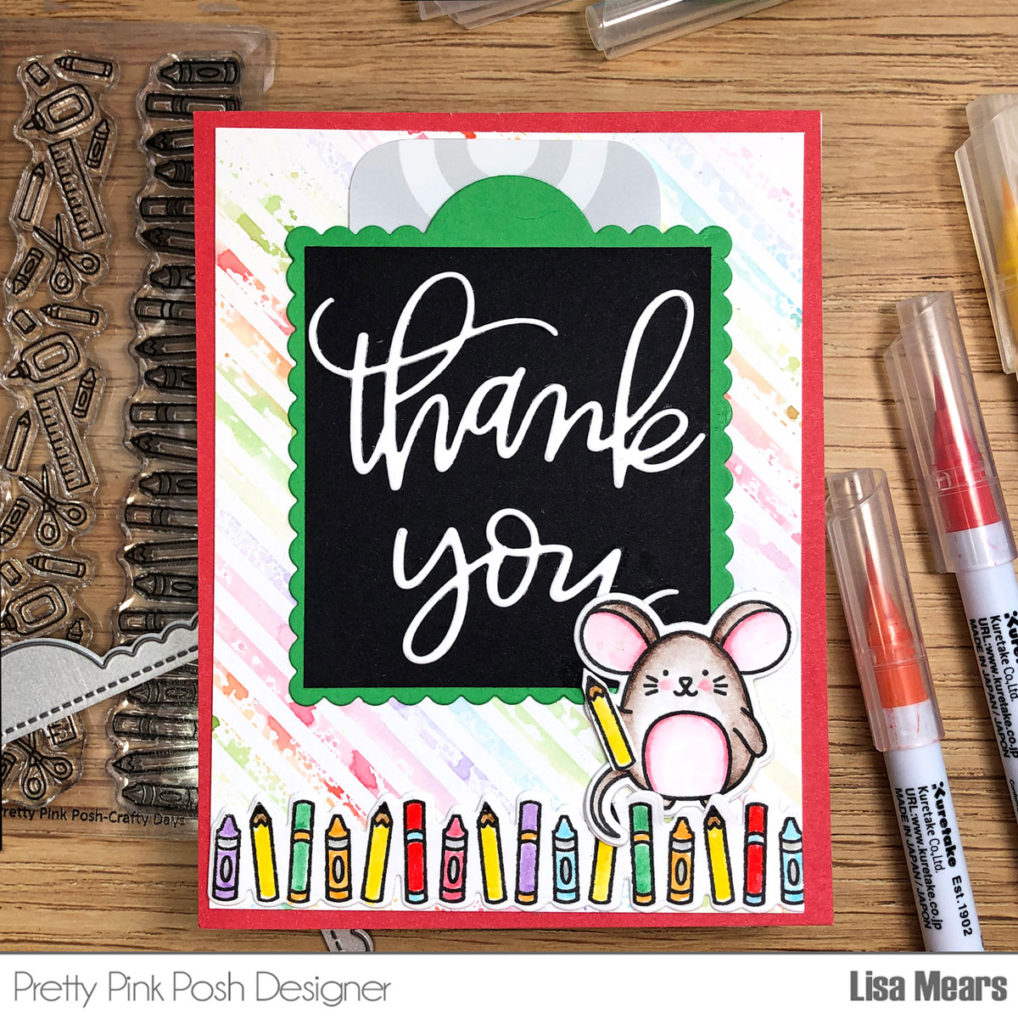
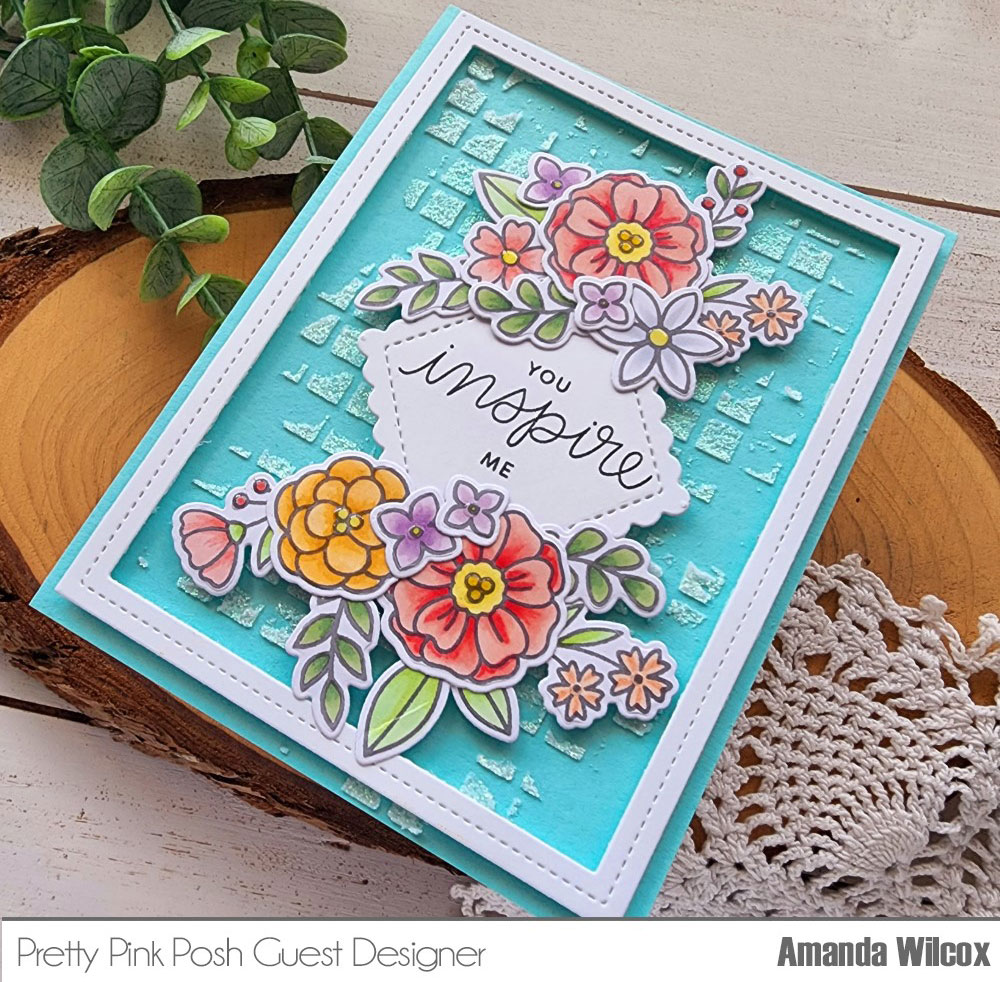
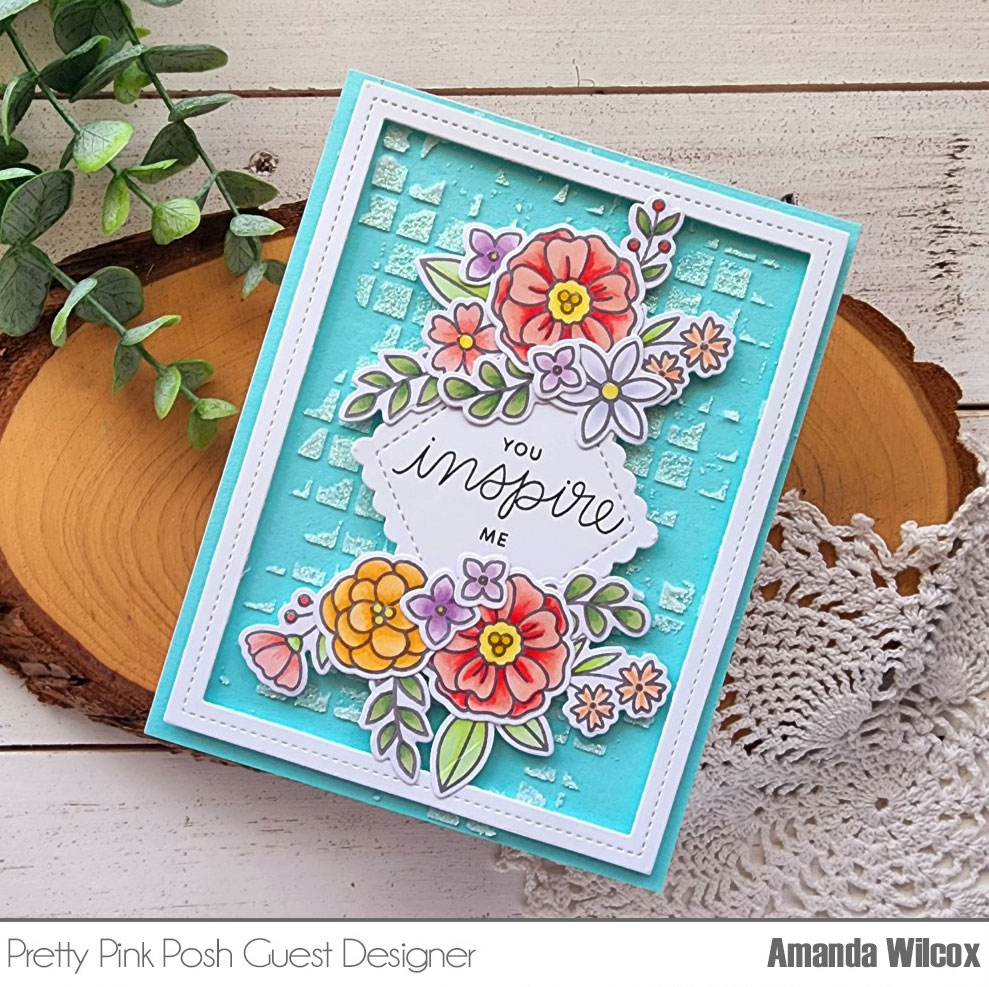
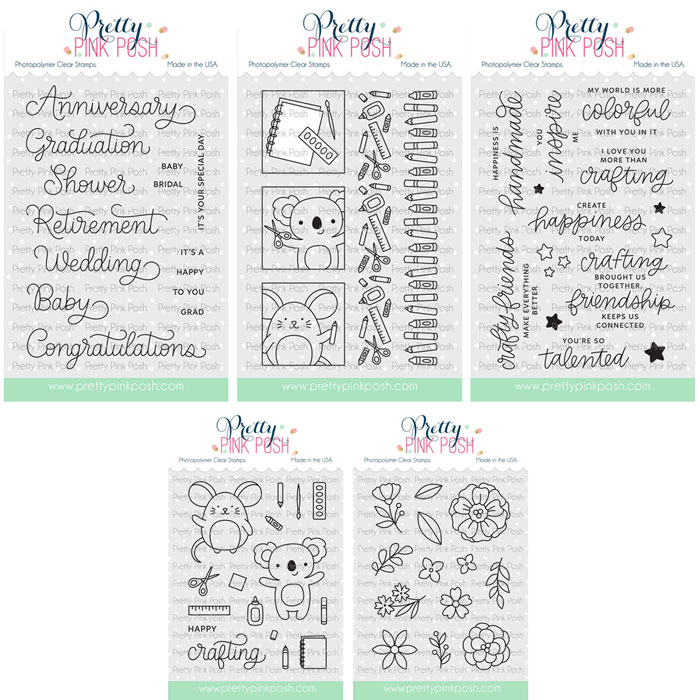
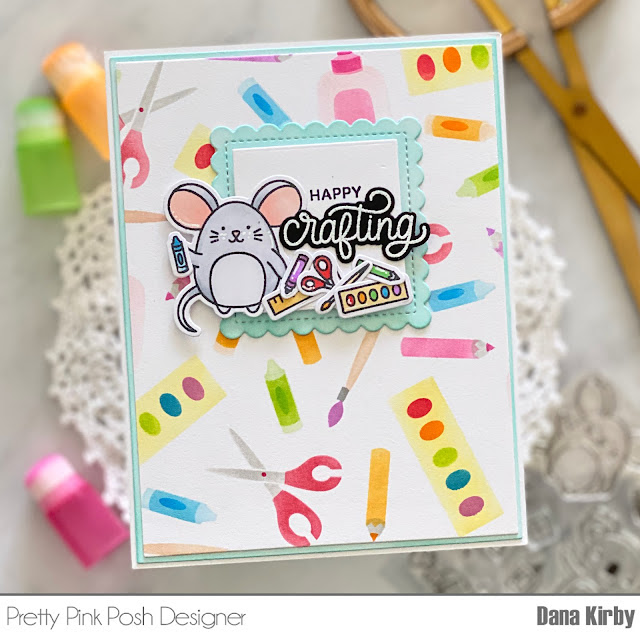
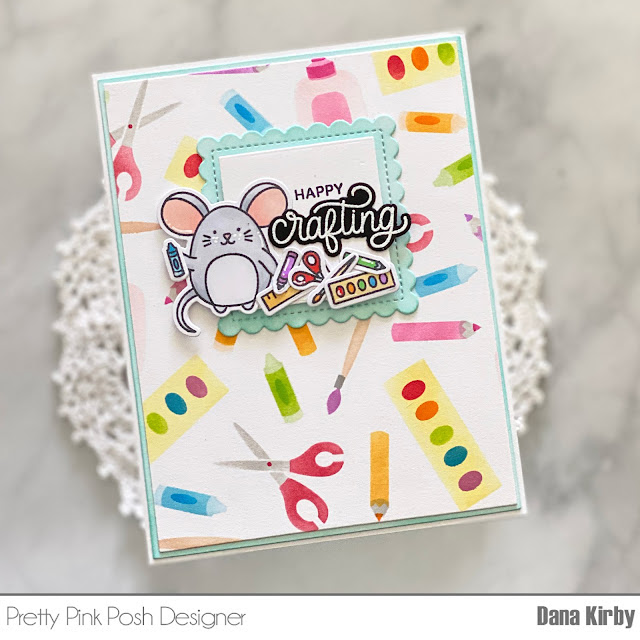
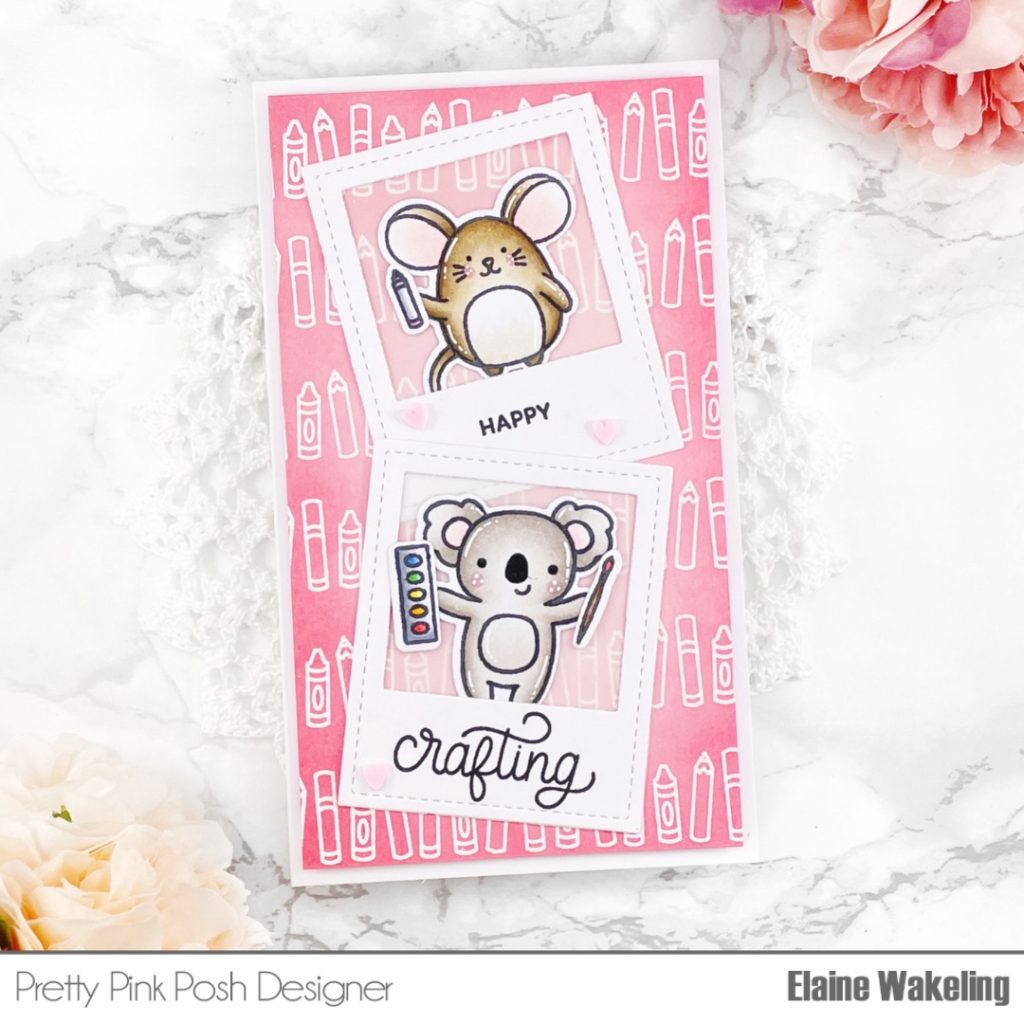
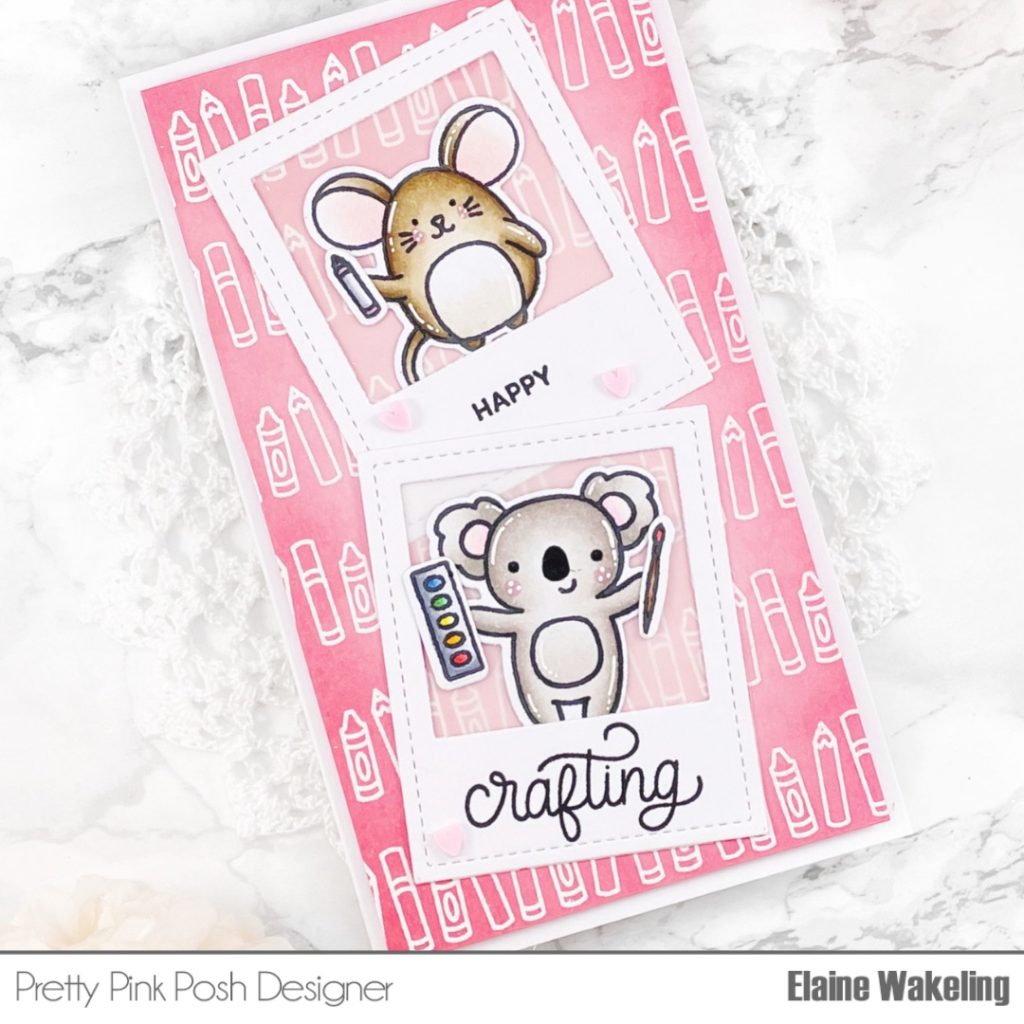
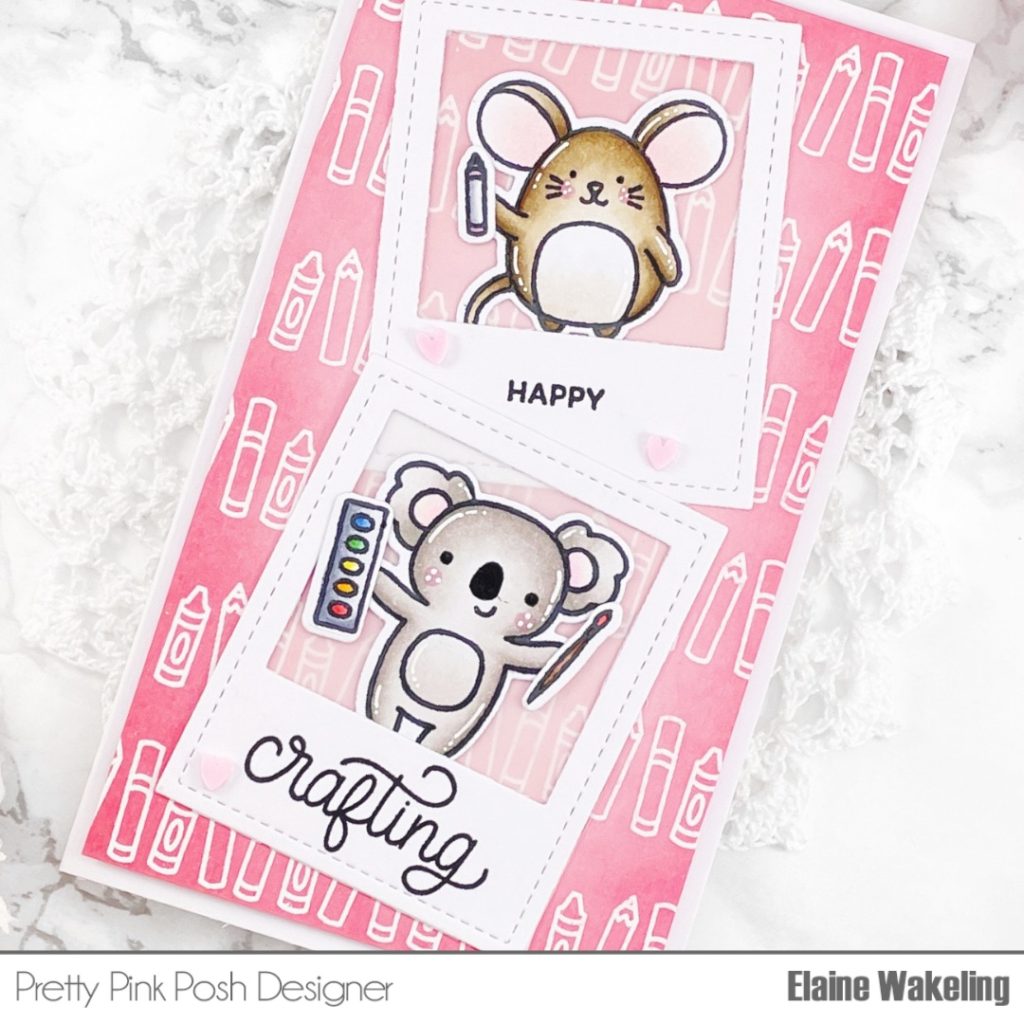
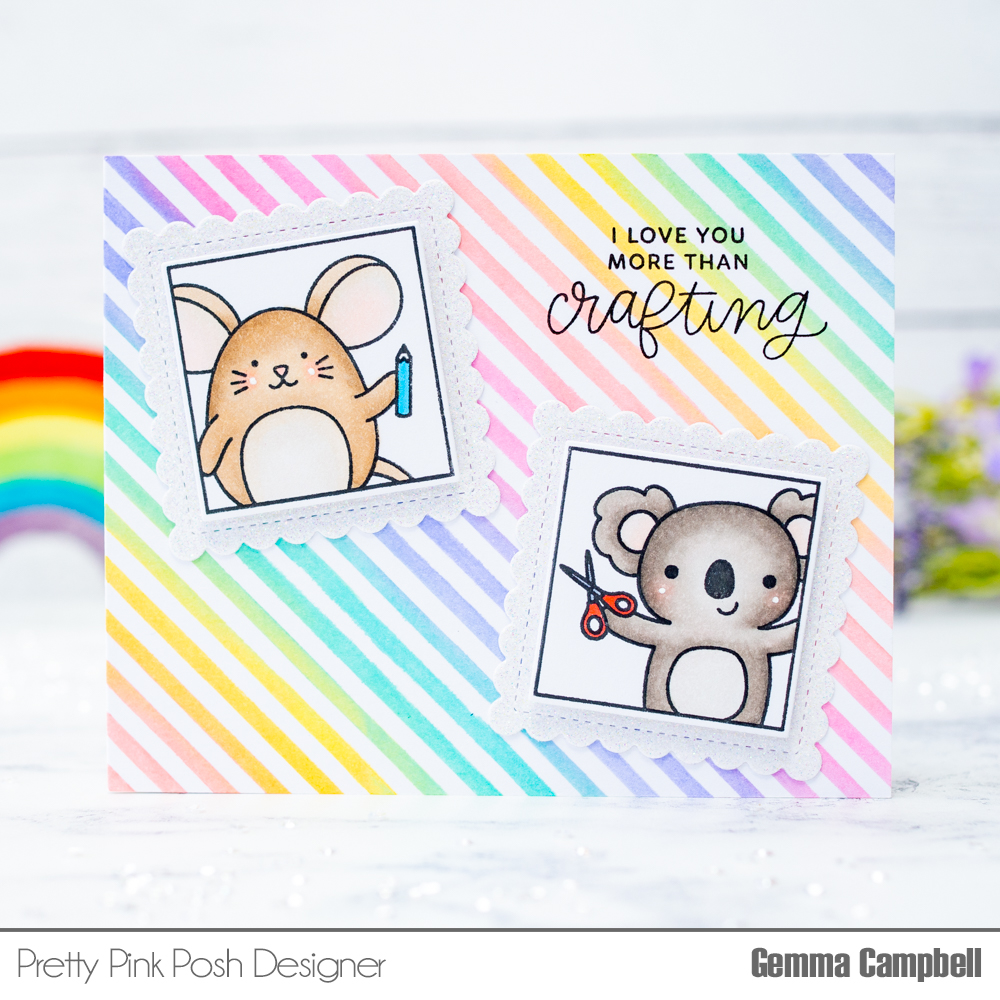
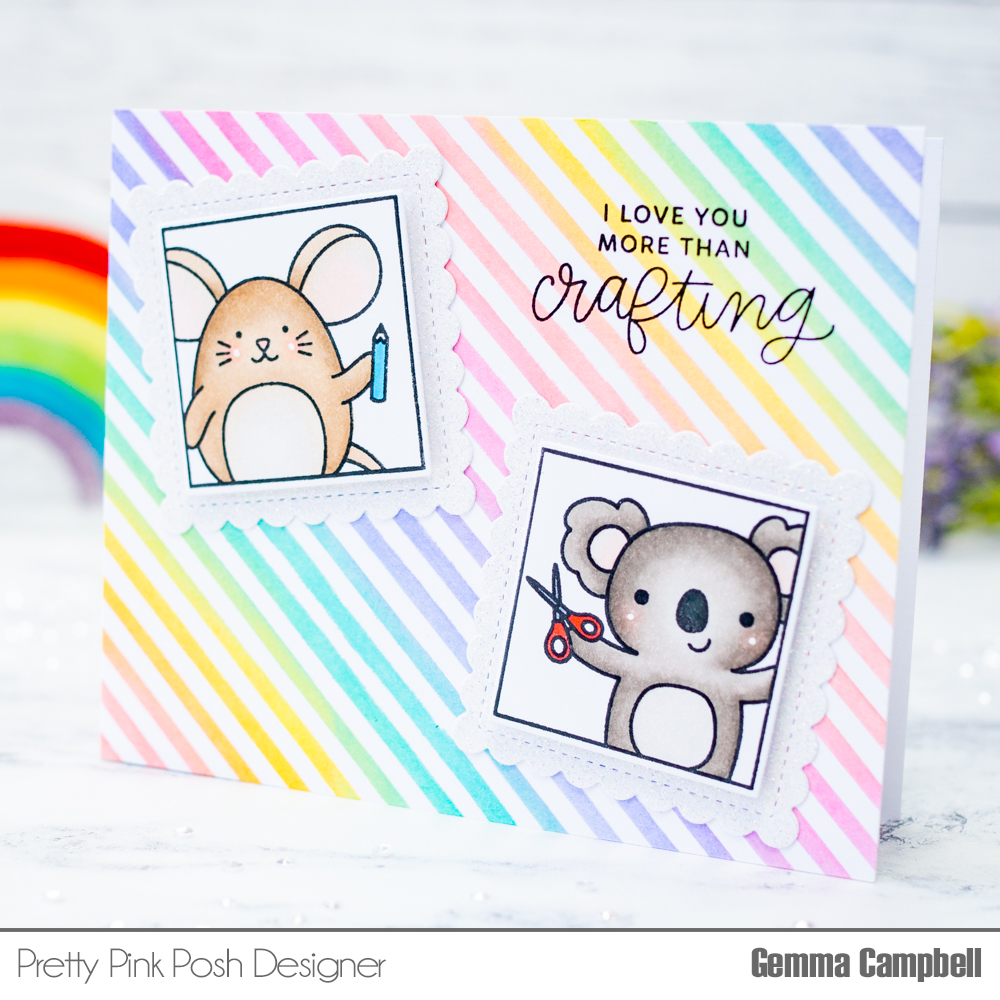
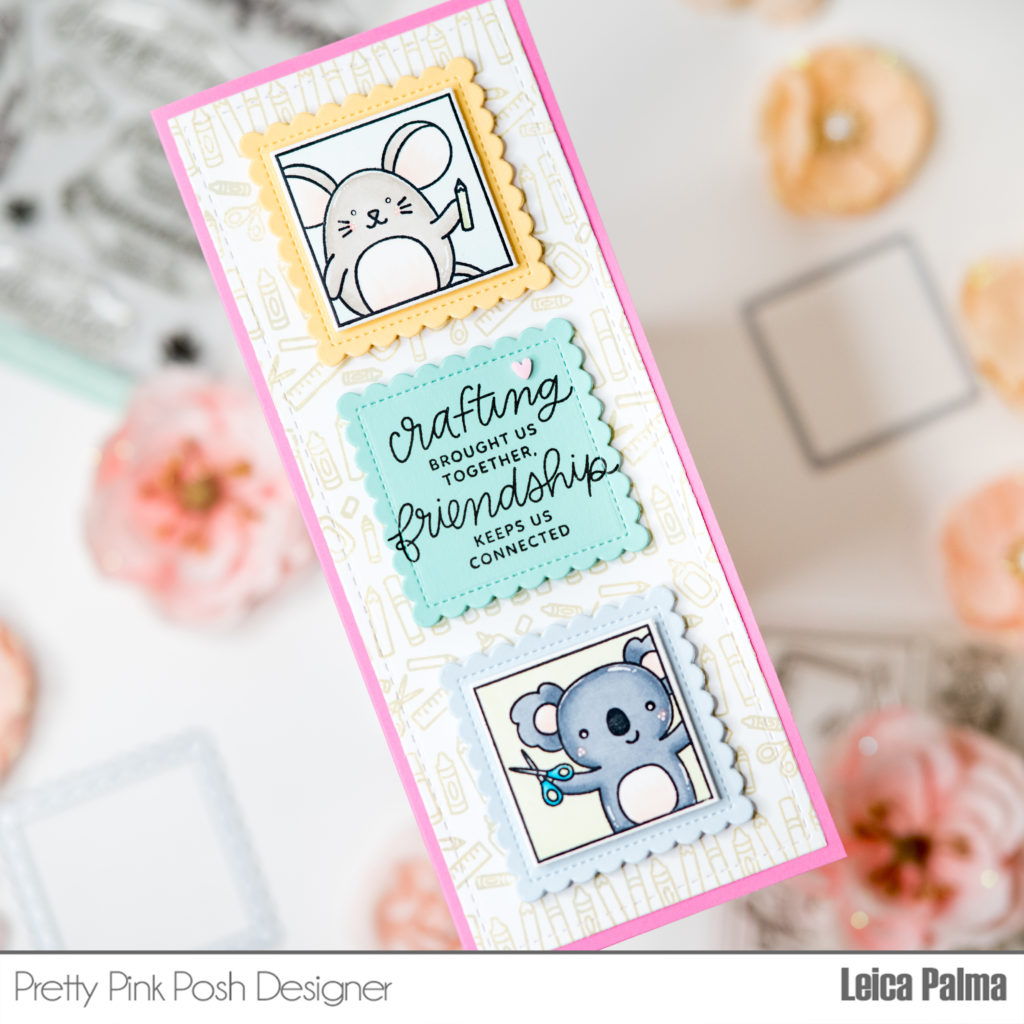
Hello friends! It’s Leica here today with a slimline card using the new Crafty Days and Crafty Sentiments stamp sets from the May 2022 release.
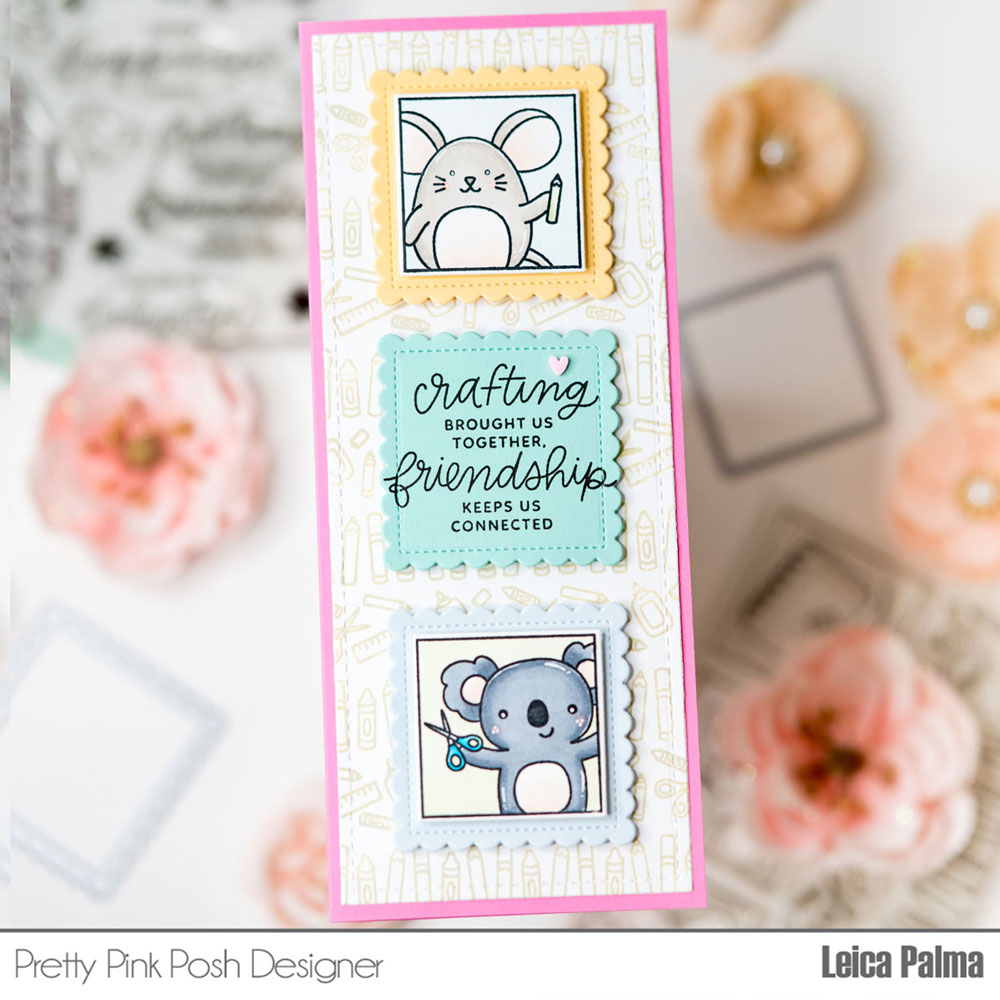
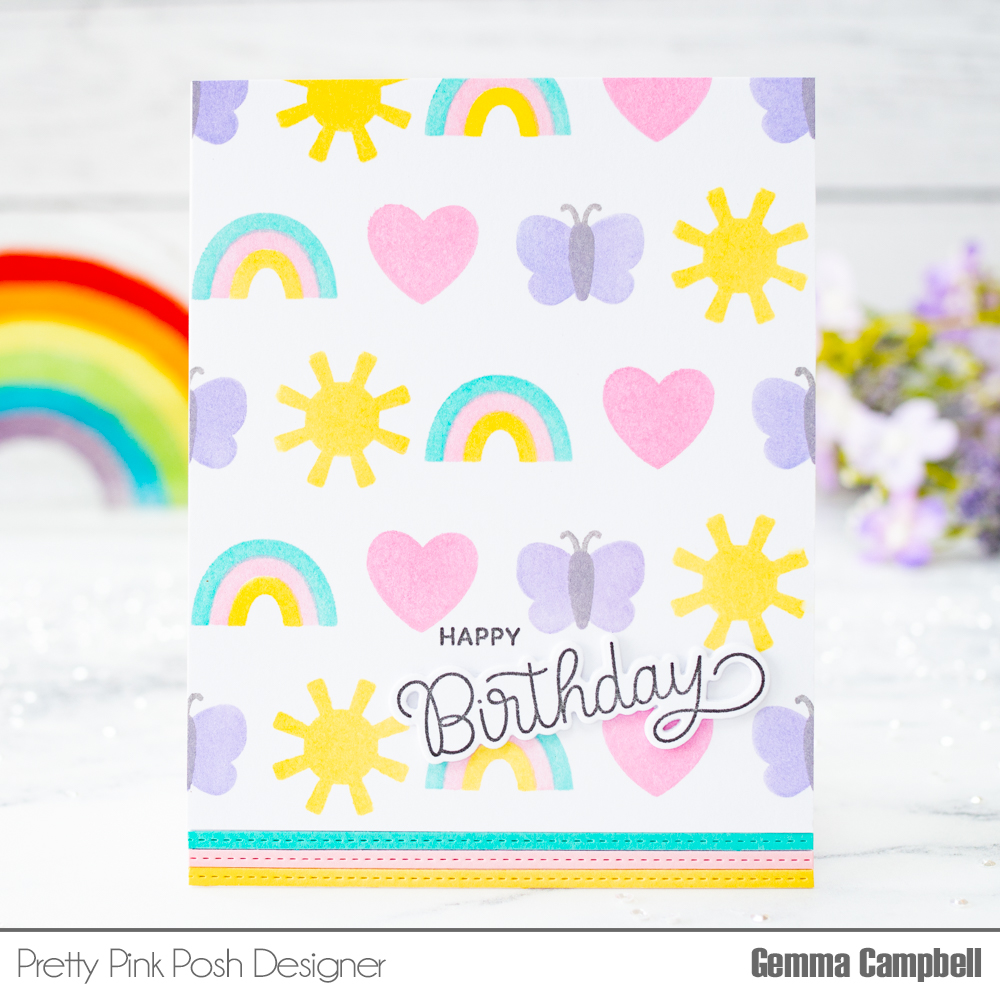
I started my card by cutting a pink panel in 3.5 x 8.5 inches. I then cut a smaller panel in white cardstock. I didn’t want the background to be too plain, so I stamped it with the border stamps in Old Paper Distress Oxide Inks. I think it turned out so cute!
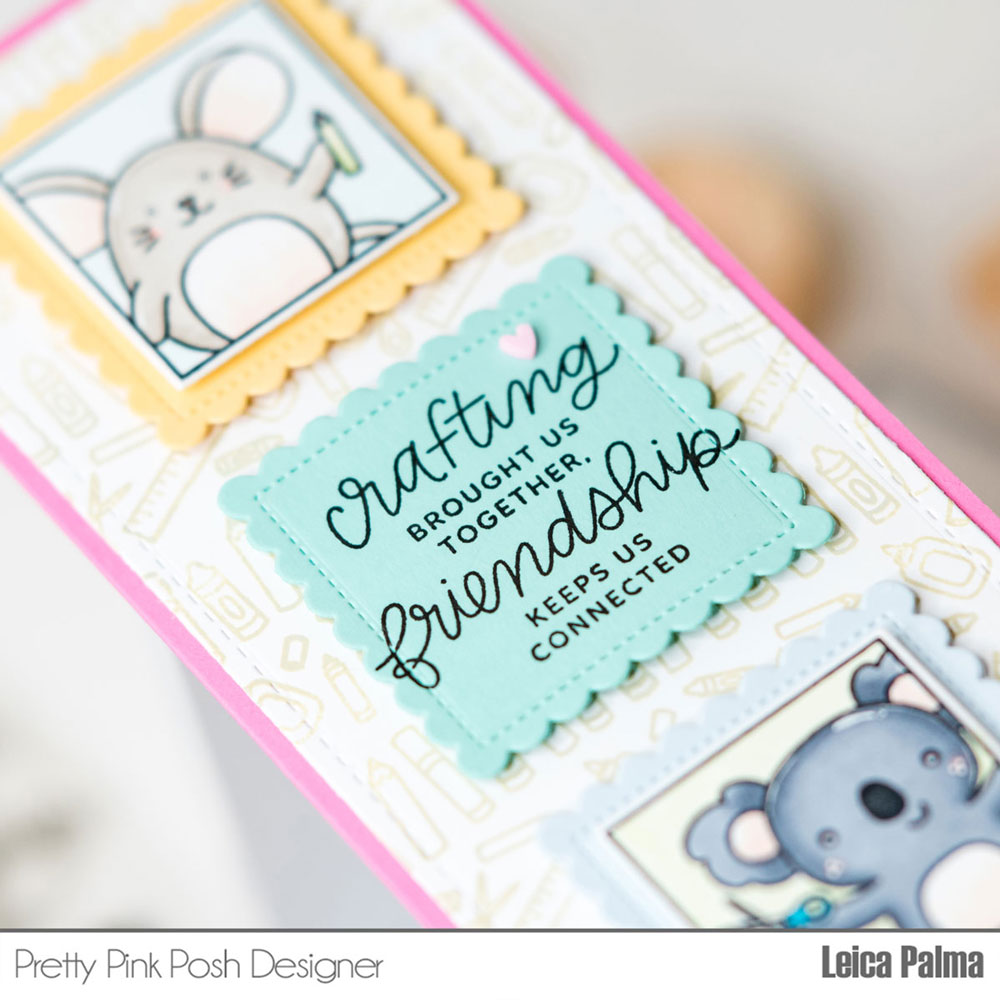
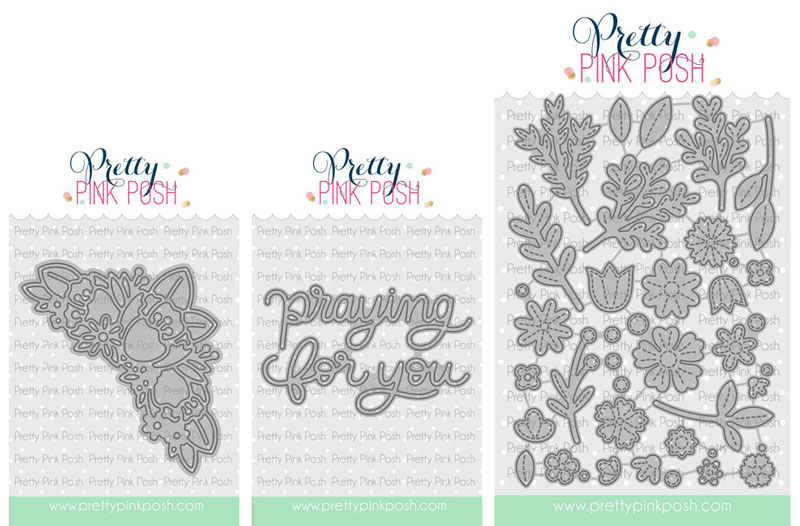
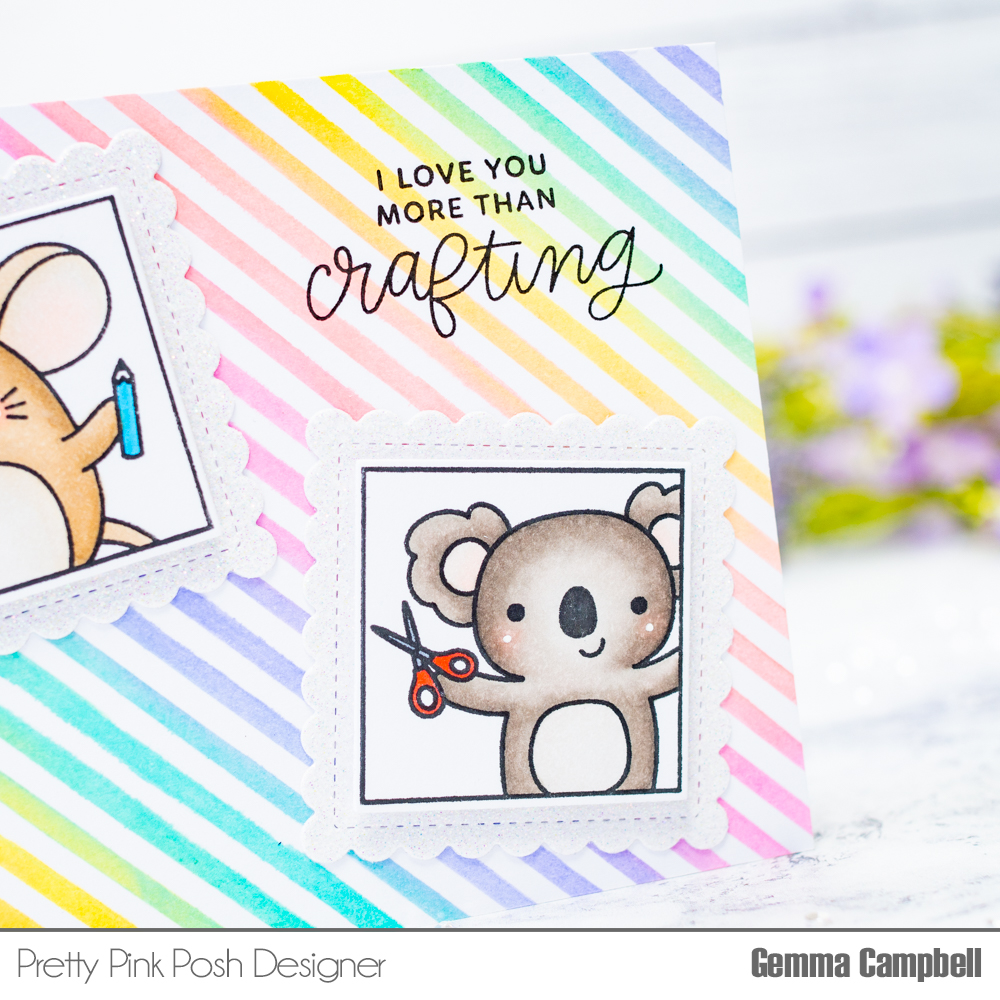
Next, I stamped the images from the Crafty Days stamp set, colored them with Copic markers and cut with the coordinating die. I then cut 3 of the scalloped squares in different colors. I adhered the images onto the scalloped squares and stamped the sentiment onto the teal one. The squares were then foam mounted onto the card panel. I also glued a pink heart for added interest to the card. Lastly, I adhered the card panel onto a slimline card base.
That’s all for this card! The Crafty Sentiments stamp set is definitely one of my faves from the new release and I can’t wait to make more cards for my crafty friends!
PRIZES: be sure to leave comments on each stop. We are giving away 3 $30 gift certificates to three random comments (1 winner each day) left before May 22, 2022 at 11:59 PM PST. I’ll be announcing the winners next week, so be sure to return and see if you are one of the winners.
Pretty Pink Posh blog << you are here
Laura Bassen
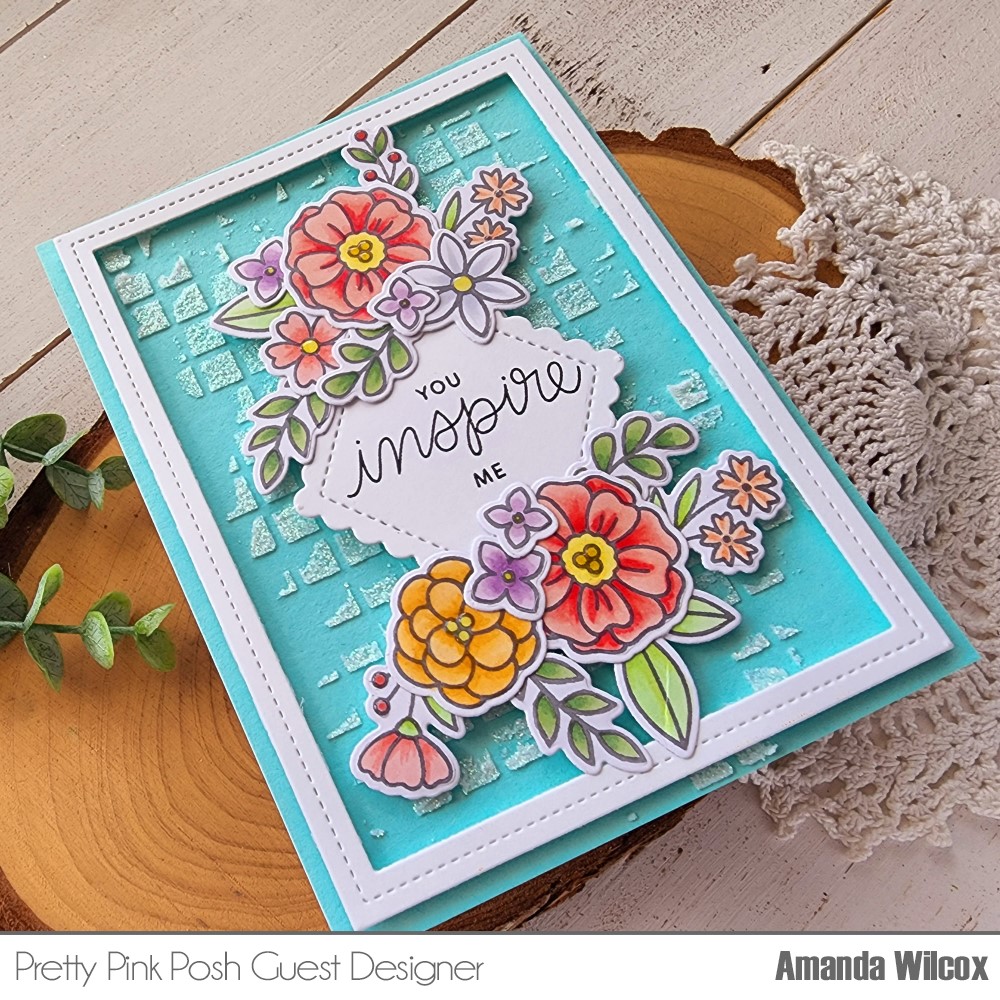
Amanda Wilcox
Jeanne Jachna
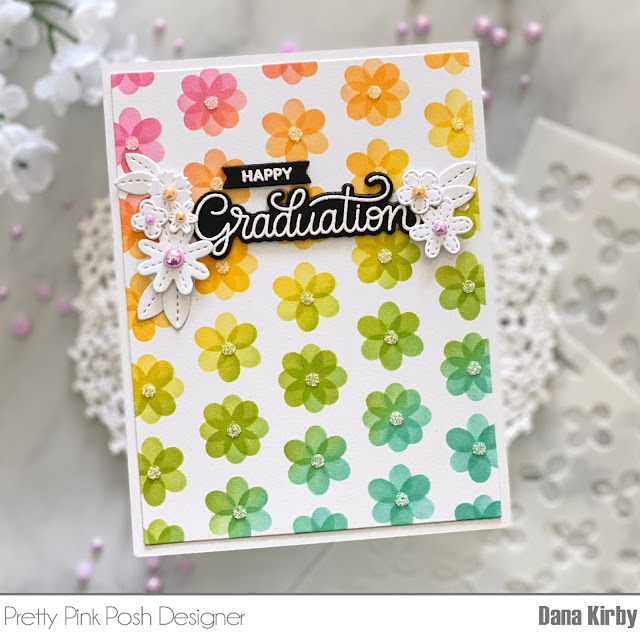
Dana Kirby
Ashley Ebben
Thanks for stopping by today!