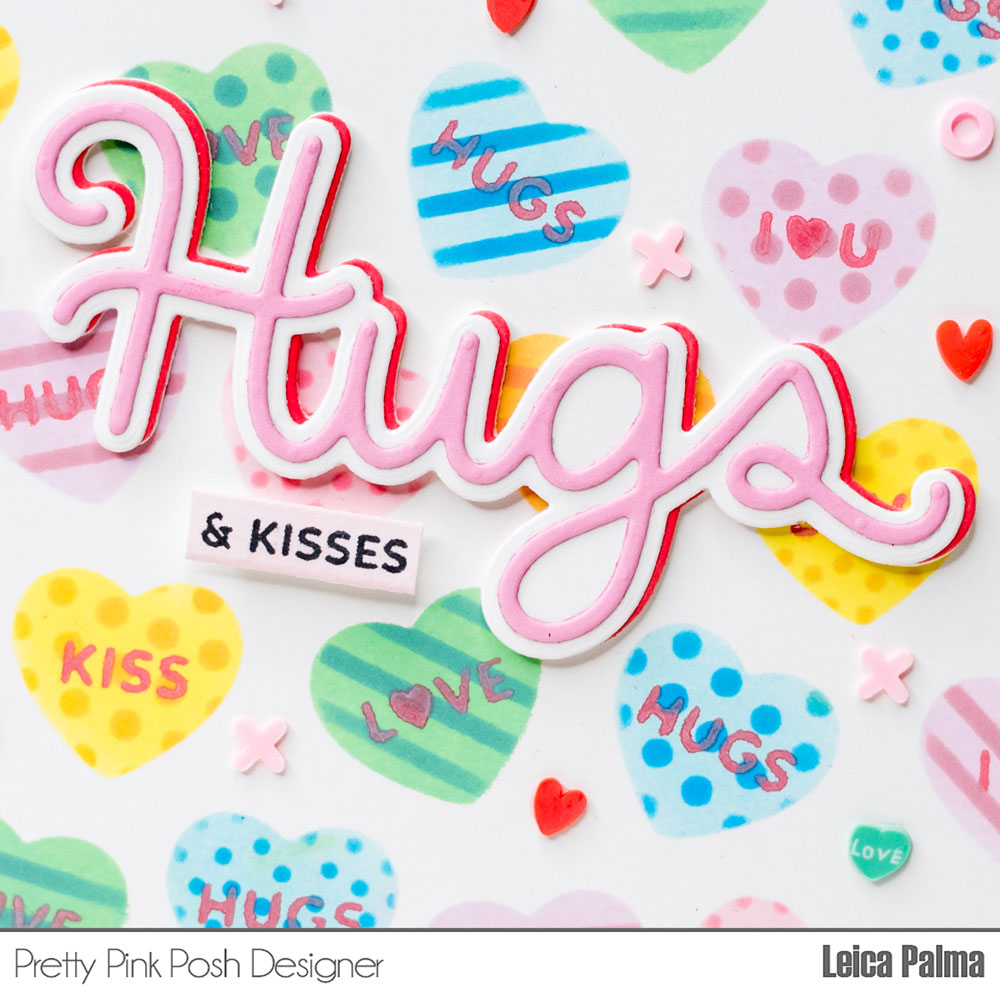
Colorful Layered Hearts
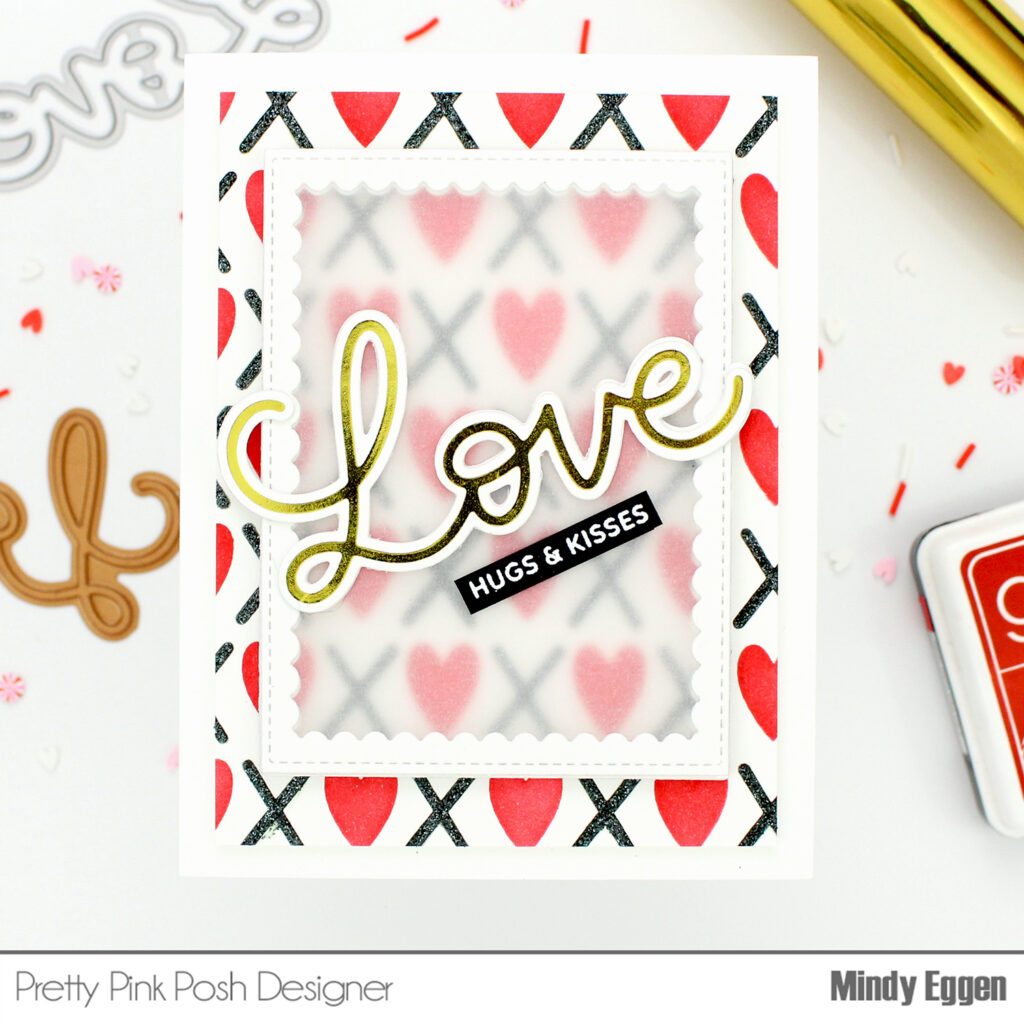
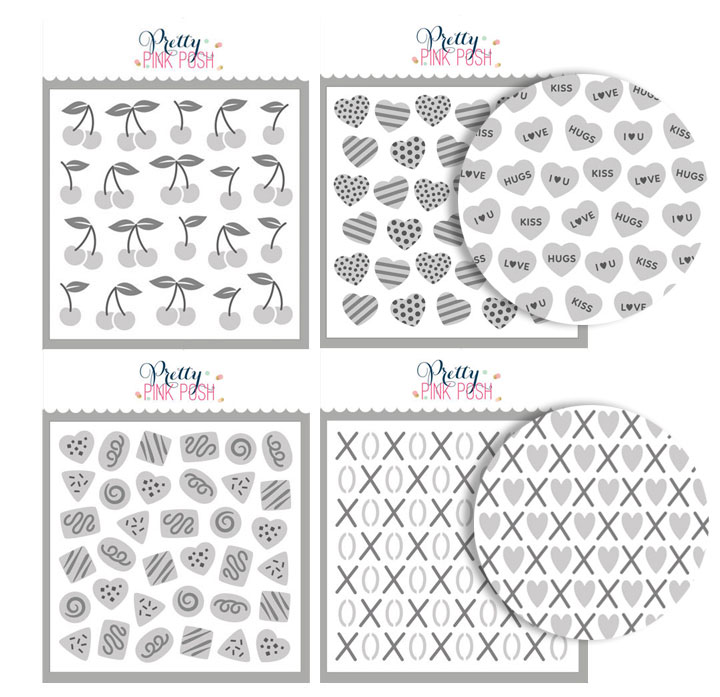
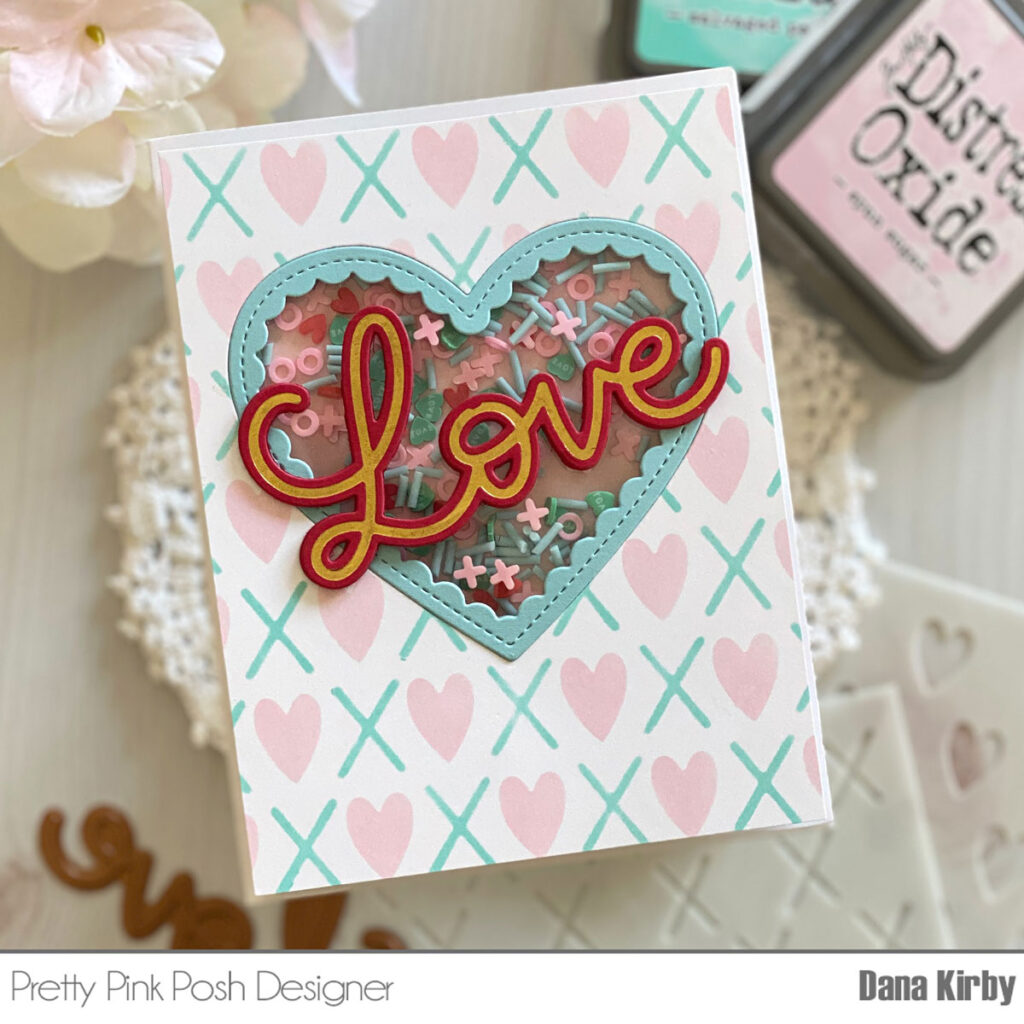
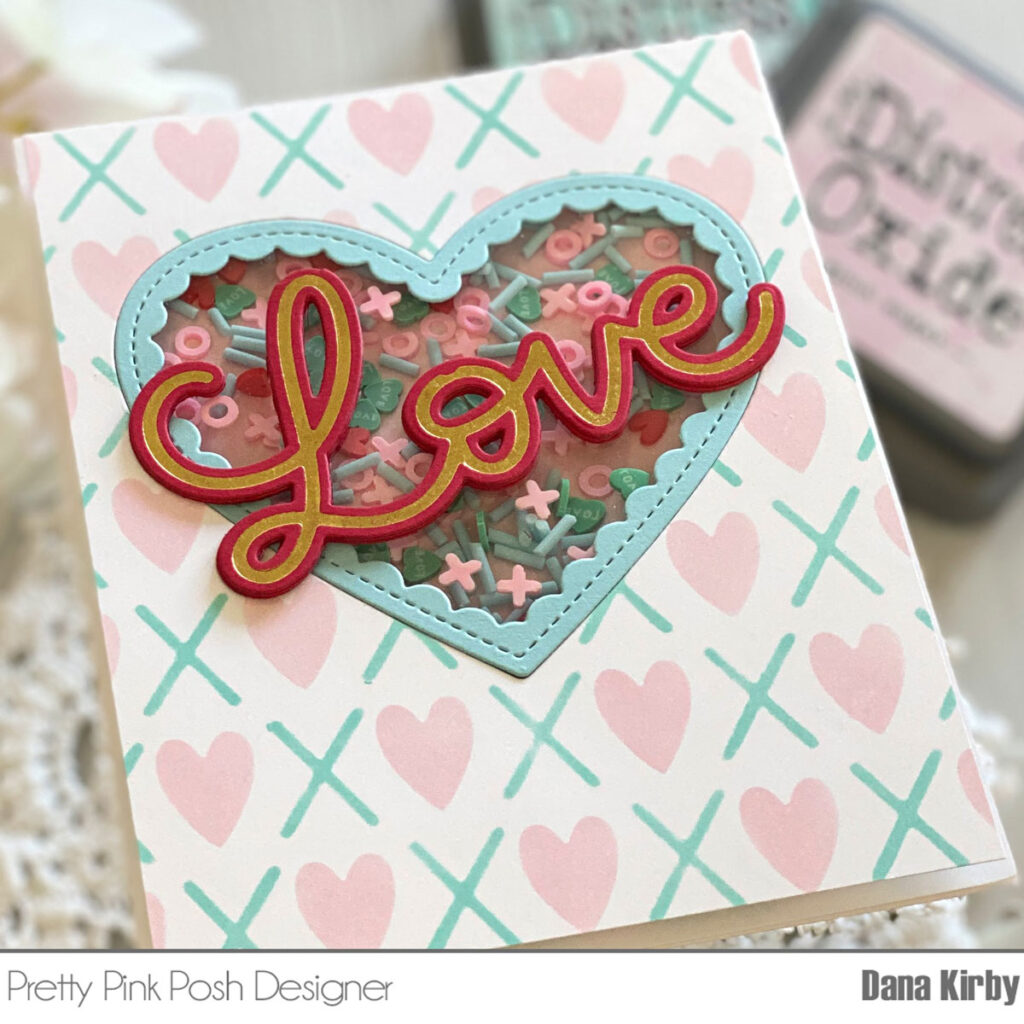
Hi friends! It’s Leica here and today I have a colorful and fun card that is very simple to make, thanks to the new layering stencils. The one I used for my card is the new Layered Valentine Hearts Stencil. With these stencils, you can easily create your own patterned paper for cards or other projects.

I cut a 5” square in white cardstock and ink blended through the “A” Layer in Spun Sugar, Dried Marigold, Squeezed Lemonade, Cracked Pistachio, Tumbled Glass, and Milled Lavender Distress Oxide Inks. For Layers B and C, I used Worn Lipstick, Spiced Marmalade, Fossilized Amber, Evergreen Bough, Salty Ocean, and Victorian Velvet Distress Oxide Inks. With Layer D, I ink blended through the stencil with Barn Door Distress Oxide Ink.
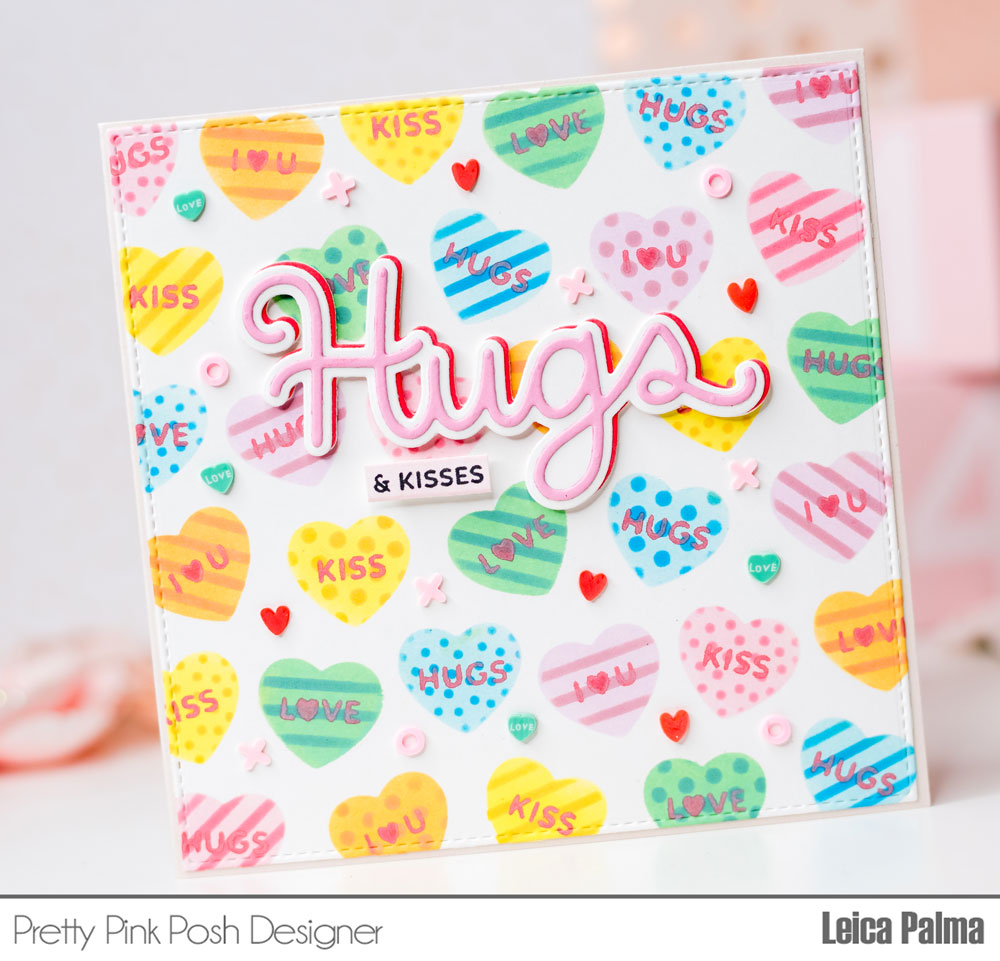
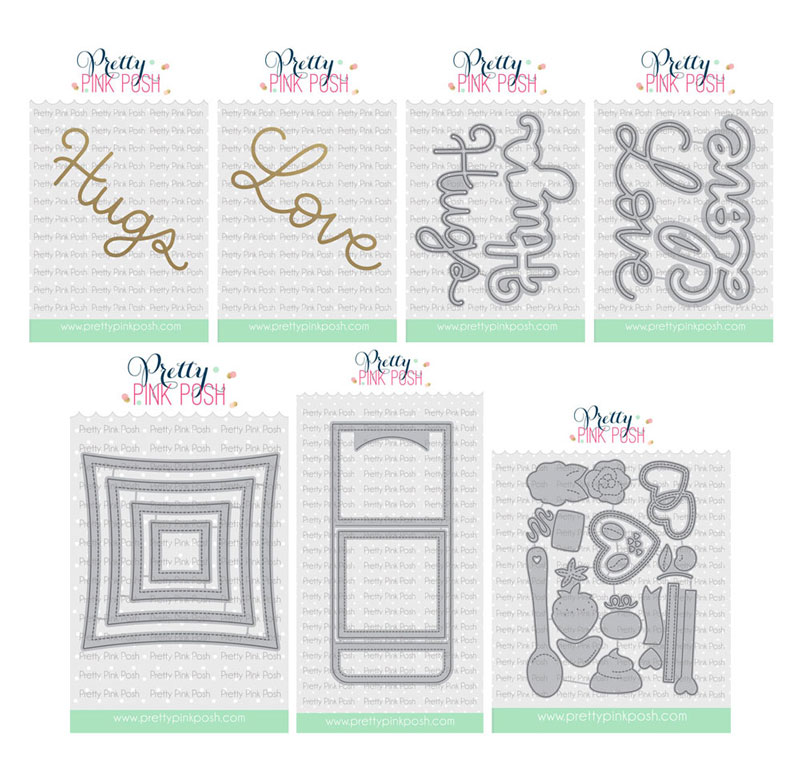
I then cut the Large Hugs Shadow with an extra shadow that I offset for added interest. I also stamped “& kisses” on a strip of light pink cardstock and foam mounted it under the Hugs script. By the way, the Large Hugs Shadow has a Hot Foil version! I’ve already tried it and oh my goodness, it is so much fun to play with!
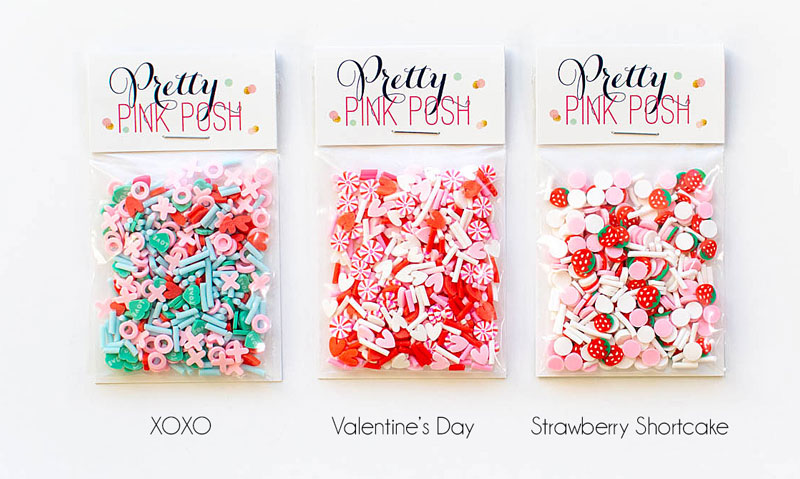
Next, I added some clay confetti here and there and glued the card panel onto a light pink 5.25” card base.
That’s all for this card. I hope that you’ll create some cards with this layering stencil. You can choose different colors or stick with a monochromatic look – totally up to you!
Thanks so much for stopping by. Have a great day!