Christmas Theme & Giveaway Week- Day 1

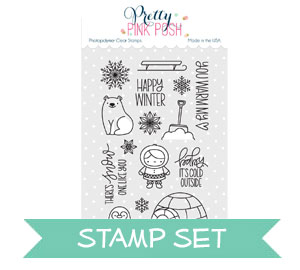
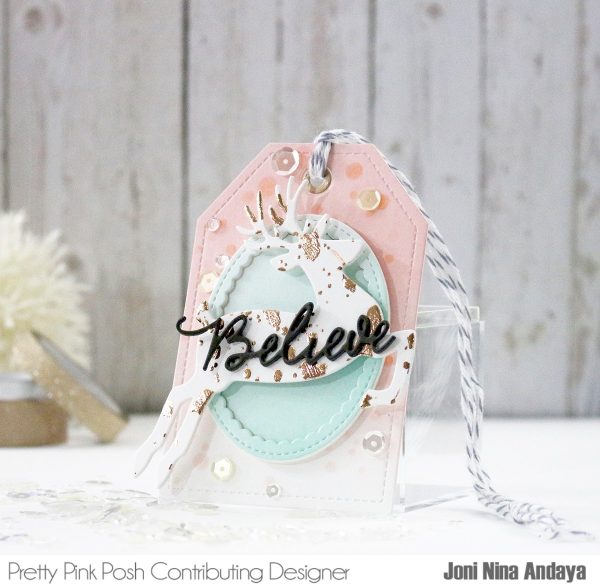
Hello, Pretty Pink Posh fans! This is Yana and I have an interactive Christmas card to share featuring the Winter Wonderland stamp set and wobble springs. Plus, this post kicks off our Christmas Theme and Giveaway Week!

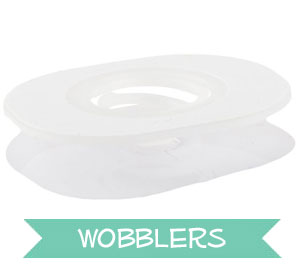
Wobble springs are something new and very exciting you can now find in Pretty Pink Posh store. And just in time for the Holidays, too! I was very excited to get my hands on these and I can’t wait to share a card I made using them.
In case you don’t know what wobble spring is, it’s a little plastic spring that attaches with one end to the card base (or anything else; thank tags, gift bags etc) and with another end to an object and provides that object with movement when touched. It is super fun to play with, even for adults – it’s mesmerizing in a way and addictive I’d say.

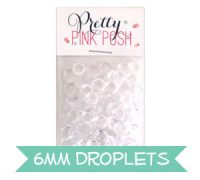
The element that wobbles on my card today is the igloo and a little penguin. The spring is hidden behind both of these and adds movement to both objects. To embellish the card, I added 4mm Clear Droplets and 6mm Clear Droplets, which are one of my favorite finishing touches.


")
")
")