
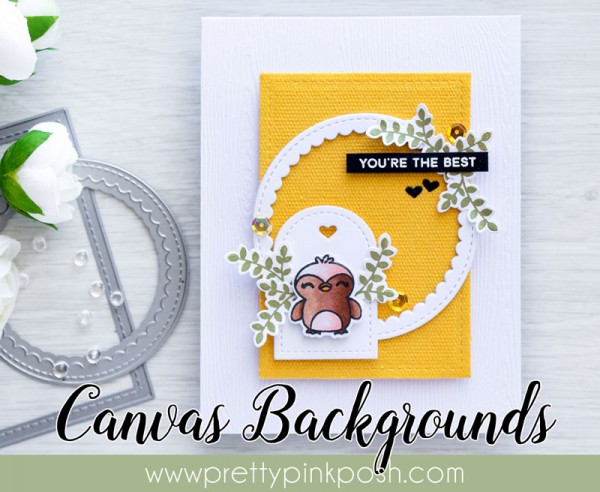
Tutorial: Canvas Backgrounds
 Hello, Pretty Pink Posh fans!
This is Yana and I’m excited to share a simple card tutorial today. I love to create cards that incorporate both a bit of stamping and a little bit of die cutting. When it comes to die cutting, I enjoy using various mediums, not just paper. For the card I’m sharing today I’m using canvas; it adds a nice texture to the background and makes my project pop.
Canvas can be difficult to die cut and you won’t be able to die cut it like paper, detailed intricate shapes most likely will not cut, but it doesn’t mean you can’t use canvas for simple shapes like rectangles or circles.
I find I’m able to get best results when die cutting canvas when I have an additional layer with it when I send it through my die cutting machine. Simply adding a layer of paper or cardstock can help a great deal, however you will still have a few uncut fibers you’ll have to trim with your scissors.
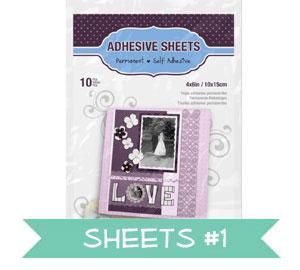
- Adhesive Sheets: Ellen Hutson // Simon Says Stamp
- Stick It Sheets: Amazon // Ellen Hutson // Simon Says Stamp
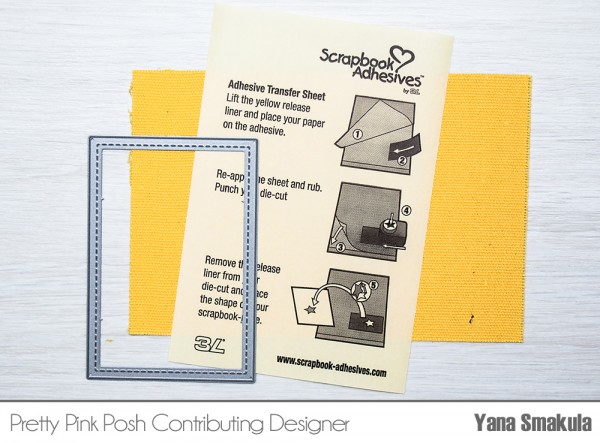
To create the card I’m sharing in this blog post begin by adhering a sheet of Scrapbook Adhesives Adhesive to the back of your canvas. This will make it easier to cut it and it will allow us to adhere our canvas onto a cardstock panel to make it sturdy. If you don’t have Adhesive Sheets from Scrapbook Adhesives you can also use Stick It from Ken Oliver or any other thin double sided adhesive in sheets or tape.
Once you’ve adhered it go ahead and die cut your canvas using a rectangle die from the Stitched Duo 2 set. You’ll also need to die cut an identical panel out of white cardstock and make it slightly smaller (about ⅛ smaller on each side). Alternatively, you can cut the panel using your paper trimmer, it doesn’t matter, you don’t need to faux stitching on it.
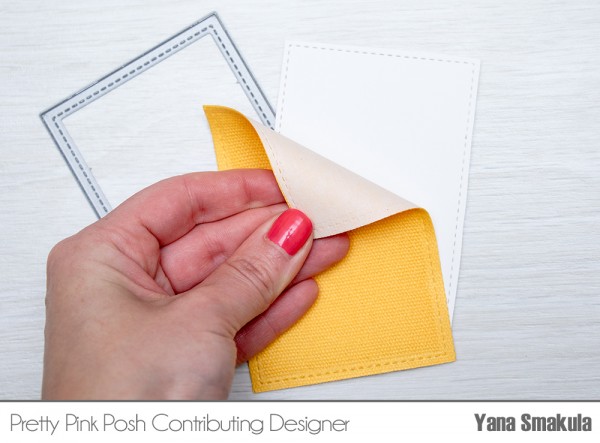
Once you have both of these cut go ahead and adhere canvas onto cardstock. Because the cardstock panel is slightly smaller it should remain invisible from the side.
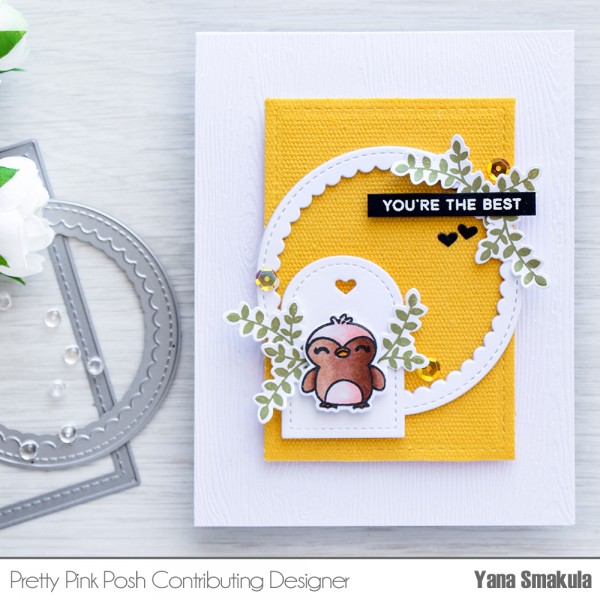
Because our canvas is a lot more sturdy now go ahead and foam mount it onto a card base. I love to use foam adhesive as it helps me to add dimension to my cards and I also believe it helps the die cuts to stand out. I used woodgrain textured cardstock to create a base for my card, but plain white card should also work great.
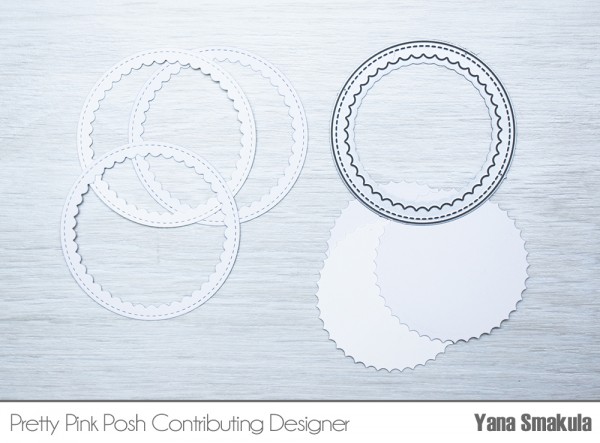
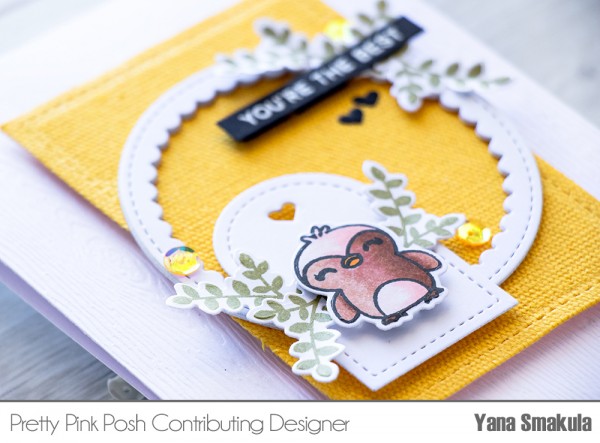
We will also need to create a frame for our project so go ahead and die cut the smaller circle from the Scallop Circle Dies set 3 or 4 times out of white cardstock. You can die cut more layers if you want the final piece to be thicker. Use glue, I used Multi Medium in Matte and adhere the layers together to create one thick dimensional element.
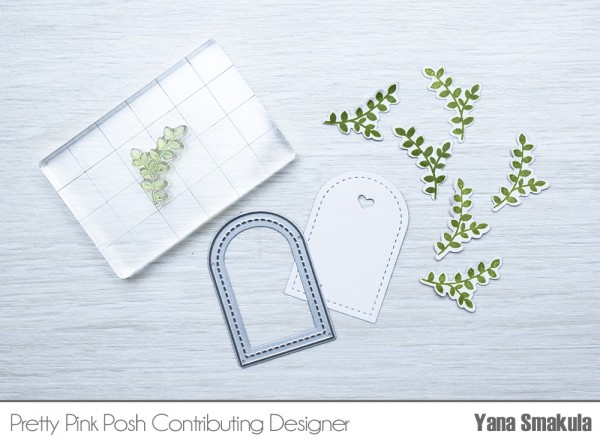
Stamp several leaves from the Holiday Pals stamp set using green ink and die cut those out using a matching die. You’ll also need to die cut a small tag from the Mini Tags Die set out of white cardstock.
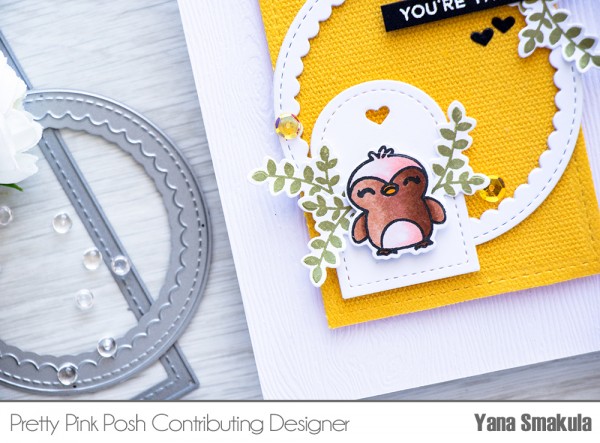
To finish this card you’ll need to stamp, color and die cut an adorable little owl (or any other cute creature) from the Holiday Pals stamp set, heat emboss a You’re The Best sentiment in white embossing powder onto black cardstock and also die cut several hearts using a tiny heart die from the Mini Tags Die set.
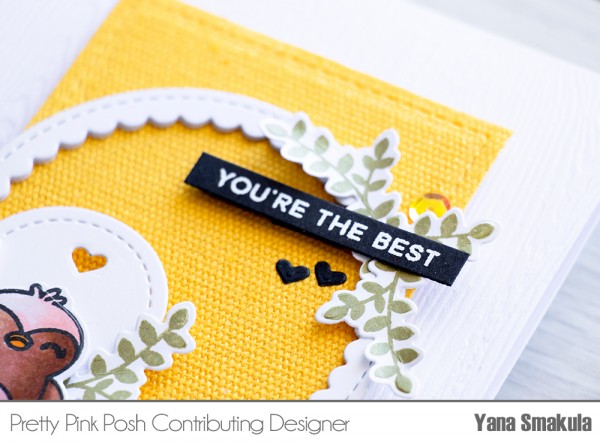
Adhere the elements onto a yellow canvas rectangle, foam mount the sentiment and the tag and embellish your card using a few 6mm sunshine glow sequins.
Happy cardmaking!
What a nice tutorial. Love the canvas look and your card is so dang cute!
I just love the look of canvas on a card. What a lovely idea. Just looks so sweet. Thank you for the tut.
Absolutely darling card. Those die cuts really add so much and the little stamped and colored images are so sweet looking. I like the added texture from the canvas too.
Thanks for the tips Yana!!
Yana, so cute! I love all the different elements and textures. I bought some canvas a while back and was disappointed that it wasn’t cutting right with my dies, thanks for the tip, I’m going to try that out. Thanks for sharing and inspiring.
What an adorable card Yana. I have some canvas left over from a previous project, I must use it (or try to) on a card. I love the added texture.
Your card is adorable. Thanks for sharing.
Crafty hugs,
Dawn
DesignsByDragonfly.blogspot
Very beautiful and eye catching card!
Super cute card!
Love the combination of stamps and die cuts and the canvas background!