
Tutorial: Creating Garden Scenes
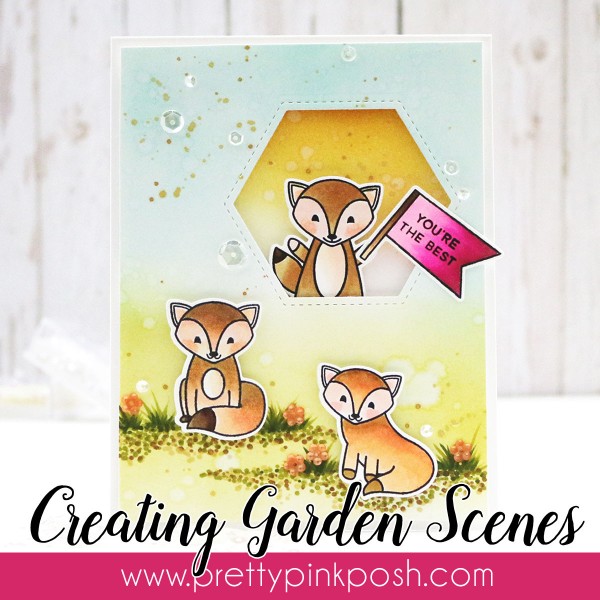
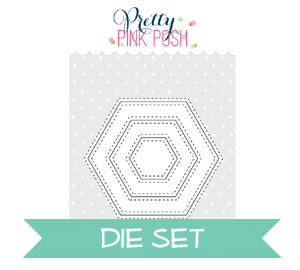
Hello everyone, Joni here sharing these new cute fox critters from the Fox Friends stamp set and the Fox Friends Coordinating die set. I also used the new Stitched Hexagons dies. Today I want to share with you how to ground images using your Copic markers.
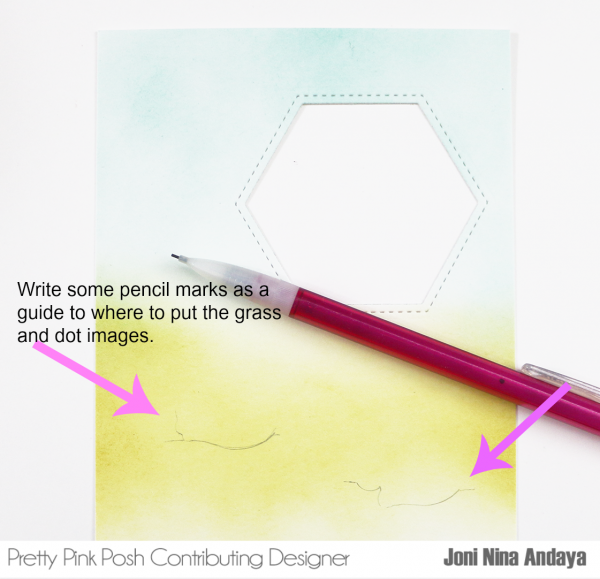
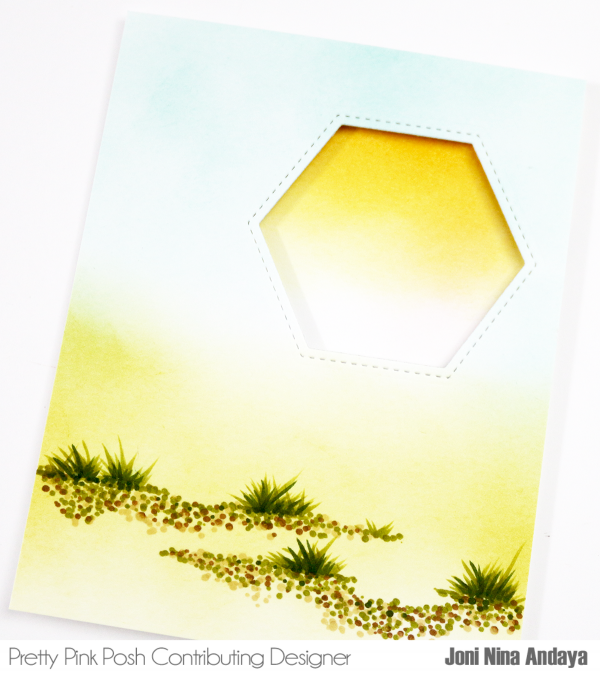
To begin, I first distressed an A2 white card panel then die-cut on the upper right using the medium sized Stitched Hexagons dies. At the bottom of the panel I drew 2 lines using a pencil mark (see: arrows). This will serve as a guide on where to put some grass and dot images using Copic markers.
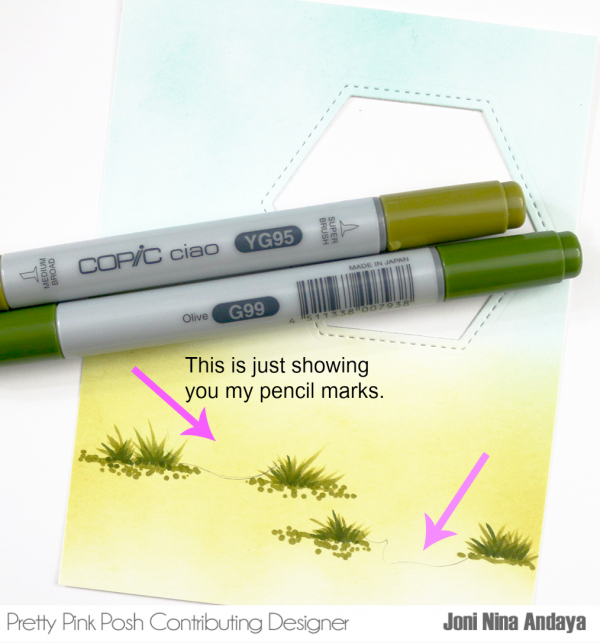
Next, I using YG95 and G99 to draw my grass and dots for my ground.
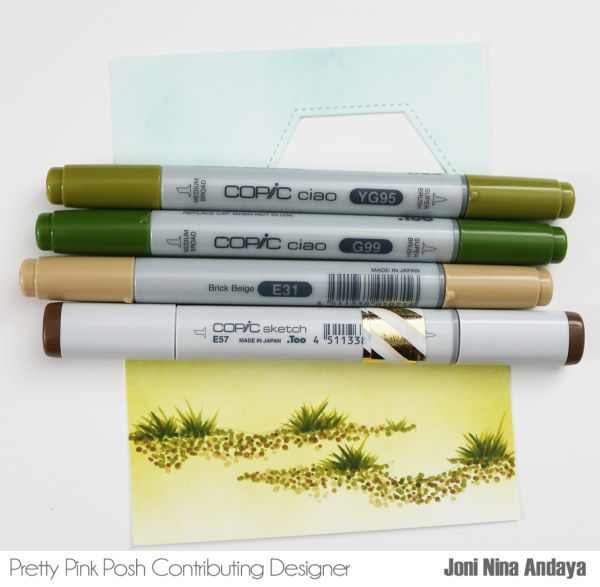
I added more color of Copics to make it more realistic look. I used E31 and E57 for the add on.
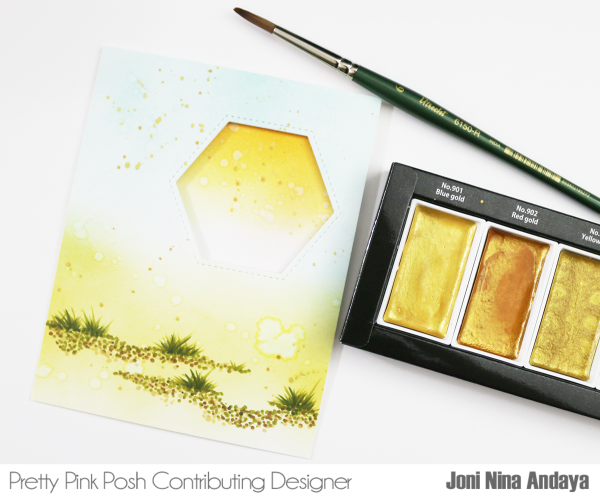
Next, I removed the pencil marks. For the back of the hexagon, I distressed some piece of white cardstock using Distress Ink in Wild Honey. Next, I adhered the piece of cardstock with foam tape for dimensions even though it’s a background.
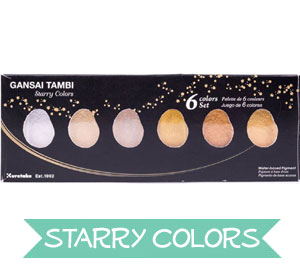
Then, I added some water splatter and gold splatter using the Gansai Tambi Starry Colors.
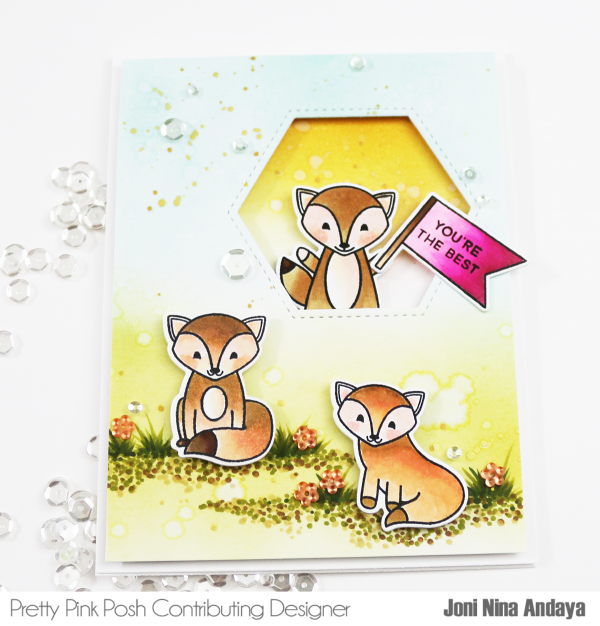
I adhered the die-cut images with foam tape for added dimensions. I also added some of the new Tropical Flowers sequins (orange color). I also include some of the Sparkling Clear sequins to finish off the card.
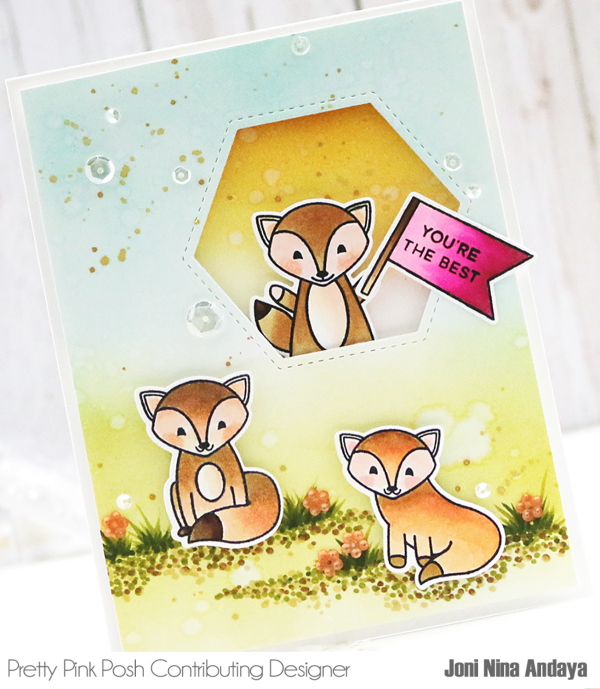
Here’s another look.
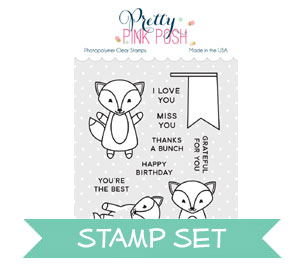

- Fox Friends stamp set
- Stitched Hexagons die set
- Starry Colors: Amazon // Ellen Hutson // Pretty Pink Posh Shop
- Foam Tape (extra large roll): Amazon // Ellen Hutson // Simon Says Stamp
- Copic Markers: Amazon // Ellen Hutson // Simon Says Stamp
I hope you guys enjoyed! Thank you for stopping by.

So much fun! Thanks for breaking the process into easy steps.
~Varada
Love the tutorial! Joni – you are so talented!
Ooh! Love how you used the hexagon die, so clever! And those foxes are adorable! Sweet card, thank you, Joni! 😊
So cute Joni! TFS
This is such a cute, fun card with the hexagon hole for the fox to peek through. Thanks for your tips on making the grass look real. I love the little flower sequins to complete the scene.
Love the card and how you made your grass is so clever, mine never looks this good so will have to keep this tutorial so I can try this next time. Thanks for sharing
Such an adorable card Joni, thanks for the tutorial. These little fox are just precious.
Thank you for sharing your method of creating ground cover! I love how you stepped the areas for depth. The flower sequins are the perfect touch and I always love splatters ♥
Enjoyed seeing how the Ganasi colors were used.
Wow – I have GOT to try that technique!! Gorgeous!
How lovely this is!!! Absolutely darling scene you have created and the colors are breathtaking!!! TFS!
love the hexagon die cut and the use of the starry colors paint
Love it all! I just made it through my first blog hop! All I can say is “WOW”! So much “Yumminess”! Everyone had such awesome creations. Enjoyed!
Thanks for the great tips. I want to try the garden scenes. Soon! Thanks again.