Hi there, Joy here today bringing you a post for the Pretty Pink Posh blog using the Friends Forever set that released in March!
I have something a little different for you from me of course, I created a video, yep I don’t do them often but I do try and well once I sort out the light situation in my room maybe then I may create more LOL I do try…
I created a couple of cards in this video and you will notice what card I share in the still shots in the video is not the one I create on the video, but I wanted to give you option of 2 different colours and how super easy these can be to create, so why make 1 when you can create 2 right..
Creating shaker cards with Pretty Pink Posh product is so fun and easy, so sit back and watch how I create these cards for you…
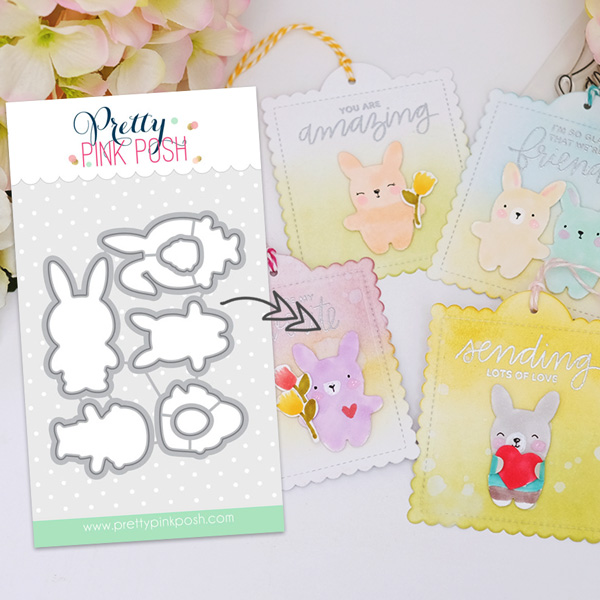
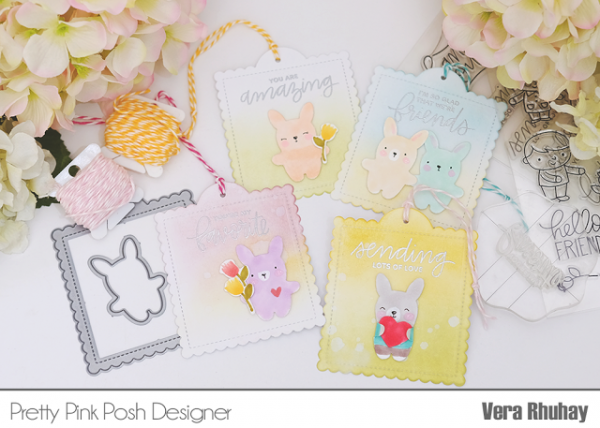
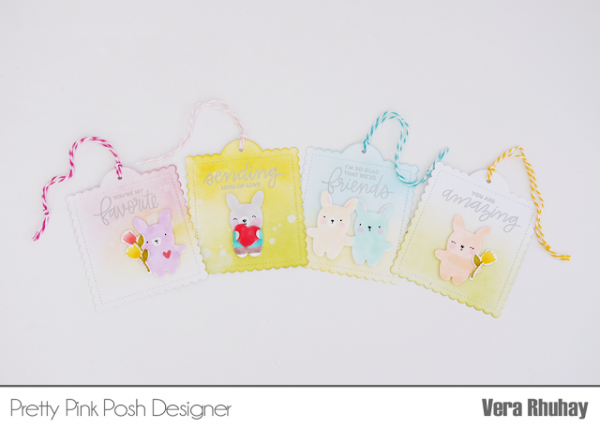
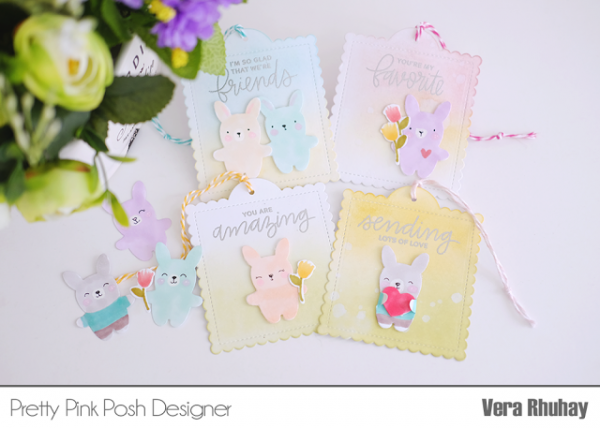
Hello everyone, Vera here sharing another way to use Easter Friends coordinating dies as a non–Easter project. With a little imagination, you can create all sorts of characters with some of the dies you may already have in your stash!
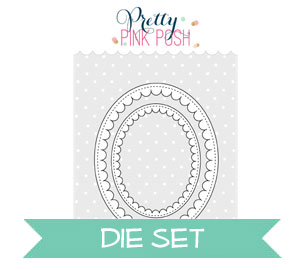
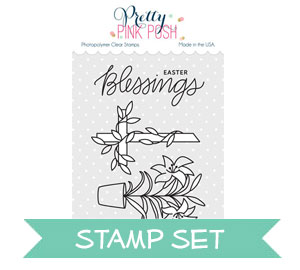
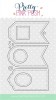
Hello everyone, Eloise here and today I have a 10 minute card challenge card for you all. As much as I love to create very full on cards that take a lot of time I also enjoy creating very simple and quick cards. So today I thought it would be fun to do the challenge. For my card today I’m using the Easter Blessings stamp set along with the Scallop Oval dies.
To begin my card today I first stamped out the cross image from the Easter Blessings stamp set with some Memento Tuxedo Black Ink on Neenah Solar White Cardstock and coloured it in with Copic Markers. I used YG01, YG23 and YG17 for the leaves and E51, E53 and E55 for the cross part. I then used the coordinating dies to cut it out. While I had my Big Shot machine out, I also cut out the Scallop Oval die using some white cardstock. Once all my die cutting was done, I could work on my background.
For my background I did a super quick and easy watercolour background. I first blended on some Tumbled Glass and Mermaid Lagoon Distress Ink quite messily and then went in with some clean water and spread out the colour using the brush. This creates a fun watercolour background that’s quite pale and light, and it’s also very quick and easy to do! Once my background was done I dried it off with my heat tool and now I could assemble.
Before adhering everything down, I stamped out my sentiment onto the bottom centre of my card, using the same Easter Blessings stamp set with some Versafine Onyx Black ink. I then added foam tape onto the back of my frame and my image and adhered those down into the centre of my card. I popped up the entire panel on some fun foam and adhered it down to a pre-made card base. For a last finishing touch I went ahead and added some Wink of Stella to my cross image in the centre and that finished up the card.
I hope you enjoyed my card today and were inspired to either make a quick and simple card or to try and make a card in 10 minutes. This style of card can be used for so many different occasions just with a switch up of some colours, images and a sentiment. I think I’ll be using this design for a lot of cards now that I need quickly.
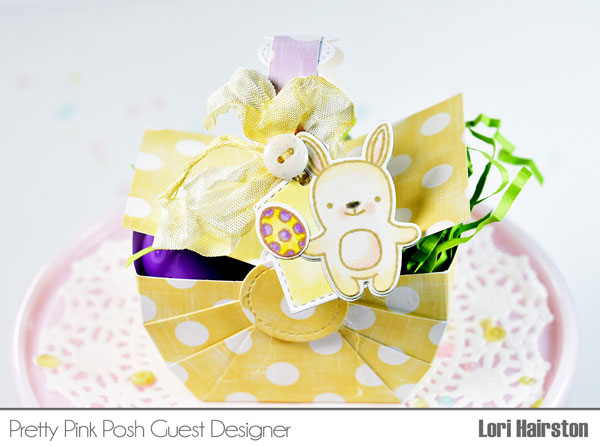
Today we have another special post by Lori Hairston. She created these darling Easter tags using both new and old Pretty Pink Posh products.
Let’s take a look at her post and video, shall we?
Hi, there! I’m hopping by with an Easter card featuring two cute Pretty Pink Posh bunnies from the Easter Friends stamps and coordinating dies.
You might notice that one bunny is sporting a cute pair of glasses. You can find those on the Holiday Pals stamp set.
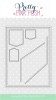
The card base and front are die cut using the largest die from the Scallop Square Tags dies. The pieces aren’t really attached just held together with a white clothespin. The inside sentiment is stamped on the smaller scallop square.
If you would like to see more, like how to draw the fun banner and how to watercolor the plaid, click the graphic below to watch it!
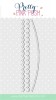
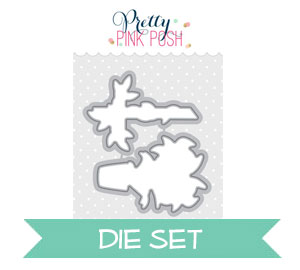
To begin, I distressed an A2 cardstock panel and die-cut with Stitched Notes Dies using the frame.
Next, I die-cut the center of the frame using one of the L dies to create a chevron pattern as a background. In this case, I also alternated some colors for my chevron.
Then, I colored these cute images. The girls and rose are from the Friends Forever stamp set, bunny from Easter Friends stamp set, bee from Bee Friends stamp set, the bow on their head is from the old favorite, Holiday Pals stamp set. All of these sets also have their coordinating die sets that are used on this project. If you did not get a chance to snatch the Bee stamp set this past released, this will be available for purchase in May 2017.
After die-cut cutting my chevron, I then put it together inside the frame and stamped the sentiment from Easter Friends stamp set “spring is here”. I also added some dots on the front panel using my Copic Markers.
The clouds are die-cut from another favorite, Rainy Days. To finish of the card I added some Lavender Moon sequins to match the card.
I hope I have inspired you to look at your products in a different way. Thank you so much for stopping by.
Today we have a special post by Lori Hairston, one of the guests in our March blog hop. She showed me a picture of these handmade baskets that don’t require a fancy die and I knew we had to showcase it here on the blog.
Let’s take a look at her post and video, shall we?
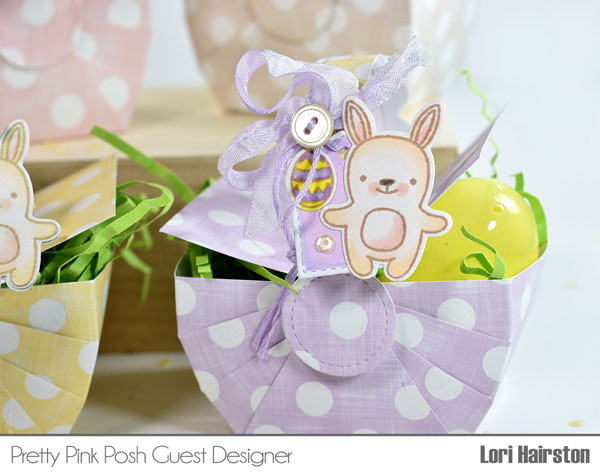
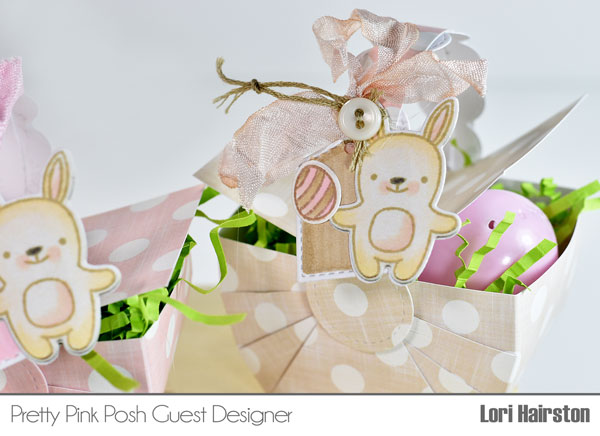
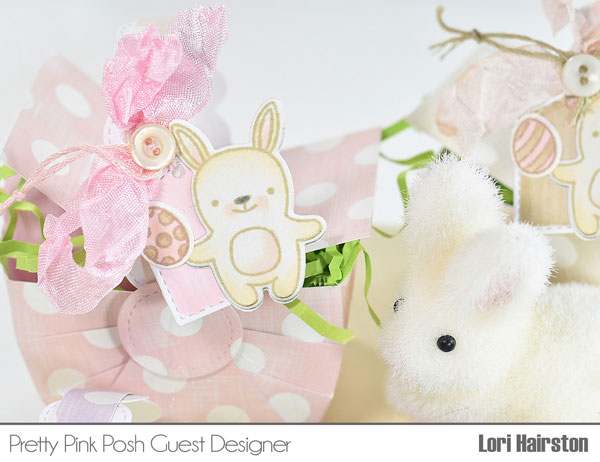
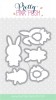
Hi, there! I’m happy to be here to share these mini Easter picnic baskets. So fun to make and they turn out adorable, especially when topped off with that sweet little bunny from the Easter Friendsstamp set! The bunny and egg are cut out with the coordinating dies and the tag is part of the Stitched Notes Dies.
What is it about Easter baskets? I’ve always loved them. When I was little I used the same one every year. One that was passed down from my uncle. My daughter, Lauren, used the exact same Easter basket and I’m keeping it for Louisa. She’ll be the fourth generation to use it. It’s old, it’s worn, but I love it!
I’ve sized these to hold 2 plastic eggs. Even though they’re mini, they’ll hold plenty to give as an Easter treat.
You can check out the video to see how easy the baskets are to make and there’s a couple of quick tips on the tag, too.Click the graphic below to watch it!
Louisa (even though she’s only 4 1/2 months old) is definitely getting one of these. Her momma can keep it and put it out every year. If you make an Easter Picnic Basket to give away, I bet it will be loved enough to keep from year to year.
Hello everyone, Eloise here and today I have a fun card using the Bee Friends stamp set. This stamp and die set is available through the month of March with qualifying purchases (it will be available for purchase starting in May 2017). You will receive the stamp set if you spend over $80 and the die set if you spend over $125. This is before shipping and taxes and also while supplies last. This stamp set is super fun and I encourage you to try and get this stamp set while you can.
Along with using the Bee Friends stamp set I’m going to be doing the Bubble Watercolour technique as I like to call it, and this is just something I remembered doing in primary school. You mix water, dishwashing liquid and paint, or liquid watercolour as I’m using today, mix together, blow bubbles using a straw and press your paper on top and it creates an amazing bubble watercolour look. It’s super fun and gives amazing and different results every time.
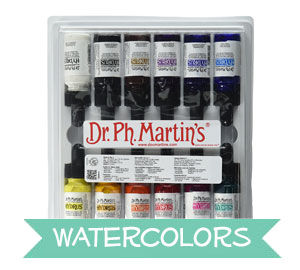
To begin my card today I’m starting off with my background. To do this technique your going to need a bowl – I’m using a large round bowl that’s not very deep and this worked great. Some water, dishwashing liquid, liquid watercolour – I’m using Dr. PH Martins in the video, but Distress Re-Inkers or other Dye Ink Re-Inkers should work great here too or any other liquid watercolour and of course, a straw and watercolour paper.
I first filled my bowl around 1/3 of the way with water, added quite a bit of dishwashing liquid, since I want there to be lots of bubbles and I then blew bubbles into the water, using my straw. Once I had lots of bubbles, I dropped some of my liquid watercolour on top. You typically want your watercolour to be quite liquid-y. Since mine was a bit thick at first, it popped the bubbles and didn’t give me the look I wanted. I tried again once I got rid of the thick watercolour and then pressed my paper onto the top of the bubbles, lifted up and heated it with my heat tool. You should be able to see here the startings of the watercolour look. The lighter colour I used wasn’t giving me the results I wanted, so I took a darker blue and repeated the process and got great bubbly results. I absolutely love this, I can’t wait to do this more! Once I repeated the steps and got to where I wanted it, I dried it completely with my heat tool and moved onto my images.
I stamped out all my images using the Bee Friends stamp set and used Copic Markers to colour them in. Bee’s are so easy to colour, I love colouring any size of image – but this is just so quick and easy, it’s so nice for it to be fast once in a while. Once all my images were coloured I used the coordinating dies to cut them all out. Once my images were ready I could assemble my card. I used the ‘Thinking of You’ sentiment from the same Bee Friends stamp set and stamped it with black ink onto my background.
I used the Stitched Notes die set and used one of the angled dies in the set and die cut the bottom of my watercoloured panel to create a fun angle. I then used foam tape to adhere my panel onto my card base. I then used foam tape and liquid adhesive to adhere my bee’s into place. Then for a finishing touch I used a Wink of Stella brush pen to give my bee’s some sparkle and then scattered some Sparkling Clear Sequins on top of my card.
I hope you enjoyed my card today and will give this technique a try. It’s a little messy, but it’s super fun! This technique would be absolutely perfect for an ocean themed card, but still works great for a sky themed card, since the little bits of white showing through looks like clouds.
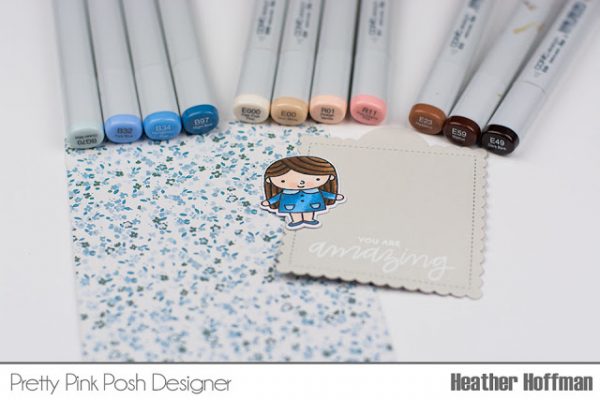
Good morning Pretty Pink Posh friends! Heather here this morning – and I’m super excited to share a little card tutorial with you this morning using some of the new release! My card today actually started with my pattern paper – I loved the tiny blue flowers, and decided to base my card around that color. I also used some little coordinating dies to make my shaker element, then filled it with some brand new seed beads that are releasing for spring!
First up, I stamped and colored this adorable little girl from the new upcoming Friends Forever Set, then die cut her with the coordinating dies. My sentiment from another new set, Everyday Greetings, was heat embossed on a shape die cut with a new die set called Scallop Square Tags. (You can see the Copic colors I used below – please excuse the one that is upside down on the far left!)
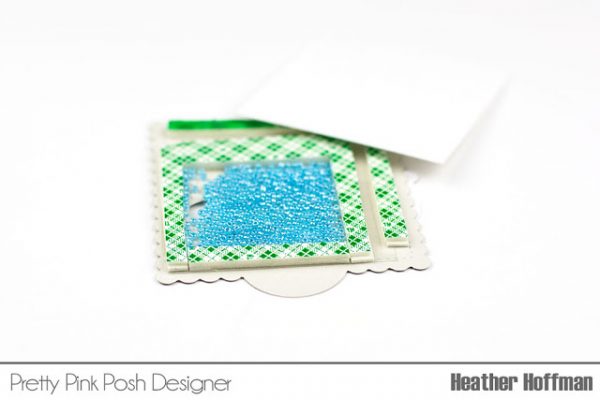
The stamp set Friends Forever has a little heart in it – and I used the coordinating die on it’s own to add 3 little openings for my shaker window. This is a great way to stretch your dies creatively!
Added my acetate window, a DOUBLE layer of foam adhesive (to give my shaker plenty of room to move!), then filled it full of Hydrangea seed beads. I added a panel of white cardstock trimmed to size to the back of it – this allowed me to have more freedom in when I wanted to add it to my card front, as well as leave white space behind the shaker area.
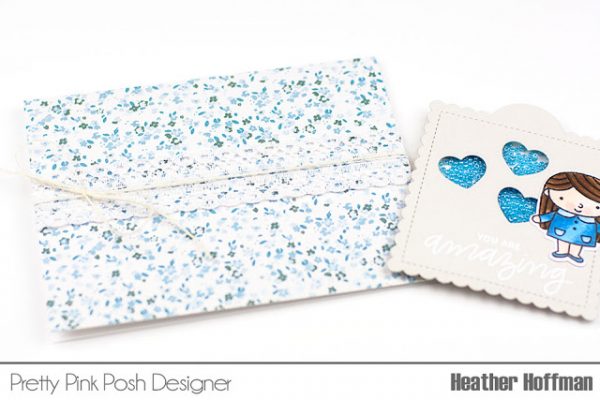
I added some lace to the card front, as well as a bit of jute twine tied in a bow, and adhered my sweet little girl to the front of the shaker element.
I love the way seed beads work in a shaker – they move so well! And these new spring colors are all fabulous – wait until you see them!
Thanks so much for stopping by today! Hope you are having a wonderful day!!!
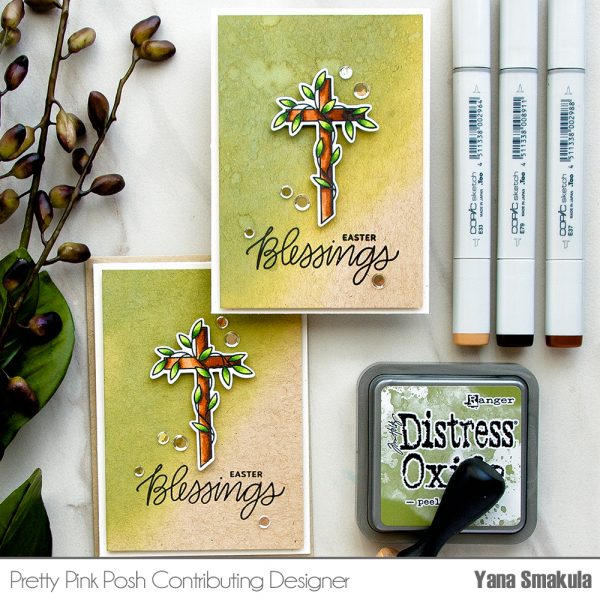
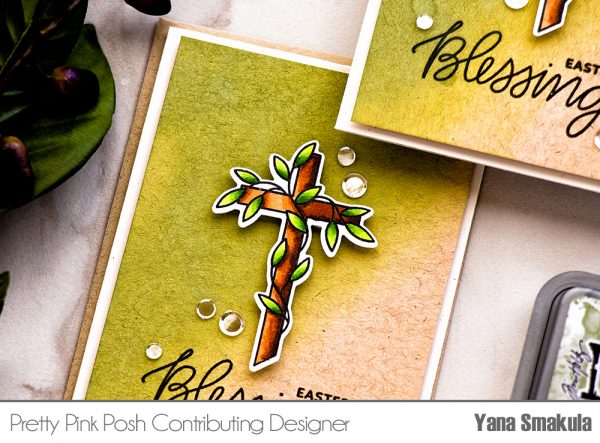
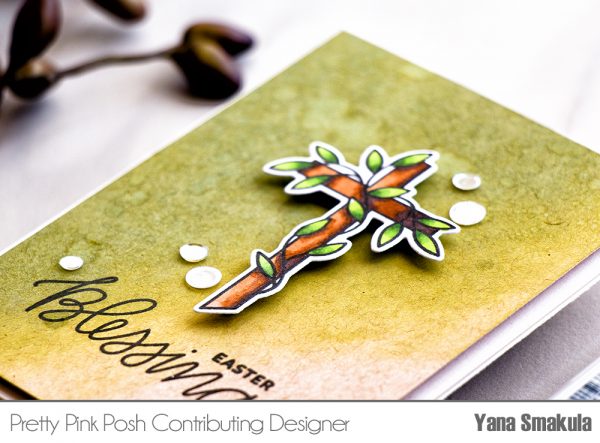
I started working on these cards by stamping a cross image onto white paper. I used my mini MISTI stamp positioner and Simon Says stamp Intense black ink. Because I knew I will be coloring my image using Copic markers I picked this particular ink formula – it doesn’t bleed when it comes in contact with alcohol. Before I did my coloring I cut the cross image out using a coordinating die.
For my coloring I used Copic Markers. I used green for the leaves and I picked YG67, YG17 and YG03. To color the cross itself I used browns. I went with E79, E37 and E33.
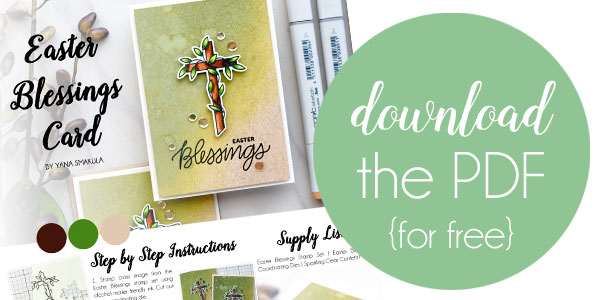
I decided to make 4 Bar cards today instead of A2 (4 Bar card size is 3 1/2 x 4 7/8 “). I also made a slightly smaller panel and I used kraft paper. I feel that kraft is a fantastic color to use for easter cards as it looks very natural. I also find 4 Bar card size to be perfect for those smaller size stamps we all have in our stash.
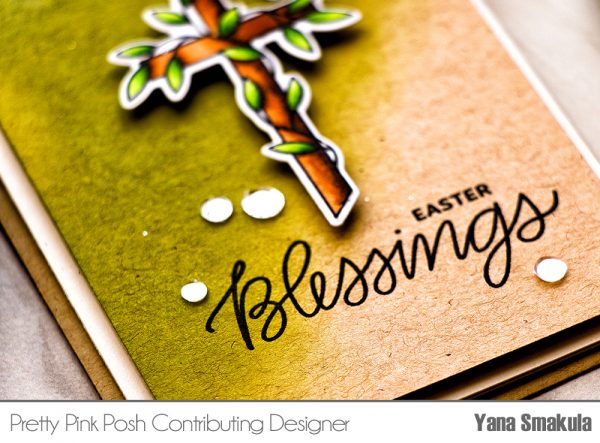
I used Distress Oxide ink to create a partial ink blended background. I wanted to create a very soft and muted look so for this I picked kraft paper and Distress Oxide ink in Peeled Paint. I wanted to have a gradual transition from Peeled Paint to kraft and I wanted the top left corner to be covered completely in green, I didn’t want the little fibers embedded in kraft to show through and they would if I had decided to use regular distress ink so this is why I picked Oxide ink.
I stamped a beautiful Easter Blessings sentiment using Versafine Onyx black ink. After foam mounting kraft panel onto card base I foam mounted the cross and embellished me card using Sparkling Clear confetti mix. I added a few of those flat sequin circles onto my background, I used Nuvo Deluxe Adhesive and Crystal Katana tool.
Watch my video tutorial below to learn how I made this card.
If you missed yesterday’s blog hop post, click here.
I hope you enjoyed yesterday’s amazing hop and are ready for day 2. Today we have more talented designers and special guests for you and I have a feeling you’re going to be blown away with their creations.
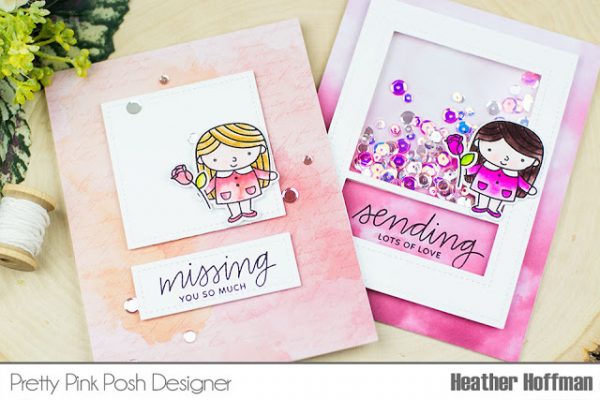
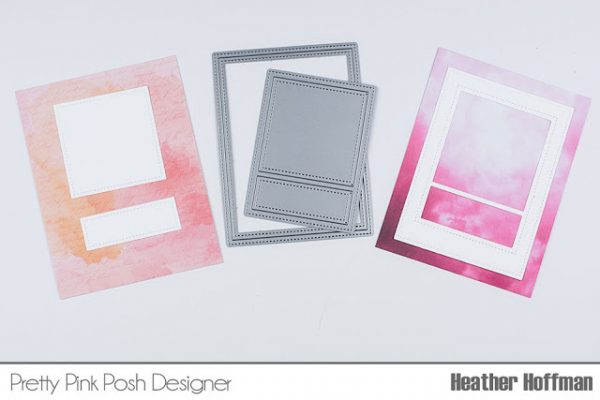
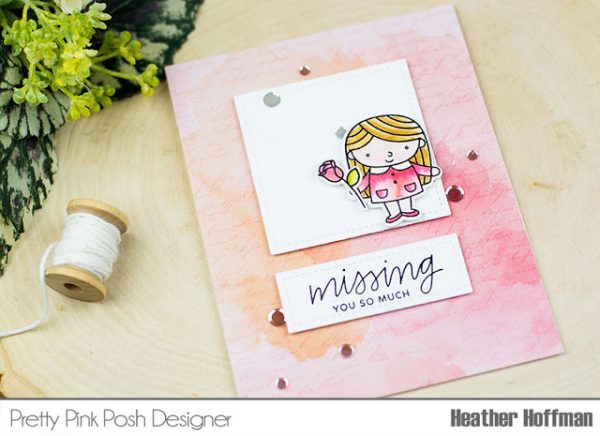
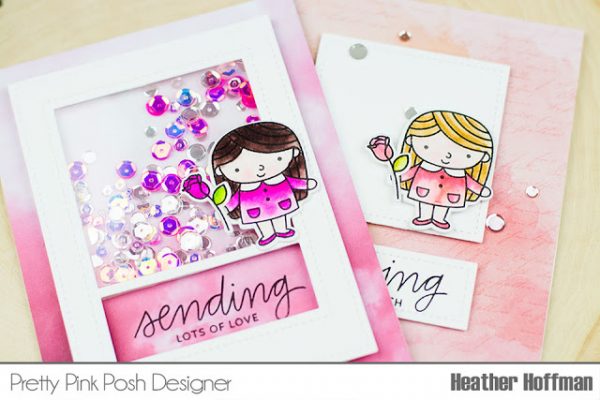
We have a special treat- a fun, easy-to-follow tutorial by Heather showing how you can use both halves of a die cut piece to make two cards with an entirely different feel!
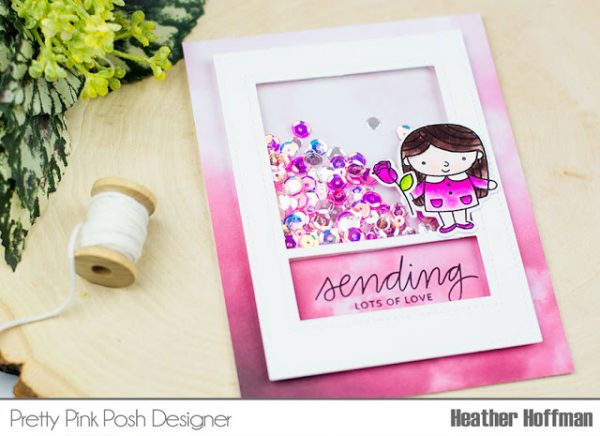
Shall we get started? First off – I paired up the large rectangle from the brand new Stitched Notes Dies and the Storybook 5 die. These are a perfect fit together to build a shaker element – and then save the inside pieces for the second card!
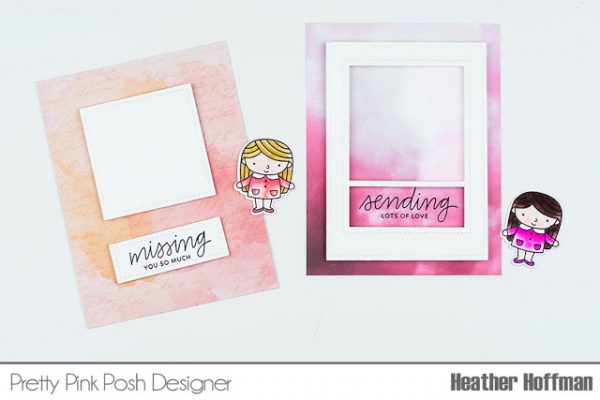
I stamped and colored the same girl from Friends Forever with my Zig markers to coordinate with the pattern paper I chose. Don’t you love how just changing the colors gives them an entirely different feel? I then die cut them with the coordinating Friends Forever Dies. I also stamped my sentiments from Everyday Greetings the card on the left I did on the small white panel, the card on the right I did in the smaller window directly on my pattern paper.
I added acetate to the top portion of the window on the right hand card, added a double layer of foam tape, and filled it with the sparkly and beautiful Friendship Sequin Mix(a Limited Edition Mix with a portion of the profits will be donated to Compassion International – LOVE!)
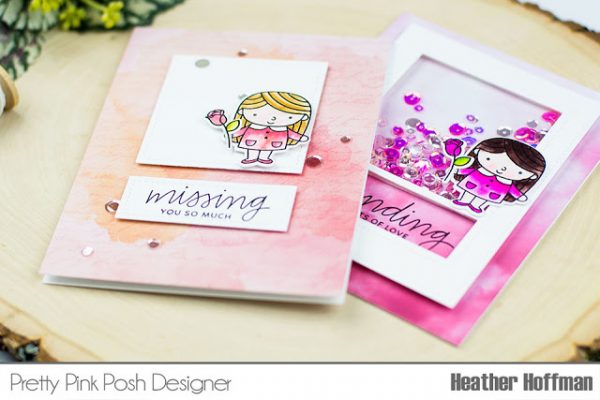
The other card I embellished with some flat Sparkling Clear Confetti Mix – one of my new favorite embellishments! I adhered the girls in their places, then feeling that they needed something more, I added a coordinating rose in each of their hands, also from Friends Forever.
You’ll notice on this card that I adhered the white panels with foam adhesive, and also added the girl with foam adhesive – this made the perfect amount of dimension on the card.
On the second one, since I used a double layer of foam tape to hold all the sequins in my shaker, I attached the girl directly on the front of the shaker – I didn’t want this card to be too thick and bulky.
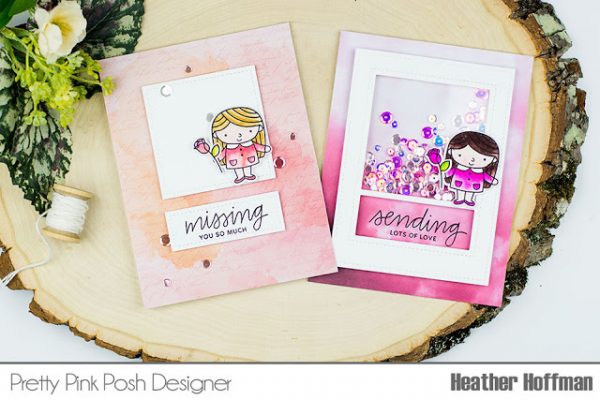
I love to make shaker cards – but I also love a clean and simple card. This is a fabulous way to make one of each with a minimum of effort as well!
For those joining us for the blog hop, I wanted to let you know that this month we have a special gift offer for orders over $80! The Bee Friends stamp set will be automatically sent with orders over $80 this month. In addition, if your order totals over $125, you’ll get the coordinating dies too! This stamp set will be available for purchase in May 2017, but for those who qualify, you’ll get these items two months before anyone else! These are while supplies last (I did order quite a bit, but cannot guarantee they will last through the end of the month).
PRIZES: be sure to leave comments on each stop. I’m giving away 4 $25 gift certificates to four random comments (2 winners each day) left before March 17, 2017 at 11:59 PM PST. I’ll be announcing the winners next week, so be sure to return and see if you are one of the winners!
I hope you all enjoyed our two day blog hop and were inspired by the new products. A giant thank you to all of the talented designers who shared their inspiration!