Sneak Peek: September 2023 Dies
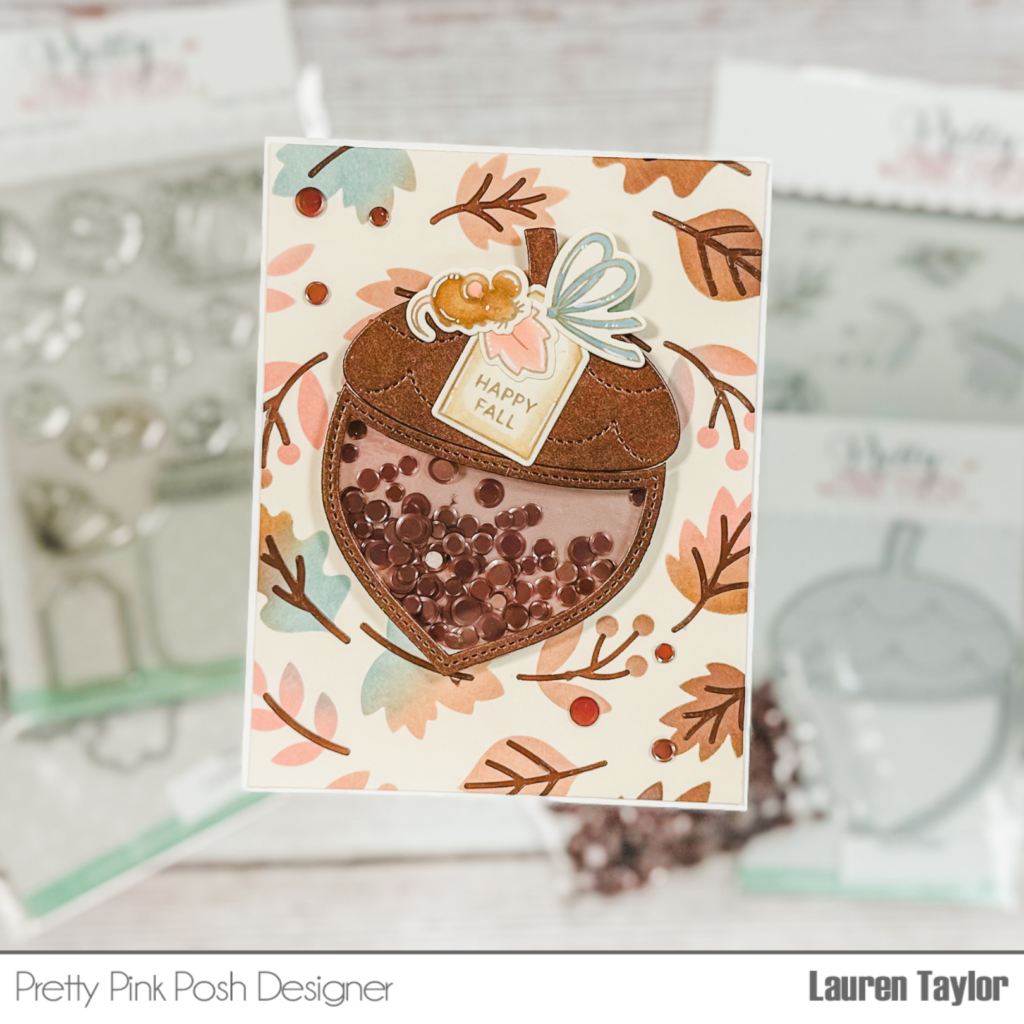
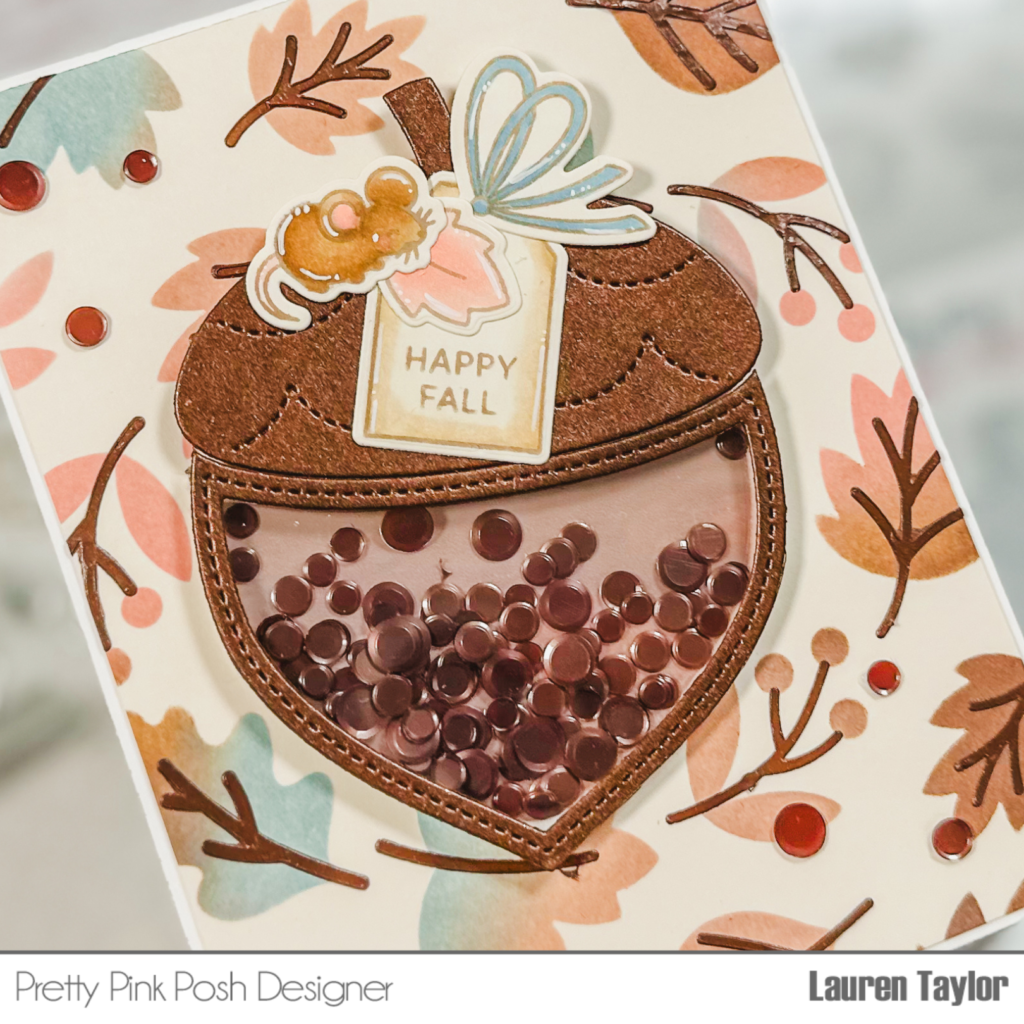
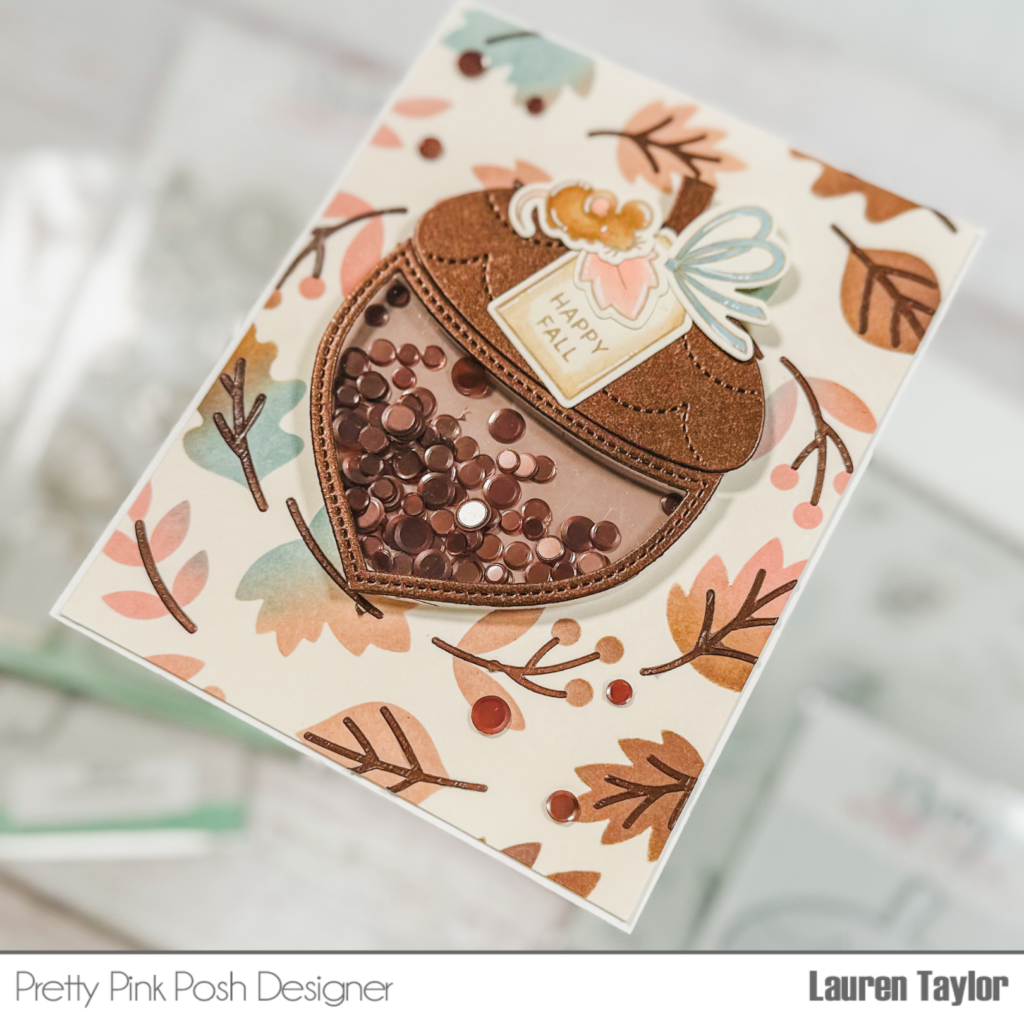
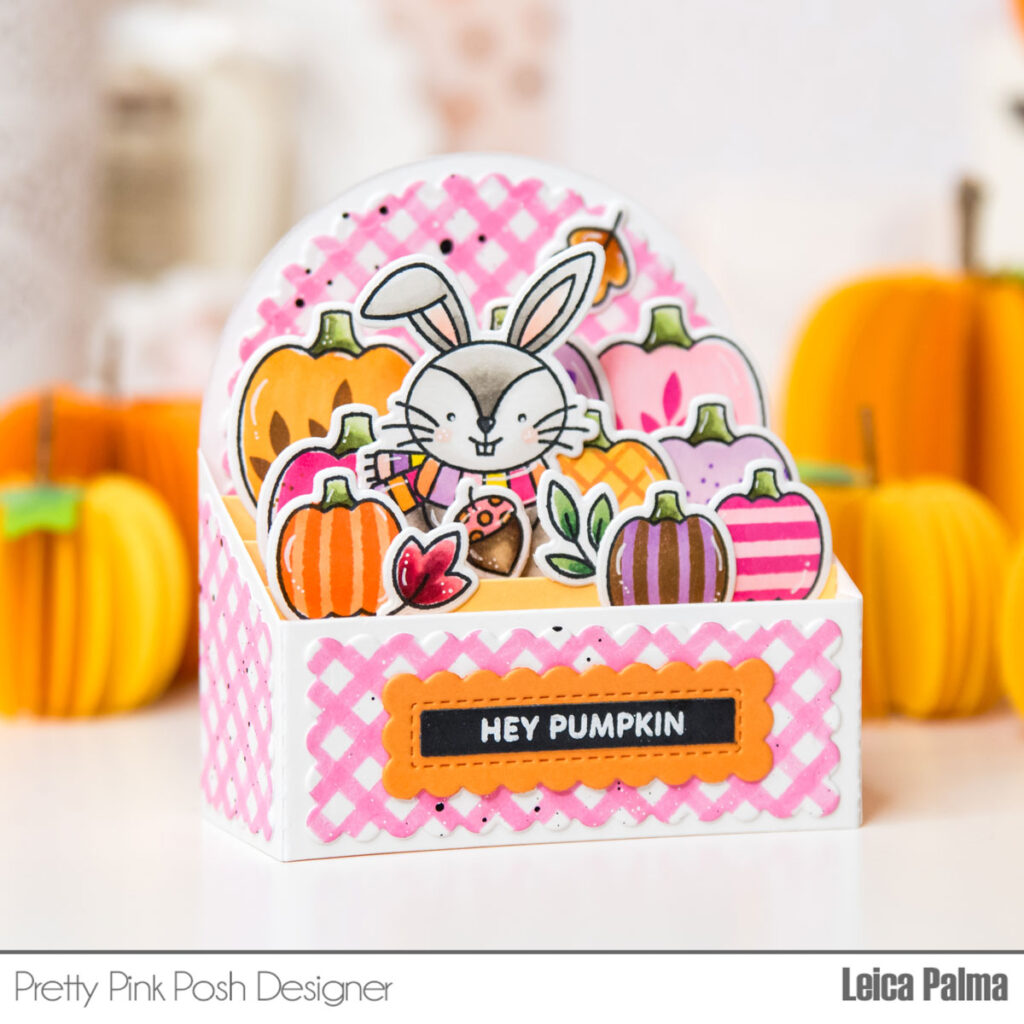
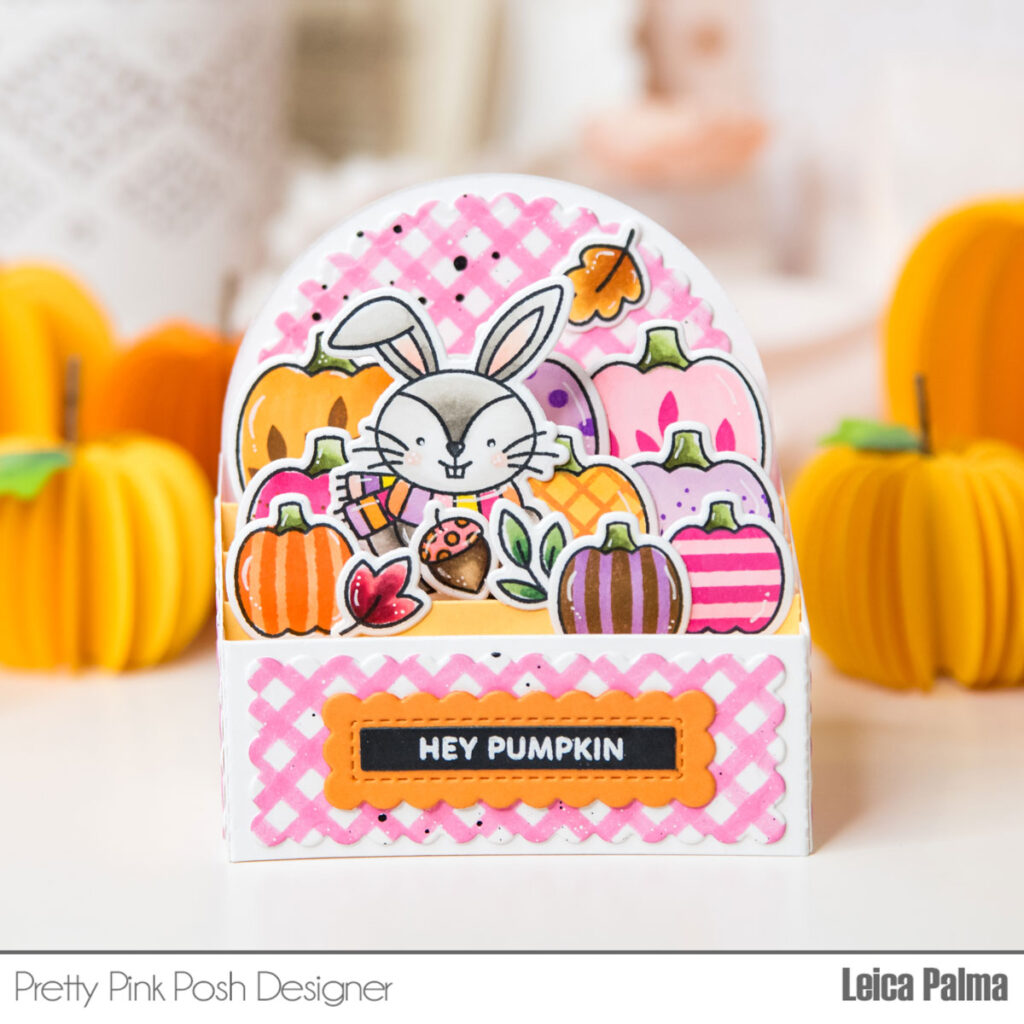
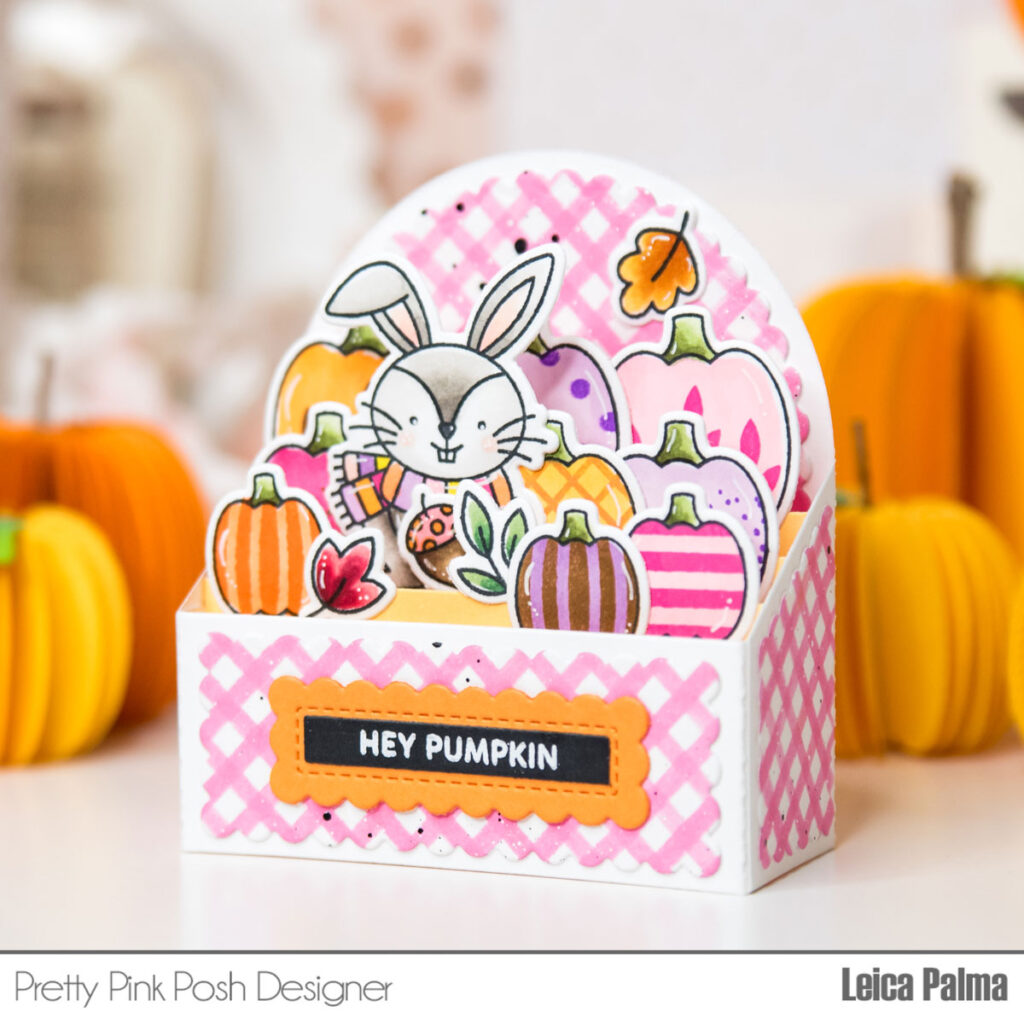
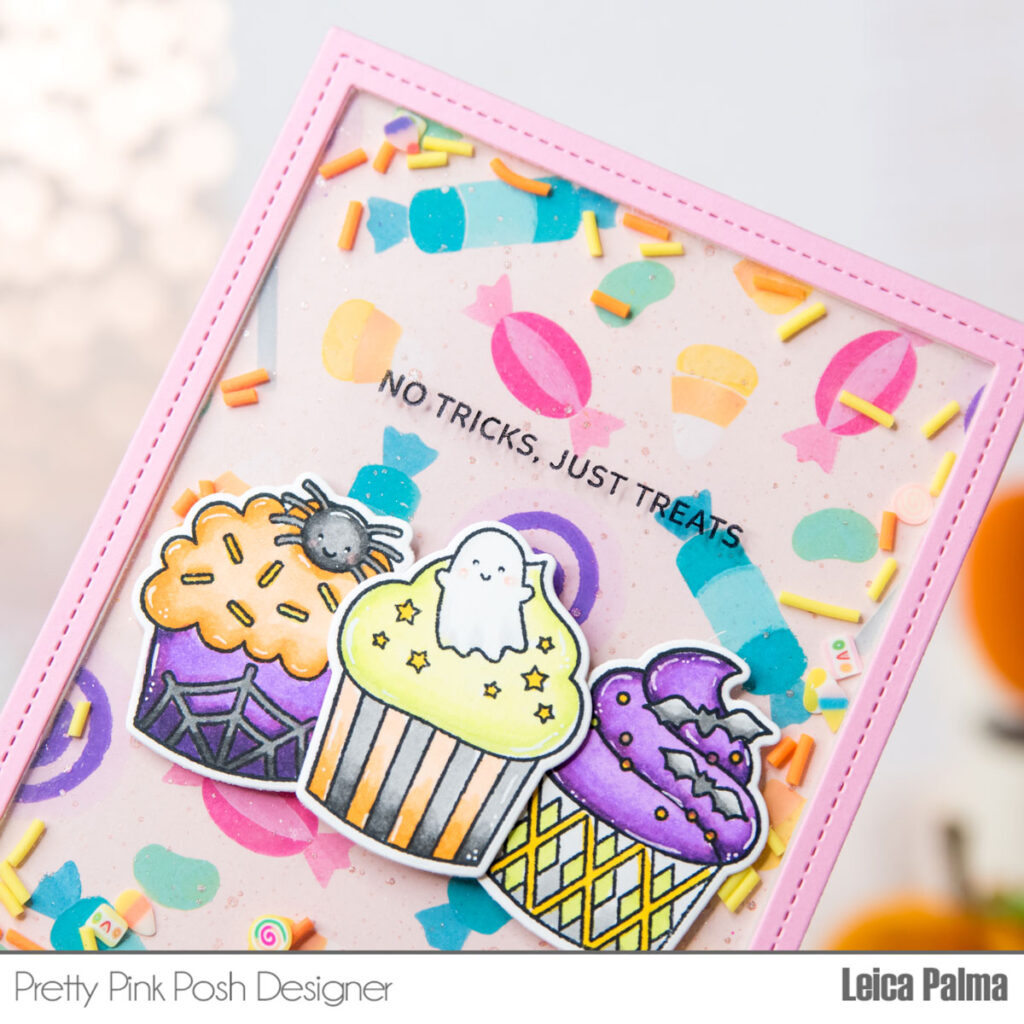
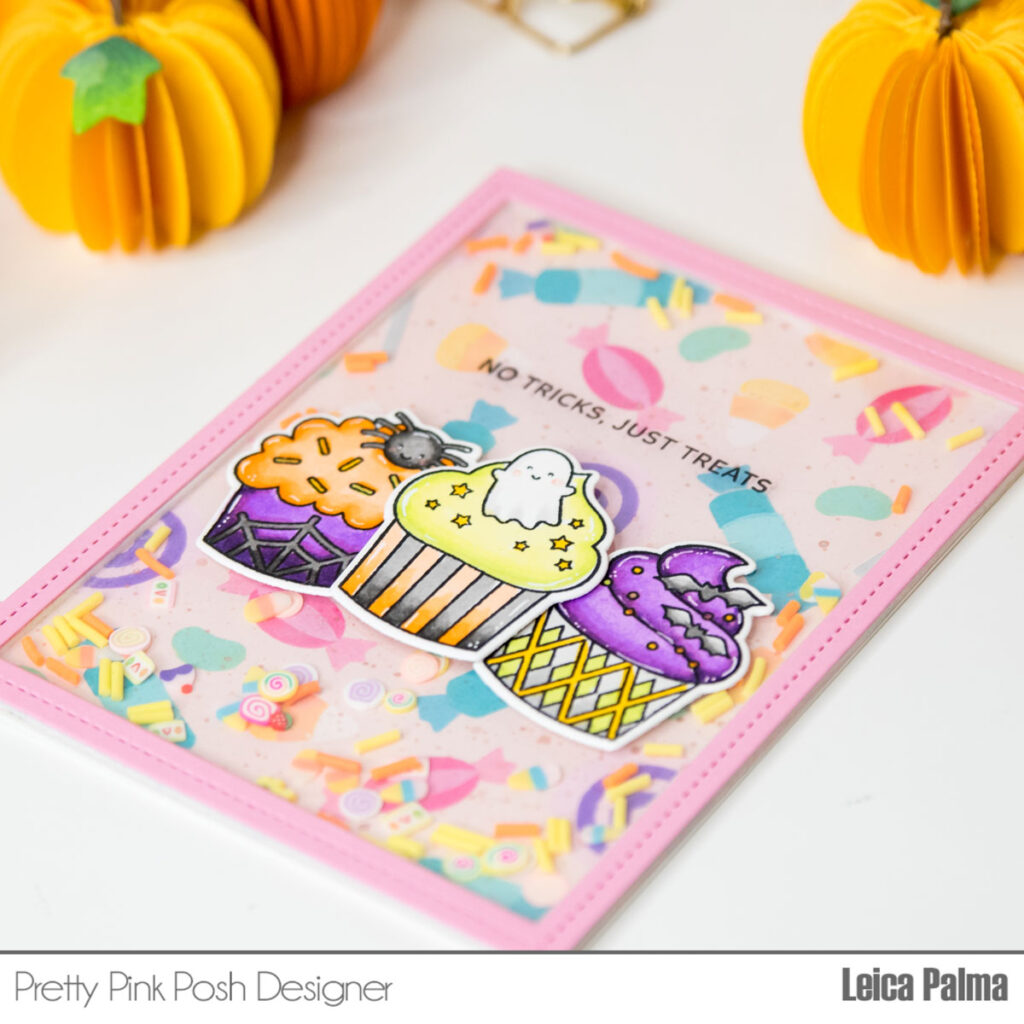
Hello, friends! It’s Lindsey and I’m happy to be giving you a peek of some of the new dies releasing this month. I was super excited to see two new shaker dies–the Pumpkin Shaker and the Acorn Shaker. If you were a fan of the Stitched Pumpkin Dies last month, you are going to love the Pumpkin Shaker. It is the exact same style, just larger in scale and with the added option of cutting out the centers to make it a shaker. I decided to make it into a little shaped card. It’s about 3″x3.5″ in size.
New release will be available September 12th
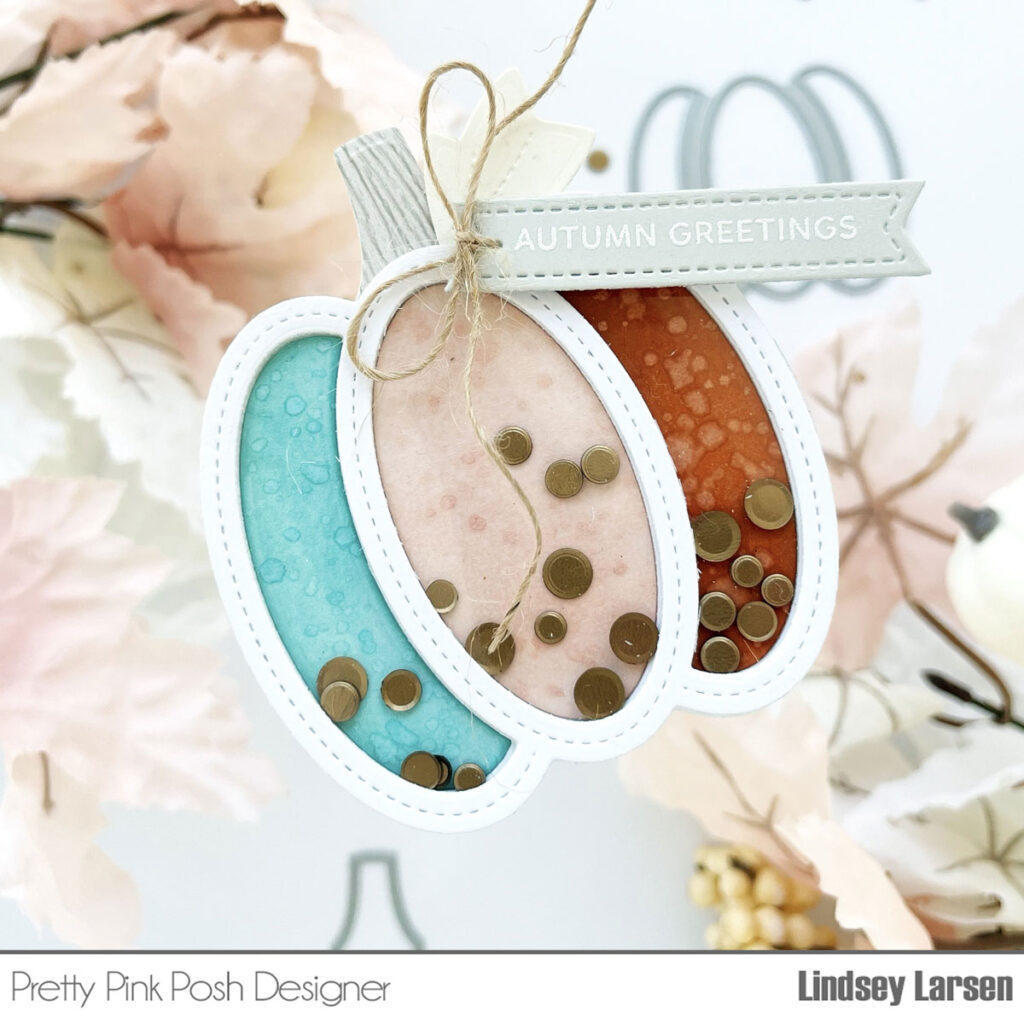
I die cut the Pumpkin Shaker several times. Then, I blended ink in three different colors onto the shaker negatives and gave them a good spritz. After inserting them back in, I filled my shaker with the new Matte Gold Confetti Mix. (I can’t get enough of the confetti mixes! You’ll love them!)
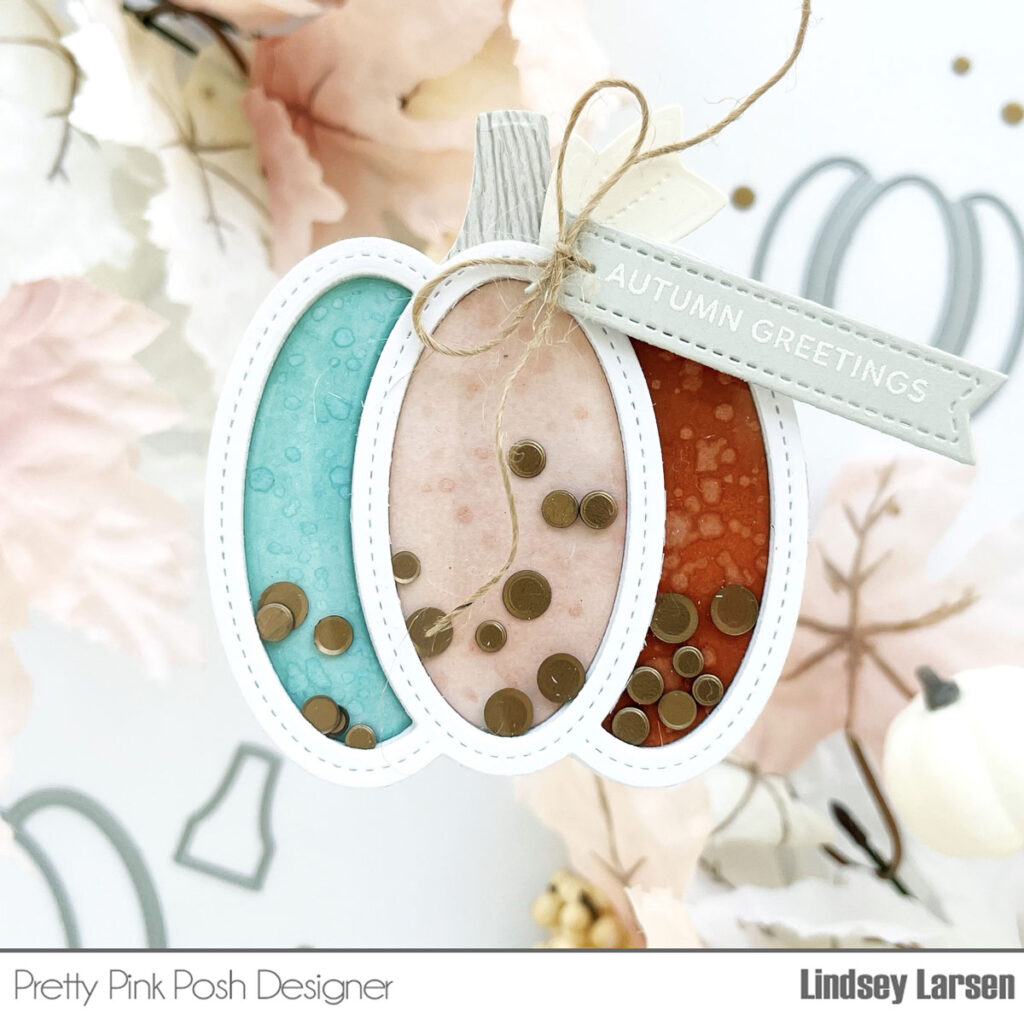
I jazzed the pumpkin stem up a bit by using woodgrain paper. I kinda love it. :) Then, I added a sentiment using the Sentiment Strips Dies and the new Sentiment Strips: Fall Stamps, both of which are must-haves in my opinion. They are a fabulous addition to anyone’s collection!
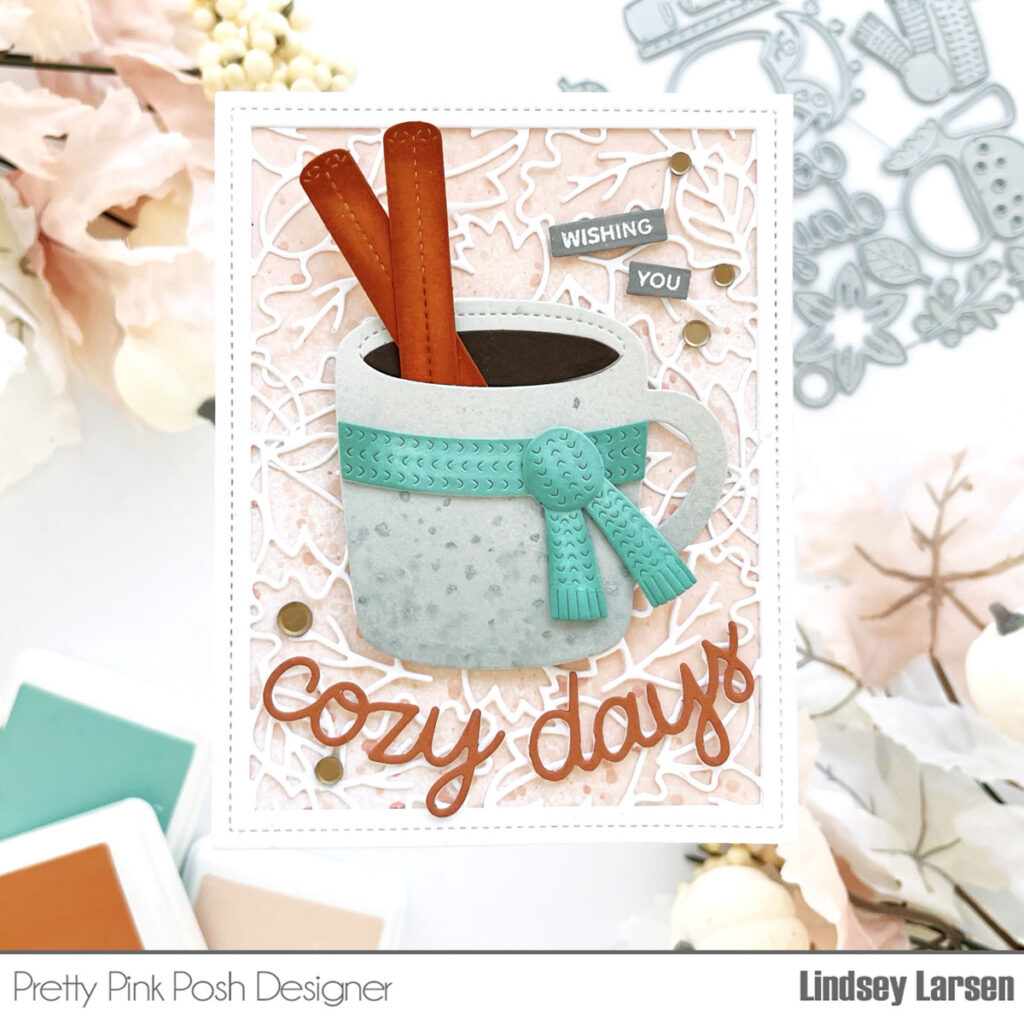
If you were wondering if the mug addition lineup is continuing, the answer is yes! Welcome Fall Mug Additions! This new set is full of all things warm and cozy and will be wonderful for your fall and winter crafting.
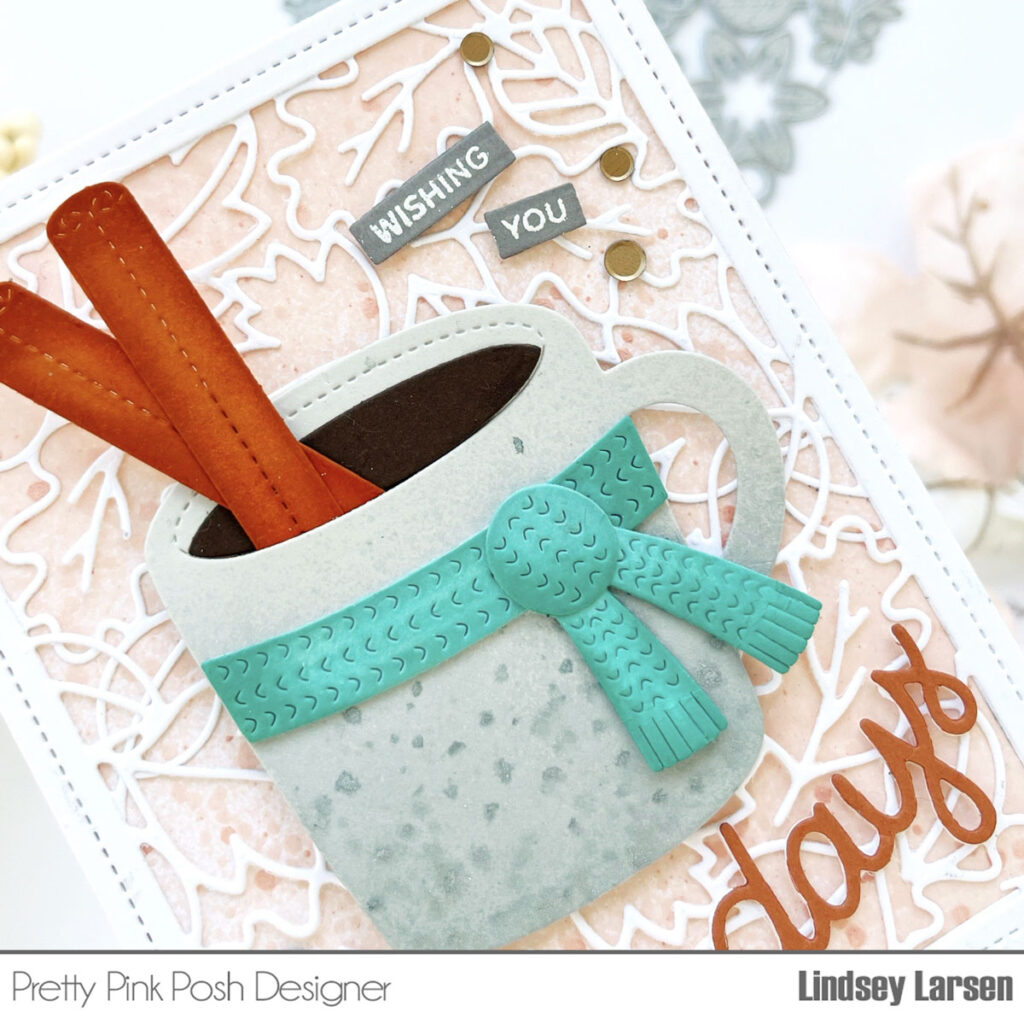
I kept my Winter Mug simple, spraying it with grey and silver, and then adding a knitted mug cozy from the new Fall Mug Additions. I used the filler die (from the Winter Mug Dies) to add some cider and tucked in the new cinnamon sticks. They are my favorite!
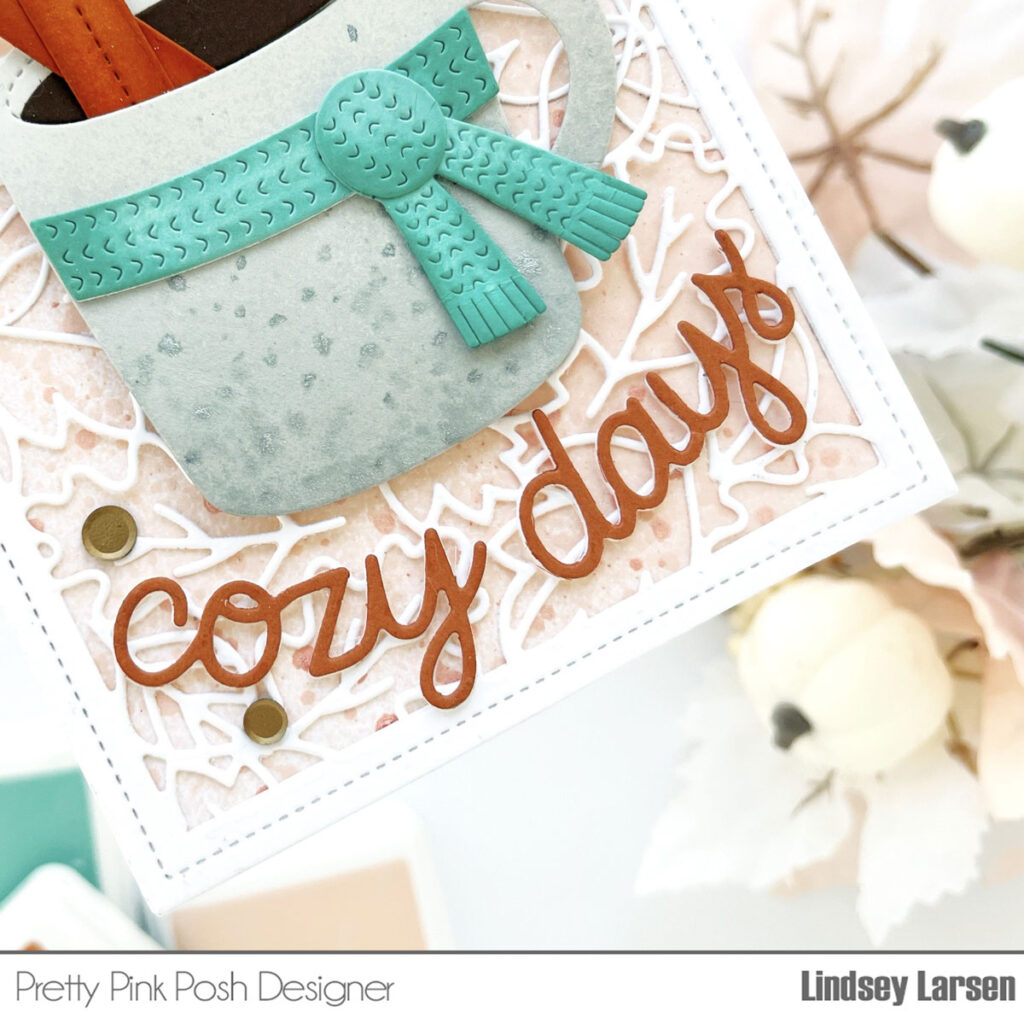
I spritzed a light peach shimmery spray onto my card base and topped it with two of the Leaf Frame Dies, placing one upward and one downward, so they would cover the entire card base. Then following the slight curve of the leaves, I added “cozy days” from the Fall Mug Additions Dies.
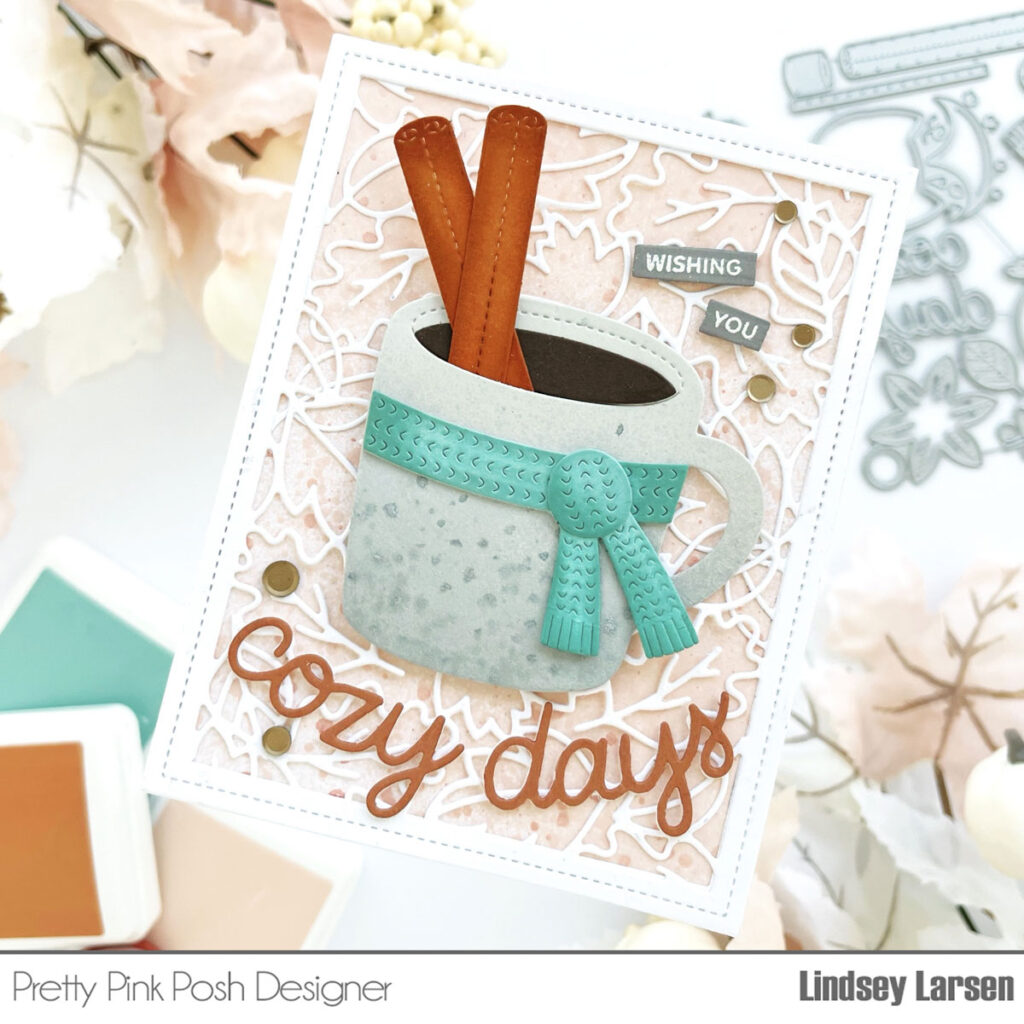
To complete the sentiment, I added “Wishing You” from the Holiday Sentiments stamp set. The final touch was a little sprinkle of the new Matte Gold Confetti Mix.
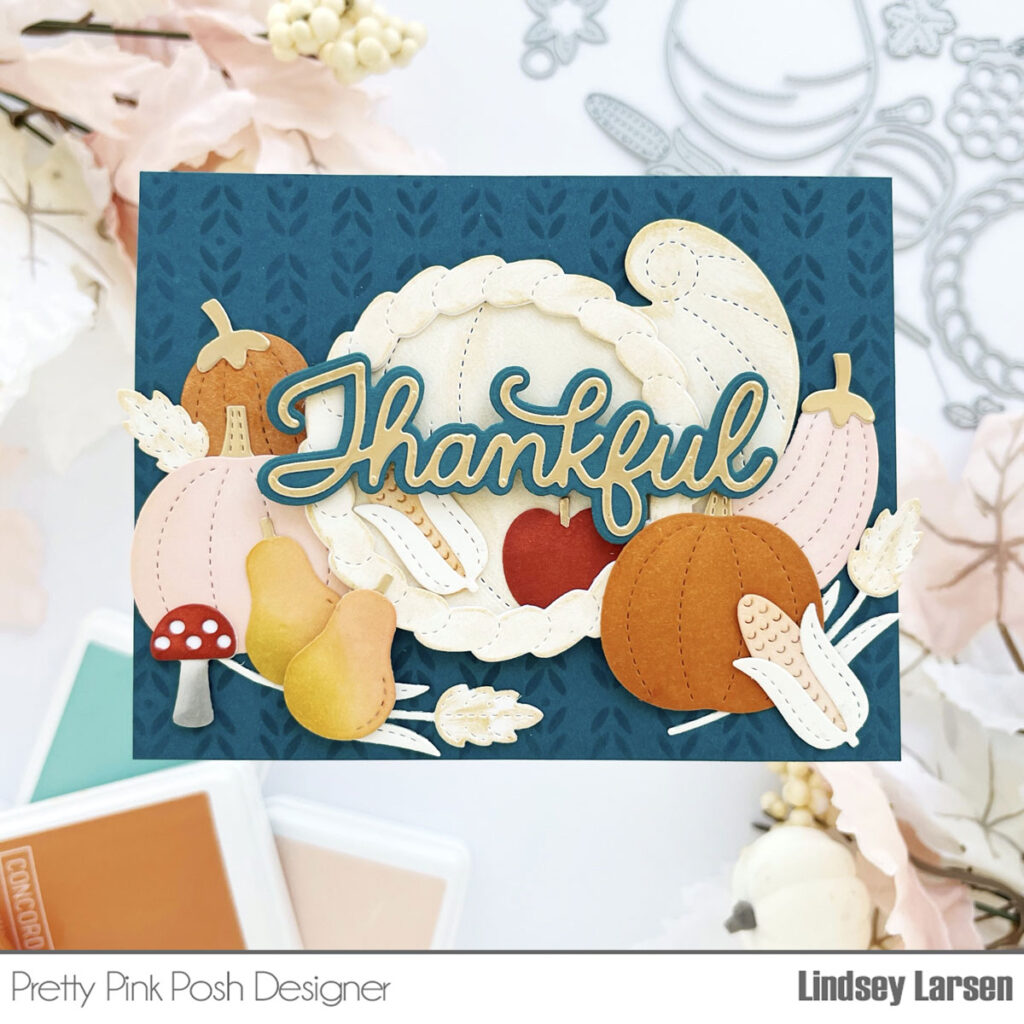
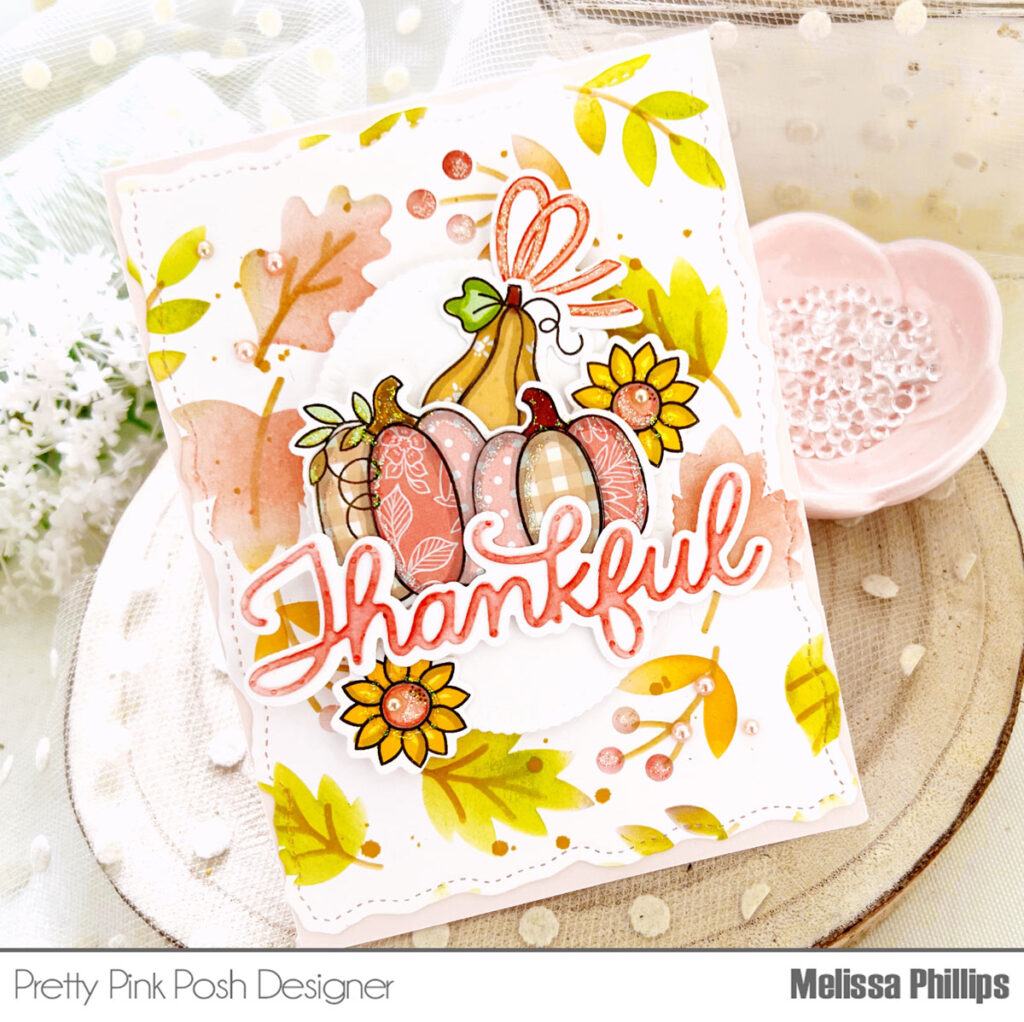
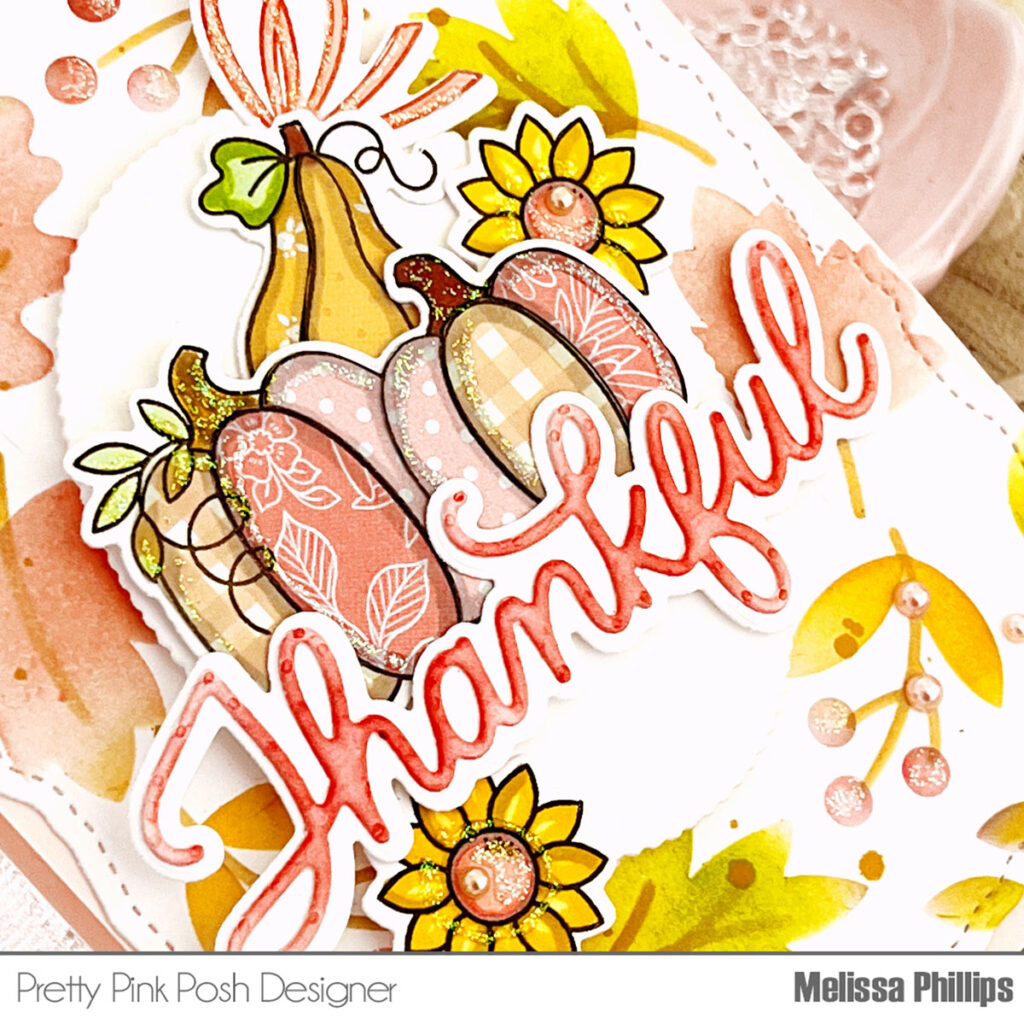
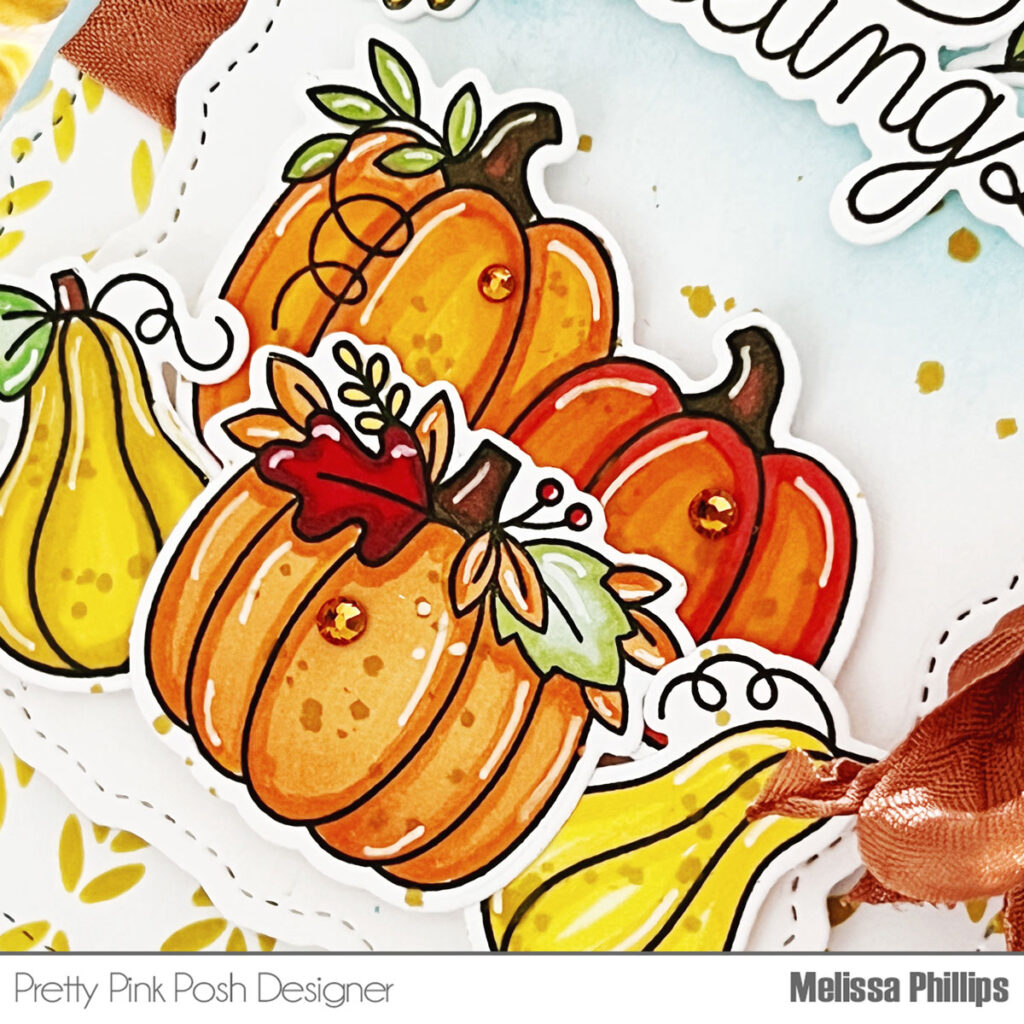
Last, but certainly not least, are the new Fall Cornucopia Dies. This set comes with a large, two piece cornucopia and LOTS of fillers. I used most of them on my card and also added an apple from last year’s Fall Basket Dies.

I have found the easiest way to create with sets like these is to die cut all the dies several times, so you have lots of pieces to work with. I did some simple ink blending and assembled all my pieces. I recently saw some pumpkins at the store with gold stems. I loved the bit of glam that added, so I did the same on my card. Once everything was ready to go, I got to work filling the cornucopia to overflowing with all the fall goodness.

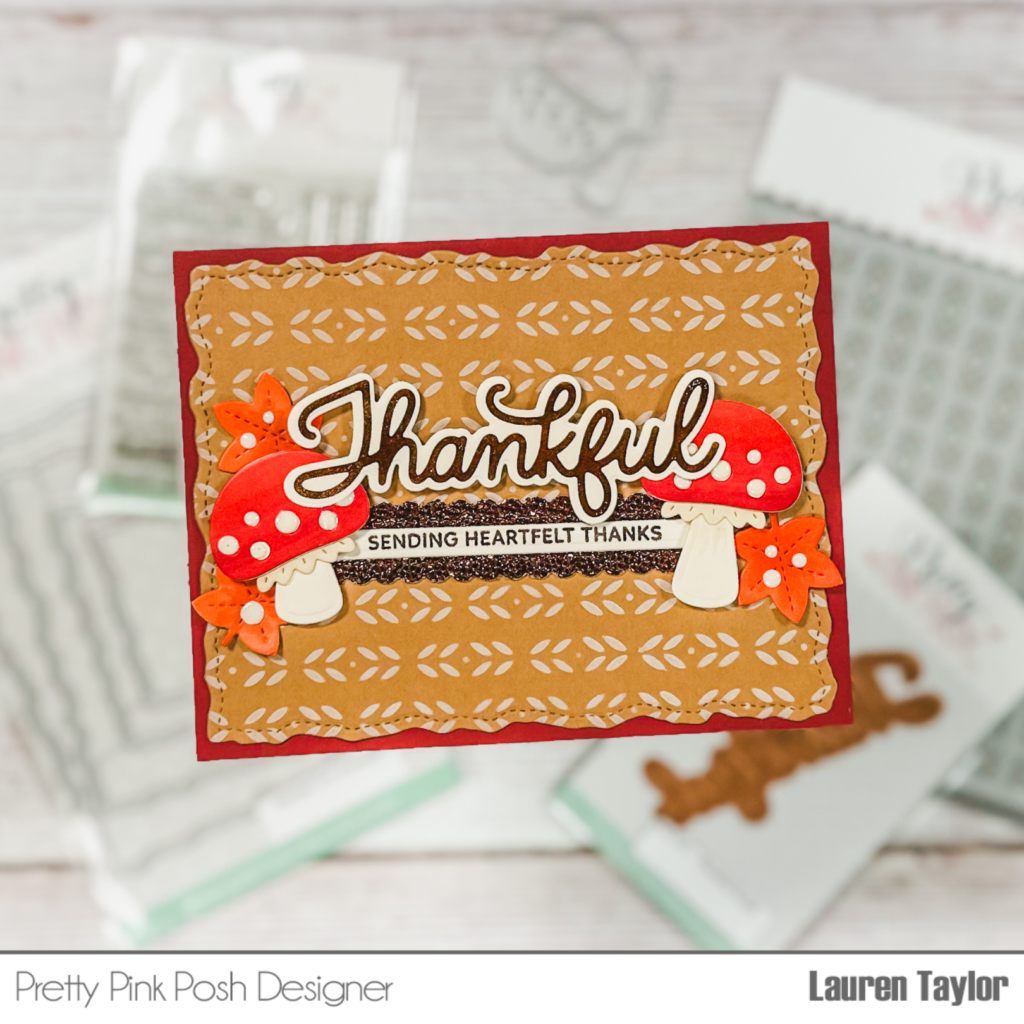
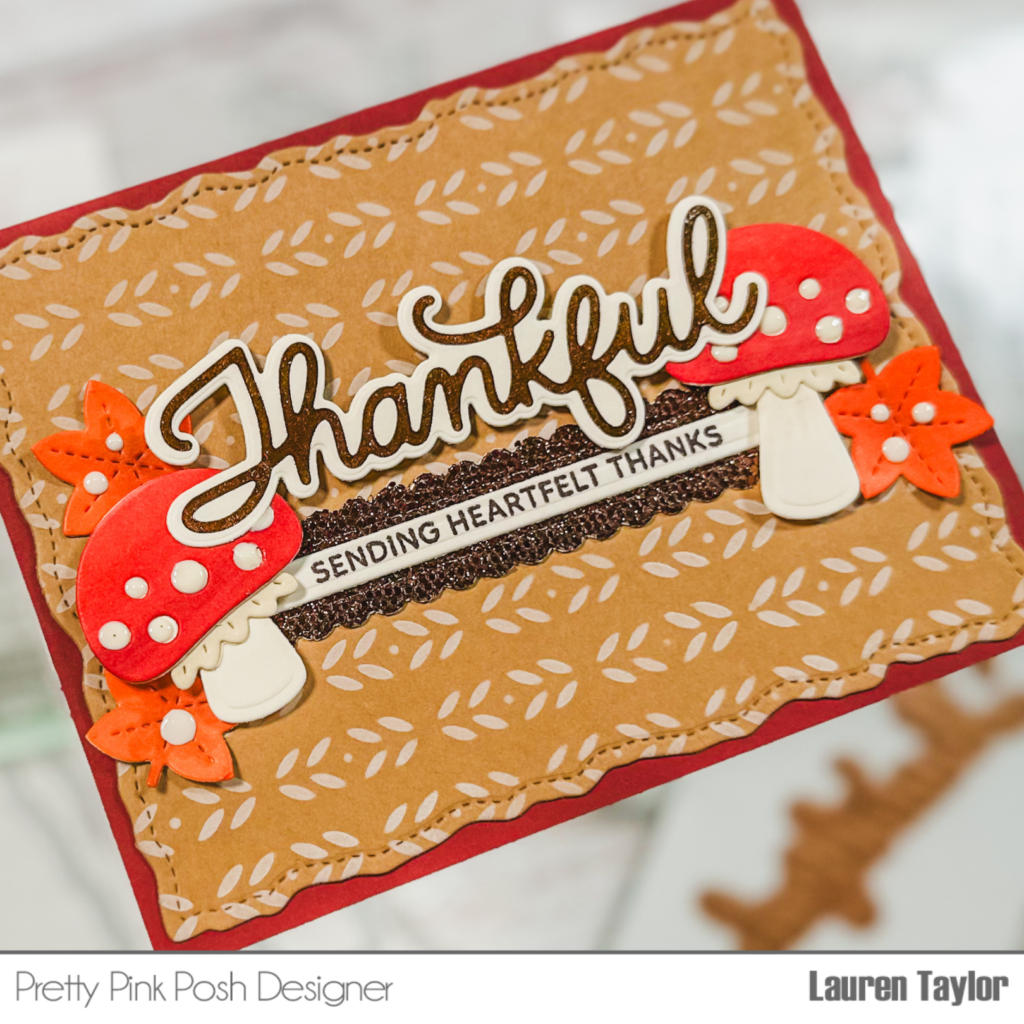
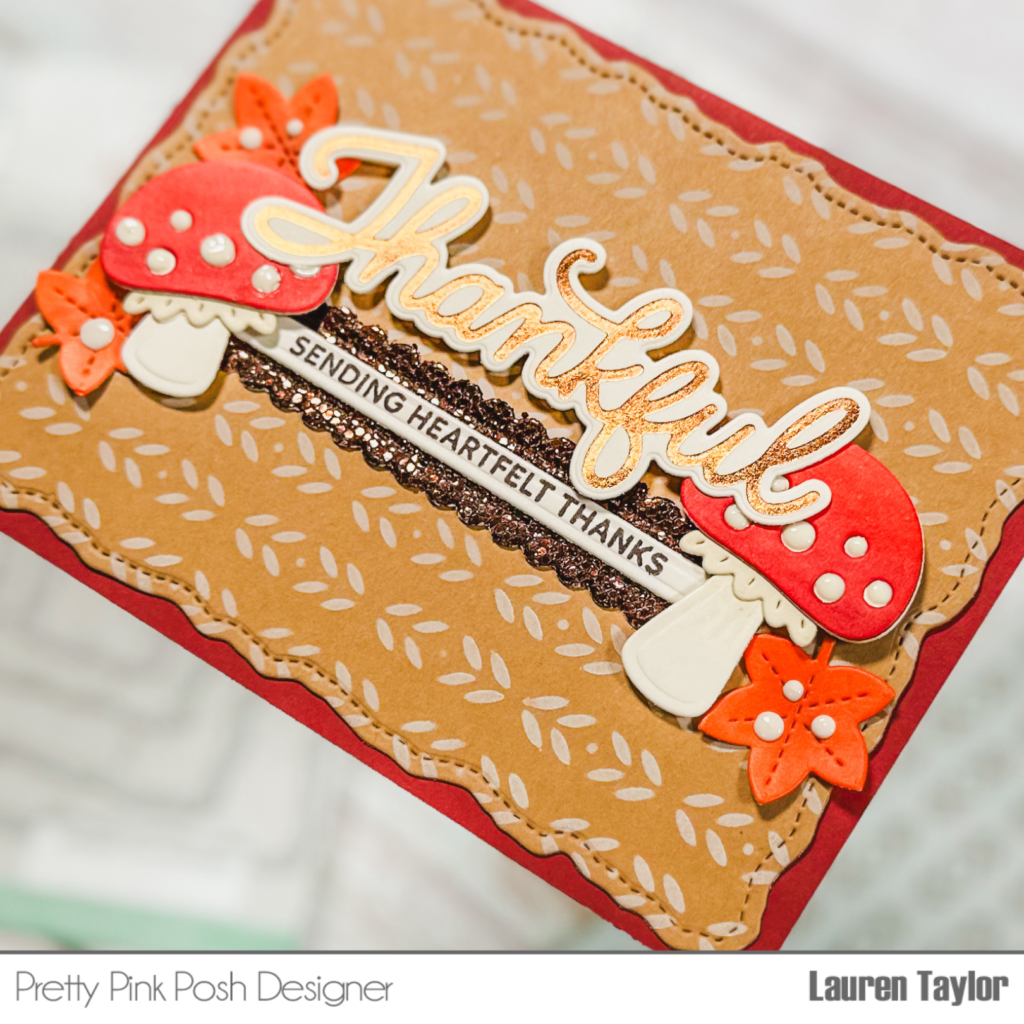
The sentiment is another new die, the Thankful Shadow Dies, and it is lovely! And if you look closely, you’ll also see a peek of the new Deco Leaves Stencil on my card base.
That wraps up today’s sneak peeks, but there are a few more fabulous dies releasing this month, so keep you eyes peeled and make sure to come back tomorrow to see a preview of the whole release in picture form!