Holly Jolly Winter Hat
Hello crafty friends, it’s June here. Now Halloween is over, it’s finally officially time for Christmas cards! As if I haven’t been making them since July… Anyway, let’s talk about how this fun shaker card came together!
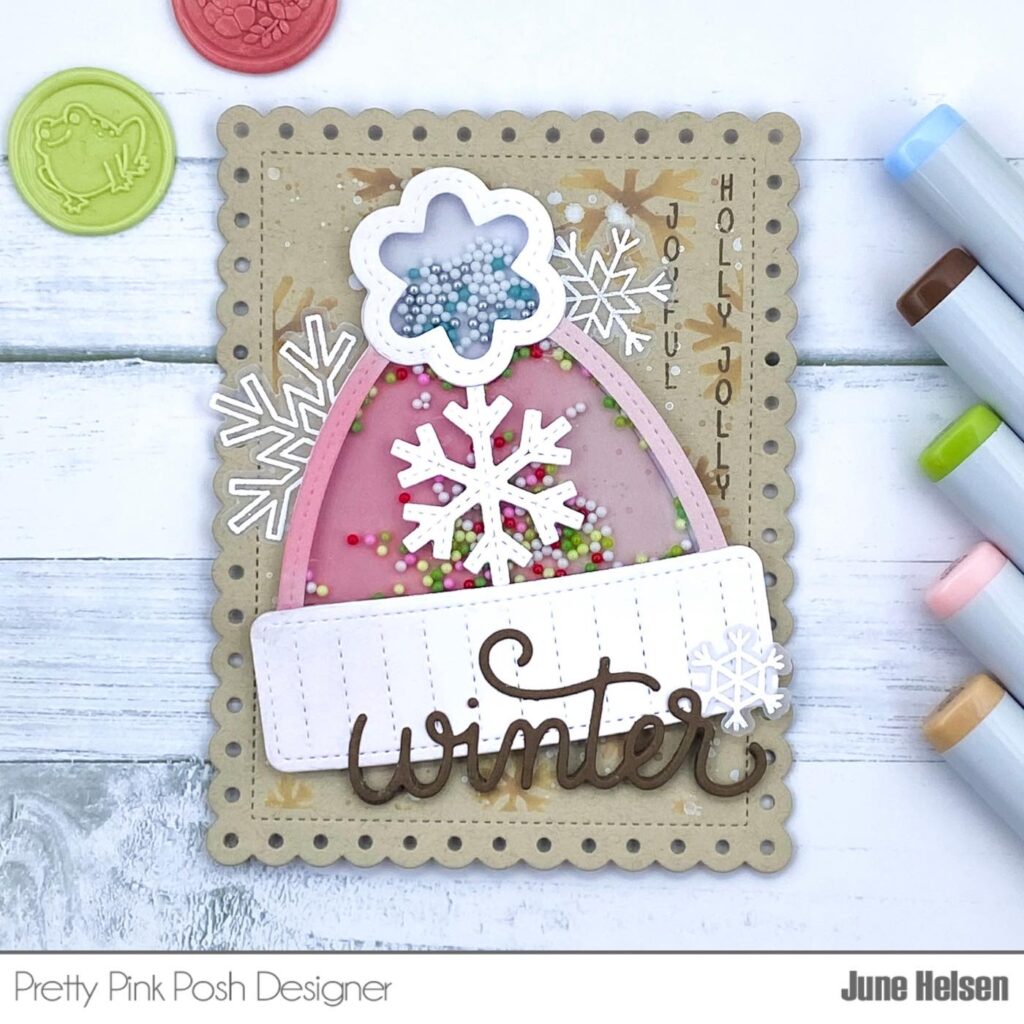
I used a lot of new products for this card, like the Winter Hat Shaker Dies. I made a two-toned hat by cutting apart the die cut and piecing it back together after blending. I went with a soft pink for the hat and left the pompom and ribbing white with a soft touch of grey. I love how you can decide to keep the pompom solid or make another shaker depending on if you use the inside die or not. I wanted to make 2 separate shaker compartments that have their own shaker bits inside because I thought it would look fun! I added the Berry Bright Shaker Beads inside of the hat and Snow Days Shaker Beads inside of the pompom. I finished off the hat by putting one of the Stitched Snowflakes on it.
I couldn’t quite find a color that I wanted to use for the background, so I decided to do something I don’t usually do, which is using kraft paper as my background. I cut out an Eyelet Rectangle and masked off the decorative border so I could add a stenciled pattern on just the inside part.
I wanted to go for a brown tone-on-tone look, so I used the Cascading Snowflakes Stencil and brown Distress Oxide to get that effect. I also splattered the same brown ink and some thinned out white acrylic paint onto my panel.
I heat embossed some of the new Snowflakes onto vellum so I could tuck them behind the hat. There’s never enough snowflakes on a Christmas card right? I still felt like they didn’t fill up the space enough, so I stamped 2 of the sentiments from Upright Greetings: Christmas in the right top cornerusing brown ink. I also wanted a normal sentiment on there, so I cut the new Winter Script out of brown cardstock to finish off my card.
I feel like this was quite a short blog post, but I hope you still enjoyed reading it. See you again soon!