
Merry & Bright Ornaments
Hello everyone, it’s June and today I’ll be sharing a Christmas card using my favorite die set of the new release: Build an Ornament!
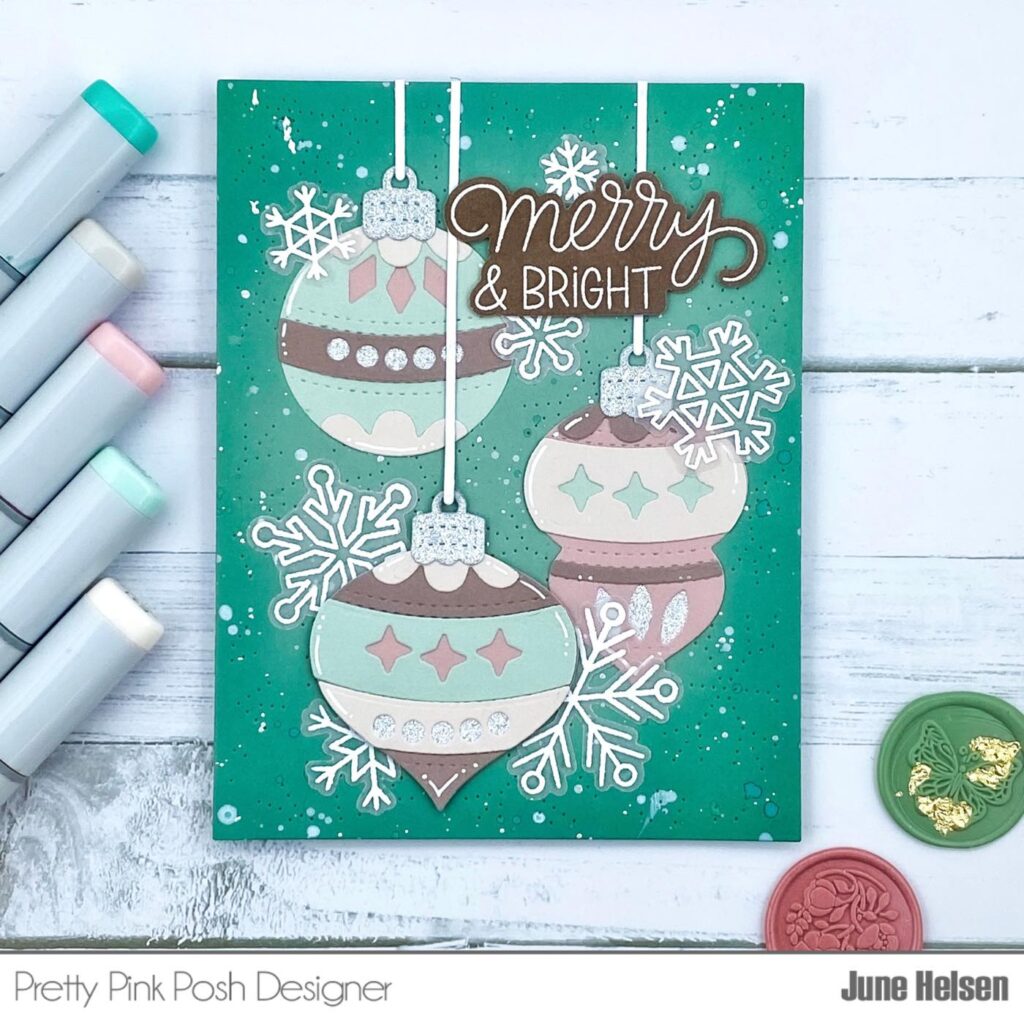
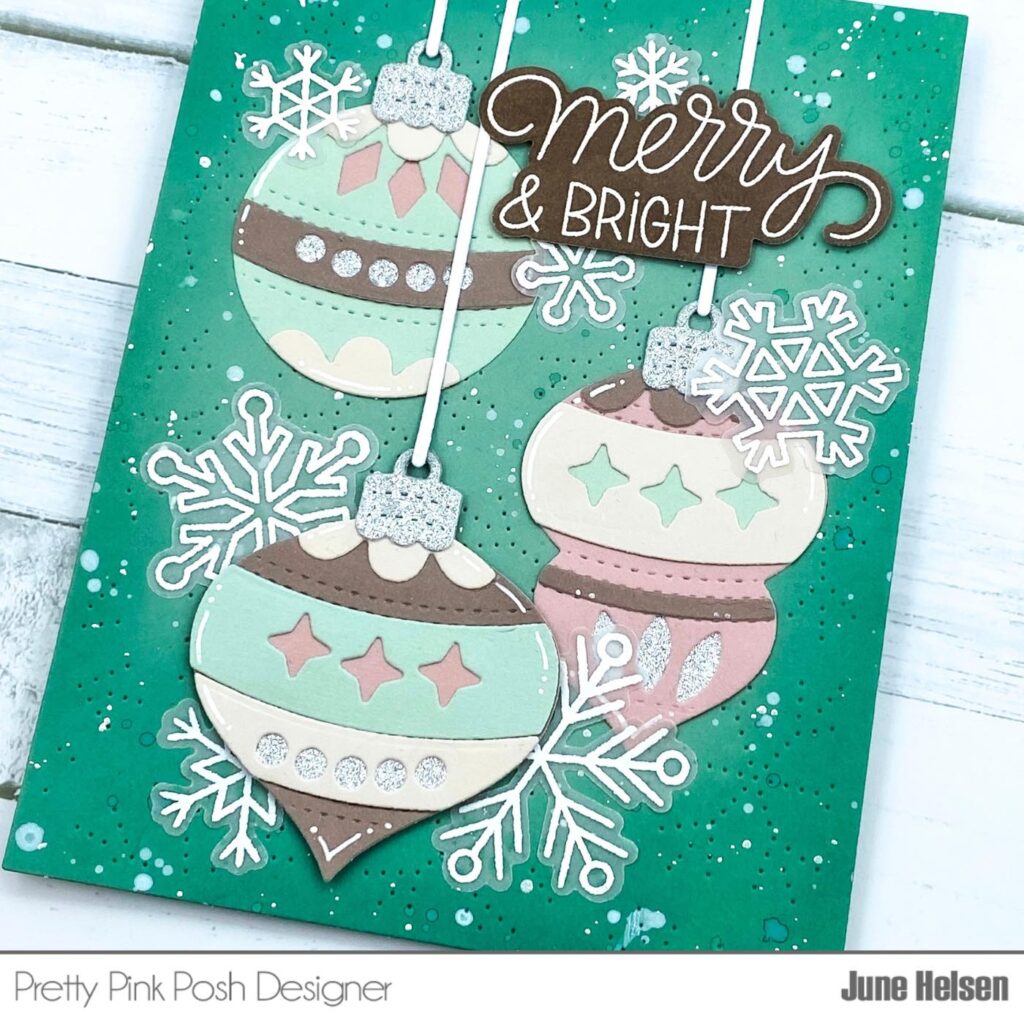
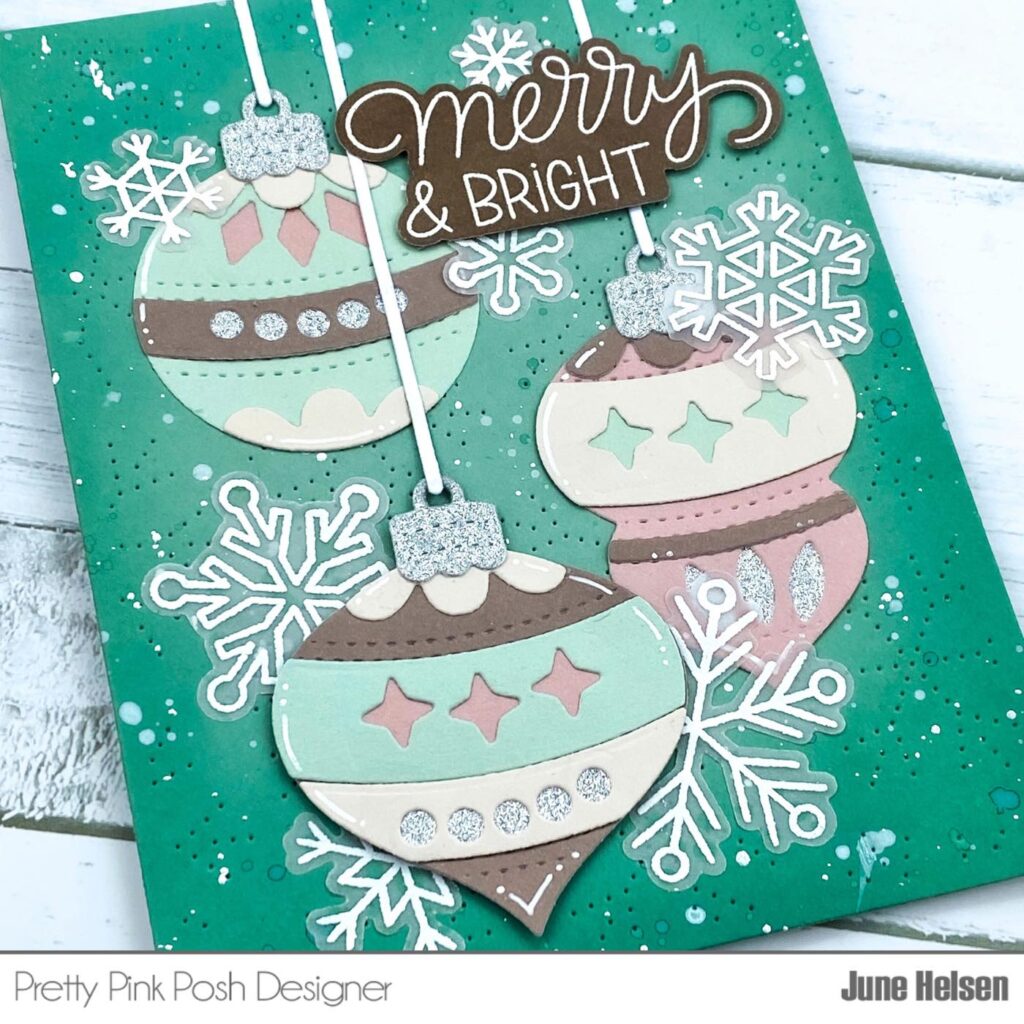
This was definitely some of the most fun I’ve had while making a card because of all the mixing and matching that’s possible with this die set. I spent ages trying to decide on a cute color scheme and rearranging my die cuts. I decided to go for a muted, kind of vintage looking color palette. I cut 3 of the ornaments out of the different colors I picked and used those as a base to layer the other pieces on. Actually I cut out all 4, but that last one didn’t fit on my card, I think I’ll be using it as a tag to put on a Christmas present later on, because I don’t want it to go to waste.
I tried my best to get a nice varied look on each ornament so they all included my 4 colors: pink, blue, brown and cream, and also a hint of silver. I brought back that silver for the tops of the ornaments so everything matched. I finished off my ornaments by adding some white gel pen details. Since the Build an Ornament set didn’t have a string to hang the ornaments on, I used the string from the Party Balloons dies.
I used a slightly darker shade of blue for my background and darkened up the edges using an ink in an even darker shade. I used the same ink to splatter onto my panel and I also splattered a bit of thinned out acrylic paint for some white, snow-like specks. I decided to bring back the silver even more by splattering white-silver metallic paint on my panel aswel. A lot of splattering today! I used the Pierced Snowflake Plate die from last year’s Christmas release to make the background look a bit more interesting.
I wanted to add more images to the empty spaces around the ornaments, so I embossed some of the snowflakes from the Snowflake stamp set onto vellum using white embossing powder. This gave them an airy look that doesn’t distract too much from the ornaments.
For my sentiment, I went with the ‘Merry & Bright’ from the Winter Greetings. I absolutely love this set so I had to include one of its sentiments! I embossed it using white embossing powder onto brown cardstock that’s a shade darker than I used for the ornaments.
And that’s it for today! I hope you enjoyed reading about the card and I hope it inspires you to start creating as well. I’ll see you again soon, bye for now!
Superb card, June! So many possibililties w/ this set!
Happy Thanksgiving to all at PPP!
Lori S in PA
Loveeee 😍😍😍 the attention to detail is amazing 🤩