Creating 3 Happy New Year Cards + Video
Hello, Pretty Pink Posh’ fans! This is Yana Smakula. In this video, I’ll show you how to make Happy New Year Cards featuring the Happy New Year stamp set and coordinating dies.
Watch the video above I Watch the video in HD on YouTube
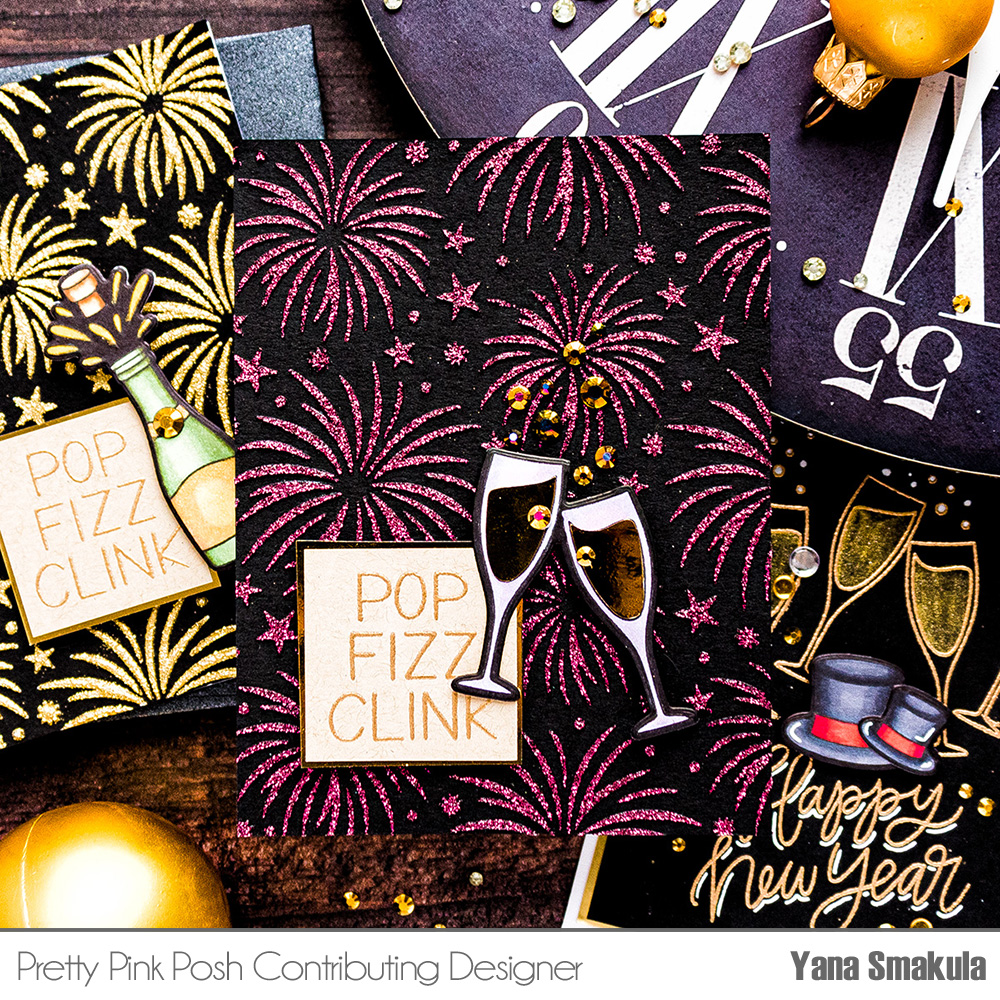
Let’s jump right in! I have several cards to share in today’s video and the first 2 use a Fireworks stencil to create a background. I love to use stencils for quick yet impressive backgrounds for my cards.
I’ve started with a piece of black cardstock cut to 4 1/4 x 5 1/2”. I taped the panel to the stencil using low tack tape to make sure it is going to stay in place. Next, I used Tonic Studios Nuvo Glimmer Paste in color Plum. It is a beautiful purple and makes a great background for a New Year Card. I’ve applied it evenly onto the paper using a palette knife. Once the paste is applied I removed the stencil. The paste is going to take it some time to dry, so I set it aside. Be sure to wash your stencil and palette knife as once the paste dries it will turn hard and it will ruin your tools.
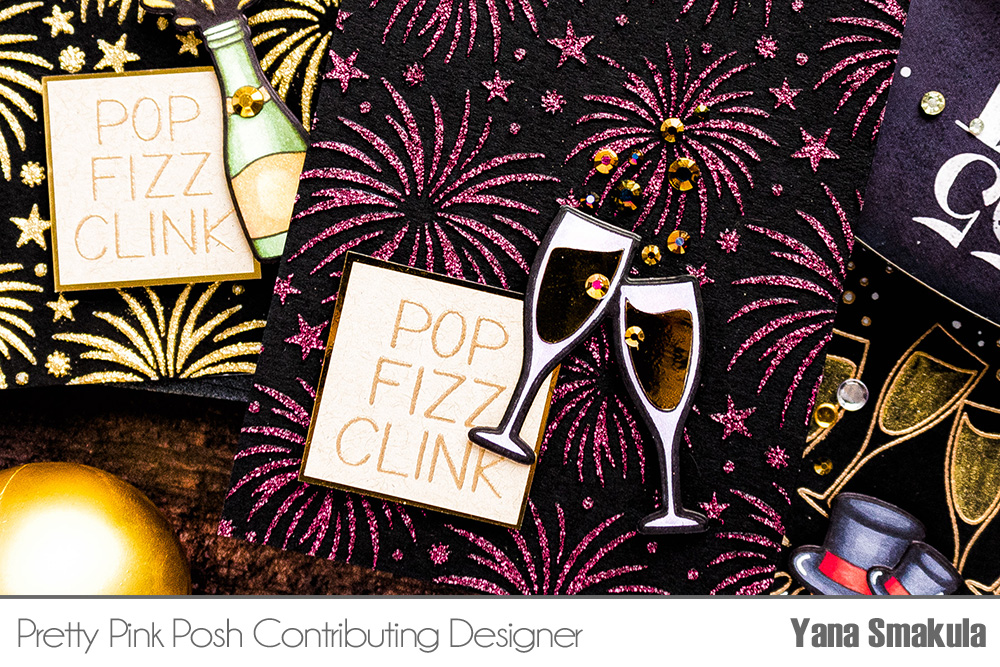
For my next background, I didn’t have the color paste I wanted, so I made it using supplies I had from my stash. I used white texture paste and gold glitter embossing powder.
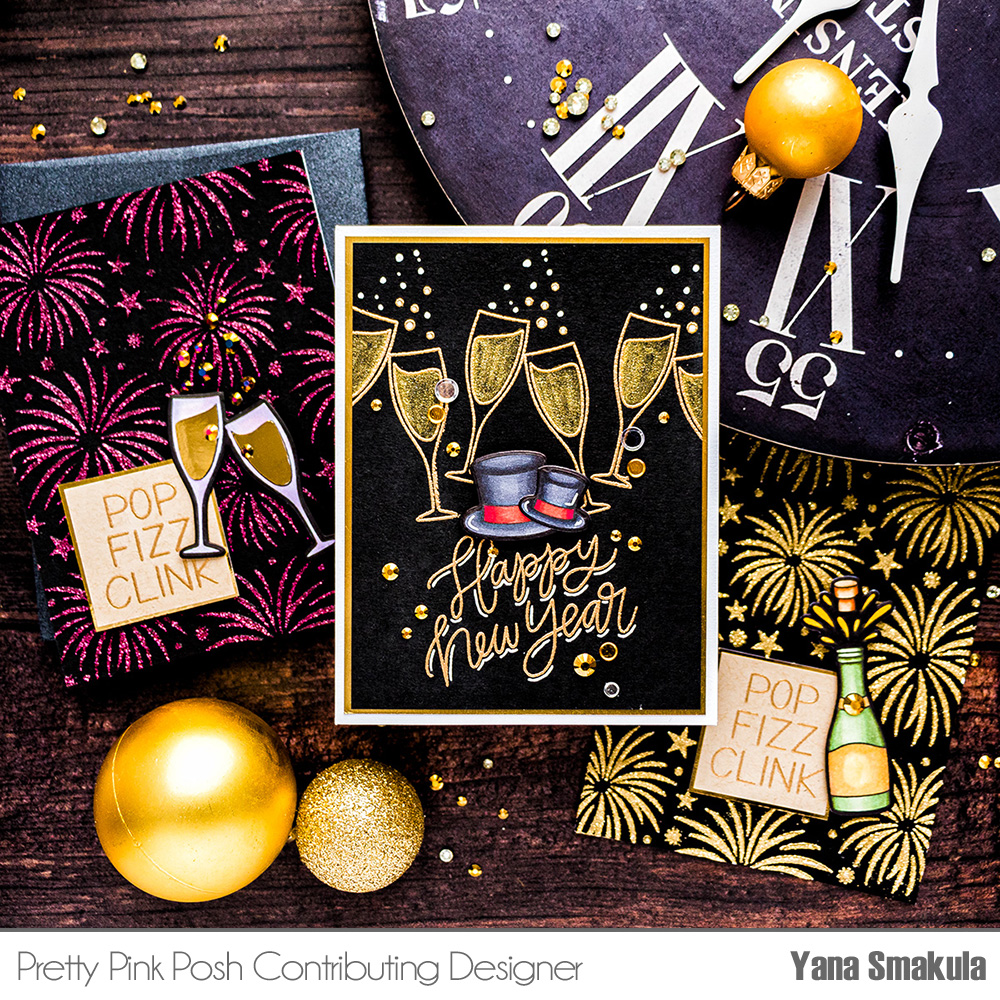
Next, I did some stamping. I used several images from the Happy New Year stamp set and stamped them in Copic-marker friendly ink on white cardstock. I stamped a champagne bottle, wine glasses as well as 2 party hats – a smaller and a bigger one.
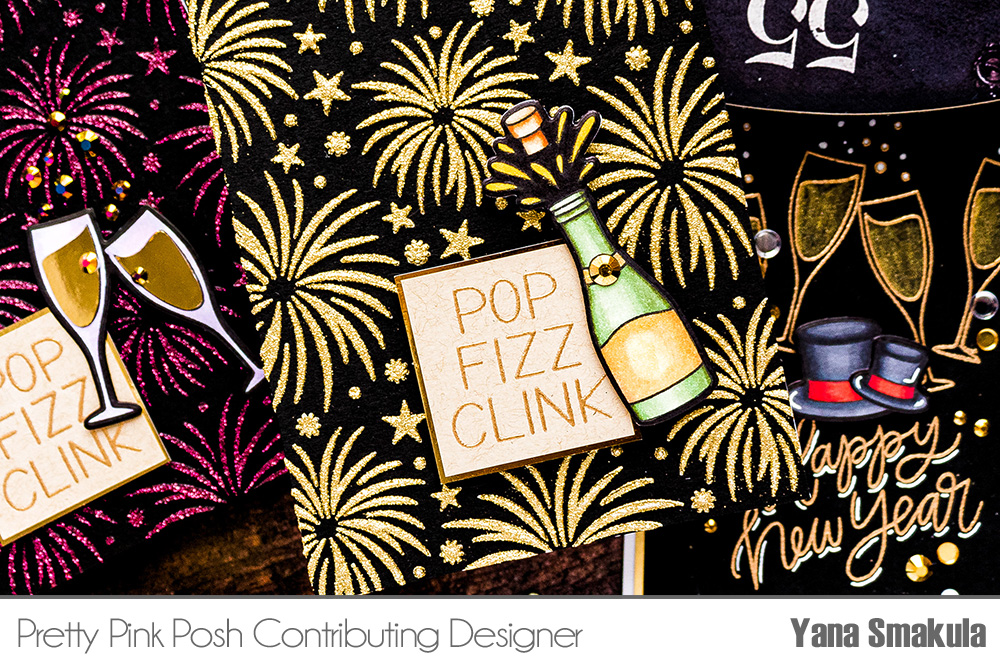
I did very simple coloring to bring these images to life. I used G99, G94 and G21 markers to color the wine bottle. I was having trouble picking the right colors to have that true bottle green color, but I figured these colors will do. I also used E33 and E31 to color the labels and the cork. I also used the Y15 marker to color the splashes.
For the wine glasses, I used V12 marker. I knew I’d be placing these on the purple background so I wanted the glasses to match in color. I wasn’t too careful coloring them as I’d add a gold mirror piece on the inside to look like liquid and also color outside the lines black, but we will get to that in a minute.
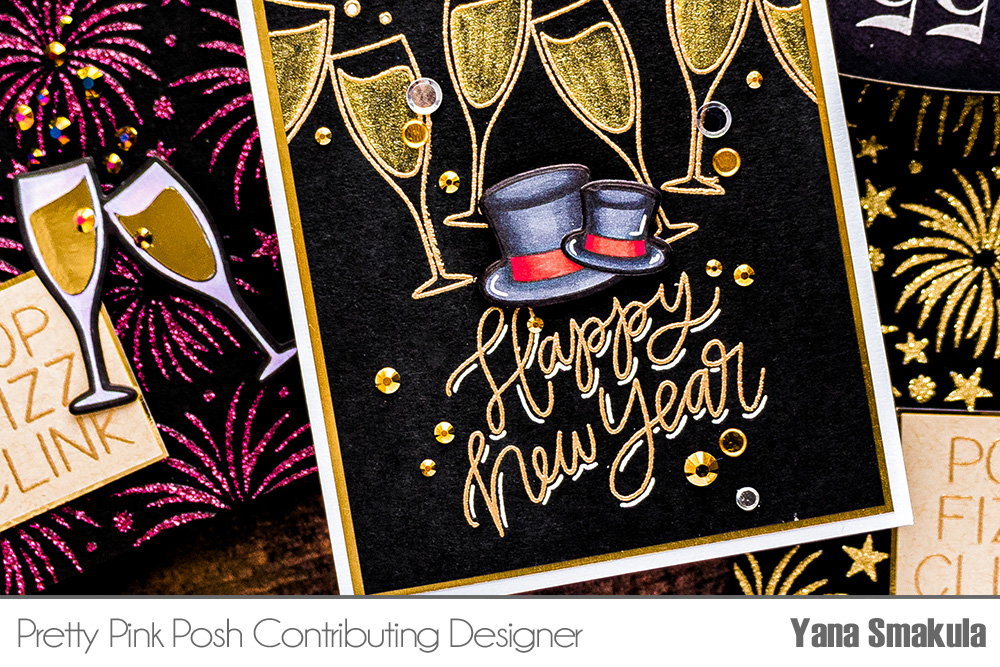
As for the hats I used C10, C9, C7 and C5 markers to color the hats black. I also used R39, R27, and R24 to color the ribbon on the hats. Pretty easy and simple coloring, nothing fancy.
Next came the most fun part! I knew I’d be adding these images to pretty dark backgrounds, black backgrounds really, so I wanted to color the image outlines in black to match. It is a simple trick, yet it makes all the difference in the world. I do encourage you to give it a try if you haven’t already. You can use a black Copic marker or a black pen – anything black really to color the outline black.
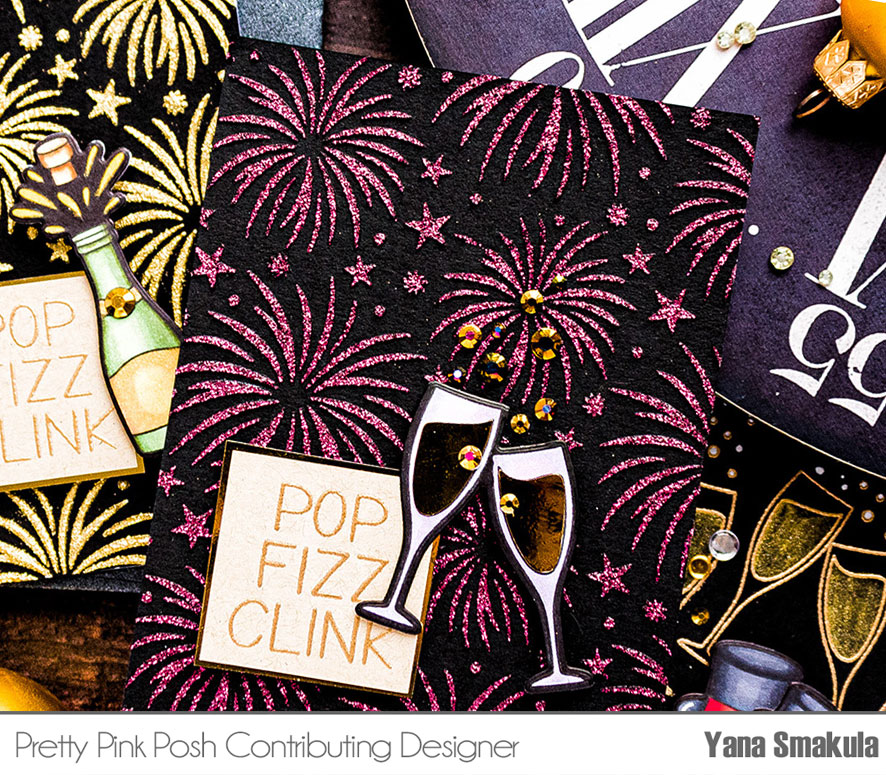
Next, I stamped the same image of champagne glasses onto gold mirror cardstock. It doesn’t matter what ink you use unless it is StazOn ink it will not stay on the paper, it will smear or wipe off and that is exactly what we want. I used my detail scissors to cut the liquid part out, wiped the ink off and that created the liquid part for the glasses. There are coordinating dies available and I used mine to cut these images out.
Next, I created sentiments for the cards. I gold heat embossed “Pop Fizz Clink”, cut them out and mounted on mirror gold cardstock.
With the sentiments created, the embellishments made and the backgrounds dry it was time to assemble the cards. I used foam tape to foam mount the sentiment panel onto the background and then used the same foam adhesive to adhere the glasses to the card. I trimmed off the baubles that were stamped with the glasses. I adhered the liquid pieces made from that gold mirror cardstock and added the little bubbles using gems. I used Metallic Gold jewels for this card, they blended perfectly well with the background.
For the next card, a bit more work was needed to complete the background – I used my heat tool to melt that powder that was covering the texture paste. Next, I brushed away any stay glitter particles from the background using a dry paintbrush.
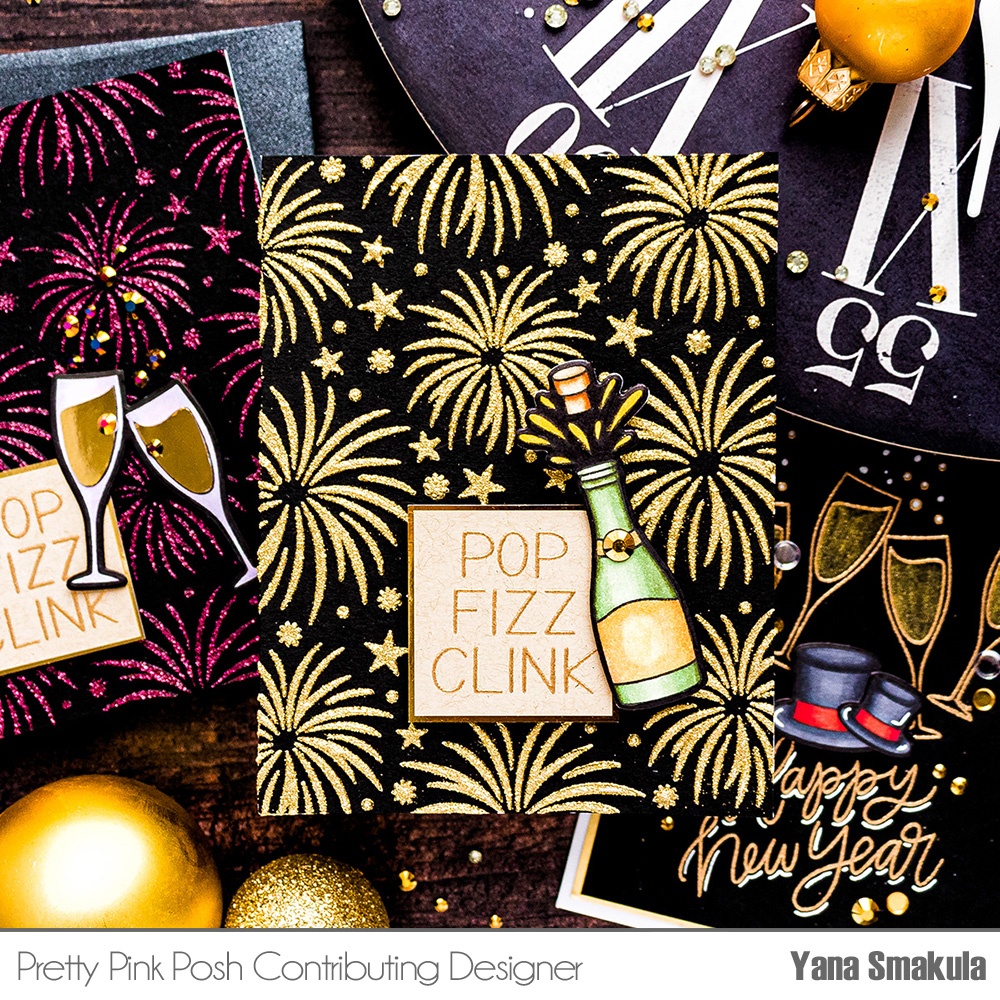
With that done, I foam mounted the sentiment, that same one – Pop Fizz, Clink and also added a champagne bottle on top. I also added a little gem on top of the label of the bottle. And this card is done!
I also have another card to share – also created with the same stamp set. Here I stamped several glasses in a row, colored them using Gold Glitter pen, added Happy New Year sentiment and foam mounted the two black party hats on top. I also used my white Sakura pen to add some white shading to the sentiment and to color the baubles above the glasses.
Have fun stamping!