Sneak Peek: Birthday Circles + Birthday Scripts
Hi, crafty friends! It’s Leica here today with a sneak peek of the new Birthday Circles stamp set and Birthday Scripts stamp set releasing on February 10th.
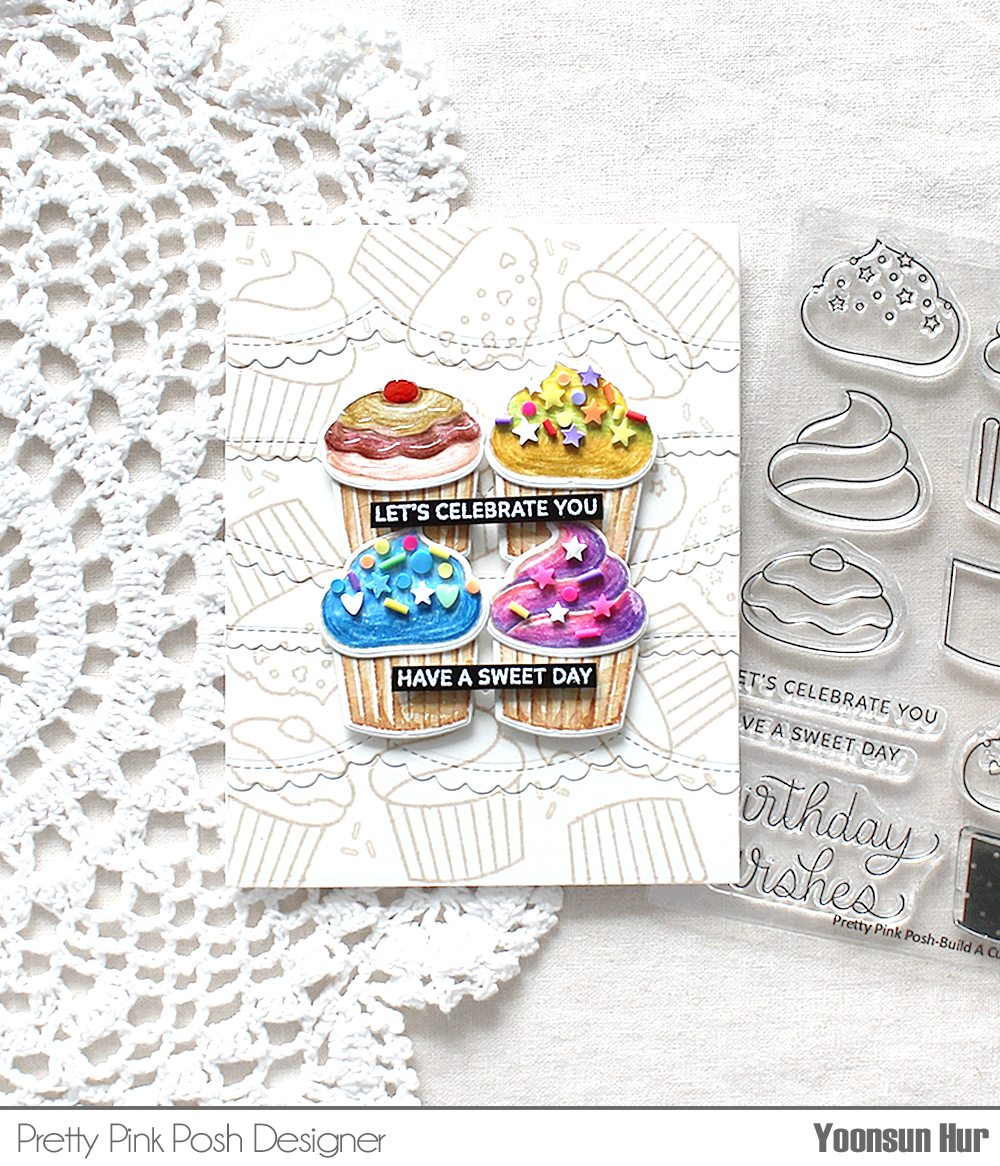
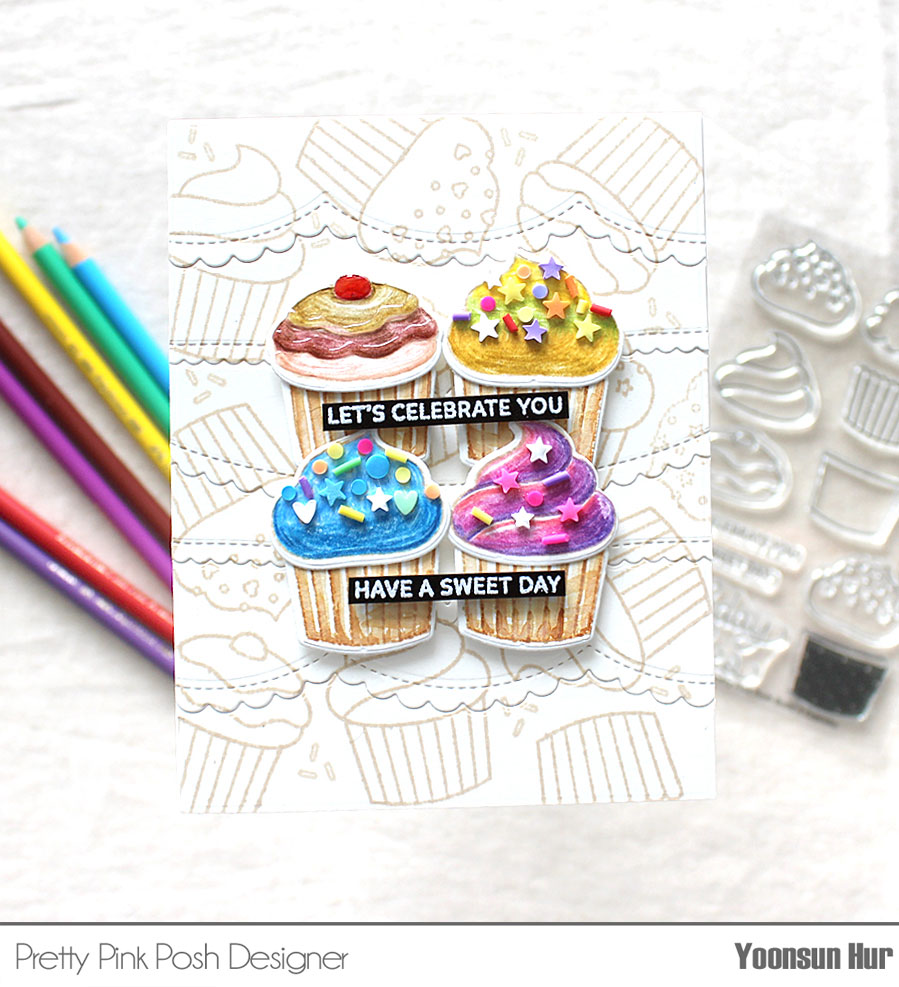
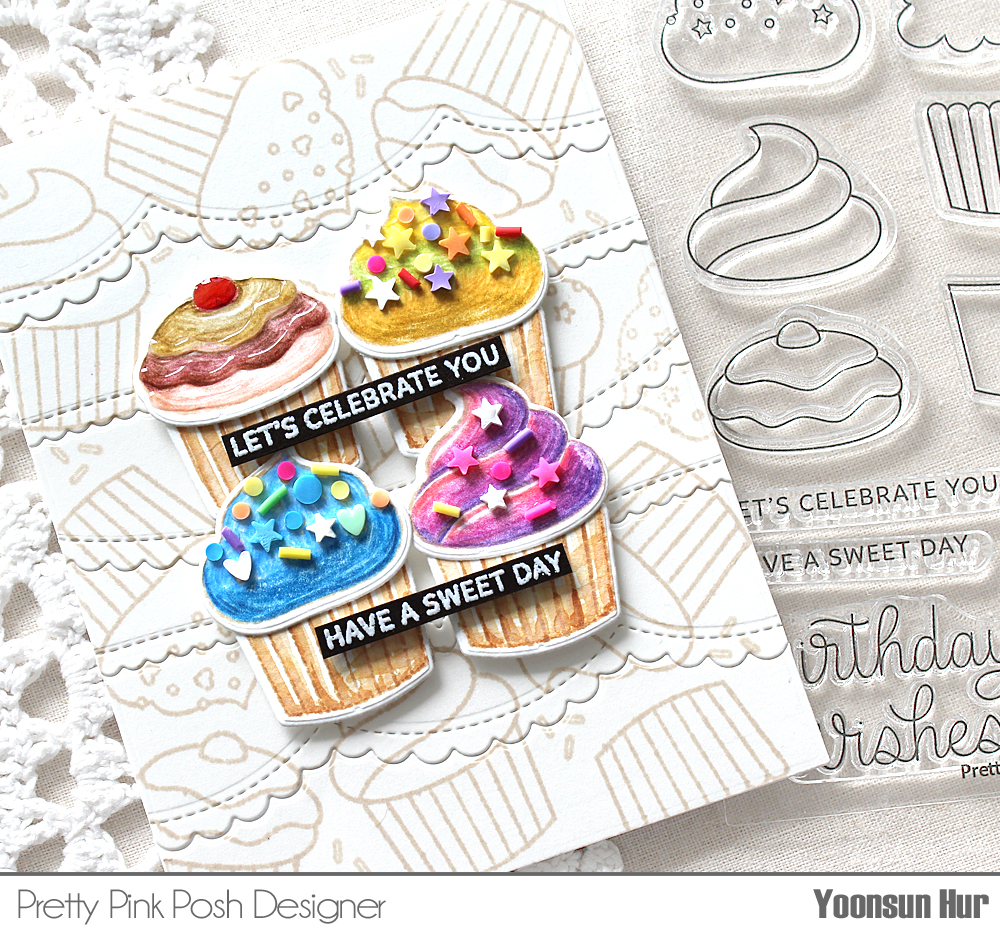
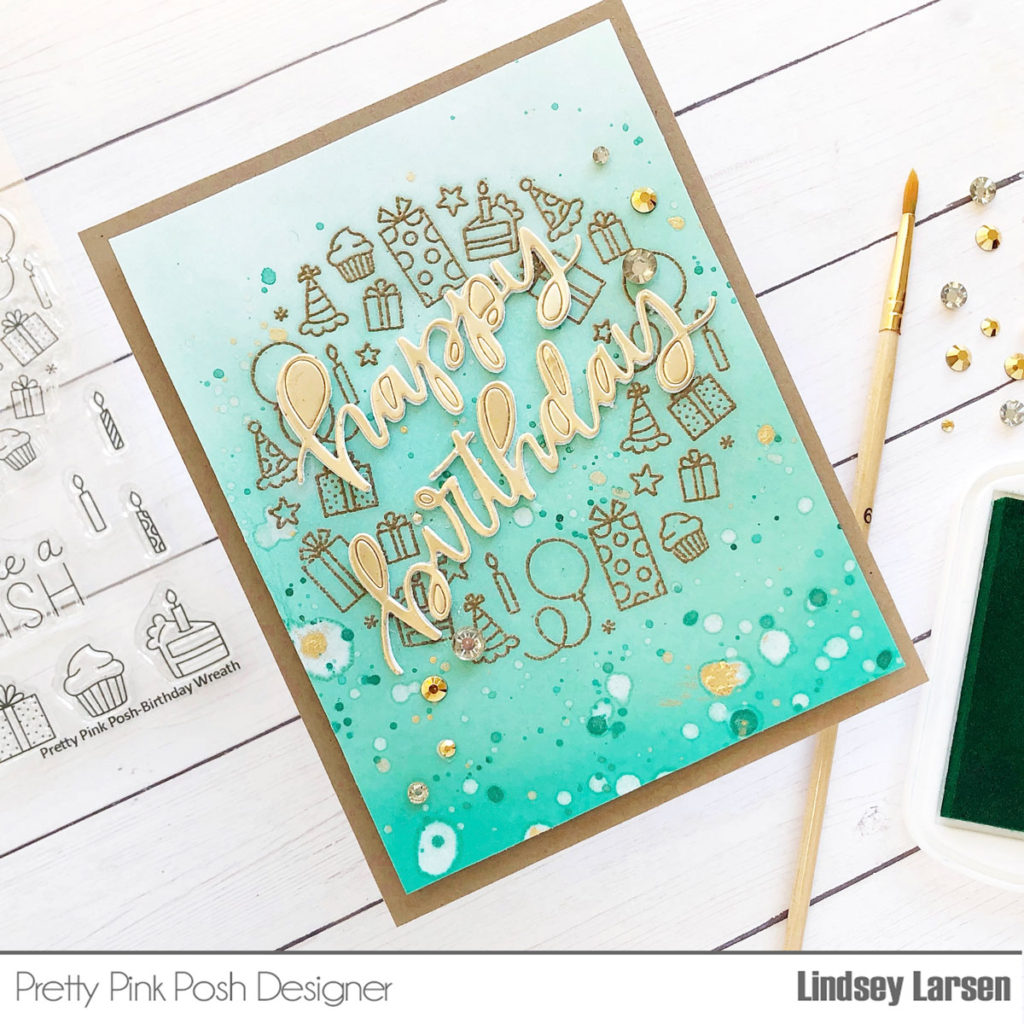
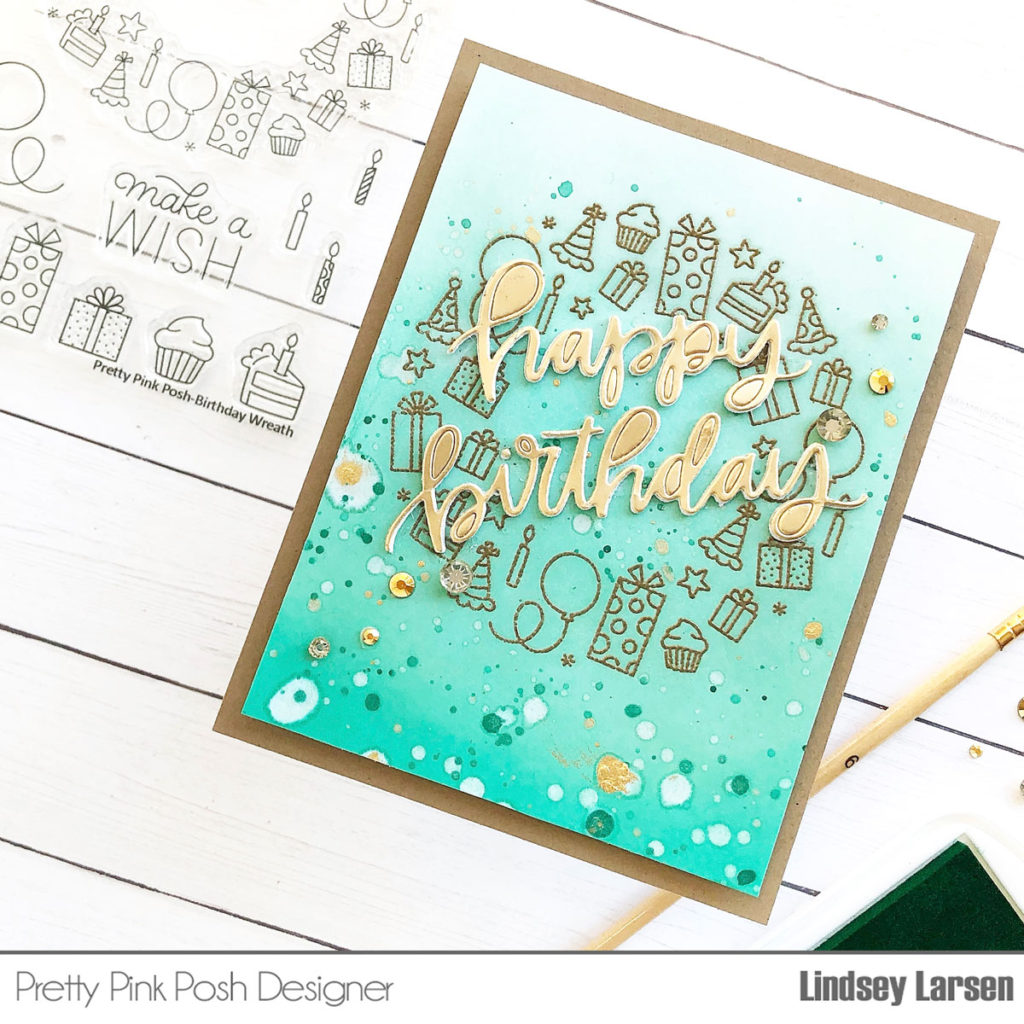
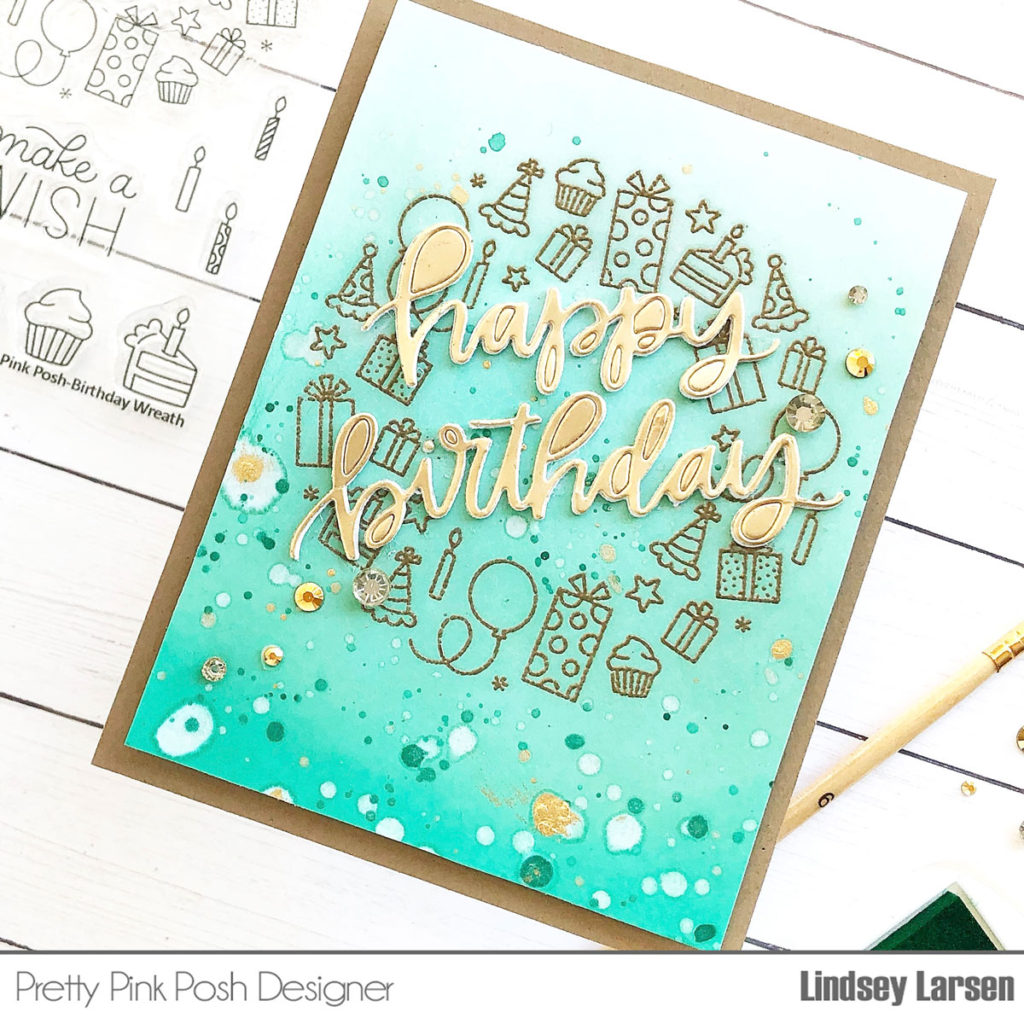
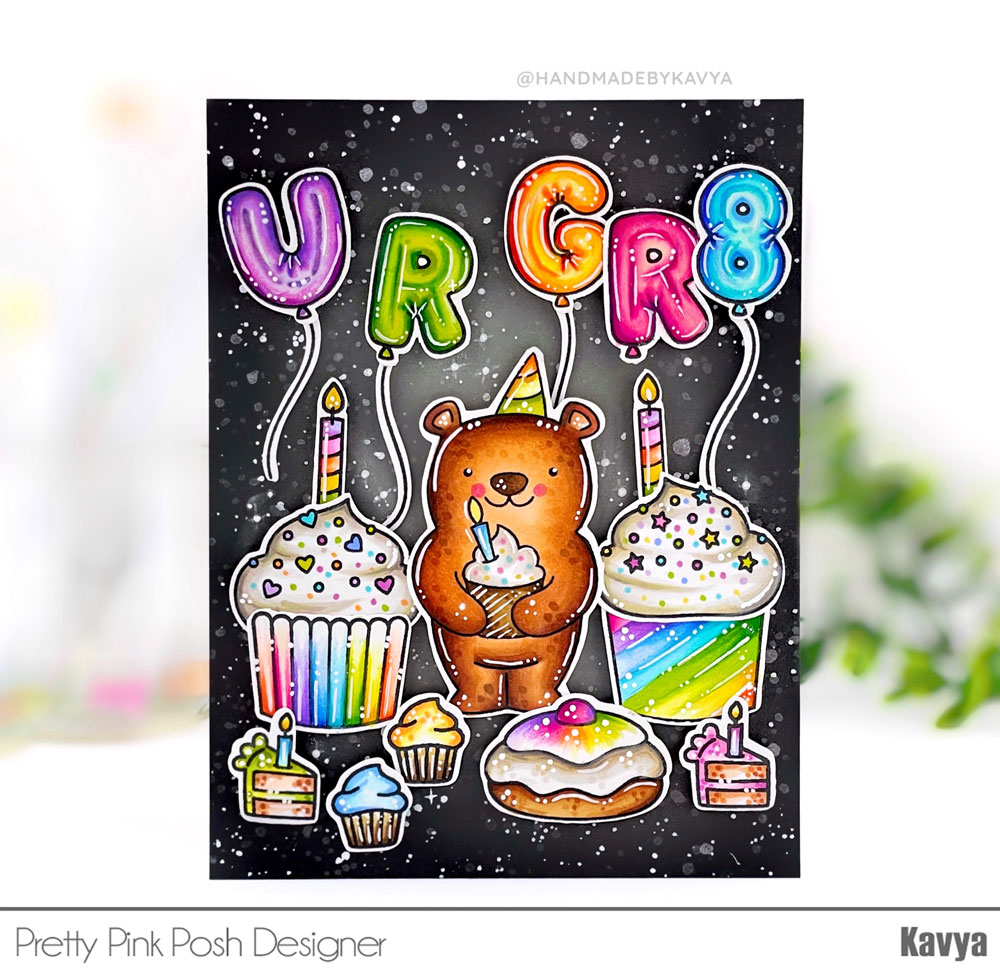
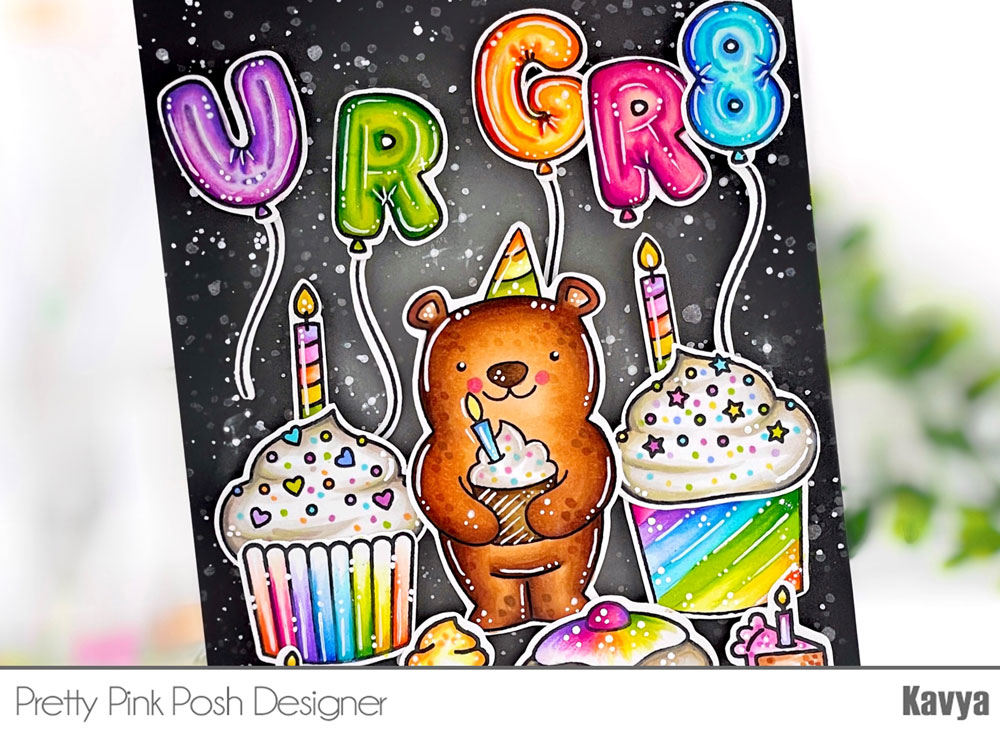
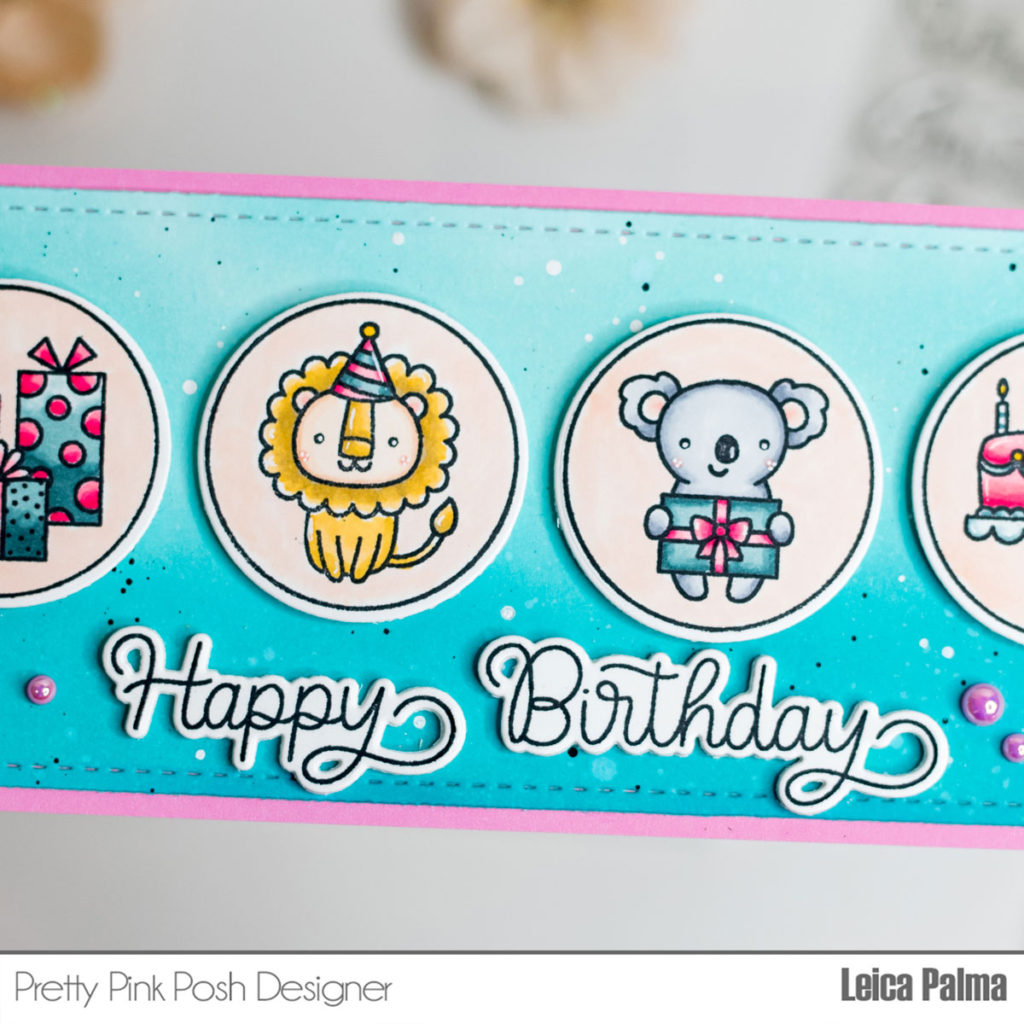
The Birthday Circles set is such a fun addition to the previously-released Circle sets. These stamps are perfect for making cards and matching tags, plus the images go well together with other stamp sets, such as the Party Friends stamp set and Koala Friends stamp set. The Birthday Scripts is just the perfect set to have in hand for beautiful birthday sentiments and the best part is there are coordinating die cuts for the scripts.
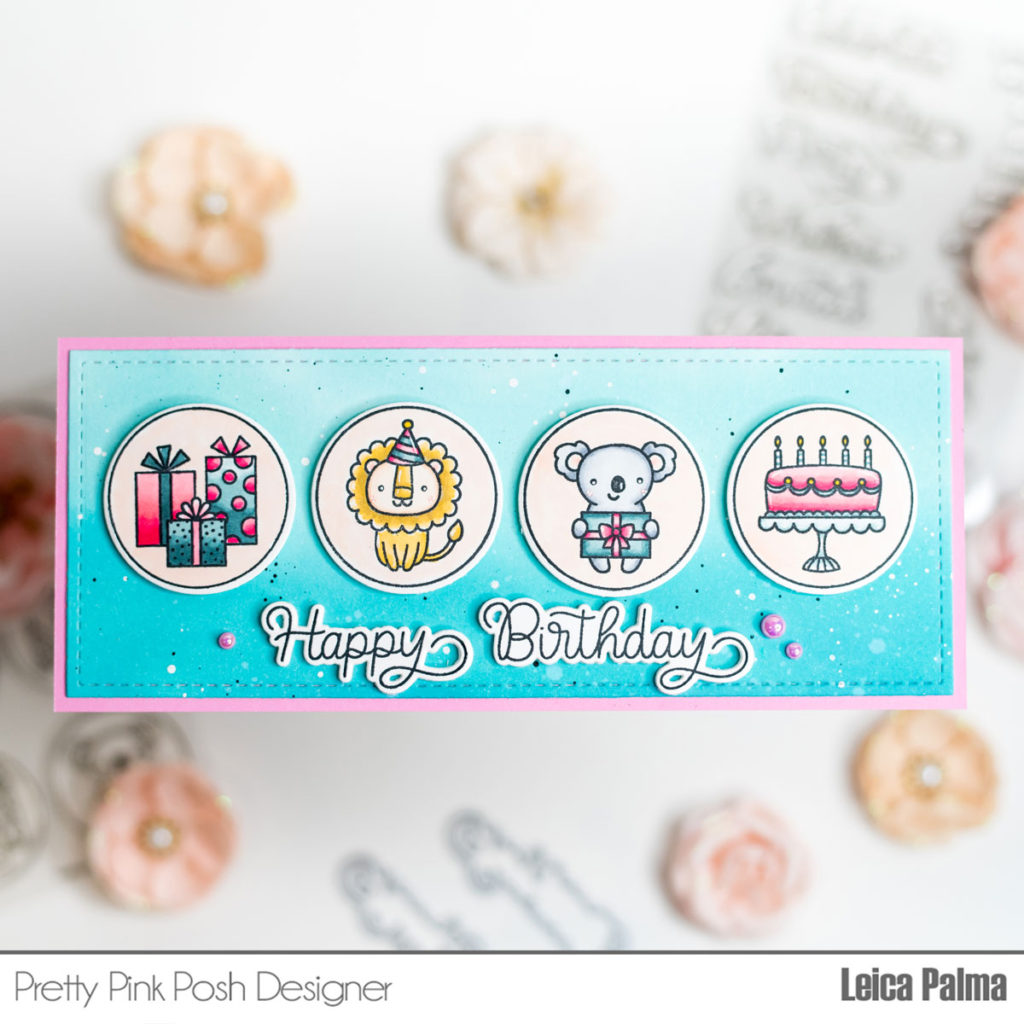
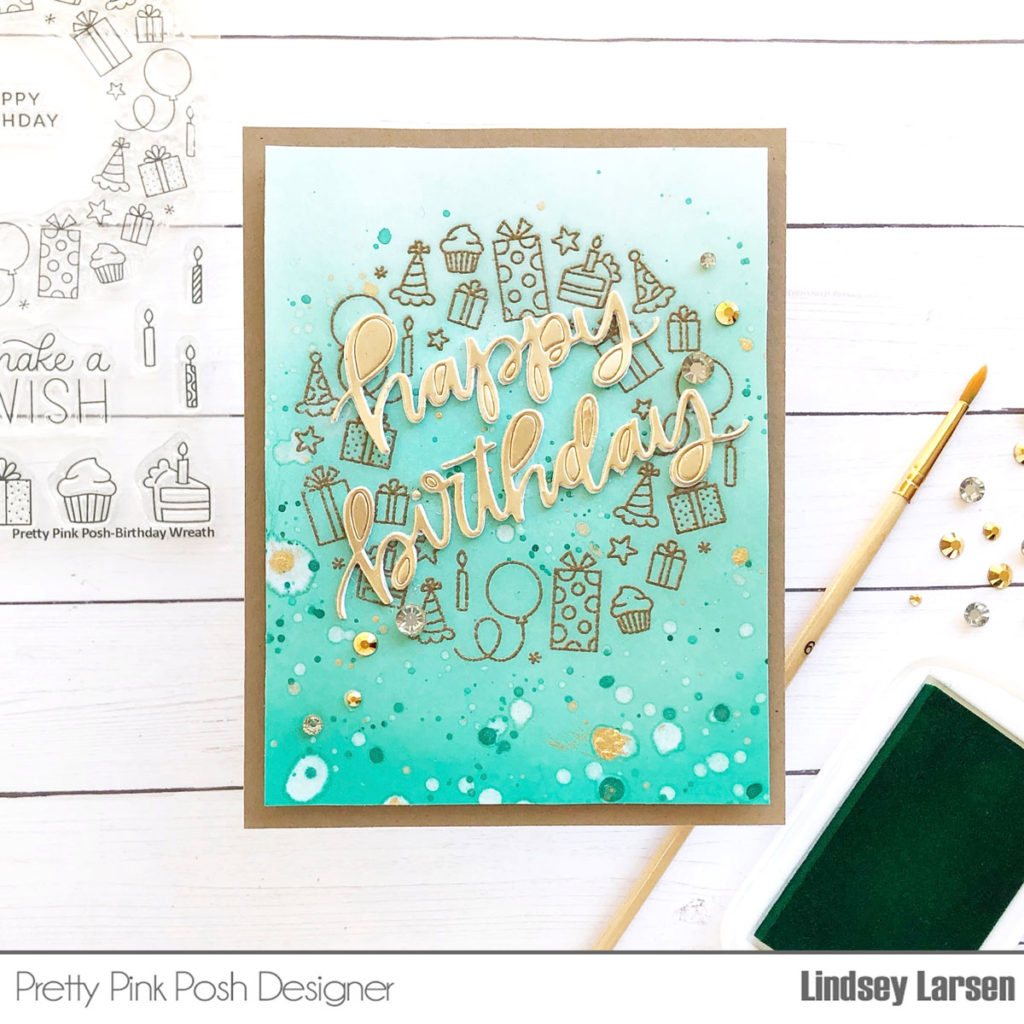
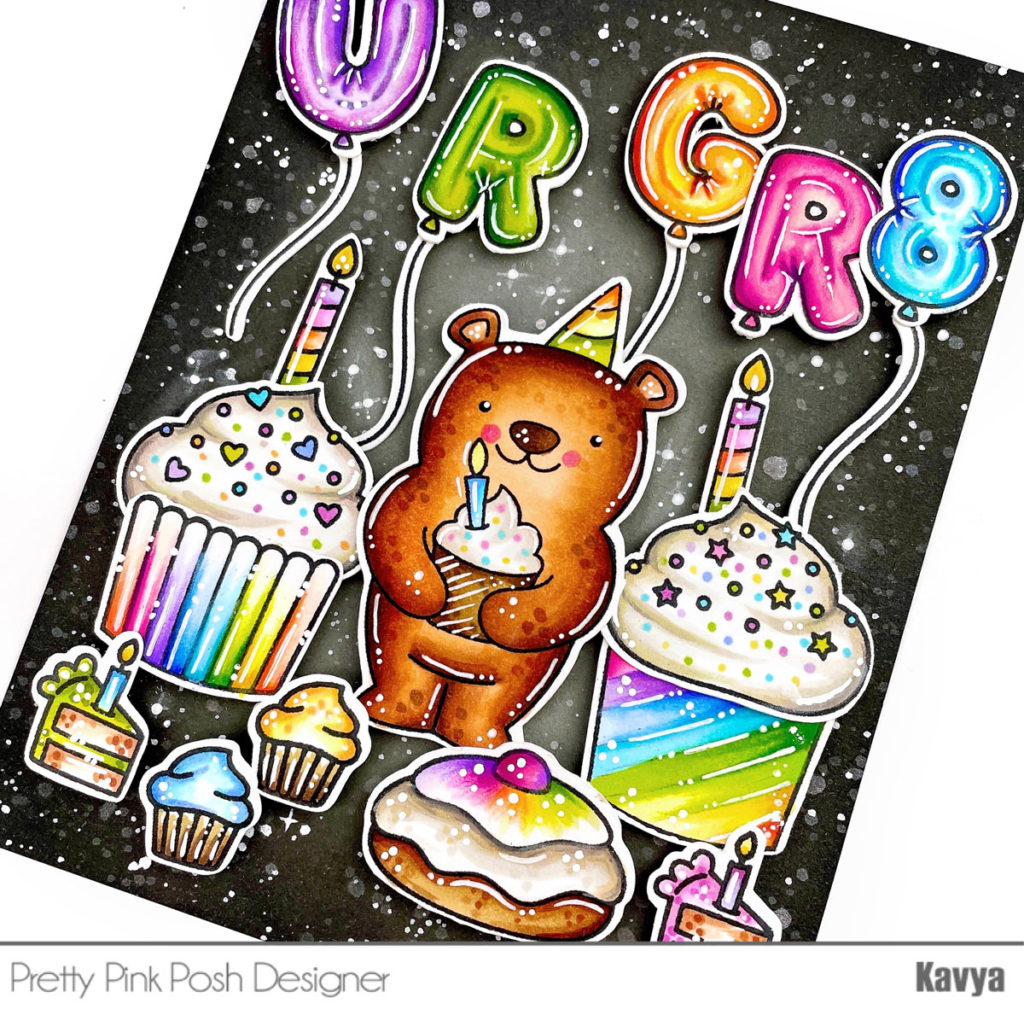
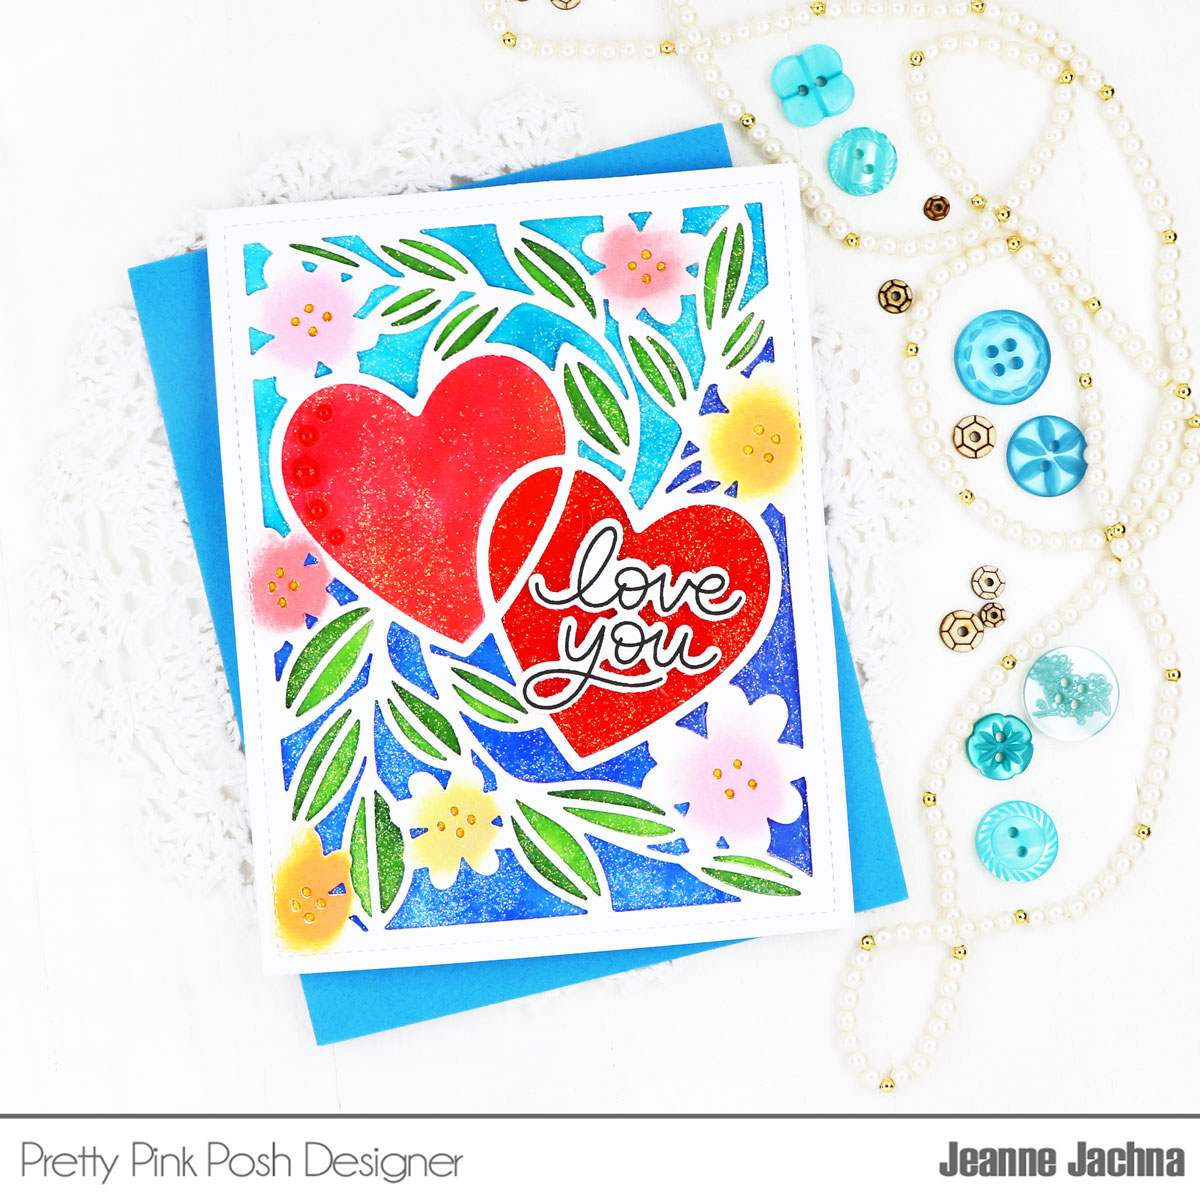
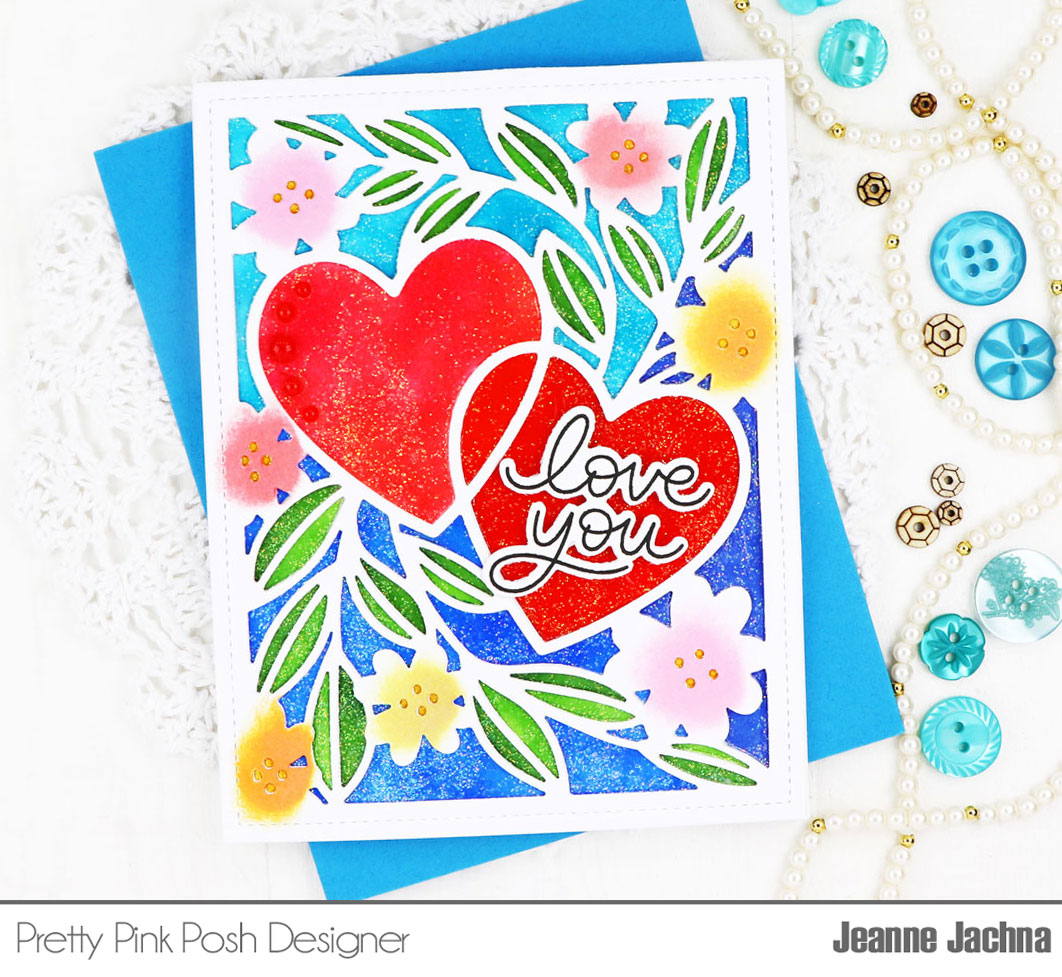
For my card, I made a slimline size. First, I cut a slimline panel using the largest die from the Slimline: Peekaboo Window Dies in white cardstock. I ink blended it with Peacock Feathers and Salvaged Patina Distress Oxide Inks. I then splattered white and black acrylic paints for added interest. I layered this panel with a pink cardstock, measuring 3.5 x 8.5 inches.
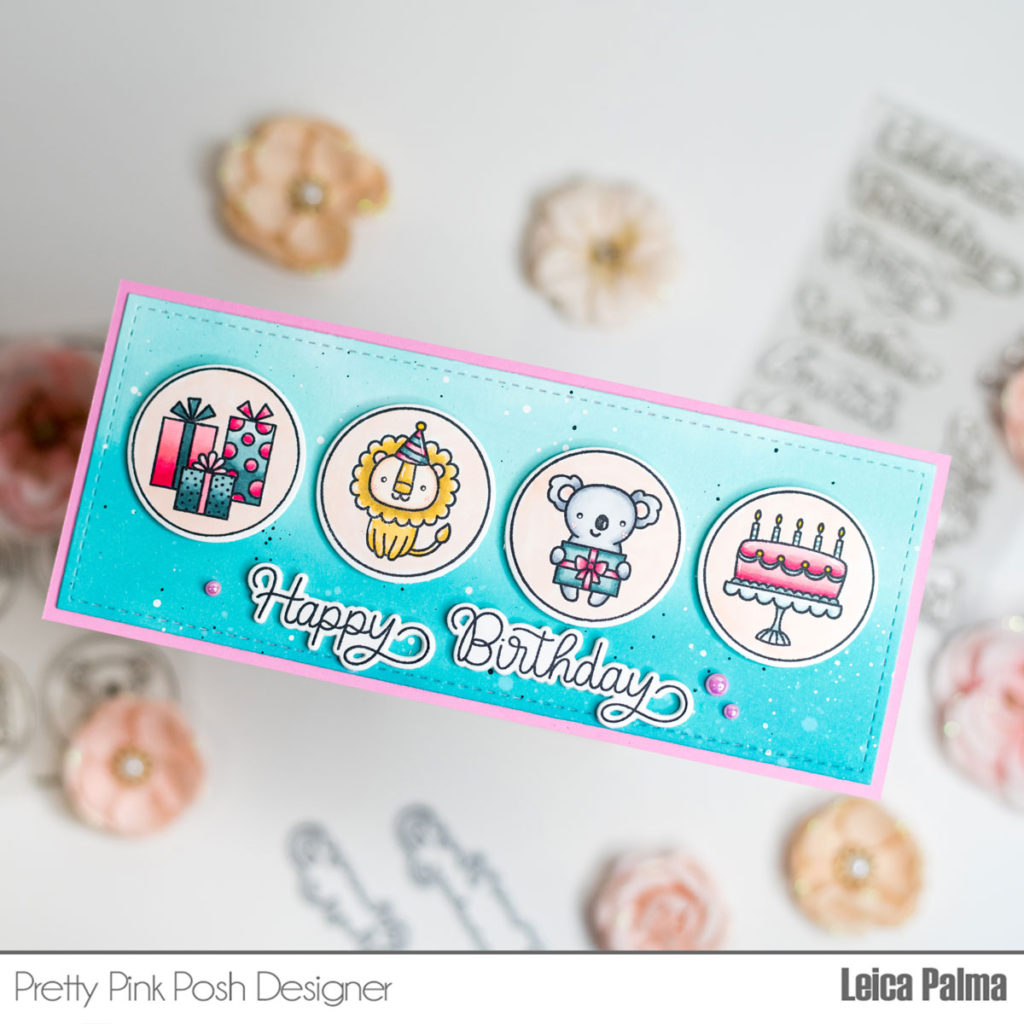
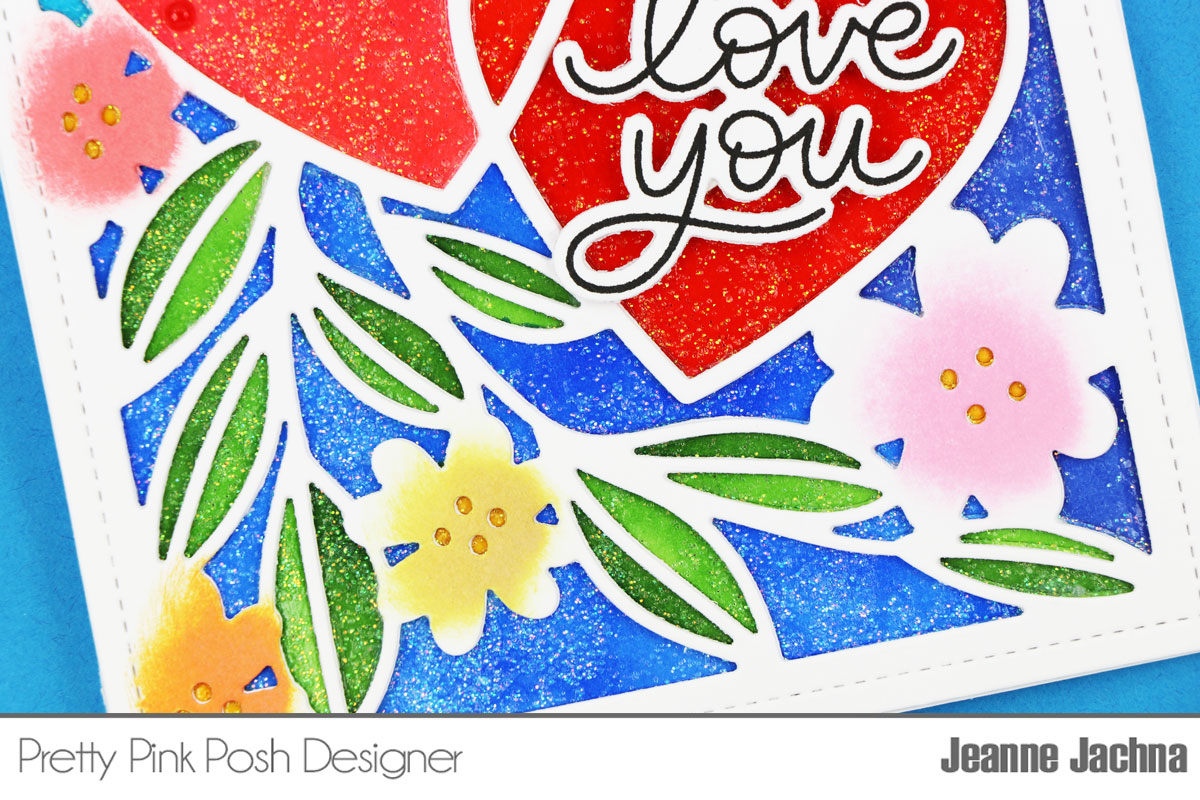
Next, I stamped, colored, and cut the images from the Birthday Circles stamp set. I foam mounted them on the card panel for dimension. For the sentiment, I used the Birthday Scripts stamp set and cut the scripts with the coordinating dies. I cut a few extra pieces and stacked them for dimension. I then added Bubblegum pearls for added texture. Lastly, I adhered the card panel onto a slimline-size card base.
That’s all for today’s sneak peek. Stop by tomorrow for another sneak peek of the February 10th release!