Day 2: June Blog Hop
If you missed Day 1 CLICK HERE
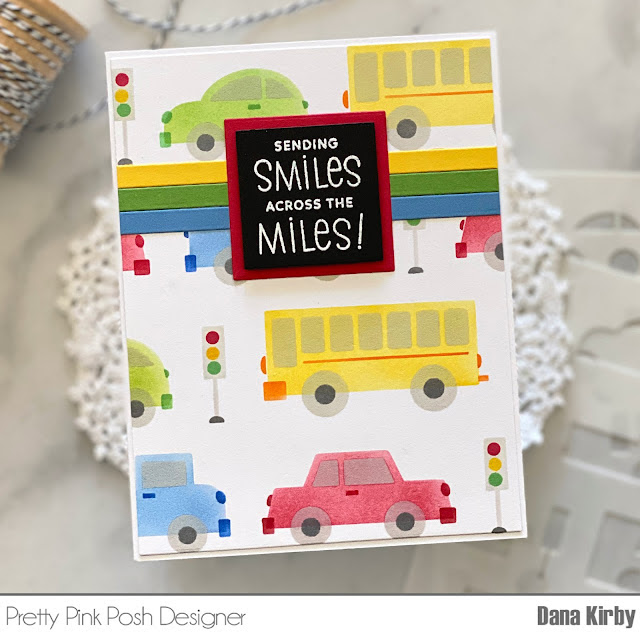
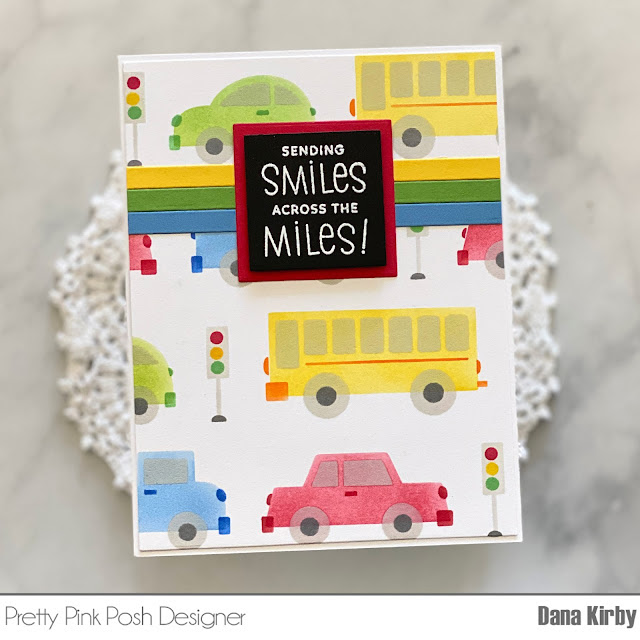
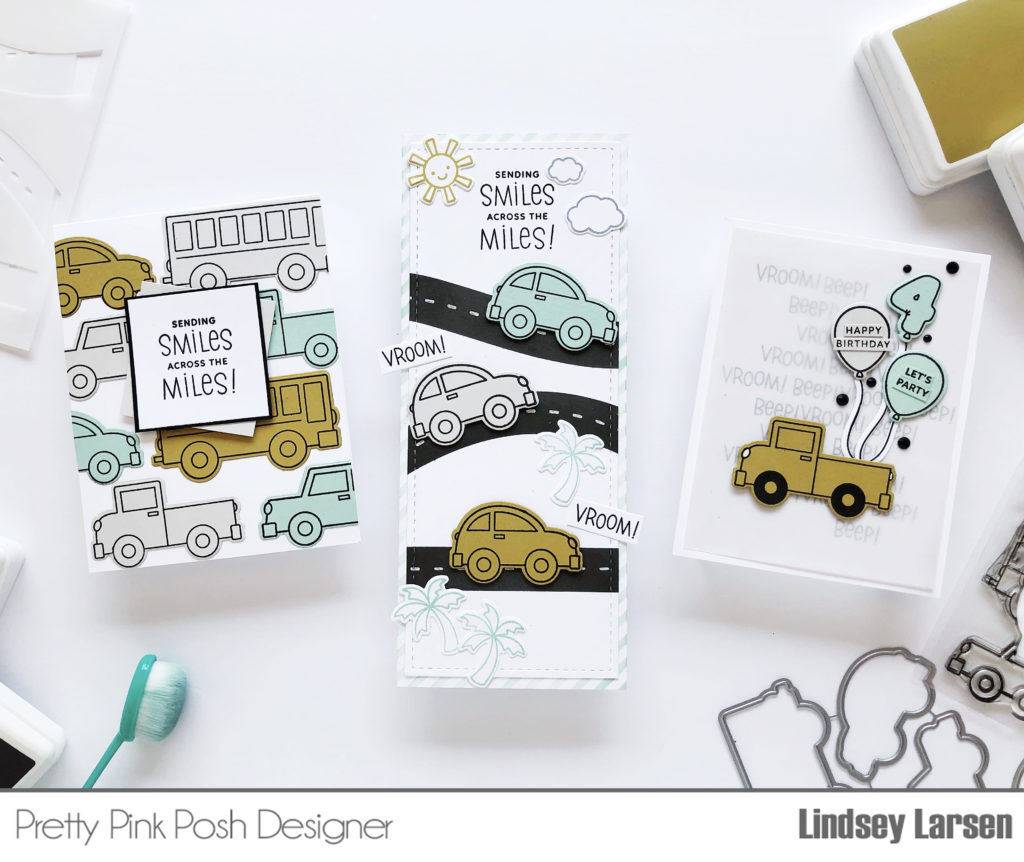
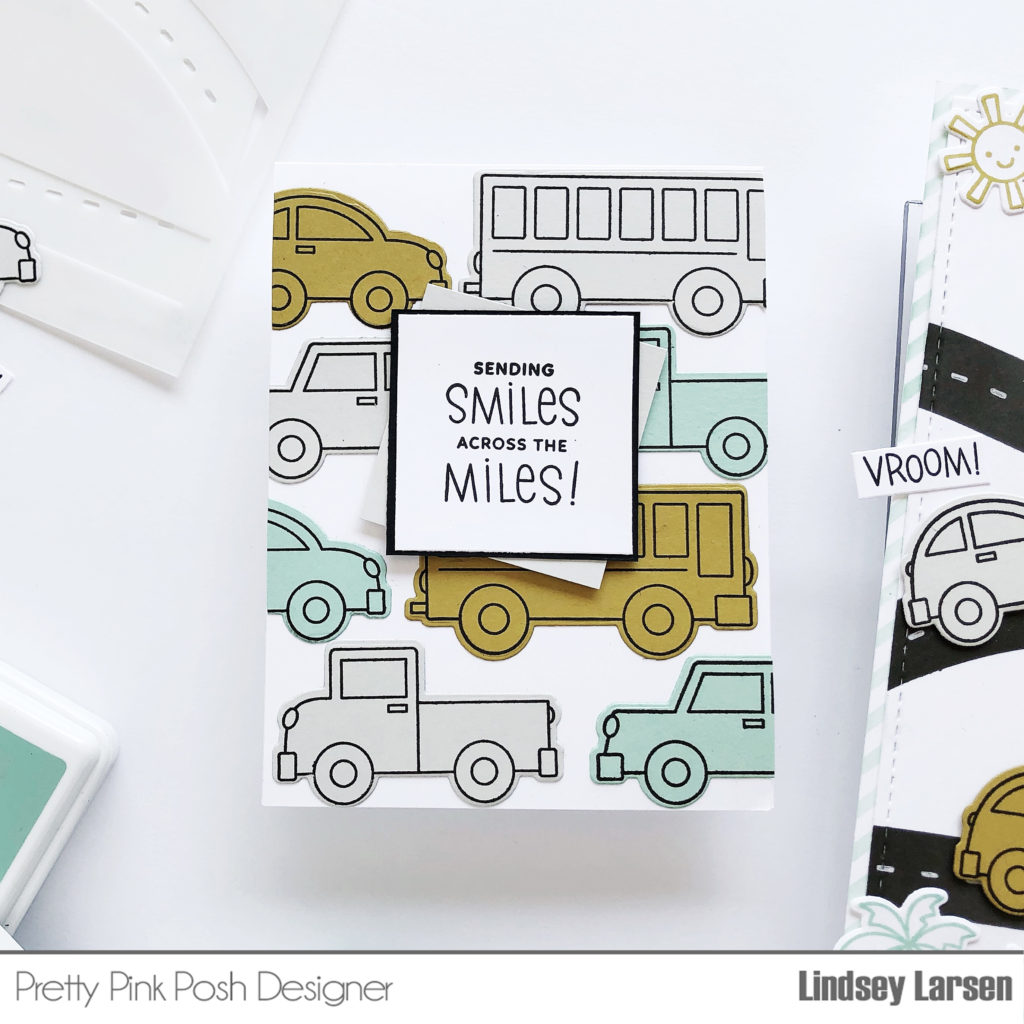
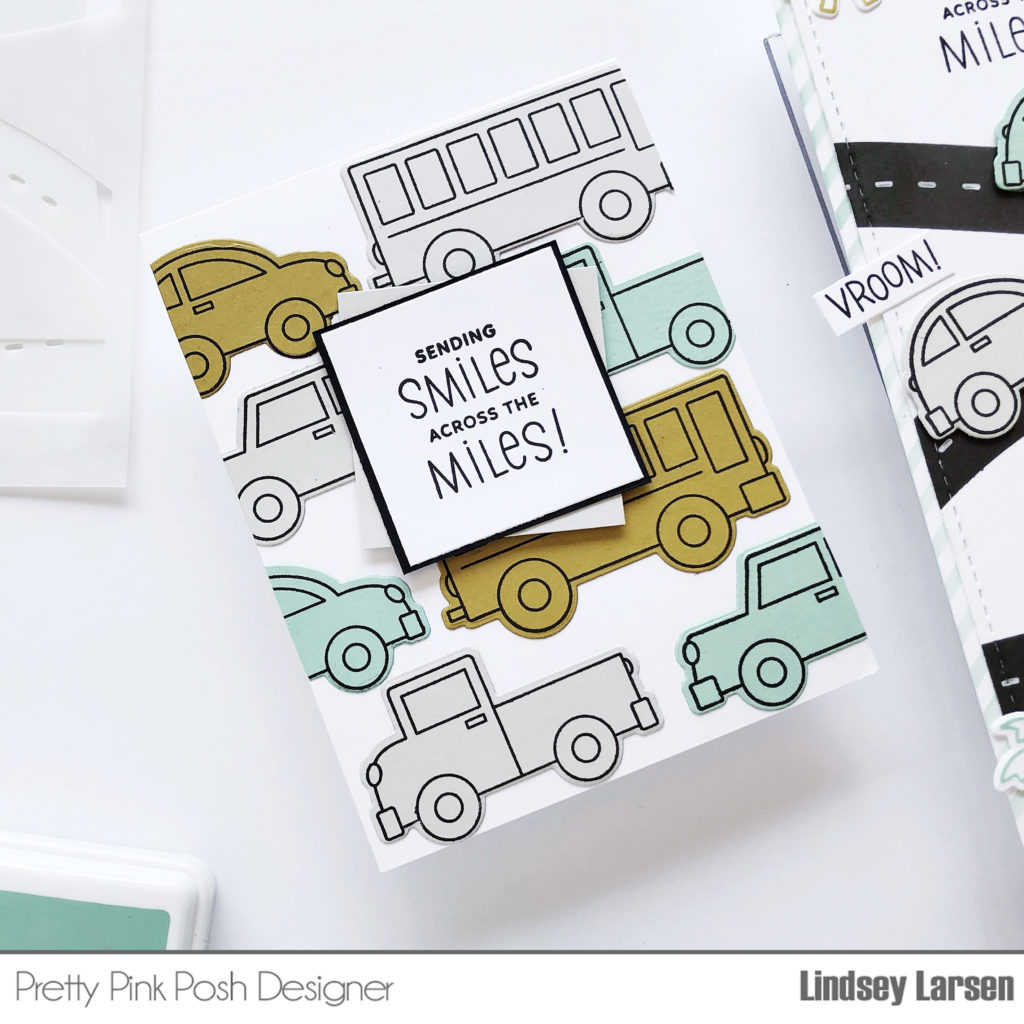
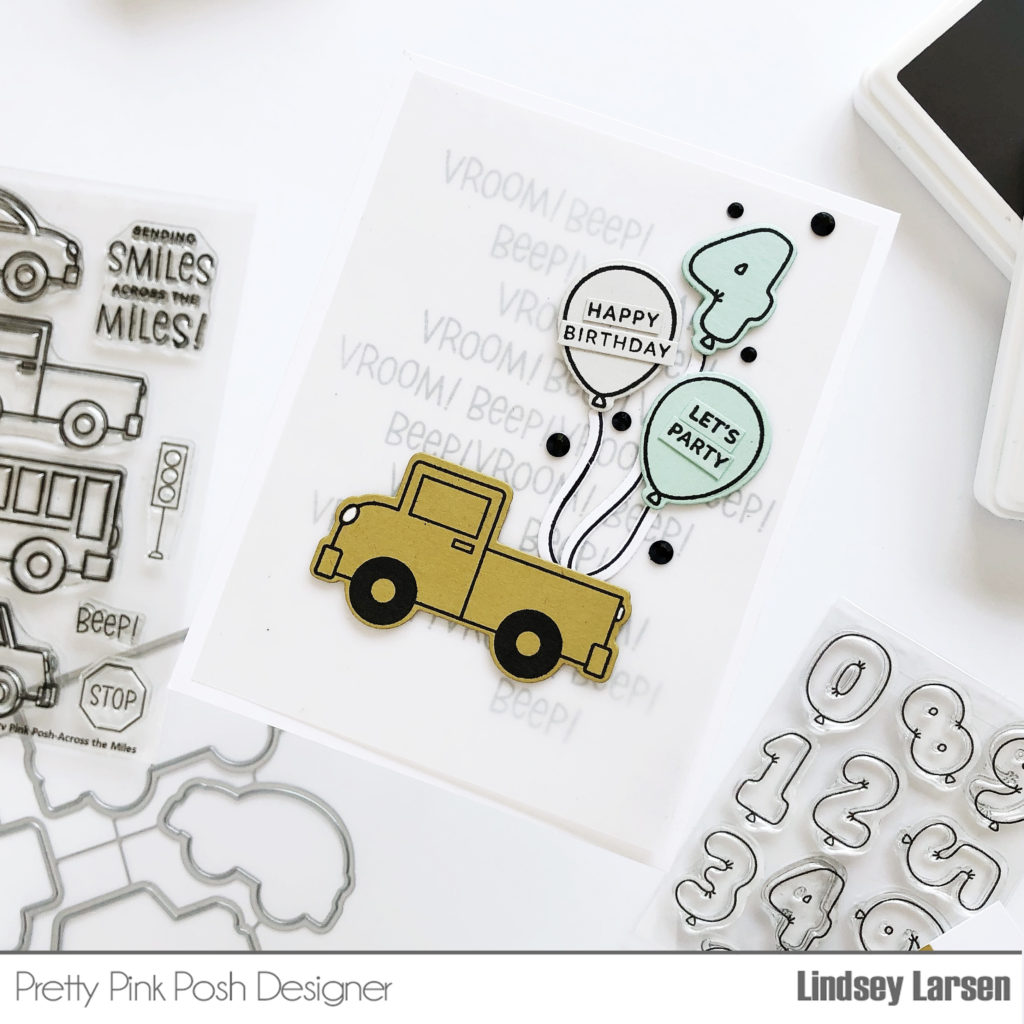
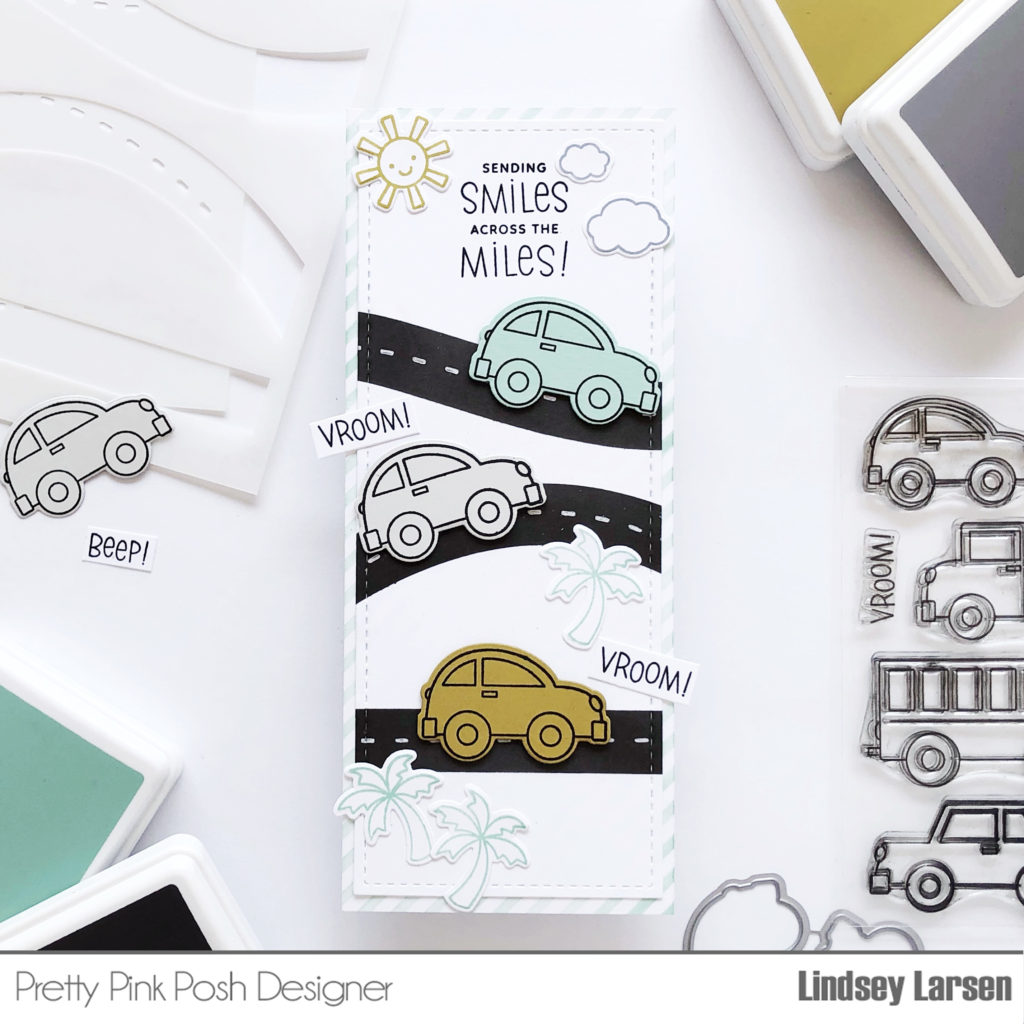
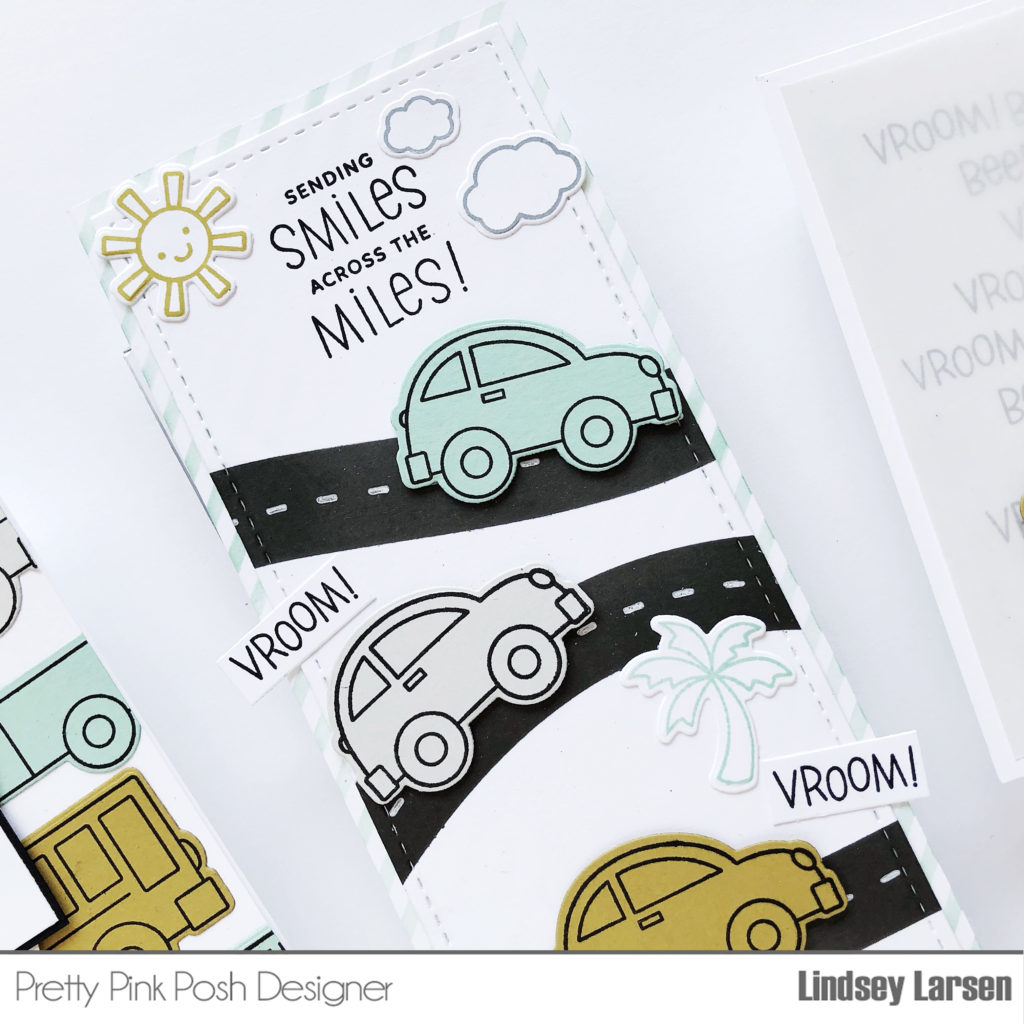
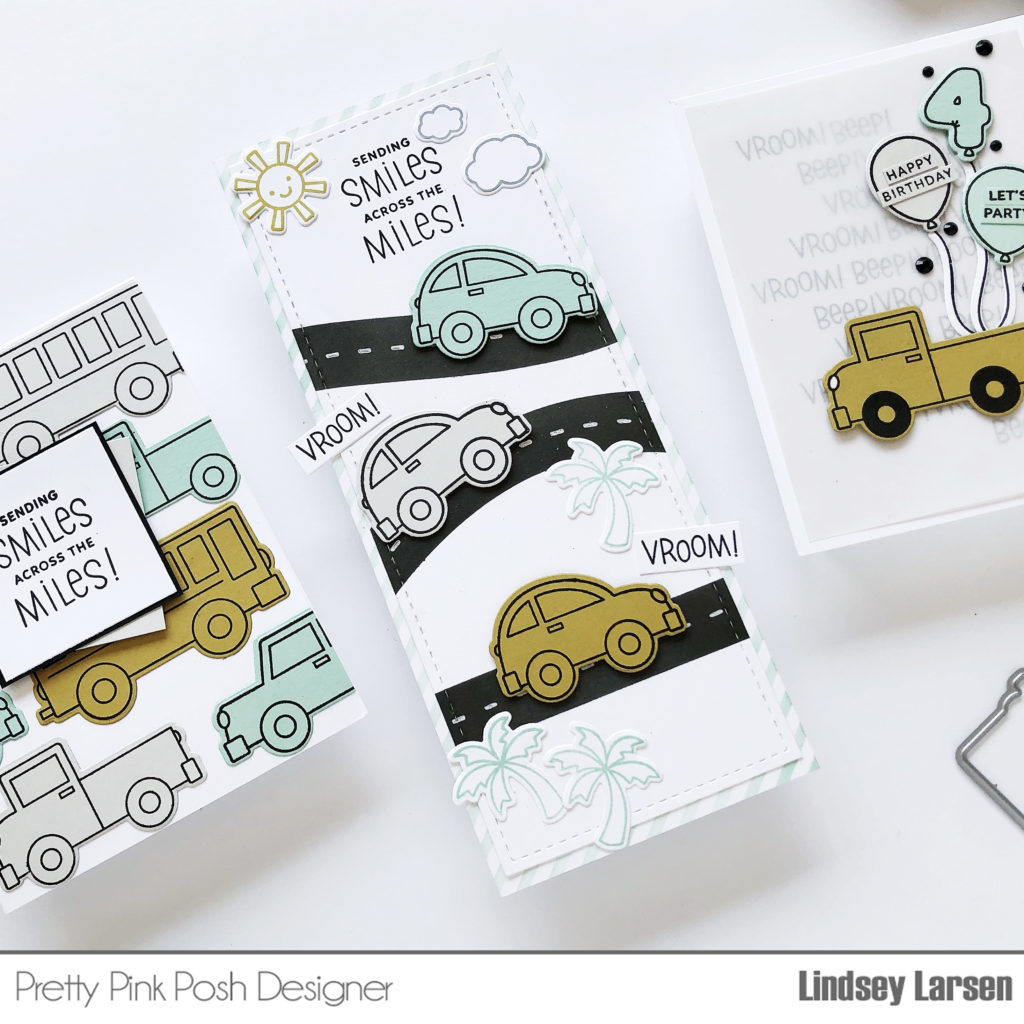
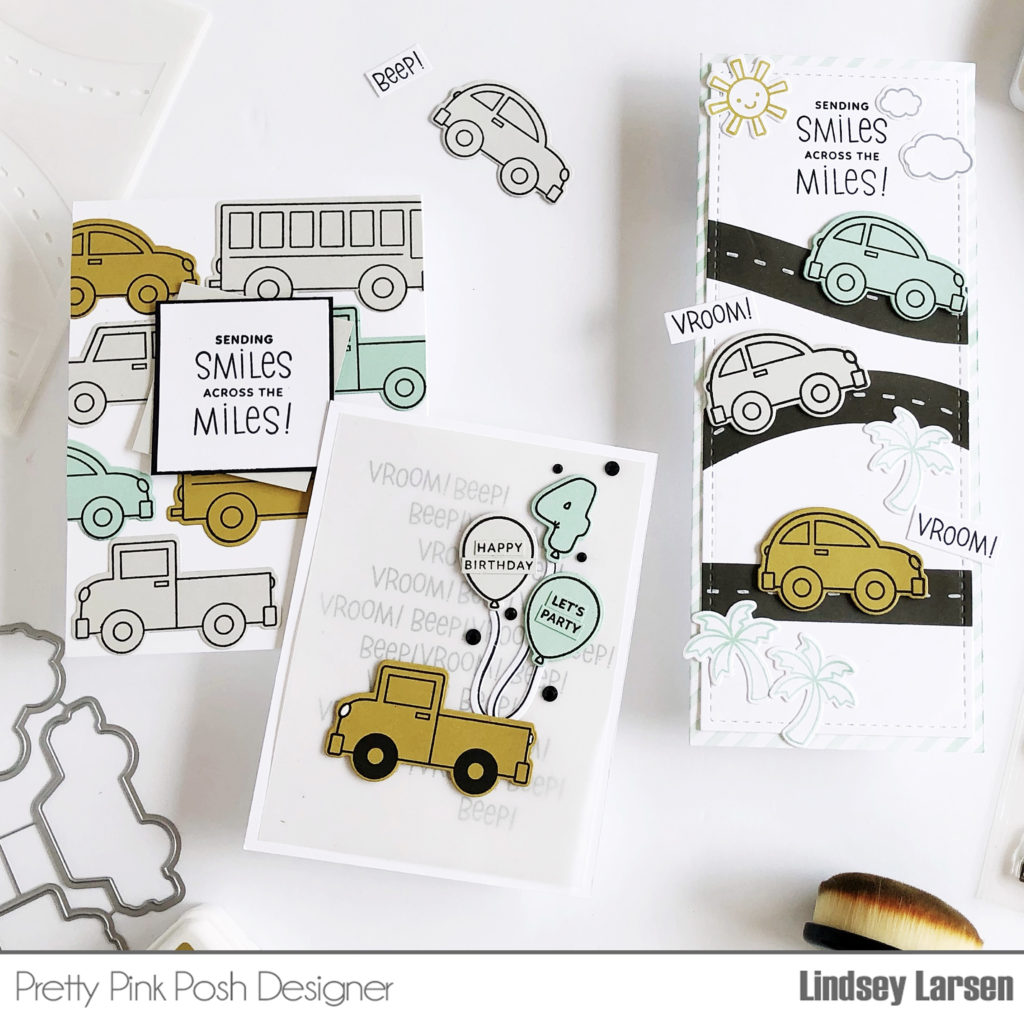
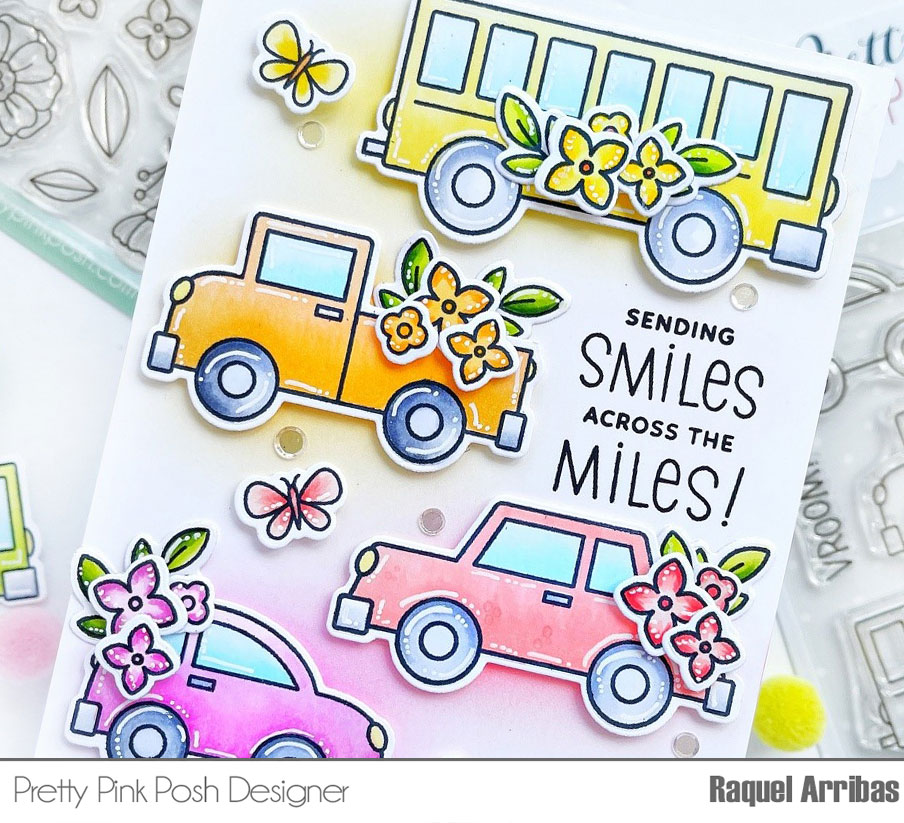
Hello crafty friends! Raquel here and I’m so glad to be here today sharing a super fun project featuring the recently released Across the Miles stamp set.
This set was love at first sight. The moment I saw these car I thought about vibrarnt and super colorful cars filled with flowers!
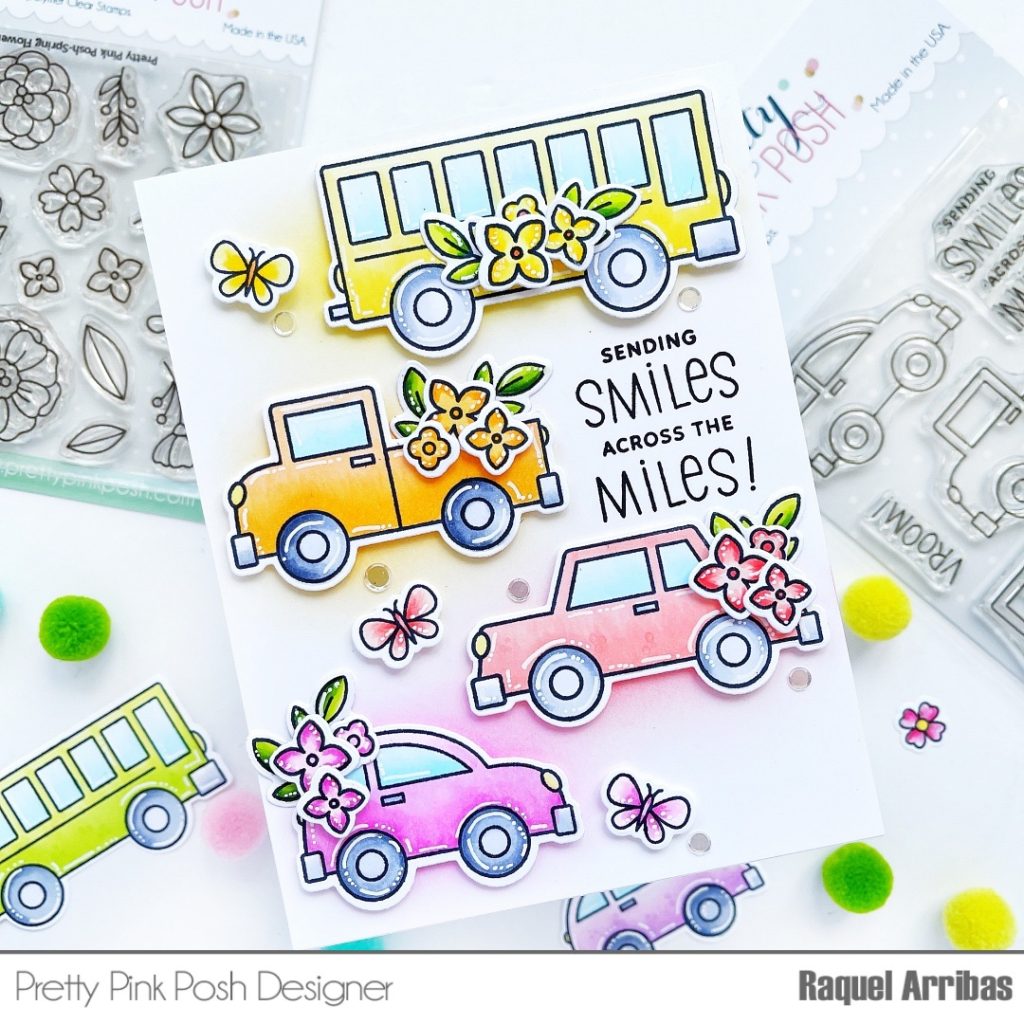
This project came together very easily. First I colored several two cars, the pick up truck and the bus using copic markers.
For the bus I used: Y11, Y13, Y15
For the peach car I used: R20, R21, R22
For the pick-up truck I used: YR12, YR15, YR16
For the pink car I used: RV66, RV55, RV52, RV02, RV00
Next I choose a butterfly from the Mom stamp set and some flowers from the Spring Flowers Stamp set. I colored them with the same colors of the Cars, Pick Up Truck and Bus.
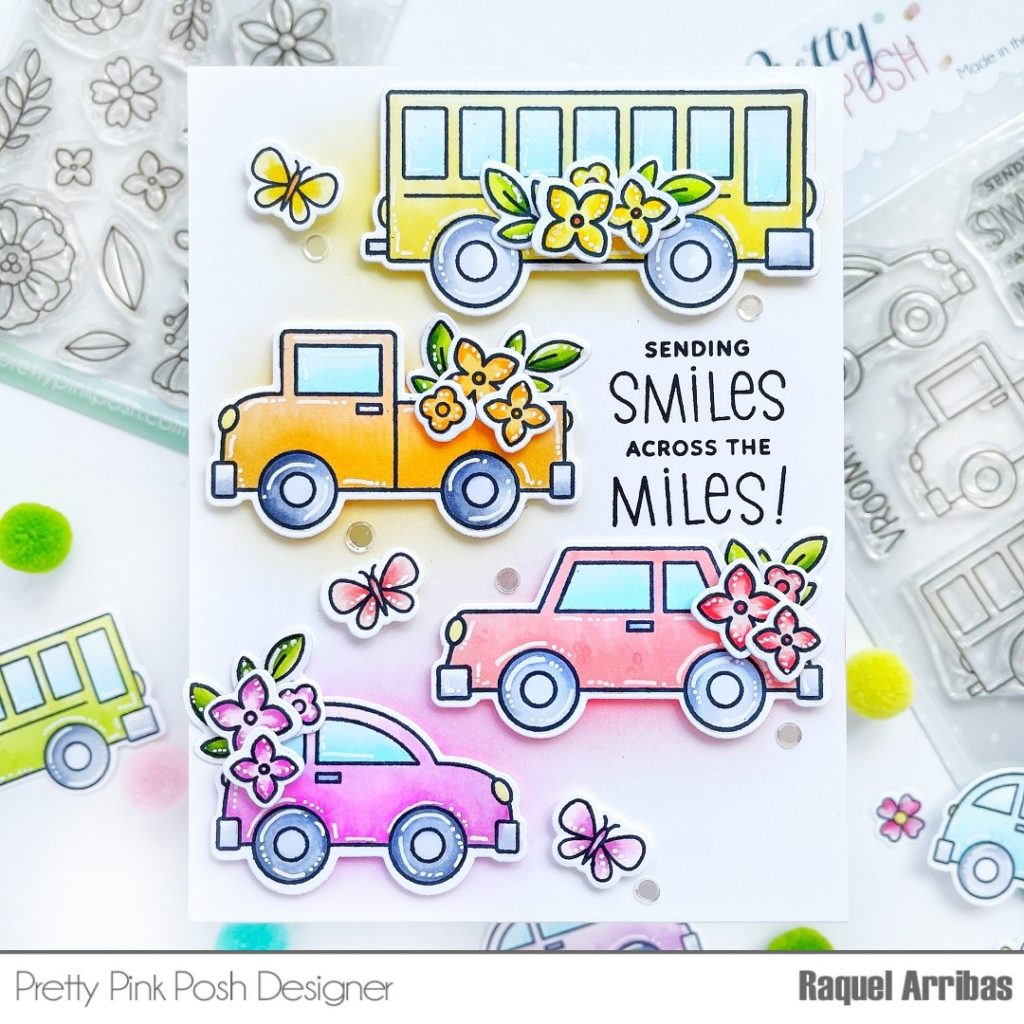
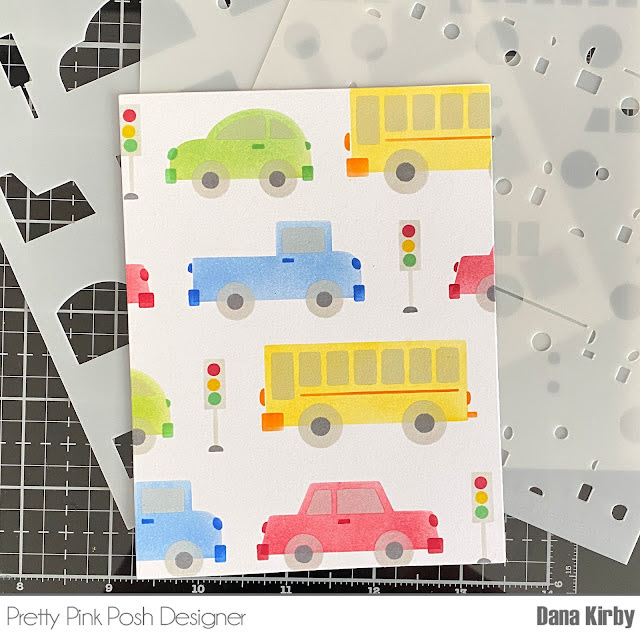
I wanted to add some additional color to this design, so I decided to ink blend the areas where my cars and tracks would be added. I choose Distress Oxide Mustard Seed, Wild Honey, Abandoned Coral and Picked Raspberry. I applied these colors very lighty trying not to overlap them.
Next up I stamped the sentiment from the same set and adhered all the cars, flowers and butterflies using double sided foam adhesive and some Metallic Silver Confetti Mix sequins.
PRIZES: be sure to leave comments on each stop. We are giving away 3 $30 gift certificates to three random comments (1 winner each day) left before June 23, 2022 at 11:59 PM PST. I’ll be announcing the winners next week, so be sure to return and see if you are one of the winners.
Pretty Pink Posh blog << you are here
Rachel Alvarado
Davina Cantrell
Jeanne Jachna
Elaine Wakeling
Leica Palma
Mindy Eggen
Be sure to leave comments on all the stops- we’ll be randomly picking comments to win gift certificates. Thanks for joining us!