Birdie Shaker Greetings
Hi crafty friends!
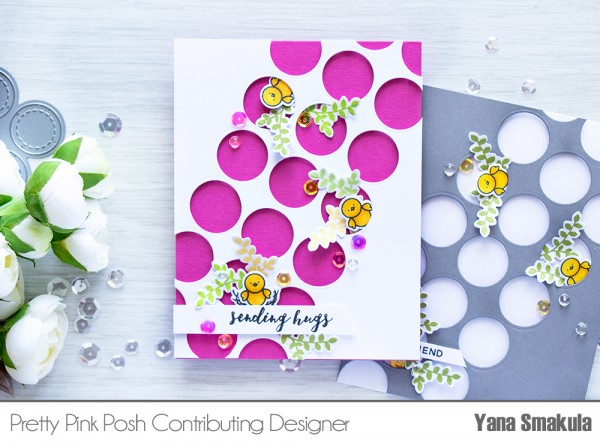
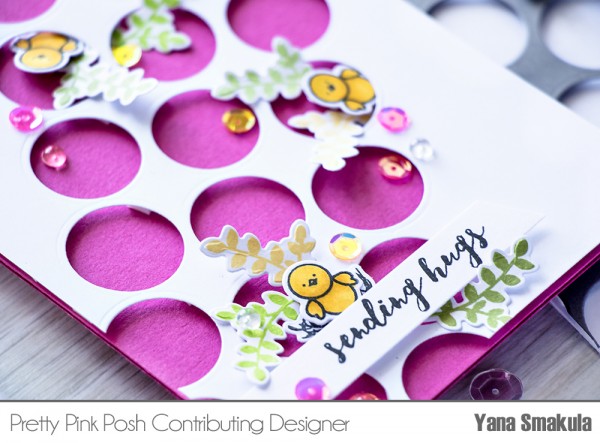
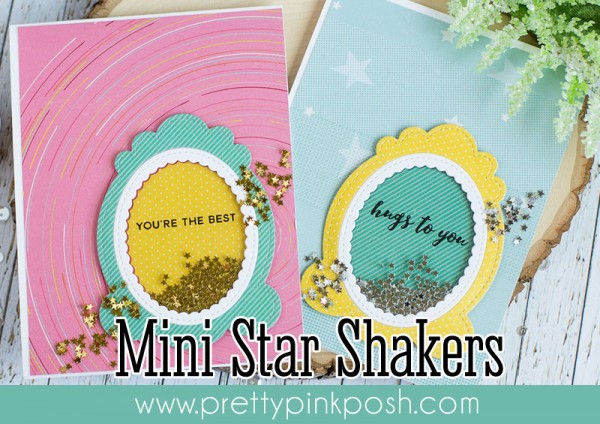
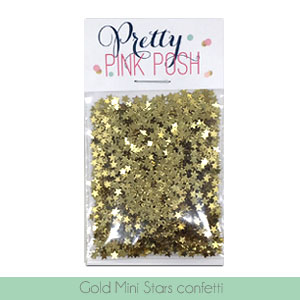
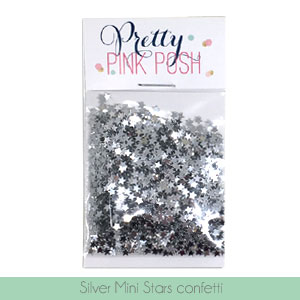
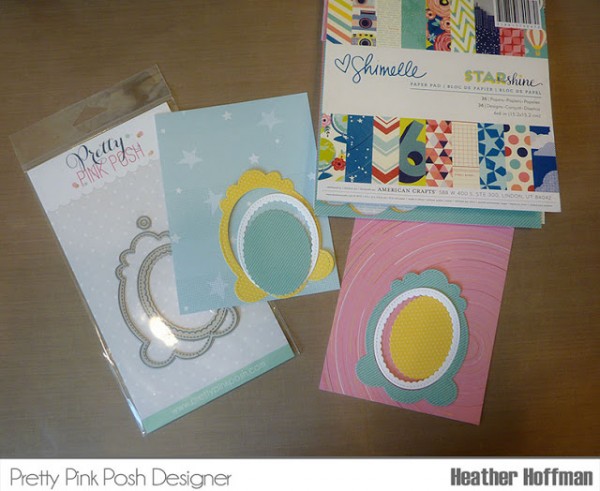
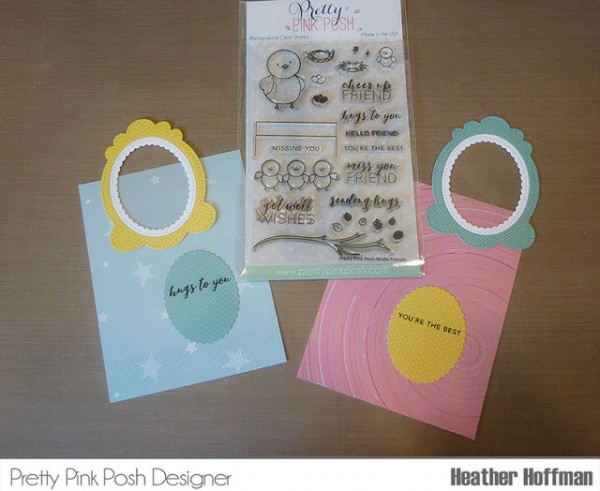
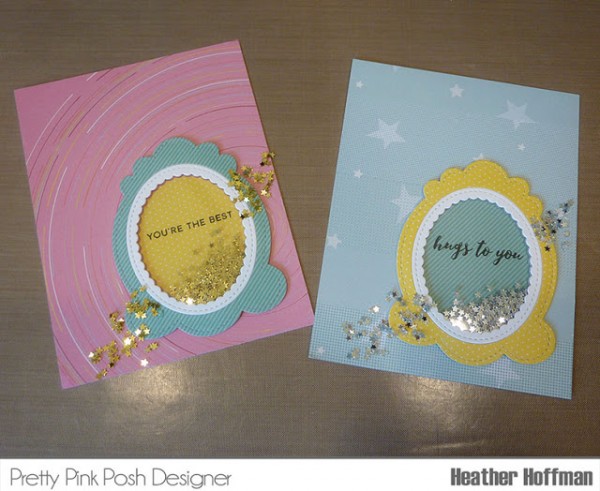
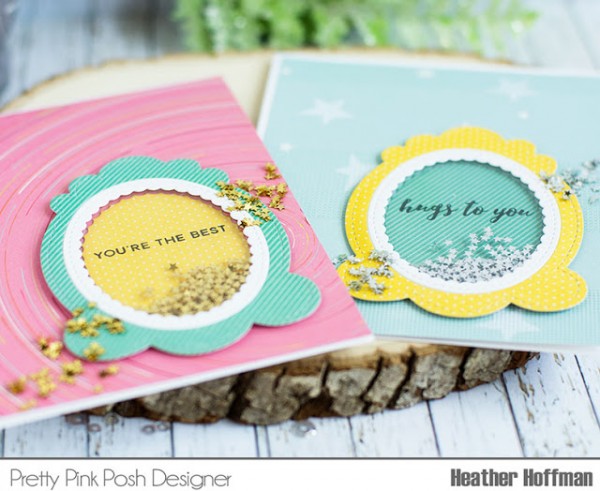
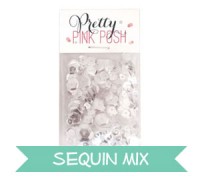
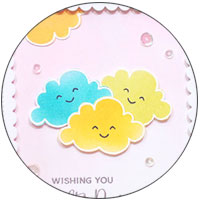
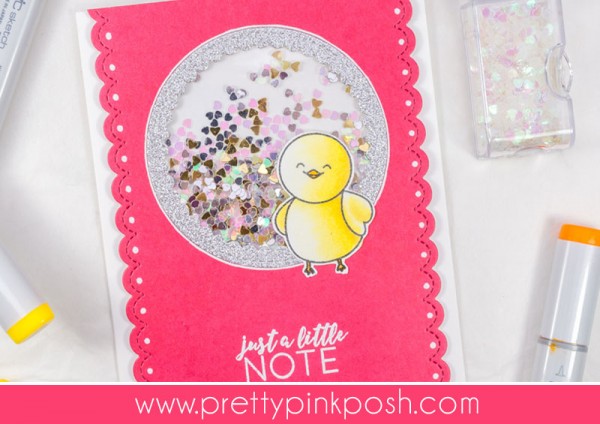
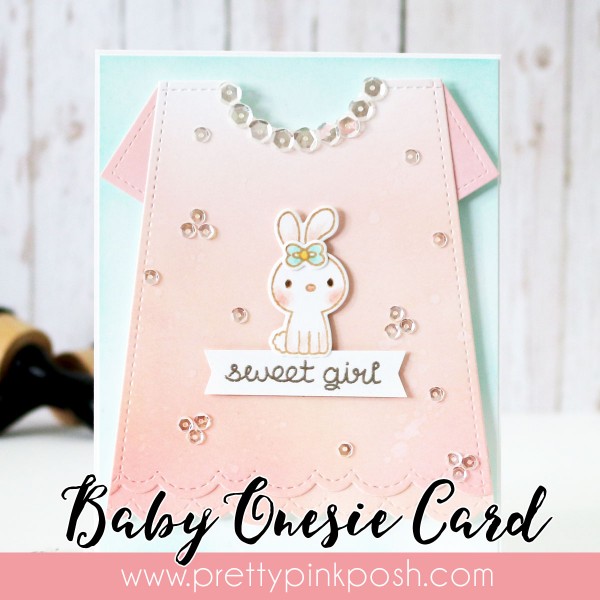
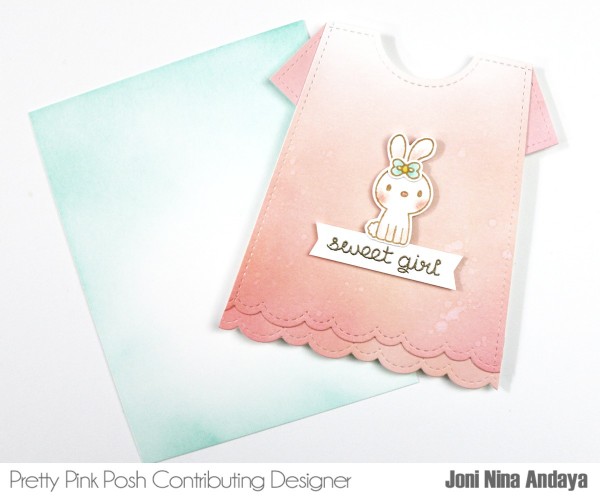
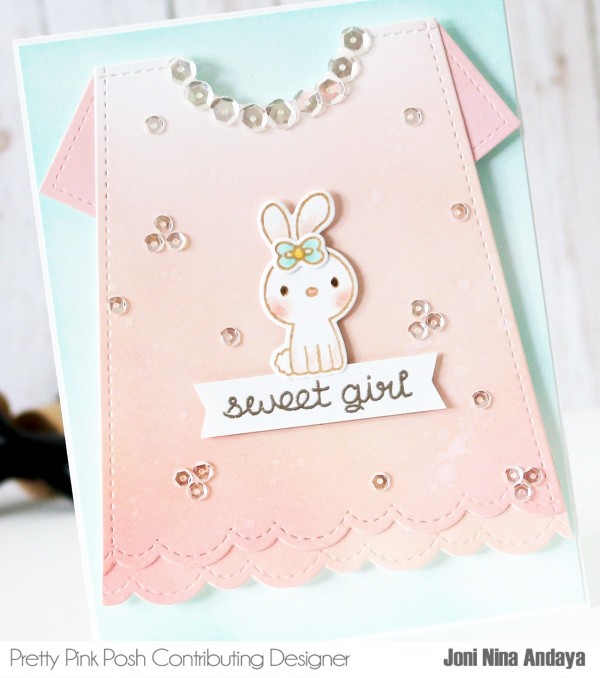
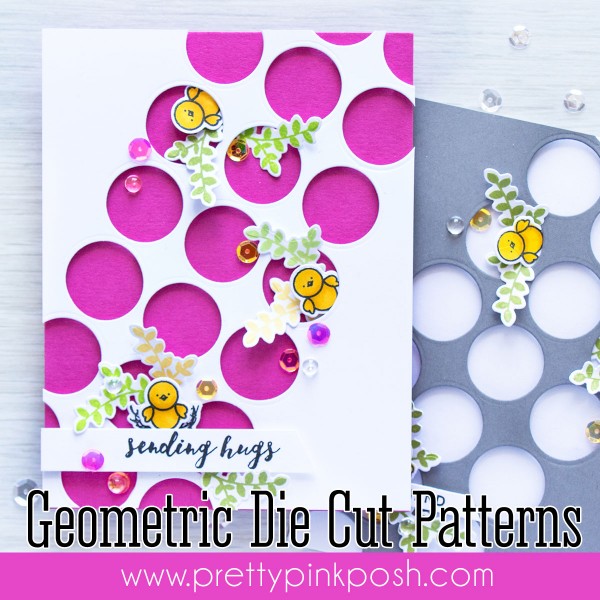
Julia here with a shaker card featuring the awesome heart shaped confetti in the colors gold, silver, and iridescent. The confetti pieces are very small, and they are flat, which makes them absolutely perfect for a shaker card without much bulk!
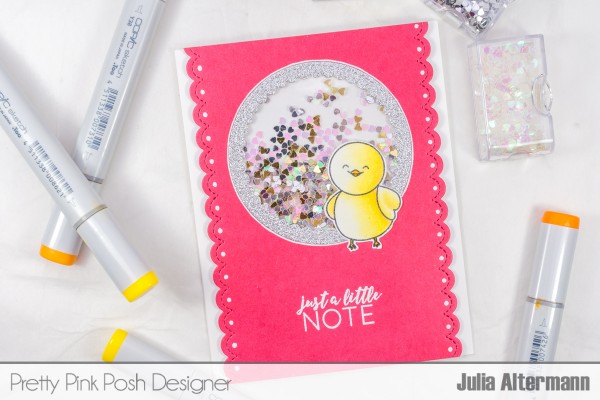
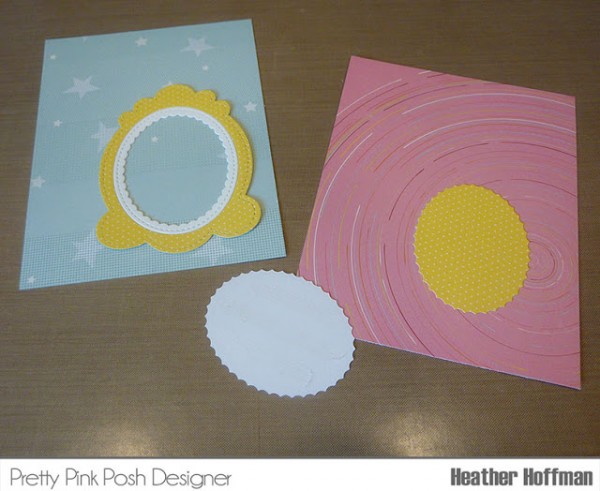
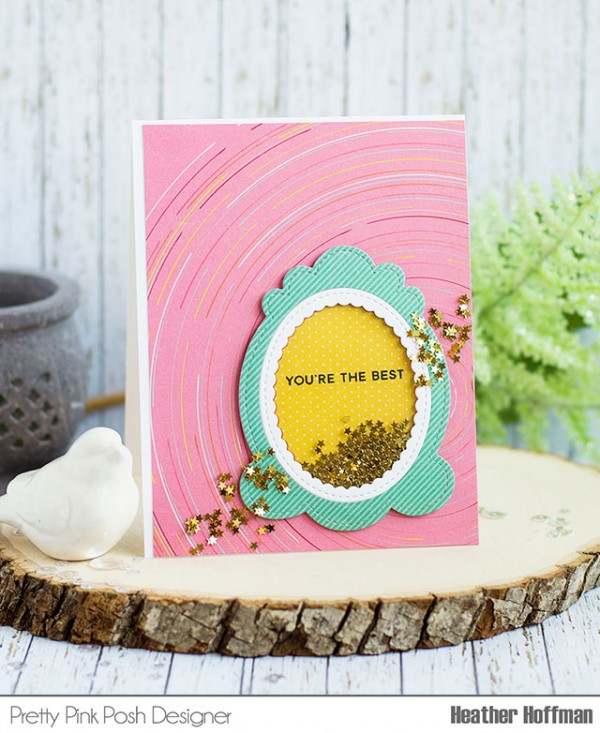
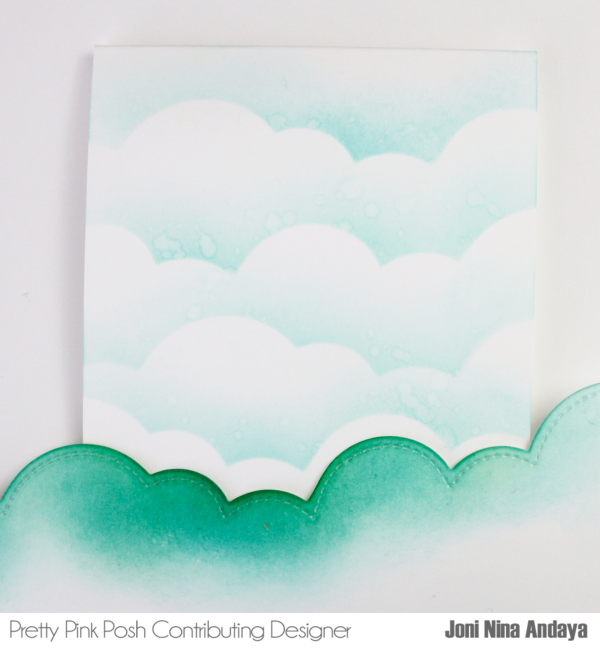
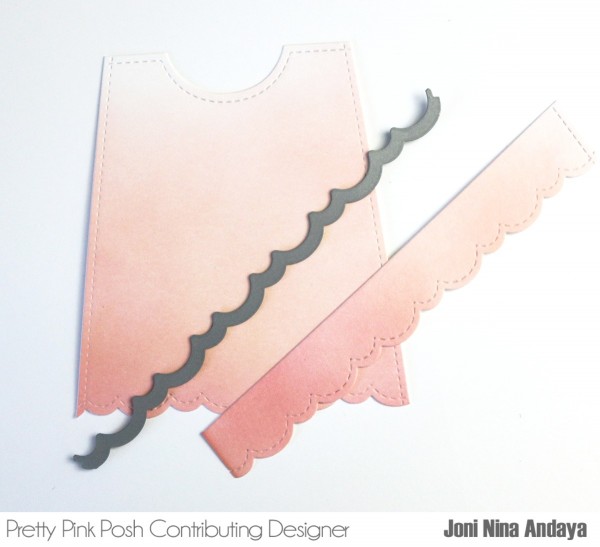
I started out by die cutting a scalloped edge on the long side of some pink card stock using one of the dies from the Stitched Borders 1 die set. I just love the little stitched detail in each scallop – it’s details like this that take a card design to the next level.
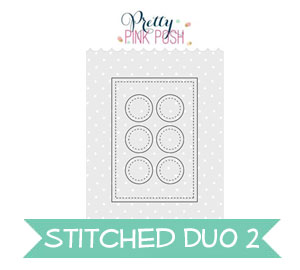
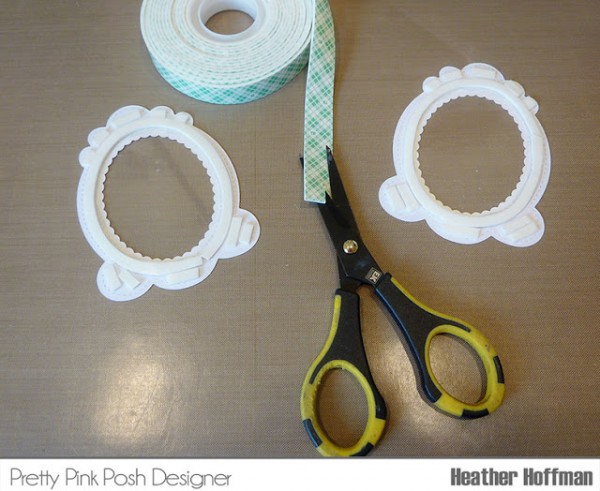
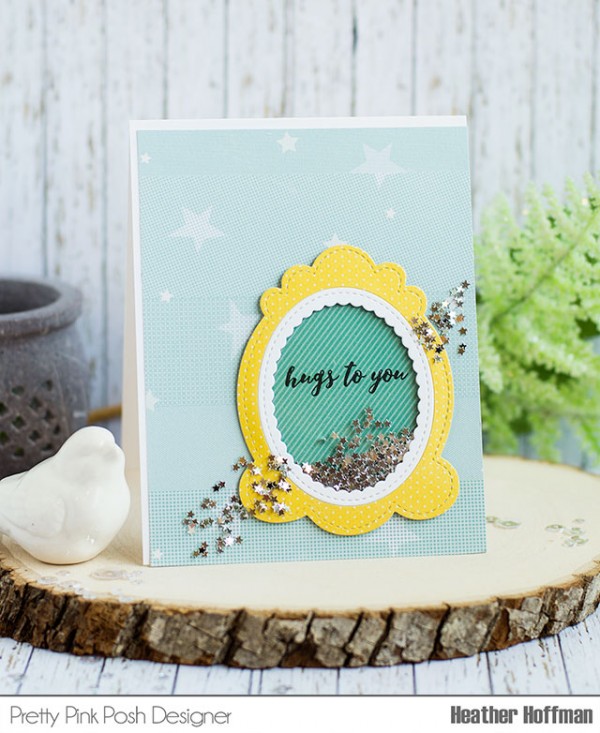
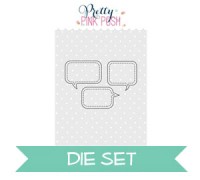
Next, I used the Scallop Circles die to die-cut a window into my pink panel. You get a circular shape (the outside edge of the die), but the die gives you another – second – piece which is circular with a scallop border on the inside.
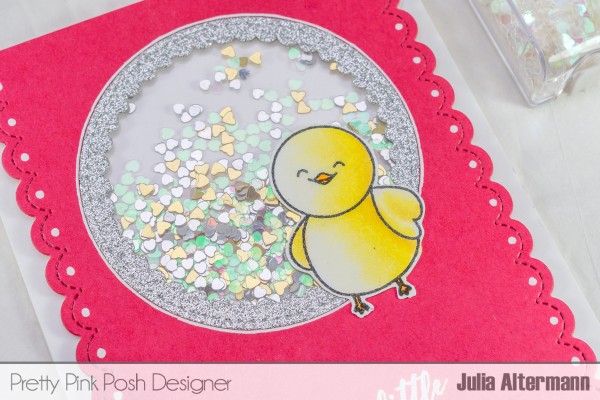
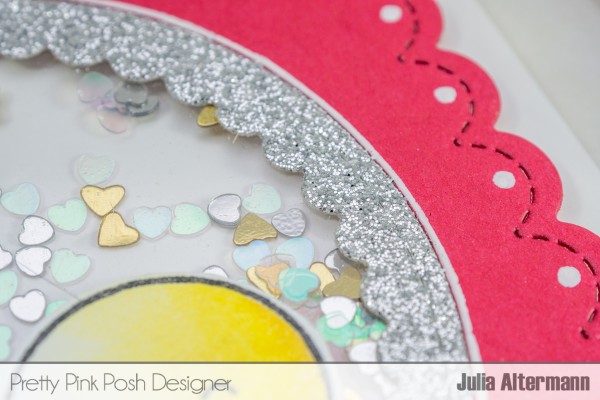
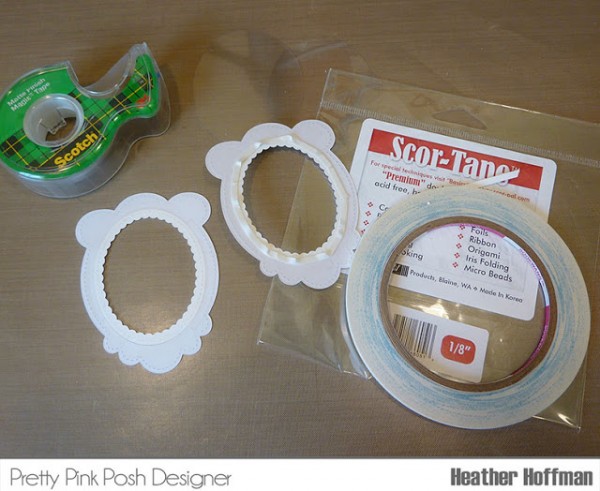
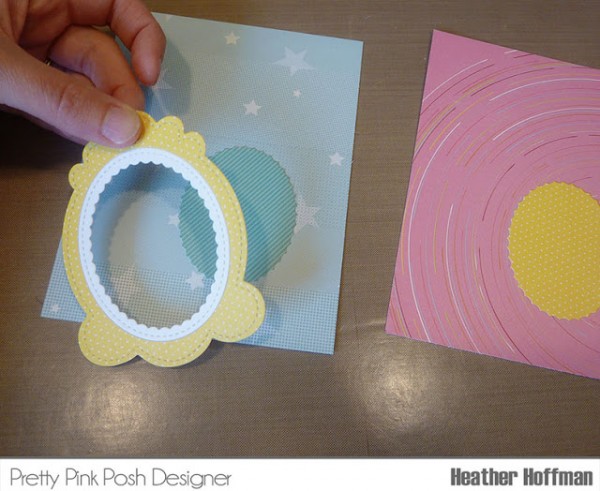
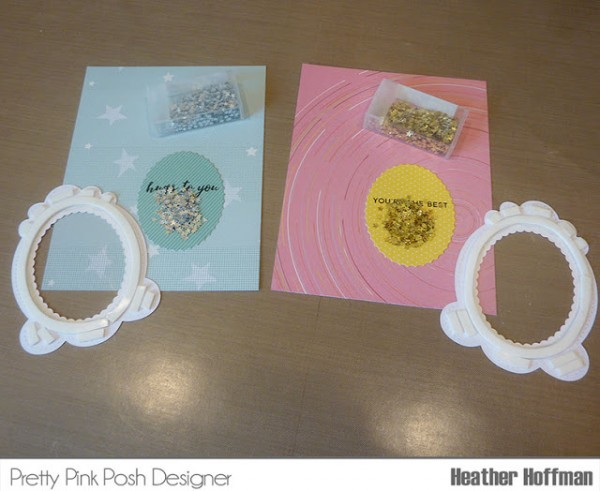
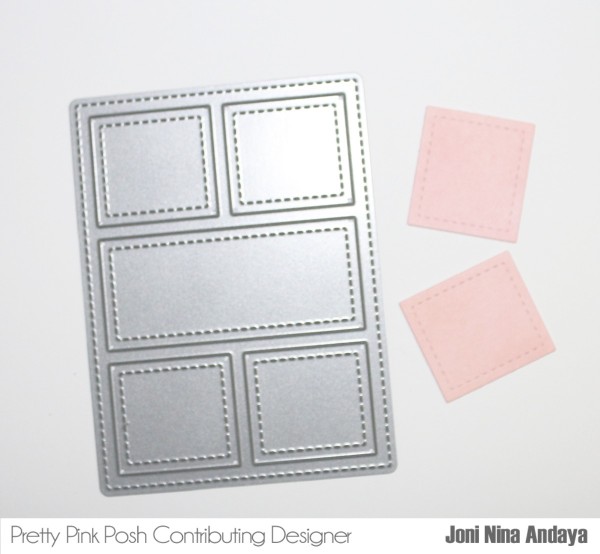
I die cut that shape again from silver glitter paper and then adhered it on top of some acetate – the acetate was adhered to the back of my pink panel with some adhesive tape. I added some foam tape on the back of the panel around my window, making sure that I had a closed “border” which would hold my sequins securely. I poured the confetti on my card base and then adhered the front panel to it, trapping the sequins.

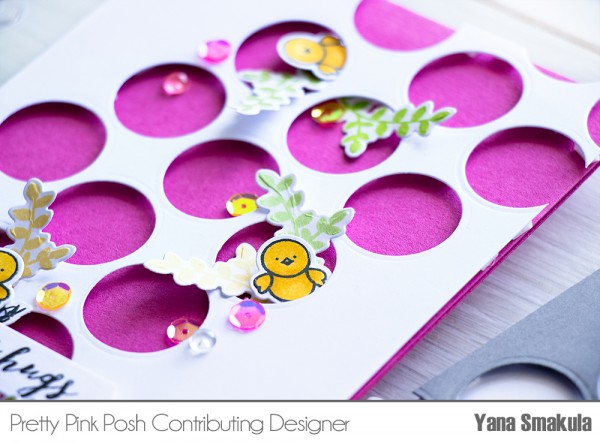
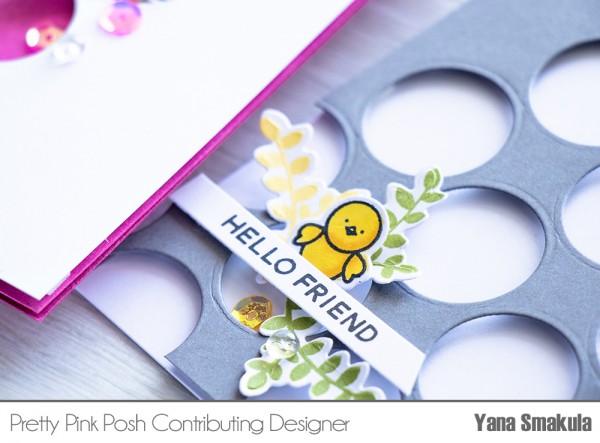
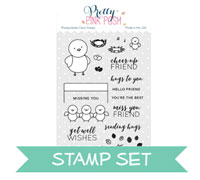
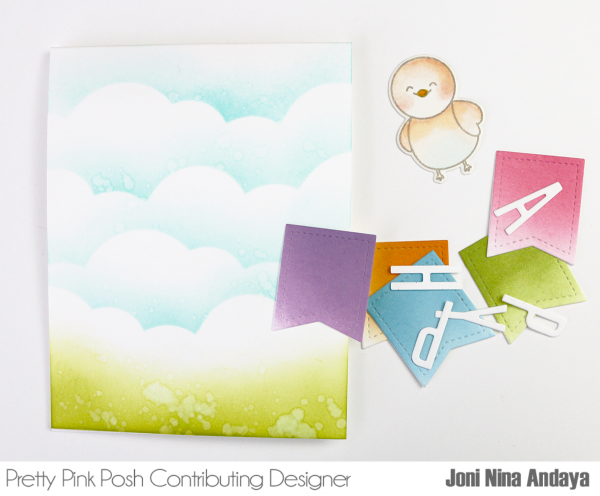
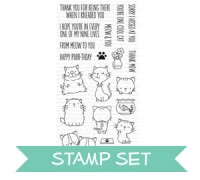
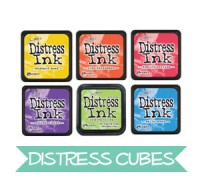
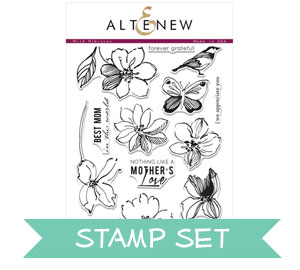
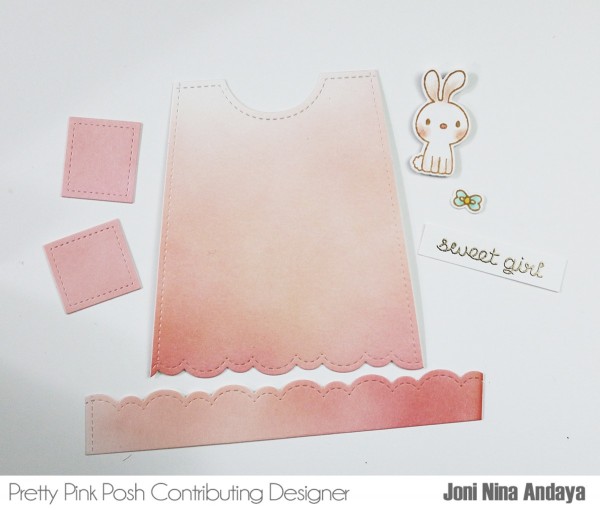
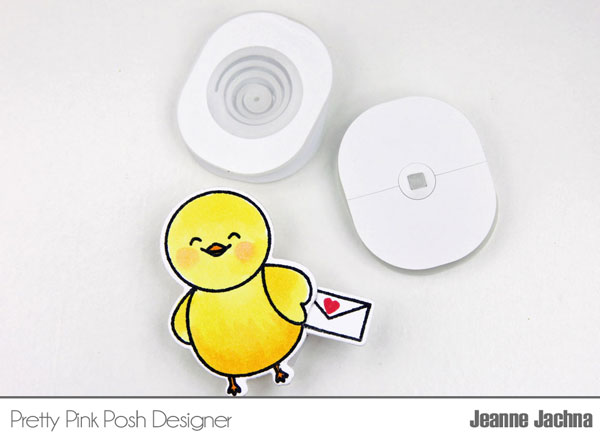
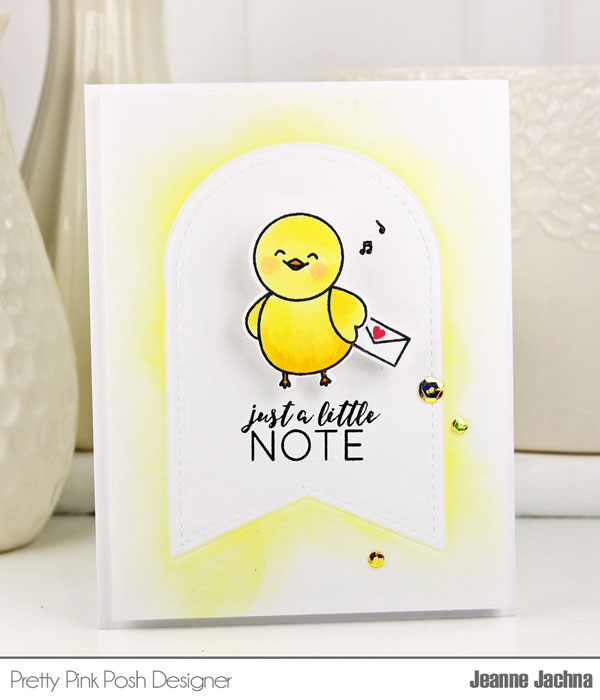
My cute birdie, which I colored with Copic Markers, is from the Birdie Notes mini stamp set. I fussy cut mine with scissors, but there’s a matching die set if you don’t want to fiddle. This cute little set would be perfect for decorating an envelope as well.
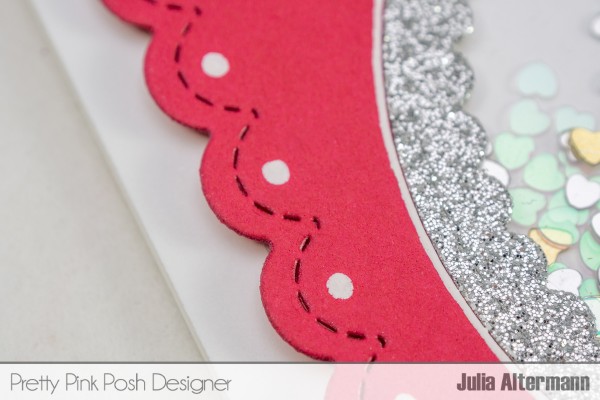
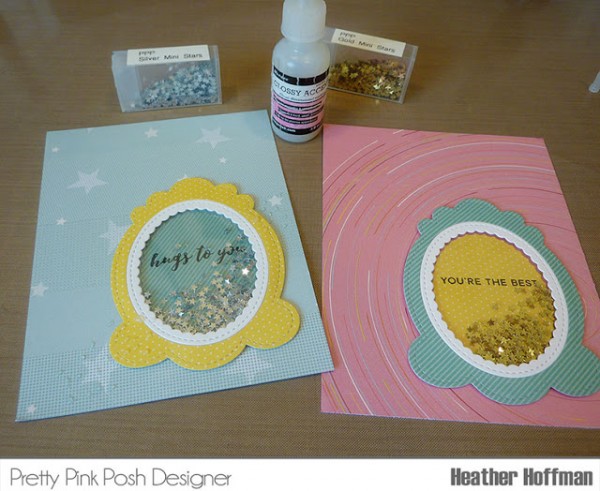
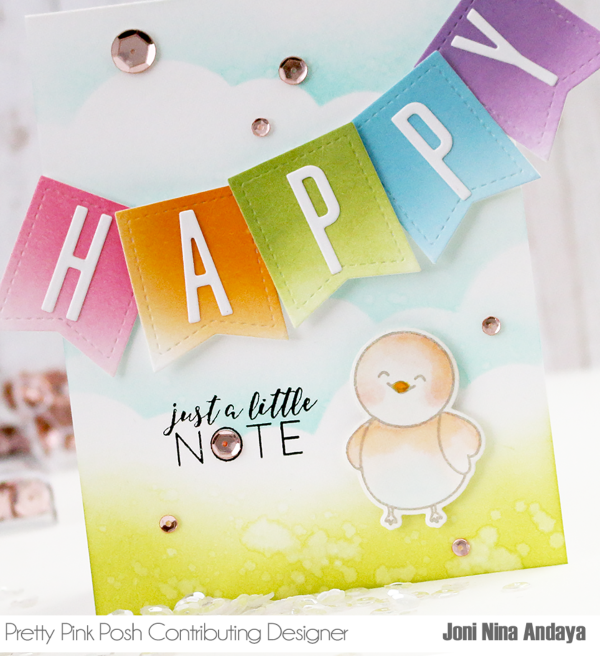
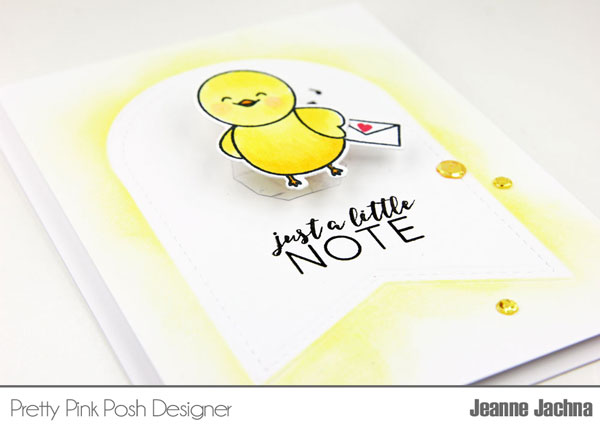
I added a few white dots into each scallop on the edges as decoration. I also traced the outline of the Scallop Circle Die with my gel pen for addition contrast. Thank you for stopping by today! I hope you got inspired!

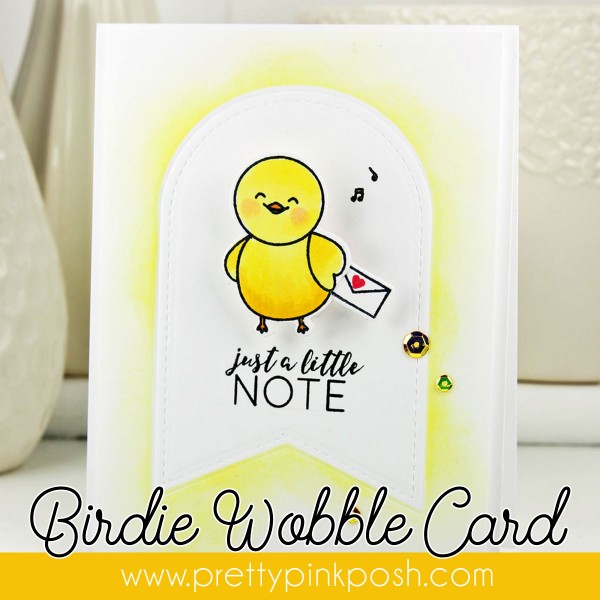
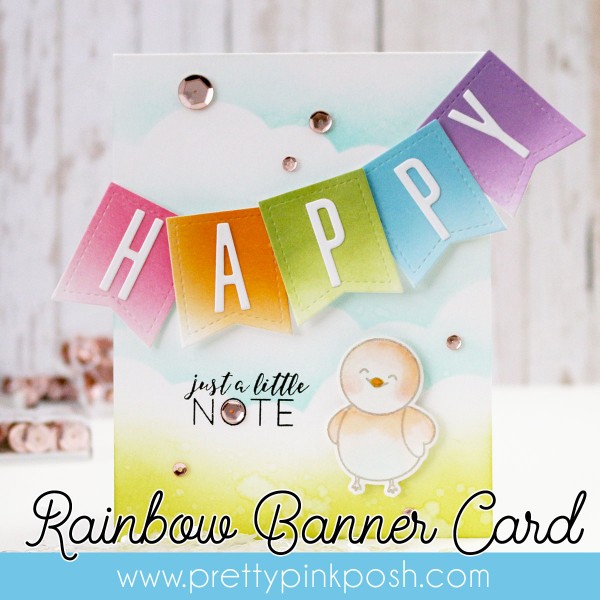
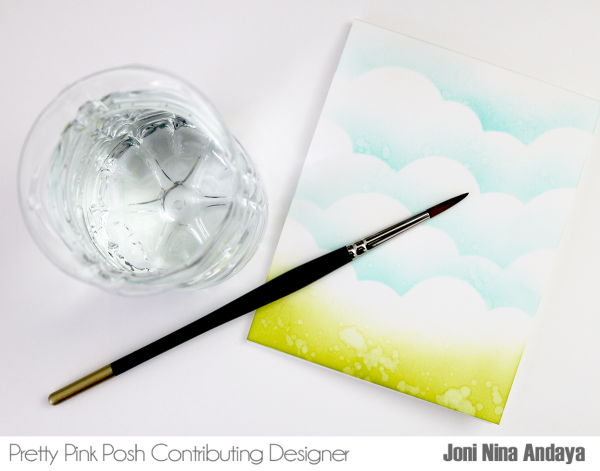
 Then I got to work on my layout. I knew I wanted to place the little chickie from
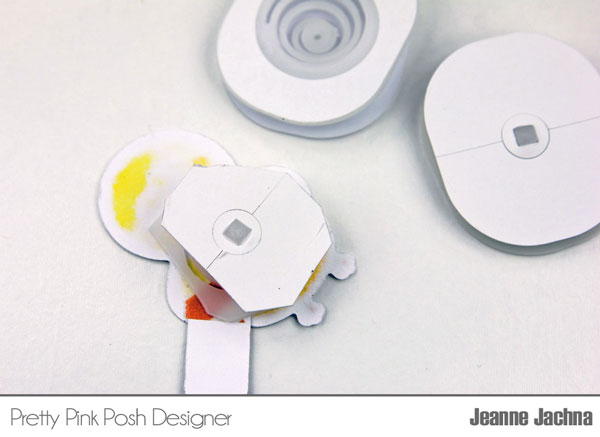


 Hello, Pretty Pink Posh fans! This is