Tutorial: Rainbow Banner Card
Hello everyone, Joni here.
Today I wanted to share with you a simple tutorial in the honor of the Rainbow theme week that we had on the Pretty Pink Posh blog last week! Using a rainbow theme is one of a simple ways we can send a cheerful message to our friends and loved ones.
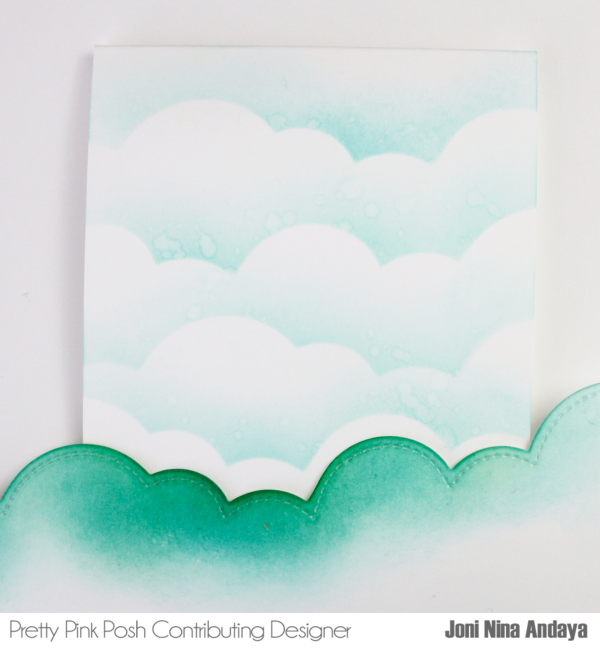
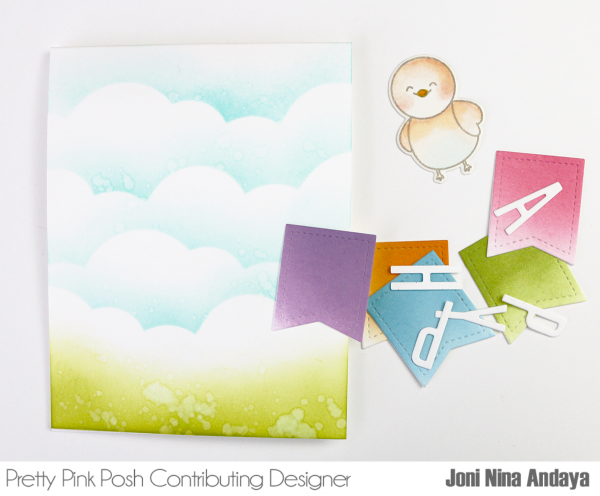
To begin my card, I first use a cloud template (any cloud dies you have will do) I simply die-cut a cloud on a piece of white cardstock. I distressed the white card base using Distress Ink from Ranger.
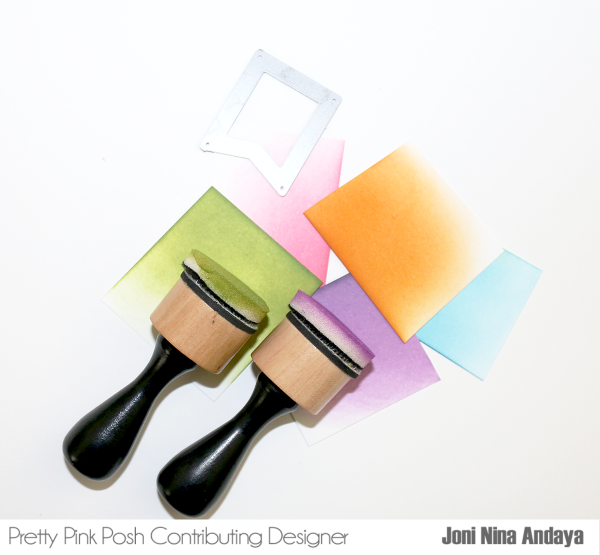
Next, I distressed different pieces of white cardstock using Distress inks and die-cut each one using the Mini Tags die set.
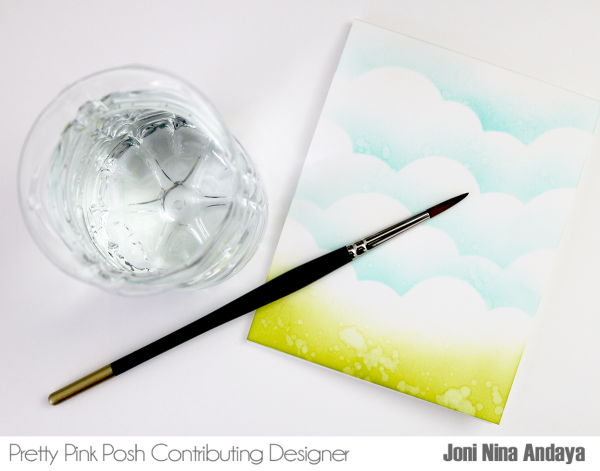
For the bottom of my card base, I also distressed and splatter it with water using my watercolor brush for interest.
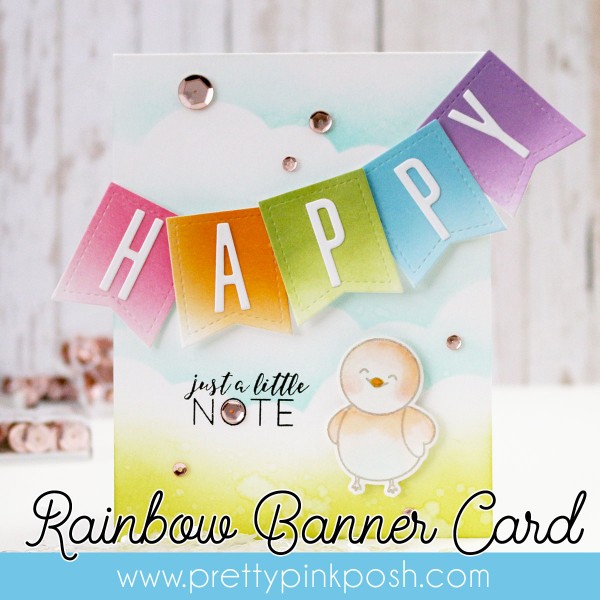
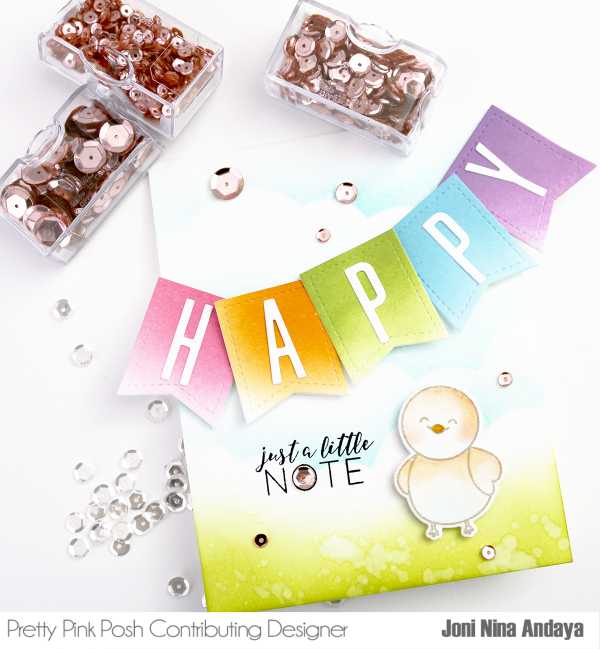
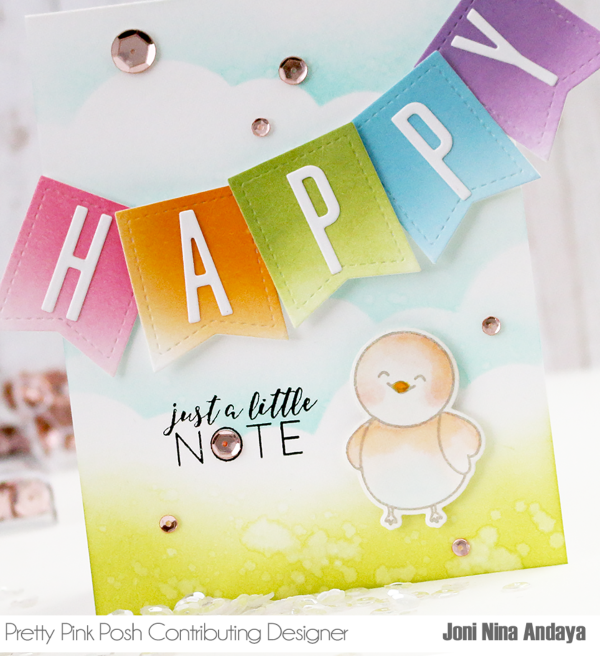
Next, assembly time! You can use almost any kind of die-cut letters you have, or you can substitute them for stickers or alphabet dies. The cute birdie is from an all-time favorite, the Birdie Notes mini stamp set.
To finish the card, I added some Pretty Pink Posh Metallic Rose Gold sequins with the Multi Medium Matte adhesive.
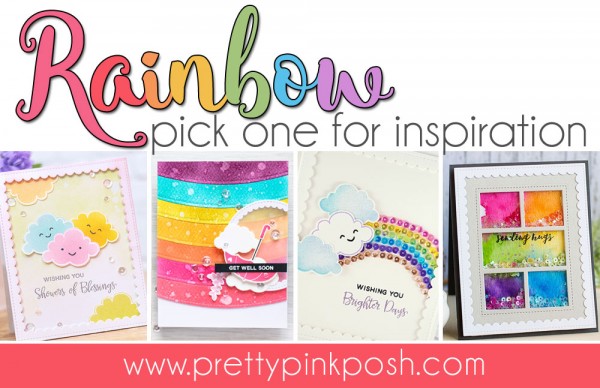
Did you see that we have a Rainbow challenge happening on the blog? This is the perfect time to pull out your rainbow colored products and share it with us.
I hope you guys enjoyed, thank you so much for stopping by! Have a wonderful week!


Joni, this is positively adorable! You are SO talented and I totally enjoy seeing your work. A great inspiration! TFS!
Beautiful card. I love the little bird, he’s so cute. And the idea of the tag / banner is excellent.
So cute, I love these birds
Beautiful card! Joni Love your art work! Which cloud die did you use? I’m looking for this particular cloud “design” to use as a border for a 3-D box edge. Which brand and size round brush do you use?
For the Cloud I used the Lawn Fawn Cloud Border, I simply extended the length of the border on a longer cardstock and then distressed from there.
Hope this helps :)