Sneak Peek: Holiday Signs
Hi Friends, Angelica here and I am so excited to share with you a sneak peek of the new Holiday Signs Stamp set. These little critters are ready for Christmas, and they brought Santa along too!
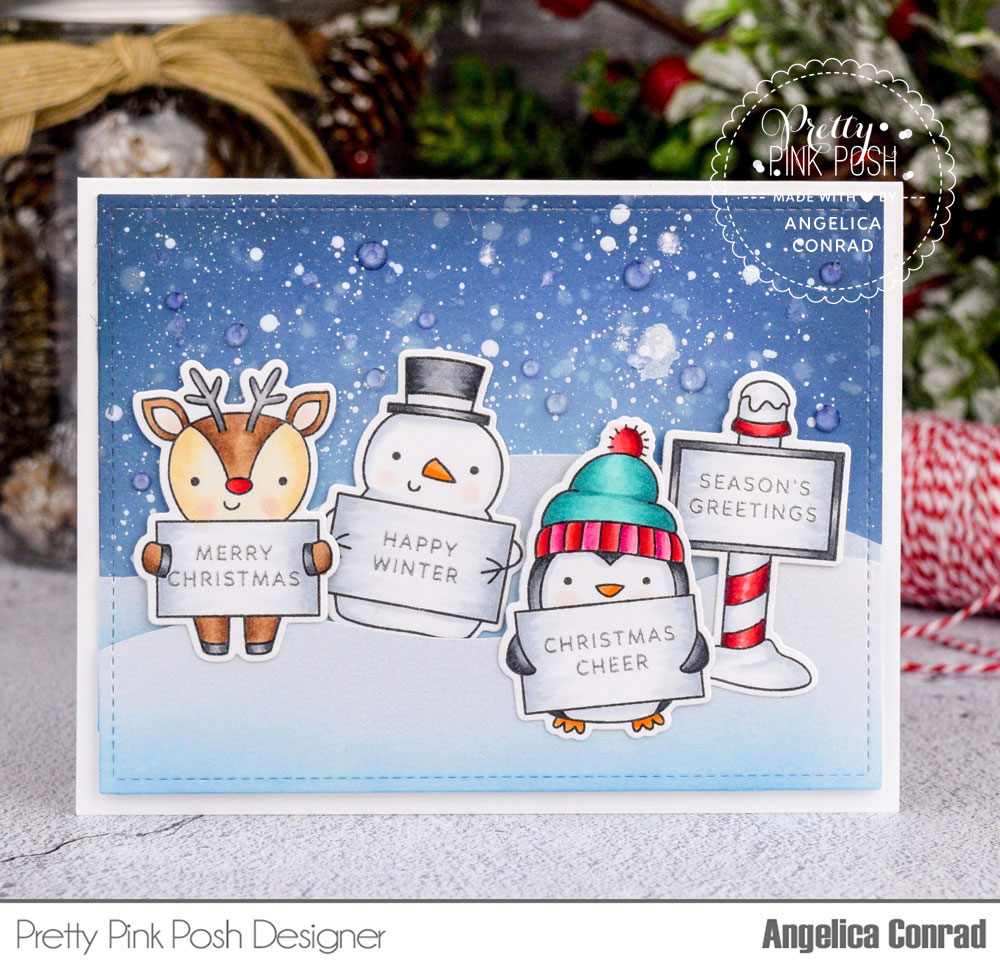
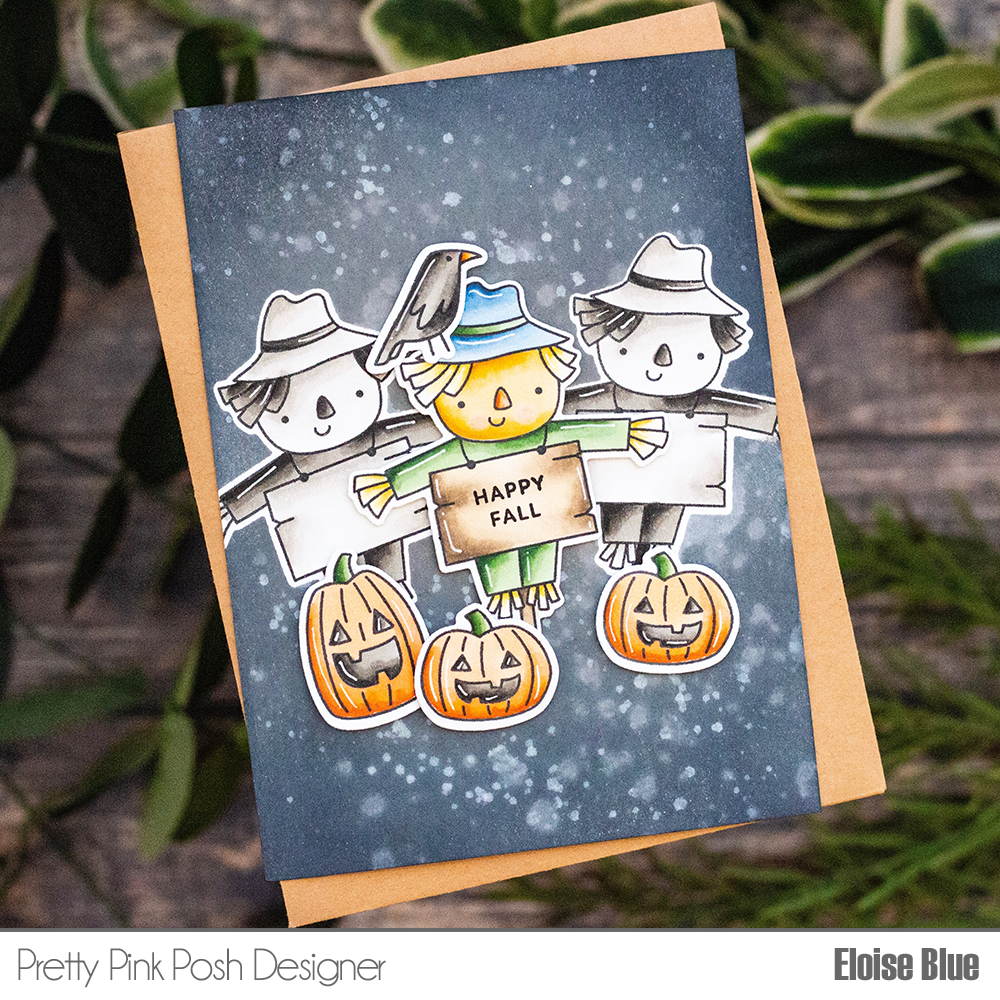
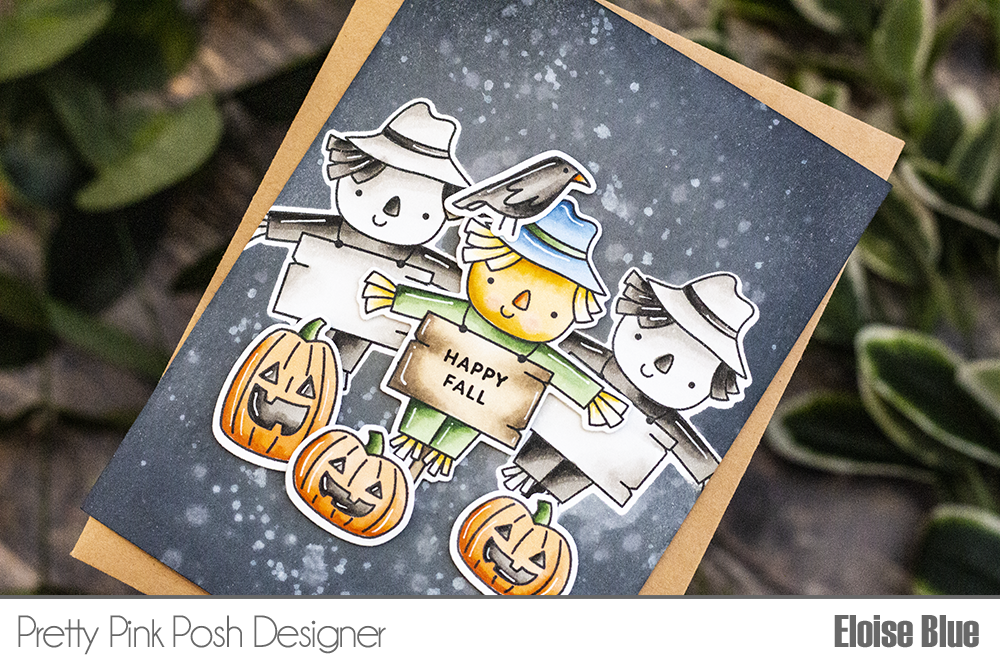
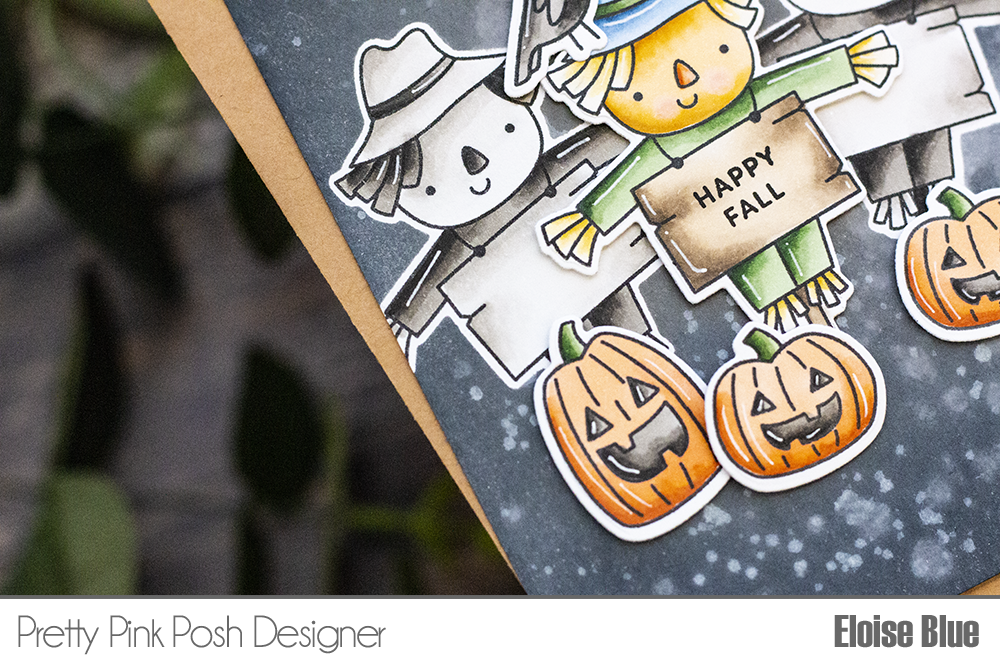
I stamped these friends onto white card stock, and colored them with Copic Markers. I stamped a sentiment from the stamp set onto each sign with embossing ink, and heat-embossed them with silver embossing powder. I used the coordinating dies to die-cut them.
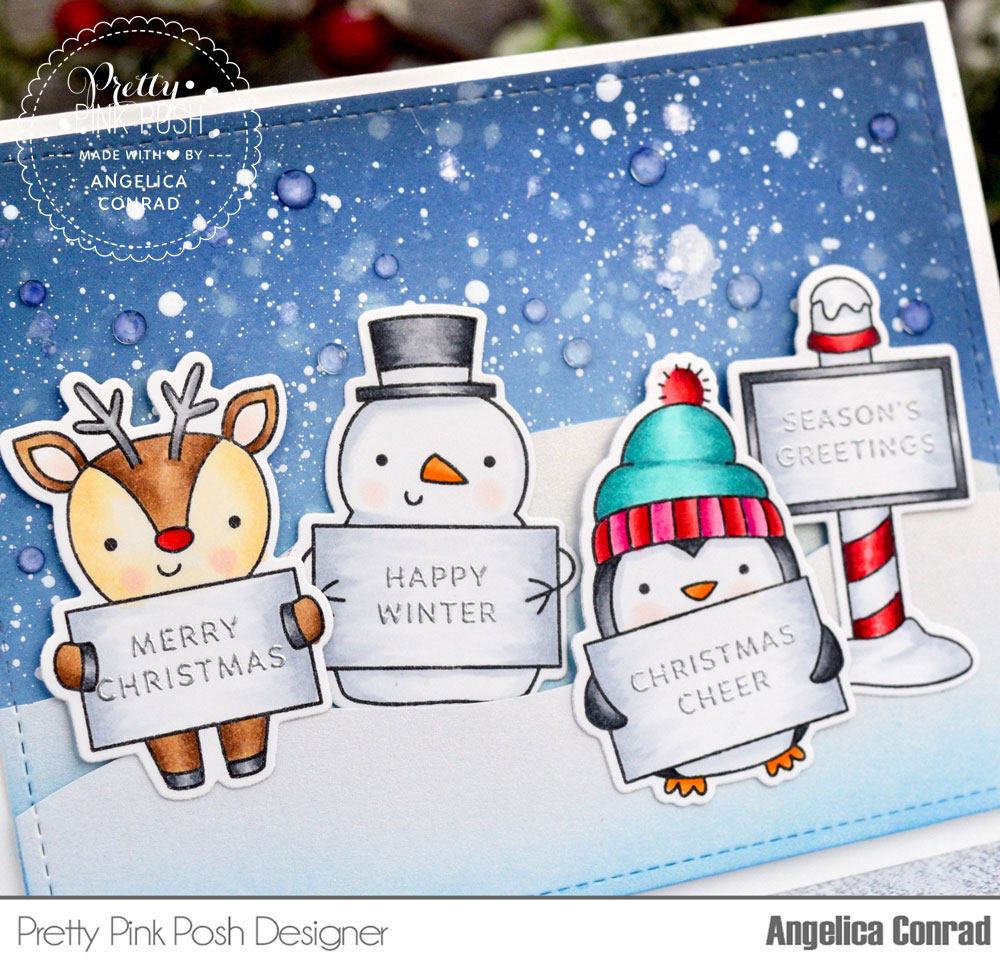
For the background, I blended Chipped Sapphire and Tumbled Glass Distress Oxide inks onto watercolor paper. I sprayed the paper with water, and used a paper towel to dab up the water. I then splattered watered-down acrylic paint for falling snow. I trimmed the panel, then added it to a card base with double-sided adhesive.
I cut hills from white pearlescent paper, and softly blended Broken China Distress Oxide ink on the edges. I attached the hills to the card, and added the friends with thin foam squares. I added Sparkling Clear Jewels to finish the card.
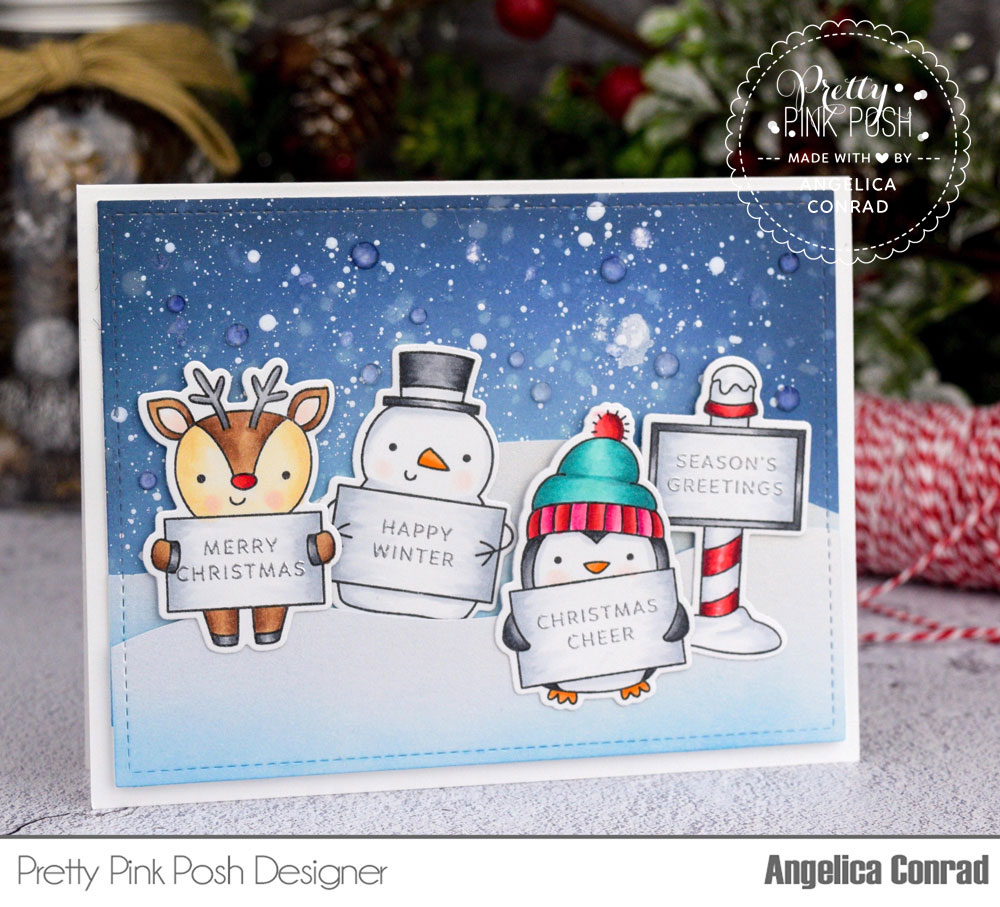
These little friends are so cheerful, and will put a smile on anyone’s face. That’s all that I have for today. Thanks for stopping by!

