Whimsical Winter Wreath
Hi crafty friends, Alix here sharing inspiration using some products from our newest release. They are adorable and very easy to work with them.

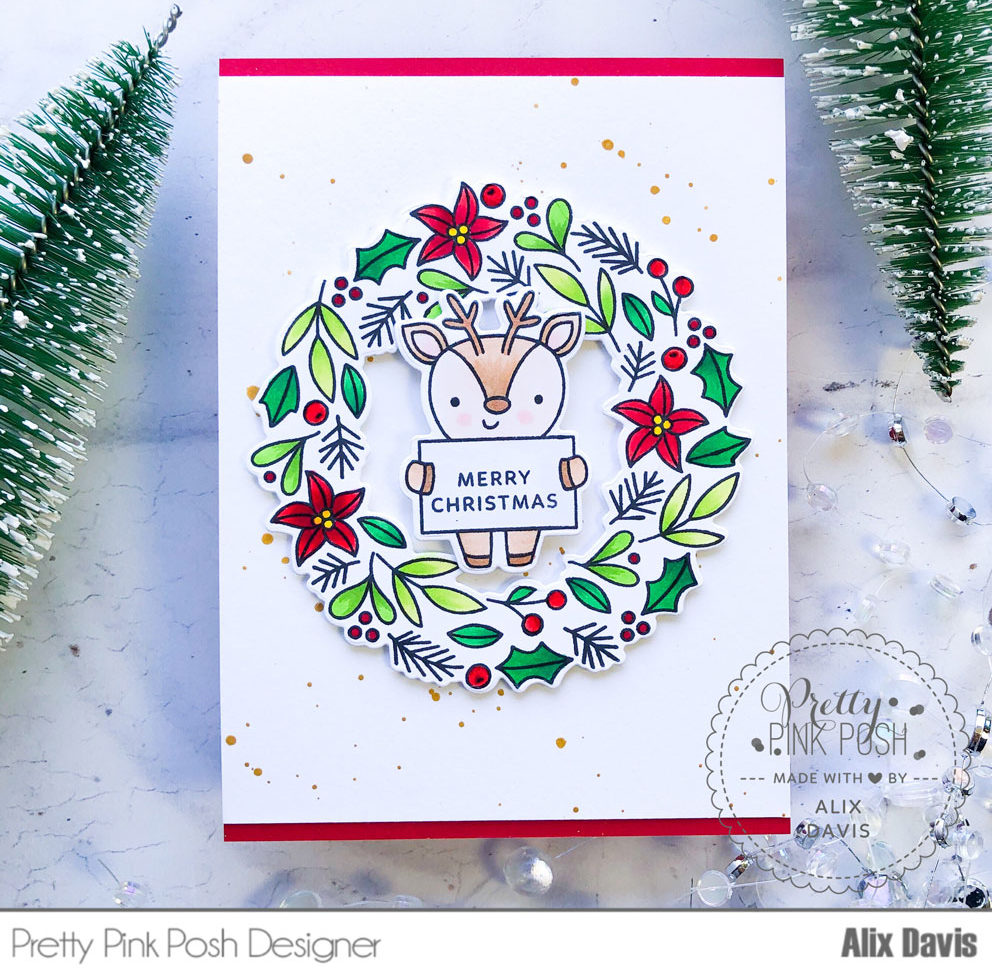
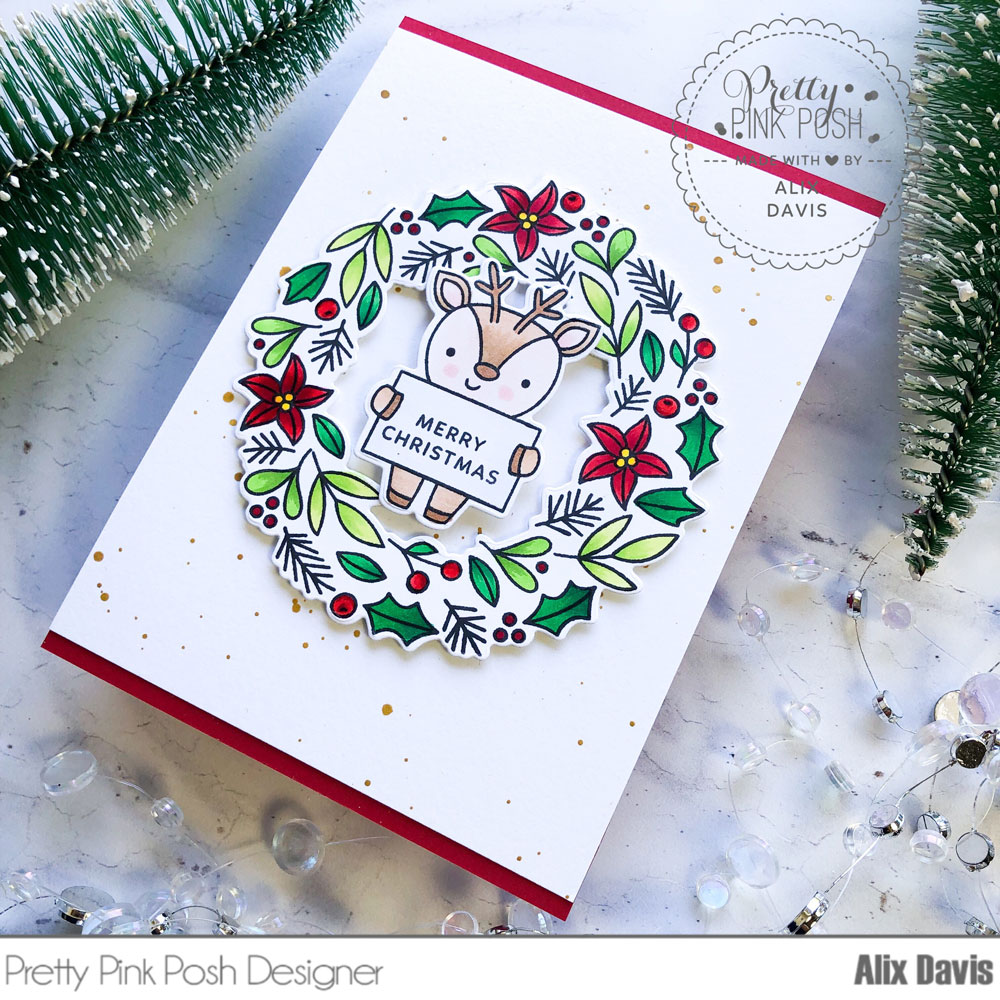
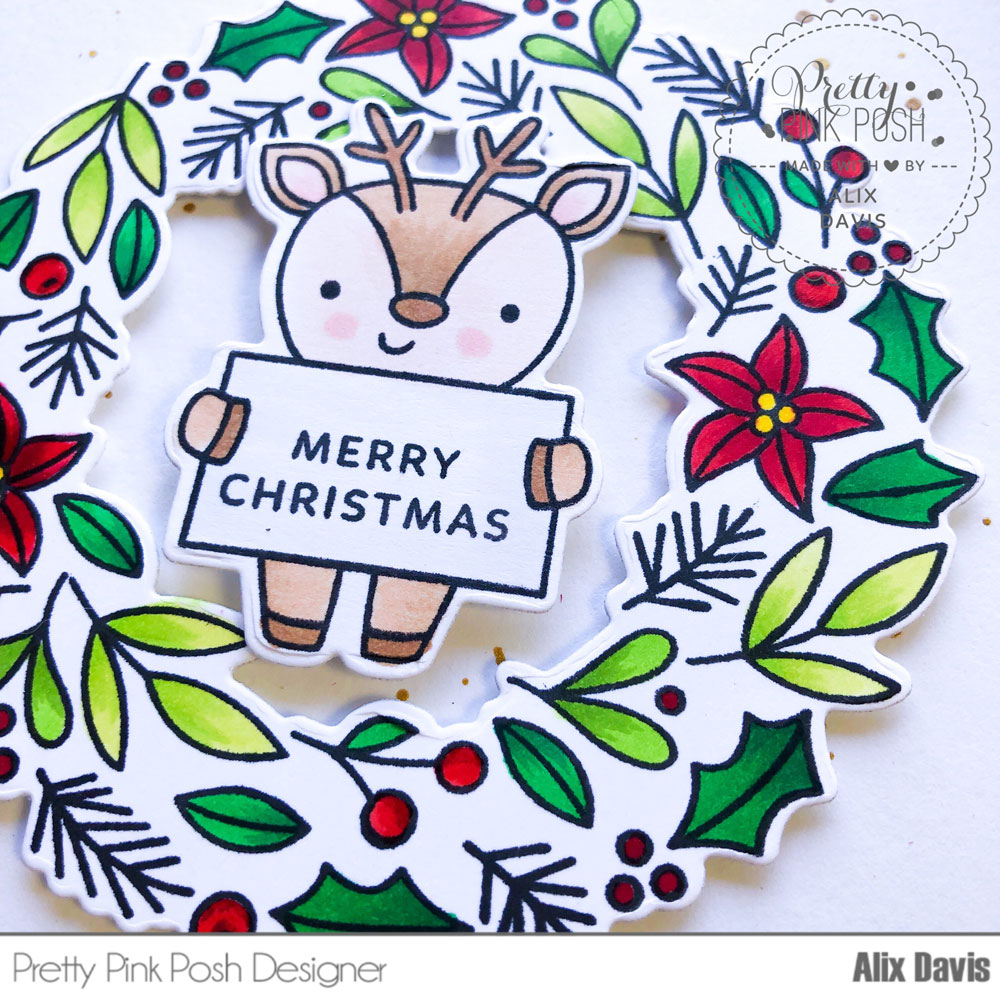
To start with my card, I stamped the images from Winter Wreath stamp set and Holiday Signs stamp set onto a piece of Neenah solar white 80 lbs card stock paper with Memento Black ink and die cut with their coordinating dies. Then I colored them with my trusty copic markers. At this point, I tried to keep my color in different shades of red and green for the traditional holiday look.

It is very easy to prepare the background as well. I splattered gold watercolor paint over a piece of watercolor paper that’s 4.24′ by 5.25″ by tapping the paint brush. Once its dry, I adhere it onto an A2 sized red card stock paper so it created the skinny red stripes for top and bottom of my background.

At last, I attached my colored images on to the background using Multi Medium Matte and foam tape to finish my today’s card.
I hope that I brought you some holiday inspiration. Happy card making!

Darling and whimsical card.
This is too Stinkin’ CUTE!!!!!