Sneak Peek: Mom
Hi everyone, it’s Jane! I’m so excited to be sharing two cards using the new Mom stamp set and coordinating die set which are part of the new Spring Release! They will be available for purchase on March 8th at Pretty Pink Posh.
My first card was inspired by a Japanese Starbucks coffee mug I saw on Pinterest. The colors and sakura designs from Japan are so beautiful, so I thought I would try and recreate them here.
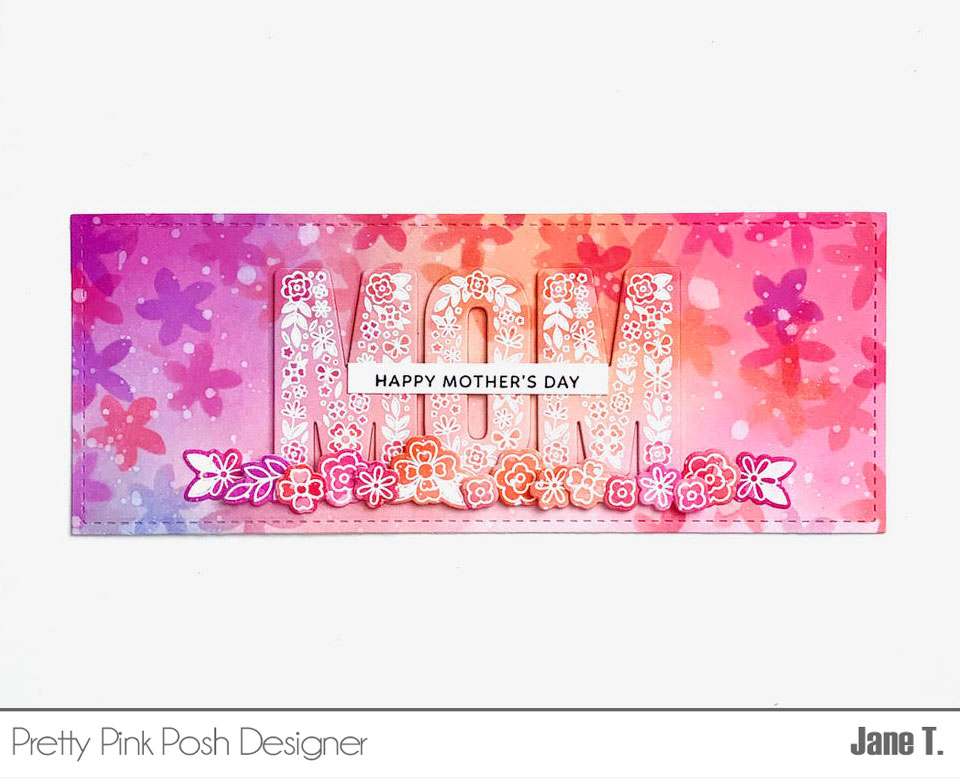
To create the first card, I cut a panel of Bristol smooth cardstock using the largest slimline die from the Slimline: Peekaboo Windows dies. The panel was then ink blended using the following distress oxide ink colors: wilted violet, seedless preserves, picked raspberry, kitsch flamingo, worn lipstick, dried marigold and tattered rose. Next, I used the flowers from Layered Leaves & Flowers stencils and the corresponding distress ink colors to blend in the floral background. A few drops of water was splattered on the background using a thin paint brush to add texture.
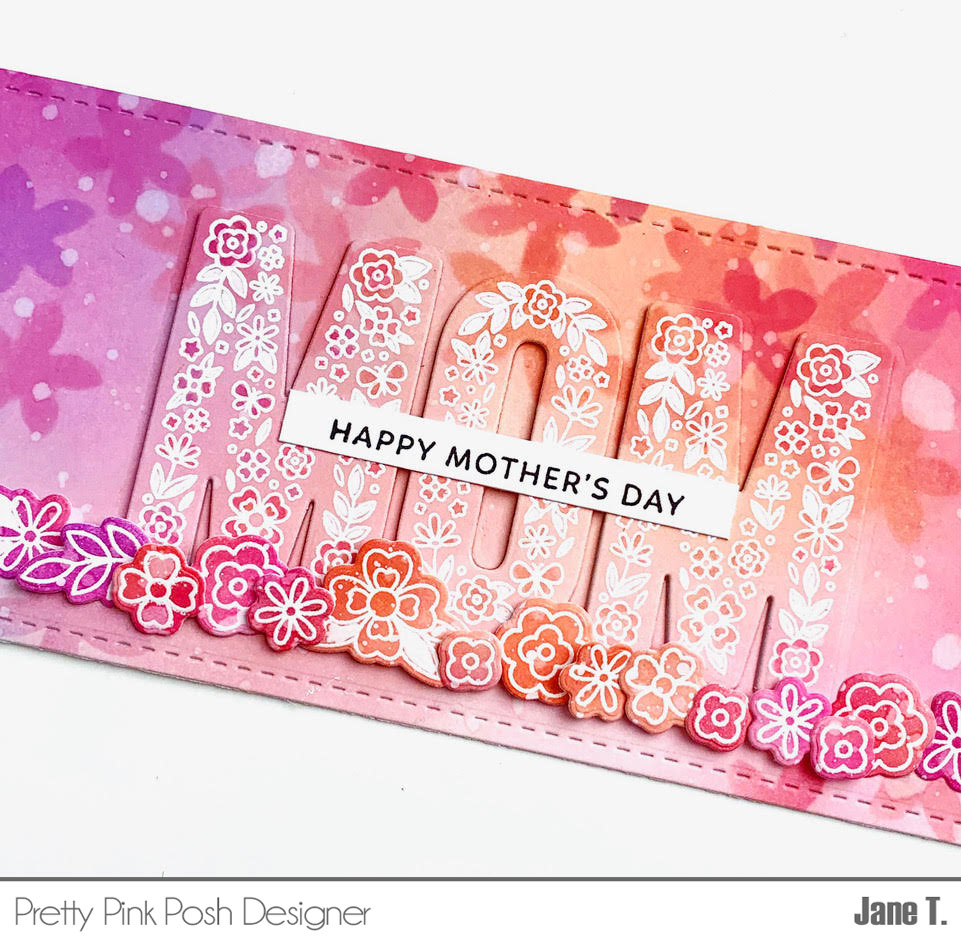
Next, I stamped the letters from the new Mom stamp set using versamark ink and white heat embossed the images. The letters were then cut the letters for “MOM” using the Mom coordinating dies. Foam tape added to the die cut letters for dimension. The intricate details were filled in with a white gel pen and coordinating copic marker colors. “Happy mother’s day” sentiment was stamped with black ink on white cardstock and adhered to the front of the letters with liquid glue.
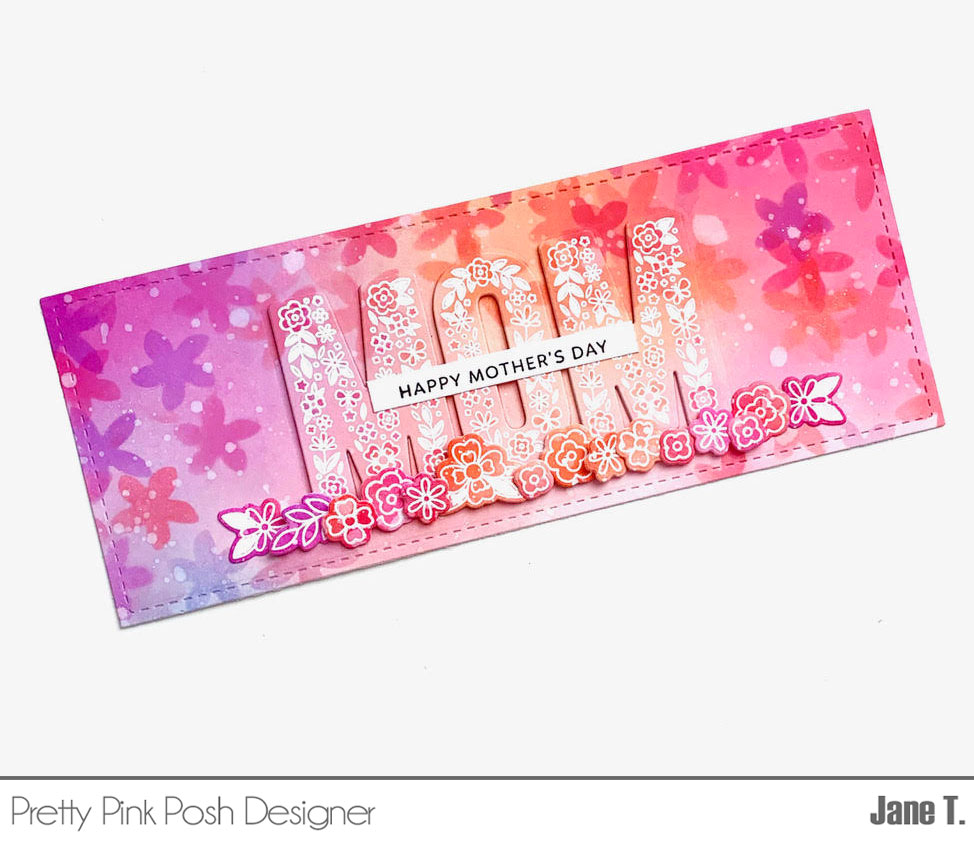
The beautiful floral images from this set were white heat embossed on a piece of ink blended cardstock (I used the same color inks as for the flowers-listed above). The images were then die cut using the coordinating Mom die cuts and foam mounted to the front of the card. The entire panel was then mounted to a slimline card base and that finishes this card!
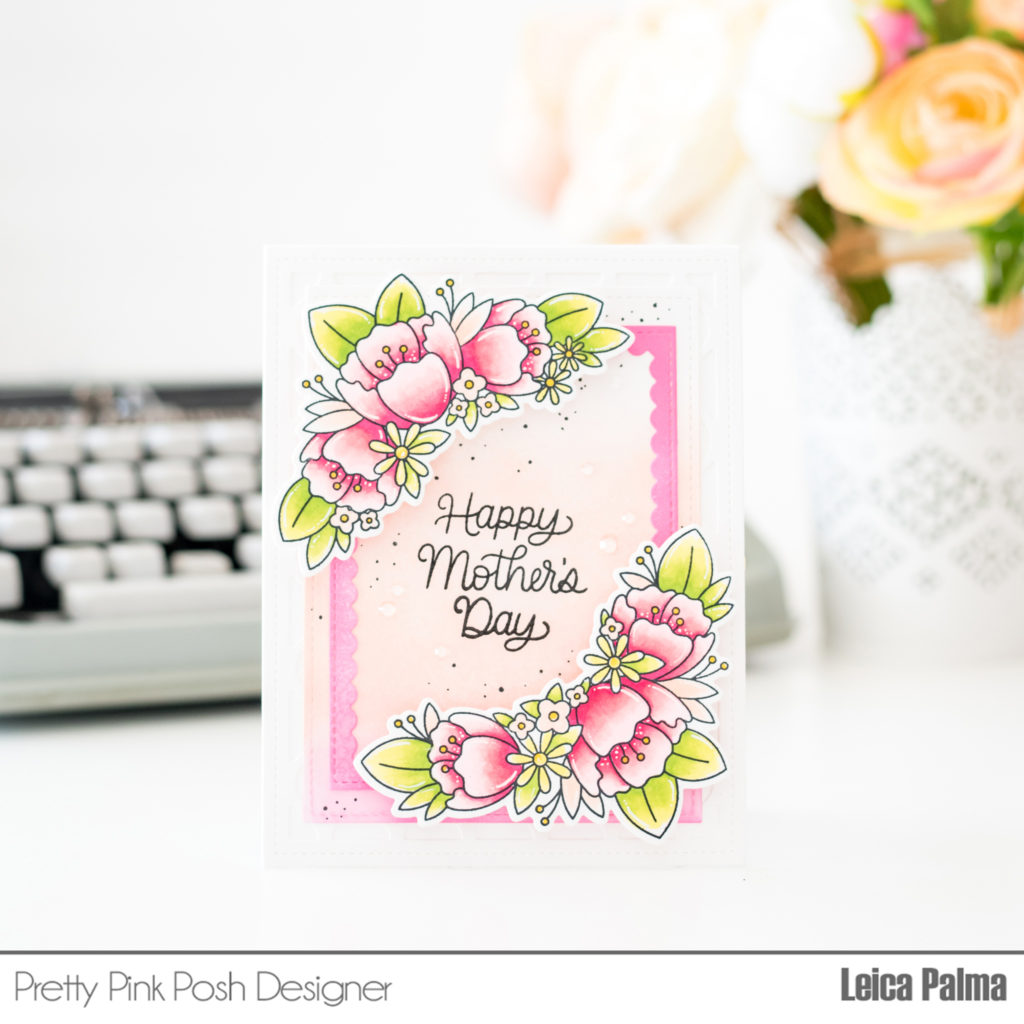
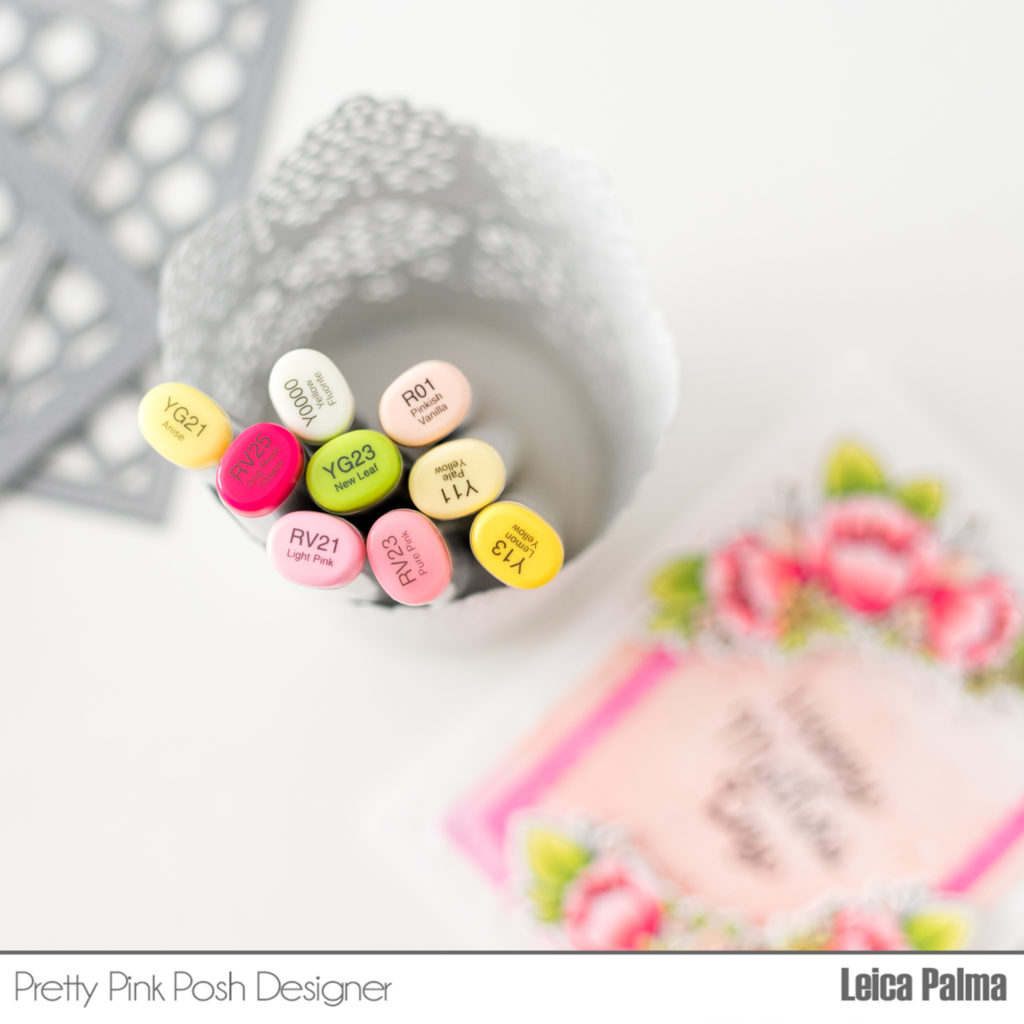
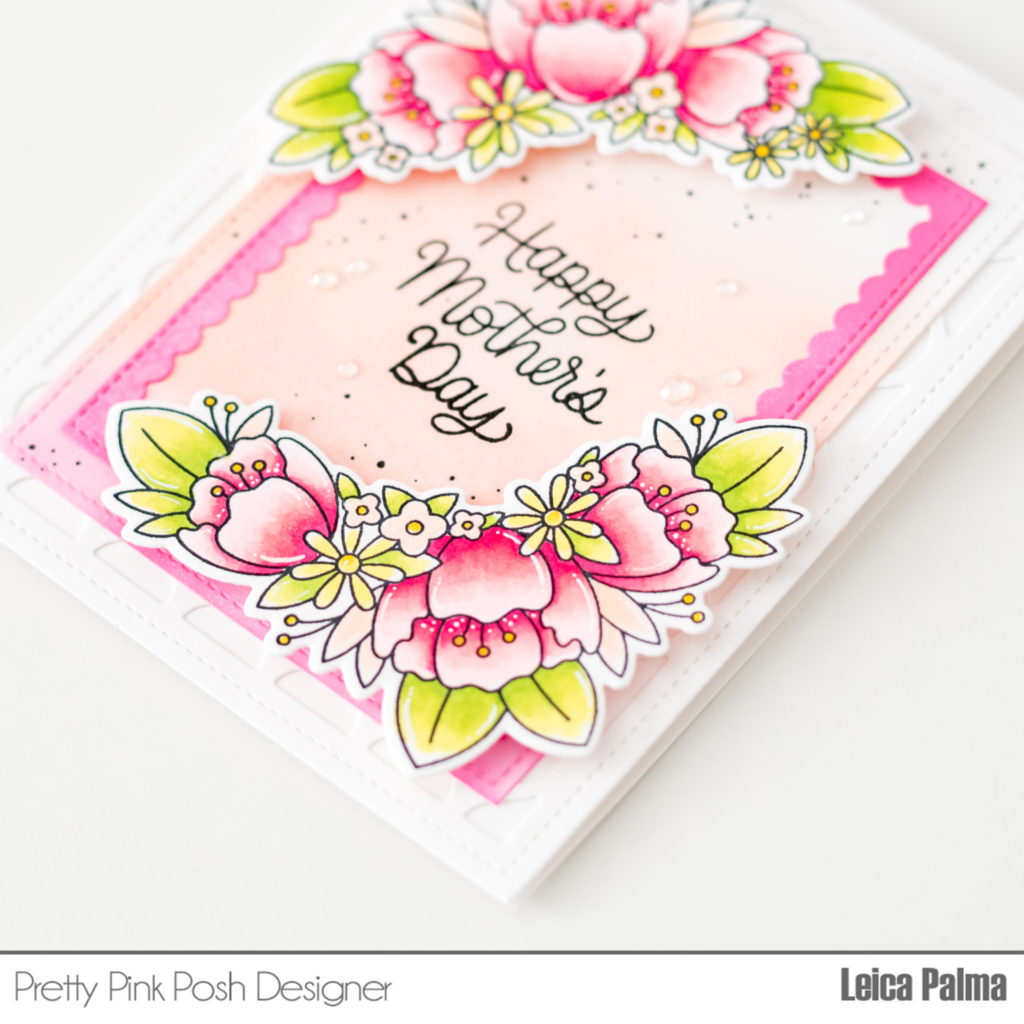
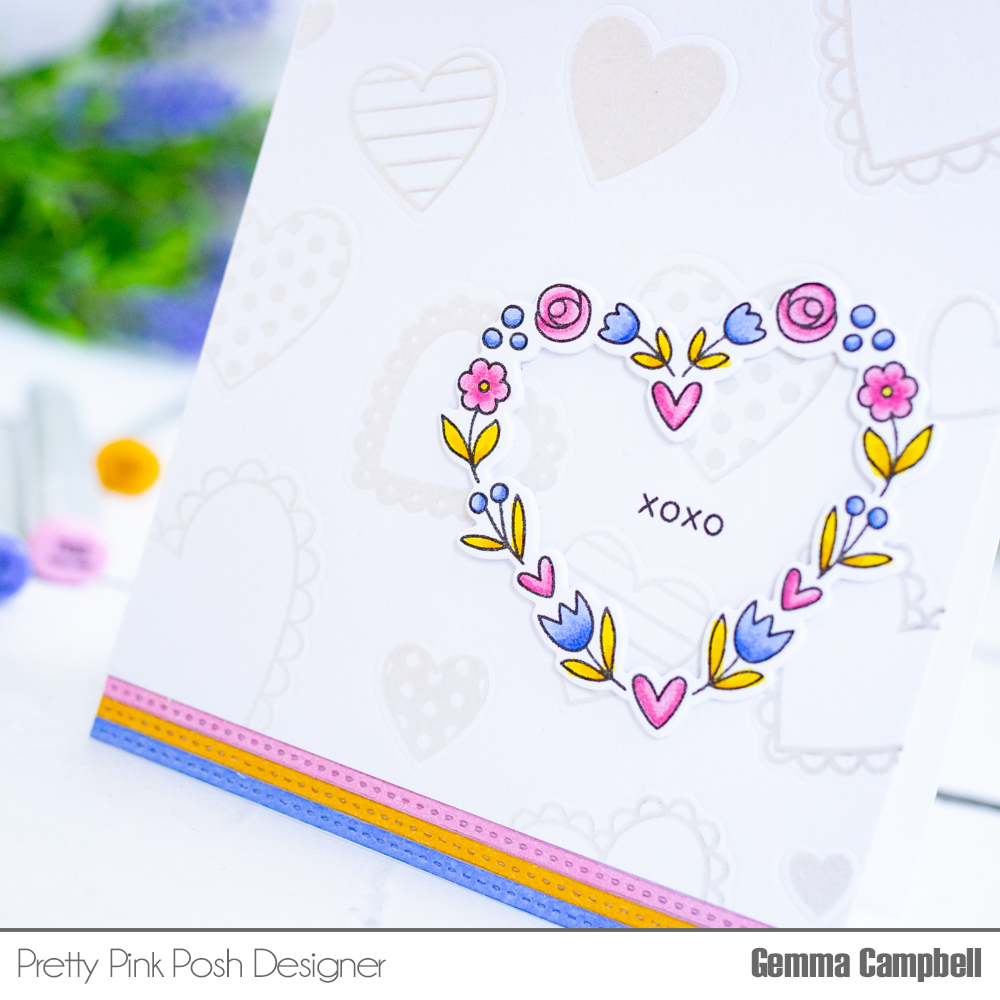
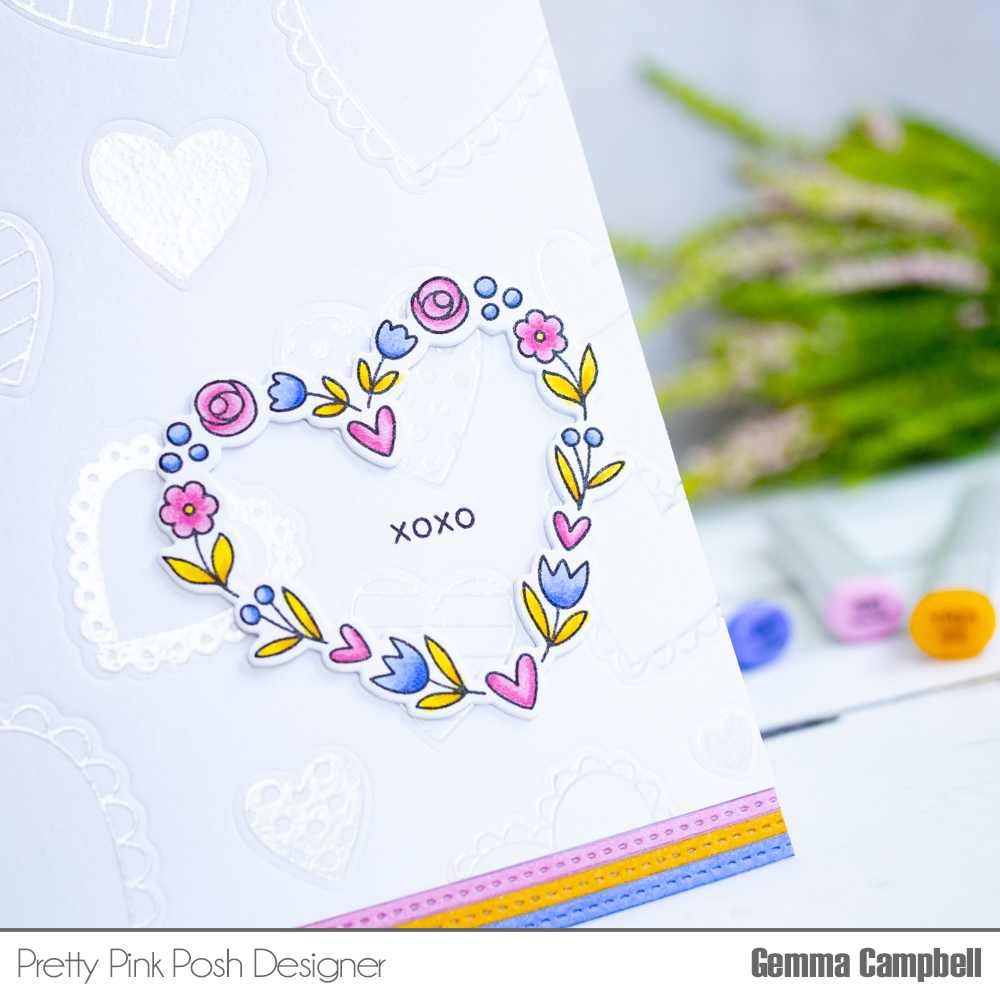
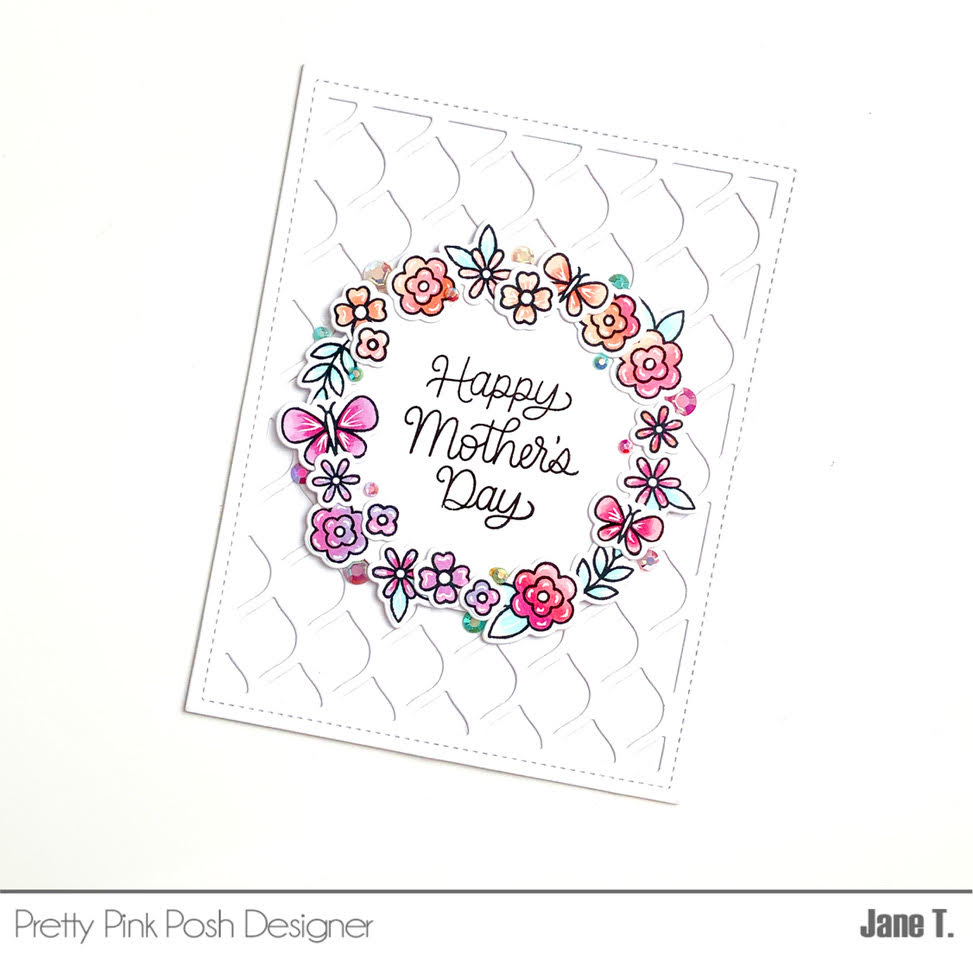
My next card features the same floral stamps from the Mom stamp set. To create this card, I first stamped the flowers and butterflies using copic-friendly black ink on white cardstock. The images were copic colored and die cut using the coordinating dies.
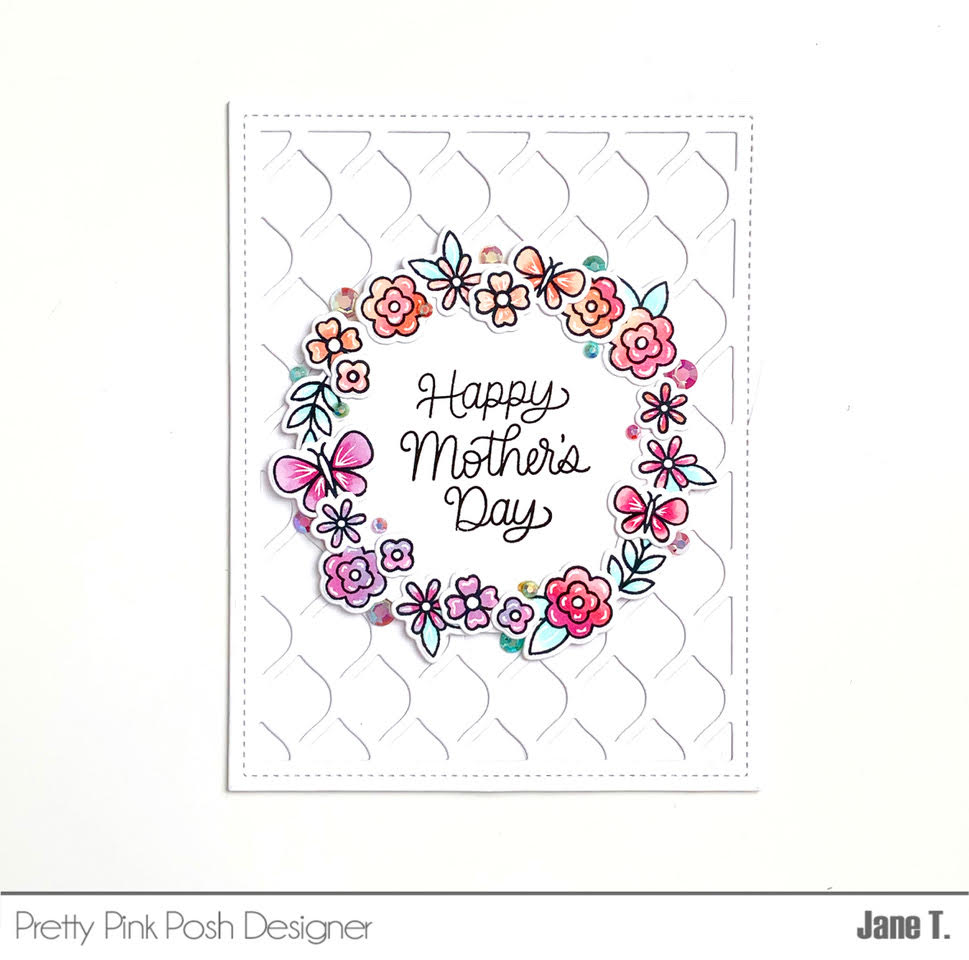
Using a circle die, I die cut a circle from white cardstock. Next, I stamped the sentiment “happy mother’s day” from the Mom stamp set. For the background, I used white cardstock and the new Pretty Petals Background die and layered them together to create a pretty textured background for my card.
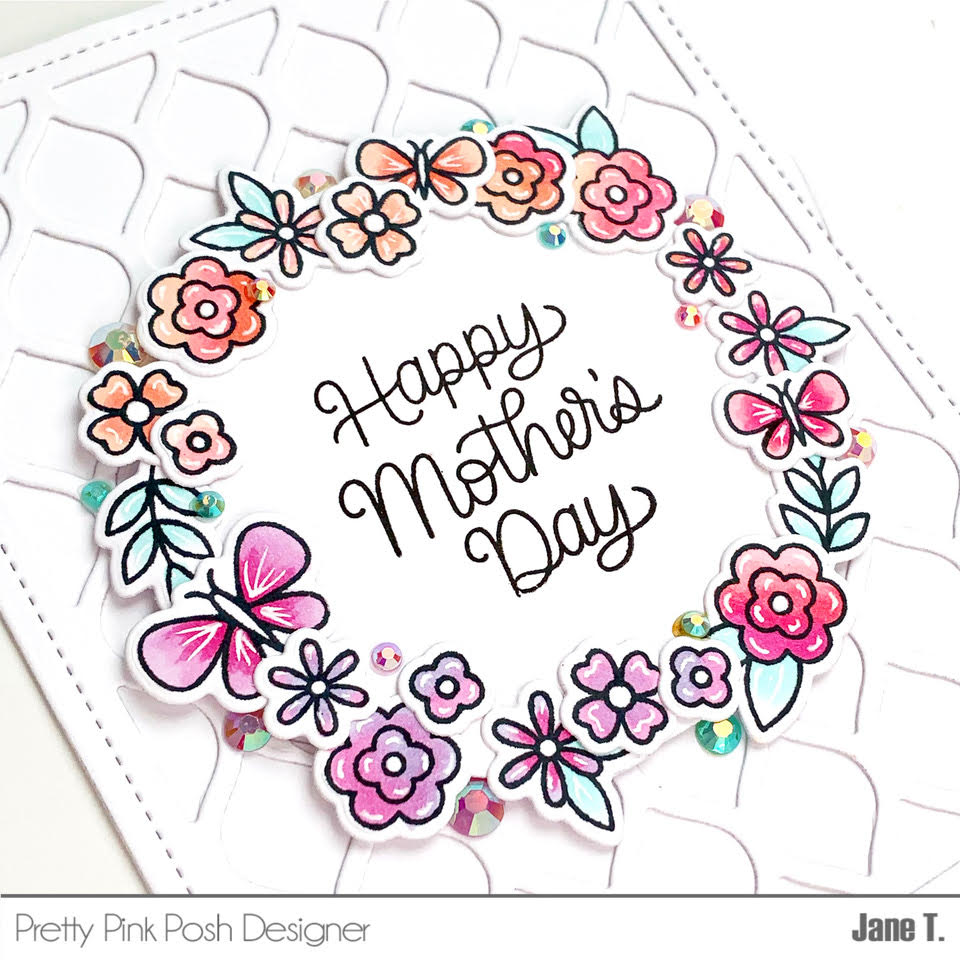
The center circle image was then adhered to the center of the card using foam tape for dimension. A combination of liquid glue and foam tape were used to arrange the small die cut images in a wreath pattern. Pretty Pink Posh jewels (sea glass, pansy purple, pink blush, and buttercream) added for extra sparkle! The entire card was then adhered to a white A2 card base and that completes the card!
Thanks so much for stopping by today. I hope you were inspired by these Mother’s Day cards.